
This easy royal icing recipe is my go-to for perfectly smooth, bakery-style decorated cookies. Made with meringue powder and just a few pantry staples, it dries firm (but not rock-hard!) and sets up quickly. It’s perfect for outlining and flooding, and is truly the most beginner-friendly royal icing you’ll ever make.

Table of Contents

One of my favorite holiday traditions is gathering around the kitchen table with a batch of freshly baked sugar cookies and a bowl of glossy royal icing. There’s just something magical about watching plain cookies transform into snowflakes, stars and gingerbread people with a few squeezes of a piping bag.
If you’ve ever wondered how bakeries get that crisp, perfectly smooth icing on decorated Christmas cookies, this is it: royal icing. My version is made with meringue powder (no raw eggs!), requires just 3 simple ingredients and dries firm enough for stacking, packaging and gifting. It’s easy to work with, beginner-friendly and can be tinted any color.
And if royal icing has ever intimidated you, this is the recipe that will change that. You only need one bowl, a mixer and a few minutes. So whether you’re decorating sugar cookies with your kids or building a gingerbread house with your crew, this is the icing that will set you up for holiday cookie success.

Royal Icing with Meringue Powder
There are countless variations of royal icing out there, but they all fall into two camps: the raw egg white version and the meringue powder version. Traditional royal icing uses raw egg whites, but that’s never been my go-to, mostly because I don’t love dealing with raw eggs, and the consistency can be a little finicky.
Meringue powder, on the other hand, is pure convenience. It’s made from dehydrated, pasteurized egg whites plus stabilizers like cornstarch and cream of tartar. It’s shelf-stable, lasts forever in your pantry, and gives you all the same structure and stability without the stress. You can find merigue powder in the baking aisle of some grocery stores, but I found mine on Amazon.
Mix it with powdered sugar, warm water and a splash of vanilla extract, and you get an icing that:
- Pipes clean lines for outlining cookies
- Floods into a perfectly smooth surface for that bakery-level finish
- Dries hard enough for stacking, packaging or gifting
- Can be tinted any color with gel food coloring (a little goes a long way!)
Making royal icing with merigue powder is surprisingly easy—you’re really just whisking everything together until smooth. I use my stand mixer fitted with the whisk attachment, but you could also use an electric hand mixer.
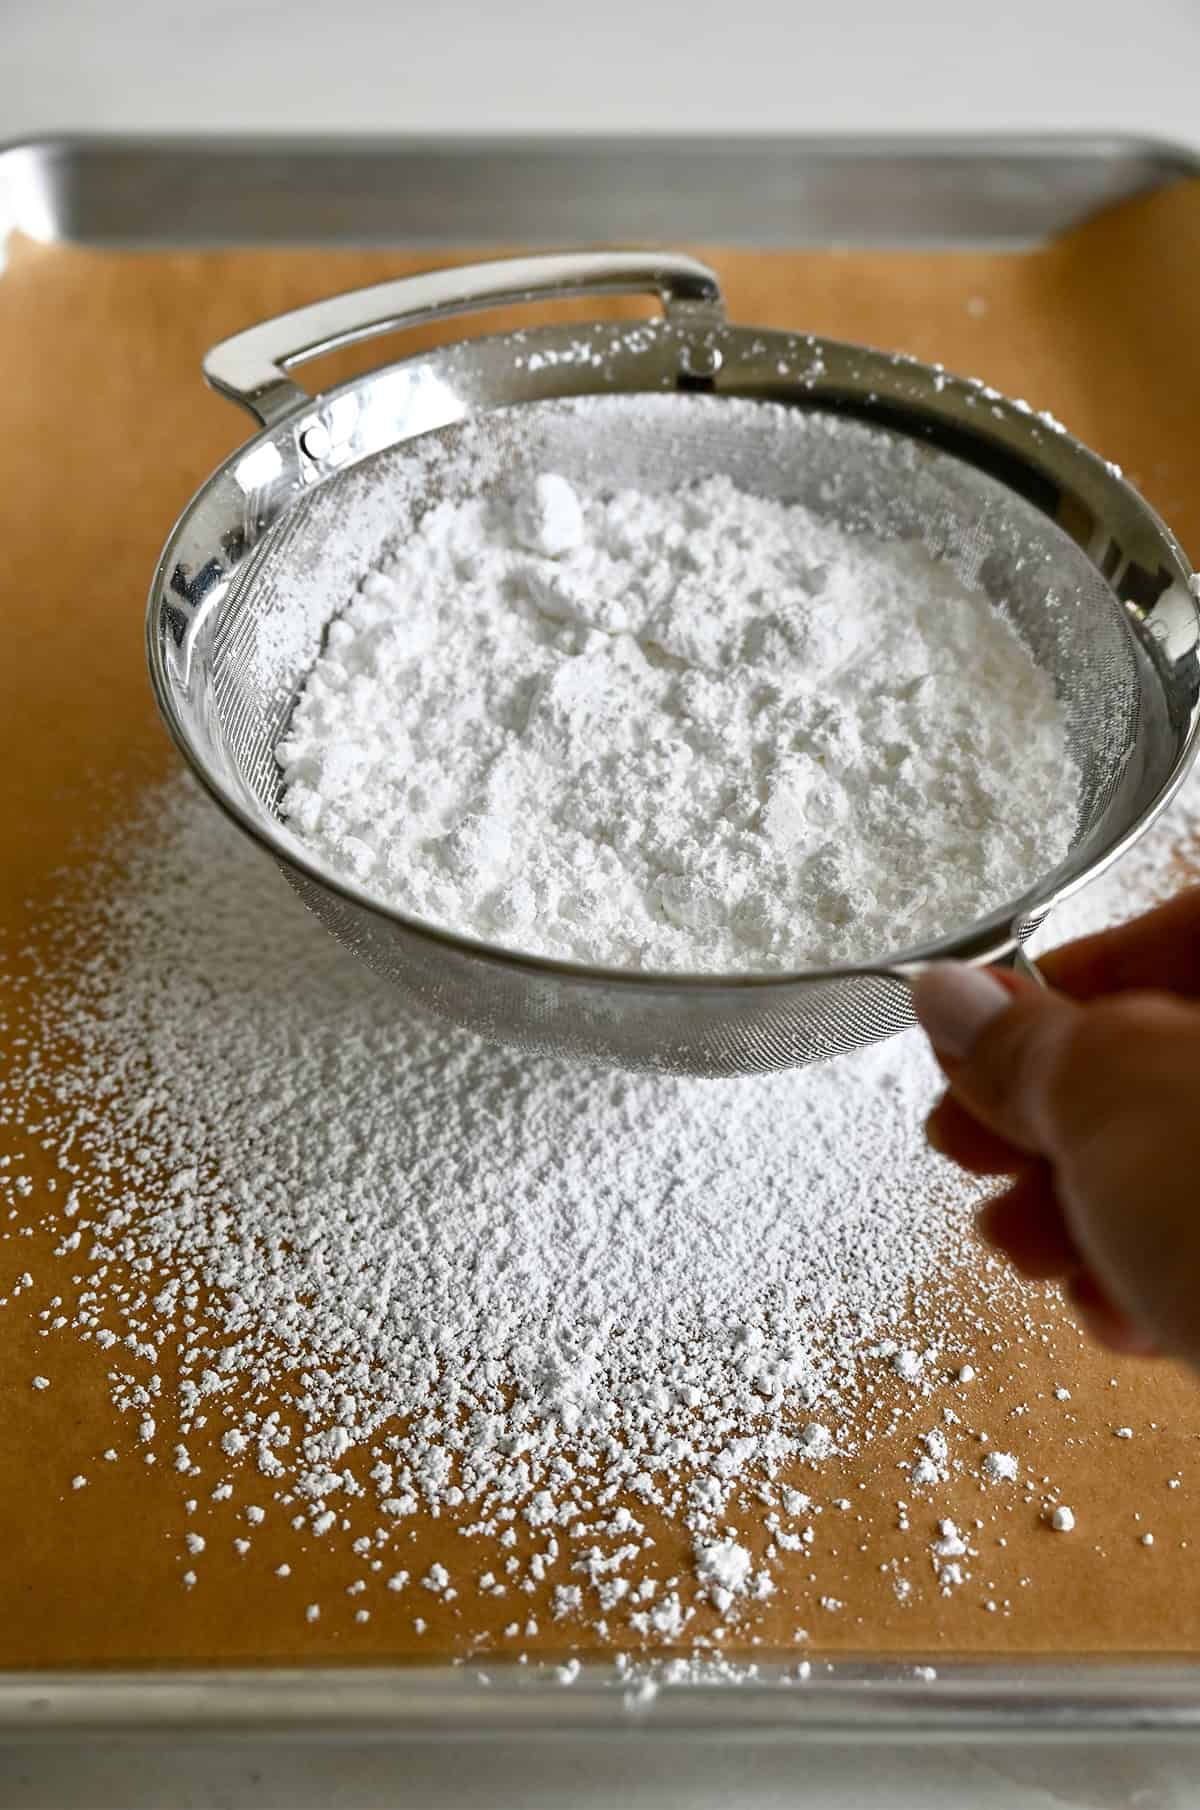
Start by sifting the powdered sugar. Don’t skip this step! Sifting removes tiny lumps that would otherwise clog piping tips or leave little bumps on your cookies. I sift right over a piece of parchment paper (way easier to do over a large surface area than a bowl AND easier to transfer!).
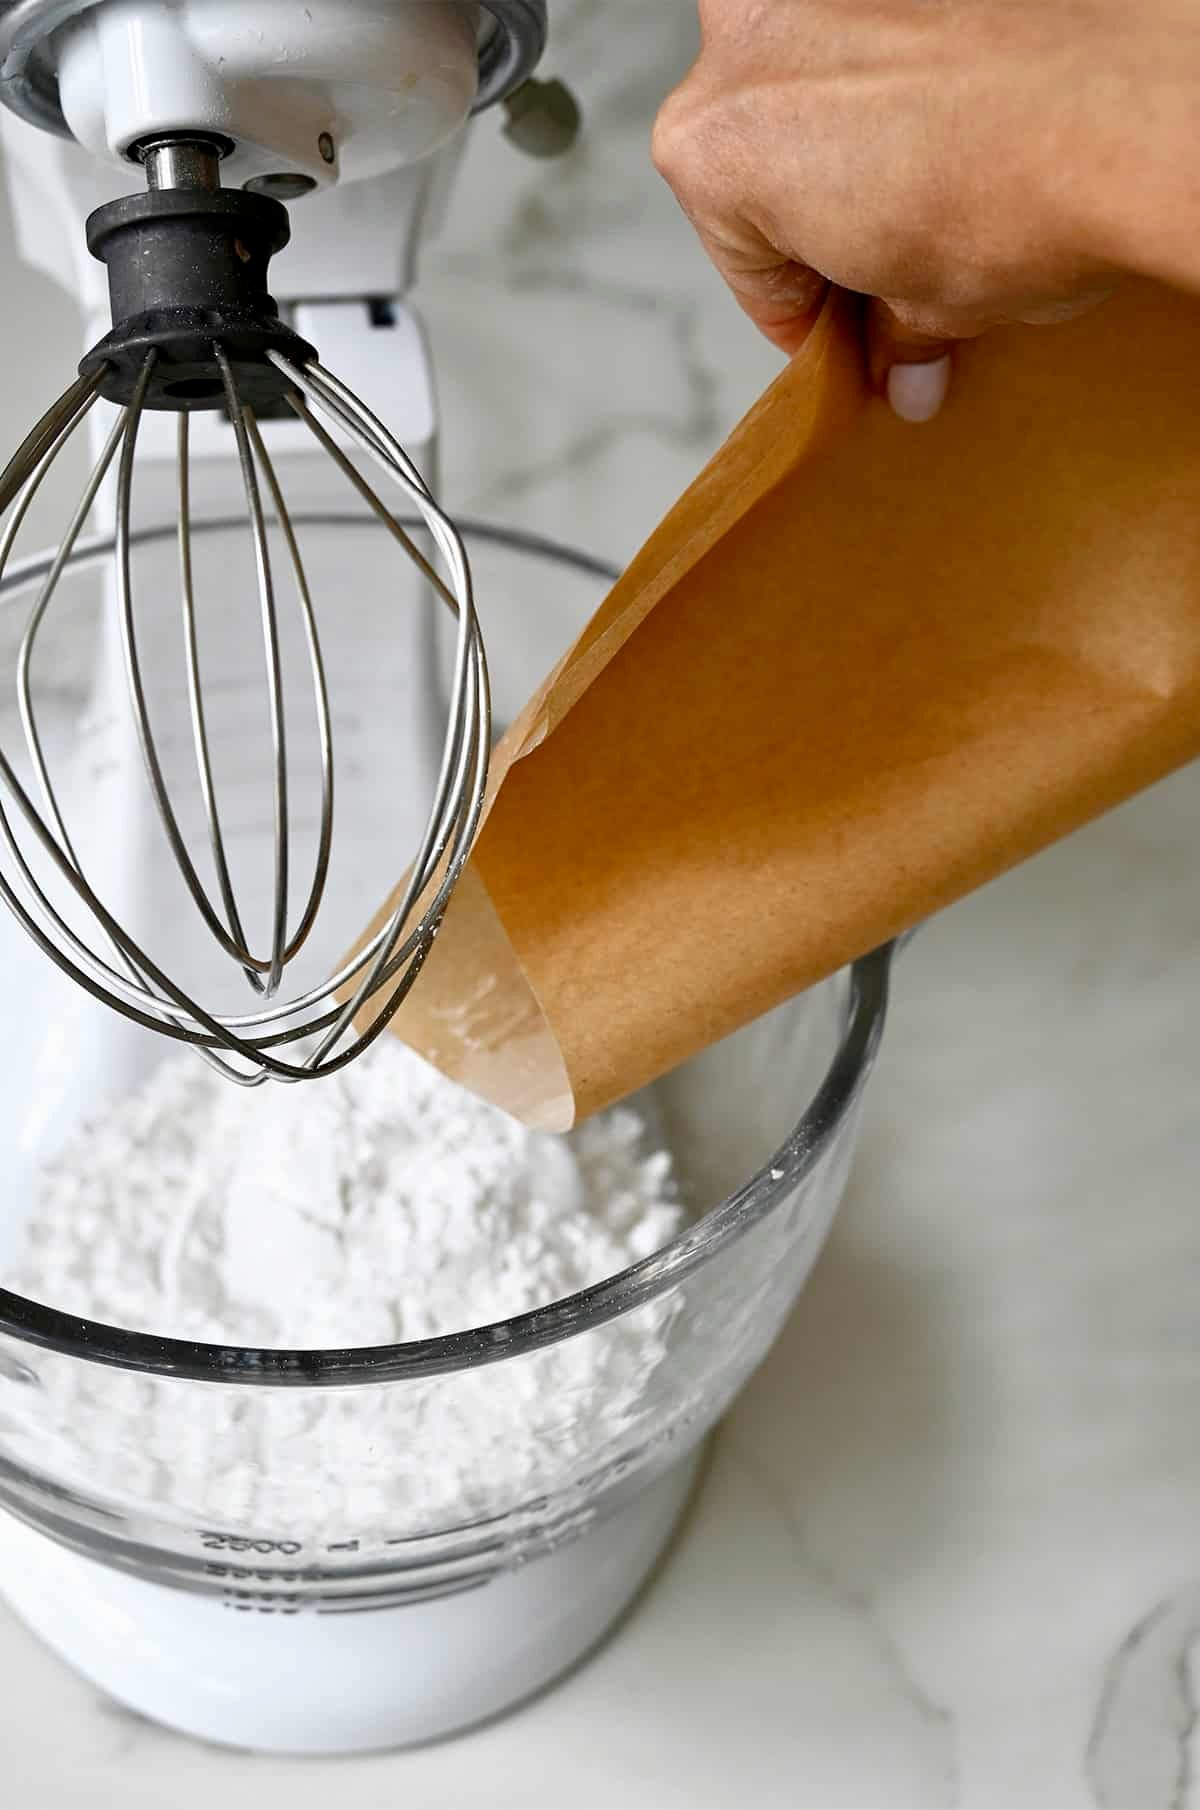
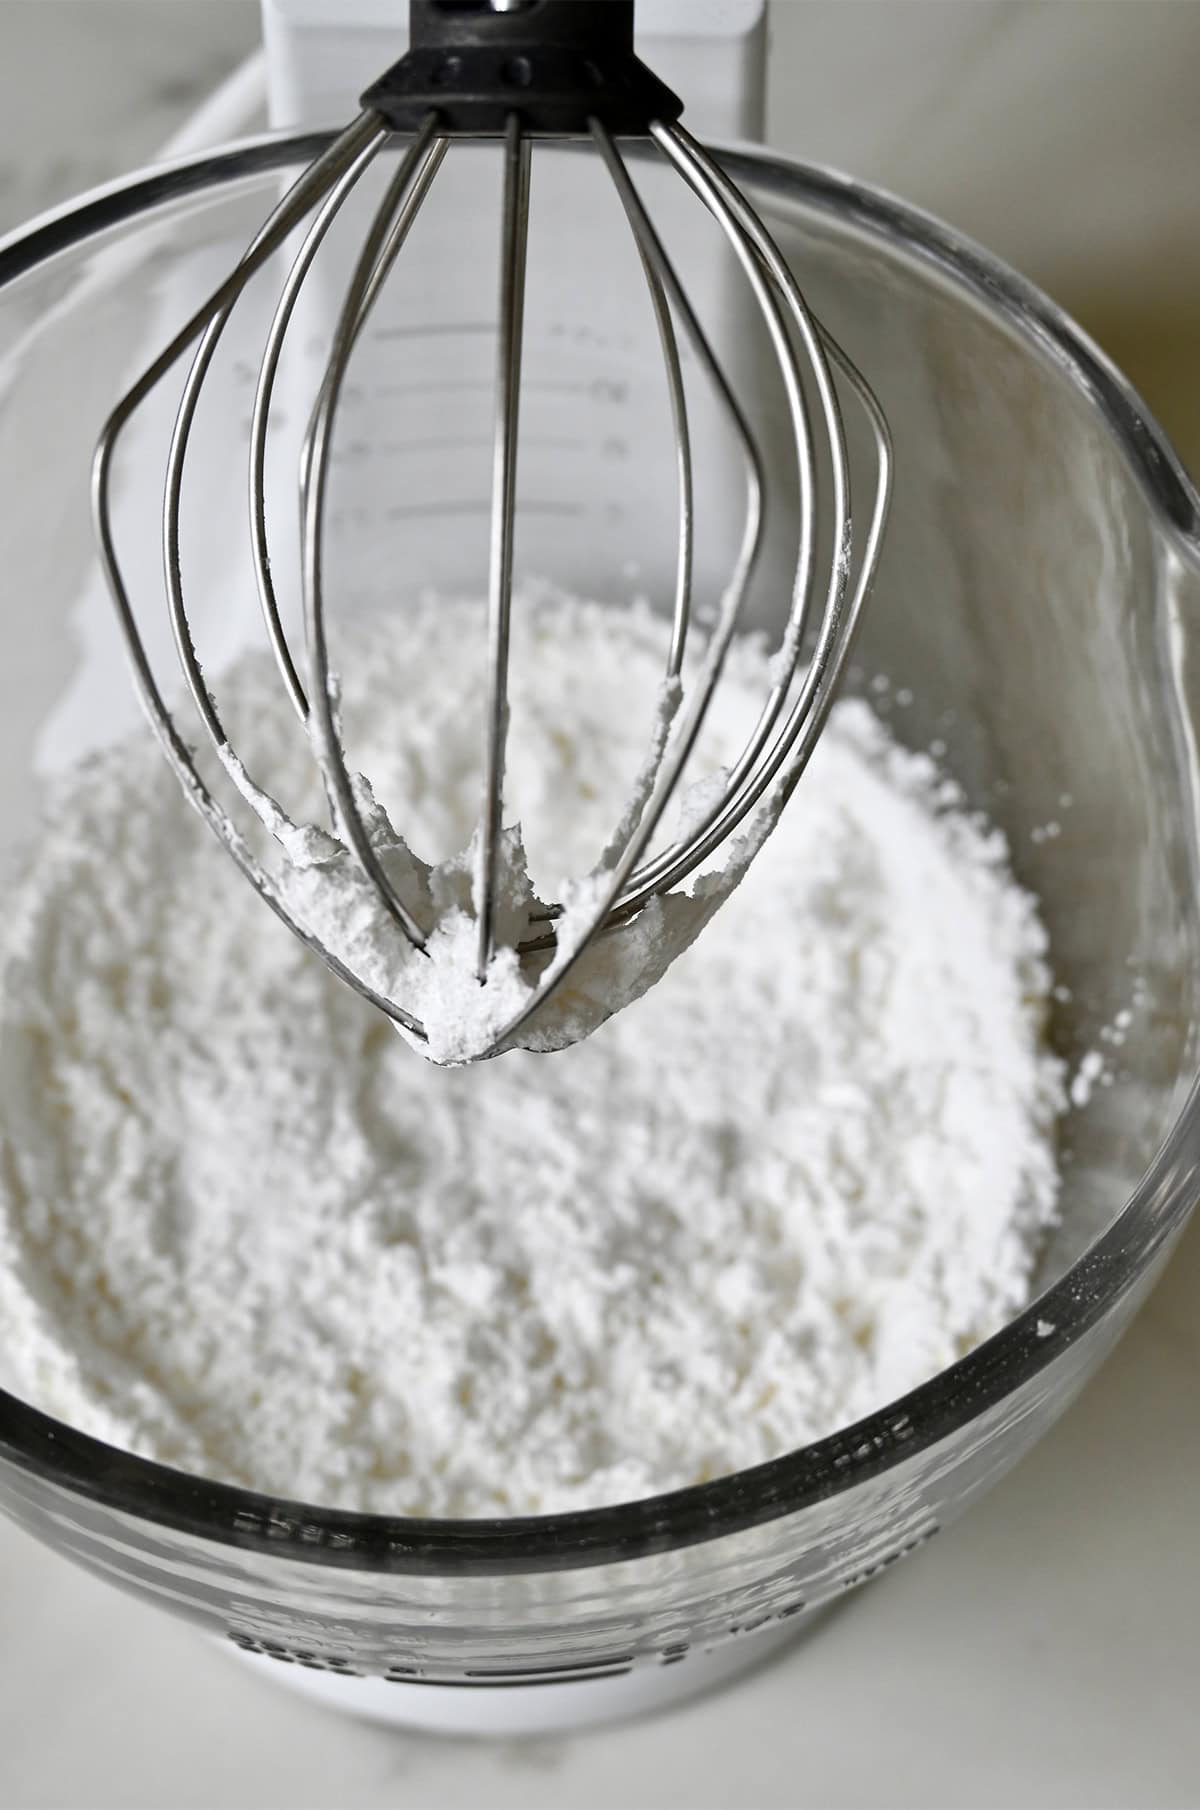
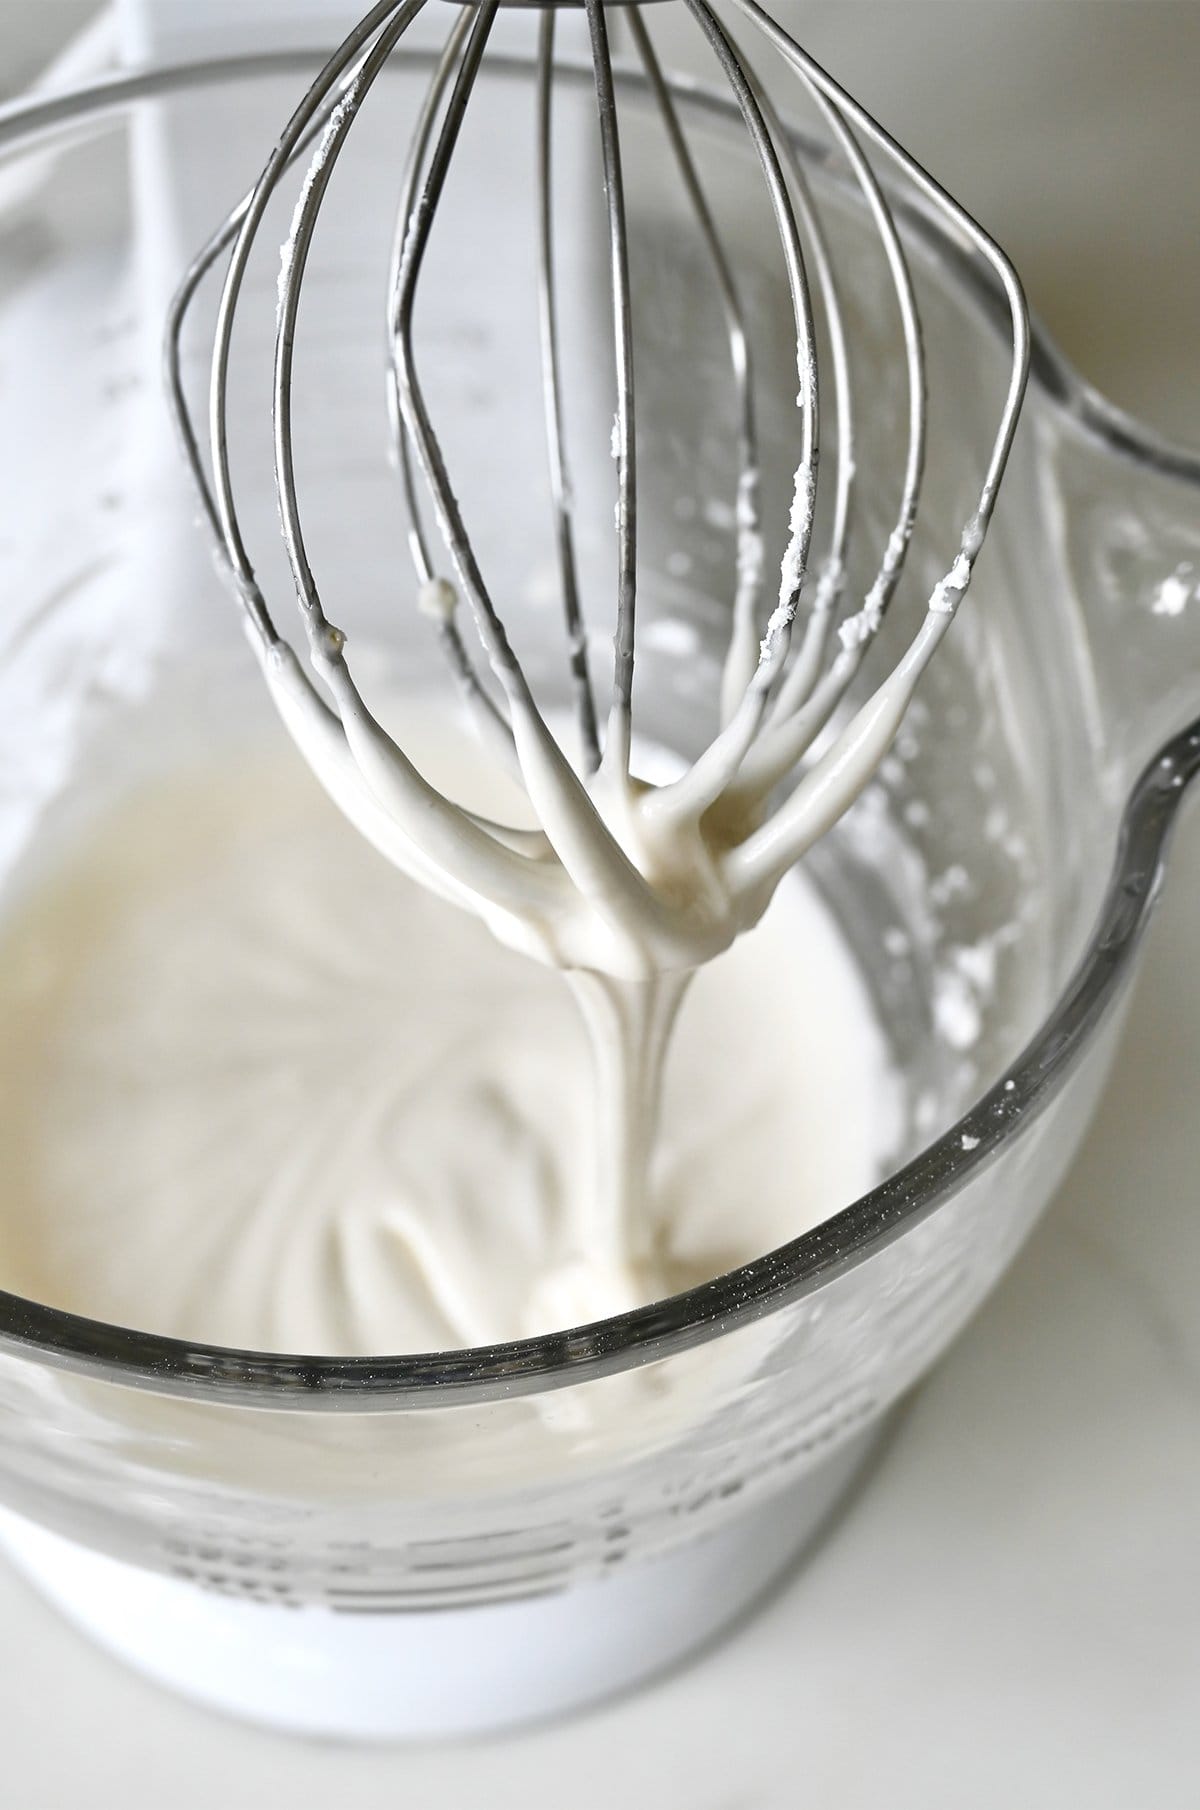
Next, whisk the sifted powdered sugar with the merigue powder. With the mixer running, add warm water and vanilla extract, and beat until smooth. You’re looking for frosting that drips off the whisk and smooths out within about 10 seconds.
That’s it! Your base icing is done and ready to tint, pipe or flood. How thick or thin the icing is all comes down to how much water you add.
Icing Consistency
You only need two consistencies to decorate like a pro:
- Outline icing (thicker) – Think toothpaste texture. It holds a clean border, which keeps your icing from sliding off the cookie. Use it for borders and simple details like polka dots, stripes and lettering.
- Flood icing (thinner) – Think honey texture. This is the icing that fills in the outlined area.
Always pipe your outline first, then thin the remaining icing to create your flood icing.
How to Thin Your Icing
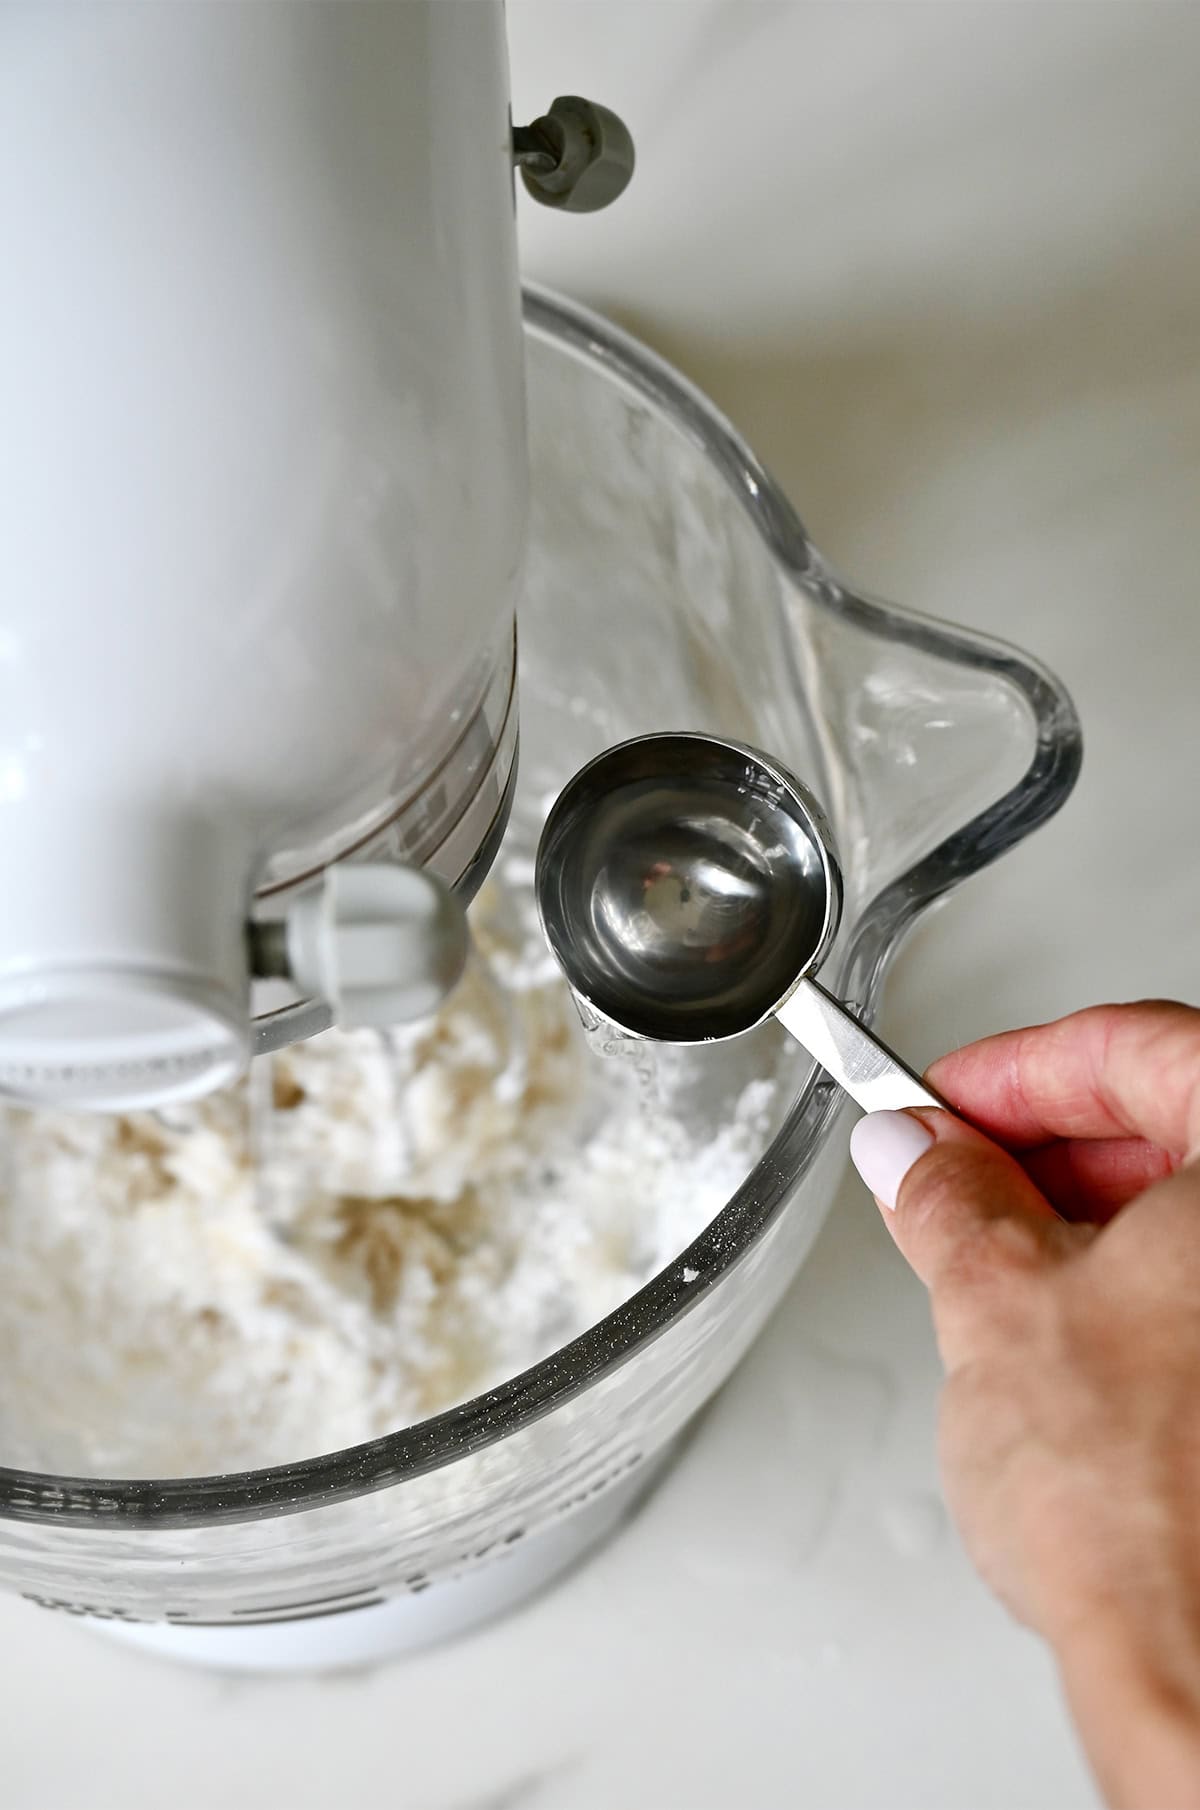
Add warm water, 1 teaspoon at a time. The consistency changes FAST, so go slow! How much water is needed depends on many factors, but especially your environment and whether it’s humid or dry.
Decorating Cookies
Once your icing is mixed and ready, it’s decorating time! This part is way less intimidating than it looks, and honestly, once you get the hang of outlining and flooding, it becomes fun (the kind of fun where suddenly an hour disappears and you’ve decorated 40 snowflakes).
Use my go-to sugar cookies recipe (the ones shown in the photos) for cutout cookies that won’t spread in the oven. You can also use this royal icing on chocolate sugar cookies, chai sugar cookies or gingerbread cookies (you can also use it to glue together an entire gingerbread house). For a festive twist, try dipping just half of my chewy ginger molasses cookies in the icing and adding a few holly berry sprinkles.
Whatever cookie you choose, make sure it’s completely cooled before decorating. Warm cookies = icing slip-and-slide.
Tools That Make Decorating Easier
You don’t need a drawer full of piping tips or fancy gadgets, but these simple tools make the process a whole lot easier:
- Piping bags (or make your own: here’s my DIY parchment piping bag tutorial)
- Small round piping tips — I like to use Wilton piping tip #2 or #3 for outlining, and Wilton piping tip #4 or #5 for flooding
- Squeeze bottles — a great alternative if you don’t have any piping tips, plus they’re great for kids!
- Toothpick or skewer — perfect for spreading icing into corners
- Gel food coloring — I use gel food coloring because you only need a few drops to make vibrant colors


And here’s my #1 decorating tip: If you’re not actively using a bowl of icing, place a damp paper towel directly on the surface to keep it from crusting over. Royal icing dries out fast, so this is a total game-changer!
A few more decorating tips I’ve learned over the years: Wait about 1 minute after frosting before adding any sprinkles. Any sooner and they’ll slide right off, any later and they won’t stick. If you want dimension (like little sweater-knit details or polka dots that sit on top), let your first layer dry for about 20 minutes before adding the next. And if you notice tiny air bubbles, pop them right away with a toothpick for a perfectly smooth finish.
How Long Does Royal Icing Take to Dry?
It will take about 2 hours for it to fully firm up. If you live somewhere humid, you may need a little longer. Once dry, they’re stackable, giftable and ready for any cookie box.
Make-Ahead and Storage Tips
The beauty of royal icing is that it’s incredibly make-ahead friendly, which is exactly what you want during the holiday baking season. You can prepare the icing up to 2-3 days in advance. Just transfer it to an airtight container and press a piece of plastic wrap directly onto the surface before sealing and storing in the refrigerator. This prevents it from forming a crust. When you’re ready to use it, bring it to room temperature and whisk it smooth as it may have separated. If it thickens in the fridge (totally normal!), add a drop or two of warm water until it loosens back up.
Can You Freeze Royal Icing?
Absolutely! Leftover royal icing can be frozen for up to 2 months. Portion each color into its own zip-top bag, press out as much air as possible and lay the bags flat in the freezer. Thaw the icing in the refrigerator overnight, bring it to room temp, then knead the bag gently to recombine.
How to Store Decorated Cookies
Cookies decorated with royal icing keep well at room temperature for up to 1 week. Once the icing is fully set, layer cookies between sheets of parchment in an airtight container.
Can You Freeze Decorated Cookies?
Yes! Sugar cookies decorated with royal icing can be frozen for up to 3 months. Once the icing is completely set, layer cookies between sheets of parchment paper in a freezer-friendly container. Thaw at room temperature.

Best Royal Icing Alternatives
If you don’t have meringue powder on hand and need to frost cookies stat, I’ve got you covered.
My easy cookie icing is the best last-minute swap. It’s a simple glaze made from pantry staples (powdered sugar, butter and milk), and is perfect for kid-friendly decorating. Just note: it won’t dry quite as firm or as fast as royal icing (plan on about 24 hours).
If you prefer a soft, creamy frosting, go the buttercream route. My classic buttercream, chocolate buttercream, or coffee buttercream all pipe like a dream, taste so dang good and are the most forgiving of all the options. They don’t dry hard, so they’re not ideal for stacking in cookie boxes, but for flavor and ease? They win every time.
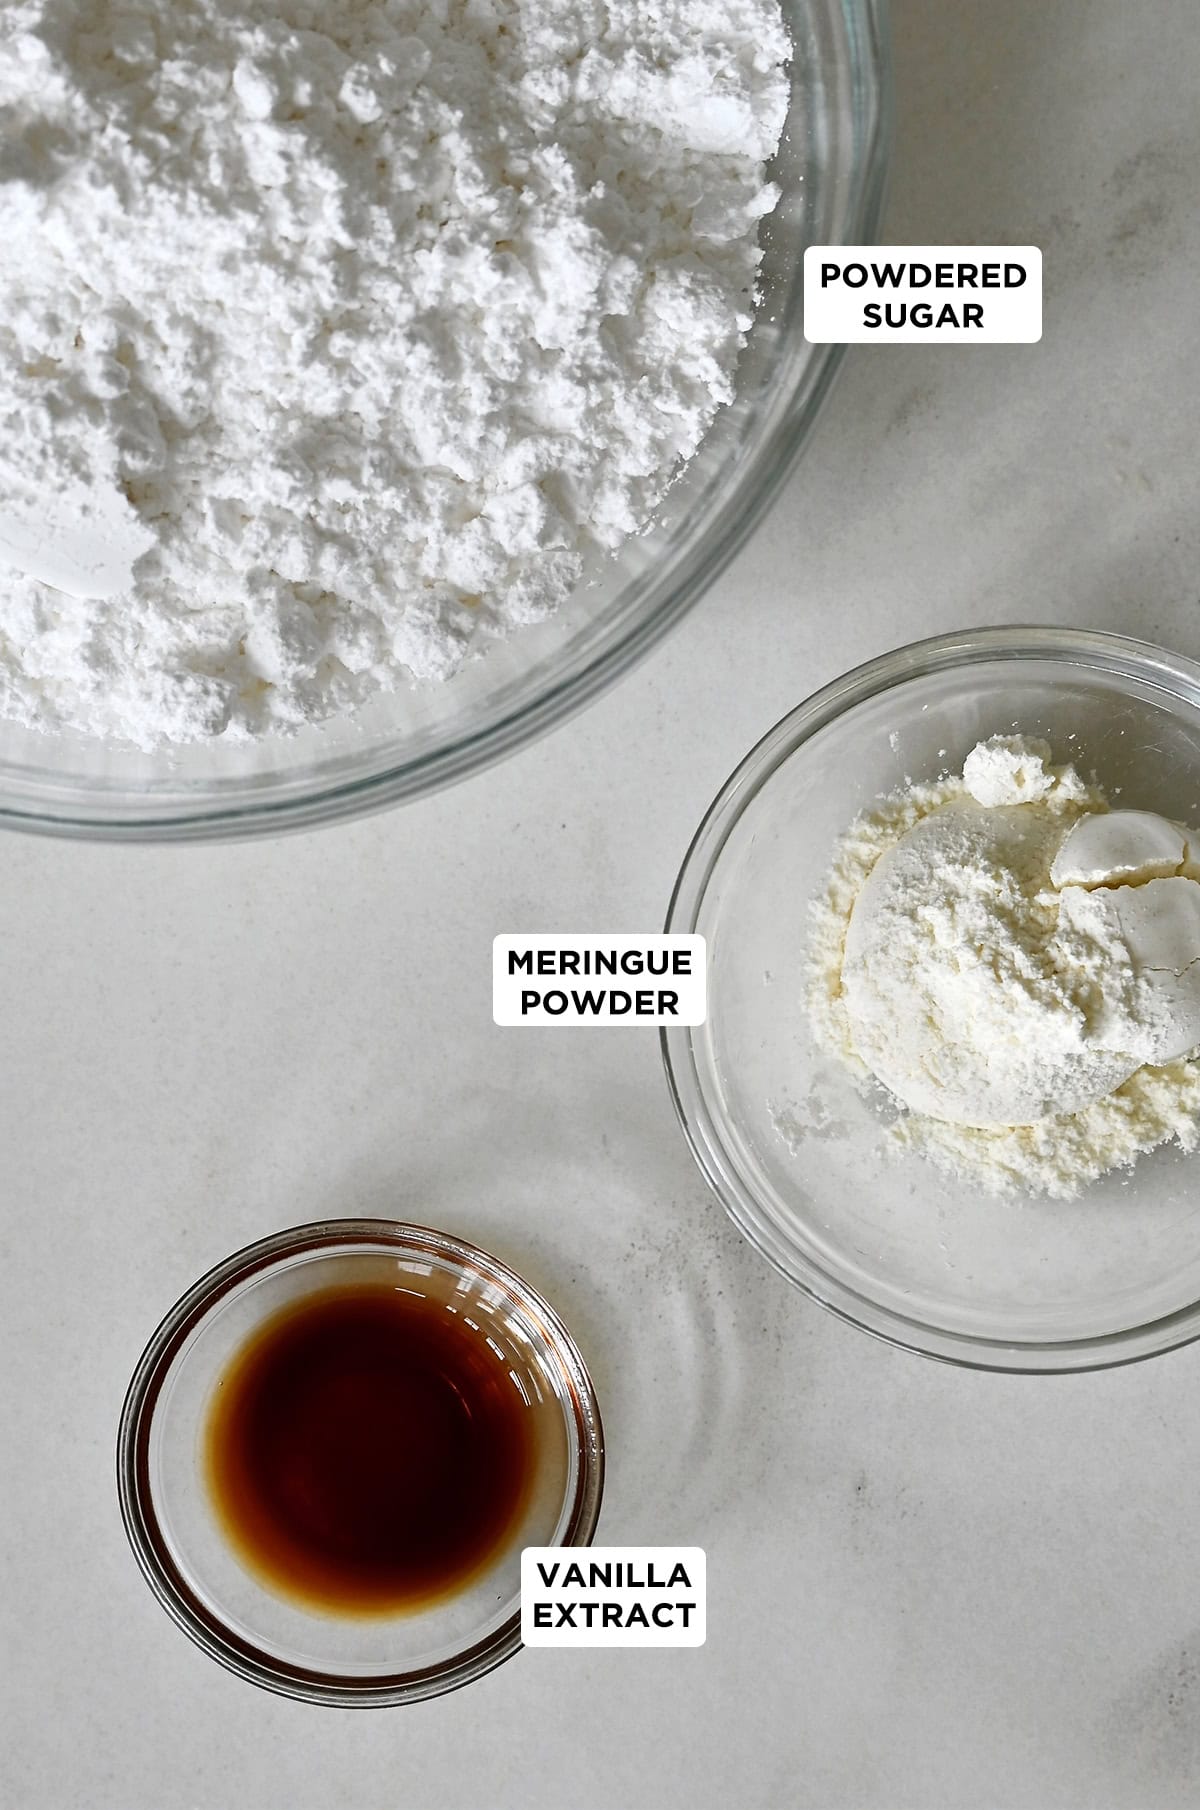
Ingredients
- 2 cups powdered sugar, sifted
- 1 1/2 Tablespoons meringue powder
- 1/2 teaspoon vanilla extract
Instructions
- In the bowl of a stand mixer fitted with the whisk attachment, whisk together the powdered sugar and meringue powder on low speed.
- With the mixer running, add 4 tablespoons of warm water and the vanilla extract and continue beating until well-combined, 1 to 2 minutes, scraping down the sides of the bowl as needed. Add more warm water, 1 teaspoon at a time, as needed until the frosting reaches a smooth consistency that drips off the whisk attachment and smooths out within 10 seconds.
- Use the frosting immediately by spooning or piping it atop baked goods. It will take about 2 hours to fully set at room temperature and can be dyed any color with food coloring.
Kelly’s Notes
- The easiest way to sift powdered sugar is over a piece of parchment paper. It gives you more room to work and makes transferring it to the mixing bowl so much easier.
- The amount of water needed varies based on your environment, especially humidity. Add it slowly, 1 teaspoon at a time, until you reach your desired consistency.
- Clear vanilla extract will give you the whitest icing, but I typically use regular (brown) vanilla and it still dries bright white (as shown in the photos).
- To tint the icing, divide it into bowls (one per color), or tint the entire batch. Use just a couple of drops of gel food coloring; a little goes a long way! Stir gently to avoid thickening the icing, and if it gets too thick, add a few drops of water to loosen it back up.
- Royal icing can be piped or spread onto cookies. Use piping bags, parchment piping cones or squeeze bottles (great for kids!).
- This icing dries quickly. When you’re not actively using it, place a damp paper towel directly on the surface to prevent crusting.
- Wait 1 minute after frosting and before adding any sprinkles; the icing needs to partially set before adding heavy toppings or they may slide off.
- Make ahead: Royal icing can be made up to 3 days in advance. Store it in an airtight container in the fridge with a piece of plastic wrap pressed directly onto the surface so it doesn’t crust. Bring to room temperature and whisk before using.
- To freeze: Royal icing freezes beautifully for up to 2 months. Transfer to zip-top bags, press out all the air and freeze flat. Thaw overnight in the fridge, then bring to room temp and stir.
- Freezing decorated sugar cookies: Once fully dry, decorated cookies freeze well for up to 3 months. Layer with parchment and thaw at room temp.
- Here is my favorite recipe for sugar cookies that hold their shape in the oven.
- ★ Did you make this recipe? Don’t forget to give it a star rating below!
Nutrition
Did you try this recipe?
Leave a comment below with your star rating!
This post may contain affiliate links.


I recently bought meringue powder on sale from Amazon and have been hesitant to use it… then I got this recipe in my email and I gave it a try. Why am I just now making royal icing?! It was soooo easy and the results are stunning.
Welcome to the royal icing party, Jules!