
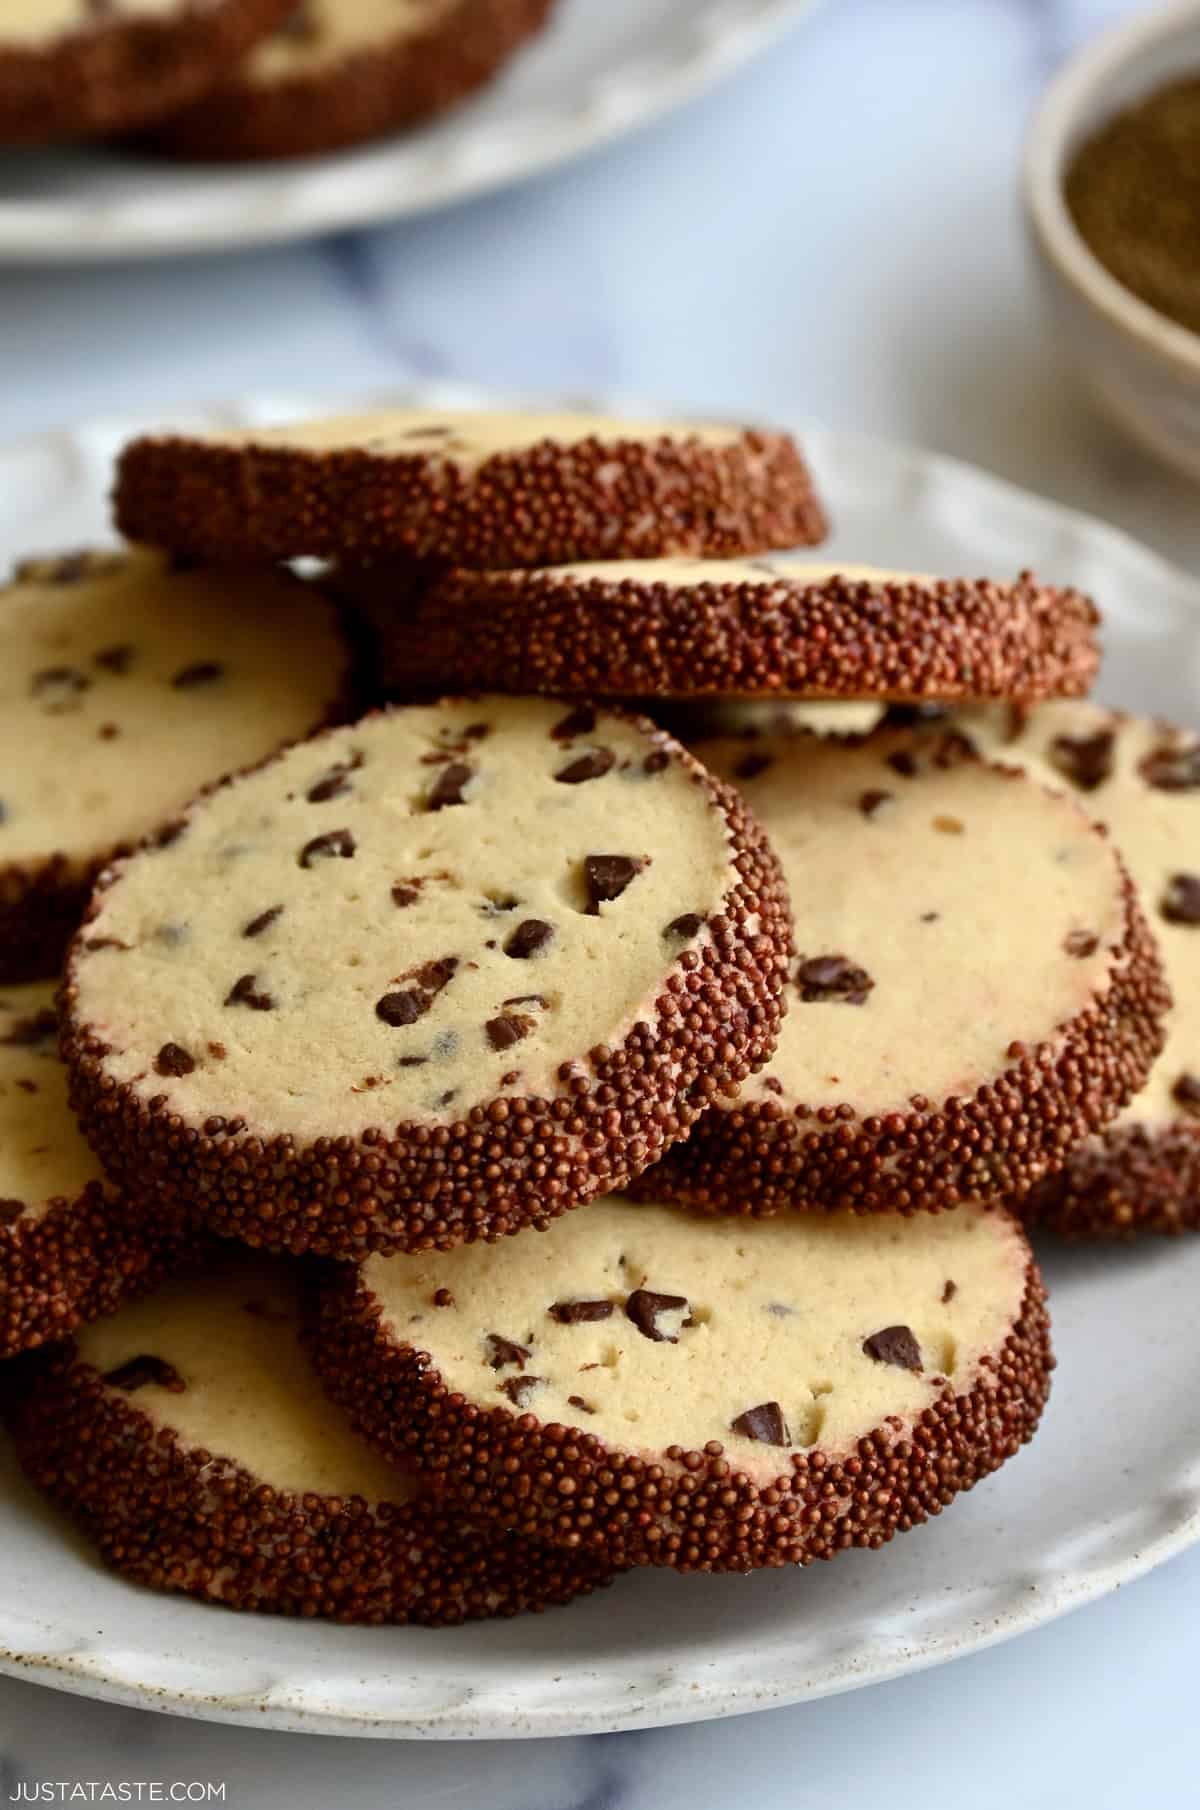
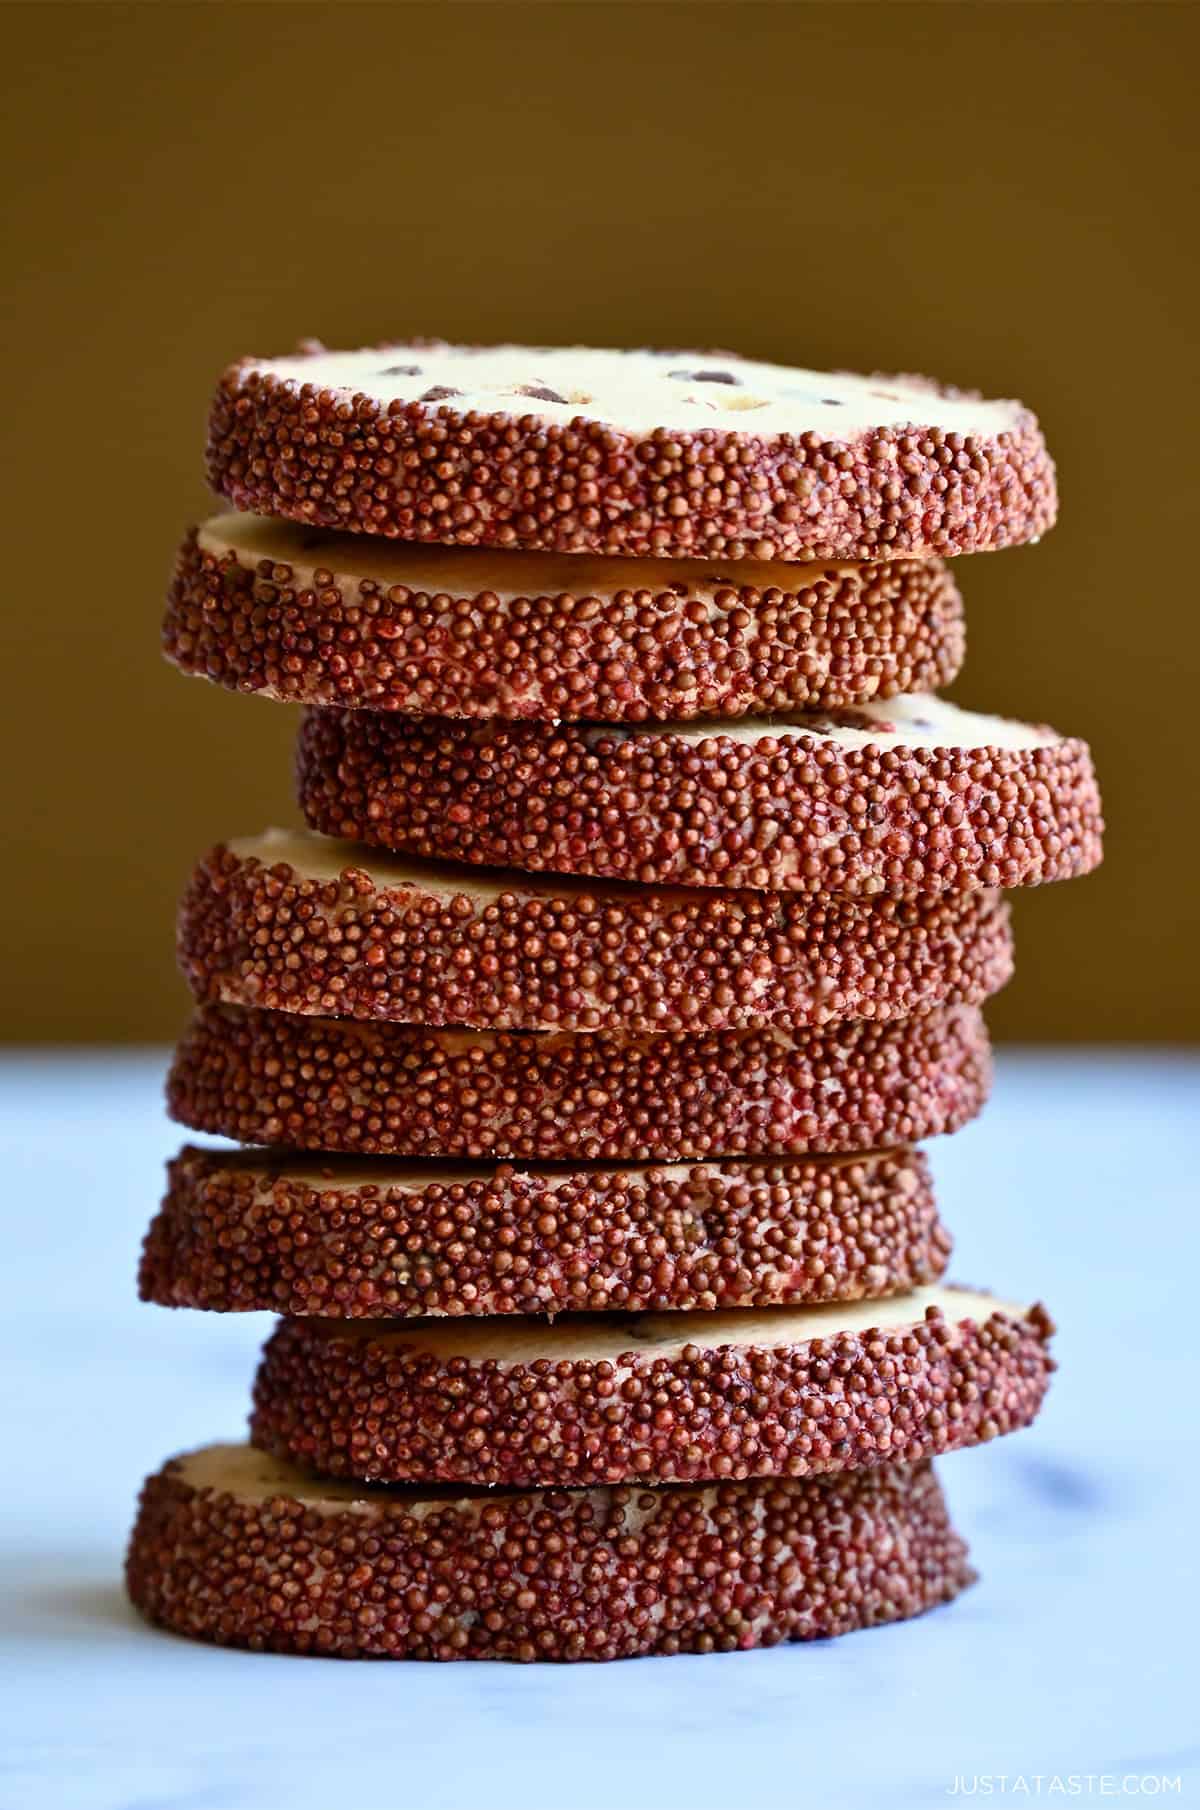
These slice-and-bake chocolate chip cookies are soft, chewy and loaded with mini chocolate chips, with a crunchy coating of chocolate sprinkles. Make the dough ahead of time, stash it in the fridge or freezer, then slice and bake fresh cookies whenever the craving strikes!
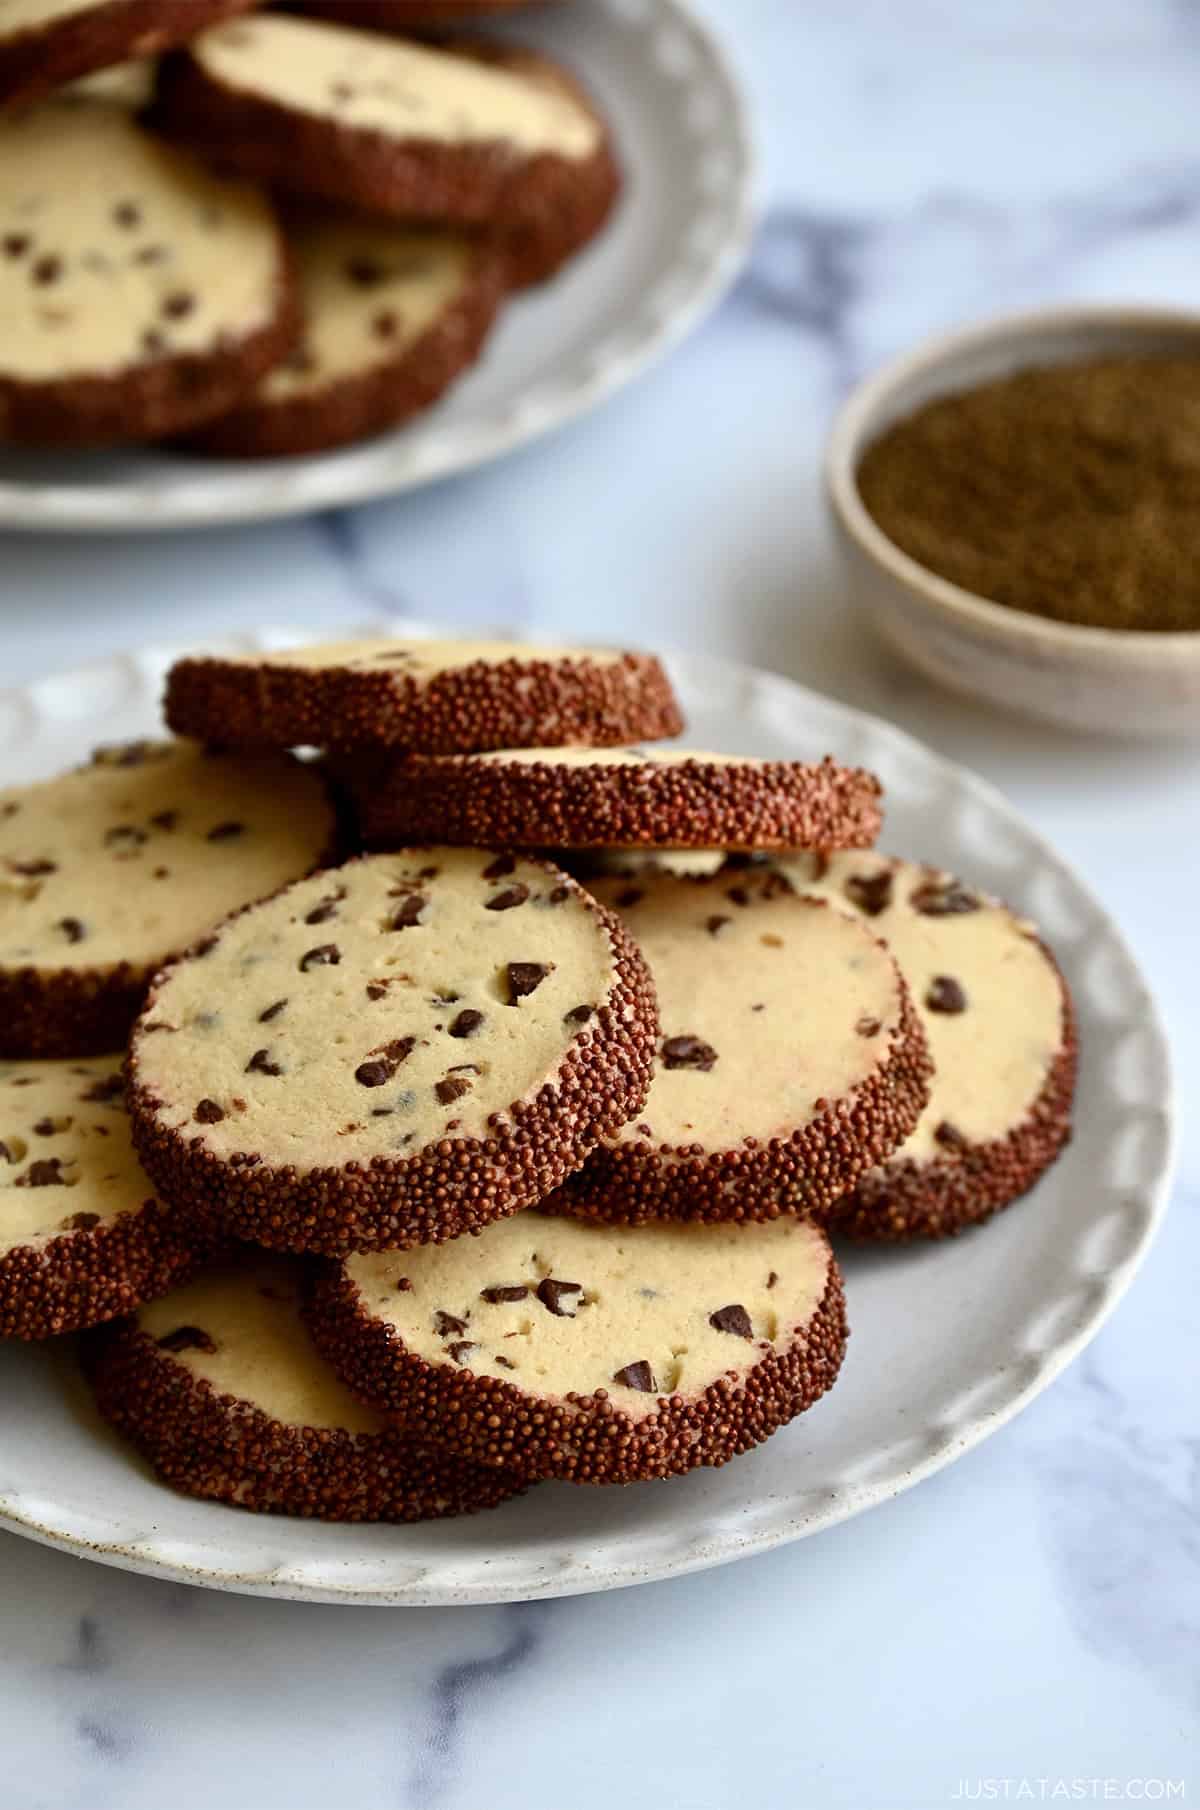
Table of Contents

What happens when you combine slice-and-bake butter cookies with classic chocolate chip cookies? You get the best of both worlds! All the soft, chewy, chocolatey goodness of your favorite cookies, without having to scoop a single ball of dough.
Also known as icebox cookies, slice-and-bake cookies are exactly what they sound like. Make the dough, roll it into logs, chill, then slice off as many cookies as you want and bake them fresh.
This dough freezes like a dream for up to 3 months, making these one of my favorite cookies to prep ahead for holiday gifting to teachers, friends and family.
Why This Recipe Works
The base dough is similar to my chewy chocolate chip cookies, toffee chocolate chip cookies and mini chocolate chip cookies (a lunchbox favorite!). You need these ingredients:
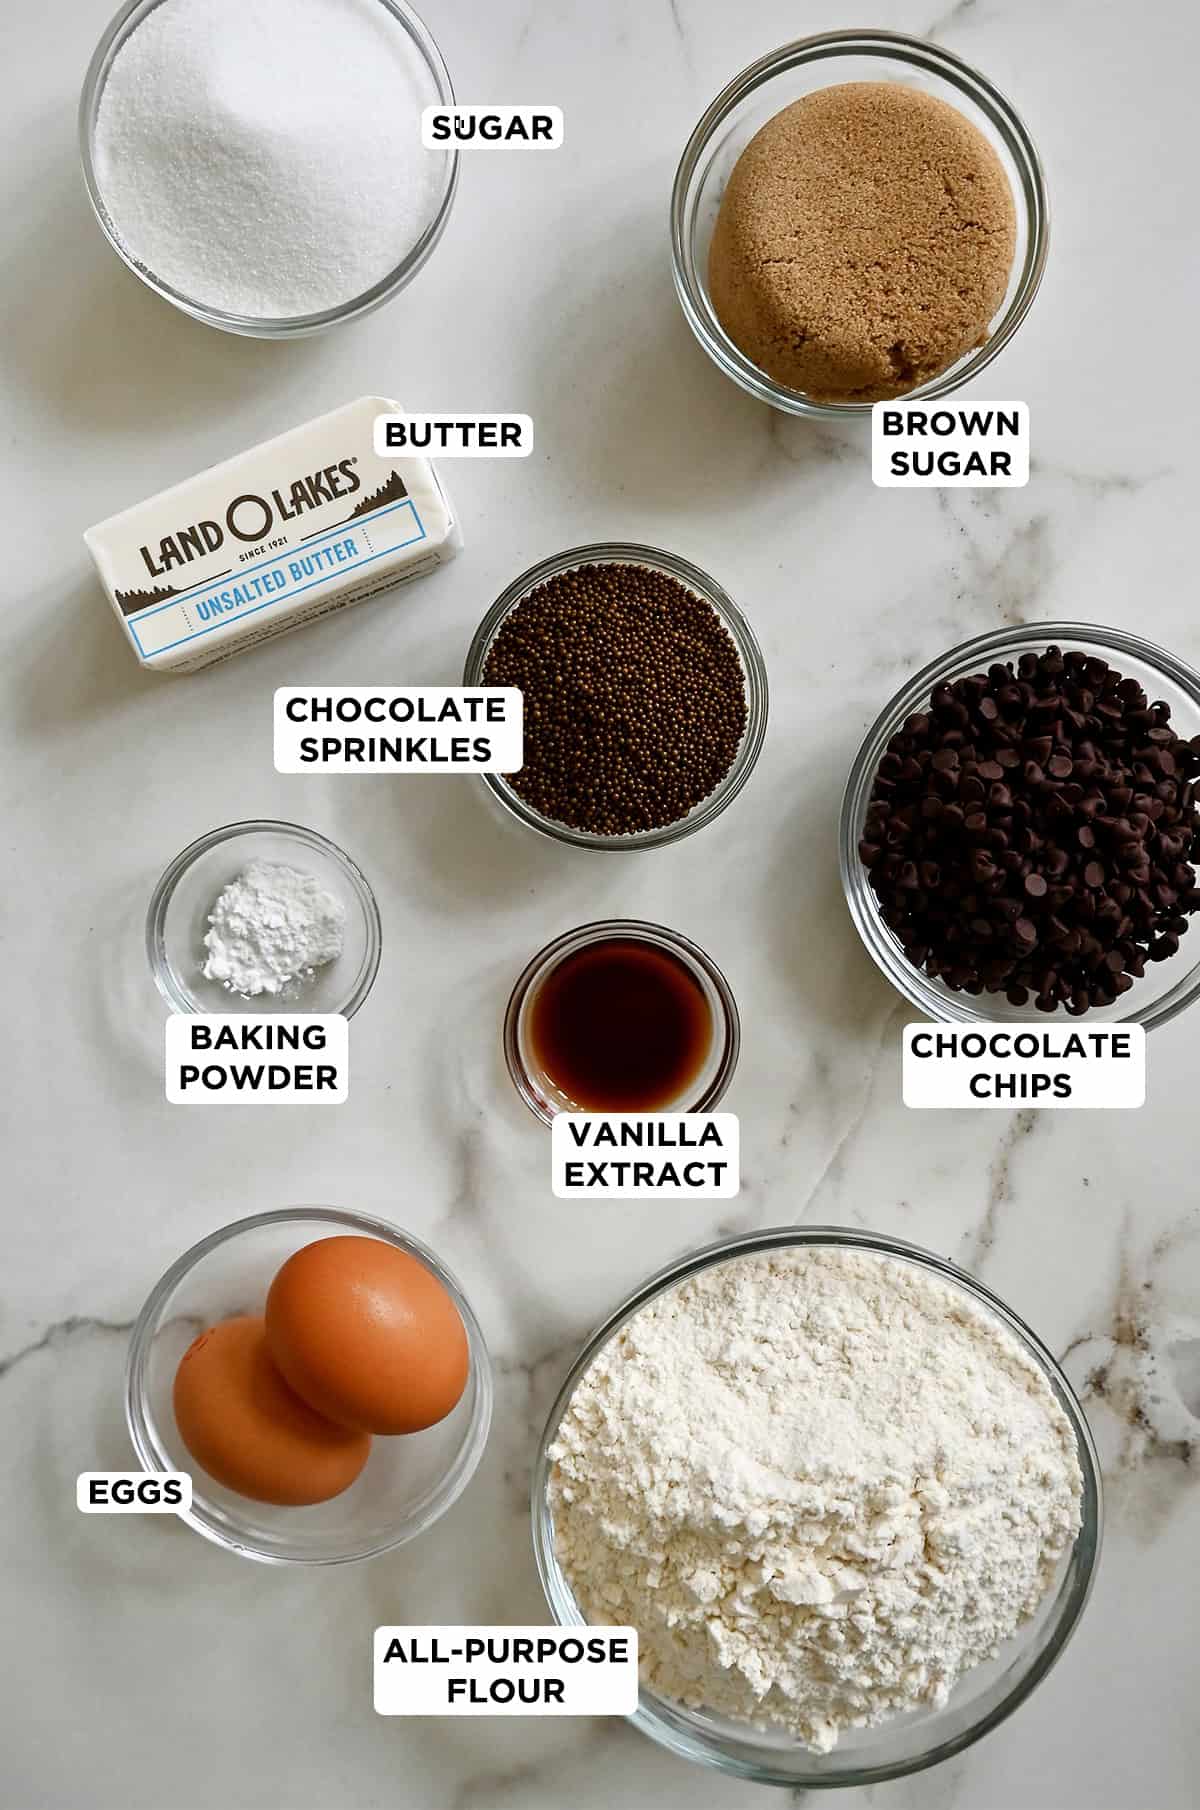
So what makes this dough ideal for slice-and-bake cookies? Three things:
- Less total sugar than my classic chocolate chip cookie dough helps limit spreading in the oven.
- Equal amounts of white and brown sugar give the cookies a balance of sweetness, chewy centers and slightly crisp edges.
- Baking powder instead of baking soda gives the cookies a little lift while helping the sliced rounds hold their shape.
Two more things before you start: Make sure your butter is softened to room temperature for easy creaming (here’s how to soften butter quickly!), and use the spoon-and-level method to measure your flour accurately.
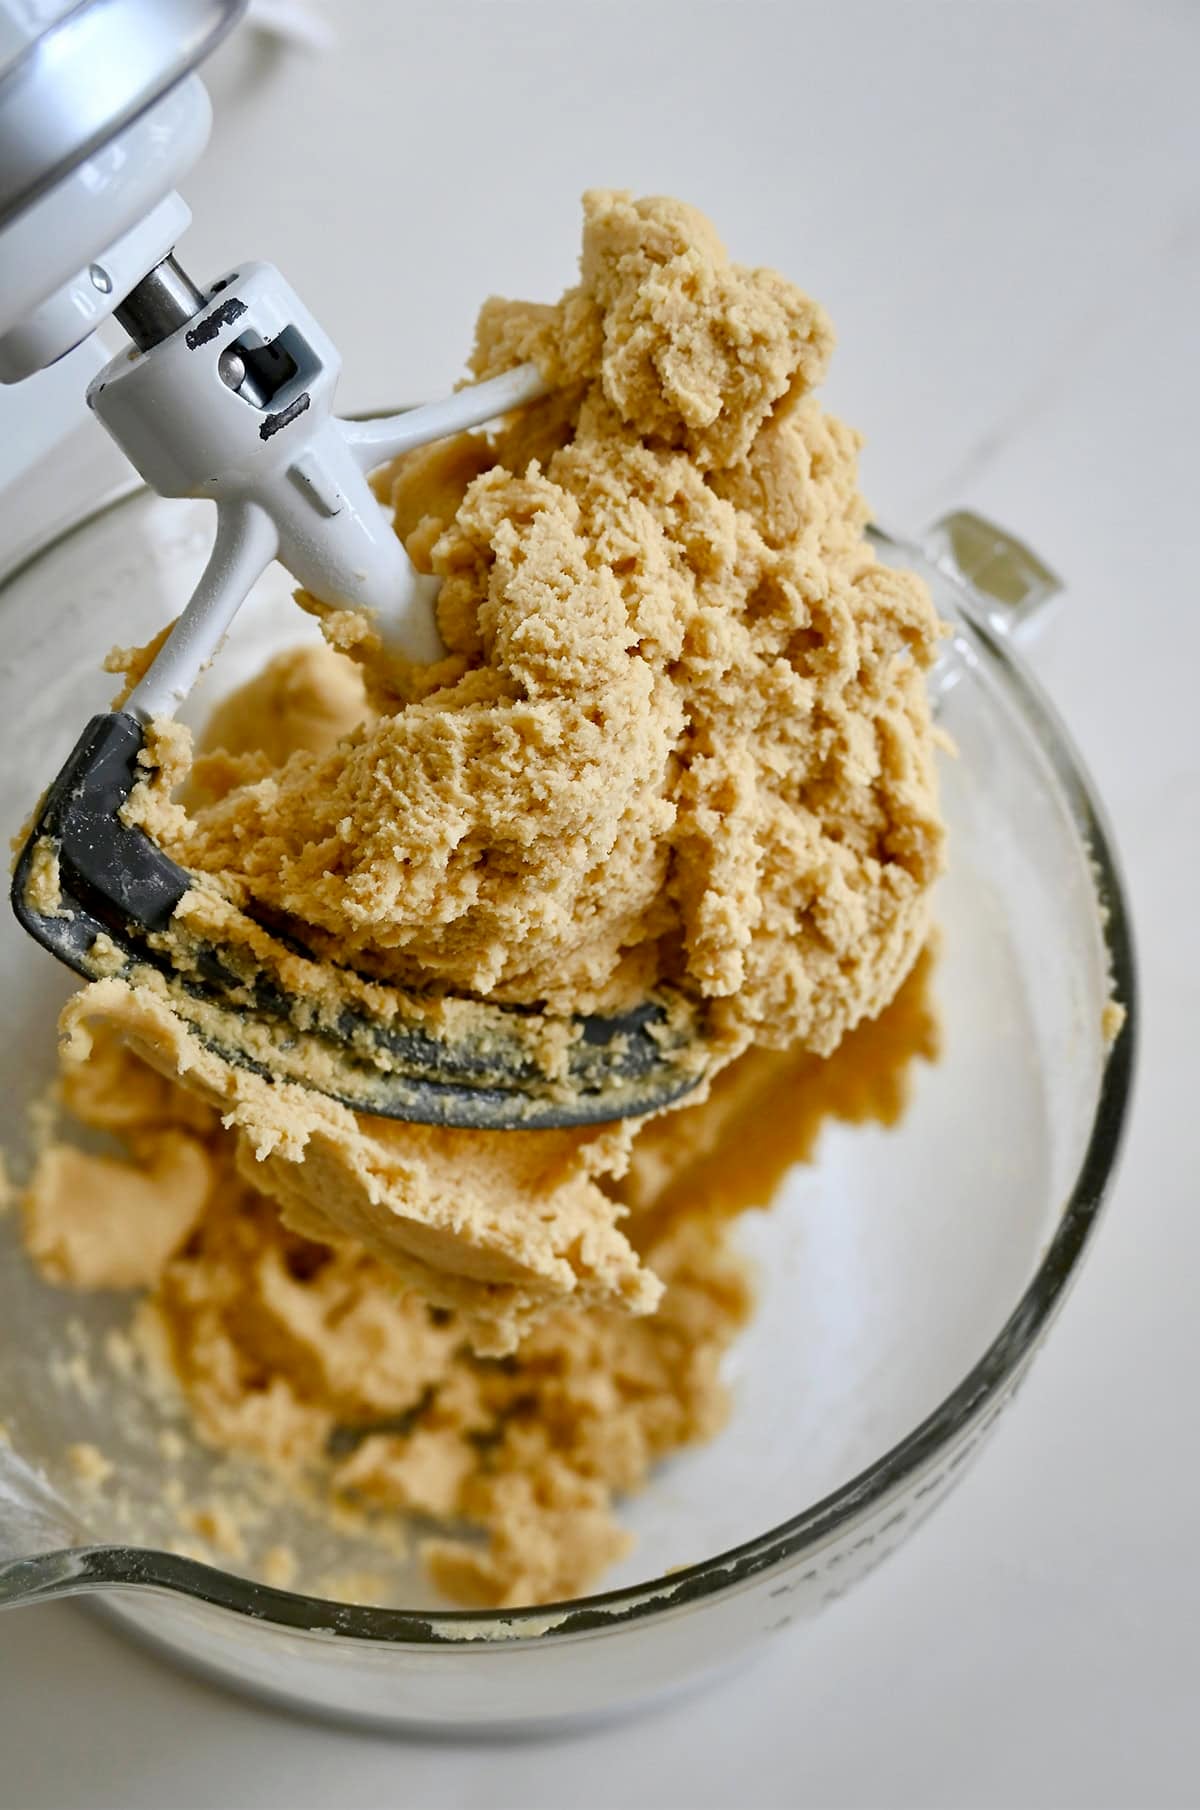
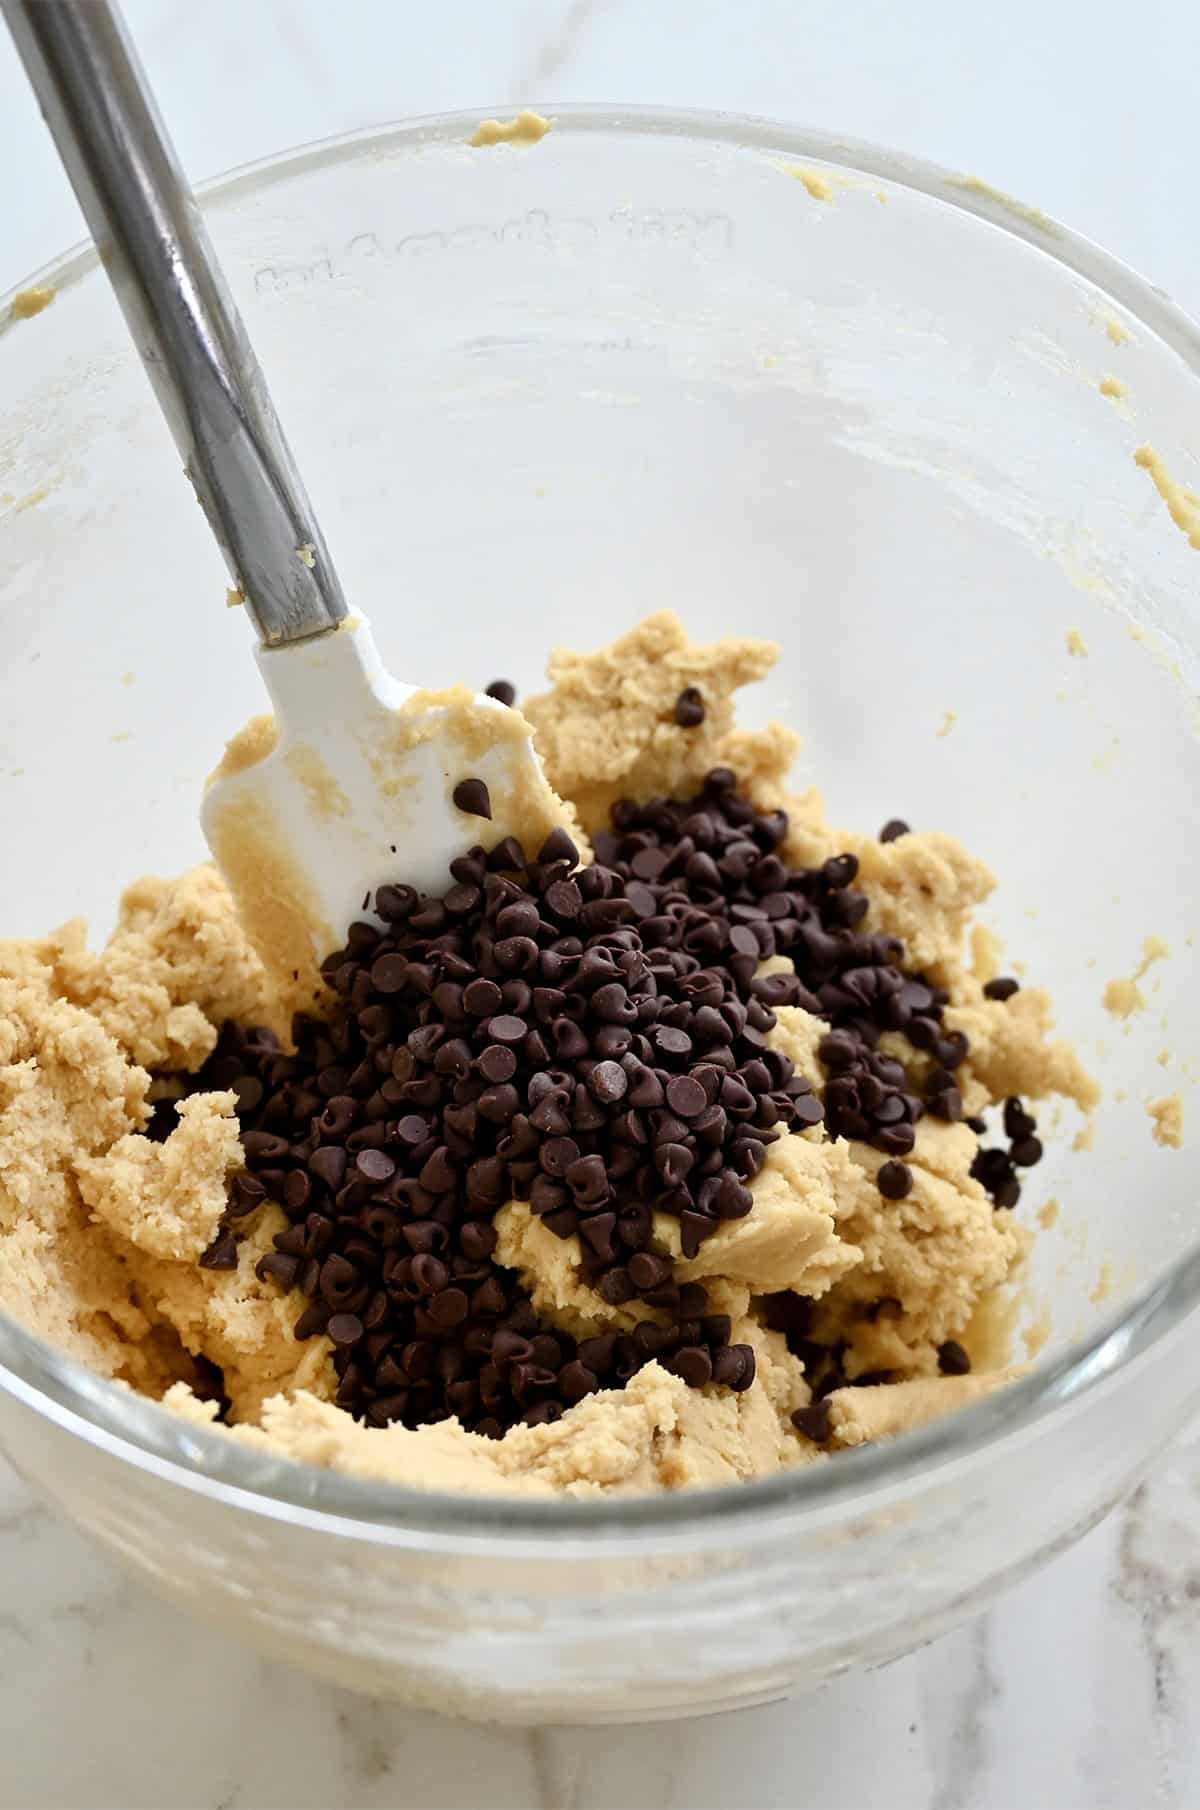
Make the Dough and Chill for 1 Hour
Once the dough is mixed and the mini chocolate chips are stirred in, divide it in half. Don’t worry if the portions aren’t perfectly even.
Turn each half out onto a sheet of plastic wrap. Use your hands to shape it into a rough log, then wrap the plastic around it and roll it on your countertop to tighten and even out the shape. You’re aiming for a log that’s about 2 inches in diameter and as round as possible. Again, it doesn’t have to be perfect. Twist the ends closed like a candy wrapper. This keeps the dough securely wrapped while it chills.
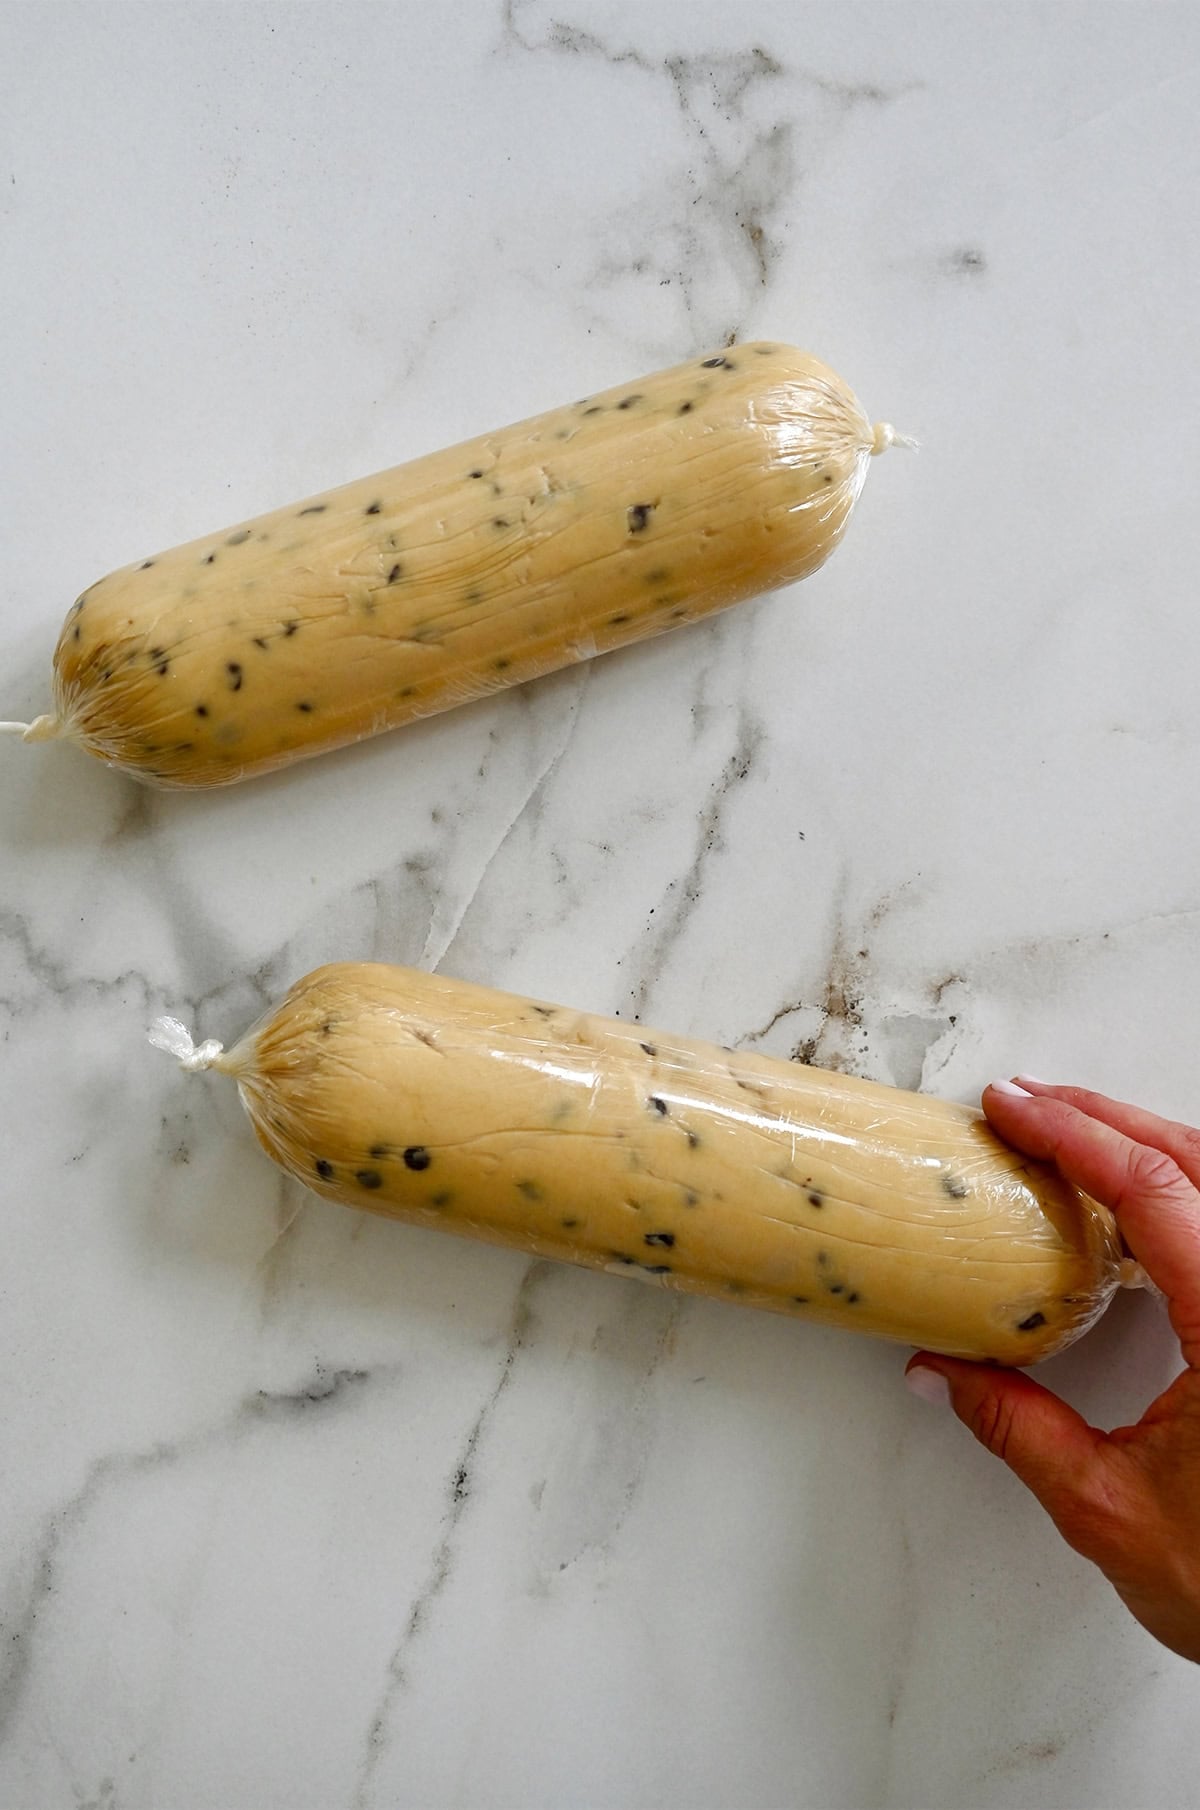
Refrigerate for at least 1 hour. The dough needs to be cold and firm before you can slice it cleanly. Here’s my trick: Instead of laying the wrapped dough logs flat in the refrigerator, I stand each one upright in a tall drinking glass. This keeps the dough from developing a flat side as it chills. Such a simple trick, but it works!
Slice and Bake the Cookies
When you’re ready to bake, spread chocolate sprinkles on a plate, then gently roll each chilled dough log in the sprinkles to coat the outside. Using a sharp knife, slice each log into 16 cookies, about ¼ inch thick.
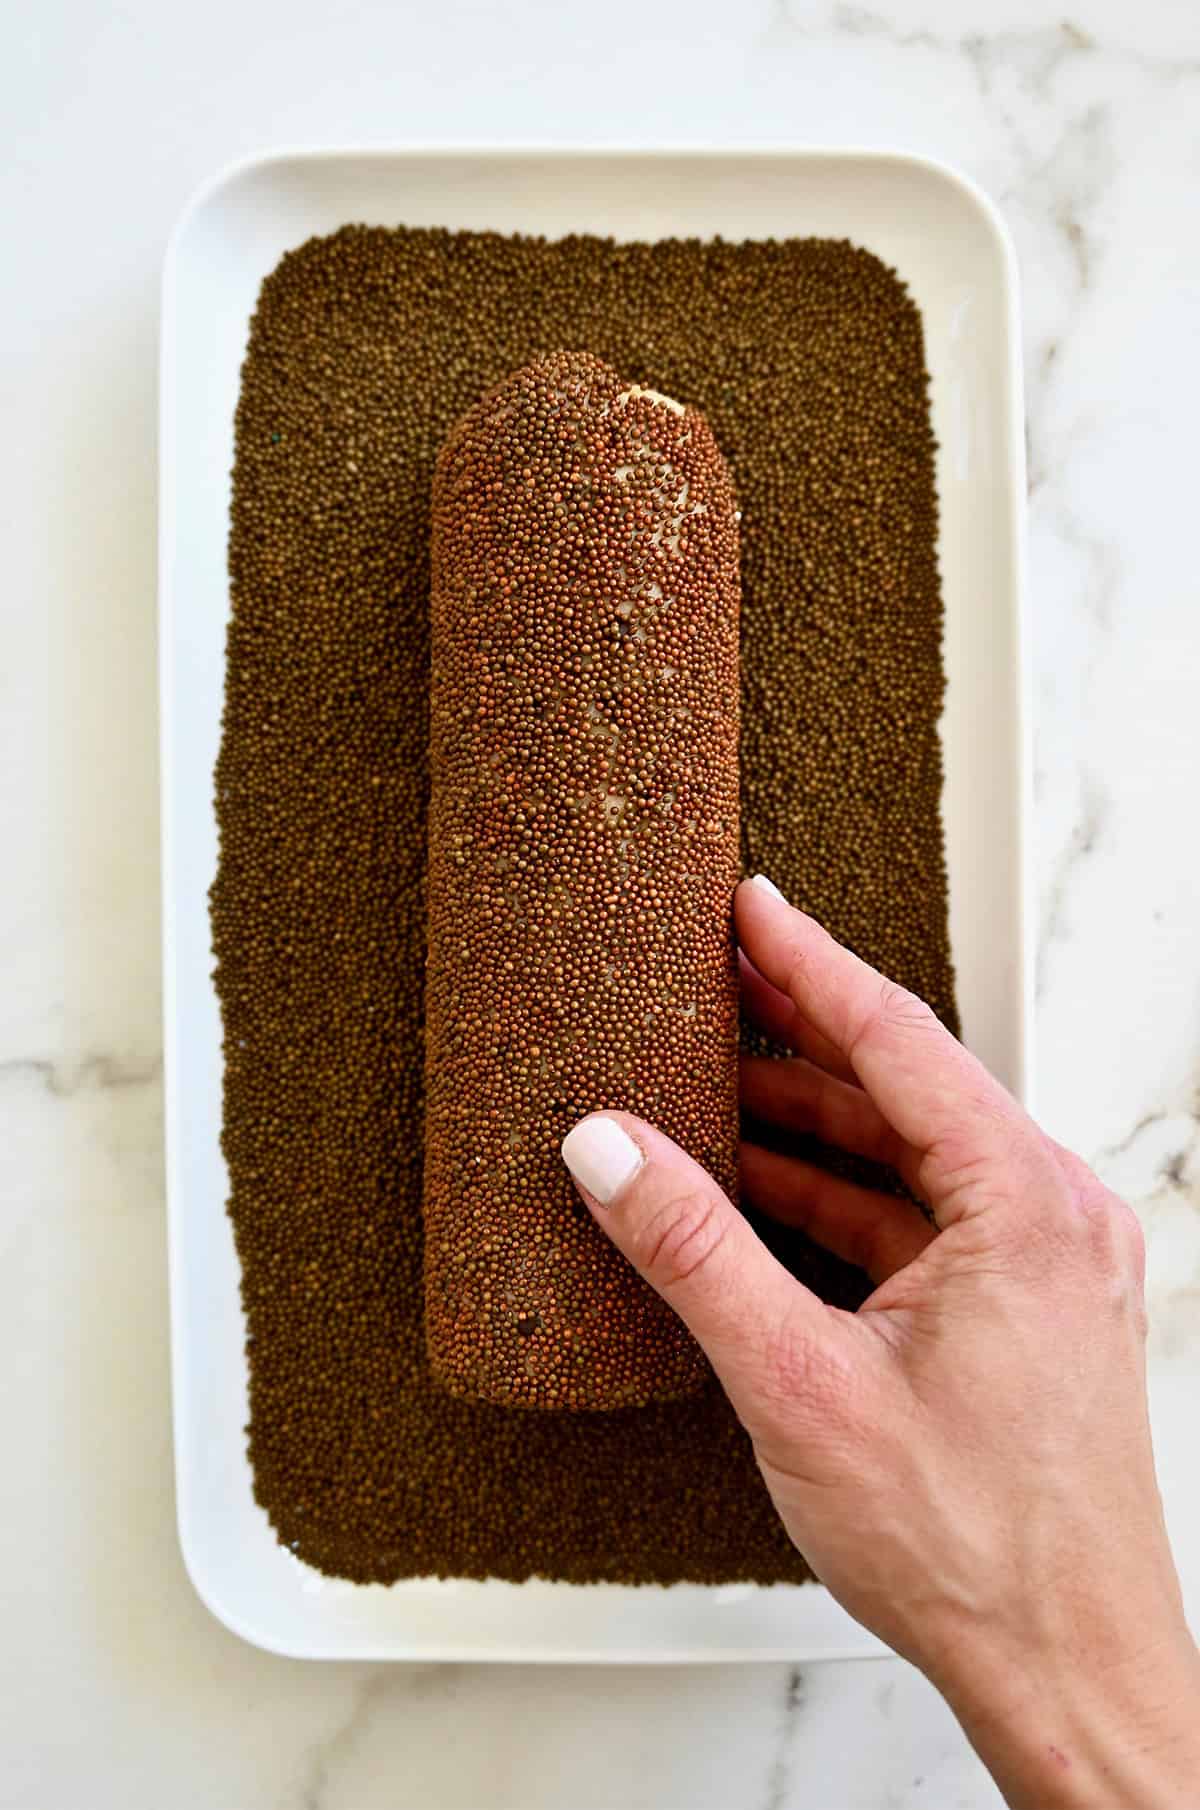
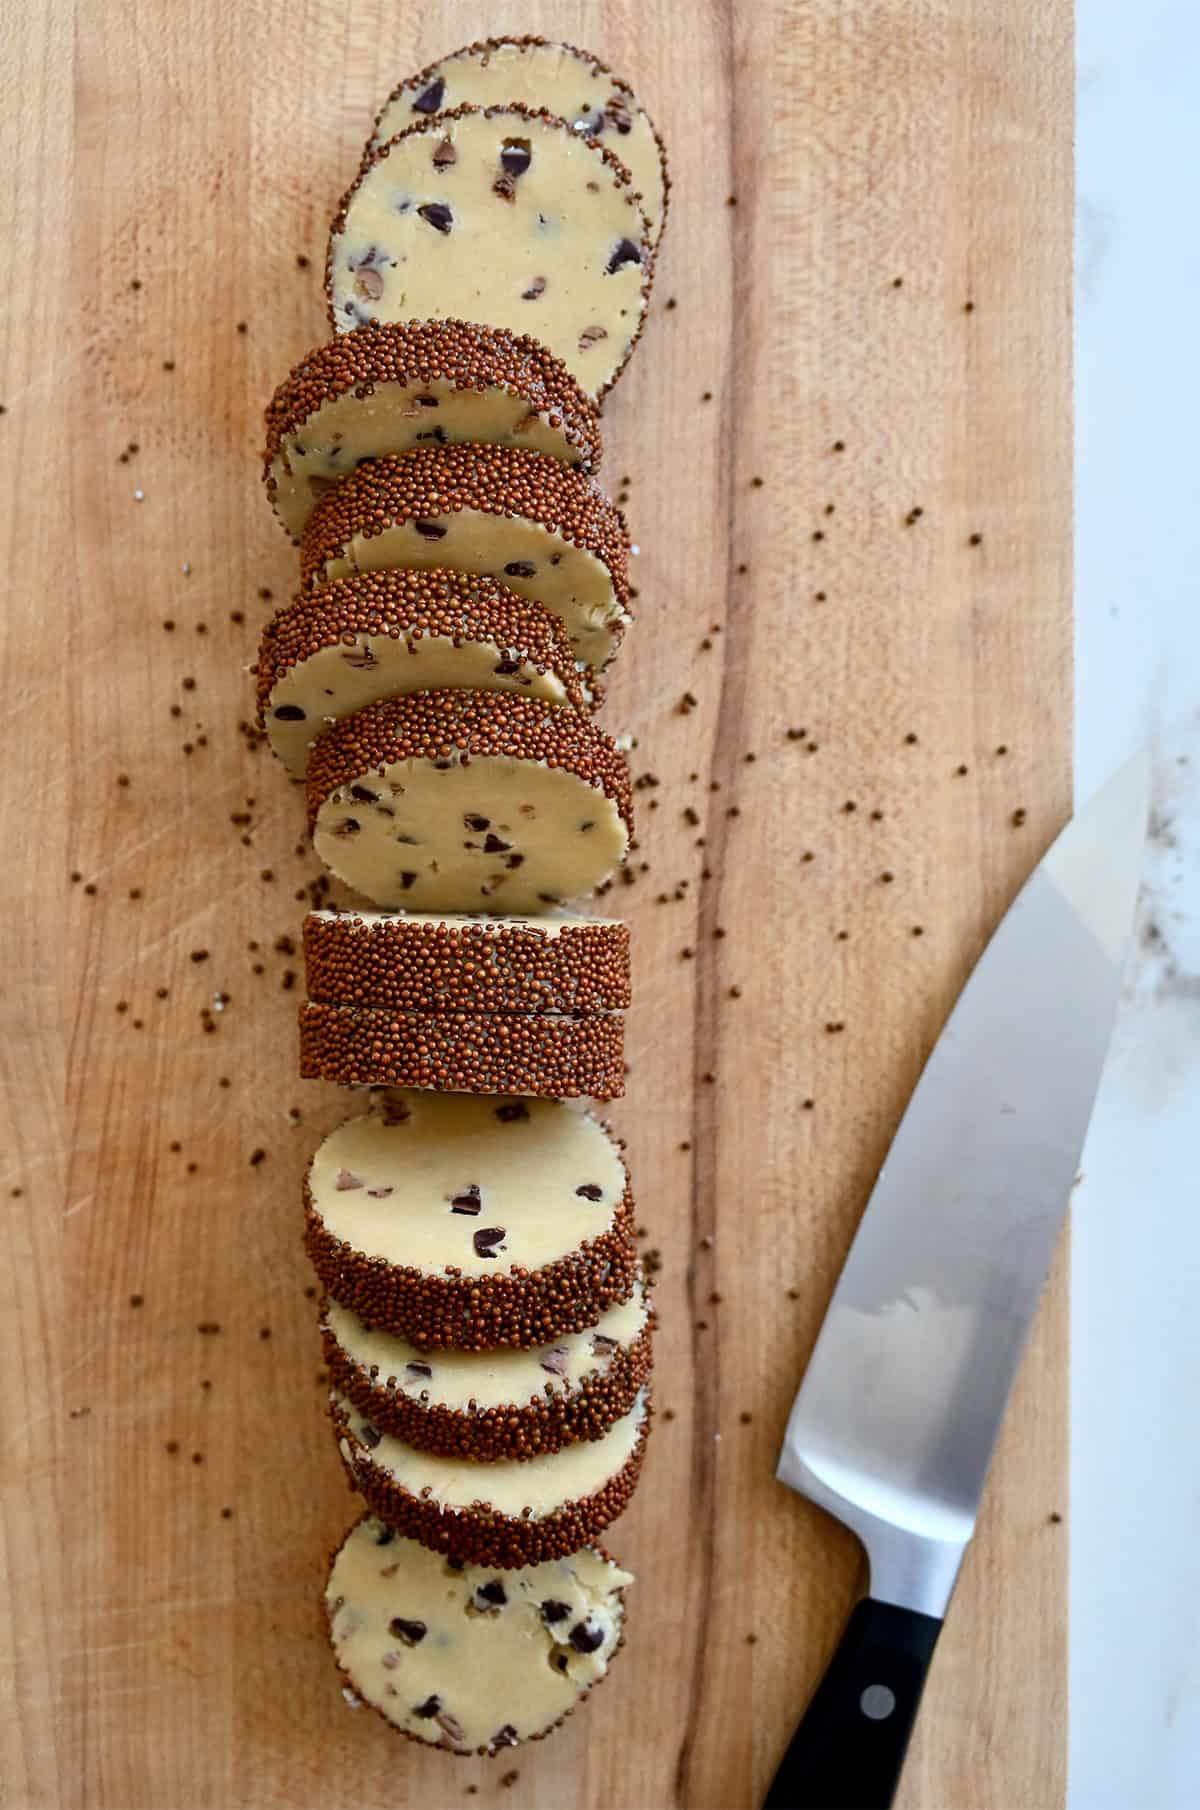
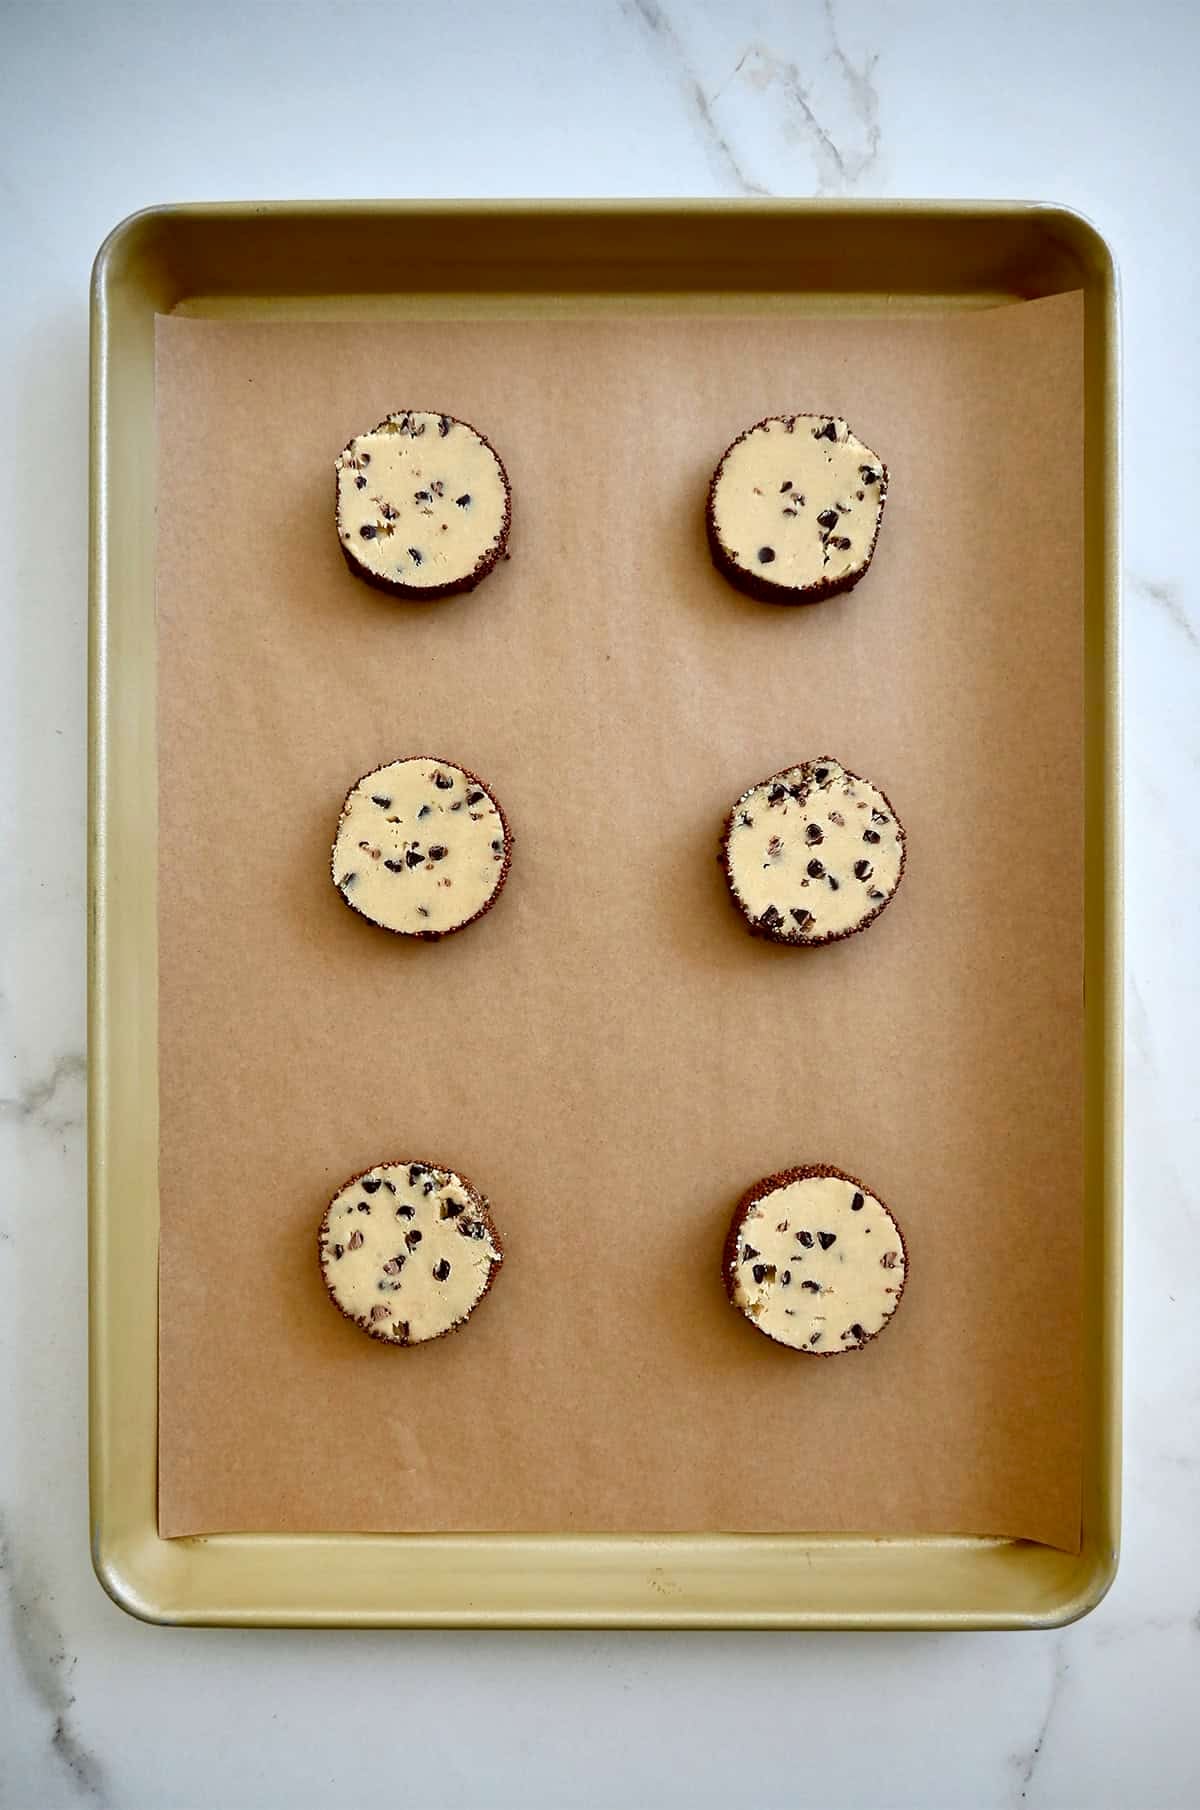
Arrange the cookies on parchment-lined baking sheets and pop them into the freezer for 10 minutes before baking. This quick chill helps the cookies hold their shape in the oven.
Bake at 350°F until the cookies are set, about 12 to 15 minutes. Let them cool on the baking sheets for 5 minutes before transferring them to a wire rack to cool completely. That’s it!
Make the Dough Now, Bake the Cookies Later
One of my favorite things about slice-and-bake cookies is that you can make the dough ahead of time, stash it in the fridge or freezer and bake fresh cookies whenever the craving strikes. They’re especially handy during the holidays, whether you’re putting together cookie boxes, entertaining last-minute guests or just want a few freshly baked cookies without starting from scratch.
The cookie dough logs can be refrigerated for up to 1 week or frozen for up to 3 months, so you can get a serious head start on holiday baking.
And if you love the convenience of slice-and-bake cookies as much as I do, don’t miss my Christmas pinwheel cookies and cinnamon roll cookies!
FAQs
They’ll look set and just barely golden at the edges but still slightly soft in the center. They firm up as they cool on the baking sheet, so don’t wait for them to look fully baked in the oven.
The most common culprits are dough that’s too warm or baking sheets that haven’t cooled between batches. Make sure the logs are thoroughly chilled before slicing, don’t skip the 10-minute freeze before baking, and always start with a cool baking sheet.
I recommend thawing the wrapped dough logs overnight in the refrigerator before slicing. Frozen dough can be difficult to cut cleanly (and safely). Once thawed, roll the logs in sprinkles, slice into rounds and follow the recipe instructions, including the 10-minute freeze before baking.
Absolutely! Rainbow nonpareils are fun and festive, coarse sugar gives a sparkly crunch, and holiday-colored sprinkles make these an easy addition to a Christmas cookie tray. I’ve even used little heart-shaped sprinkles on my pink pinwheel sugar cookies for a Valentine’s Day twist.
Ingredients
- 3 cups all-purpose flour
- 1/2 teaspoon baking powder
- 1/2 teaspoon kosher salt
- 1 cup unsalted butter, softened
- 2/3 cup white sugar
- 2/3 cup packed light brown sugar
- 2 large eggs
- 1 1/2 teaspoons vanilla extract
- 1 cup mini chocolate chips
- Chocolate sprinkles, for coating
Instructions
- In a medium bowl, whisk together the flour, baking powder and salt.
- In the bowl of a stand mixer fitted with the paddle attachment, beat the butter until smooth, about 2 minutes. Add the white and brown sugars and continue beating until the mixture is light and fluffy, about 3 minutes. Add the eggs one at a time, beating between each addition, then add the vanilla.
- Turn the mixer off. Add the flour and then beat just until combined.
- Stir in the chocolate chips.
- Divide the dough in half then shape each piece of dough into a log. Wrap each dough log securely in plastic wrap and refrigerate them for a minimum of 1 hour and up to a week.
- Remove the dough from the fridge, then roll each log in chocolate sprinkles (optional).
- Preheat the oven to 350ºF and line two baking sheets with parchment paper.
- Working with one log at a time, slice it into 1/4-inch rounds. Arrange the cookies on the prepared baking sheets, spacing them 1 inch apart. Freeze the cookies for 10 minutes.
- Bake the cookies for 12 to 15 minutes until set. Remove the cookies from the oven and let them cool for 5 minutes on the baking sheet before transferring them to a rack to cool completely. Repeat the slicing and baking process with the second log of dough.
Kelly’s Notes
- Chocolate chips: Mini chocolate chips work best because they distribute evenly throughout the dough and make the logs easier to slice.
- Sprinkles: I use chocolate nonpareils, but you can swap in rainbow nonpareils, holiday-colored sprinkles or coarse sanding sugar.
- Shaping: For perfectly round cookies, stand the wrapped dough logs upright in tall drinking glasses while they chill. This prevents them from developing a flat side.
- Make-ahead and freezing: Wrap the dough logs tightly in plastic wrap and refrigerate for up to 1 week or freeze for up to 3 months. If frozen, thaw the wrapped logs overnight in the refrigerator, then continue with step 6.
- ★ Did you make this recipe? Don’t forget to give it a star rating below!
Nutrition
Did you try this recipe?
Leave a comment below with your star rating!
This post may contain affiliate links.