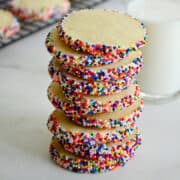
If you’re looking for the iconic butter cookie, but with a bit of rainbow sprinkle pizzaz, you’ve come to the right place! Slice-and-Bake Butter Cookies are a holiday favorite with a rich, buttery flavor and a melt-in-your-mouth consistency. Best of all, you need just 7 ingredients, all likely to be found in your fridge and pantry. They’re the perfect addition to your Christmas cookies box!
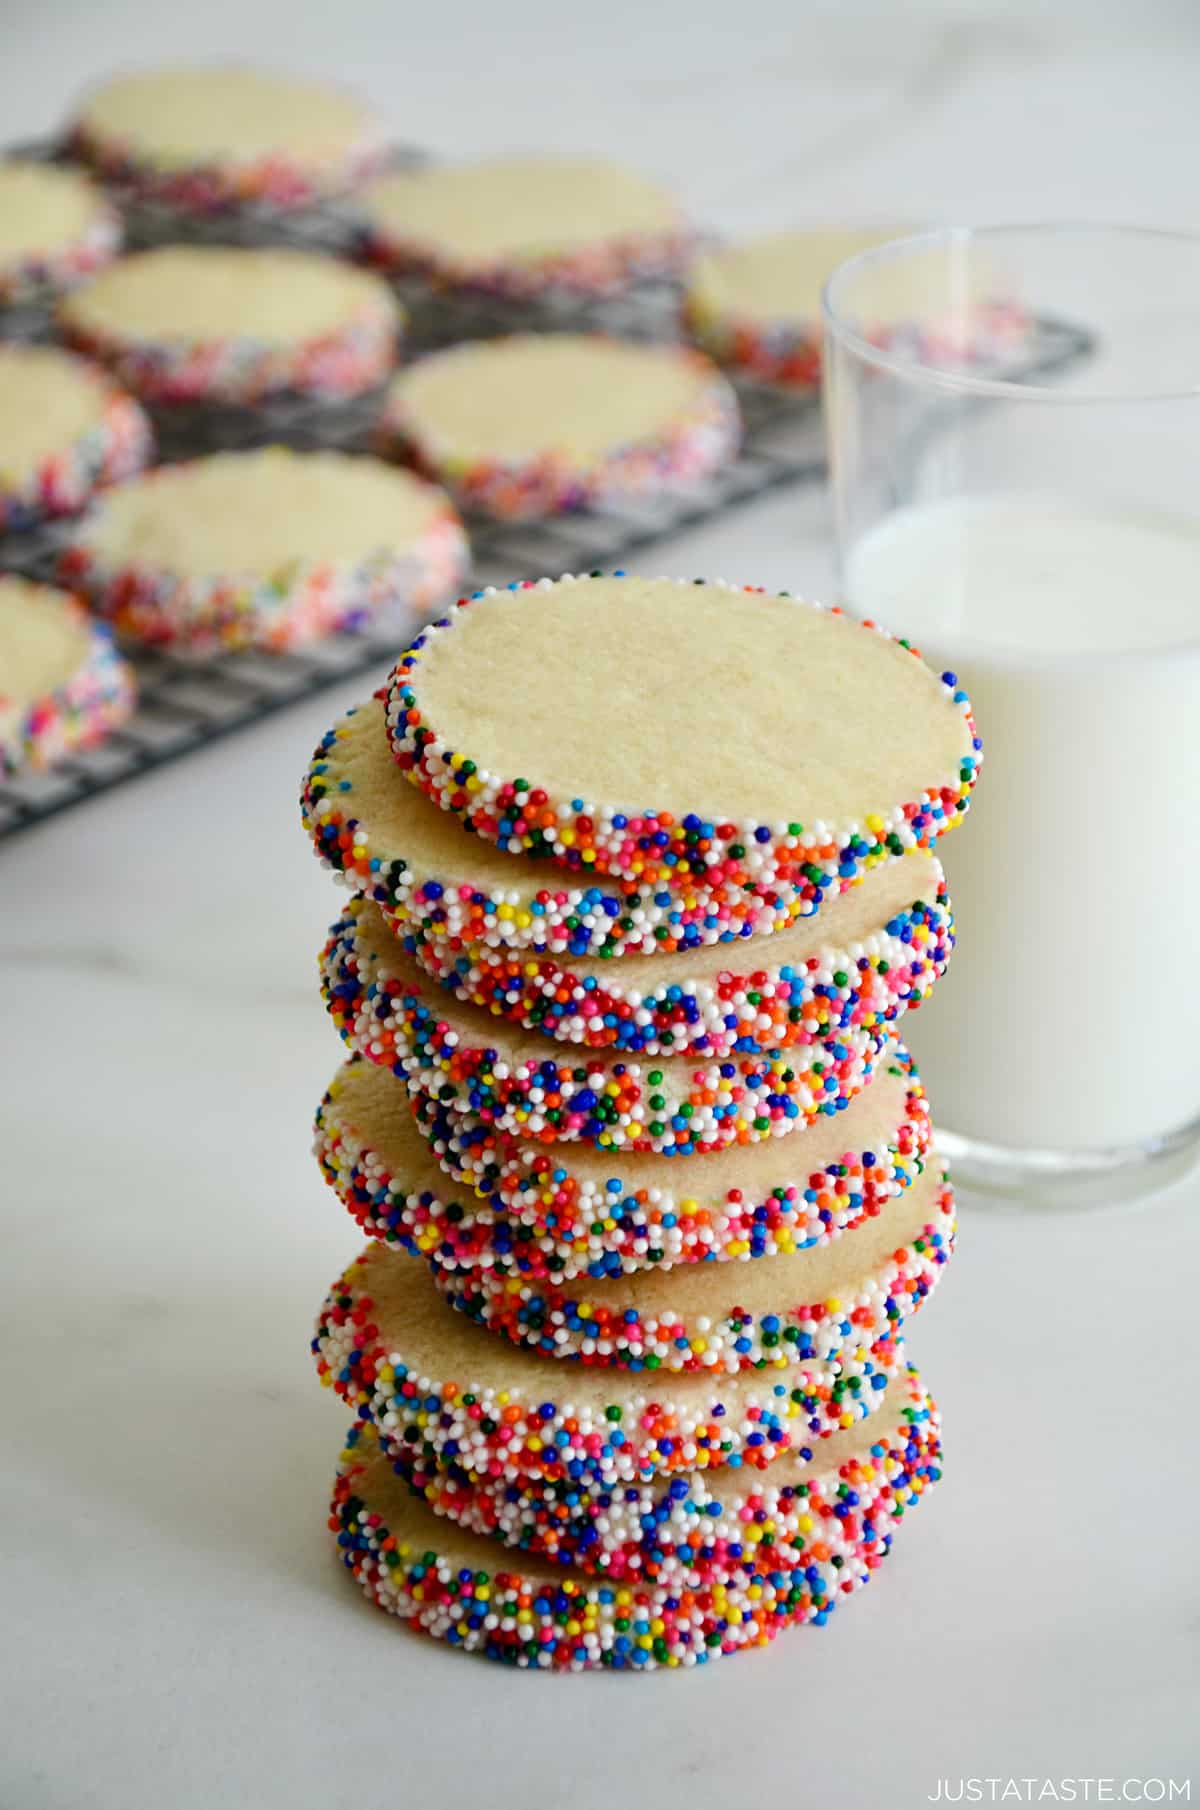
Table of Contents
If you’re looking for a delicious treat that’s easy to make and perfect for any holiday party or occasion, look no further than slice-and-bake butter cookies. They have a soft, buttery texture and delicate sweetness. Best of all, the dough can be prepped and frozen for up to 2 months.
Plus, if you want to make them extra festive, you can roll them in red and green sprinkles to add a Christmas touch. Whether you’re hosting a holiday party or looking for a delicious treat to bring to a cookie exchange, these homemade cookies are an excellent choice. They’re simple to make, easy to transport and sure to impress!
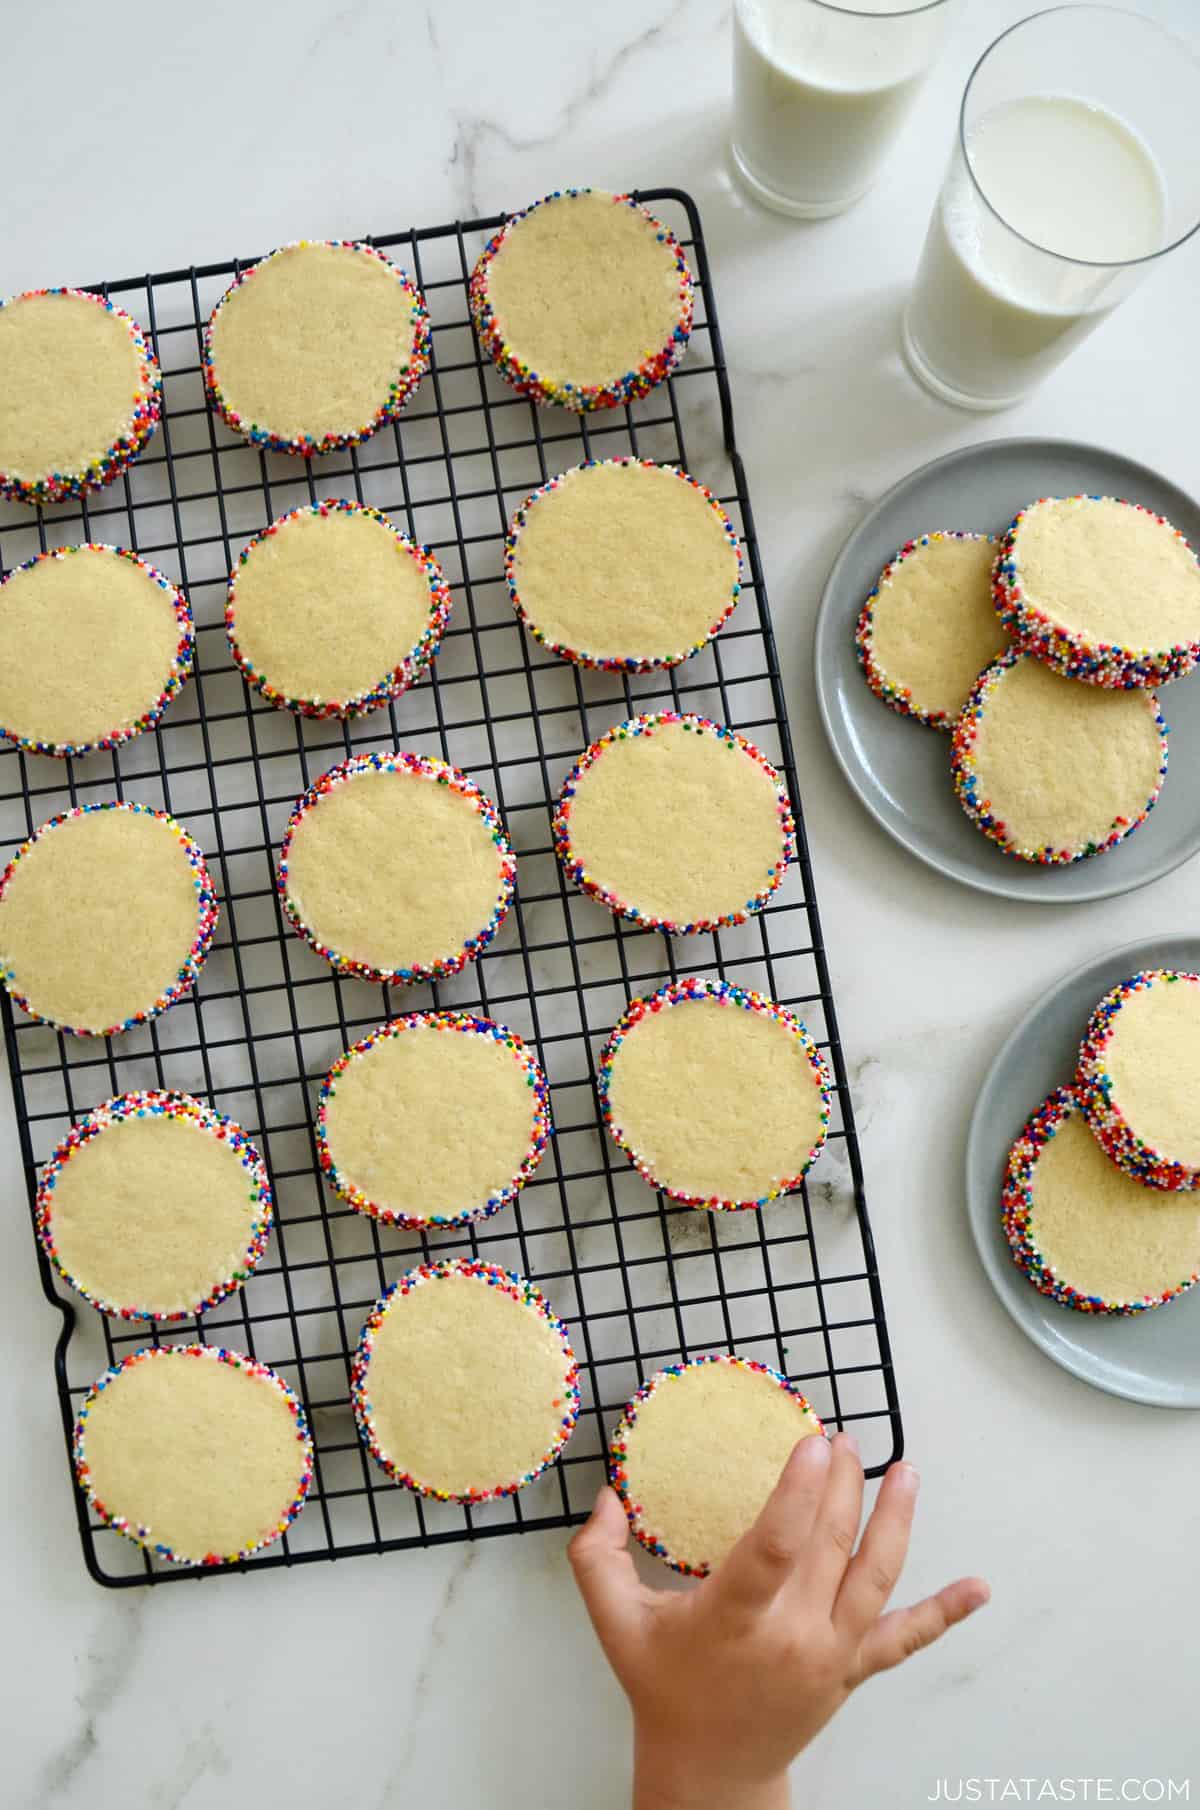
What’s to Love
- No-fuss ingredients. Everything you need is probably already in your kitchen. Flour, butter, sugar – the holy trinity of cookies!
- Buttery bliss in every bite. The star of the show? Butter, of course! These cookies celebrate the richness of butter, delivering a melt-in-your-mouth experience.
- Slice-and-bake magic. No cookie cutters, no messy rolling pins. Just shape your dough into a log, chill, slice and bake.
- Versatility at its best. Dress them up or keep them simple. Switch up the sprinkles to match any holiday or occasion, drizzle or dip in chocolate, or dust with powdered sugar – the choice is yours.
- Freezer-friendly dough. Prepare the dough months in advance and stash it in the freezer. It’s like having a secret cookie stash ready to go whenever the craving hits.
This is the same dough I use for my Christmas pinwheel cookie recipe but with a touch less vanilla extract and a reduced chill time.
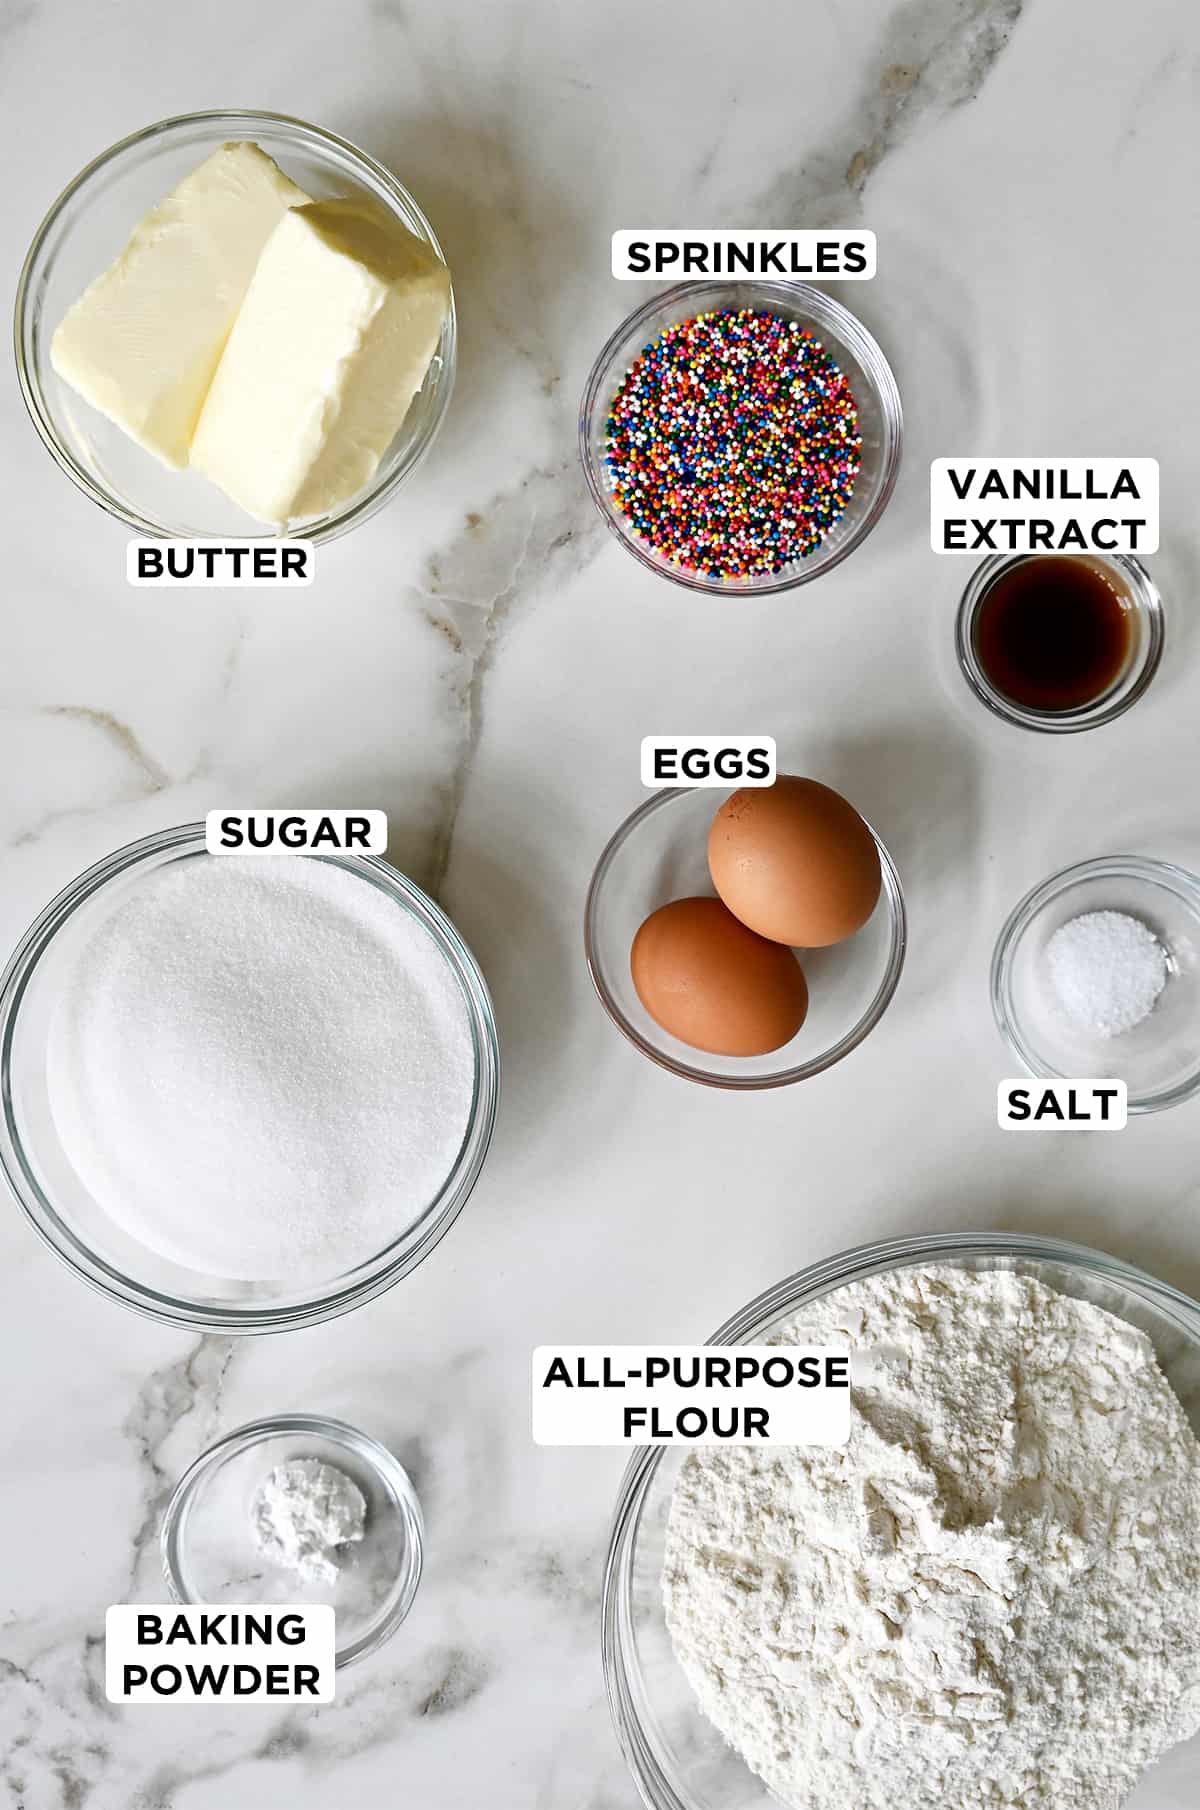
- All-purpose flour: Flour provides structure. It contains proteins that, when mixed with liquid and fat, give your cookies their texture. In this recipe, it’s the canvas that holds all the other delicious elements together.
- Baking powder: A leavening agent that adds a bit of lift to your cookies. It helps them rise and become light and airy, ensuring they don’t turn into dense, flat disks.
- Kosher salt: While a small amount, salt is a flavor enhancer. It balances the sweetness, bringing out the rich buttery taste. If you don’t have kosher salt and want to substitute with table salt, you can use approximately ¼ teaspoon of table salt as a substitute.
- Unsalted butter: The star of the show! Butter provides the rich, indulgent flavor that makes these so irresistible. It also contributes to the cookies’ tender texture.
- Sugar: Not only for sweetening, it also contributes to the structure and tenderness.
- Eggs: Act as a binding agent, holding your dough together. They also add moisture and richness to the mix.
- Vanilla extract: A flavor powerhouse! Vanilla adds a warm, sweet aroma and enhances the overall taste. Try using homemade vanilla extract.
- Sprinkles: While not a necessity, sprinkles add a pop of color and a playful crunch. Switch up the sprinkles to match any holiday or occasion!
Kelly’s Note: Feel free to experiment with flavors! Add a pinch of cinnamon, a dash of almond extract or a hint of citrus zest to give your butter cookies a unique twist.
See the recipe card for full information on ingredients and quantities.
These classic butter cookies are as easy as they are tasty. There’s just something about the process of rolling a log of butter cookie dough in a giant plate of sprinkles and then slicing the log into rounds. Share them, gift them or keep them all to yourself – I won’t judge!
- Prepare the dry ingredients. In a medium-sized bowl, sift together the flour, baking powder and salt. Set aside.
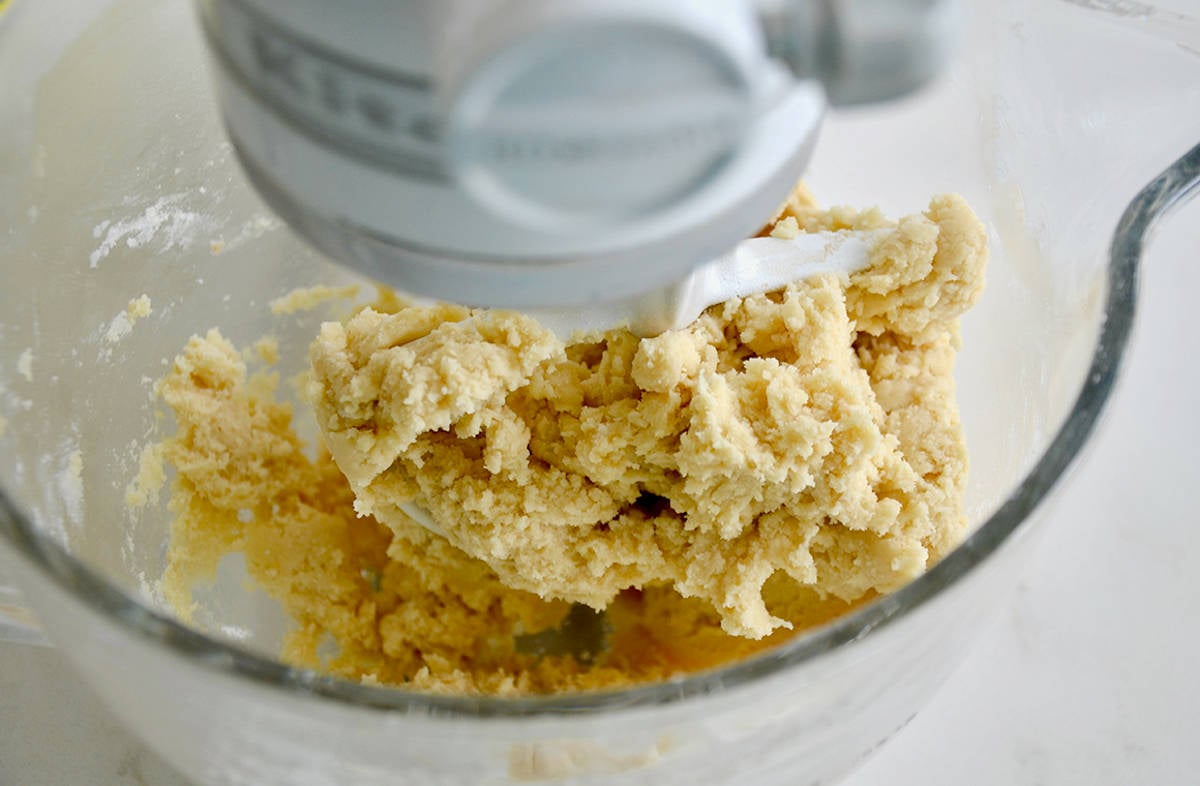
- Cream butter and sugar. In the bowl of a stand mixer fitted with the paddle attachment, beat the butter until smooth, about 2 minutes. Add the sugar and continue beating until the mixture is light and fluffy, about 3 minutes.
Pro Tip: Creaming the butter and sugar to the point where it’s light and fluffy is the key to the most tender, chewy butter cookies. I aim for about 3 minutes of beating in a stand mixer at medium speed. Whether you’re using a stand mixer or a hand mixer, the visual clue is that the mixture will look almost aerated as the sugar dissolves within the butter and fluffs up.
- Incorporate wet ingredients. Add the eggs one at a time, beating between each addition, then add the vanilla.
- Combine dry and wet ingredients. Turn off the mixer. Gradually add the sifted dry ingredients to the wet ingredients and beat just until combined, ensuring not to overmix.
- Shape and chill dough. Divide the dough in half then shape each piece of dough into a log. Wrap each dough log securely in plastic wrap and refrigerate them for 1 hour and up to a week.
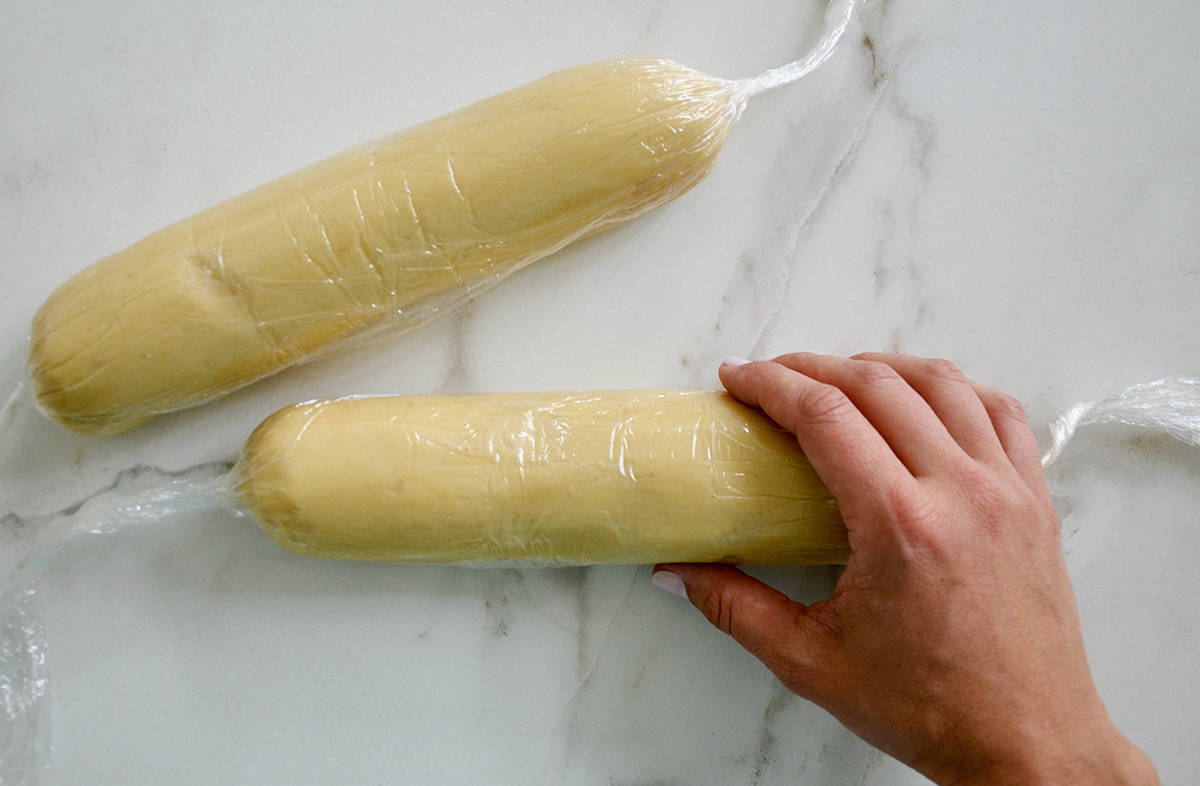
- Optional sprinkle coating. Remove the dough logs from the fridge and roll each log in sprinkles if desired, adding a festive touch to your cookies.
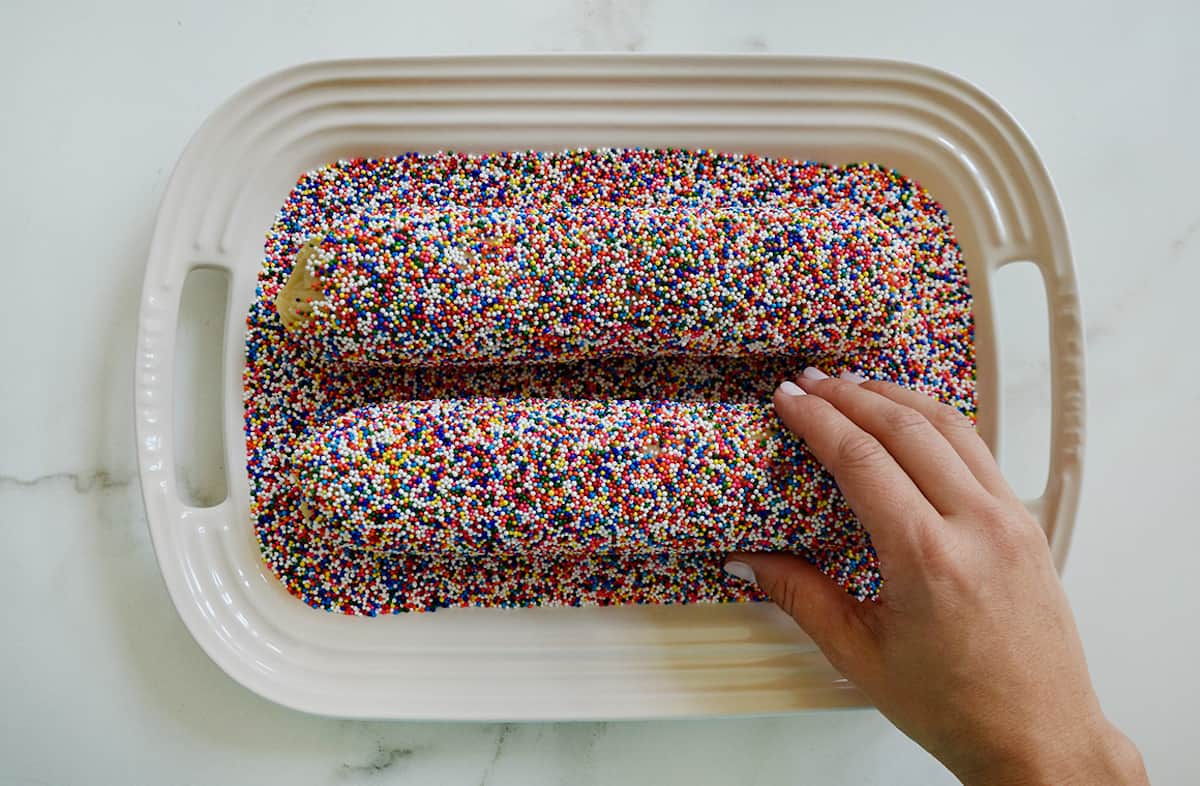
- Preheat the oven to 350ºF and line two baking sheets with parchment paper.
- Slice and freeze on baking sheets for 10 minutes. Working with one log at a time, slice into 1/4-inch rounds. Arrange the dough on the prepared baking sheets and place in the freezer. This step ensures they hold their shape during baking.
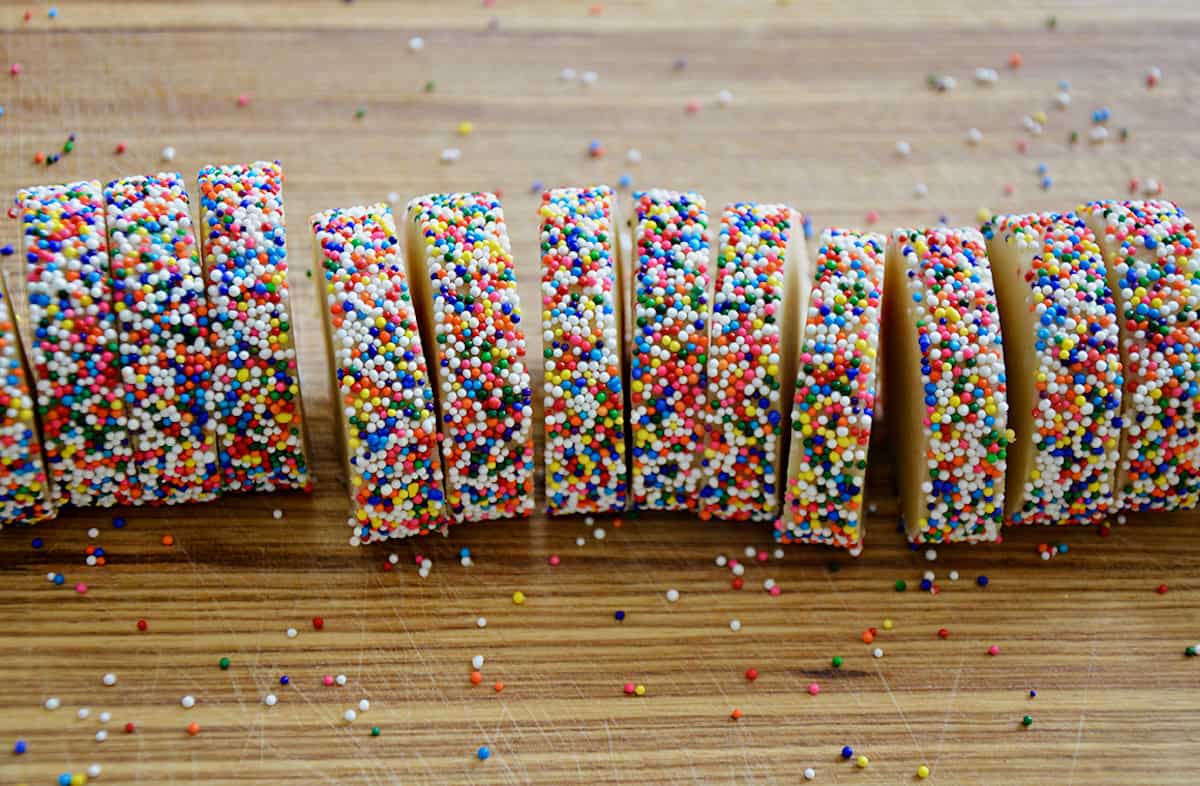
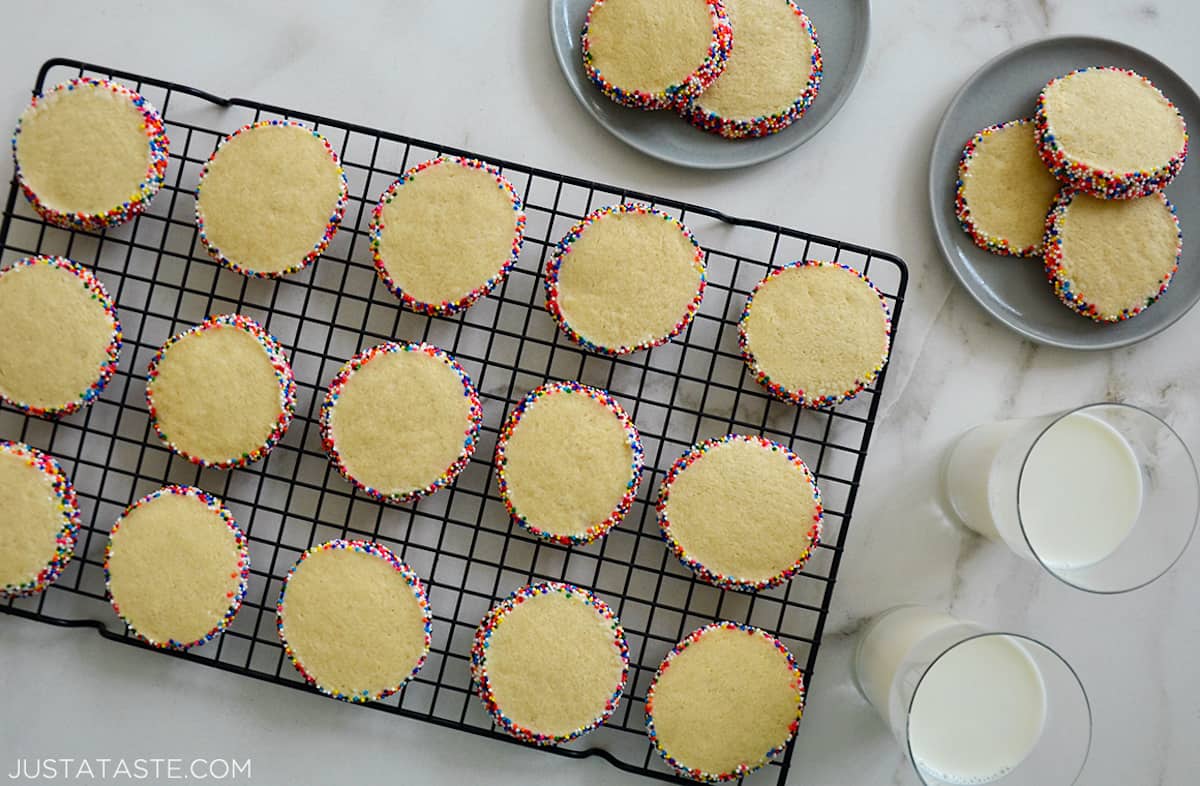
- Bake for 12 to 15 minutes until set. Remove the cookies from the oven and let them cool for 5 minutes on the baking sheet before transferring them to a wire rack to cool completely.
Pro Tip: The cookies should not get golden brown. In order to keep them soft and chewy, bake them just until set. They will continue baking on the hot baking sheet once they’re removed from the oven, so when in doubt, underbake them.
- Repeat the slicing and baking process with the second log of dough.
How to Cleanly Slice Butter Cookies
Similar to my cinnamon roll cookies, this cookie is very butter-centered, which means the warmer the dough gets, the harder it will be to slice. In order to get nice clean rounds, chill your sprinkle-studded dough in the fridge or freezer until it is completely firm throughout.
With your dough sufficiently chilled, it’s then time to grab your sharpest (non-serrated) chef’s knife and let the slicing begin!
How to Bake Cookies So They Are Soft
I am Team Soft and Chewy when it comes to all types of cookies (chocolate chip in particular!). In order to achieve this texture and steer clear of all things crispy, it’s important to understand the importance of underbaking your cookies. I repeat: Underbaking!
I pull my cookies from the oven when the centers are just barely set and they still appear partially unbaked. I then let them cool completely (this is the most important part!) on the piping-hot baking sheets outside the oven. This method of underbaking and then letting the cookies rest on the hot baking sheets will ensure you have soft and chewy slice-and-bake butter cookies every single time!
- Sift Your Dry Ingredients: Sifting the dry ingredients is essential to remove lumps, aerate the mixture for a lighter texture and ensure even distribution of leavening agents. This process enhances the overall quality and flavor of the delicate homemade butter cookies.
- Use Room-Temperature Butter: Just like my recipe for candy cane cookies, it’s essential for the butter to be softened before creaming it with sugar. You can determine if the butter has reached room temperature by lightly pressing your finger into it. It should leave a slight indentation without feeling warm to the touch. Soft butter incorporates more air, resulting in a lighter texture.
- Chill Your Dough: Don’t skip this step! It solidifies the fats in the dough, preventing your cookies from spreading too much during baking. It also enhances flavor and texture.
- Avoid Overmixing: Once you add the dry ingredients, mix only until combined. Overmixing can lead to dense cookies. Stop as soon as the ingredients are blended.
- Freeze Before Baking: After slicing the dough into rounds, freeze the cookies for a short period before baking. This helps them maintain their shape and results in a thicker, chewier texture.
- Quality Ingredients: Use high-quality ingredients, especially butter and vanilla extract. Quality ingredients contribute to the overall flavor and richness of your slice-and-bake cookies.
Making Dough Ahead of Time
What I love about this recipe is that the dough can be stashed in the fridge for up to a week or in the freezer for up to 2 months. To freeze, simply shape the dough into logs, wrap them tightly in plastic wrap and freeze. Before baking, allow the frozen dough to thaw in the refrigerator. This simple step ensures that you can enjoy freshly baked cookies whenever the craving strikes!
Storing Baked Cookies
After baking, store butter cookies in an airtight container at room temperature for up to a week. Ensure the container is sealed tightly to prevent air exposure, which can lead to staleness. Layering cookies with parchment paper helps maintain their appearance.
Freezing Baked Cookies
To freeze baked cookies, place them in a single layer on a tray and freeze until solid. Once frozen, transfer the cookies to a freezer bag or airtight container with parchment paper between layers. Frozen cookies can be stored for several weeks. Thaw them at room temperature for a few hours or in the refrigerator overnight before serving.
Common Recipe Questions
It’s the most common question when it comes to this classic recipe, precisely because the star ingredient is in the title itself: butter! The general rule is that you should always use unsalted butter to control the amount of salt. It’s an obvious but important point that it’s always easier to add salt than to take it away. When in doubt, use unsalted butter!
This could be due to the butter being too soft or not chilling the dough long enough. Ensure your butter is at the right temperature and follow the chilling instructions in the recipe.
- Christmas Pinwheel Cookies
- The Best Cutout Sugar Cookies
- Chocolate Thumbprint Cookies
- Soft M&M Cookies
- Donna Kelce’s Best Chocolate Chip Cookies

Ingredients
- 3 cups all-purpose flour
- 1/2 teaspoon baking powder
- 1/2 teaspoon kosher salt
- 1 cup unsalted butter
- 1 1/3 cups sugar
- 2 large eggs
- 1 1/2 teaspoons vanilla extract
- Sprinkles, for coating (optional)
Instructions
- In a medium bowl, sift together the flour, baking powder and salt.
- In the bowl of a stand mixer fitted with the paddle attachment, beat the butter until smooth, about 2 minutes. Add the sugar and continue beating until the mixture is light and fluffy, about 3 minutes. Add the eggs one at a time, beating between each addition, then add the vanilla.
- Turn the mixer off. Add the flour and then beat just until combined.
- Divide the dough in half then shape each piece of dough into a log. Wrap each dough log securely in plastic wrap and refrigerate them for a minimum of 1 hour and up to a week. (See Kelly’s Notes.)
- Remove the dough from the fridge, then roll each log in sprinkles (optional).
- Preheat the oven to 350ºF and line two baking sheets with parchment paper.
- Working with one log at a time, slice it into 1/4-inch rounds. Arrange the cookies on the prepared baking sheets, spacing them 1 inch apart. Freeze the cookies for 10 minutes.
- Bake the cookies for 12 to 15 minutes until set. (See Kelly’s Notes.) Remove the cookies from the oven and let them cool for 5 minutes on the baking sheet before transferring them to a wire rack to cool completely. Repeat the slicing and baking process with the second log of dough.
Kelly’s Notes
- The dough can be stored securely in plastic wrap in the fridge for up to 1 week or in the freezer (in a sealable plastic bag) for up to 2 months.
- The cookies should not get golden brown. In order to keep them soft and chewy, bake them just until set. They will continue baking on the hot baking sheet once they’re removed from the oven, so when in doubt, underbake them.
- After baking, store butter cookies in an airtight container at room temperature for up to a week. Ensure the container is sealed tightly to prevent air exposure, which can lead to staleness. Layering cookies with parchment paper helps maintain their appearance.
- ★ Did you make this recipe? Don’t forget to give it a star rating below!
Nutrition
Shoutout
Did you try this recipe?
Share it with the world! Mention @justataste or tag #justatasterecipes!
This post may contain affiliate links.






If freezing the dough should we roll the dough and sprinkles before freezing or after?
Hi Patty – Yes, you’ll want to follow the instructions for when to roll the dough in the sprinkles, even if you freeze the log. If you wait until it’s frzoen to add the sprinkles, they won’t adhere as well :) Hope this helps!
These look delicious.
Such a simple cookie but SO DELICIOUS, has a great butter flavor! I love how you can change the sprinkles up to match different party themes and holidays.
I couldn’t agree more, Diana!
I make them I rolled them and check them in the freezer and when my grandsons come over, I pop them in the oven always fresh, and I always get smiles These cookies brought joy to my grandsons and I thank you
Lila
So glad you all are enjoying the recipe, Lila!
My men love these ans I do too. Soft, flavourful and easy to mix, cut and bake. I split dough in half and baked off as needed. Thank you.
I’m happy to hear that you enjoy the recipe, Deby!
When you put the sliced cookies in the freezer for 10 minutes- do they need to be on the pan you plan to bake them on? Or can I put them on a tray instead (so they fit)?
No need, Katie! You can save space by putting them close together on a smaller plate or tray and then transferring the chilled cookies to your preferred baking sheets.
Simple recipe & so yummy! Thank you! And I appreciate the smaller-sized photos! I try to keep recipe print-outs limited to one sheet of paper, so thanks very much for simplifying my life! Love your recipes, Kelly!
I’m so thrilled to hear that you enjoy the recipe, Frannie! And that you find the recipe print-outs to be user friendly! Thank you!
These cookies are winners!!
It’s harder than it looks to get the sprinkles evenly on the roll, but other than that these are tasty and so convenient to just be able to slice and bake!
I’m thrilled to hear that you enjoyed the recipe, Susan!
OMG these are so easy and so good!! I made these the other day for a friend and I nearly ate half of them before I got them to her. I will be making more of these this weekend.
I’m so thrilled you enjoyed the recipe, Amy!
This is my second year making these, everyone loves them! My son not crazy about hard sprinkles, but grands love them, so I did half in red, green and white softer sprinkles. Also, I made dough a week ahead. Wrapped as directed and froze in plastic bag. I made 4 logs instead of 2….. made cookies smaller but that is a good thing for Christmas cookies. Will be one I make yearly! Might do for Valentine’s Day trying to shape as hearts with red sprinkles.
This is what I love to read, Rosie! I’m so thrilled you’ve been enjoying the recipe!
These are my new favorite cookie! They are so light and delicious. I like that they are not super sweet. Thank you for all of the tips throughout the process.
You are so welcome, Lori! I’m thrilled you enjoyed the recipe!
They just came out of the oven! So good, so buttery, and the crunch of the HolidaySprinkles completes the taste! I am using Irish Kerrygold butter in my cookies this year, what a difference!
I just want to try to make a little smaller next time. I think that’s a good idea if you are making many different kinds.
Woohoo! I’m so thrilled you enjoyed the recipe, Rosie!
Absolutely obsessed with these cookies! They’re going to make the perfect addition to my cookie box this year. Thank you!
I’m so thrilled to read this, Lana! Happy holidays!
Kelly – are the logs rolled in the sprinkles prior to refrigerating or freezing; or afterwards when getting ready to bake? Thank you Anna
Hi there! They’re refrigerated before and after :)
Do you have any recommendations for baking these at altitude?
Hi Sarah! I haven’t tried this specific recipe at high altitude, but I do have an awesome High Altitude Chocolate Chip Cookies recipe that is fool-proof. Feel free to search for it in the search bar!