Ditch the pre-made crusts in favor of the best homemade graham cracker crust made with just 3 ingredients! It comes together in minutes, delivers extra flavor, and works for both baked and no-bake desserts. Once you’ve made (and tasted!) a graham cracker crust from scratch, you’ll never go back to store-bought.
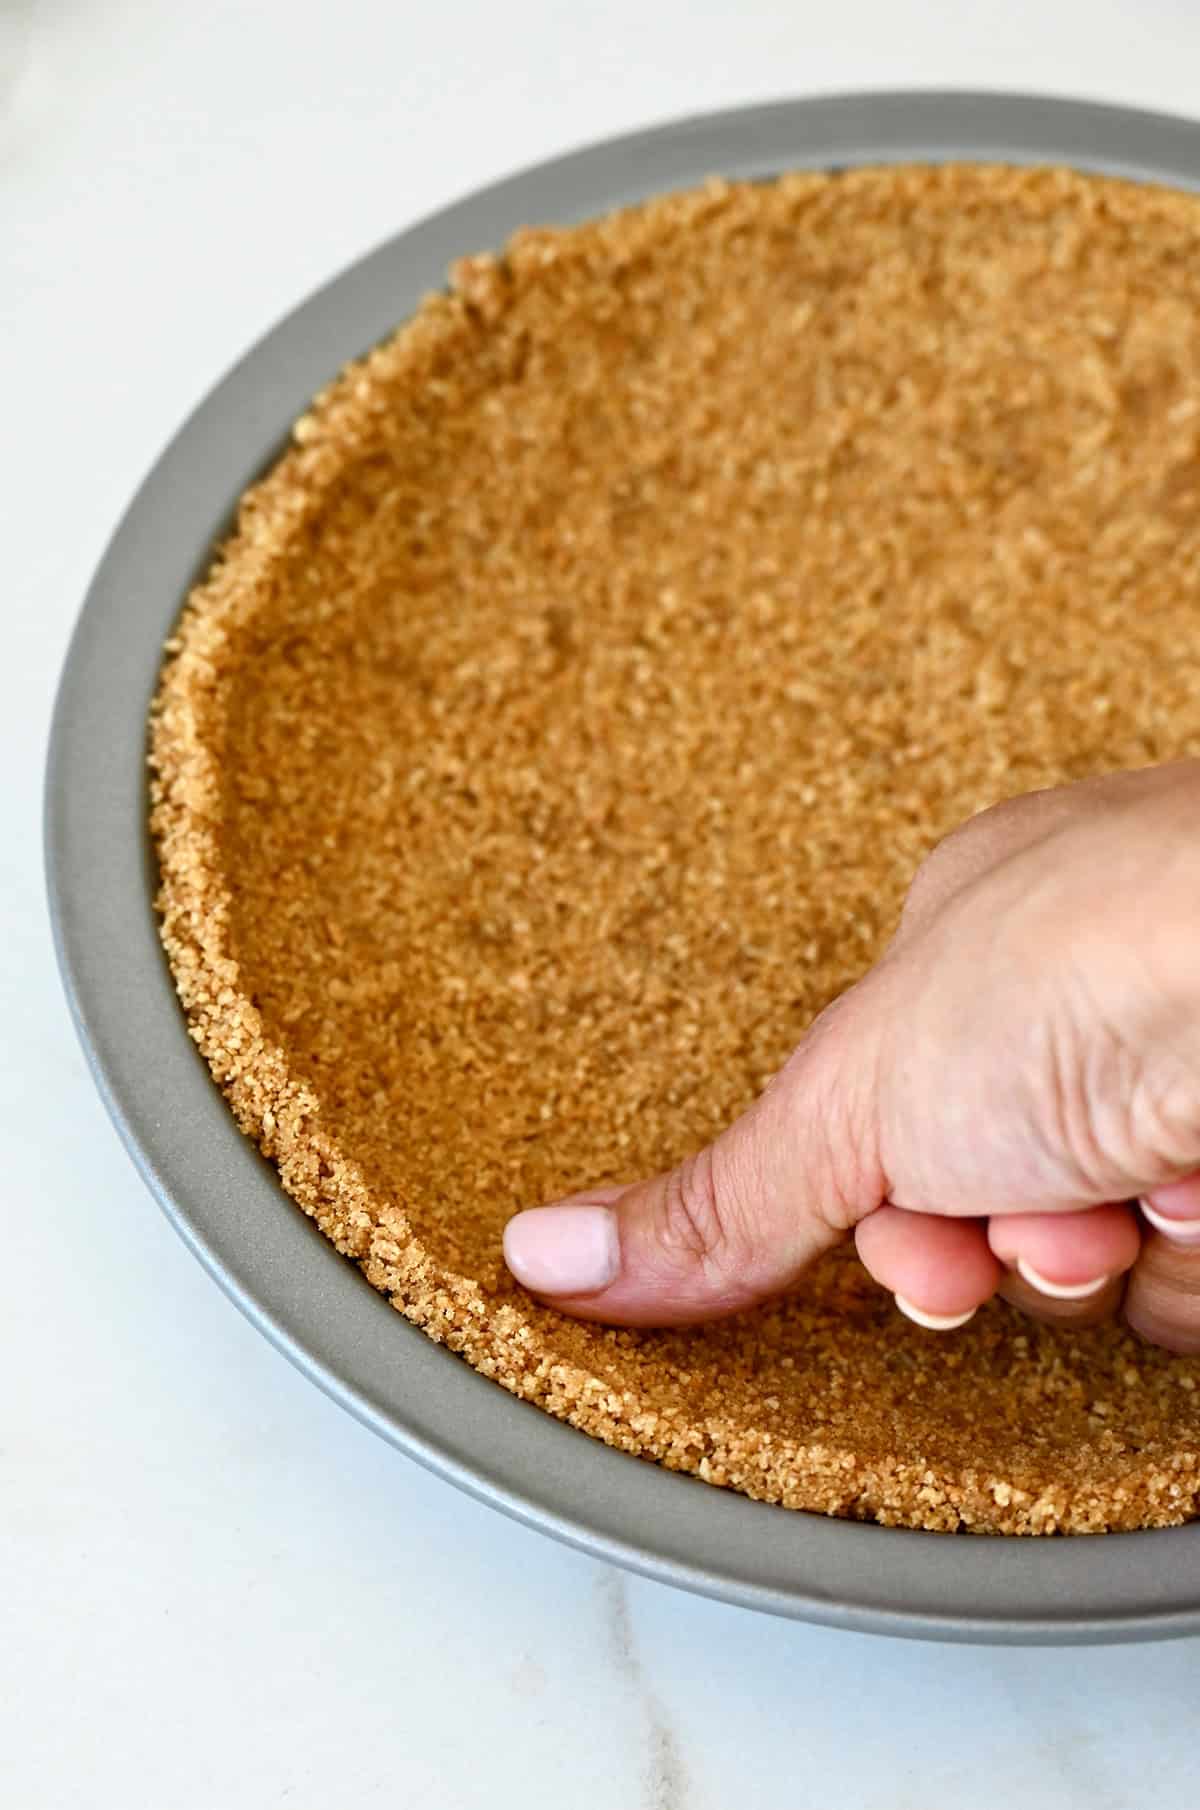
Table of Contents
I have a confession to make: I used to grab pre-made graham cracker crusts from the baking aisle without a second thought. Who has time to make a pie crust from scratch when there’s a perfectly good one sitting right there in a foil pan?
Then I made a homemade graham cracker crust and realized just how much better it could be. Buttery, crisp, perfectly crumbly and made with just three ingredients.
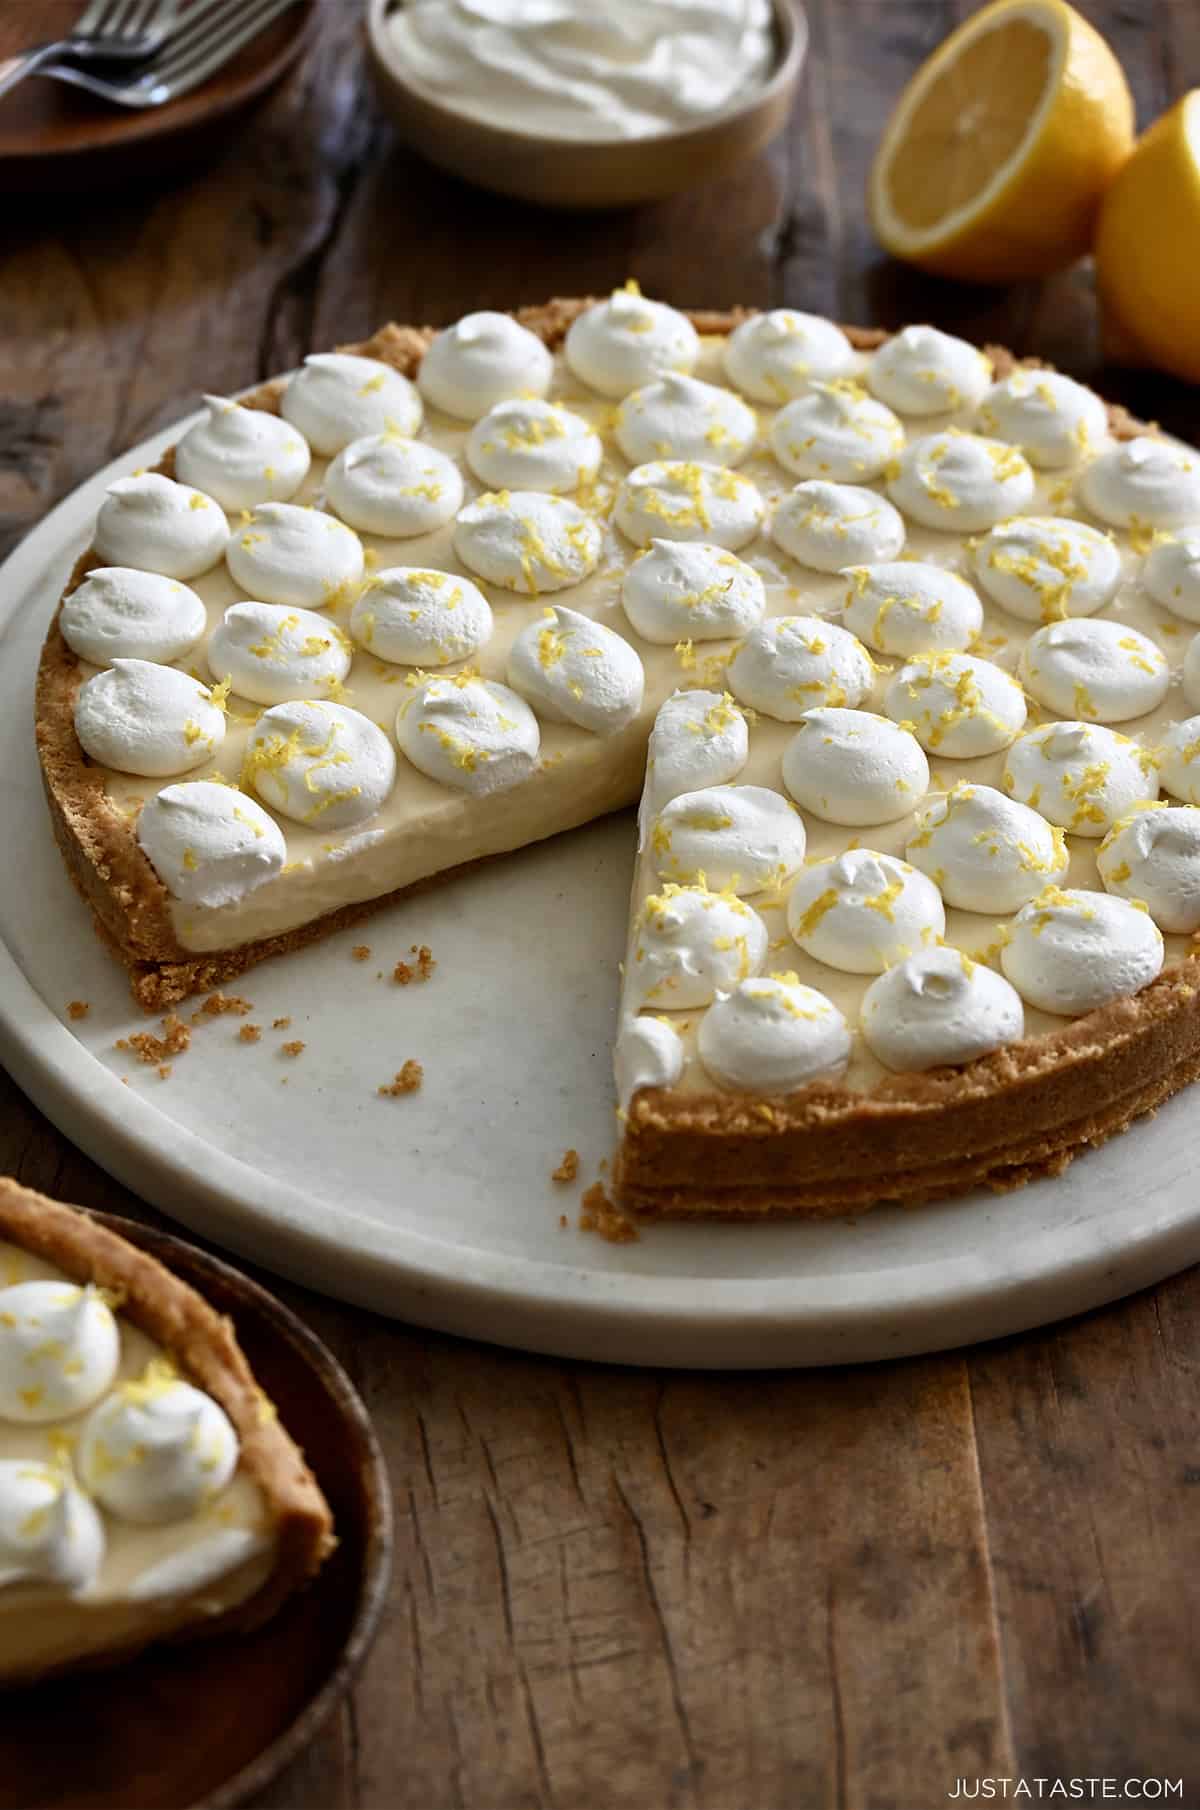
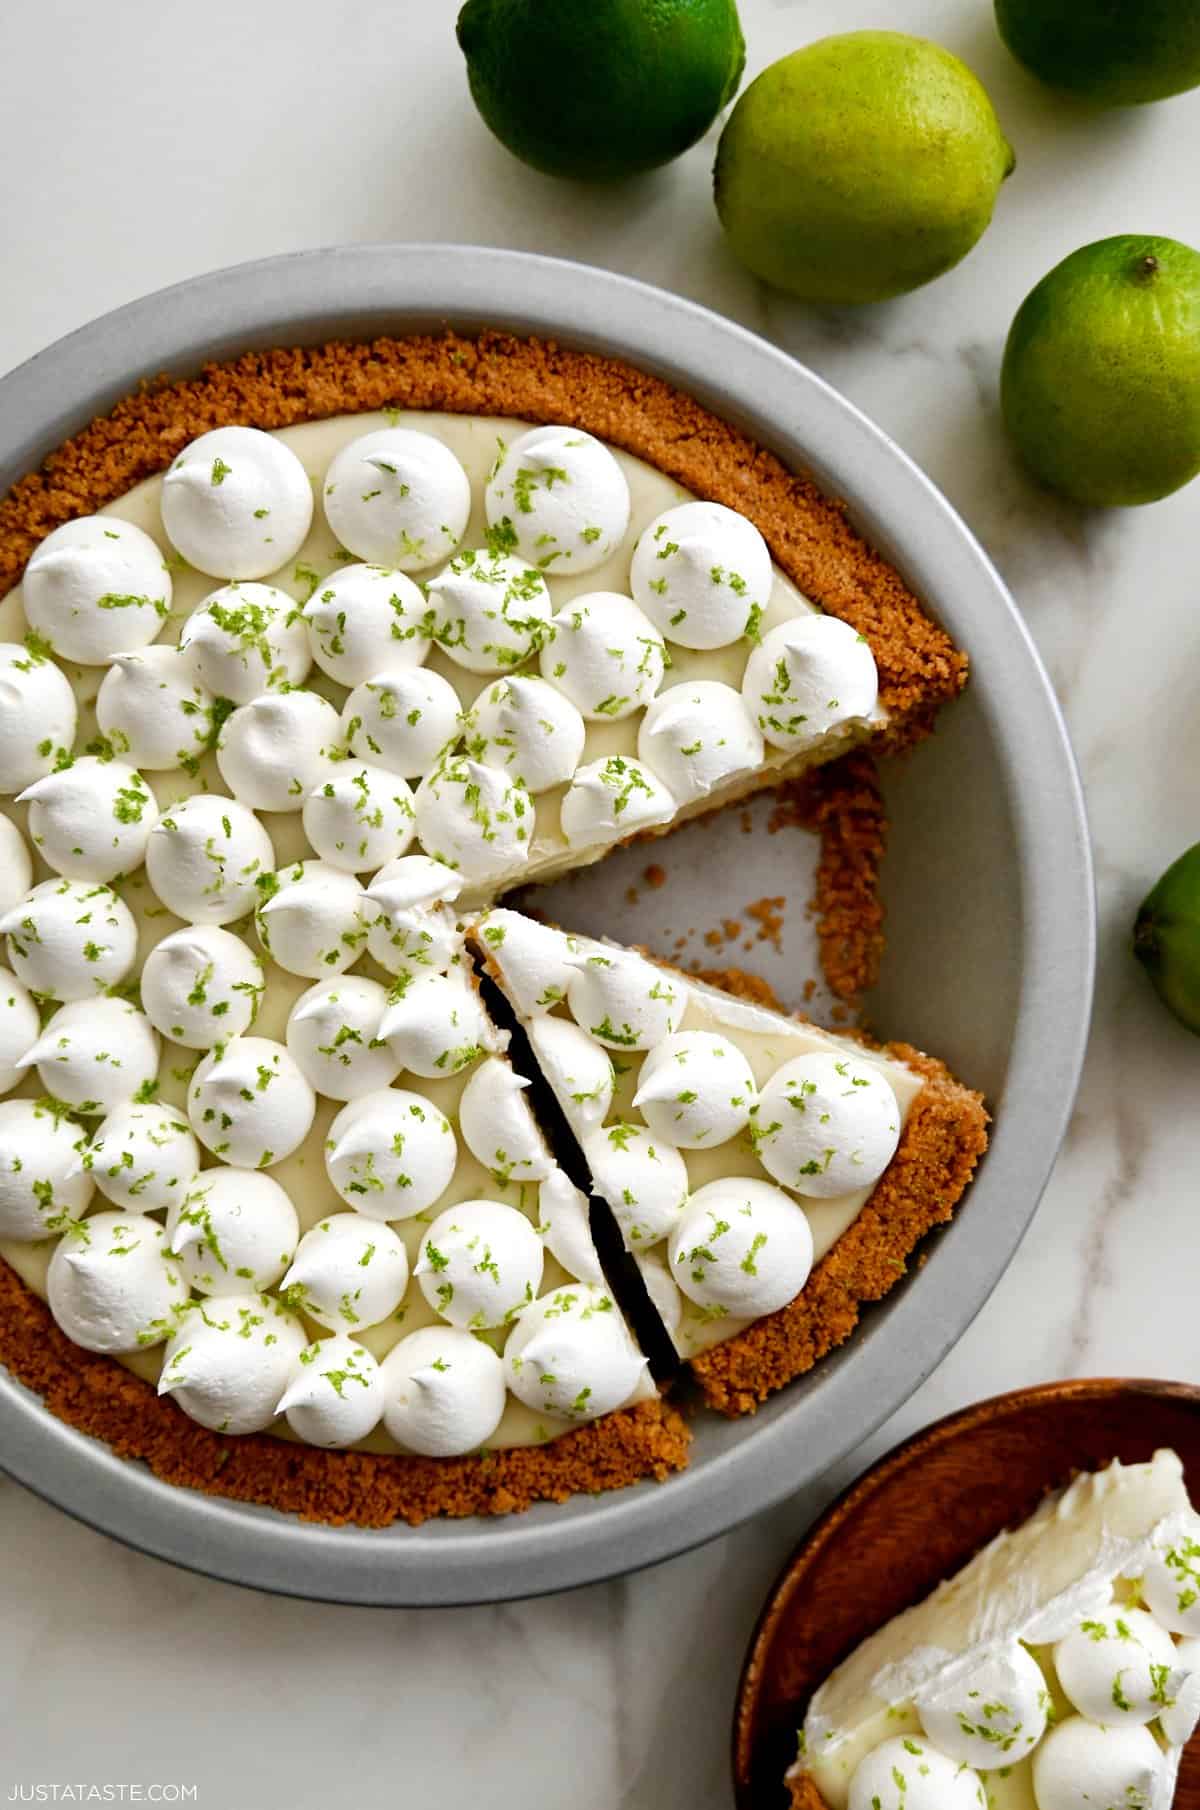
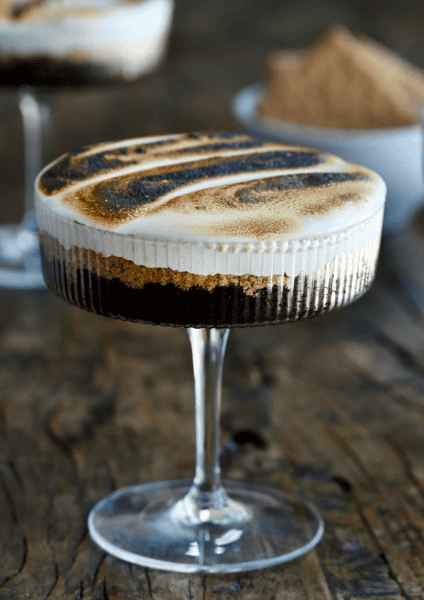
I use this same crust for all kinds of desserts, from key lime pie and frozen lemonade pie to no-bake cheesecake (above), mini cottage cheese cheesecakes and lemon cheesecake bars.
Why This Graham Cracker Crust Is Better
This isn’t just any ol’ graham cracker crust. It’s the recipe I’ve perfected over the years to be:
- Extra flavorful
- Sliceable without crumbling
- Sturdy enough to hold all your favorite fillings
My not-so-secret ingredient? Brown sugar. Most graham cracker crusts call for granulated sugar, but I swap it for light brown sugar. The touch of molasses adds a deeper, warmer flavor and helps the crust bake up beautifully golden. It also gives the crust a softer texture that’s easier to slice and adds that extra something that makes people ask what your secret is. (This is it!)
Below, I’m walking you through my tried-and-true method, including how firmly to press the crumbs, why not to pack it too tightly (yes, there’s such a thing!), and the simple shaping trick that keeps your crust from cracking.
Ready to master the perfect homemade graham cracker crust? Here are the three pantry-friendly ingredients you’ll need:

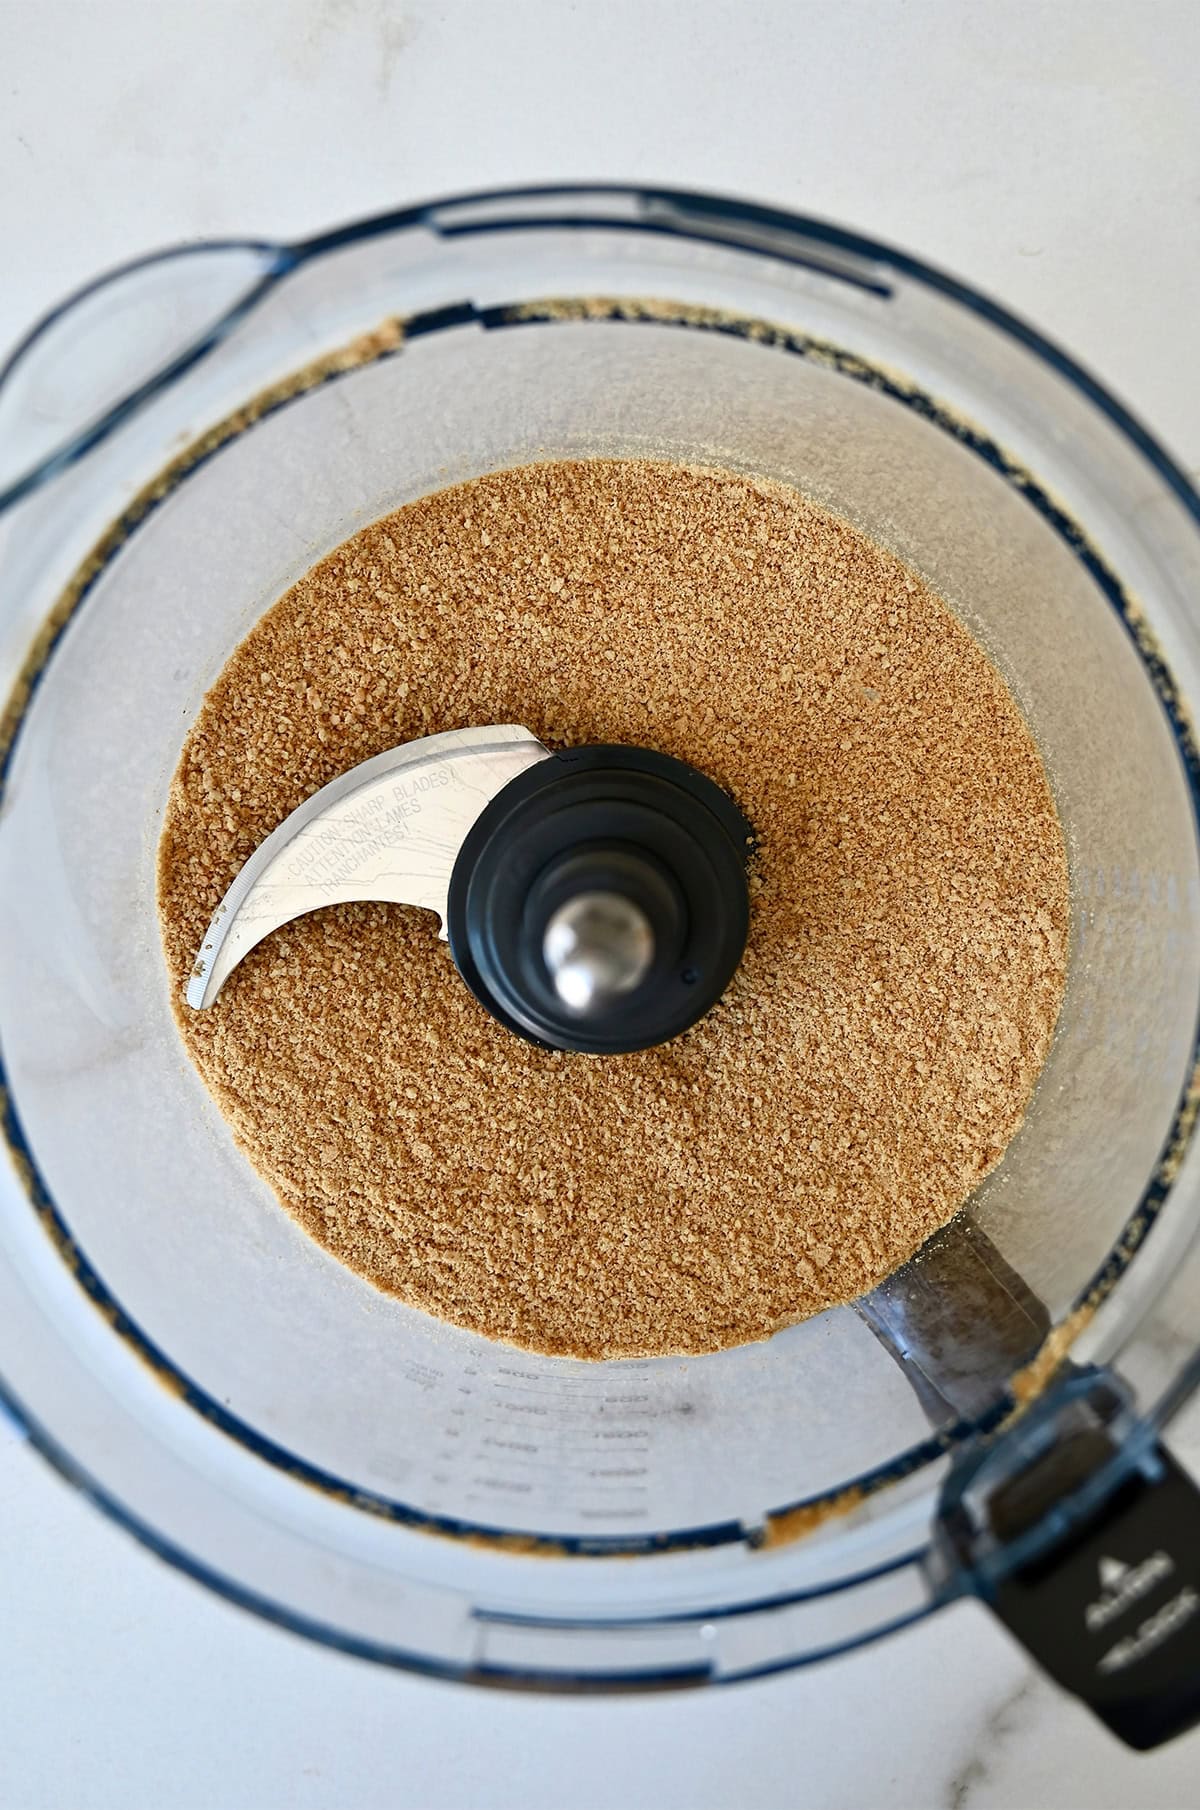
- Graham crackers: I like to use the classic honey graham crackers and crush them myself using a food processor or a zip-top bag and rolling pin. You want fine crumbs that resemble sand, not big chunks, so the crust holds together well. You’ll need about 10 or 11 full graham cracker sheets to get 1 and ½ cups of crumbs. Note: You can also use pre-crushed graham cracker crumbs or try cinnamon or chocolate graham crackers for a fun twist.
- Brown sugar: I use light brown sugar here for its soft texture and hint of molasses flavor. It adds just the right amount of sweetness and helps the crust bake up beautifully golden. If you only have granulated sugar, that works too.
- Unsalted butter: Melted butter is what binds the crumbs together and gives the crust that rich, toasty flavor. I use unsalted so I can better control the salt in the overall dessert, but if all you have is salted butter, go ahead and use it—just leave out any extra pinch of salt.
See the recipe card for full information on ingredients and quantities.
- Crush your graham crackers. You can blitz the graham crackers in a food processor or blender until they’re finely ground, like sand. No food processor? No problem. Just toss the crackers into a zip-top bag and crush them with a rolling pin. (It’s oddly satisfying.) You’re aiming for really fine crumbs here—chunky bits won’t hold together as well.
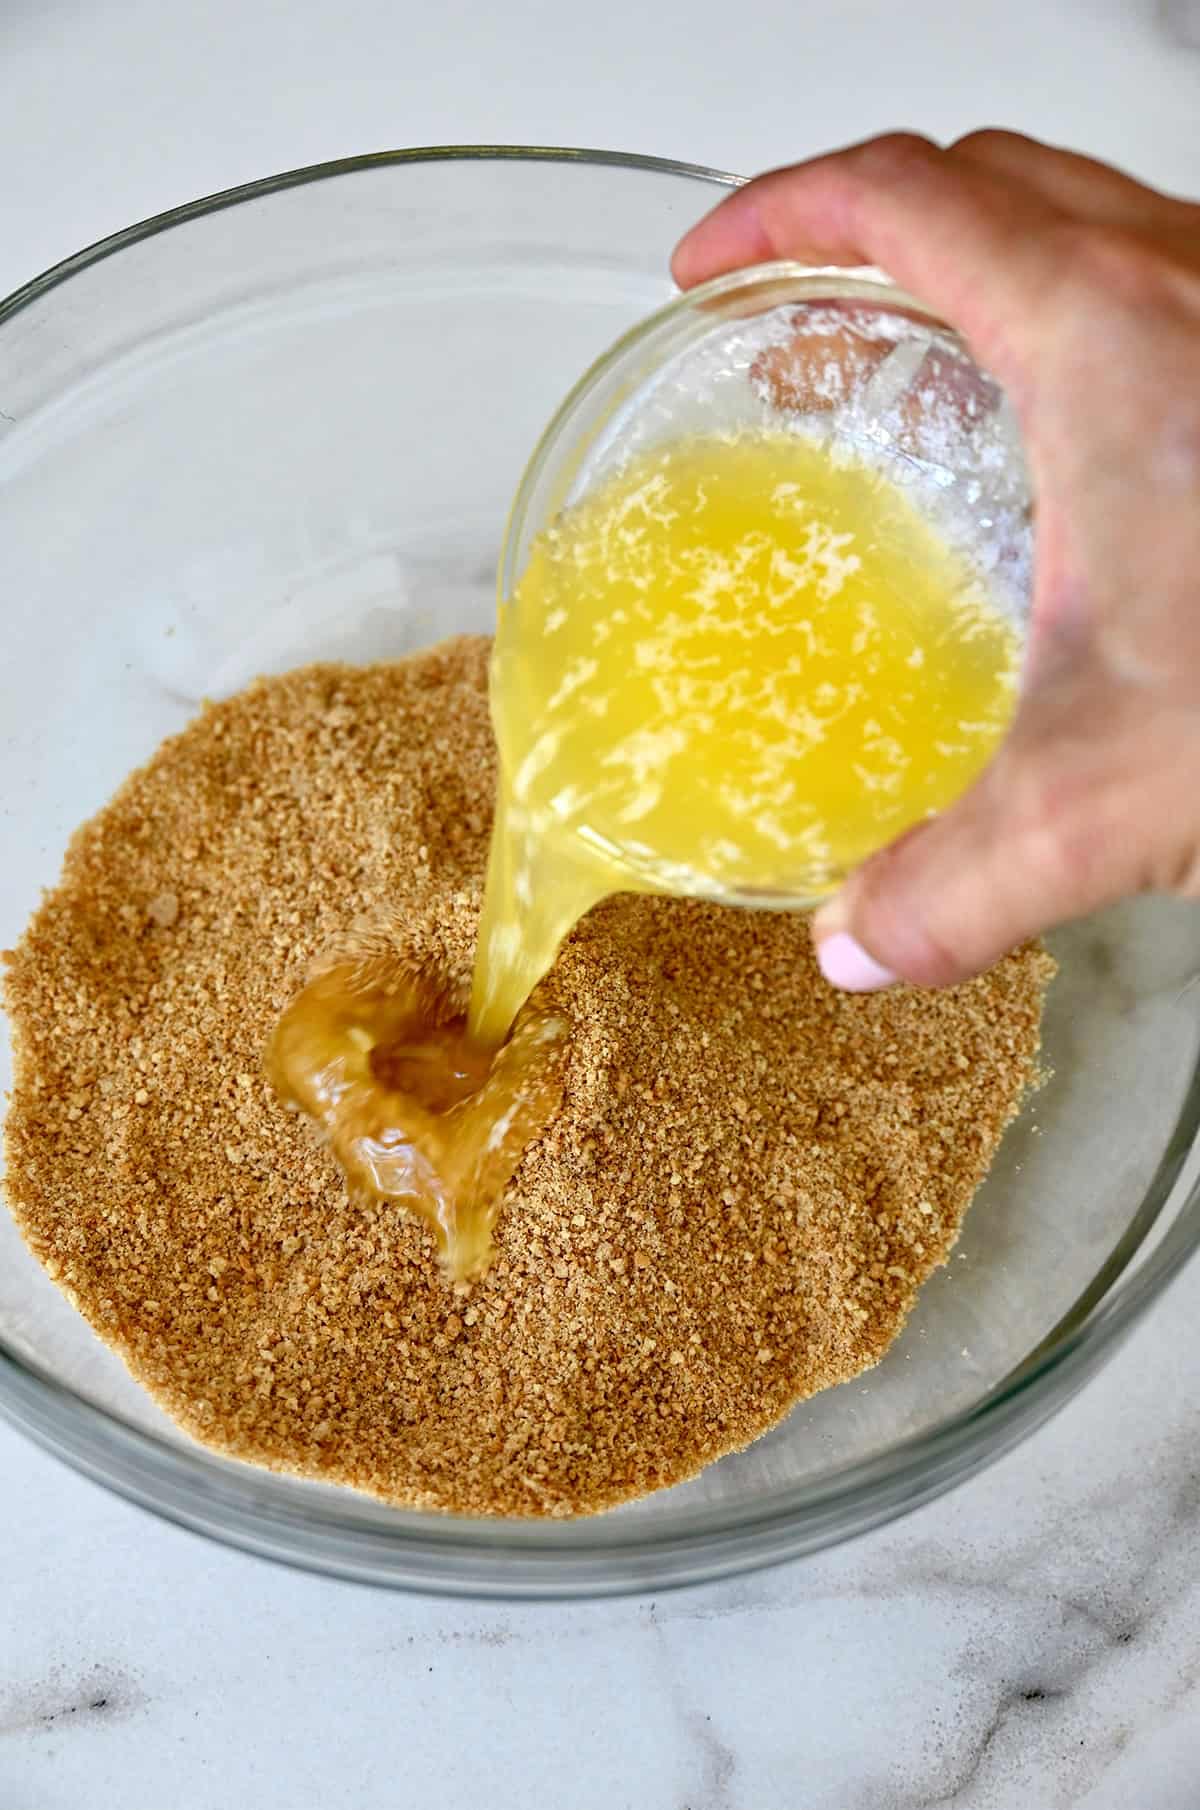
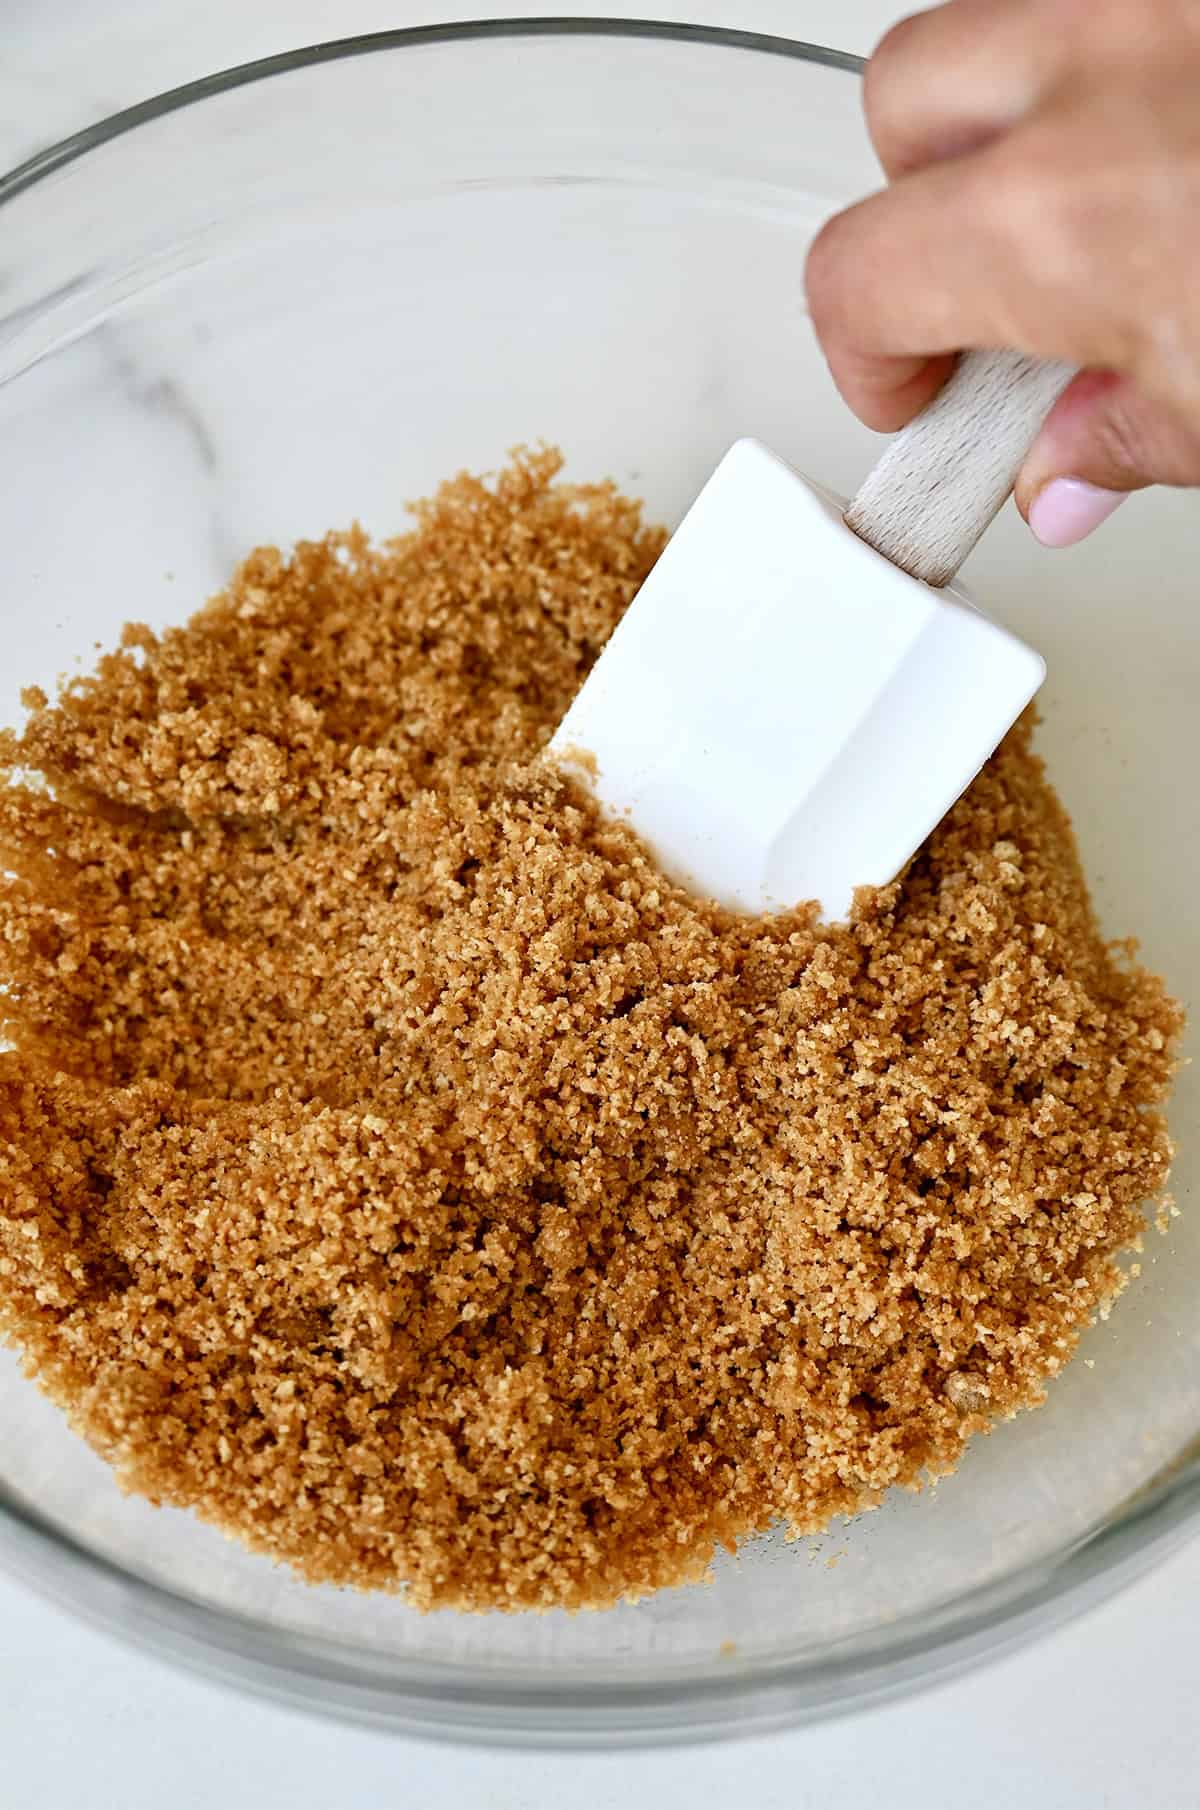
- Mix the crushed graham crackers with the brown sugar and melted butter. I usually start with a spoon, then switch to using my hands to make sure everything is evenly combined. You want every crumb to be moistened and hold together when pinched.
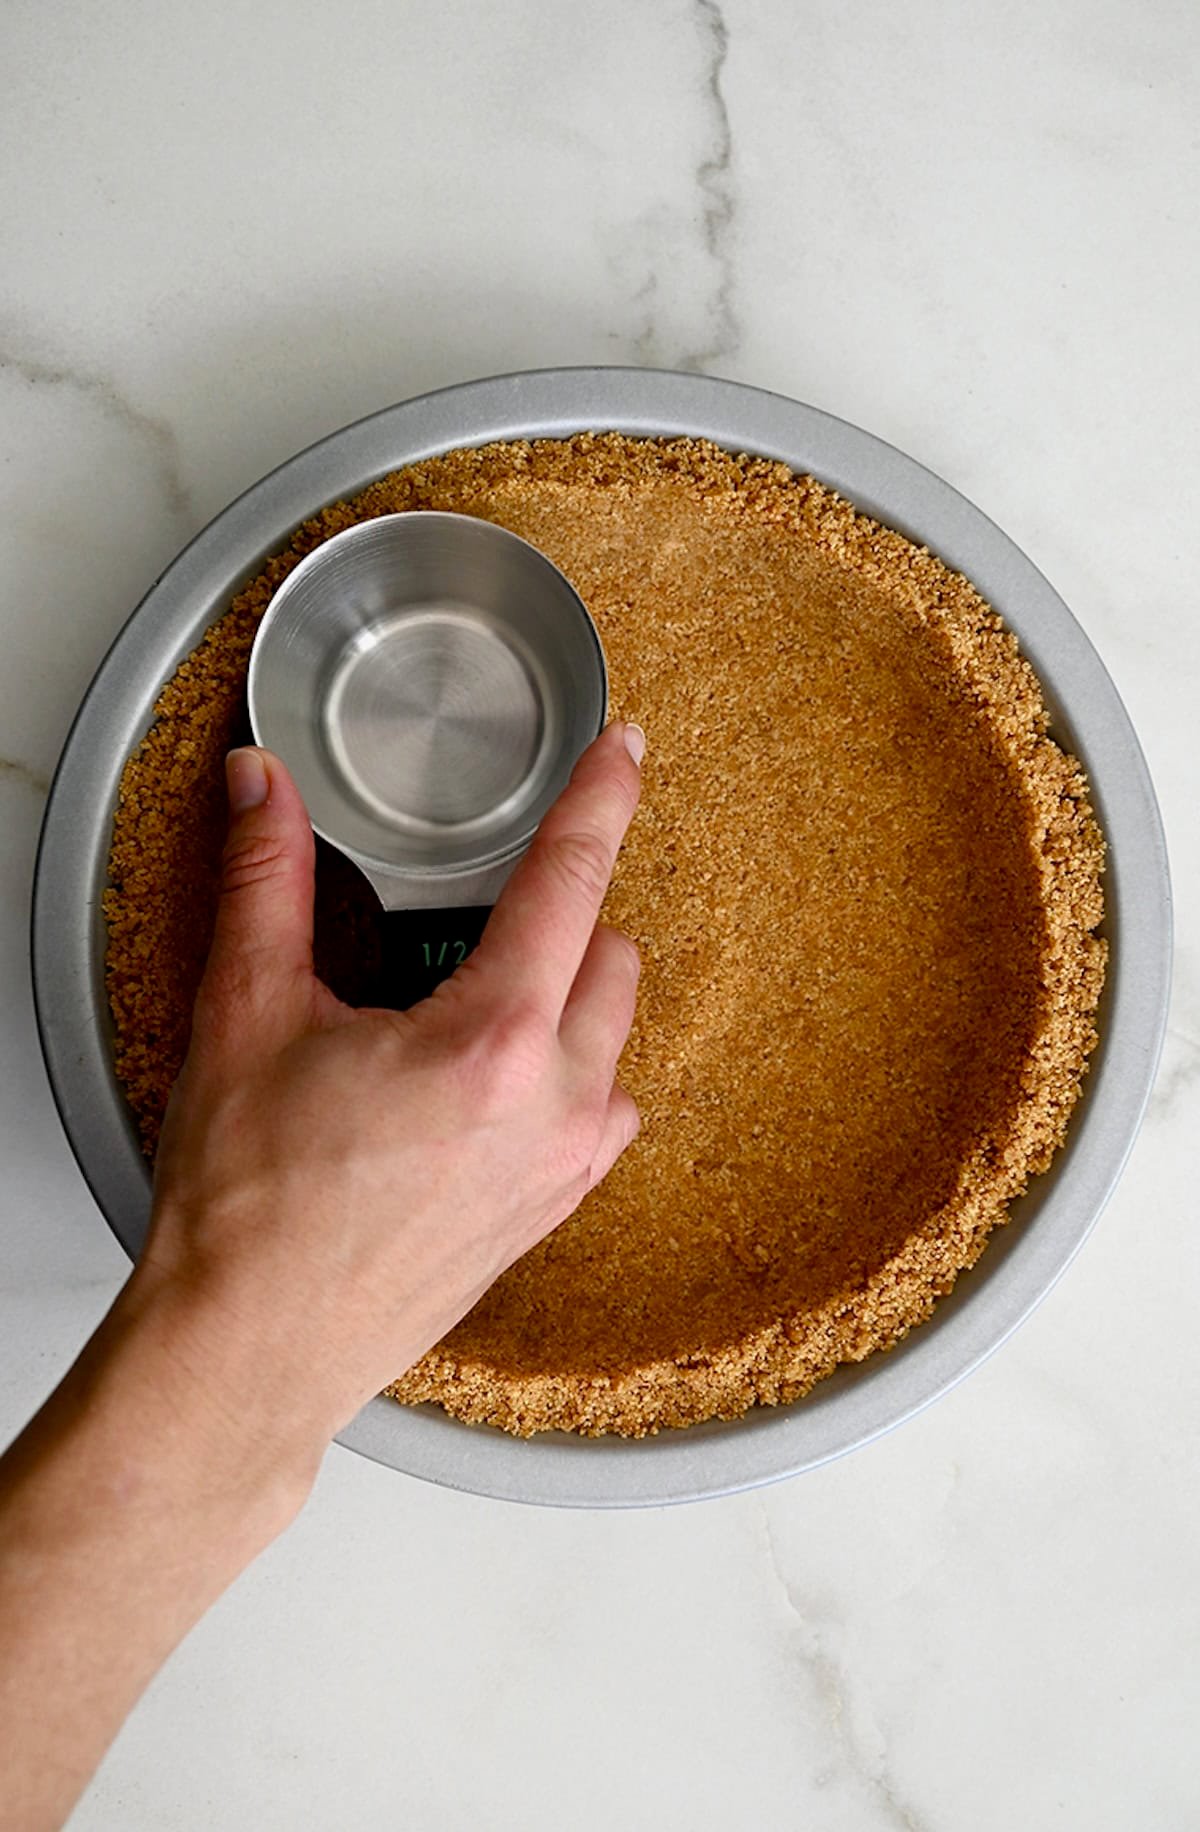
- Press the mixture into your pan. This part is more about technique than muscle. Start by pressing the crust mixture into the center of your pie plate, then work your way out and up the sides. Use your fingers to press with medium-firm pressure until the crumbs stop shifting around—you don’t want any loose crumbs. I like to use the flat bottom of a small measuring cup to gently smooth and even out the surface (the bottom of a drinking glass works, too).
Kelly’s Tip: It’s tempting to really press down and compact the crust, but go easy! Press just firmly enough that the shape holds. Over-packing can lead to a dense, rock-hard crust that’s tough to slice through without breaking.
For a pie crust, you also want to avoid a harsh 90° angle where the bottom meets the sides—that’s a recipe for cracking when you slice it. Instead, smooth the seam into a gentle slope using the back of a spoon or your fingers. I like to press the top edge with one hand while shaping the inside curve with my thumb on the other. It helps the crust stay connected when you cut into it.
- Bake the crust at 350°F for 8 minutes, then let it cool completely before filling. This sets the crust and helps it hold up beautifully to creamy fillings like no-bake cheesecake or frozen lemonade pie.
Do I Need to Bake a Graham Cracker Crust?
Short answer: Yes, usually. Even if you’re making a no-bake dessert, I recommend baking the crust for just 8 minutes. It helps set the structure so your crust holds together when sliced, especially with creamy fillings like no-bake cheesecake or key lime pie.
That said, if your recipe specifically says the crust doesn’t need to be baked—and it’ll be thoroughly chilled—you can skip the oven. Just make sure the crust is firmly pressed and well-chilled before filling.
Kelly’s Tip: If you’re skipping the bake, chill the crust for at least 2 hours before filling it so it stays sturdy. And press the crust a bit more firmly than you would for a baked version to help it hold its shape.
What Size Pan Does This Fit?
This homemade graham cracker crust recipe makes just the right amount for a:
- 9-inch standard pie plate, cake pan or springform pan
- 8-inch or 9-inch square pan (perfect for bars like easy cheesecake bars)
If you’re using a deep-dish pie plate or a 9×13-inch pan, you might want to 1.5x the recipe to ensure full coverage up the sides. And if you’re making mini pies or tartlets, you can divide the crust mixture among smaller pans—just keep an eye on baking time.
Bonus: You can even use this crust for press-in crusts in muffin tins for mini cheesecakes. Same method, just mini!
Can I Use Digestive Biscuits Instead?
Yes! If you’re outside the U.S. or just prefer the taste and texture of digestive biscuits, they make a great swap. Use the same amount by weight (about 150g for 1½ cups of crumbs), and follow the same steps. You might find that digestive biscuits aren’t quite as sweet as graham crackers, so feel free to bump the brown sugar up to 6 tablespoons if needed. The flavor is slightly nuttier and more buttery—a delicious twist!
Once you see how quick and easy it is to make this homemade graham cracker crust, not to mention how much better it tastes, you’ll never go back to the pre-made kind. Whether you’re making a show-stopping pie or a simple no-bake dessert, this crust is the perfect base. I hope it becomes your go-to, just like it is mine!
Craving more? Subscribe to Just a Taste to get new recipes, meal plans and a newsletter delivered straight to your inbox! And stay in touch on Facebook, TikTok, Pinterest and Instagram for all of the latest updates.Ingredients
- 1 1/2 cups finely crushed graham crackers (about 10 crackers)
- 5 Tablespoons unsalted butter, melted
- 1/3 cup packed light brown sugar
Instructions
- Preheat the oven to 350°F.
- In a medium bowl, stir together the crushed graham crackers, melted butter and brown sugar until very well combined. (If needed, use your fingers to incorporate the mixture and ensure the graham crackers are well-moistened.)
- Press the mixture into the center and up the sides of a 9-inch pie plate. (Ensure there is a sloping seam between the side and bottom crust to prevent breaking when serving.)
- Bake the crust for 8 minutes then remove it from the oven and let it cool completely before adding your filling of choice.
Kelly’s Notes
- You don’t want a severe 90° angle where the side and bottom crusts meet or it’ll fall apart when slicing and removing from the pan; instead, opt for a rounded inside corner by smoothing the seam with a spoon or your finger.
- While tempting to really compact the crust, refrain from doing so! Compacting it too much will lead to a very hard, dense crust that’s impossible to slice without breaking.
- Make-Ahead & Freezing Tips: This graham cracker crust is make-ahead friendly! You can prep it right in your pie plate, then stash it in the fridge for up to 3 days before filling. Want to get even further ahead? Pop the whole thing—pan and all—into the freezer for up to 3 months. Just let it thaw before adding your filling.
- ★ Did you make this recipe? Don’t forget to give it a star rating below!
Nutrition
Did you try this recipe?
Leave a comment below with your star rating!
This post may contain affiliate links.


All of your tips were so helpful! Had no idea about not wanting such a compacted crust. Lightly packed mine and it was perfect!
Glad you enjoyed the recipe and found the tips helpful, Amelia!
I have made loads of graham cracker crusts over the years as one of my specialties is cheesecakes. I bought a graham cracker crust once and it was just not what I wanted. Never again. A graham cracker crust is very easy to make and shows the love.
So true, Sue! Enjoy!