Add a festive pop of color to your holiday dessert spread with a slice-and-bake recipe for Christmas Pinwheel Cookies.
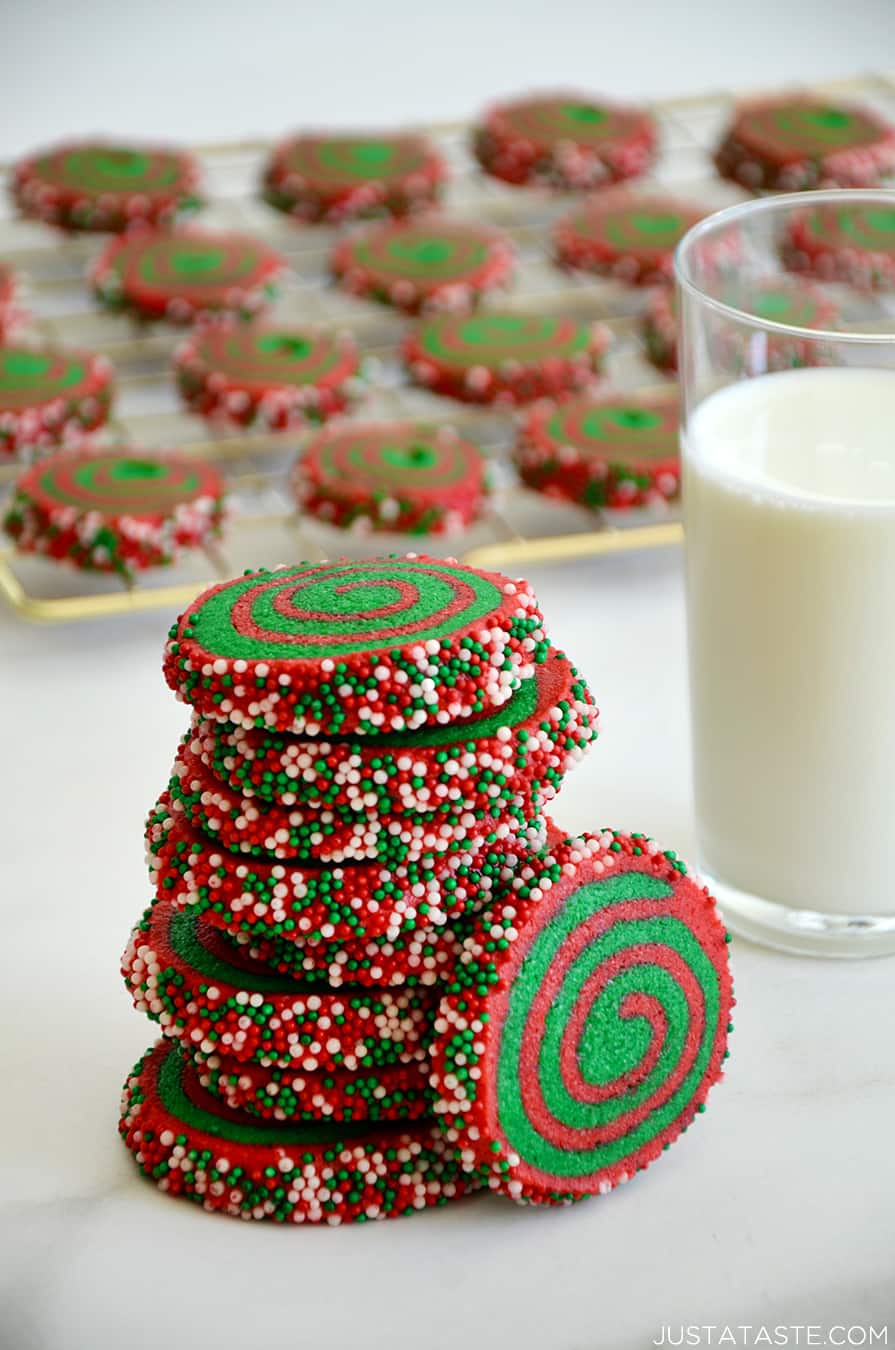
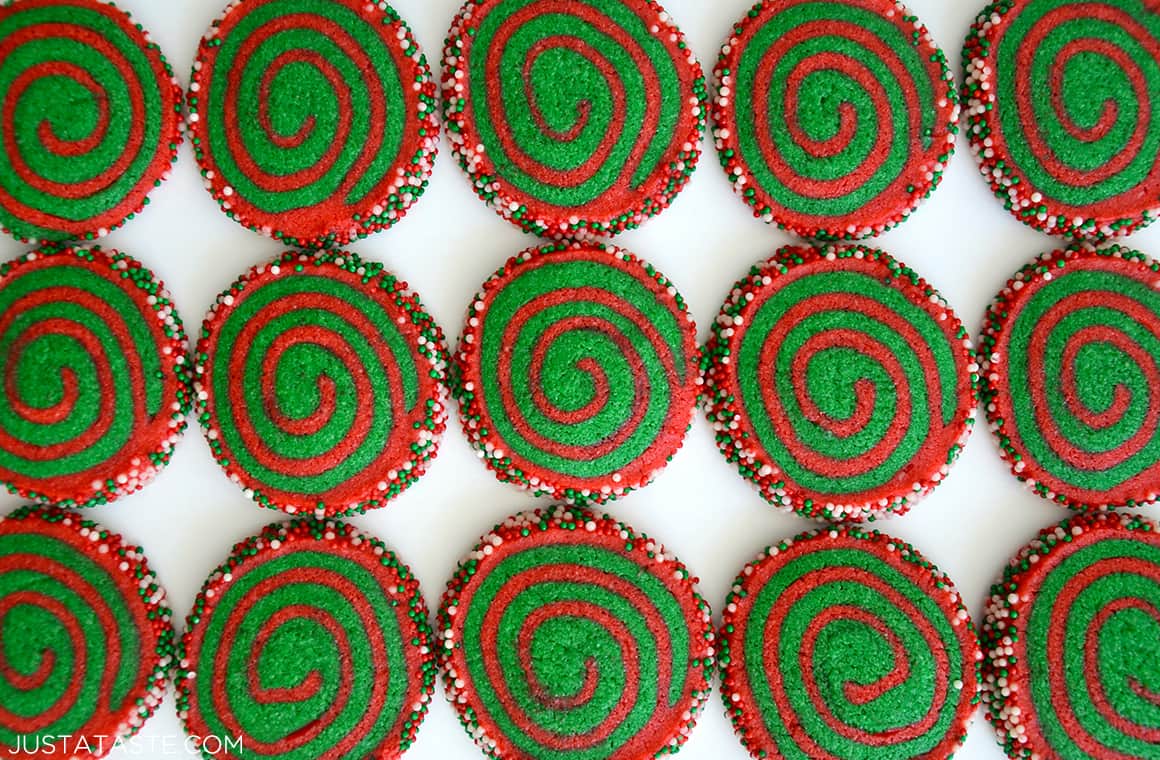
Nothing says “Merry Christmas!” quite like a stack of vibrantly-colored red and green pinwheel cookies complete with festive sprinkles. These stunning sweets are certain to steal the cookie box show!
How to Make Christmas Pinwheel Cookies
This classic cookie stars my all-time favorite sugar cookie dough that’s dyed vibrant red and green. The flavor is buttery with a hint of vanilla, but you can easily swap in almond, coconut or mint extract for more flavor flair.
The Best Food Coloring for Sugar Cookies
I swear by gel-based food coloring for any and all of my needs in the kitchen! Gel food coloring (unlike water-based food coloring) creates a very rich color with just a few drops.
For the below colors, I used bright red and leaf green to achieve a vibrant look. Keep in mind that the colors will darken slightly as they bake.
How to Transfer Cookie Dough
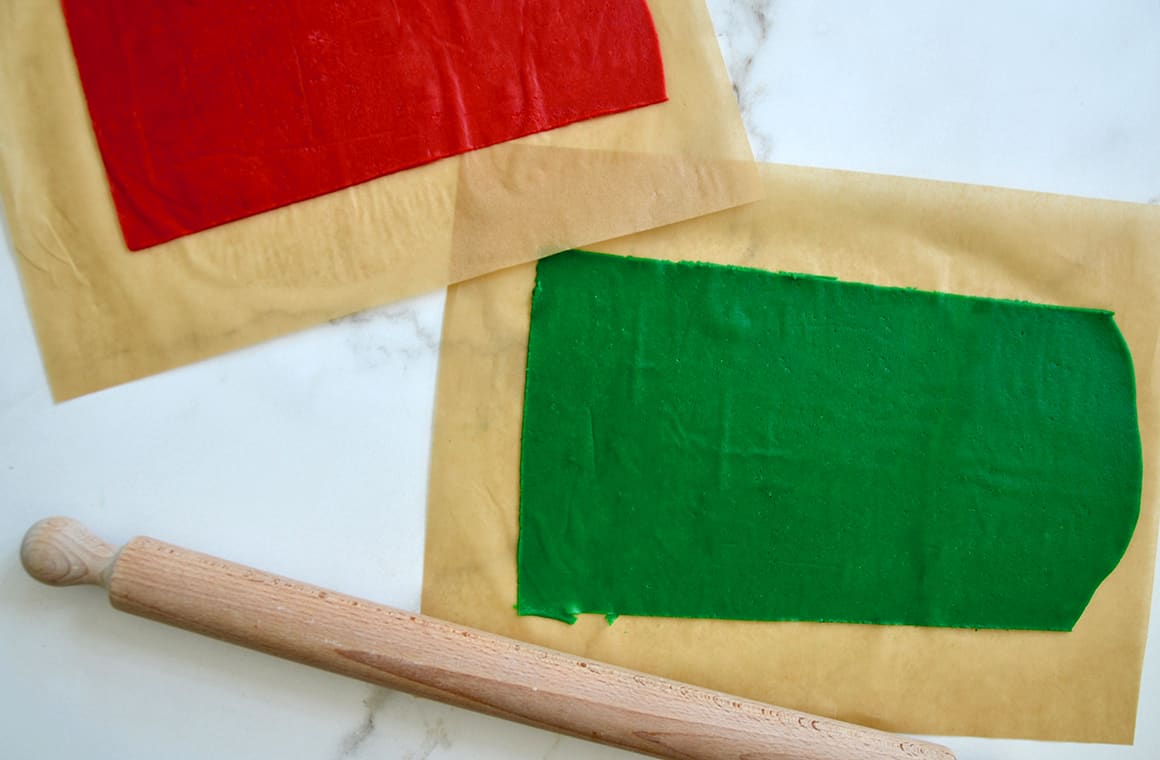
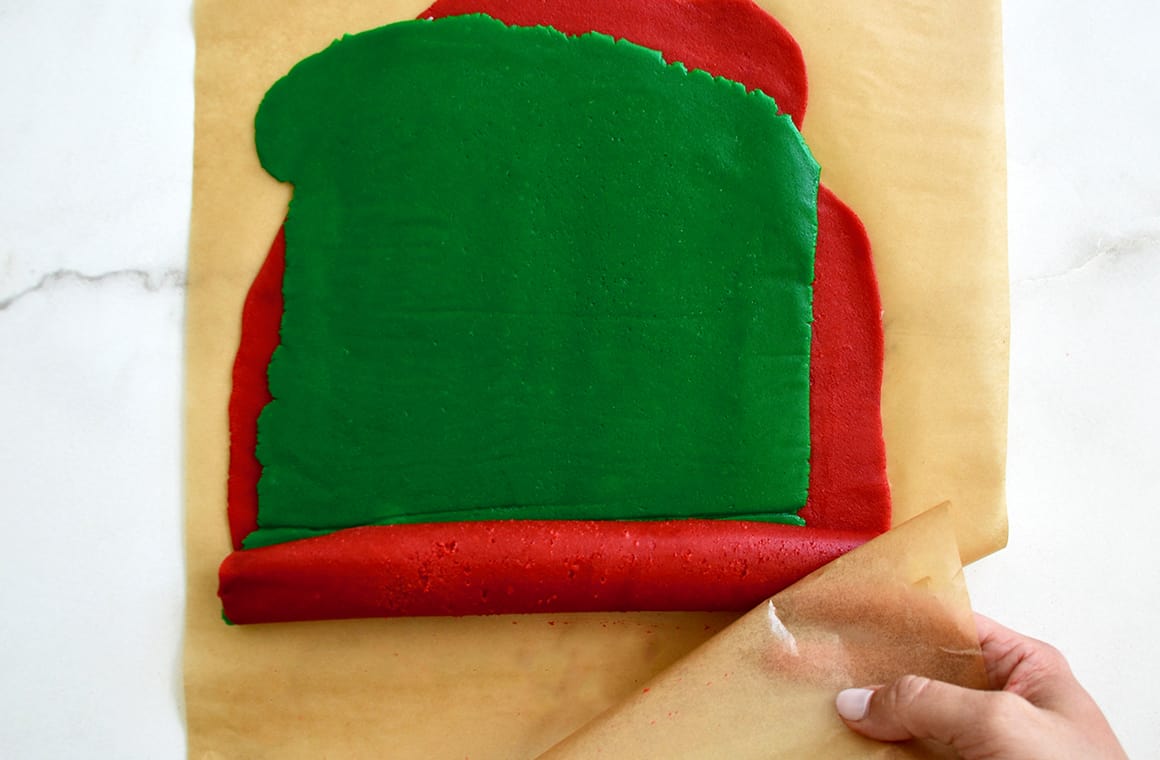
This buttery dough can get tough to handle, especially as it gets to room temperature. The easiest way to roll it out and transfer the two doughs on top of each other is to use parchment or wax paper. This allows you to peel back the top layer of paper and stick the red and green sheets of dough together.
It also makes it much easier to roll the dough sheets up into a log, as you can gently peel away the parchment or wax paper as you roll.
How to Make Sugar Cookies Rolled in Sprinkles
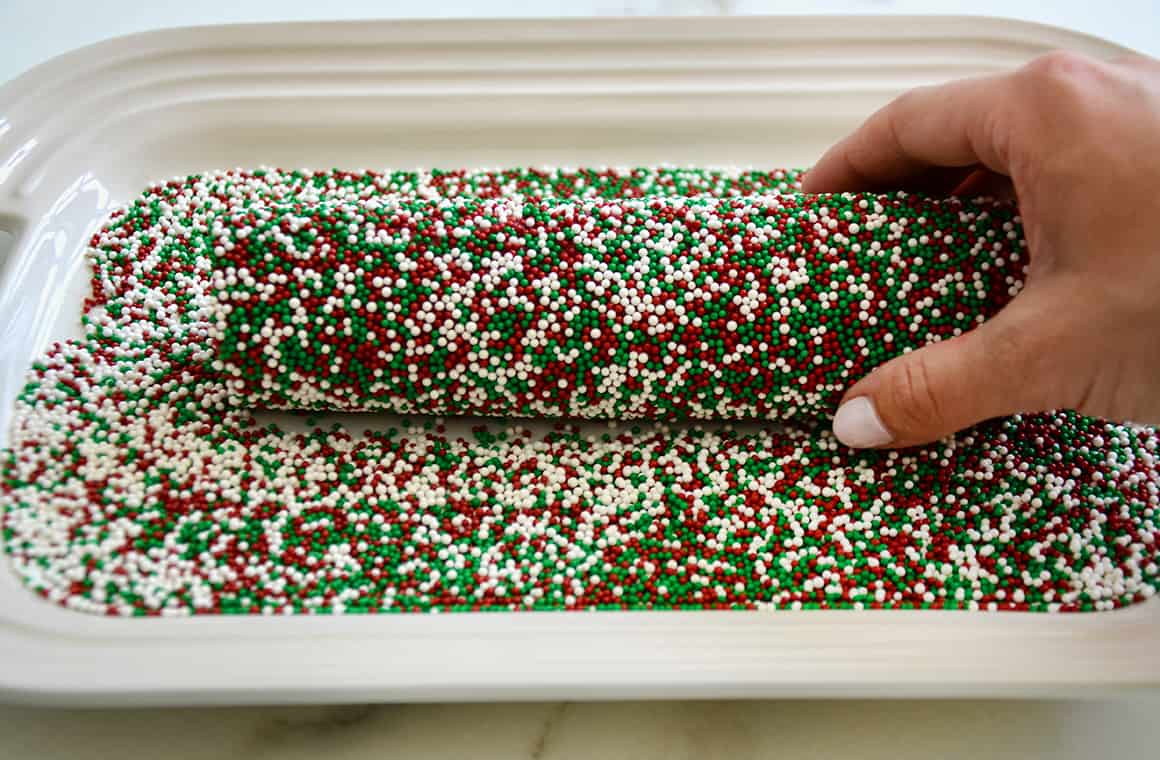
No Christmas Pinwheel Cookies would be complete without the essential color and crunch provided by holiday sprinkles. It’s important to chill the dough before rolling it in sprinkles so that the sprinkles stick to the outermost layer without melting too far into the dough log.
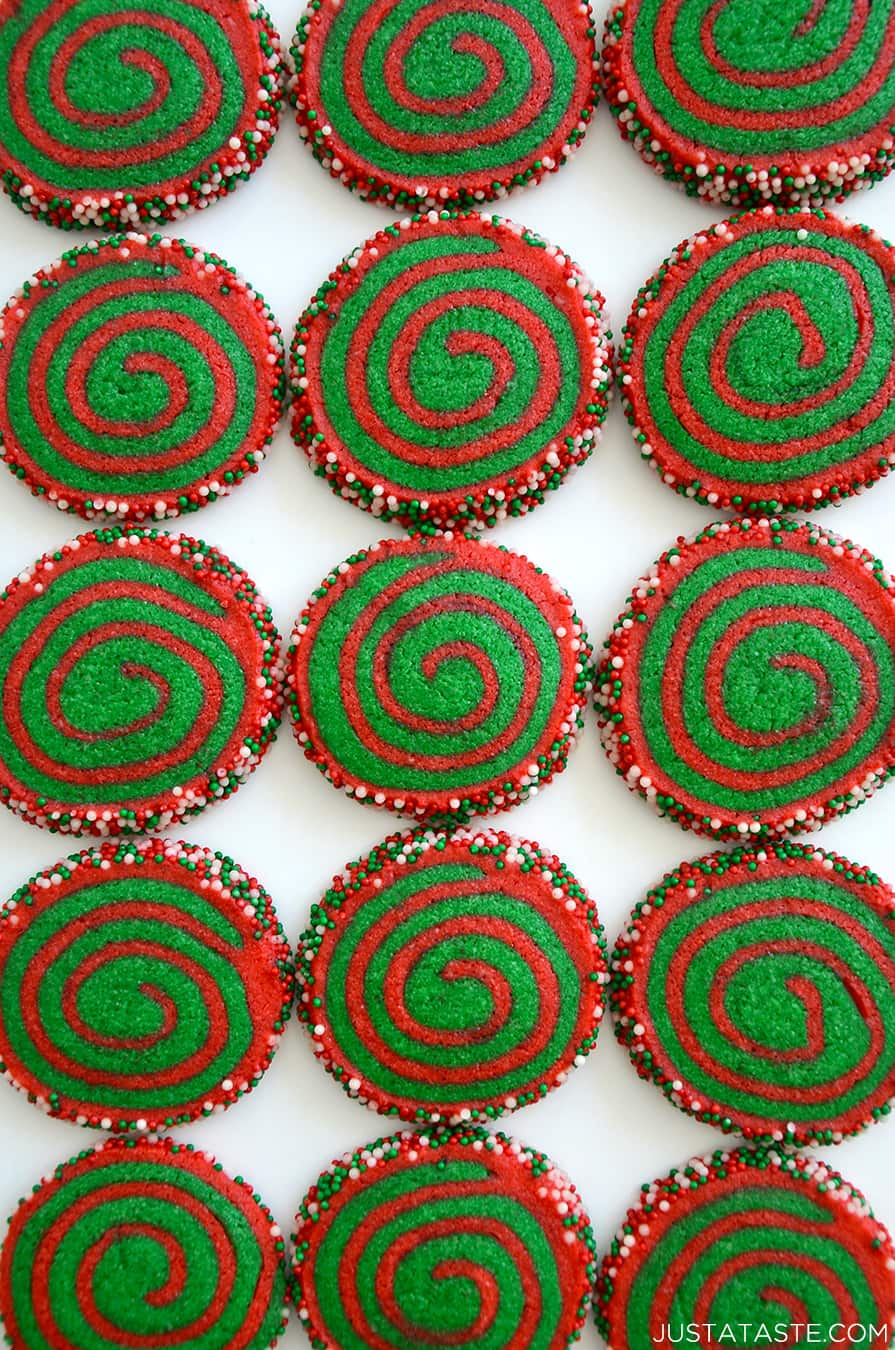
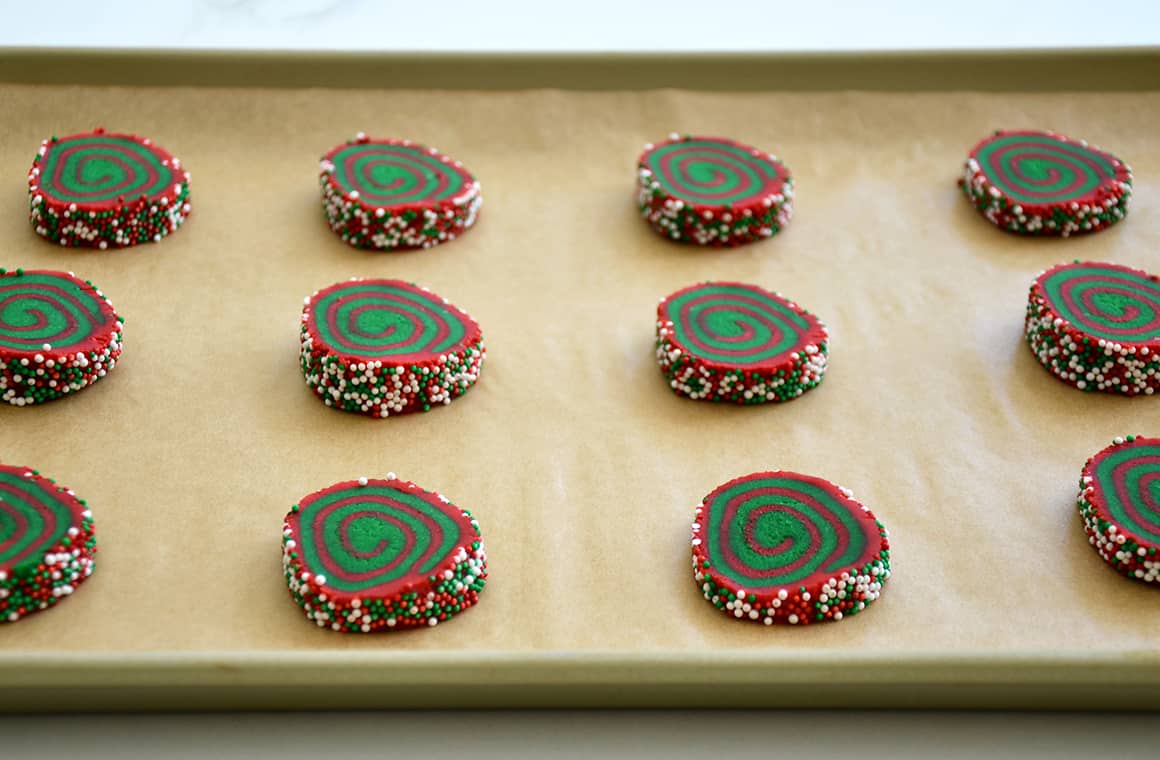
They’re just as beautiful before baking as they are after! Just look at those colors and eye-catching spirals…

The chilling of the logs is the crucial step when it comes to ensuring Pinwheel Christmas Cookies will maintain their shape and keep their tight spirals.
And don’t forget that Christmas colors are just the beginning for this classic cookie! Imagine all of the holiday options, from black and orange for Halloween to red, white and blue pinwheel cookies for the 4th of July.
Ingredients
- 3 cups all-purpose flour
- 1/2 teaspoon baking powder
- 1/2 teaspoon salt
- 1 cup unsalted butter, cold
- 1 1/3 cups sugar
- 2 large eggs
- 2 teaspoons vanilla extract
- Red and green food coloring
- Sprinkles
Instructions
- In a medium bowl, sift together the flour, baking powder and salt. Set aside.
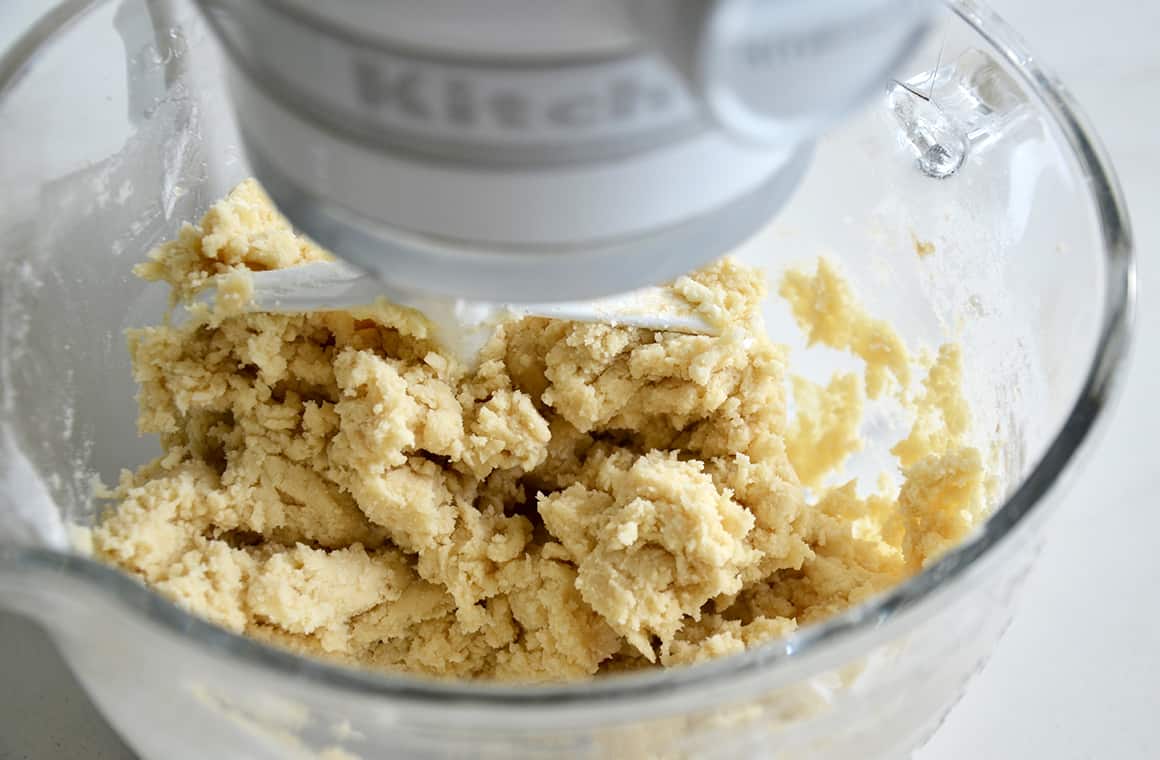
- In the bowl of a stand mixer fitted with the paddle attachment, cream the butter until smooth, about 2 minutes. Add the sugar and continue beating until light and fluffy. Add the eggs one at a time, beating between each addition and stopping the stand mixer to scrape down the sides as needed. Beat in the vanilla extract.
- Turn the mixer off then add the flour mixture and beat just until combined. Remove the dough and divide it in half.
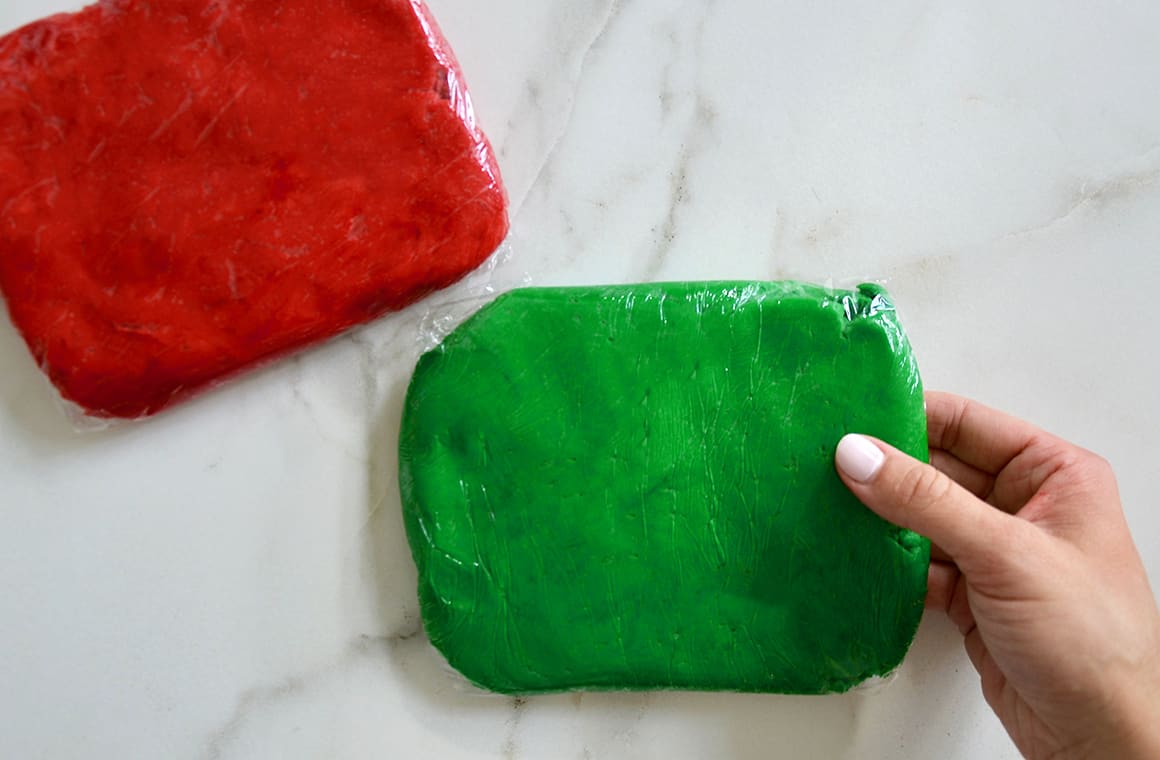
- Return half of the dough to the stand mixer along with your desired amount of red food coloring. Mix until the dough is a cohesive red color. Transfer the dough to plastic wrap, shaping it into an 8-inch square. Wrap it securely and place it in the fridge. Repeat the coloring process with the other half of dough, mixing it with your desired amount of green food coloring. Wrap the green dough in plastic wrap and refrigerate both doughs for 30 minutes.
- Remove the doughs from the fridge and cut each in half to form two rectangles of red dough and two rectangles of green dough. Refrigerate one red and one green piece of dough while you roll out the others.
- Roll each piece of dough between two pieces of wax paper until it is a rectangle about 1/8-inch thick. Peel off the top layer of wax paper from the green dough then invert it atop the red, peeling off the wax paper so that you have red and green dough stacked atop one another. Lightly roll the two layers together then trim the shorter end of the rectangle so that you have a straight line. Starting on the shorter (trimmed end), roll the dough up, peeling off the wax paper as you tightly roll. Wrap the dough log securely in plastic wrap and refrigerate it for 1 hour. (To avoid a flat edge, roll the dough log every 20 minutes.) Repeat the rolling, stacking and refrigerating process with the remaining two pieces of dough.
- Place the sprinkles in a large shallow pan. Remove the plastic wrap from the dough logs then roll them in the sprinkles.. Re-wrap the dough logs in plastic wrap and refrigerate them an additional 2 hours until firm. (At this point, the dough logs can be stored in the fridge for up to 1 week if wrapped securely in plastic wrap.)
- When ready to bake, preheat the oven to 350°F and line two baking sheets with parchment paper.
- Remove the dough from the fridge and slice each log into 1/4-inch rounds. Arrange the cookies on the baking sheet, spacing them about 2 inches apart.
- Bake the cookies just until set, 9 to 11 minutes. Remove them from the oven then let them cool on the baking sheets for 5 minutes before transferring them to a rack to cool completely.
Kelly’s Notes:
- The unbaked dough logs can be stored in the fridge, wrapped securely in plastic wrap, for up to 1 week.
- When in doubt, and to ensure a soft and chewy consistency, undertake these cookies. They will continue to bake as they rest on the hot baking sheets once removed from the oven.
- ★ Did you make this recipe? Don't forget to give it a star rating below!
Nutrition
Did you try this recipe?
Leave a comment below with your star rating!
This post may contain affiliate links.


Can you please share what brand of food colouring you use? I did not get a vibrant red with the one I’m using.
I use Chef Master Gel Food Coloring!
A bit of work but completely worth it for the flavor and how they look. So festive!
So glad you enjoyed the recipe, Carrie!
Made these for a work event and everyone went crazy. Best part is they taste as great as they look!
So glad you enjoyed the recipe, Cami!
The absolute BEST cookie at our cookie exchange party!!! Thank you for making me look so good :)
So glad you enjoyed the recipe, Amanda!
I am in the process of making these now!
Instructions are easy to follow and I feel confident these are going to taste as amazing as they look.
Will the dough hold in the freezer? I would like to prep this recipe for a Christmas party!
Yes, it’ll hold great in the freezer!
The cookies look delicious!! I can not wait to try and make them. I was just wondering if I can use a hand mixer used instead of a stand mixer?
Absolutely! You just will have to scrape down the sides of the bowl more frequently.
I’ve been looking for a good sugar cookies recipe for a while and this one is the best!! However, I’d be curious to know how you handle rolling the dough between 2 sheets of parchment paper… It moves constantly :-(
Thank you for the recipe!
Try taping it down! Works well :)
These cookies are delicious and so easy to prepare. I strongly suggest you make a batch NOW!!
YESSSS! I’m so thrilled you enjoyed the recipe, Lisa!
Love this recipe!