
Sugar cookie lovers won’t want to miss this 3-ingredient recipe for The Best Sugar Cookie Icing that sets firm without the need for meringue powder or egg whites. No fancy ingredients, no complicated steps—just simple, straightforward icing that’s as easy to make as it is to use!

Table of Contents
While you might be most familiar with smooth, matte royal icing on your sugar cookies, it can be a bit unwieldy to use and mix up. With this in mind, I created a delicious shortcut recipe for cookie icing that achieves nearly the same consistency when set. It’s fast, free of corn syrup and easily sets to form that iconic shiny, flavorful topping for cookies in every color of the rainbow.
Is Cookie Icing the Same as Royal Icing?
While many cookies are often topped with royal icing, this cookie icing differs in that it’s made simply with confectioner’s sugar, butter and milk. No meringue powder or egg whites necessary!
Cookie icing can be used in almost the same way you’d use royal icing. You can dip your cookies directly into the icing, or pipe or spoon on cookie icing to “flood” the tops of your cookies. This cookie icing won’t dry exactly as hard as royal icing, but 10 minutes of cooling time will allow it to fully set.
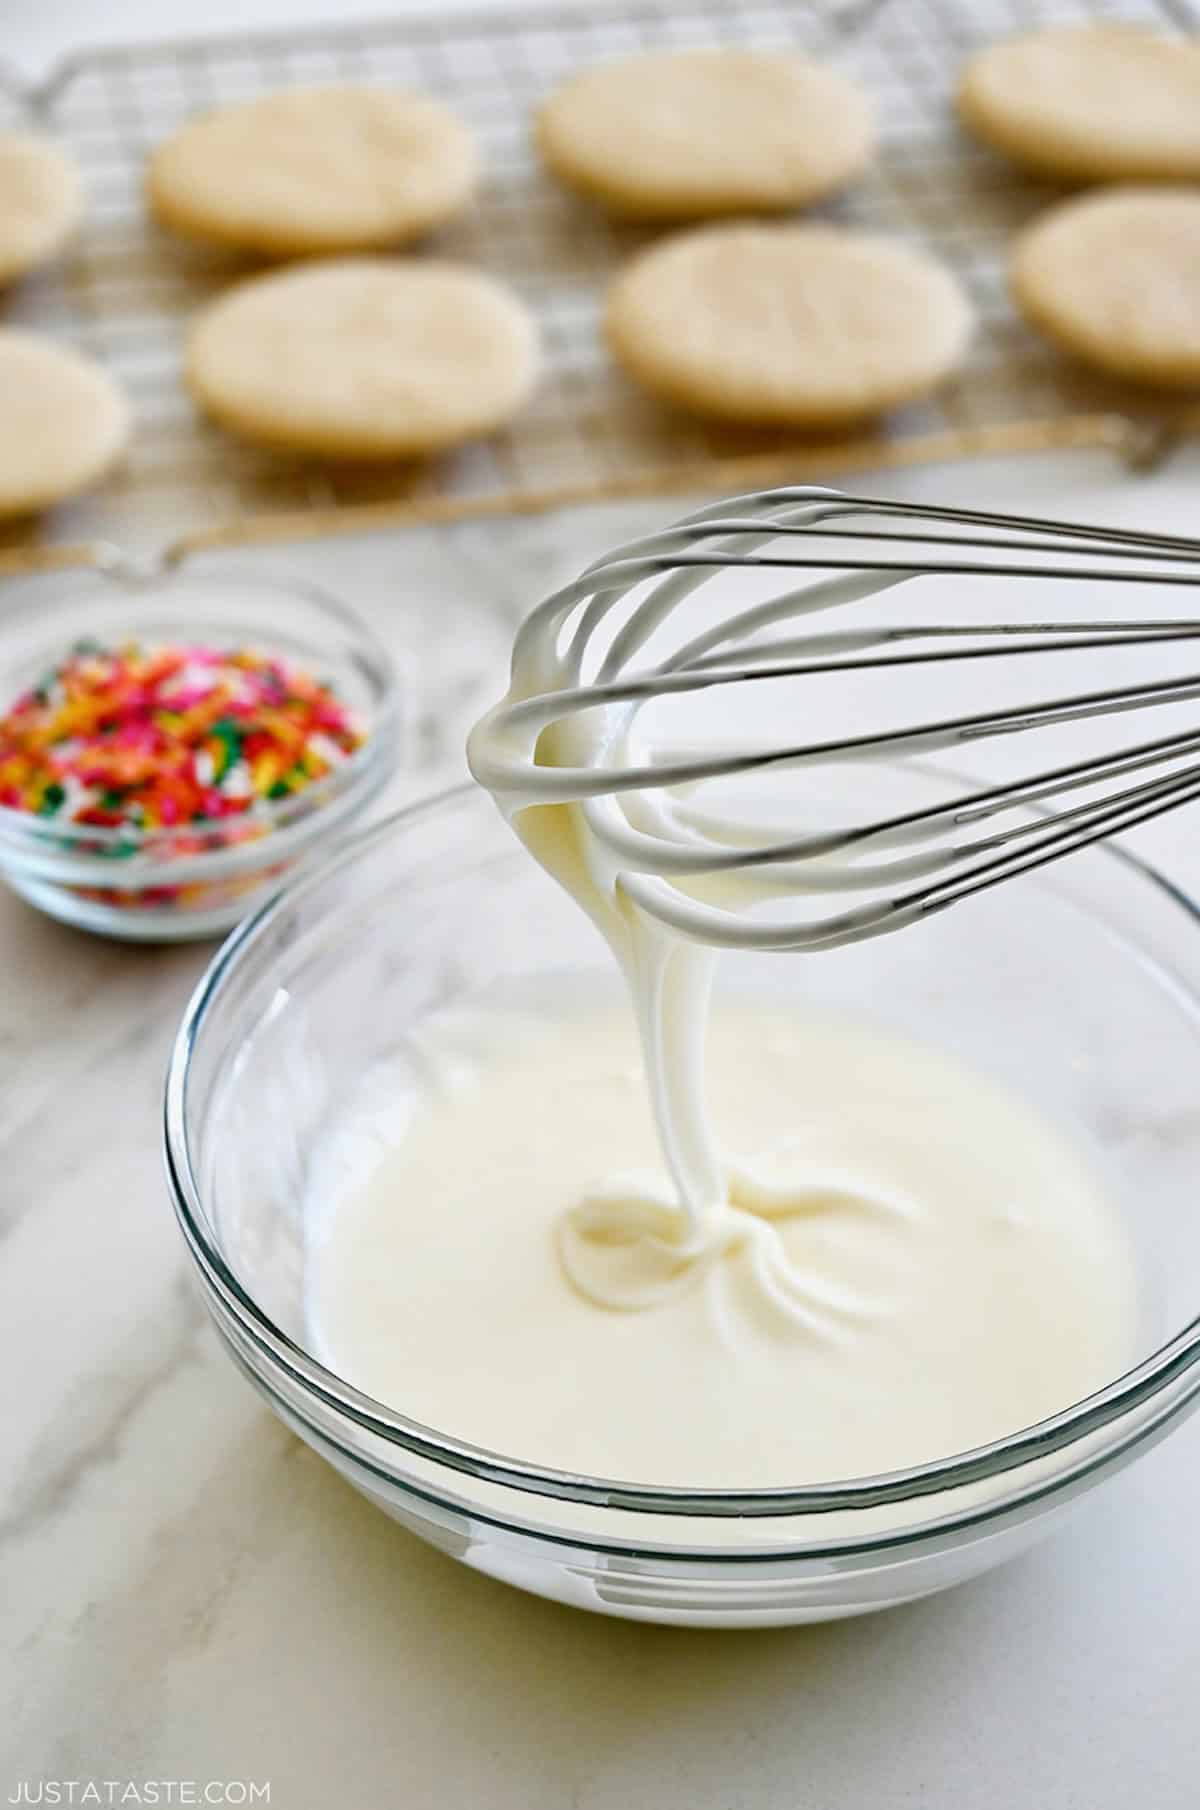
Here’s what makes this sugar cookie icing recipe so simple yet effective:
- Confectioners’ sugar (also called powdered sugar): This is the base of the icing, sifted for a silky smooth texture. Don’t substitute it with granulated sugar or any other alternatives, as they won’t provide the same smooth consistency.
- Butter: Adds richness and helps the icing set. Be sure to grab the unsalted kind so your frosting doesn’t end up tasting unexpectedly salty.
- Milk: Whole milk is my go-to for a creamy consistency. I like to add it gradually until the icing reaches the thickness I want for easily spreading atop my sugar cookies.
Kelly’s Note: Want to enhance the flavor? You can mix in a splash of vanilla extract or almond extract. I usually skip it, but if you’re feeling adventurous, start small and adjust to your taste. Both extracts pair beautifully with sugar cookies and won’t overpower their delicate flavor.
You can also dye this icing any color of the rainbow using either regular food coloring or gel-based food coloring. I prefer the latter because you get a much more vibrant color with just a few drops.
The real beauty of this recipe is that other than not needing any fancy ingredients, you really don’t need any fancy equipment either. Just a bowl and a whisk will get you in business.
- Sift the confectioners’ sugar into a bowl to remove lumps.
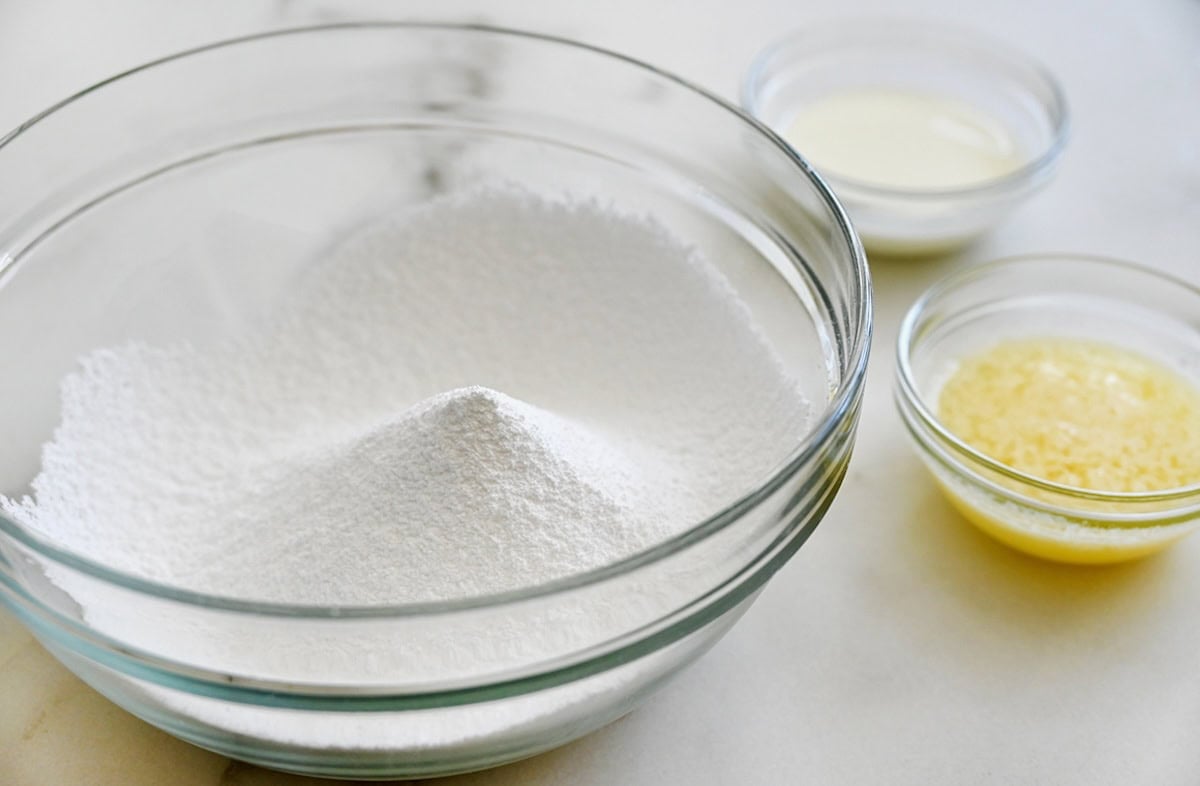
- Add melted butter and whole milk, whisking until smooth.
- If the icing is too thick, add milk 1 teaspoon at a time until it’s thin enough to spread or dip.
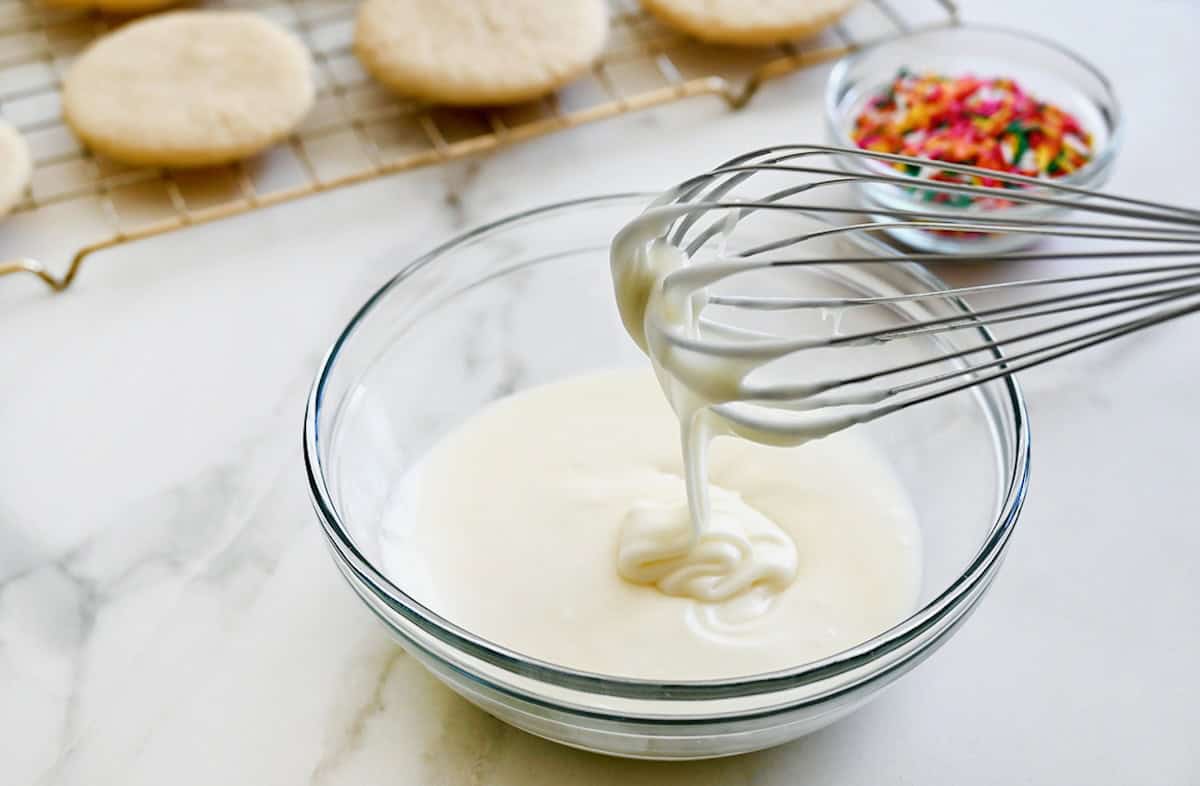
- If using food coloring, whisk it in until you achieve your desired shade.
How Do You Decorate Sugar Cookies Like a Pro?
Want Instagram-worthy frosted cookies? Start with my go-to cutout sugar cookie recipe that ensures your cookies hold their shape during baking and follow all of my cookie baking tips for the perfect batch. Then, follow this step-by-step guide to creating beautifully decorated sugar cookies every time:
- Make sure your cookies are completely cooled before you start icing them. Warm cookies will melt your icing into a gooey puddle.
- I like to chill my baked cookies in the fridge before decorating. Cold cookies make for a cleaner icing application.
Now it’s time to frost those cookies! I use one of two methods to ice my cookies:
- Dip the cookies into the icing and shake off any excess
- Use a small spoon or offset spatula to spread the icing atop the cookies
Color and Customize
- Use squeeze bottles or piping bags with a small tip to create detailed patterns and borders. Squeeze bottles are especially beginner-friendly and easy to handle.
- Keep bowls of different colors of icing and all your sprinkles nearby for easy access while decorating.
- To prevent icing in bowls from hardening, cover them with plastic wrap or stir occasionally if a thin skin forms.
Sprinkle Like a Pro
- No matter which method you choose, if you’re going the route of sprinkles, it’s important to add them immediately after you apply the icing, as the icing does set semi-firm. If you wait too long, the sprinkles won’t adhere to the icing.
Allow Time to Set
- Sugar cookie icing dries to a semi-firm finish in about 10 minutes, but for fully hardened icing, give the cookies up to 24 hours. This is especially important if you plan to stack or transport them.
With these tips, you’re ready to create your best batch of iced sugar cookies that look as good as they taste!

Can I Make This Icing In Advance?
This icing is best used right away for optimal consistency. If you need to make it ahead of time, keep in mind that it will start to set as it sits. You can gently reheat it in the microwave in short intervals (about 5-10 seconds) to bring it back to a spreadable or dippable consistency. Be sure to stir it well after microwaving!
That said, if you prepare the icing too far in advance, it may become too firm, making it much harder to apply smoothly to your cookies. For best results, plan to make and use the icing on the same day.
Can You Freeze Iced Sugar Cookies?
Absolutely! Iced sugar cookies freeze beautifully, making them a great make-ahead option for holidays or special occasions. Once the icing is completely set, arrange the cookies in a single layer on a parchment-lined baking sheet. Freeze them until firm, then transfer them to an airtight container, separating the layers with sheets of wax or parchment paper.
Thaw at room temperature before serving, and they’ll look and taste just as good as freshly made!

- The Best Cutout Sugar Cookies
- Chocolate Sugar Cookies
- Christmas Monster Cookies
- Candy Cane Cookies
- Chocolate Thumbprint Cookies

Ingredients
- 2 cups confectioners’ sugar
- 2 Tablespoons unsalted butter, melted
- 3 Tablespoons whole milk, plus more as needed
- Food coloring (optional)
Instructions
- Sift the confectioners’ sugar into a medium bowl.
- Add the whole milk and melted butter and whisk until smooth. If the icing is too thick, whisk in additional whole milk 1 teaspoon at a time until thinner. If desired, whisk in food coloring.
- Dip cookies into icing or use a spoon to spread it into a thin layer on tops of cookies. Let the cookies sit at room temperature until the icing sets, about 10 minutes.
Kelly’s Notes
- This icing is best used right away for optimal consistency. If you need to make it ahead of time, keep in mind that it will start to set as it sits. You can gently reheat it in the microwave in short intervals (about 5-10 seconds) to bring it back to a spreadable or dippable consistency. Be sure to stir it well after microwaving!
- Iced sugar cookies freeze beautifully. Once the icing is completely set, arrange the cookies in a single layer on a parchment-lined baking sheet. Freeze them until firm, then transfer them to an airtight container, separating the layers with sheets of wax or parchment paper. Thaw at room temperature before serving, and they’ll look and taste just as good as freshly made!
- ★ Did you make this recipe? Don’t forget to give it a star rating below!
Nutrition
Did you try this recipe?
Leave a comment below with your star rating!
This post may contain affiliate links.



Love everything I’ve seen so far I enjoy all your recipes and I love baking all the time. Thank you so much.
You are so welcome, John! I’m so glad you’ve been enjoying the recipes!