Similar to my favorite classic cutout sugar cookies, this Chocolate Sugar Cookies recipe yields a batch of irresistibly soft and chewy treats but with a chocolatey twist. These cookies hold their shape after baking, making them perfect for decorating with your choice of frosting and sprinkles.
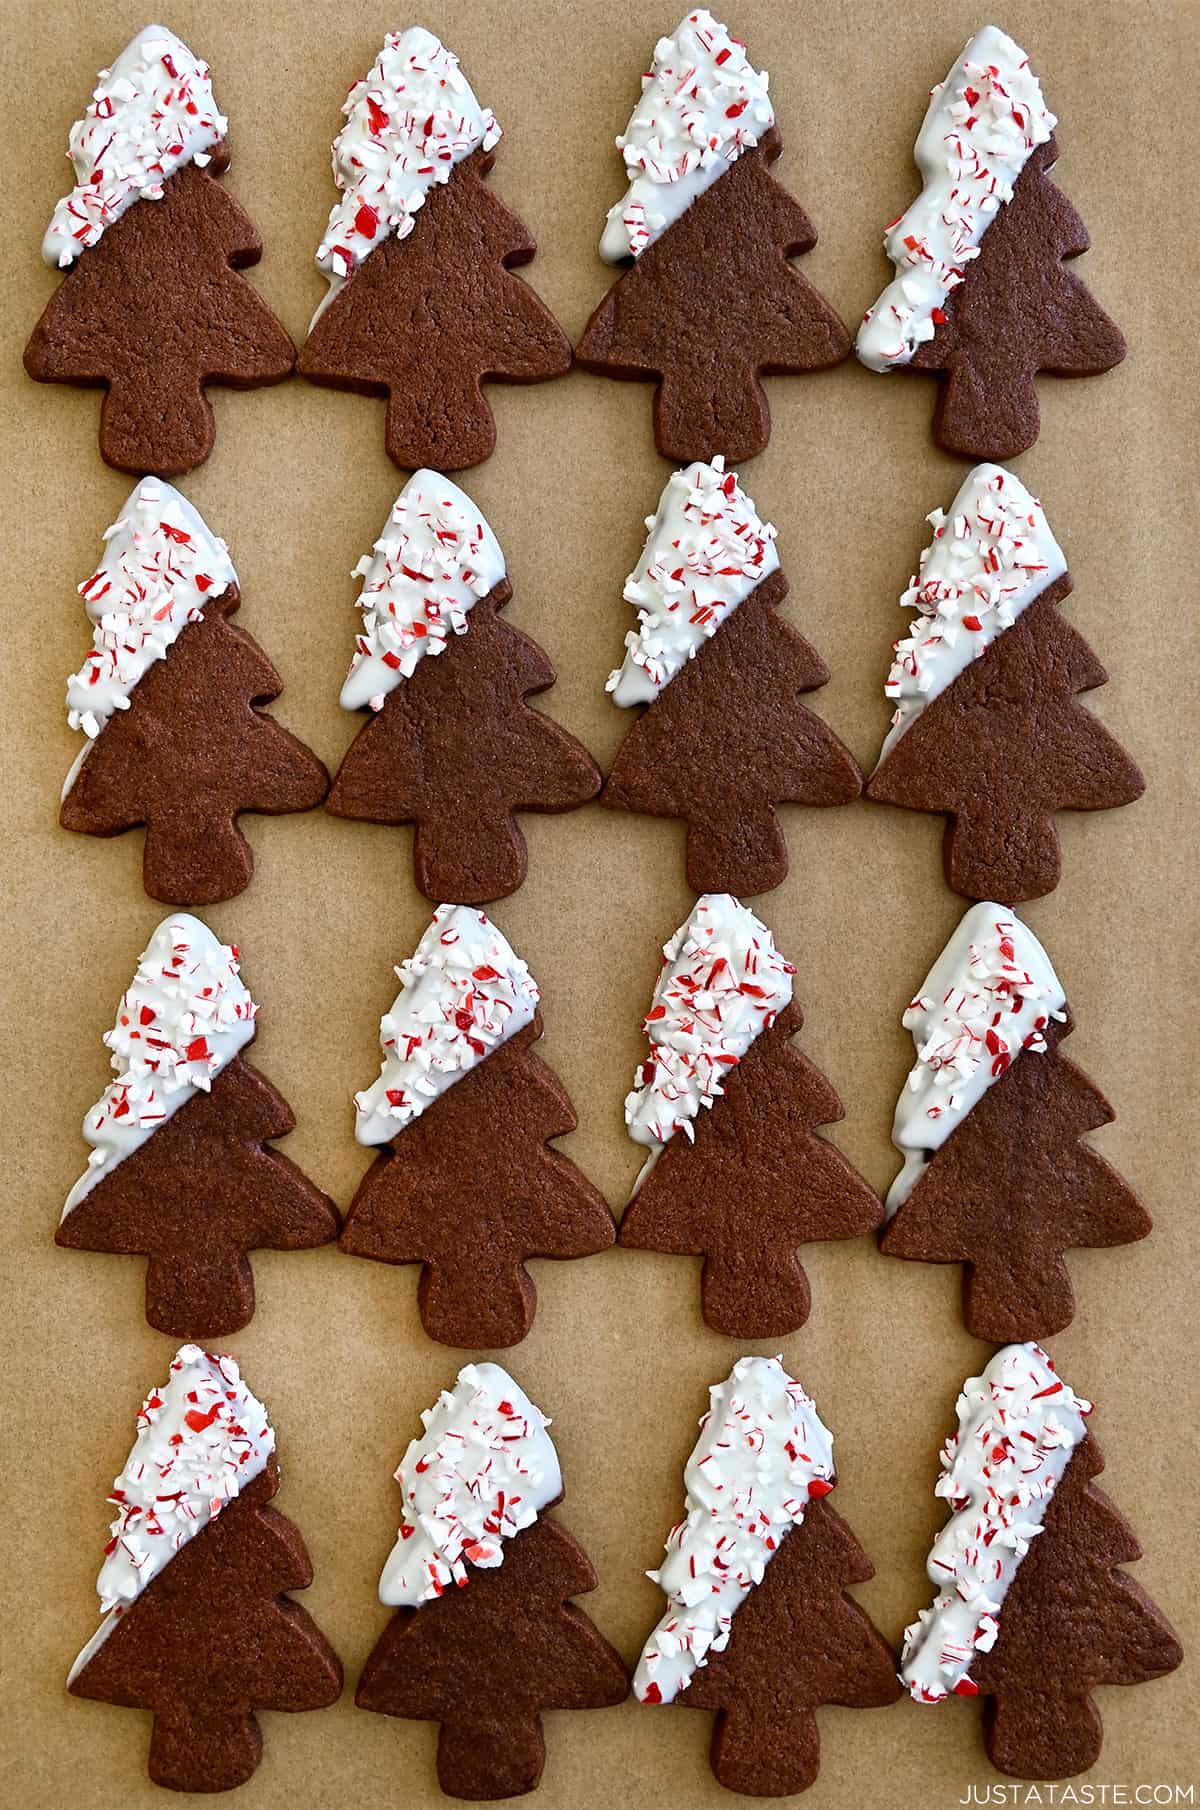
Table of Contents
Whether it’s the holiday cookie season or just a we-need-cookies-ASAP situation, sugar cookies are often my go-to because the decorating options are endless. And endless decorating options = a dessert that can be made festive for any occasion with a few shakes of some sprinkles.
I especially love to make these during the holiday season – dipping them in melted white chocolate and sprinkling them with crushed candy canes. The contrast of the rich chocolate cookies with the sweetness of white chocolate and the peppermint crunch creates a perfect holiday treat. (If you love the combination of white chocolate and peppermint, don’t miss my white chocolate peppermint cookies!).
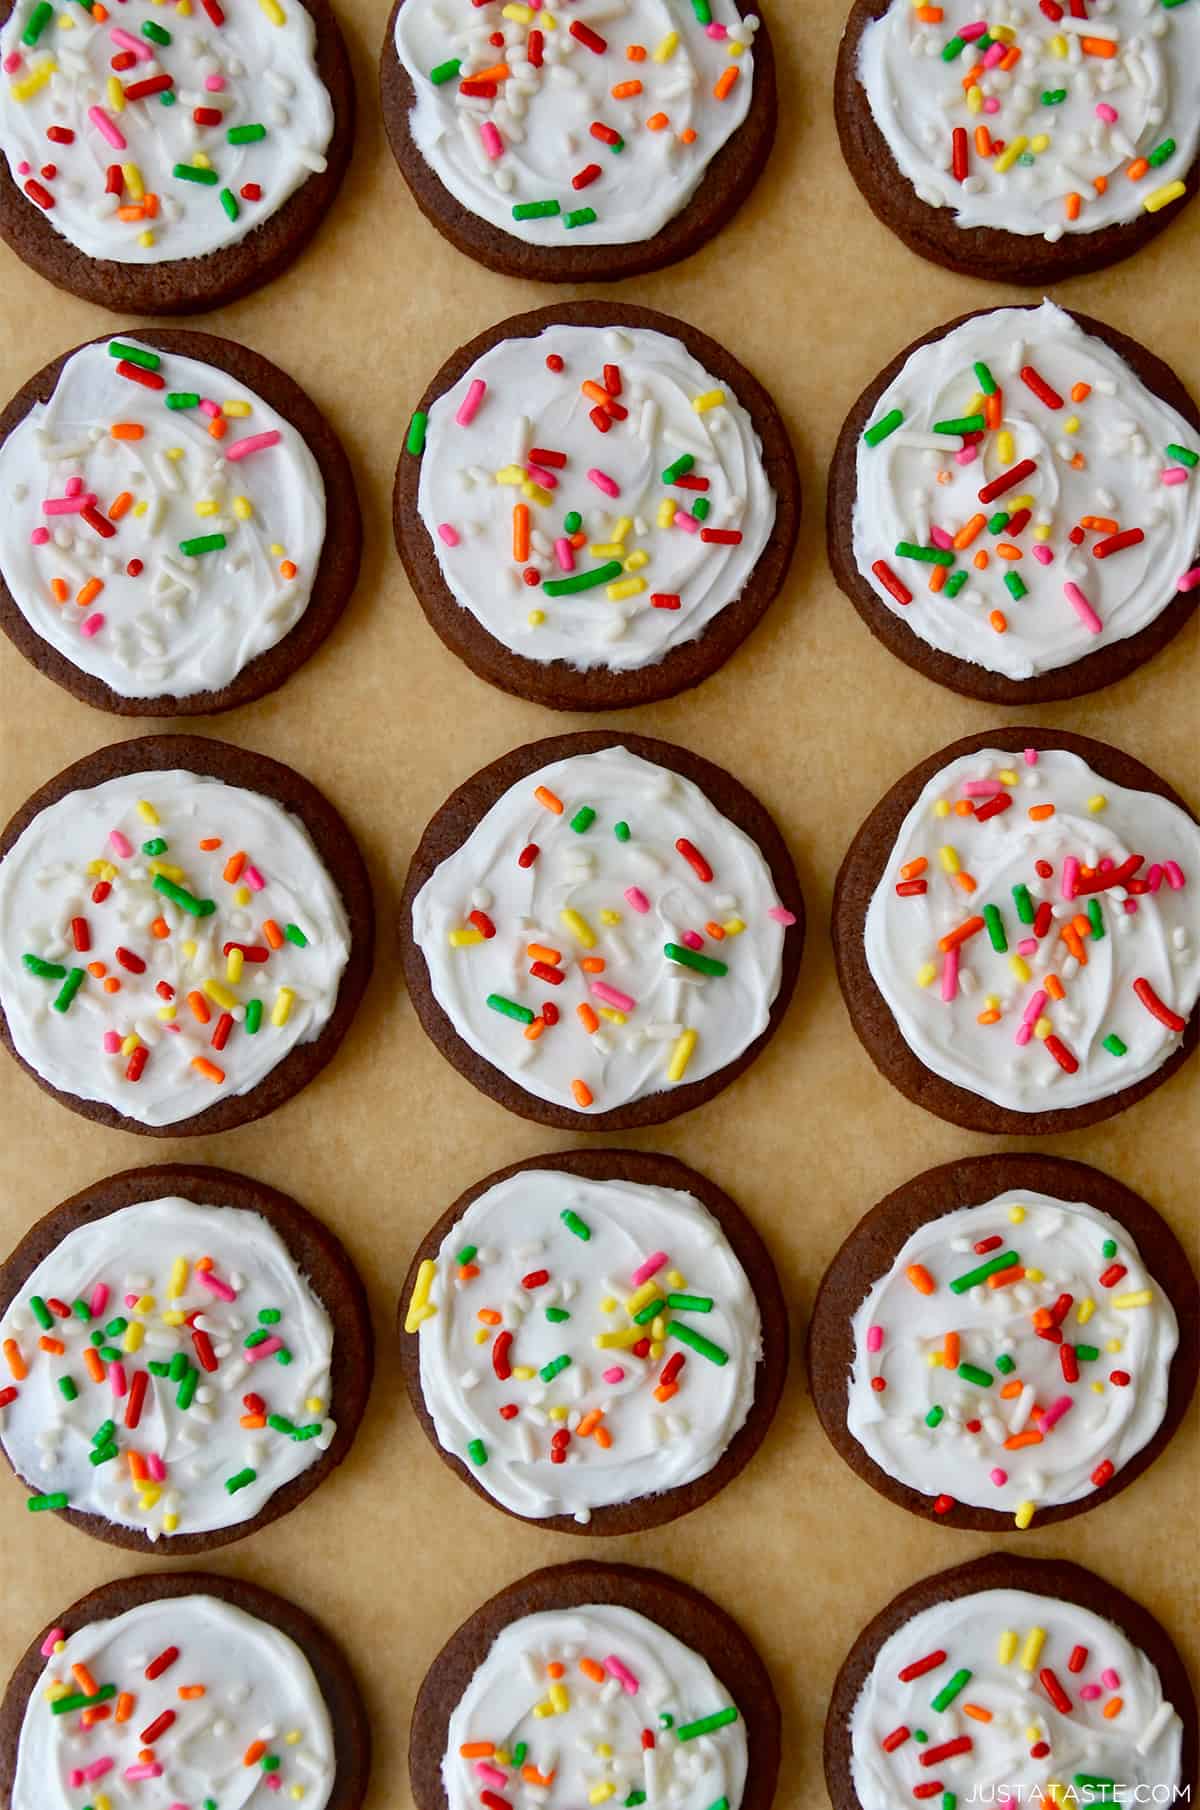
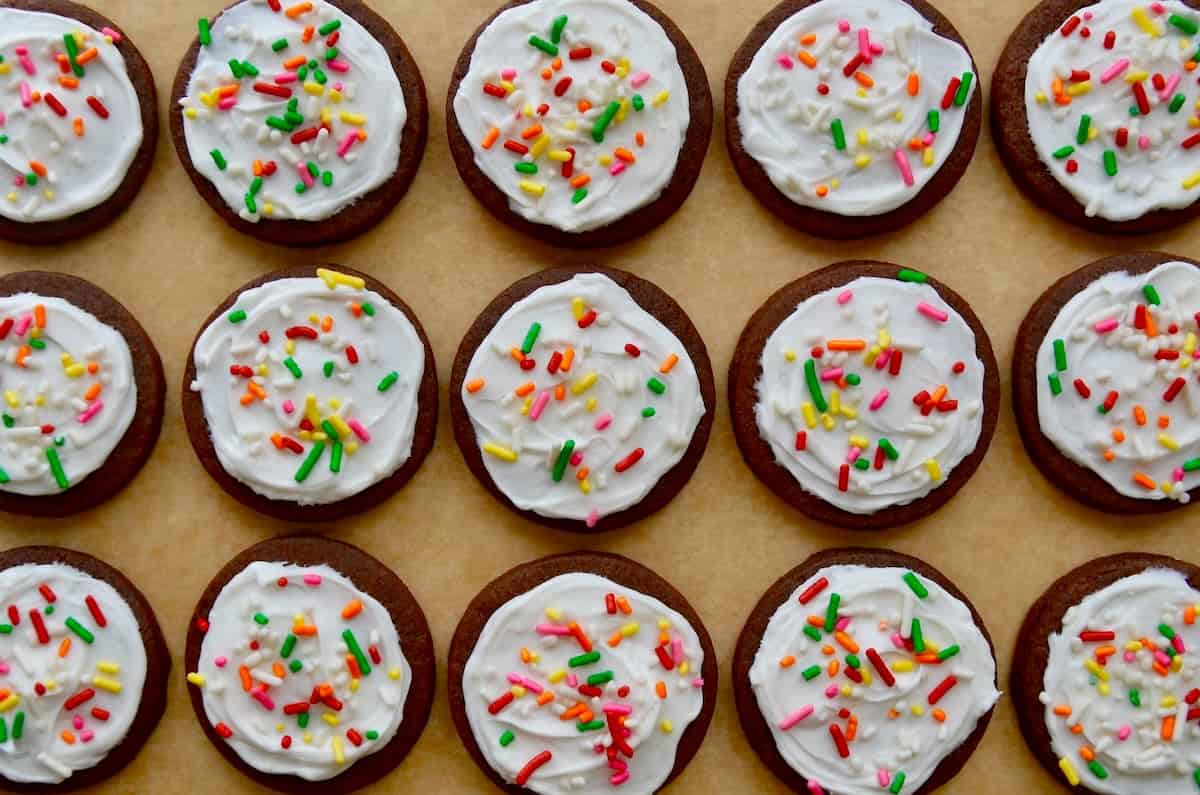
But you could also top them with good ol’ classic vanilla buttercream frosting and rainbow sprinkles, or a simple dusting of confectioners’ sugar. There’s just something about the simplicity of a chocolate cookie paired with powdered sugar that hits all the dessert high notes in my book.
But perhaps the sweetest part of these cocoa-infused cookies is that they can be cut out into any shape imaginable without spreading too much during the baking process. I even use this same dough to make my football cookies, perfect for game day treats!
Enough of the chit-chat, am I right? Let’s get to it! Grab the cocoa powder and preheat your oven for soft, chewy and endlessly festive chocolate sugar cookies!
What’s to Love
- Decadent chocolate flavor. The star of the show is, undoubtedly, the rich cocoa powder. These cookies boast an intense chocolate flavor that’s perfect for satisfying your chocolate cravings.
- Ideal for every occasion. From festive occasions to casual gatherings, these cookies provide a blank canvas for creativity. Decorate them with your favorite frosting and sprinkles to match any theme or season.
- Perfect texture. These chocolatey cookies have a slightly crisp exterior with a wonderfully soft and chewy interior.
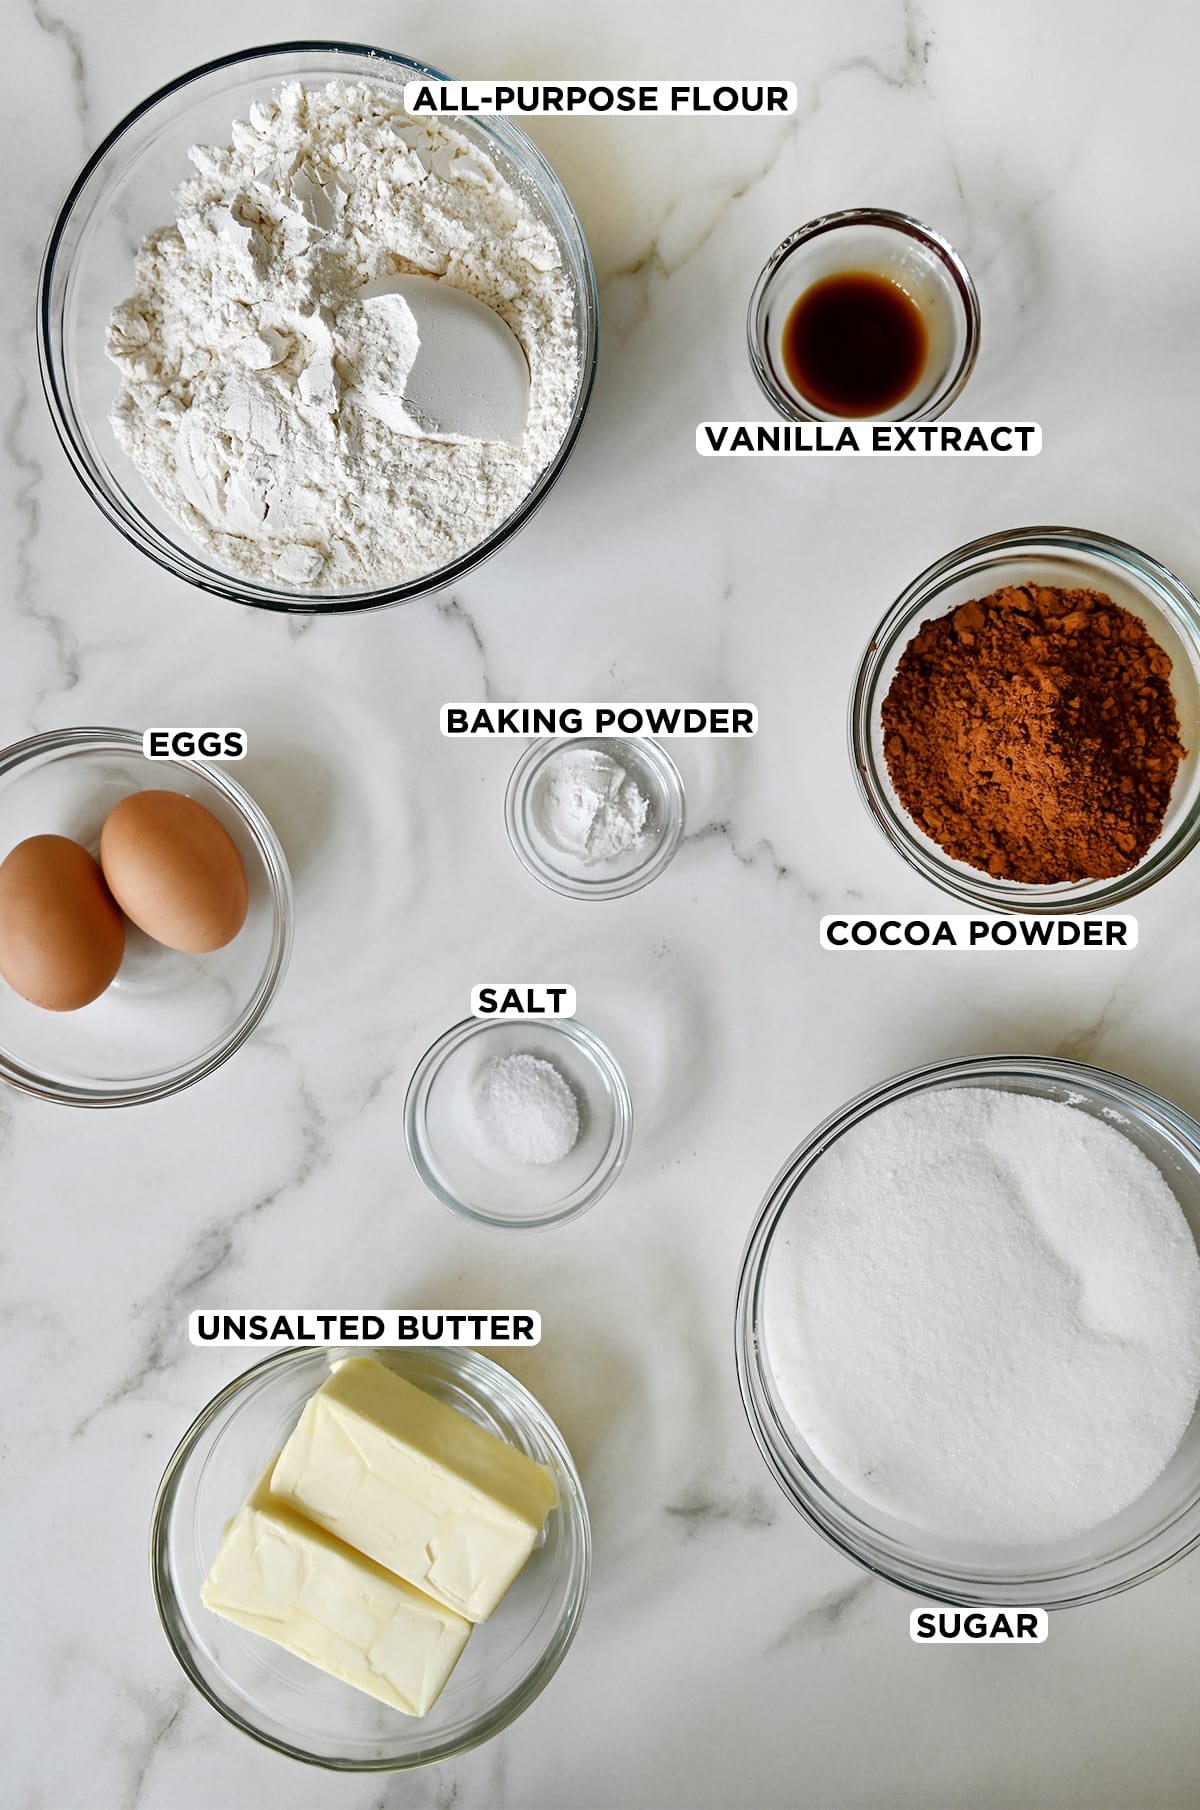
- All-purpose flour: Provides structure and stability to the cookie dough. Measure your flour accurately by spooning it into the measuring cup and leveling it off with a flat edge. Avoid scooping directly from the flour bag, which can result in a packed cup and dry cookies.
- Unsweetened cocoa powder: Introduces a deep chocolate flavor. For an extra smooth texture, sift the cocoa powder before adding it to the dough to eliminate any lumps.
- Baking powder: Acts as a leavening agent, helping the cookies rise and become light and tender. Before you start, check to make sure your baking powder is fresh. To test, mix a small amount with hot water – it should produce bubbles.
- Salt: Enhances the overall flavor by balancing the sweetness and intensifying the chocolate notes. Use fine-grain salt to ensure even distribution throughout the dough.
- Unsalted butter: Allow the butter to come to room temperature for easier creaming. Use high-quality butter for the best flavor.
- Sugar: Cream the butter and sugar together thoroughly to incorporate air into the dough, creating a lighter texture.
- Eggs: Provide structure, moisture and help bind the ingredients together.
- Vanilla extract: Enhances the overall flavor profile with its warm, sweet and aromatic notes. Use pure vanilla extract for the best flavor. If you’re feeling adventurous, consider experimenting with homemade vanilla extract!
See the recipe card for full information on ingredients and quantities.
- Sift together the dry ingredients. In a large bowl, sift together the flour, cocoa powder, baking powder and salt. Set the mixture aside.
- Cream together the butter and sugar. In a large bowl, cream together the room-temperature butter and sugar until light and fluffy.
- Add eggs and vanilla. Add the eggs one at a time, beating between each addition, then add the vanilla extract and continue beating, scraping down the sides of the bowl as needed.
- Incorporate dry ingredients. Gradually add the sifted dry ingredients to the wet ingredients, mixing just until combined.
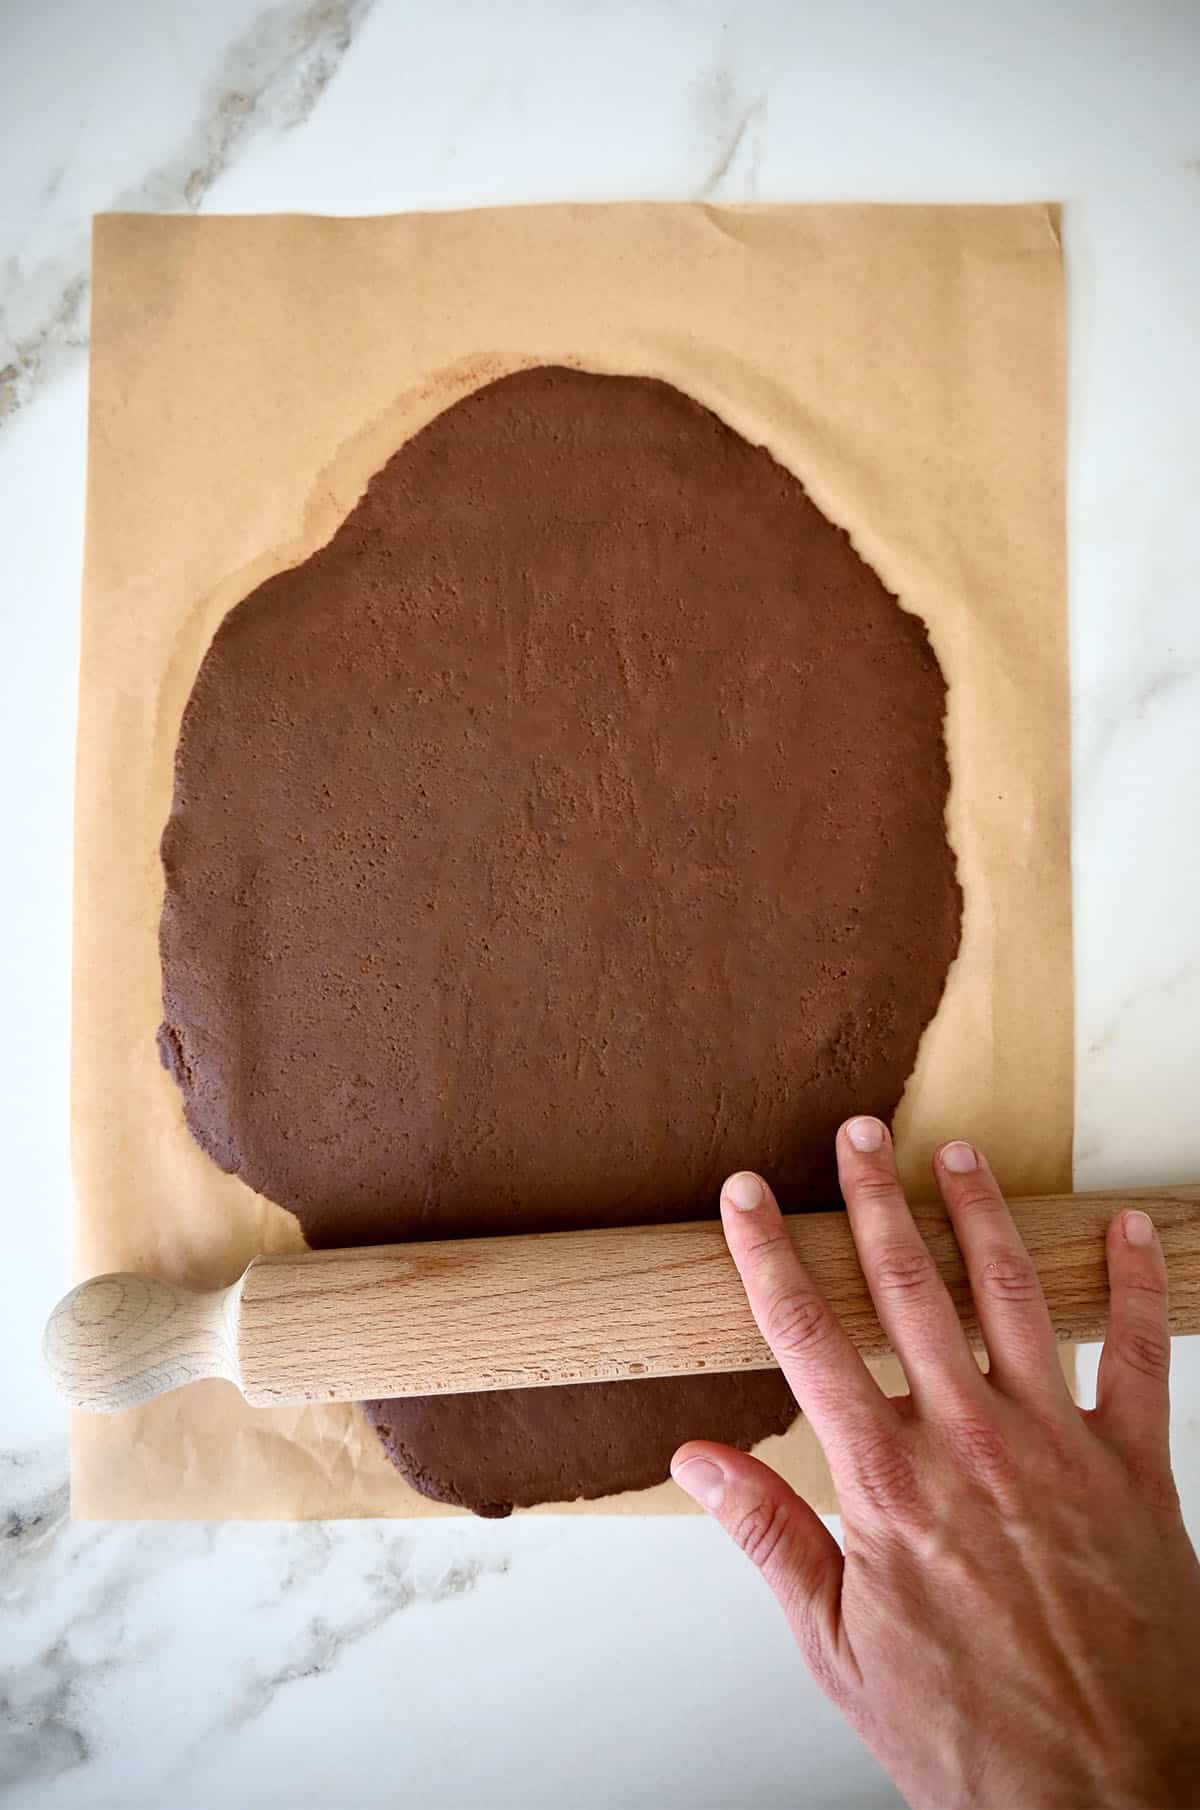
- Chill the dough. Divide the dough in half then roll each half in between two sheets of parchment paper or wax paper until they are about 1/4-inch thick. Slide the sheets of dough onto baking sheets (with the parchment paper) and refrigerate them for a minimum of 2 hours and up to overnight.
The refrigeration prevents the dough from spreading when baked, so don’t skip this step!
- Preheat the oven to 350°F.
- Cut out shapes. Remove the sheets of dough from the fridge and use a cookie cutter to cut out shapes, arranging them about 2 inches apart on baking sheets lined with parchment paper.
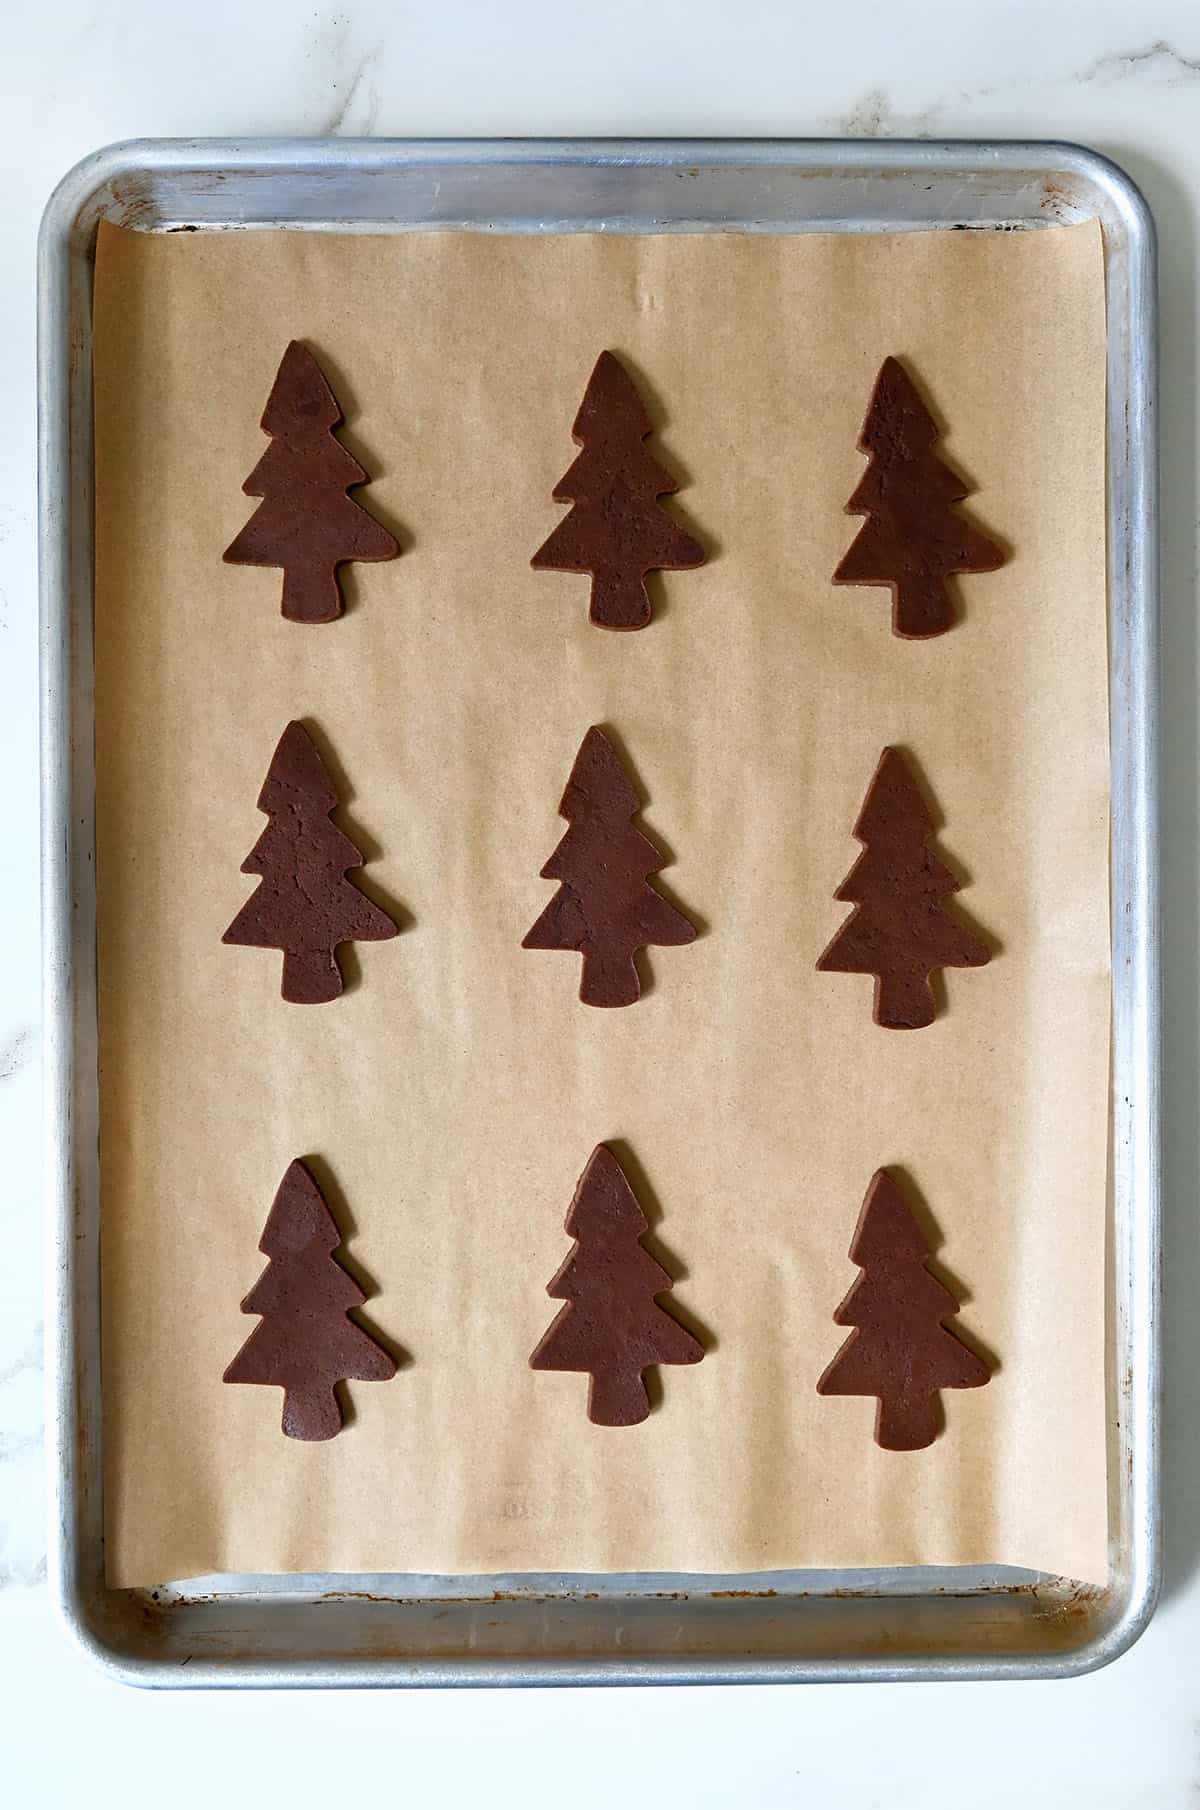
- Bake the cookies for 10 to 12 minutes until they are firm around the edges. They should be set but still soft. Remember, it’s better to underbake slightly; they’ll continue to firm up as they cool.
- Cool on baking sheets. Remove the cookies from the oven and let them cool for 5 minutes on the baking sheets until you transfer them to a rack to cool completely.
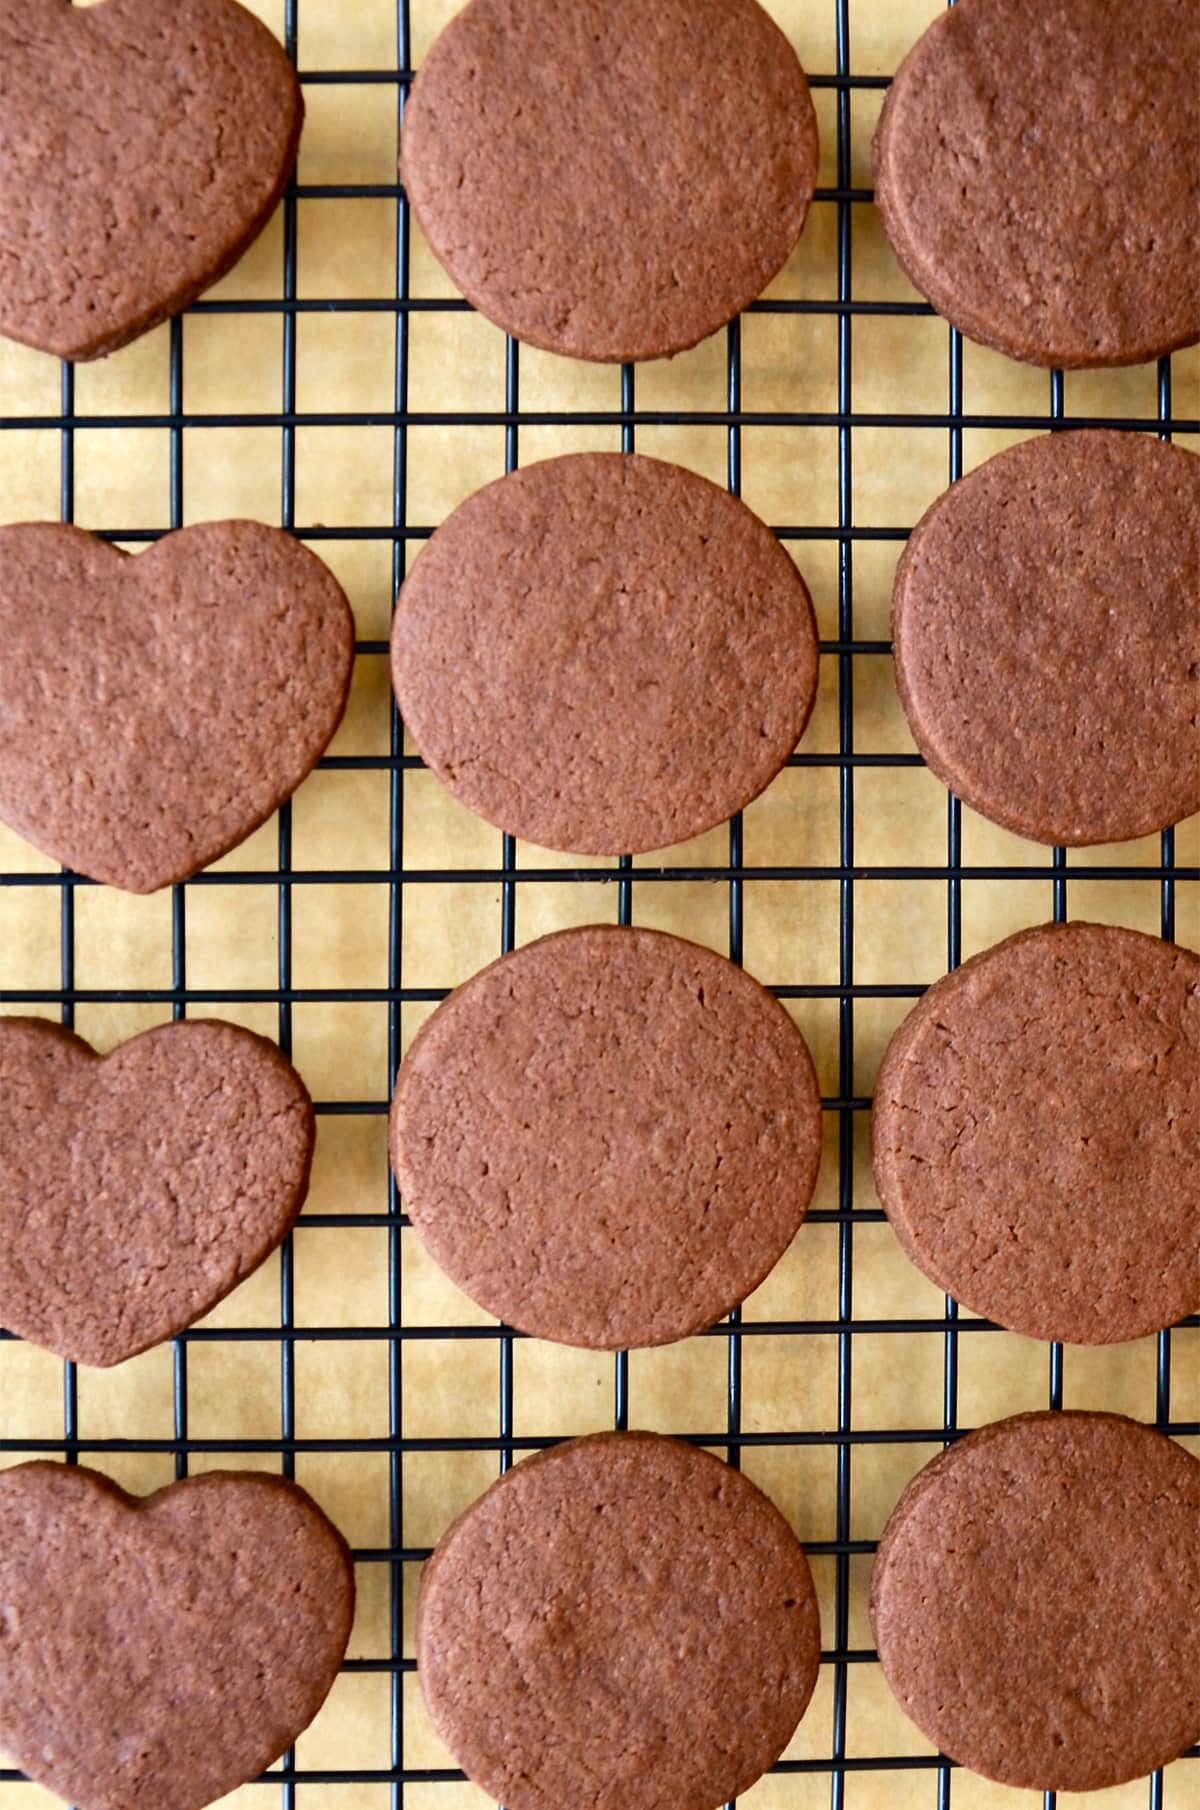
- Decorate. Once completely cooled, decorate the cookies with your favorite sugar cookie icing and sprinkles.
- Start with Room Temp Ingredients: Ensure that your butter and eggs are at room temperature. Room-temperature ingredients mix more evenly and result in a smoother cookie dough.
- Chill the Dough: After mixing the ingredients, refrigerate the cookie dough for a minimum of 2 hours. Chilled dough is easier to handle and reduces spreading during baking, helping the cookies maintain their shape.
- Rolling Even Dough: If you’re ever laying awake at night wondering, “But Kelly, how do I make sure my cookie dough is rolled out evenly?” Then I am so glad you asked! Check out this super nifty trick for how to roll out cookie dough to ensure every batch gets rolled to the exact same thickness.
- Adjust Baking Time for Size: Circles, stars, hearts—the options are plentiful! Just make sure you adjust the baking time based on the size of the cookies you are making.
- Underbake Slightly: It is always better to underbake cookies and then let them sit on the still-hot-from-the-oven baking sheet for a few minutes before transferring them to a rack to cool completely.
Store the cookies in an airtight container at room temperature for up to a week. For longer storage, freeze the cookies (without frosting) and thaw them as needed (see my tips below for freezing!).
Embracing the joy of chocolate sugar cookies becomes even sweeter when you discover that both the cookie dough and the baked undecorated cookies can be stored in the freezer for up to three months! Whether you’re gearing up for festive holiday baking or just want a handy stash for those delightful cravings, this recipe has you covered.
Freezing Cookie dough
Just like slice-and-bake cookies, this cookie dough freezes well.
- Shape into discs. After preparing the cookie dough, shape it into a flat disc. This shape allows for quicker and more even thawing.
- Wrap the cookie dough disc tightly in plastic wrap. Ensure there’s no air exposure to prevent freezer burn.
- Place in a zip-top freezer bag.
- Freeze for up to 3 months.
- Thaw overnight in the refrigerator. When ready to bake, transfer the wrapped dough to the refrigerator and let it thaw overnight. Once thawed, proceed with the cookie-cutting and baking as usual.
Freezing Baked Cookies
I recommend freezing baked cookies without frosting and decorations.
- Cool completely. Allow the baked chocolate sugar cookies to cool completely at room temperature.
- Arrange in a single layer on a baking sheet or tray. Ensure they aren’t touching to prevent sticking.
- Put the tray in the freezer for a few hours or until the cookies are frozen solid. This individual freezing prevents them from sticking together.
- Once the cookies are frozen, transfer them to a freezer-safe bag or airtight container. Add parchment paper between layers to prevent cookies from sticking.
- Thaw at room temp. To enjoy, remove the desired number of cookies and let them thaw at room temperature. You can also warm them briefly in a preheated oven for a freshly baked feel.
Natural Cocoa Powder vs Dutch-Process
I get this question a lot, “Which cocoa powder should I use?” I’m so glad you asked! Natural cocoa powder is acidic and has a slightly fruity and robust chocolate flavor. If the recipe calls for baking soda, natural cocoa powder is the preferred choice. It reacts with the baking soda to create carbon dioxide, providing leavening and a lighter texture to the cookies.
On the flip side, Dutch-processed cocoa powder undergoes treatment with an alkali to neutralize its acidity, resulting in a milder, smoother flavor. It shines when your recipe involves baking powder. Usually when a recipe calls for baking powder, Dutch-processed cocoa powder is the perfect choice.
While you can occasionally swap one for the other, it may impact the overall taste and texture of your baked goods. In this particular recipe, despite the use of baking powder, I recommend sticking with natural cocoa powder for the best results.
Common Recipe Questions
If your dough is sticky, it may be too warm. Pop it back into the refrigerator for a while before rolling.
Cookies should be set at the edges but still soft in the middle. They continue to firm up as they cool on the baking sheet.
If the dough becomes too warm during rolling, cookies may lose their shape. Work on a cool surface, and return the dough to the refrigerator if needed.
Ready to bake up a batch? Grab your favorite cookie cutters and get started! And for even more cookie success, check out my Cookie Baking Tips guide for all my essential tips and tricks!

Ingredients
- 2 3/4 cups all-purpose flour
- 3/4 cup unsweetened cocoa powder
- 1 teaspoon baking powder
- 1/2 teaspoon salt
- 1 cup unsalted butter, at room temp
- 1 3/4 cups sugar
- 2 large eggs
- 1 Tablespoon vanilla extract
- Frosting and sprinkles, for decorating (See Kelly’s Notes)
Instructions
- In a large bowl, sift together the flour, cocoa powder, baking powder and salt. Set the mixture aside.
- In the bowl of a stand mixer fitted with the paddle attachment, cream the butter and sugar until light and fluffy, about 3 minutes.
- Add the eggs one at a time, beating between each addition, then add the vanilla extract and continue beating, scraping down the sides of the bowl as needed.
- Add the flour mixture and beat until the dough is smooth. Divide the dough in half then roll each half in between two sheets of parchment paper or wax paper until they are about 1/4-inch thick. Slide the sheets of dough onto baking sheets (with the parchment paper) and refrigerate them for a minimum of 2 hours and up to overnight. (The refrigeration prevents the dough from spreading when baked, so don’t skip this step!)
- Preheat the oven to 350°F.
- Remove the sheets of dough from the fridge and use a cookie cutter to cut out shapes, arranging them about 2 inches apart on baking sheets lined with parchment paper. Bake the cookies for 10 to 12 minutes until they are firm around the edges. Remove the cookies from the oven and let them cool for 5 minutes on the baking sheets until you transfer them to a rack to cool completely. Decorate as desired with frosting and sprinkles or a dusting of confectioners’ sugar.
Kelly’s Notes
- Before you start, ensure that your butter and eggs are at room temperature. Room-temperature ingredients mix more evenly and result in a smoother cookie dough.
- The scraps can be re-rolled and cut out, however they may need to be refrigerated again.
- Adjust baking time for size. Circles, stars, hearts—the options are plentiful! Just make sure you adjust the baking time based on the size of the cookies you are making.
- It is always better to underbake cookies and then let them sit on the still-hot-from-the-oven baking sheet for a few minutes before transferring them to a rack to cool completely.
- Need decorating inspiration? Check out my recipe for the best Vanilla Bean Buttercream Frosting!
- Both the cookie dough and the baked undecorated cookies can be stored in the freezer for up to three months.
- ★ Did you make this recipe? Don’t forget to give it a star rating below!
Nutrition
Shoutout
Did you try this recipe?
Share it with the world! Mention @justataste or tag #justatasterecipes!
This post may contain affiliate links.
Recipe adapted from Joy of Baking.






I made these cookies with my 4 year year old who did most of the work. We followed the directions exactly except for using 1:1 gluten free baking flour instead of regular. The cookies were beautiful cut outs with minimal spread and are so delicious! My 4 year old was beside herself exciting baking and decorating these. Thanks for the wonderful recipe!
I’m so thrilled to hear that you and your four year old enjoyed the recipe, Heather!!
Thanks
Is the cocoa natural or dutch-processed?
Natural!
Can you chill the dough then form in small balls before baking rather than rolling and cutting?
That works!
Since I don’t have much counter space for rolling out cookie dough, I like to form dough into a log(s) and, wrap in wax paper, and chill thoroughly. Then if I don’t want to bake all of the dough at once, I’ll freeze part and then use thread or dental floss to “slice” the dough and bake as directed. Works great for slicing cinnamon roll dough too!
Great advice, Linda! Thanks so much for your comment :)