I have a confession to make. I’ve been eating out at restaurants a lot recently. And I mean a lot.
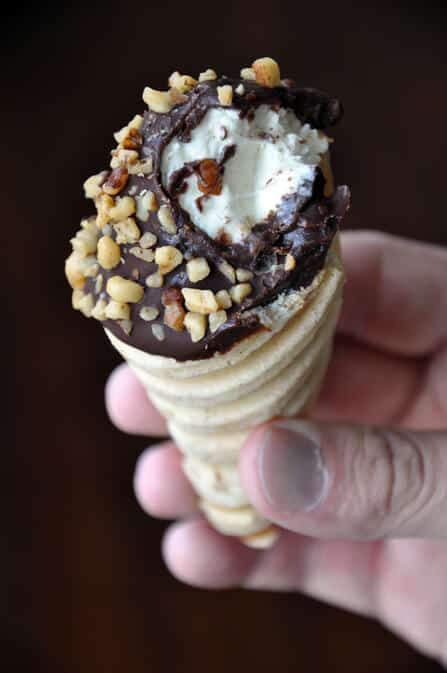
Not that I need an excuse to sample New York City’s bustling food scene, but my brother is moving to Chicago in a week, which means I’m losing my culinary partner in crime. Our latest meal landed us at Burger & Barrel Winepub on the corner of West Houston and Mercer, where we sampled tuna tartare, short rib tacos, the award-winning Bash-Style Burger with bacon jam and caramelized onions, crispy tater tots and the sweet cap to our savory gluttony: Miniature Ice Cream Drumsticks.
It took me three bites to down the entire cone. And the second I got home I was thinking about how I wanted to have another. Scratch that. I needed to have another. So I started searching and arrived at Panini Happy, authored by my fellow San Diegan, the talented Kathy Strahs. Homemade waffle cones, no waffle iron required? I’m in!
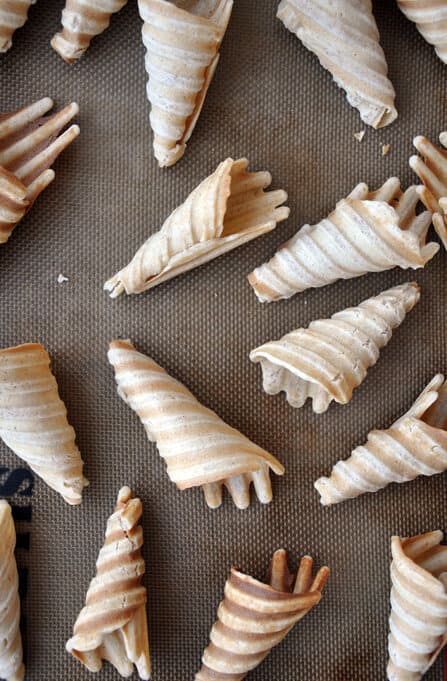
I preheated my panini press, cranked out two dozen or so mini waffle cones and then filled and decorated until I could no longer stand the temptation. We all know a watched pot won’t boil, but what about a watched ice cream cone in a freezer? The second the chocolate hardened I was handing out the cones to my taste-testers. Crunchy, creamy and with a salty-sweet bite, the drumsticks were the perfect blend of flavors and textures right down to the very last lick.
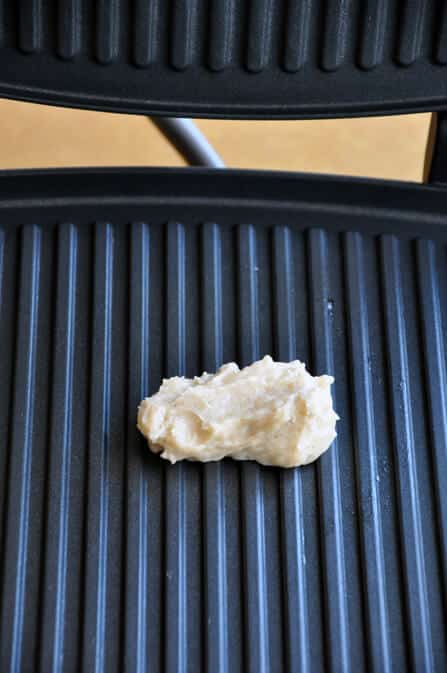
The best way to get a circular cone is to start with the batter in the shape of a brick.
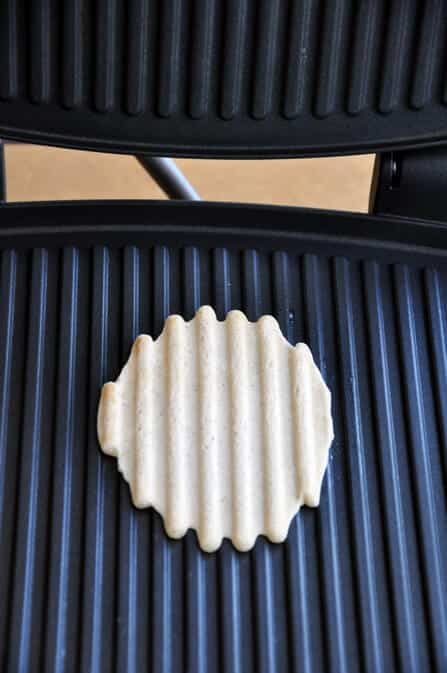
The batter will grow more in length than in width, resulting in a circular waffle.
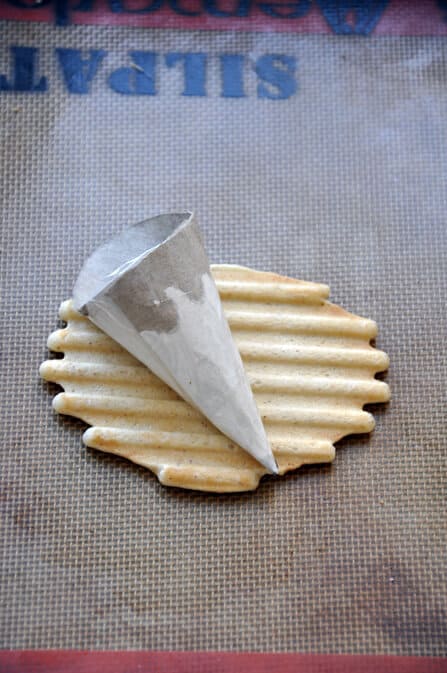
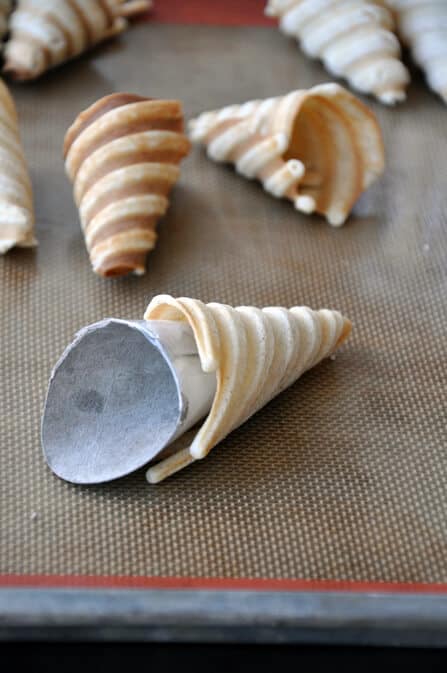
You can make a cone mold using any sort of pliable cardboard. (I made mine from a sandwich bag box.) But the key is to work very quickly to form the cones while they’re still hot off the press.
Allow the formed cones to harden around the mold for 30 seconds and then repeat the process until you have used all of the batter.
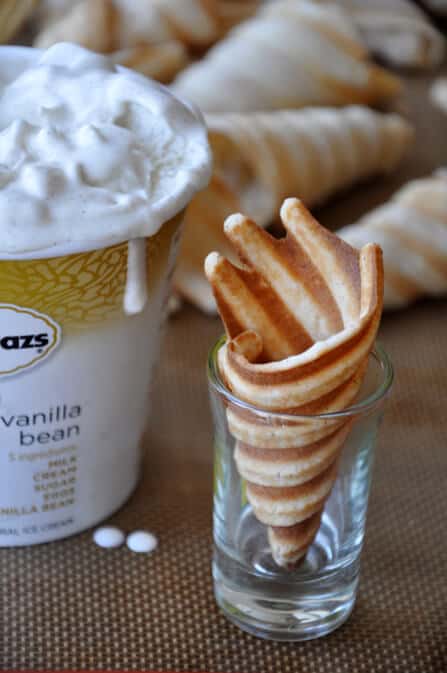
I microwaved my favorite store-bought ice cream for 15 seconds so that it was just soft enough to scoop. It’s also easiest to fill the cones by propping them up in a shot glass.
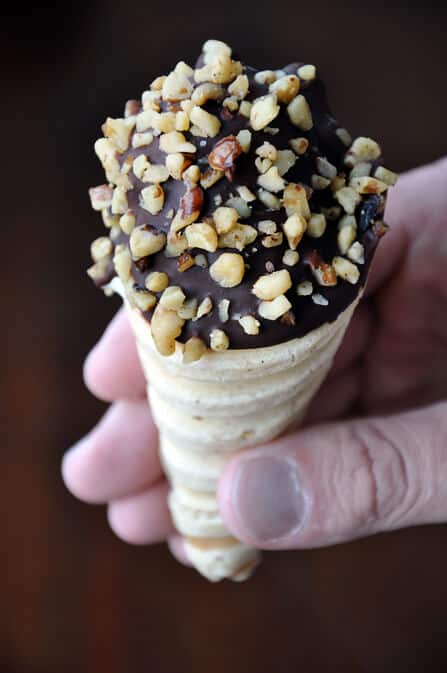
The frozen cones go for a quick dip in a chocolate bath and then get doused with toppings. And in case you’re wondering why I stopped short at chopped nuts and toasted coconut for garnishes, it’s because my rainbow sprinkles ended up here…
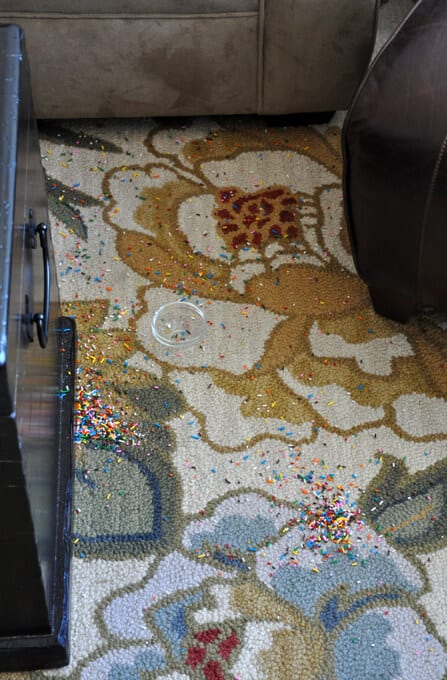
…ground into my living room rug. Party foul or not, my newfound love of homemade waffle cones isn’t going to be a one-post wonder. I have even bigger dreams for Mr. Panini, so stay tuned for a special confectionery throwback circa 1999! And in the meantime, I’d love to know: What other nontraditional things do you make on your panini press?

Craving more? Sign up for the Just a Taste newsletter for a second fresh serving of content straight to your inbox each week! And stay in touch on Facebook and Twitter for all of the latest updates.
Ingredients
For the waffle cones:
- 1 cup heavy cream
- 1 1/2 teaspoons vanilla extract
- 1 1/2 cups powdered sugar
- 1 1/2 cups all-purpose flour
- 1/4 teaspoon ground cinnamon
- 1 tablespoon cornstarch
For assembly:
- 1 1/2 cups semisweet chocolate chips
- 5 Tablespoons unsalted butter
- 2 pints vanilla ice cream (Recommended: Häagen-Dazs Five, vanilla bean)
Toppings:
- chopped nuts, toasted coconut, sprinkles or toffee bits
Instructions
- In the bowl of a stand mixer fitted with the whisk attachment, whip the heavy cream with the vanilla extract on medium-high speed until mousse-like, about 5 minutes.
- Sift together the powdered sugar, flour, cinnamon and cornstarch in a separate bowl then gently fold the dry mixture into the wet until it is fully incorporated. Cover the bowl with plastic wrap and let it sit at room temperature for 30 minutes.
- Heat the panini press to medium-high heat (or 375°F).
- Place a heaping tablespoon of batter in the center of the panini press, close the lid and cook the waffle for about 90 seconds.
- Quickly remove the waffle from the press and shape it around your cone mold, pressing together the bottom point to close the tip of the cone. Allow the cone to cool around the mold for 1 minute. Repeat the process with the remainder of the batter.
- Microwave the ice cream for 15 seconds, or just until it is easy to scoop.
- Fill each cone with ice cream, placing the filled cones in the freezer as you work. Freeze the cones for at least 30 minutes.
- Bring a large saucepot of water to a boil, then add the chocolate chips and butter to a smaller saucepot and hold it over the larger to create a double boiler. Use a spatula to stir together the chocolate and butter until it is fully melted and smooth.
- One by one, dip the frozen cones into the melted chocolate and garnish them immediately with your toppings of choice. Return the dumsticks to the freezer for 15 minutes before serving.
Kelly's Notes:
- To prevent the ice cream from dripping out of the bottom of the cones, drop a few chocolate chips or nuts into the cone before filling it.
- Some freezer drawers have grates, which are perfect for holding the ice cream cones as they freeze. Otherwise, lay them flat on a sheet tray.
- The chocolate will be very hot, but the key is to make sure the filled cones are frozen solid so that the ice cream doesn't melt when it touches the chocolate.
- Immediately garnish your dipped cones with toppings, as the chocolate will dry in an instant.
- ★ Did you make this recipe? Don't forget to give it a star rating below!
Nutrition
Shoutout
Did you try this recipe?
Share it with the world! Mention @justataste or tag #justatasterecipes!
This post may contain affiliate links.
Waffle cone recipe adapted from Panini Happy. Drumstick recipe inspired by Chef Josh Capon of Burger & Barrel Winepub.

These are perfection!
Thank you so much, Jane!
I’m making ice cream tacos at the restaurant I work at as a pastry chef in Denver. I’m using a pizzelle press for the taco shells and having trouble getting them to stay crunchy when I freeze them. Any suggestions? I’ve tried subbing corn starch for part of the flour and decreasing the milk which helped. But they still aren’t quite where I want them.
Also, for dipping these kind of treats in chocolate, I recommend a blend of 5 oz chocolate to 2 oz cocoa butter. It makes a fantastic, all natural, magic shell.
Hi Xan! I’m not entirely sure what would make the shells stay crispy, but are you allowing them to cool completely before you freeze them? Perhaps ensuring that they’re cool will eliminate any excess moisture before they hit the deep freeze. Just a thought! And thanks for your tip on the magic shell :)
I just recently made THE best ice cream (chocolate recipe from The Perfect Scoop) and now I think I need to make my own cones to go along!
I wonder if you could use a Foreman grill…?
A mini marshmallow placed in the bottom of the cone is another option to avoid dripping ice cream.
The only thing missing is the chocolate plug in the bottom….maybe you could melt some chocolate and pour it in the cone before you put the ice cream in it. That is my favorite part of drumsticks!!!! They even have a new one that has extra chocolate in the bottoms lol.
I love making drumsticks at home, but I have to buy the already made cones, well I guess I should say I use to have t buy them! I’ll be trying this out soon :)
These are just ridiculously cute, perfect “twist” on the Cone!
I tried making these today and I had trouble with the batter. They turned out thick and I couldn’t roll them without cracking them. I’m using a Cusinart Griddler panini maker…
Hi Melissa,
Thanks so much for your comment. Did you have your griddler at 375 degrees? It has to be relatively hot to cause the batter to spread thinly and be able to roll. Hope this helps!
These are so incredible! I must find time to make them before summer is over :)
How creative! I wish I had a panini press now hehe.
I remember reading about kathy’s version on Panini Happy, and had promised myself to make them but completely forgot. Thanks for the reminder and a mouth-watering post!
So glad I could serve as a reminder! Kathy is so amazingly talented, and the second I saw these I knew I just had to try them (dipped in chocolate, of course).
Okay, I cannot get home fast enough from my vacation to make these. I adore all things mini and dipped in chocolate!
You will love these then, Amnah! They were so delicious. And I’m a huge fan of mini desserts. Just a couple bites satisfies the sweet tooth.
WOW, these look so professional and just utterly perfect, you could never tell that you made them on a panini press! How utterly gorgeous, and completely addicting im sure :)
Addicting, indeed! I may or may not have had five …
It’s a great idea, and it sounds really delicious!!
The best part is that I can divide the ingredients to make less cones. I have to try this recipe!
This is a great idea! Actually there is a patisserie in Budapest – the very famous Gerbaud http://bit.ly/pbiQ45 – that make their drumsticks too. They’re very delicious!
What an ingenious idea!! These are so gorgeous and creative…I’m going to have to try to make them when our kitchen it up and running again. What’s not to love about whimsical gourmet desserts like this? :)
It takes a bit of time to roll each of the cones, but they have the absolute best flavor unlike any packaged cones I’ve ever tried. I promise they are well worth the work!
Oh my goodness, Kelly – these look SO good! I can’t wait to make these cones again next weekend, drumstick-style!
All thanks to your inspiration, Kathy!