Preheat your oven for the best Salted Dark Chocolate Chunk Cookies that are loaded with rich, melty chocolate and topped with a sprinkle of sea salt. These cookies promise to be the softest, chewiest treats you’ve ever tasted! And the best part? No need to chill the dough!
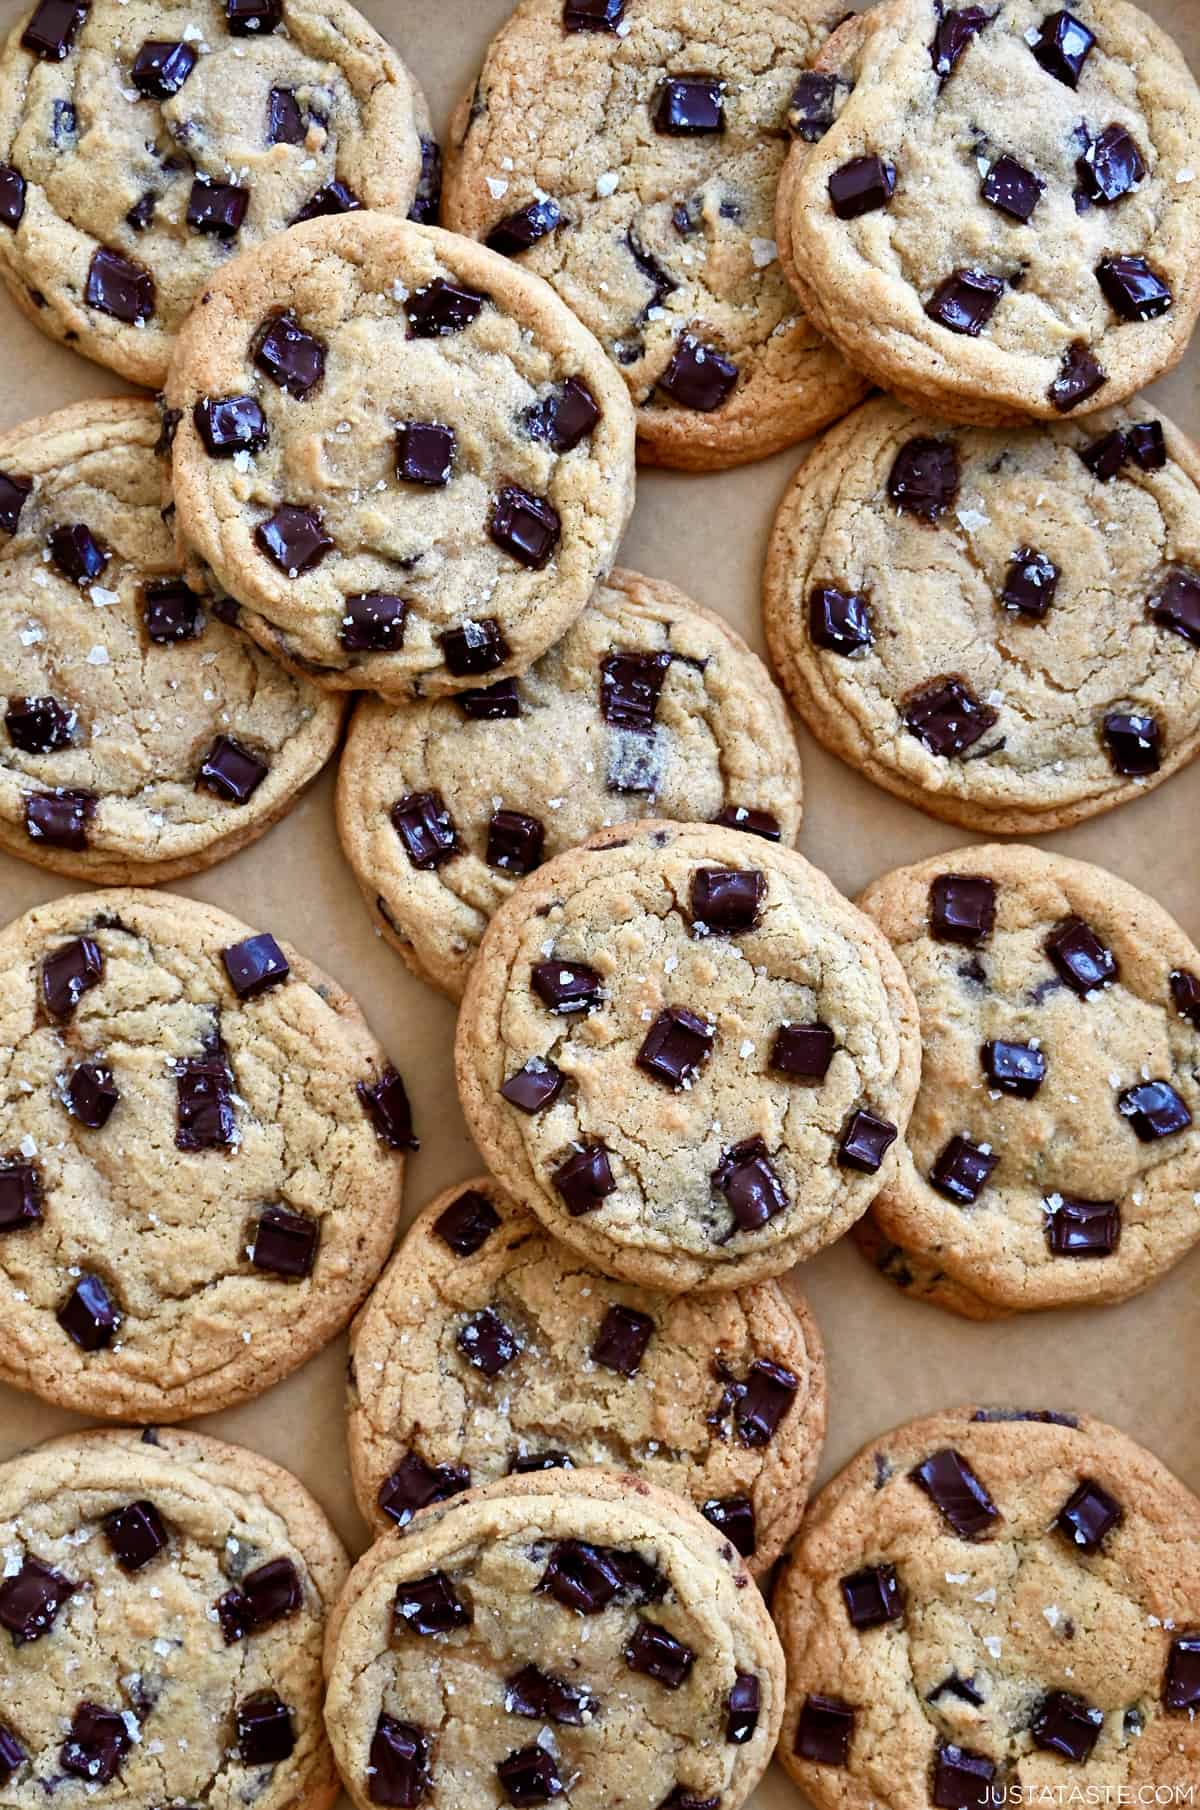
Table of Contents
It’s no secret that chocolate chunks are my all-time favorite mix-in. From banana chocolate chunk muffins and peanut butter cookies to chewy cookie sticks and chocolate chunk scones.
But today, we’re focusing on one of my all-time favorites: chocolate chunk cookies. The chocolate chunks create pockets of gooey, melty goodness throughout the cookie for an incredibly satisfying and indulgent treat.
Why You’ll Love ‘Em
- Jumbo, bakery-style cookies.
- Rich chocolate flavor. If you love chocolate, this is the recipe for you!
- Soft and chewy texture.
- Easy to make. With just a few simple ingredients and some basic baking skills, you can whip up a batch of these delicious cookies in no time.
- No dough-chilling required.
- Topped with crunchy large-flake sea salt.
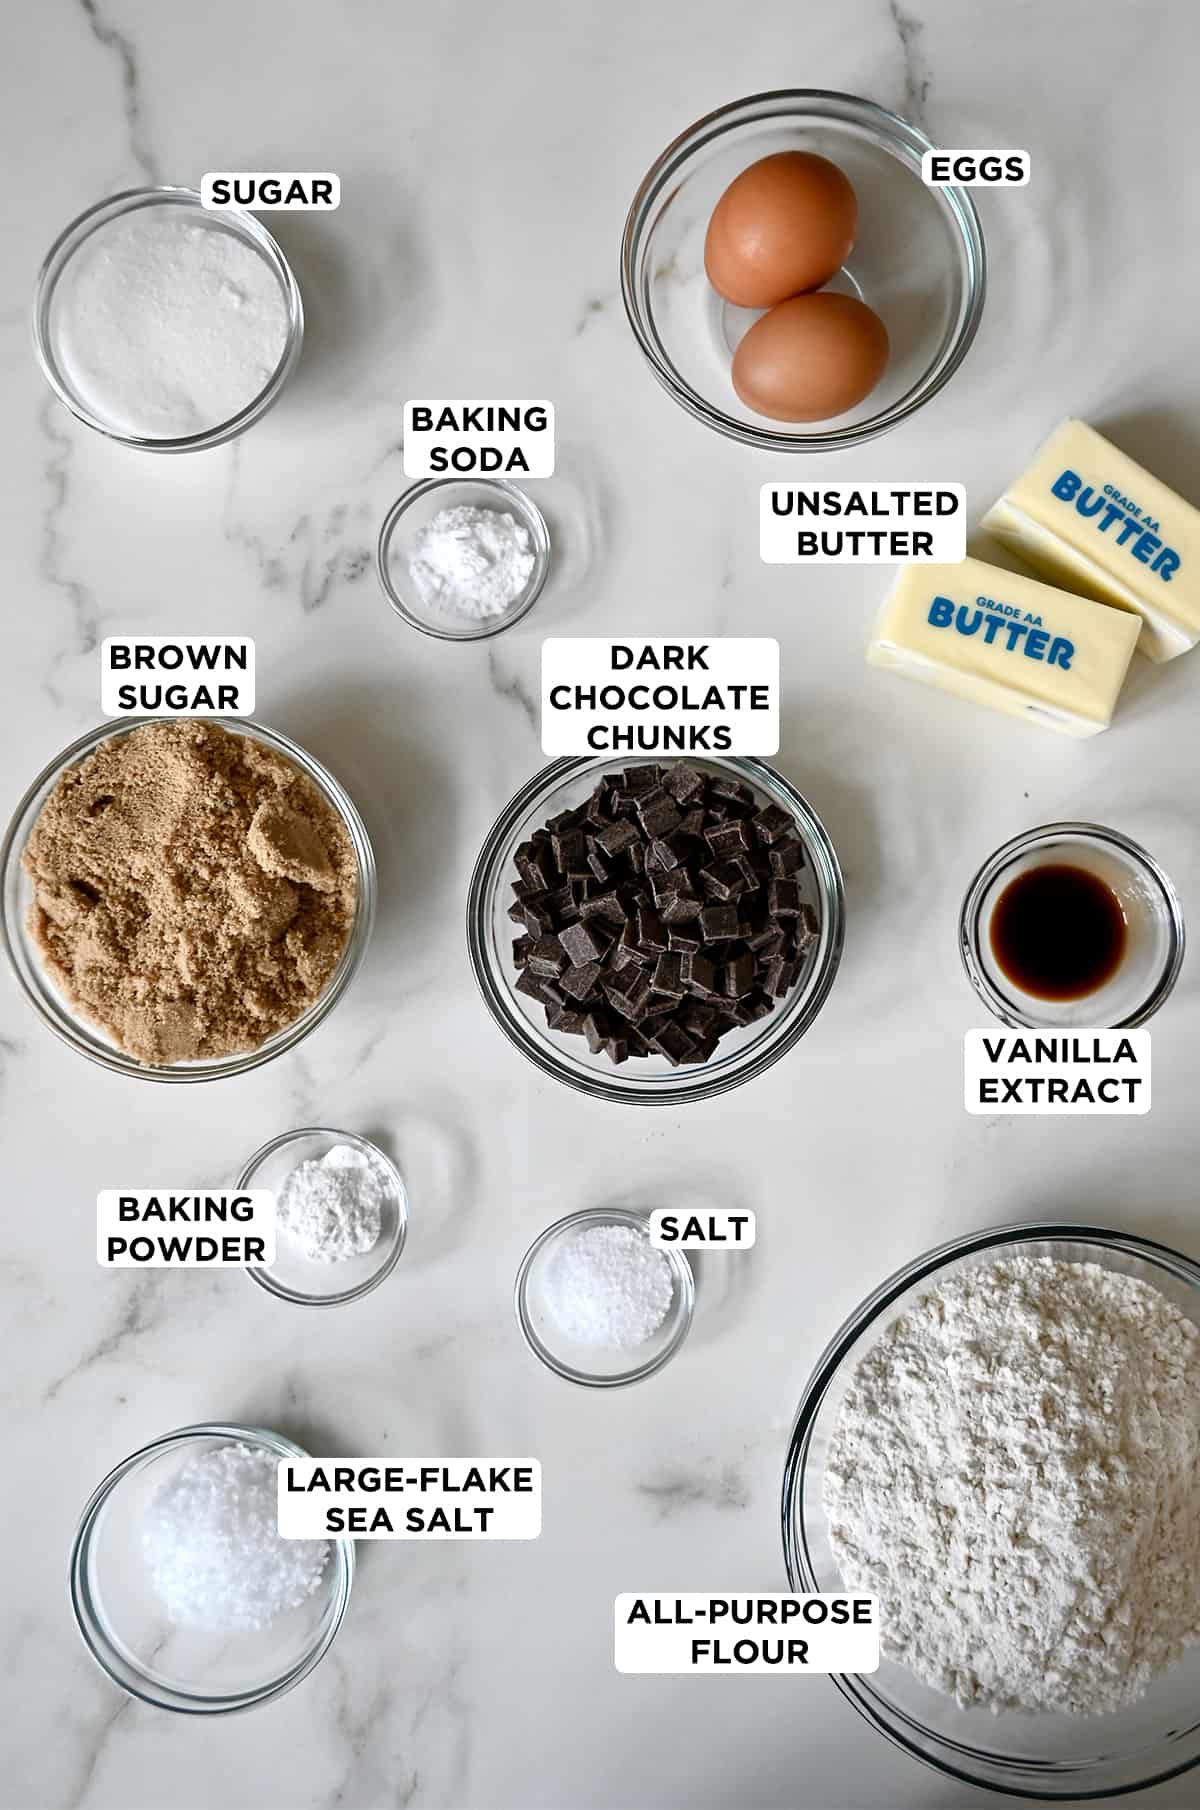
- Unsalted butter: Be sure to use room-temperature butter for easier creaming.
- Sugars: You’ll need both white and light brown sugars. White sugar (a.k.a. granulated sugar), provides sweetness to the cookie dough and helps the cookies spread and crisp up in the oven. Brown sugar adds to the soft and chewy texture of the cookies by helping to retain moisture.
- Eggs: Because this dough doesn’t require any chilling, it’s important to use cold eggs. This helps prevent the cookies from overspreading while baking.
- Vanilla extract: We’re using a full tablespoon in this recipe for a rich and complex flavor profile. Have you ever made homemade vanilla extract? It’s easier than you think!
- All-purpose flour: Provides structure and texture to the dough. Check out my simple tip for accurately measuring flour to guarantee consistent baking results every time.
- Baking powder & baking soda: Using both leaveners helps to ensure that the cookies rise properly, have a fluffy texture and are evenly cooked throughout. It also helps to prevent them from becoming too dense or flat.
- Kosher salt: Balances out the sweetness and enhances the flavor of the chocolate. I prefer to use kosher salt when baking because of its larger grain size, which dissolves more slowly than table salt ensuring a more uniform flavor. However, you can sub ¼ teaspoon table salt if that’s what you have in your pantry.
- Chocolate chunks: The best part! I like to use a mix of bittersweet and dark chocolate chunks. While 1.5 cups are needed for the cookie dough itself, I highly recommend keeping some extra on hand to generously top each ball of dough before baking for that bakery-worthy finish.
- Sea salt flakes: Look for large-flake sea salt for a crunchy texture and subtle saltiness.
See the recipe card for full information on ingredients and quantities.
The Best Chocolate Chip Cookie Base
If you’ve tried any of my chocolate chip cookie recipes in the past, you’ll find this one to be familiar. It shares the same base recipe as some of my other variations like Nutella-Stuffed Chocolate Chip Cookies, Mini Chocolate Chip Cookies and Kitchen Sink Cookies.
But for this recipe, I’ve made a couple of tweaks. I’ve added a touch more brown sugar to enhance the chewiness and increased the amount of vanilla extract for an extra burst of flavor. You’re going to love it!
- Cream together the butter and sugars. In the bowl of a stand mixer fitted with the paddle attachment, cream together the butter, white sugar and brown sugar until light and fluffy, about 2 minutes.
- Add eggs and vanilla extract. Add the eggs one a time, beating between each addition, then beat in the vanilla extract.
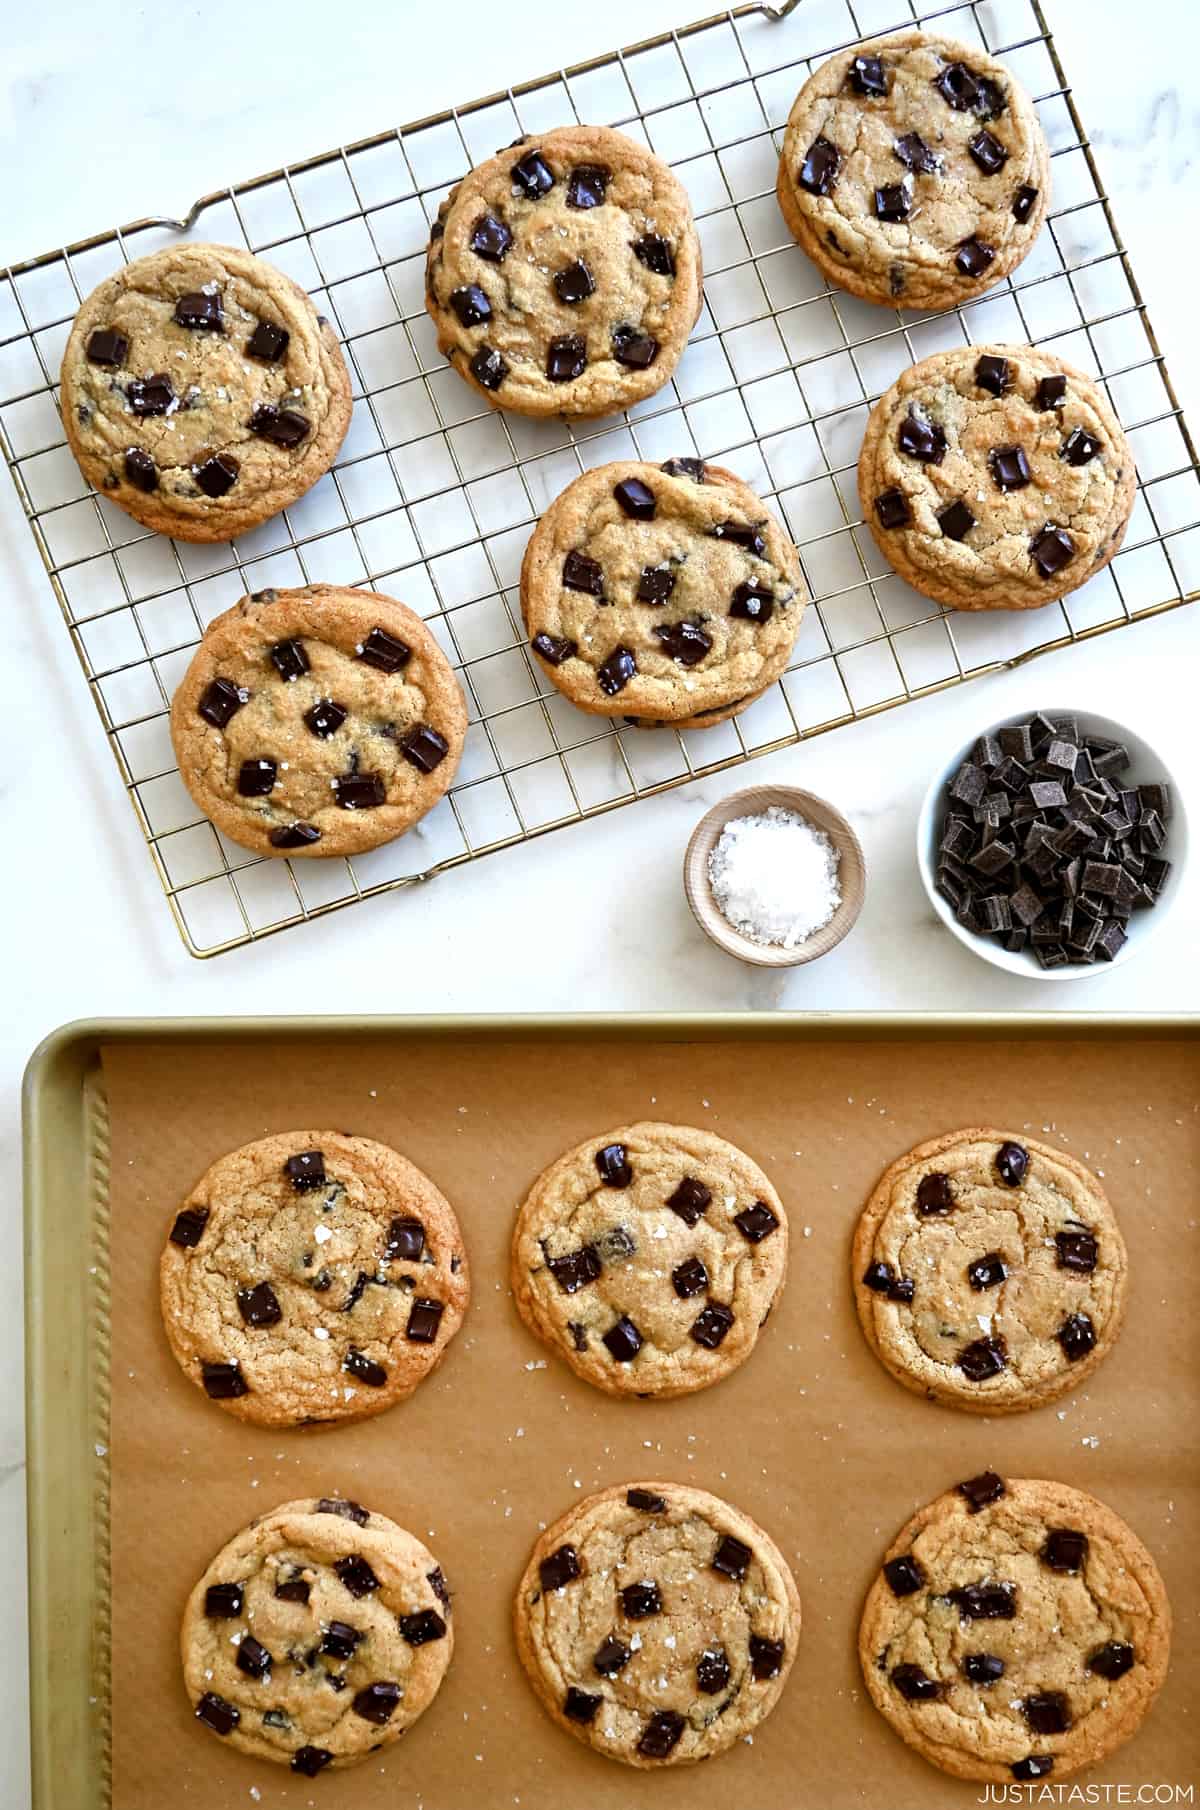
- Add dry ingredients. Add the flour, baking soda, baking powder and salt and beat just until combined, then beat in the chocolate chunks.
- Scoop the dough. I like using a cookie dough scoop to ensure all the cookies are the same size and bake evenly.
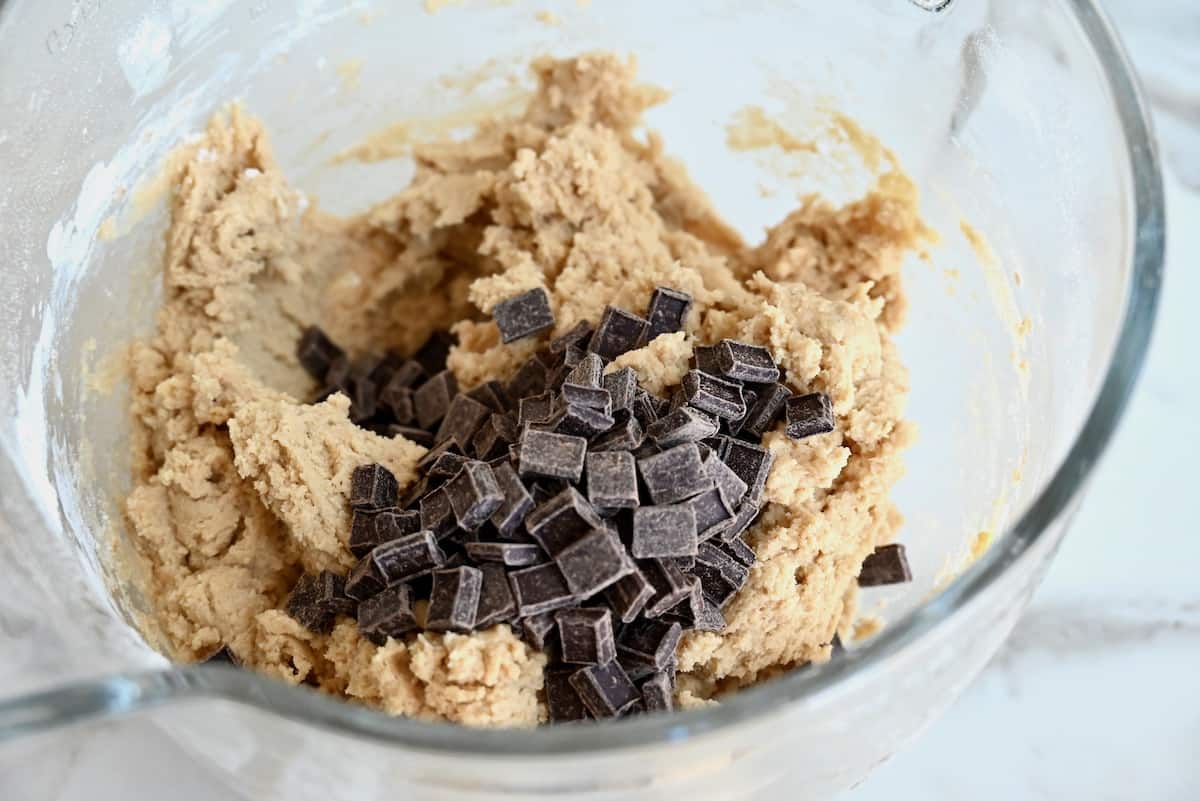
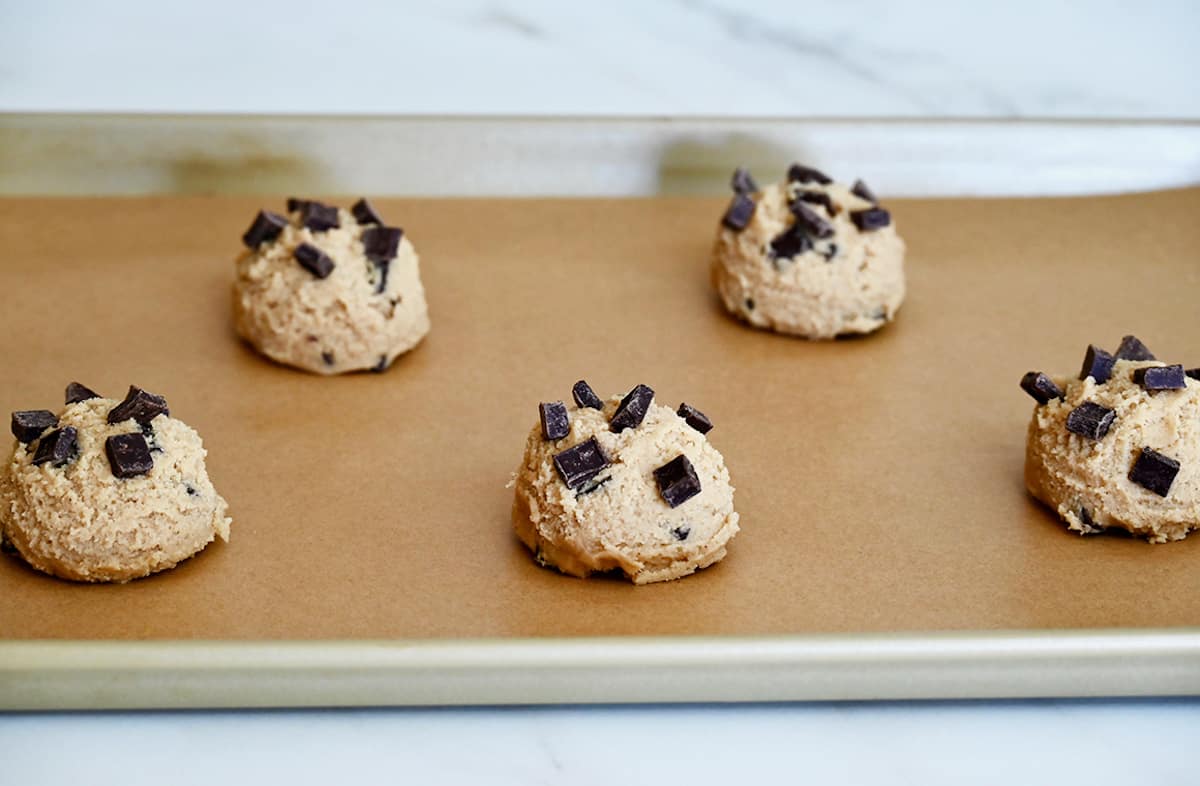
- Bake. Bake the cookies for 9 to 12 minutes in a 375°F oven until they are slightly crispy around the edges and barely set in the centers. Note: It’s important to rotate the baking sheets halfway through to ensure even cooking.
- Cool. Remove the cookies from the oven and immediately sprinkle them with sea salt. Let them cool for 5-10 minutes on the baking sheets before transferring them to a rack to cool completely.
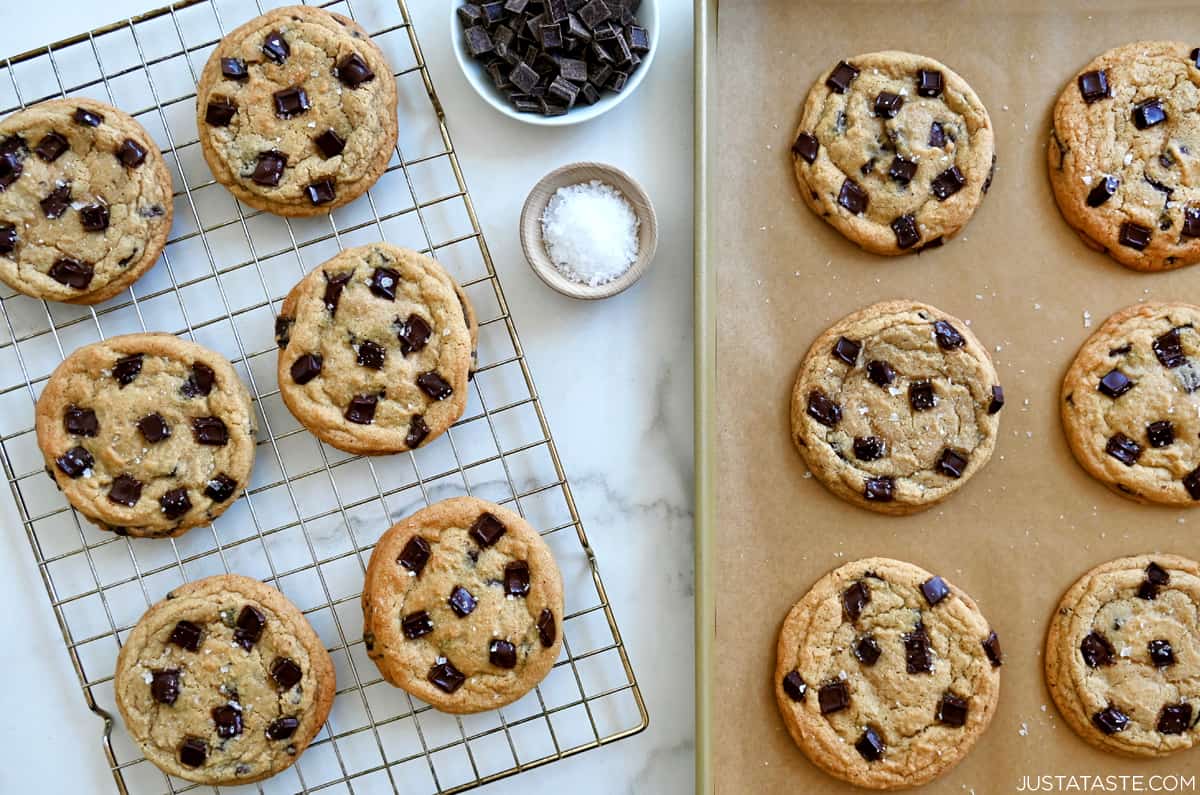
Want large, bakery-style cookies like the ones you see in my photos? Scoop out ¼ cup mounds and bake them for 12 to 14 minutes.
The Secret to Soft and Chewy Cookies
The key to chewy, soft cookies that taper into crispy edges is to simply under-bake the cookies. Just remove the cookies from the oven when they are barely set in the centers then let them continue baking on the hot cookie sheets outside the oven for 5 to 7 minutes before transferring them to a rack to cool completely.
- Softened butter is key for perfect cookies. Using cold or melted butter can affect the texture. Here’s a simple trick that I use to soften butter quickly: Pour hot water into a bowl large enough to cover your butter. After a few minutes, pour out the water and quickly cover the butter with the warmed container. This gentle heat will soften the butter in just a few minutes.
- Add chocolate chunks to the top of each cookie before placing your baking sheet in the oven. This gives your cookies that picture-perfect finish.
- Don’t underestimate that final dusting of crunchy sea salt flakes! I assure you it’s a total game-changer that will take your classic chocolate chip cookies to a whole new level of deliciousness.
- Store the cookies in an airtight container at room temperature for up to 5 days, or freeze for longer storage.
There are two different ways to freeze cookies so they’re ready whenever the mood strikes (or your holiday baking spree starts).
If you’ve already baked your cookies: Allow your cookies to fully cool first before freezing them individually on a cookie sheet in a single layer. Once completely frozen, you can store them in a freezer-safe, airtight container with parchment paper to separate the layers.
If you want to freeze cookie dough: After you’ve scooped your cookie dough balls onto a lined sheet pan, pop the tray into the freezer for at least 30 minutes to allow them to fully freeze. Once frozen, you can simply store the cookie dough balls in a freezer-safe bag or airtight container. When you’re ready, bake cookies as usual, adding about 3 to 4 minutes of extra bake time.
Recipe FAQs
Really anything will go great in these cookies in place of the chocolate chunks. Got M&M’s, minty Andes chocolate or mini Reese’s cups? Go for it! Ditto for white chocolate chips, butterscotch chips and toffee chips. Whatever you choose, simply fold in your chunk alternative of choice and make sure to top with more before baking!
If you find that your cookies are spreading too much during baking, there are a few possible reasons why. One quick fix is to refrigerate the remaining cookie dough for 30-60 minutes before baking another batch. This helps firm up the dough, reducing spreading and resulting in thicker, chewier cookies.
If your cookies didn’t flatten during baking, it could be due to several reasons. Ensure your butter is softened to room temperature and avoid overmixing the dough. Check that your oven is properly preheated and calibrated, and adjust the dough consistency if necessary by adding a bit of liquid. Also, if you chilled the dough before baking, allow it to sit at room temperature for a few minutes or flatten it slightly before baking. By addressing these factors, you can achieve perfectly flattened cookies with a soft and chewy texture.
- No-Chill Chocolate Chip Cookies
- Monster Cookies
- Mama Kelce’s Best Chocolate Chip Cookies
- Zucchini Oatmeal Chocolate Chip Cookies
- Soft M&M Cookies
- Blended Oatmeal Chocolate Chip Cookies
- Chocolate Chip Brownie Cookies

Ingredients
- 1 cup unsalted butter, softened
- 1/2 cup white sugar
- 1 1/2 cups light brown sugar
- 2 large eggs, cold
- 1 Tablespoon vanilla extract
- 3 cups all-purpose flour
- 1 teaspoon baking soda
- 1/2 teaspoon baking powder
- 1/2 teaspoon kosher salt
- 1 1/2 cups chocolate chunks, plus more for topping
- Sea salt, for topping (optional)
Instructions
- Preheat the oven to 375°F. Line two baking sheets with parchment paper.
- In the bowl of a stand mixer fitted with the paddle attachment, cream together the butter, white sugar and brown sugar until light and fluffy, about 2 minutes.
- Add the eggs one a time, beating between each addition, then beat in the vanilla extract.
- Add the flour, baking soda, baking powder and salt and beat just until combined, then beat in the chocolate chunks.
- Scoop 2-tablespoon mounds of dough onto the baking sheets, spacing each mound at least 2 inches apart. (See Kelly’s Notes.) Top the cookies with additional chocolate chunks.
- Bake the cookies for 9 to 12 minutes, rotating the pans halfway through, until they are slightly crispy around the edges and barely set in the centers. Remove the cookies from the oven and let them cool for 5 minutes on the baking sheets before transferring them to a rack to cool completely.
Kelly’s Notes
- The key to chewy, softer cookies that taper into crispy edges is to underbake the cookies. Remove them from the oven when they are barely set in the centers then let them continue baking on the hot cookie sheets outside the oven for 5 to 7 minutes before transferring them to a rack to cool completely.
- For larger cookies (as shown in the photos above), scoop out 1/4-cup mounds and bake them for 12 to 14 minutes, rotating the pans halfway through, until they are slightly crispy around the edges and barely set in the centers. This large size will yield about 1 dozen cookies for this recipe.
- ★ Did you make this recipe? Don’t forget to give it a star rating below!
Nutrition
Shoutout
Did you try this recipe?
Share it with the world! Mention @justataste or tag #justatasterecipes!
This post may contain affiliate links.





Love your recipes
Thanks so much!
These cookies are a real treat. I didn’t have flaky sea salt but used kosher salt to top the cookies with. The salt takes the cookies to the next level. I wasn’t sure if I should sprinkle the salt before baking or after. I chose after when they were fresh out of the oven. The salt stuck to the warm cookie and every bite was a savory delight.
I’m so glad you enjoyed the recipe, Lauren!
Your recipes are so yummy and easy to follow. Love from South Africa Johannesburg
I’m so glad you enjoyed it, Pholisa!