
This easy chicken katsu recipe features crispy, juicy Panko-breaded chicken cutlets topped with a crunchy Asian cabbage salad and a 10-minute carrot-ginger dressing. It’s a fresh twist on the Japanese classic that’s perfect for an easy weeknight dinner.
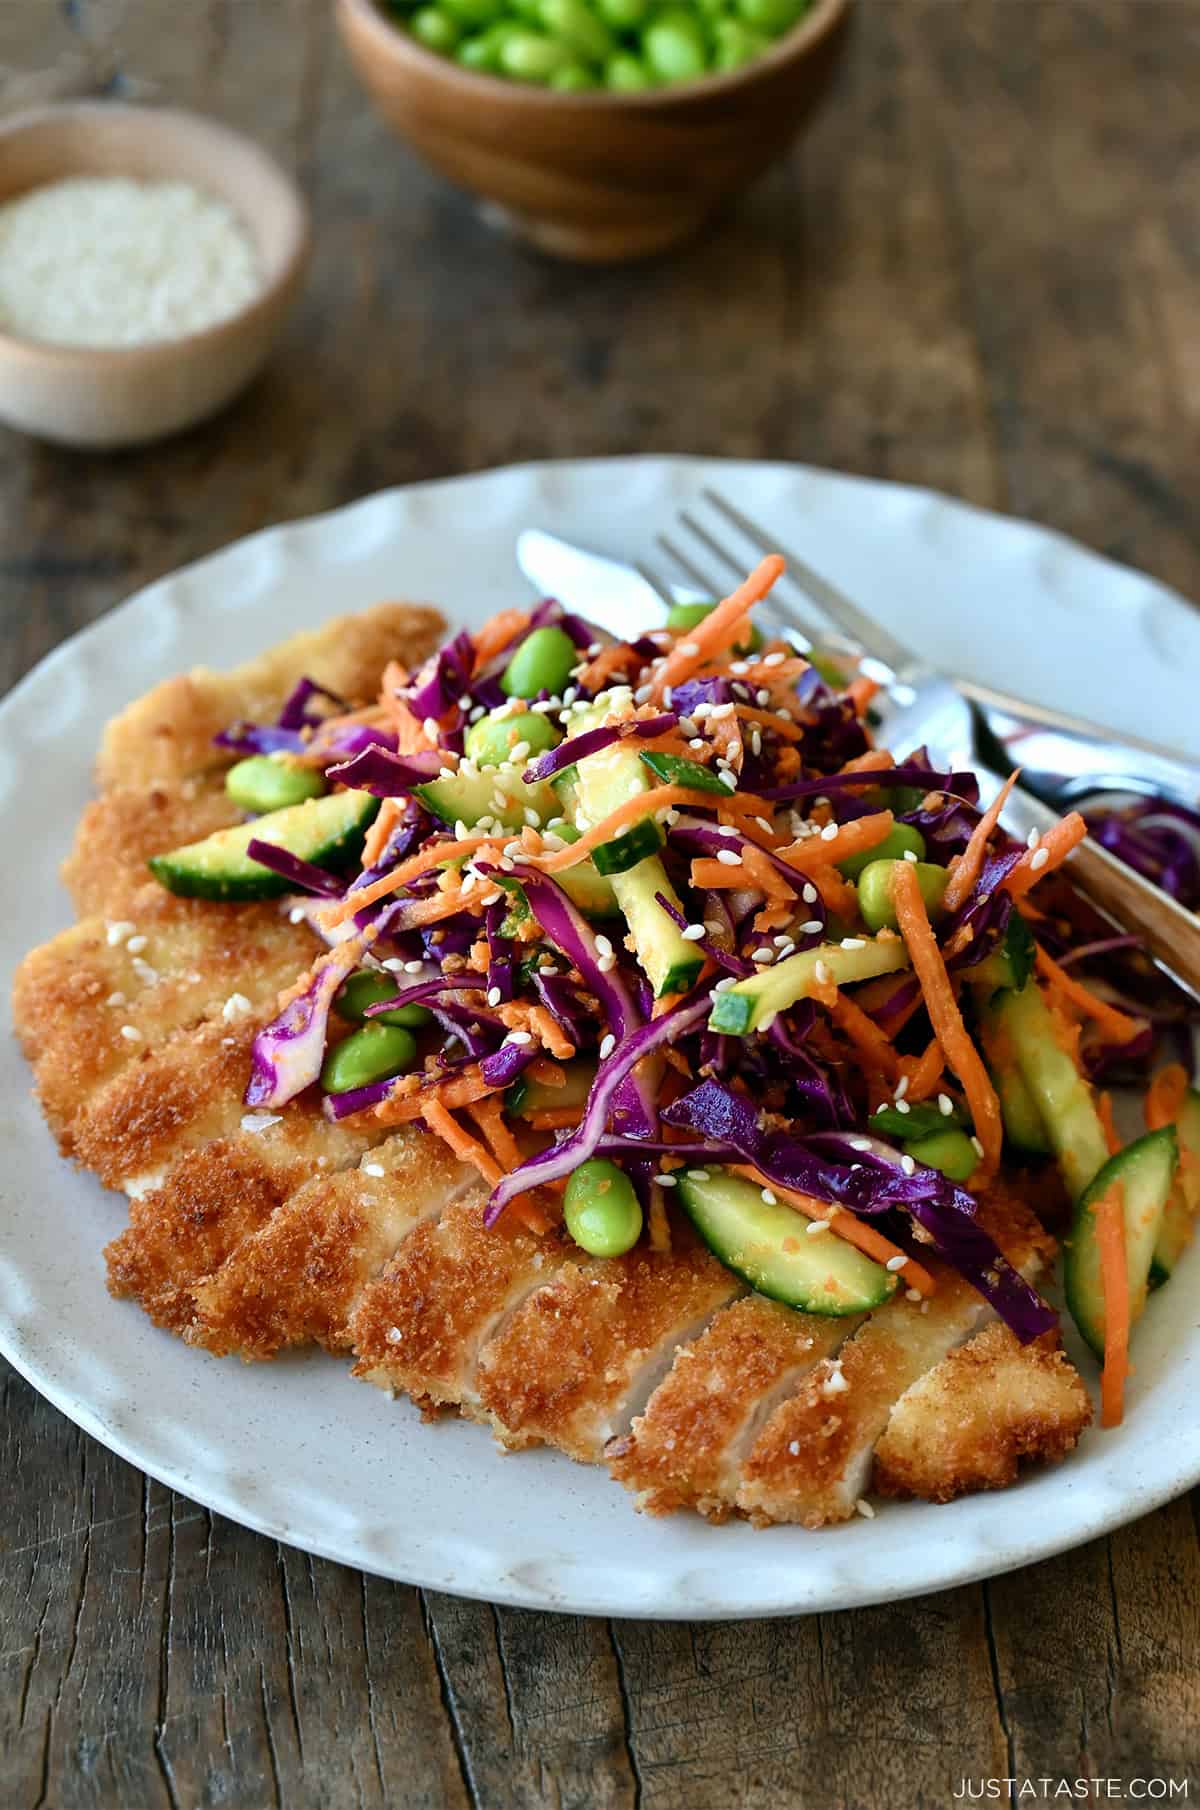
Table of Contents
It’s no secret that I’m a chicken cutlet superfan. From my mom Noni’s famous chicken schnitzel to chicken Parmesan, crispy breaded chicken has been a staple in my kitchen for decades.
So after one bite of the Chicken Katsu Salad at JOEY in La Jolla, I knew exactly what I wanted to do: take my tried-and-true chicken cutlet technique and give it a Japanese-inspired twist.
The result? Golden, impossibly crispy chicken katsu piled high with a crunchy cabbage salad tossed in my homemade carrot-ginger dressing. It’s fresh, satisfying and one of those dinners that somehow feels both comforting and light at the same time.
What Is Chicken Katsu?
Chicken katsu is a Japanese-style breaded chicken cutlet made by coating thin chicken breasts in flour, eggs and Panko breadcrumbs before pan-frying until golden brown and crispy. It’s traditionally served with tonkatsu sauce and shredded cabbage, but I love pairing it with a chopped Asian salad for a fresher spin.
What sets this recipe apart from the chicken cutlets I grew up making is the Panko breadcrumbs. Unlike traditional breadcrumbs, Panko is made from crustless white bread, creating large, airy flakes that fry up lighter, crispier and less greasy. It’s my go-to whenever I want the crispiest coating, whether I’m making this, sweet and sour chicken or baked sesame chicken.
Here’s everything you’ll need:
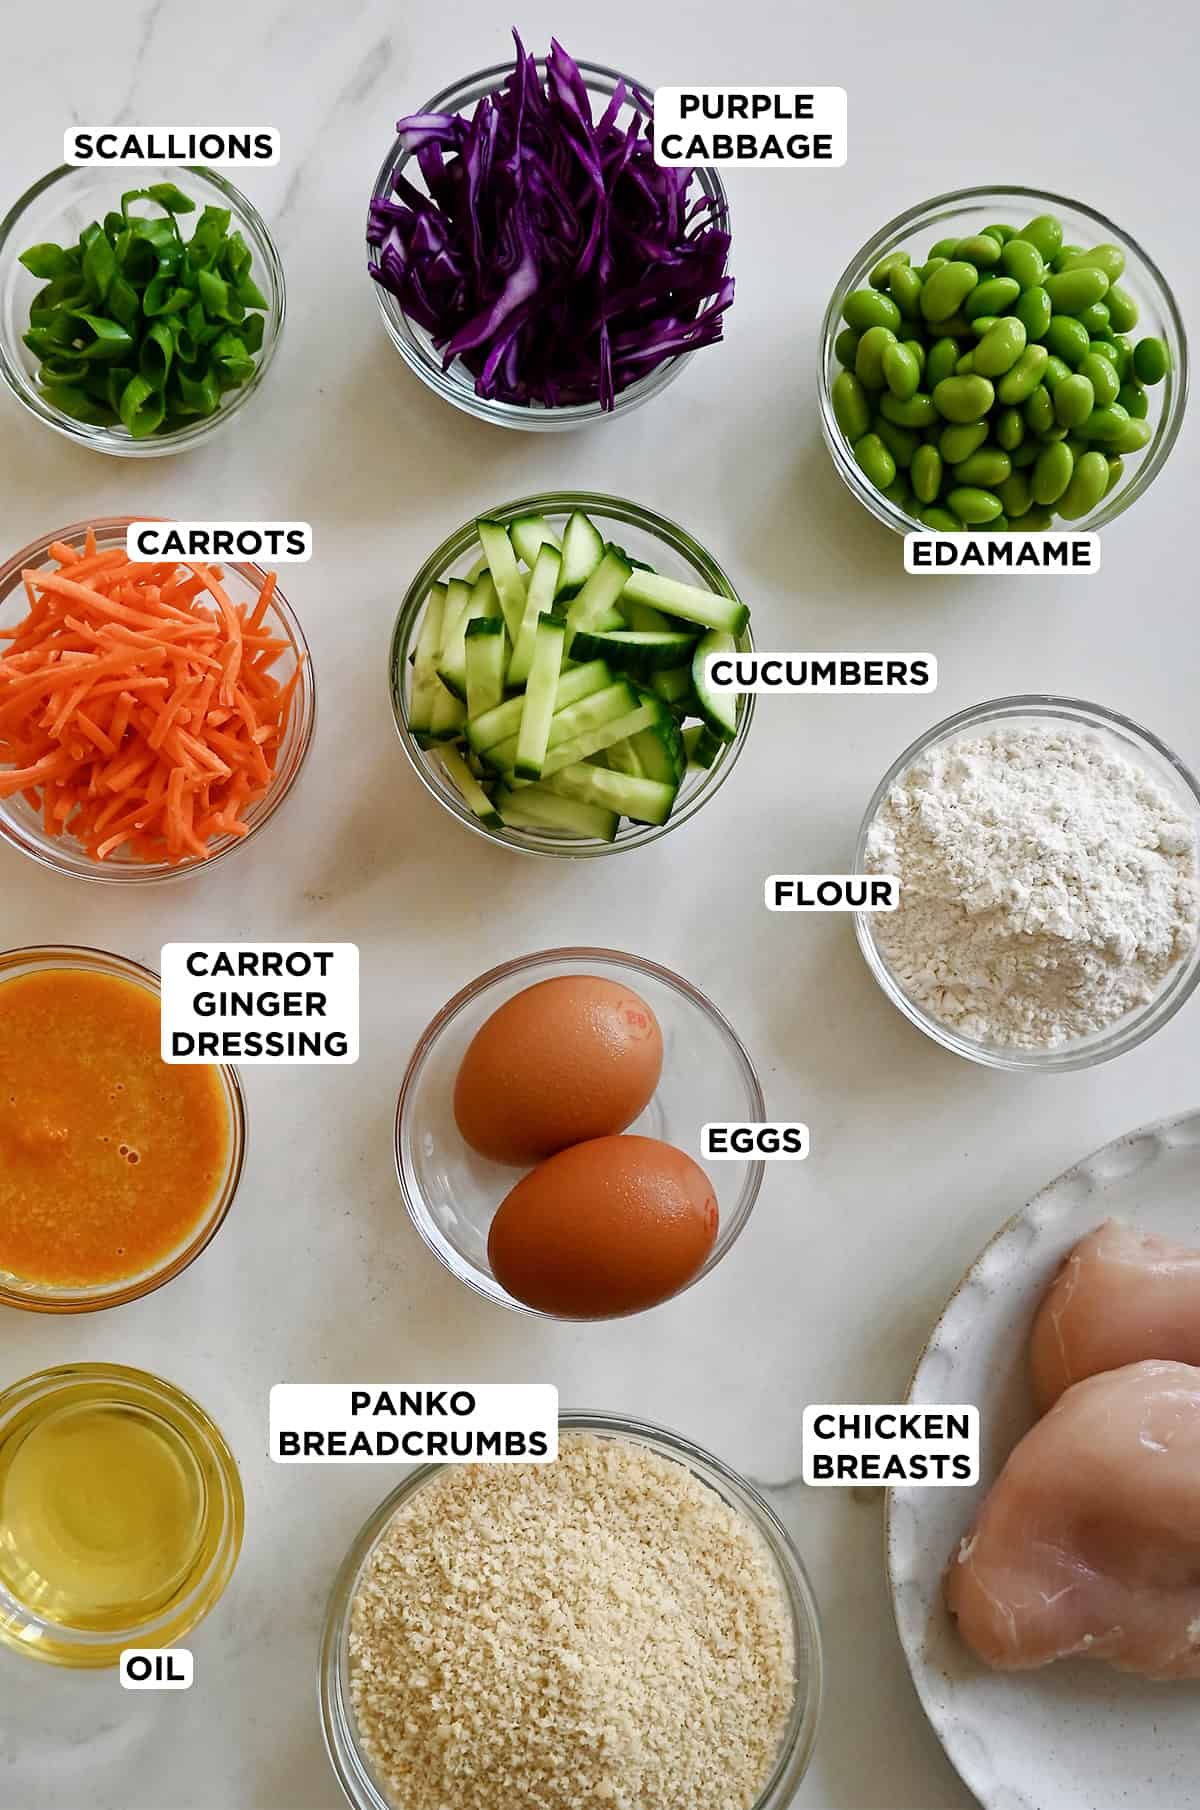
See the recipe card for full information on ingredients and quantities.
There are three simple steps to making chicken katsu:
- Pound the chicken until it’s thin and even.
- Bread it.
- Pan-fry until golden brown and ultra-crispy.
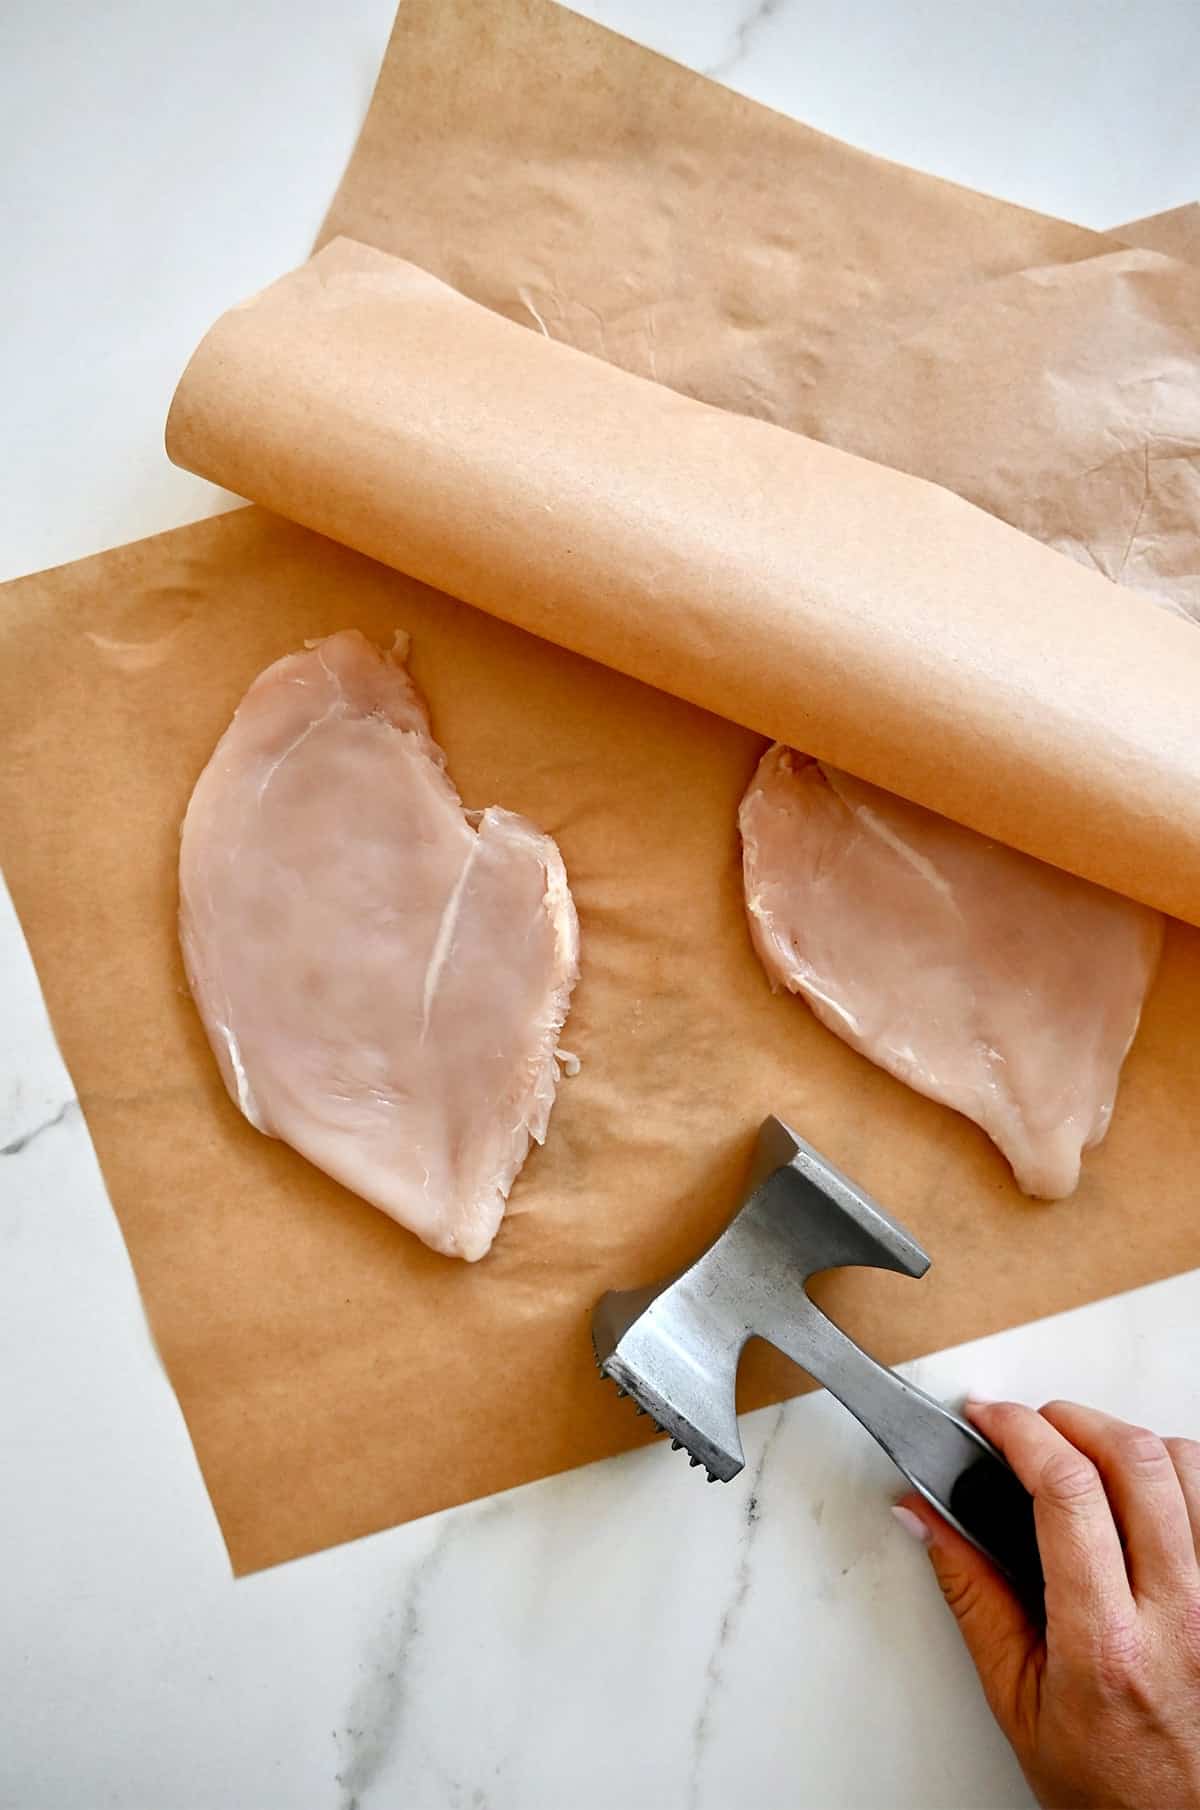
My best tip for pounding chicken is to focus less on the exact thickness and more on consistency. I usually aim for about 1/2-inch thick, but what matters most is that every piece is pounded to roughly the same thickness so it cooks evenly, the thinner ends don’t dry out and every cutlet finishes cooking at the same time. I like to sandwich each chicken breast between two sheets of parchment paper before using a meat mallet (or the bottom of a heavy skillet).
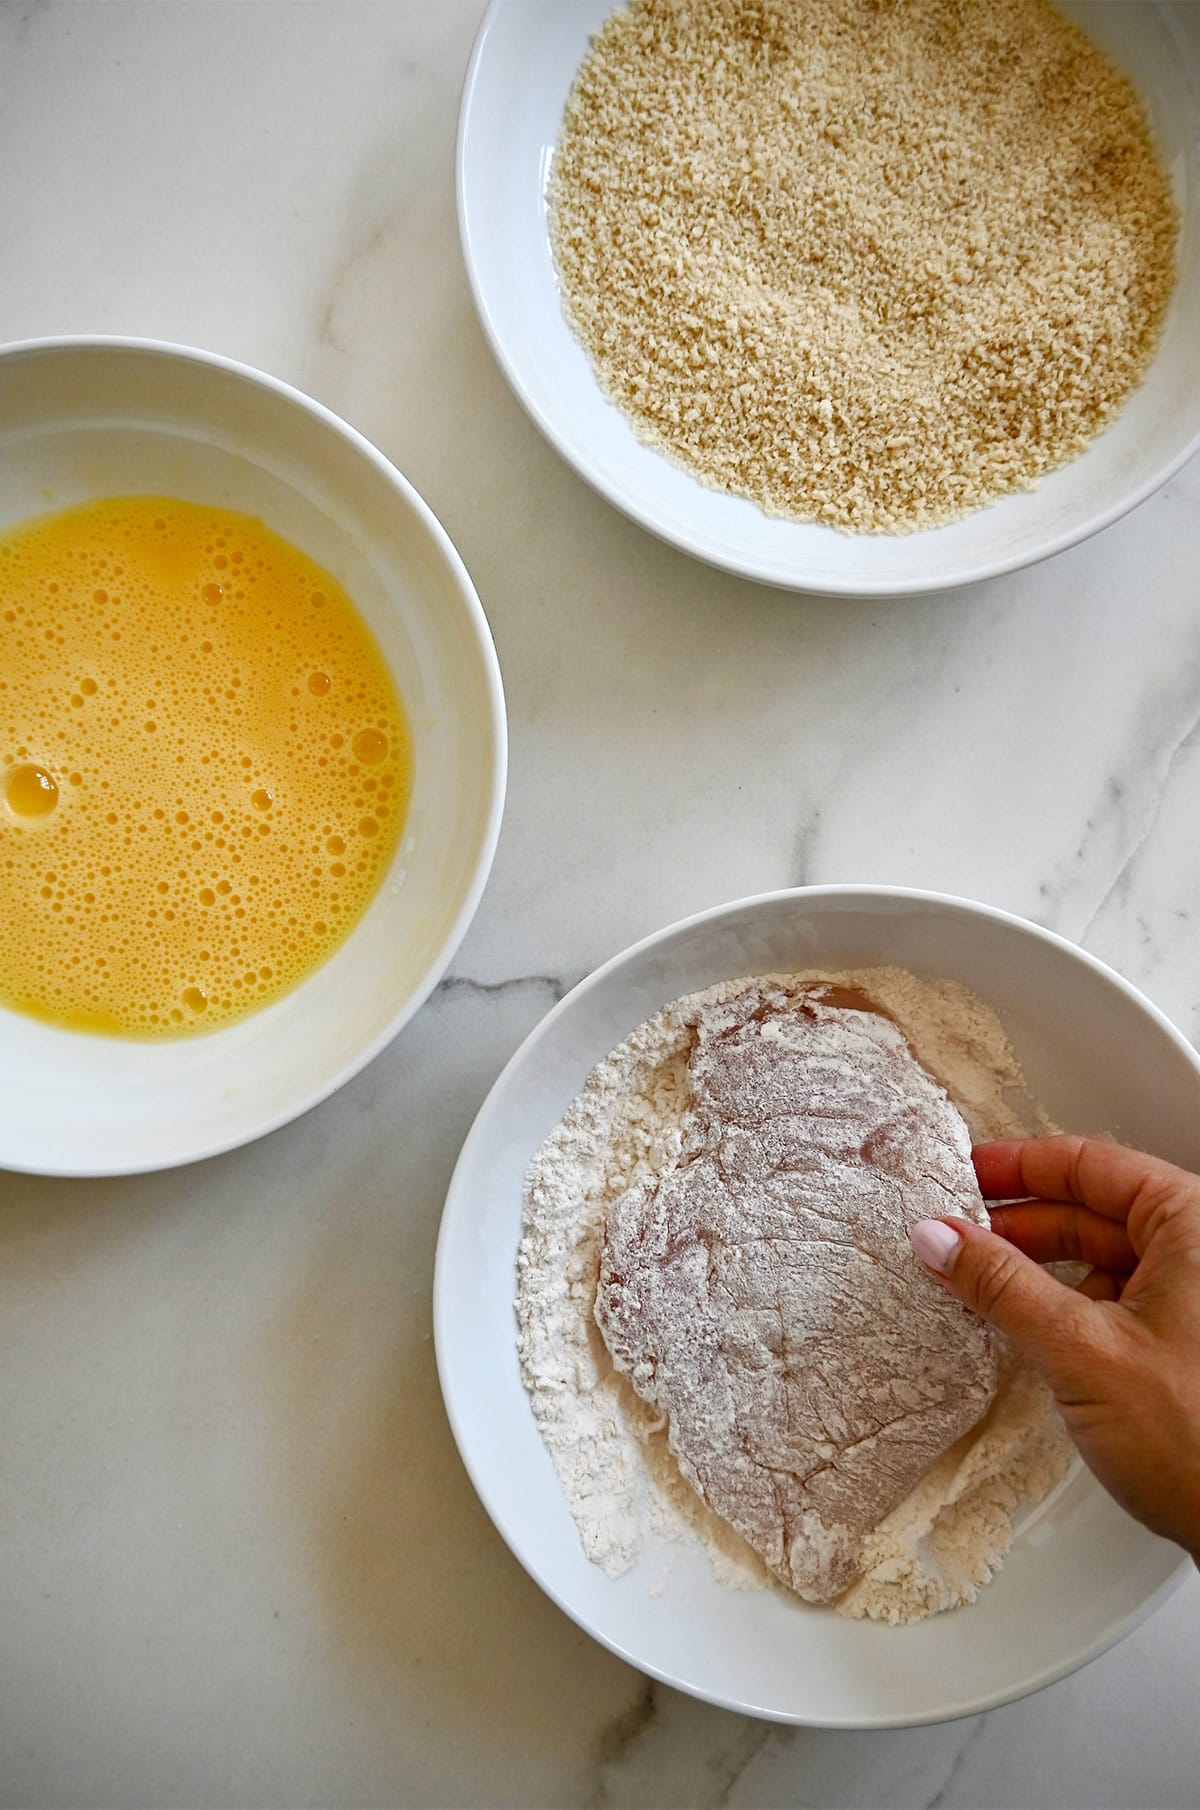
When it comes to breading, follow the golden rule I learned in culinary school: keep one hand for the dry ingredients (flour and Panko) and the other for the wet (eggs). That way you’ll bread the chicken, not your fingers!
When it’s time to fry, resist the urge to crank the heat. Medium heat gives the chicken enough time to cook through while the Panko turns evenly golden and crisp. You’ll know the oil is ready when a few Panko breadcrumbs dropped into the pan sizzle immediately. Fry the first side undisturbed until it’s deeply golden before flipping, about 3 to 4 minutes.
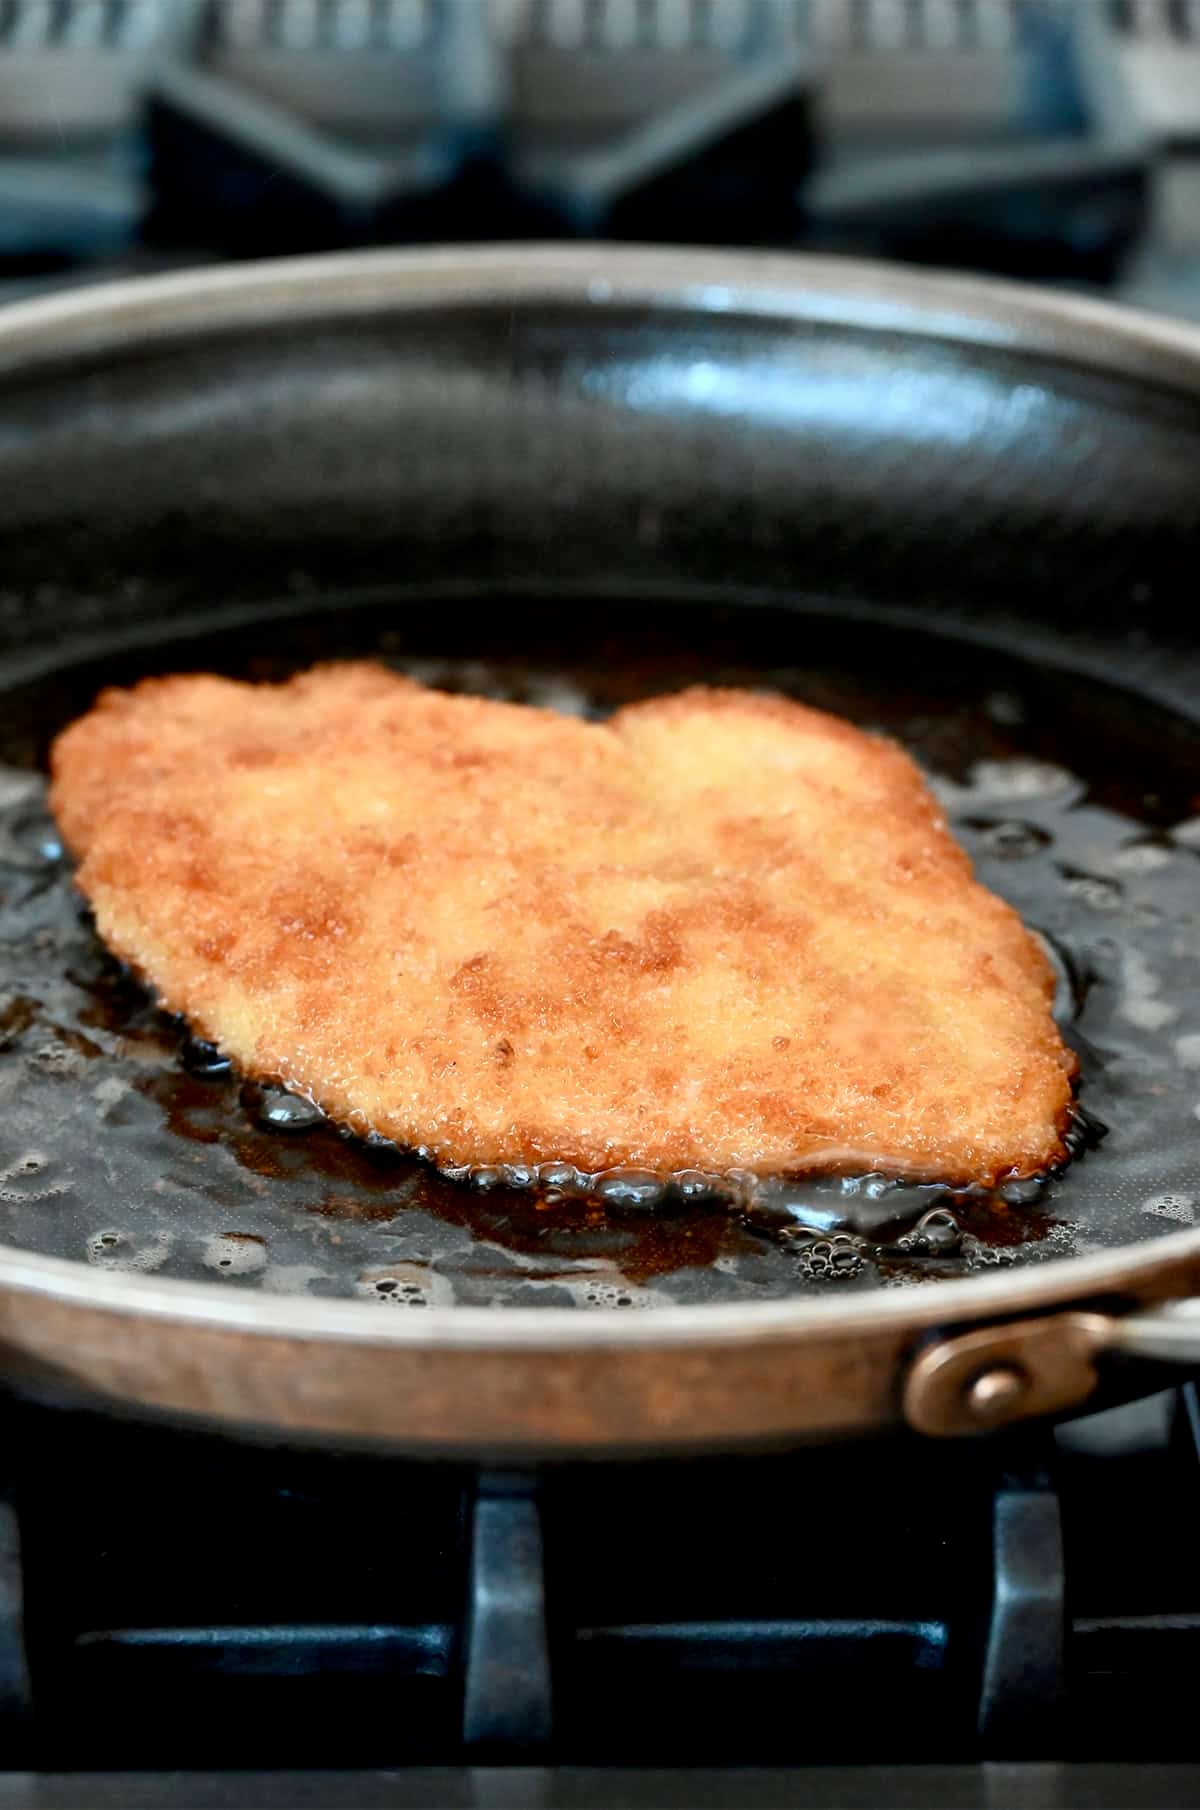
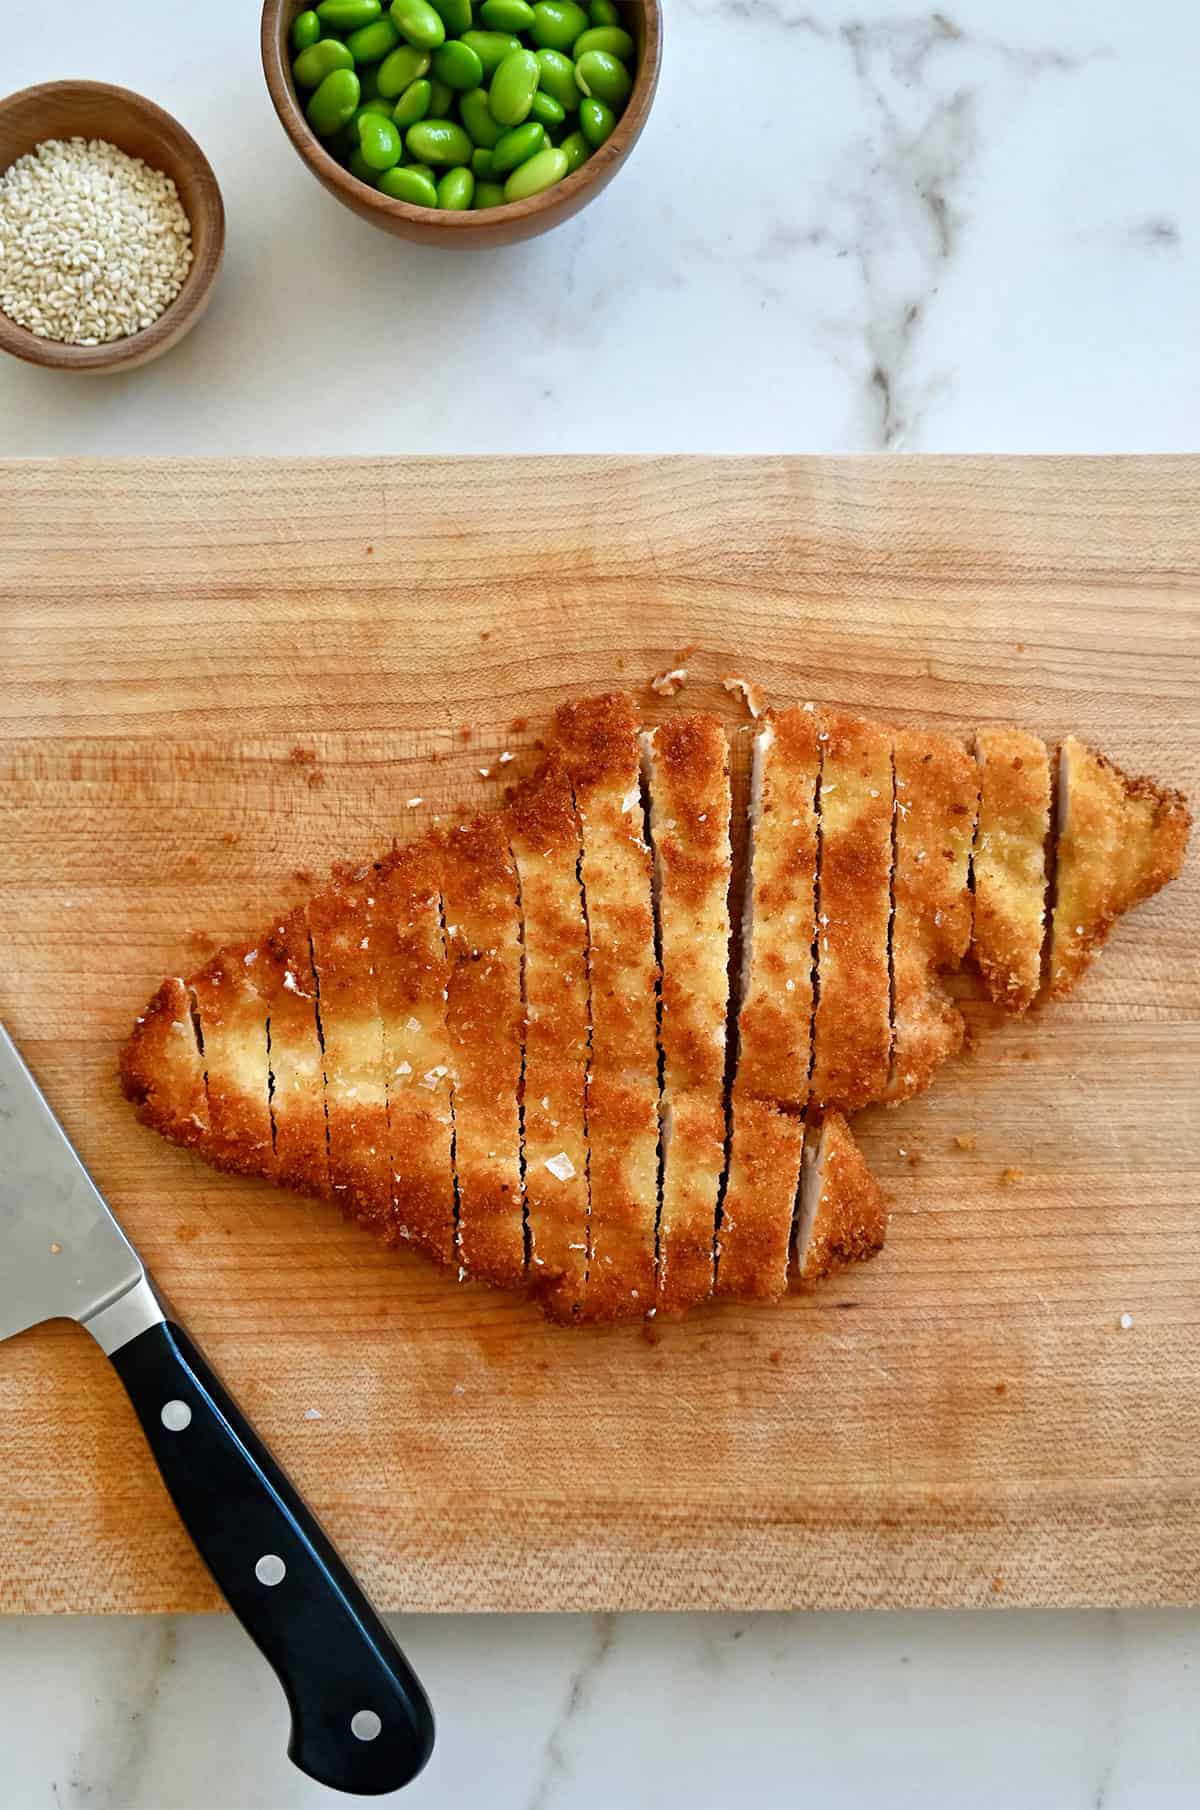
As soon as the chicken comes out of the skillet, season it with kosher salt while it’s still hot, then let it rest for a minute or two before slicing for the juiciest results.
3 Reasons Your Chicken Isn’t Crispy
If your breading isn’t shatteringly crisp, chances are one of these three things is to blame:
- You skipped patting the chicken dry. This is the mistake I see most often. Moisture creates steam, and steam is the enemy of crispy chicken. Before the chicken ever touches the flour, pat it completely dry with paper towels. The drier the surface, the better the breading will stick and crisp up.
- You overcrowded the skillet. Adding too many cutlets at once causes the oil temp to drop, which means the breading absorbs oil instead of crisping. Give each cutlet a little breathing room and cook in batches if needed. It’ll take a few extra minutes, but the difference is absolutely worth it.
- You flipped the chicken too soon. One of the hardest parts of frying is… doing nothing. Resist the urge to peek, poke or flip the chicken multiple times. Give the first side about 3 to 4 minutes to develop a deep golden crust before flipping it. Once that crust has formed, the chicken should release much more easily and the breading will be far less likely to stick or tear.
Asian Cabbage Salad
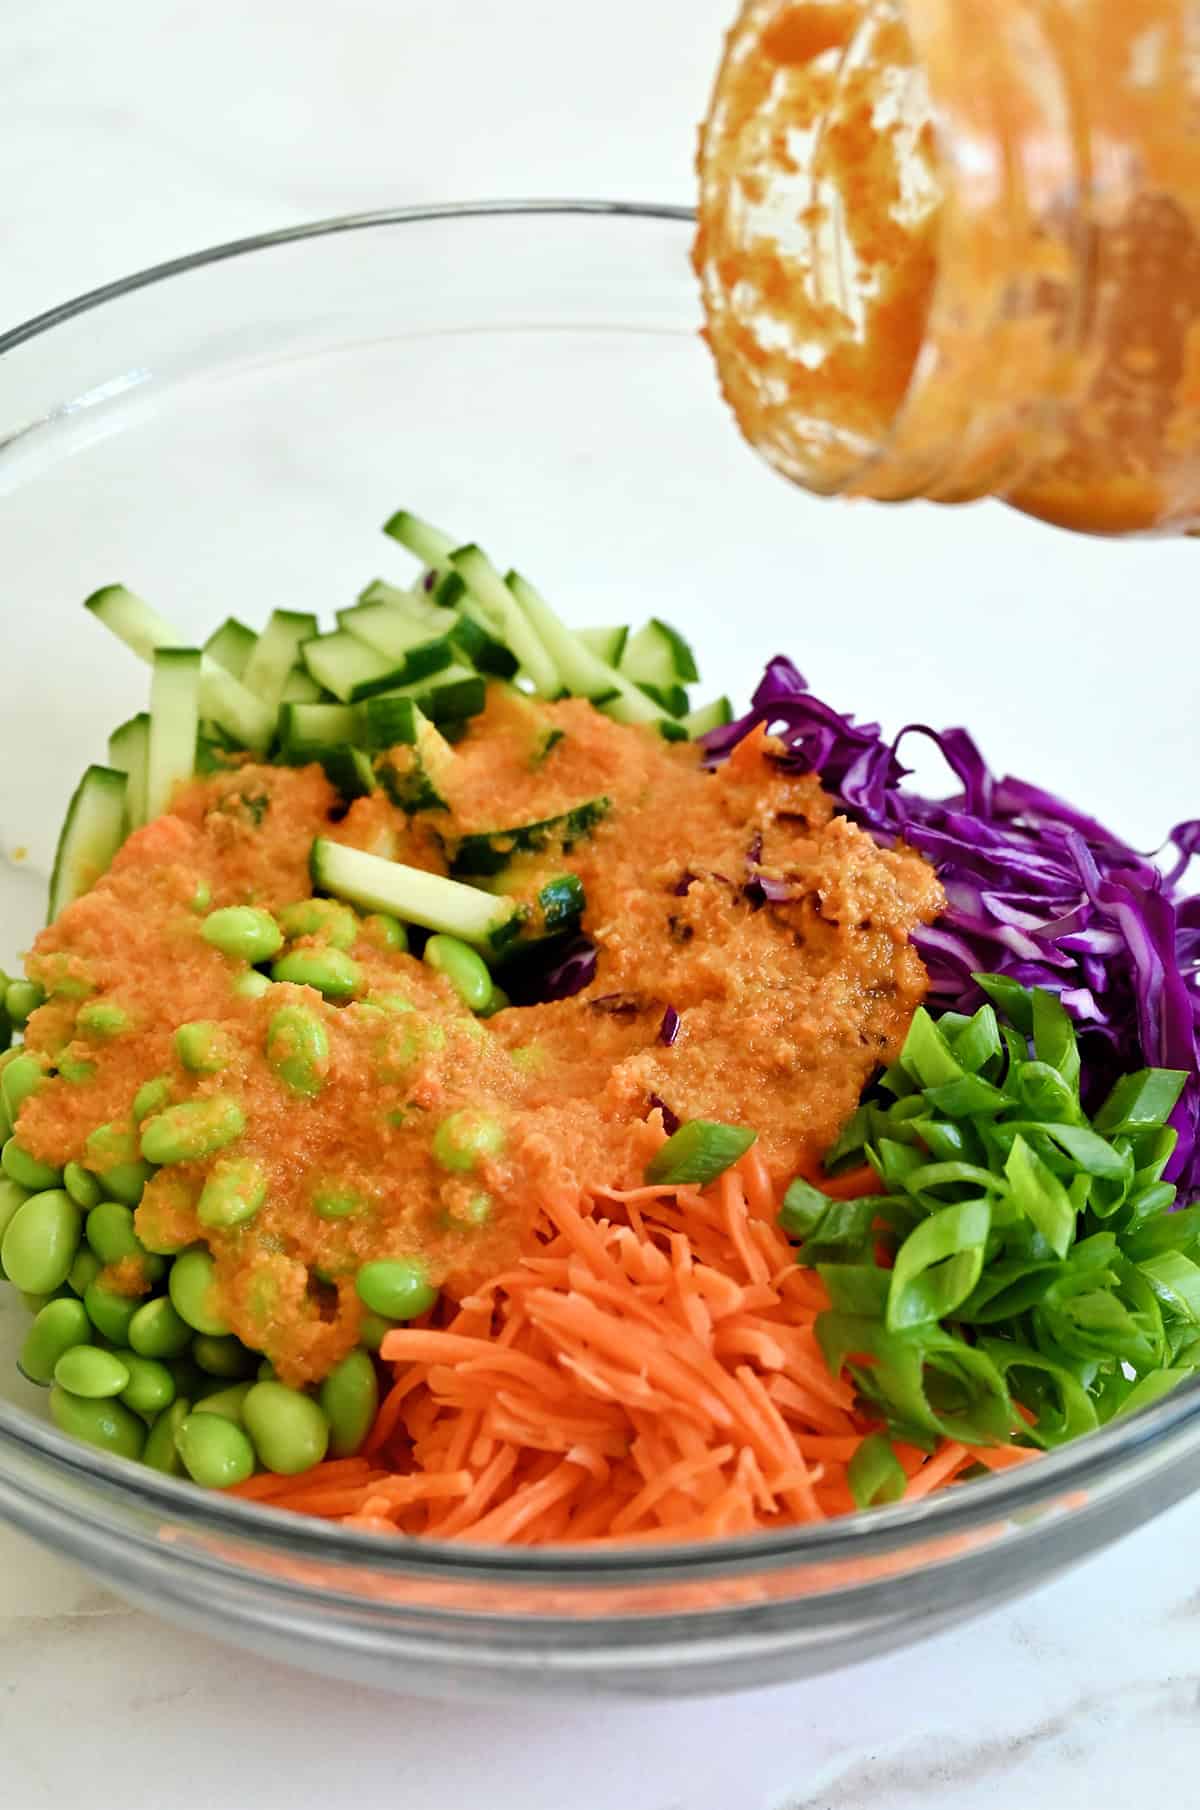
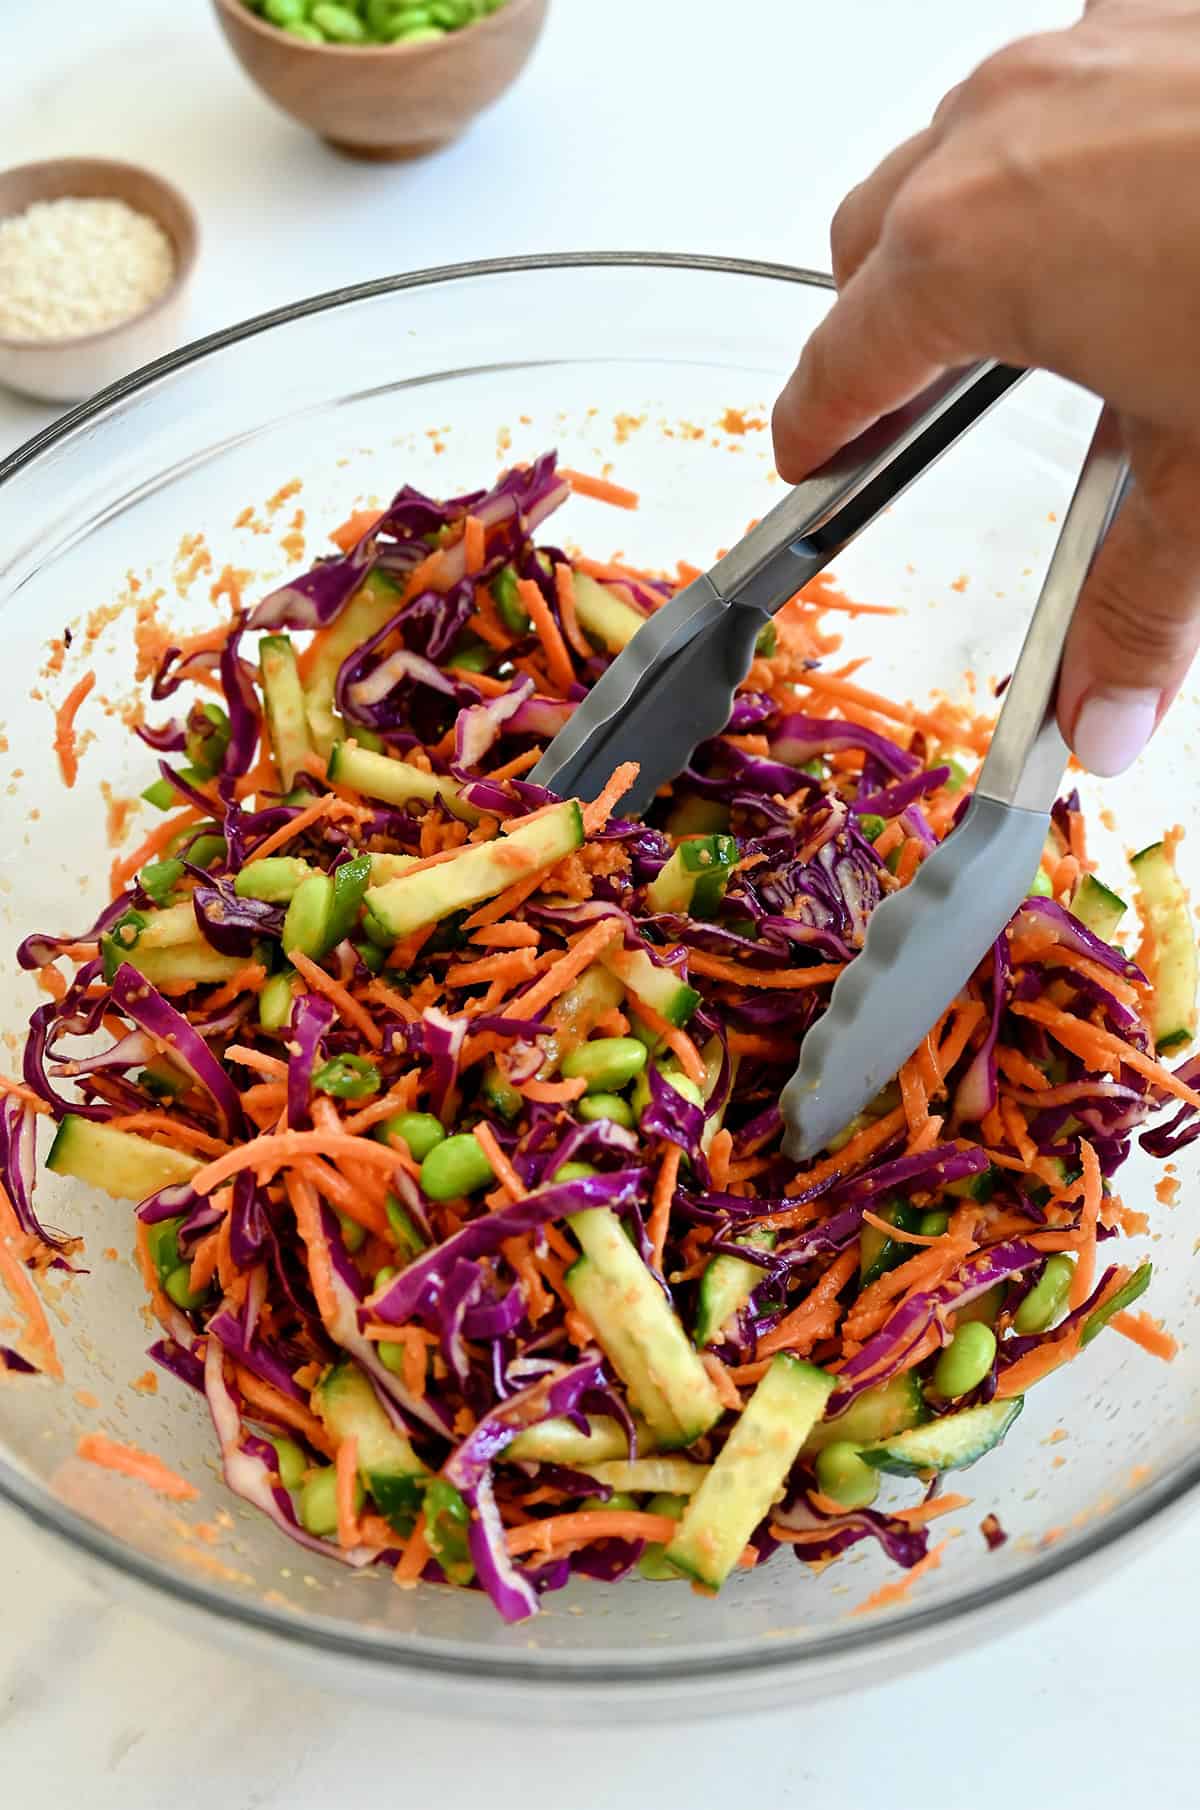
I love serving chicken katsu topped with a simple Asian cabbage salad. Shredded purple cabbage, carrots, cucumbers, edamame and scallions get tossed with my homemade carrot-ginger dressing for a combination that’s crisp, colorful and packed with fresh flavor.
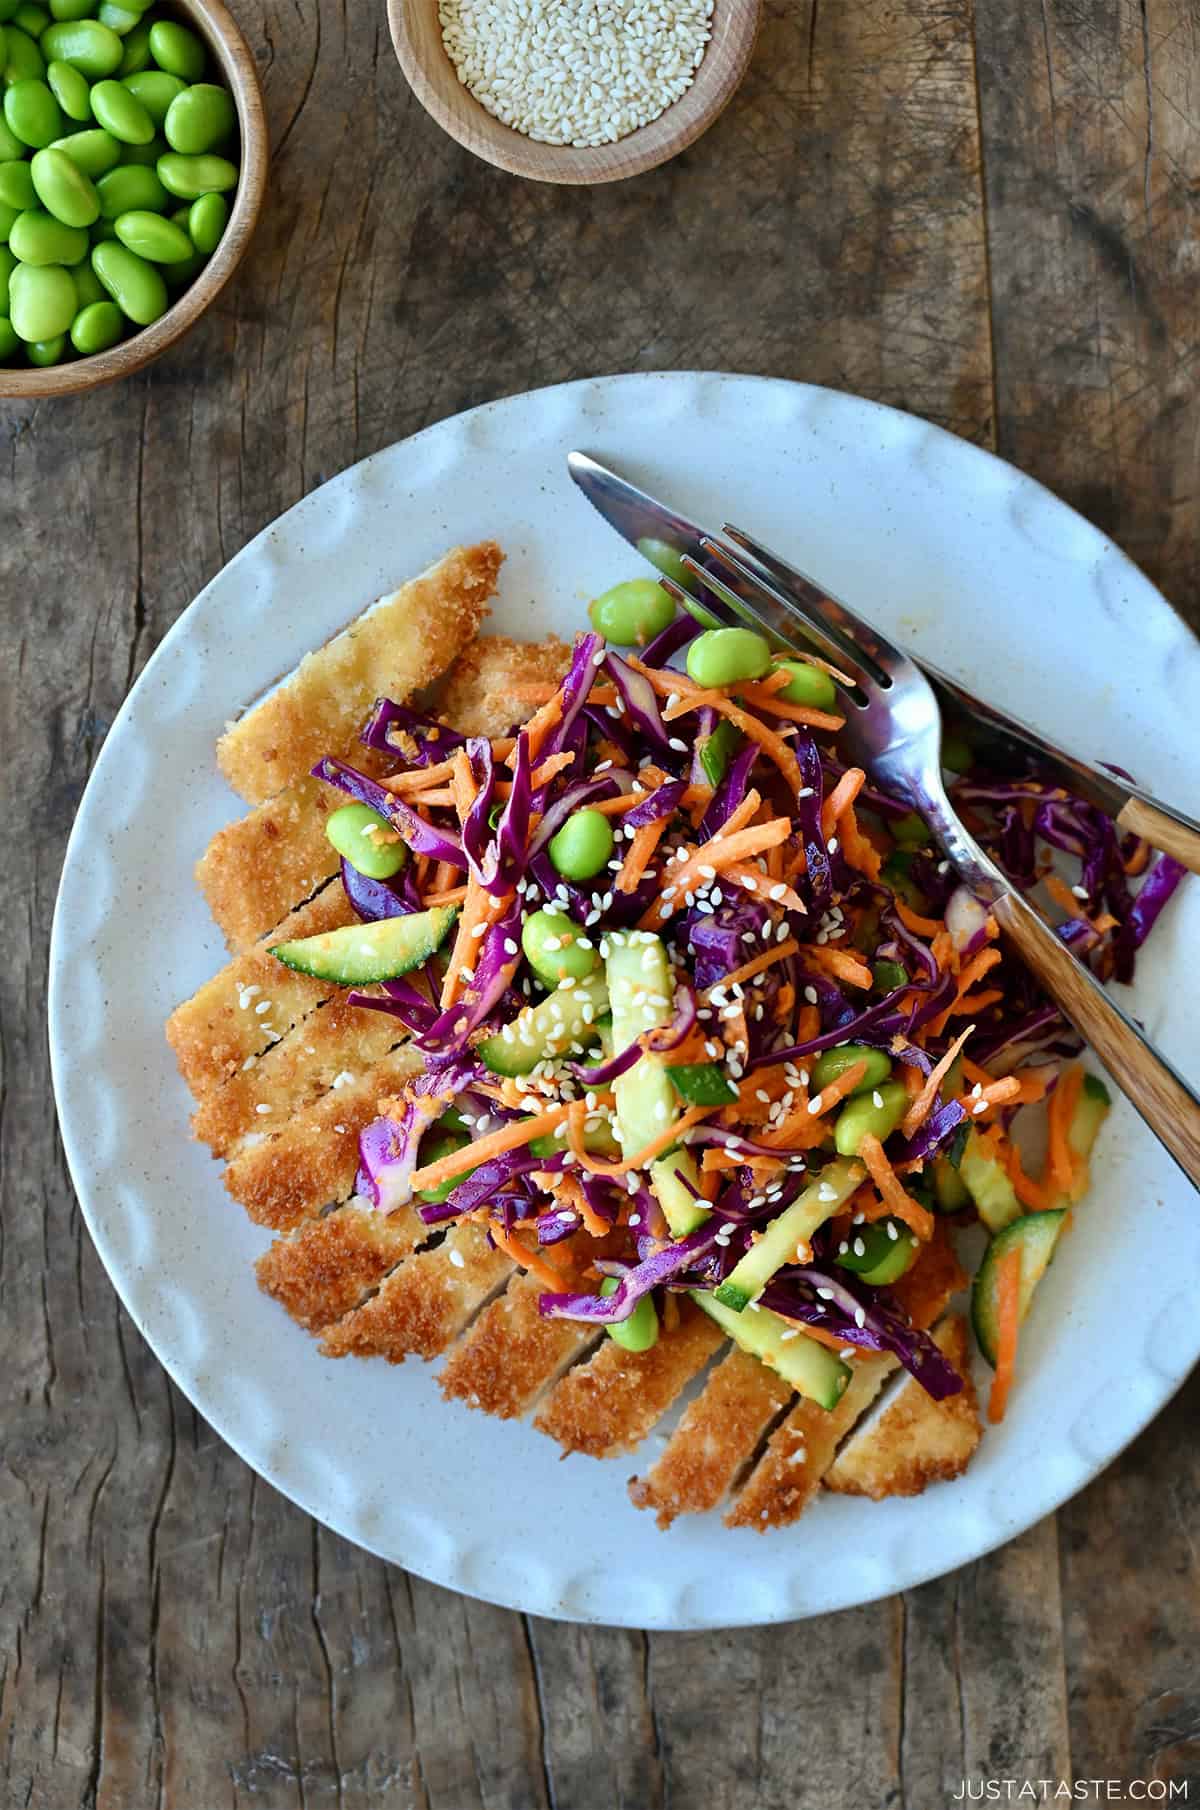
Pile the salad right on top of the sliced chicken so every forkful gets a little bit of warm, crispy chicken and cool, crunchy vegetables. If you’d like to make dinner even heartier, serve it with a scoop of steamed white rice on the side.
Recipe FAQs
Yes! Boneless, skinless chicken thighs work well and stay extra juicy. They won’t need as much pounding as chicken breasts, but I still recommend flattening them to an even thickness so they cook evenly.
You can, but I don’t recommend it. Panko breadcrumbs are what give Chicken Katsu its signature light, crispy coating. Regular breadcrumbs create a denser crust that won’t be quite as crunchy.
Use a neutral oil with a high smoke point, such as avocado, vegetable or canola oil. I don’t recommend extra-virgin olive oil because it can smoke at frying temperatures and its stronger flavor competes with the crispy Panko coating.
Ingredients
For the Chicken Katsu:
- 4 medium boneless, skinless chicken breasts
- 2/3 cup all-purpose flour
- 2 large eggs
- 2 cups Panko breadcrumbs
- Avocado or vegetable oil, for pan-frying
For the salad:
- 1 recipe Carrot-Ginger Dressing
- 2 cups shredded purple cabbage
- 2 cups shredded carrots
- 1 cup shelled edamame beans
- 1 cup sliced cucumbers
- 2 Tablespoons sliced scallions
Instructions
Make the Chicken Katsu:
- Place each chicken breast between two pieces of parchment or wax paper. Using a meat mallet or the bottom of a heavy skillet, pound the cutlets until they are 1/2-inch-thick. Season the chicken with salt.
- Add the flour to one large, shallow bowl. Whisk the eggs in a second large, shallow bowl. Add the Panko breadcrumbs to a third large, shallow bowl.
- Dredge each of the chicken breasts in the flour, shaking off any excess, then dip it into the eggs and immediately into the Panko, pressing the breadcrumbs to adhere to all sides of the chicken.
- When ready to cook, line a baking sheet with paper towels. Place a large skillet over medium heat. Add enough oil to generously coat the bottom of the pan. Once the oil is hot, add the breaded chicken breasts (careful not to overcrowd the pan and working in batches, if needed) and cook them, undisturbed, until they are golden brown. Flip the chicken once and continue cooking until it reaches an internal temperature of 165°F.
- Transfer the chicken Katsu onto the prepared baking sheet and immediately season them with salt.
Assemble the salad:
- When ready to serve, add the purple cabbage, carrots, edamame, cucumbers and scallions to a large bowl. Add your desired amount of the prepared Carrot-Ginger Dressing and toss to combine.
- Cut the chicken Katsu into thin strips and arrange it on serving plates. Top the chicken Katsu with the salad and serve immediately.
Kelly’s Notes
- Boneless, skinless chicken thighs can be substituted for the chicken breasts. I still recommend pounding them to an even thickness so they cook evenly.
- I don’t recommend substituting regular breadcrumbs. Panko’s light, airy flakes create the signature crispy coating that makes Chicken Katsu so irresistible.
- Carrot-Ginger Dressing: The dressing can be made up to 1 week in advance and stored in an airtight container in the refrigerator. Give it a good stir or shake before serving.
- Make-ahead: You can bread the chicken up to 3 hours ahead of time. Arrange the breaded cutlets on a baking sheet, cover and refrigerate until you’re ready to fry. I recommend tossing the salad with the carrot-ginger dressing just before serving so the vegetables stay crisp. If you’re prepping ahead, chop the veggies and refrigerate them separately, then toss everything together right before serving.
- Storage: Leftover chicken will keep in an airtight container in the refrigerator for up to 3 days. Store the salad separately for the best texture.
- ★ Did you make this recipe? Don’t forget to give it a star rating below!
Nutrition
Did you try this recipe?
Leave a comment below with your star rating!
This post may contain affiliate links.
Absolutely so tasty. Will make again.
So happy to read that, Amanda!
Wow wow wow! Hubs said this was better than any restaurant dish he’s had. :) Going on the regular rotation at our house. Thanks!
So glad you enjoyed the recipe, Kelsey!
Absolutely delish! I’ve made your cutlets before but never thought to do an Asian salad on top. That dressing was 10/10!!!!!
So glad you enjoyed it, Morgan!