If you can open a pack of Oreo cookies, you can make this No-Bake Chocolate Tart with Raspberries. It is seriously that simple! No baking, a little stirring and a whole lot of luscious flavor packed into an Oreo cookie crust and a silky ganache filling. Pop some juicy raspberries on top and the summer’s best no-bake dessert is done!

Table of Contents
My all-time favorite dessert combination is fruit and chocolate, and it doesn’t get much better when these two flavor powerhouses join forces in my Easy No-Bake Chocolate Tart with Raspberries. It’s as appealing to the eye as it is to the palate, and you don’t even have to go near your oven to make it happen.
This No-Bake Chocolate Tart Is:
- A no-bake dessert, perfect for warm weather or when you want to keep things simple.
- Made with a rich, creamy chocolate filling and a homemade Oreo cookie crust.
- Topped with fresh, juicy raspberries.
- Easily customizable with your favorite fruits or berries.
- Simple to prepare, yet impressive enough to wow your guests.
- Ready in just a few hours, mostly chilling time.
For the crust:
- Oreo cookies: You can technically use any chocolate sandwich cookie for the Oreo crust, but I do like the classic cookie’s filling-to-chocolate wafer ratio.
- Vanilla extract: Use pure vanilla extract for the best flavor.
- Salt: If you want something to taste sweeter yet balanced, add a pinch of salt. Really! It basically boosts all other flavors.
- Unsalted butter: To make the crust, you’ll use melted butter. I recommend melting it in the microwave in 30-second bursts.
For the chocolate filling:
- Semisweet chocolate: Make sure to finely chop the chocolate, so it melts quickly.
- Heavy cream: For a super-easy ganache, you’ll need heavy cream. Don’t swap in whole milk or even half and half. The filling won’t be as creamy and there’s a chance it won’t firm up as well.
- Light corn syrup: This makes the ganache smooth, creamy and shiny.
- Raspberries: You’ll want to use whole, fresh raspberries. Don’t substitute frozen berries: they’ll be too wet and won’t hold their shape.
See the recipe card for full information on ingredients and quantities.
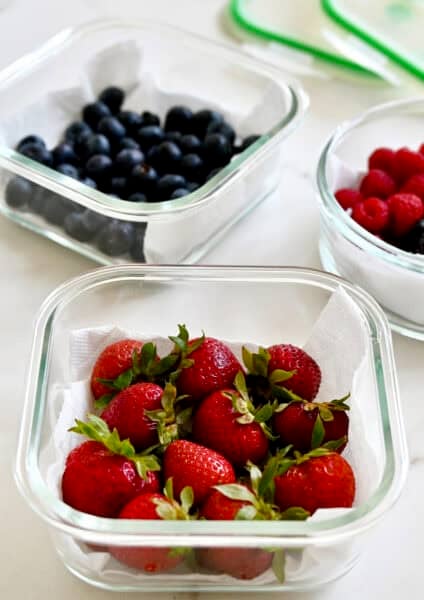
Feel free to use your favorite fruits or berries instead of raspberries! Strawberries, blueberries, blackberries or a mix of berries work wonderfully.
It all starts with a chocolatey crust starring Oreo cookies and my not-so-secret ingredient: a pinch of salt. The salt balances out the sweetness of the tart while also drawing out the intense flavor of the berries.
The simple crust becomes the perfect spot to land your silky-smooth chocolate filling.
Semisweet chocolate is melted together with heavy cream and corn syrup. Wait! Before you go running for the hills because of the word “corn syrup” allow me to explain its purpose in this recipe…
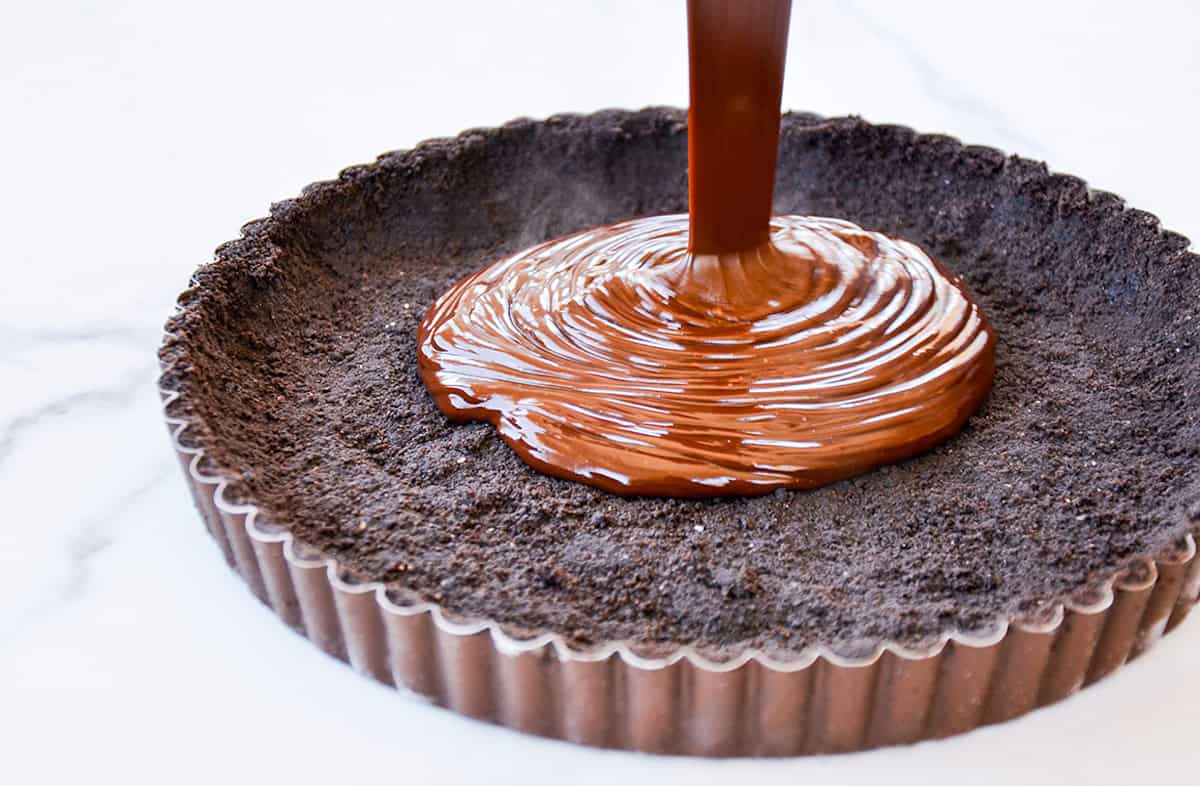
Corn syrup guarantees your chocolate will be silky-smooth and glossy. Just look at that shine above. It’s like looking into a delicious chocolate mirror.
Now that your creamy chocolate filling is done, it’s time to pour it into the cooled tart crust before it all goes for a final chill in the freezer.
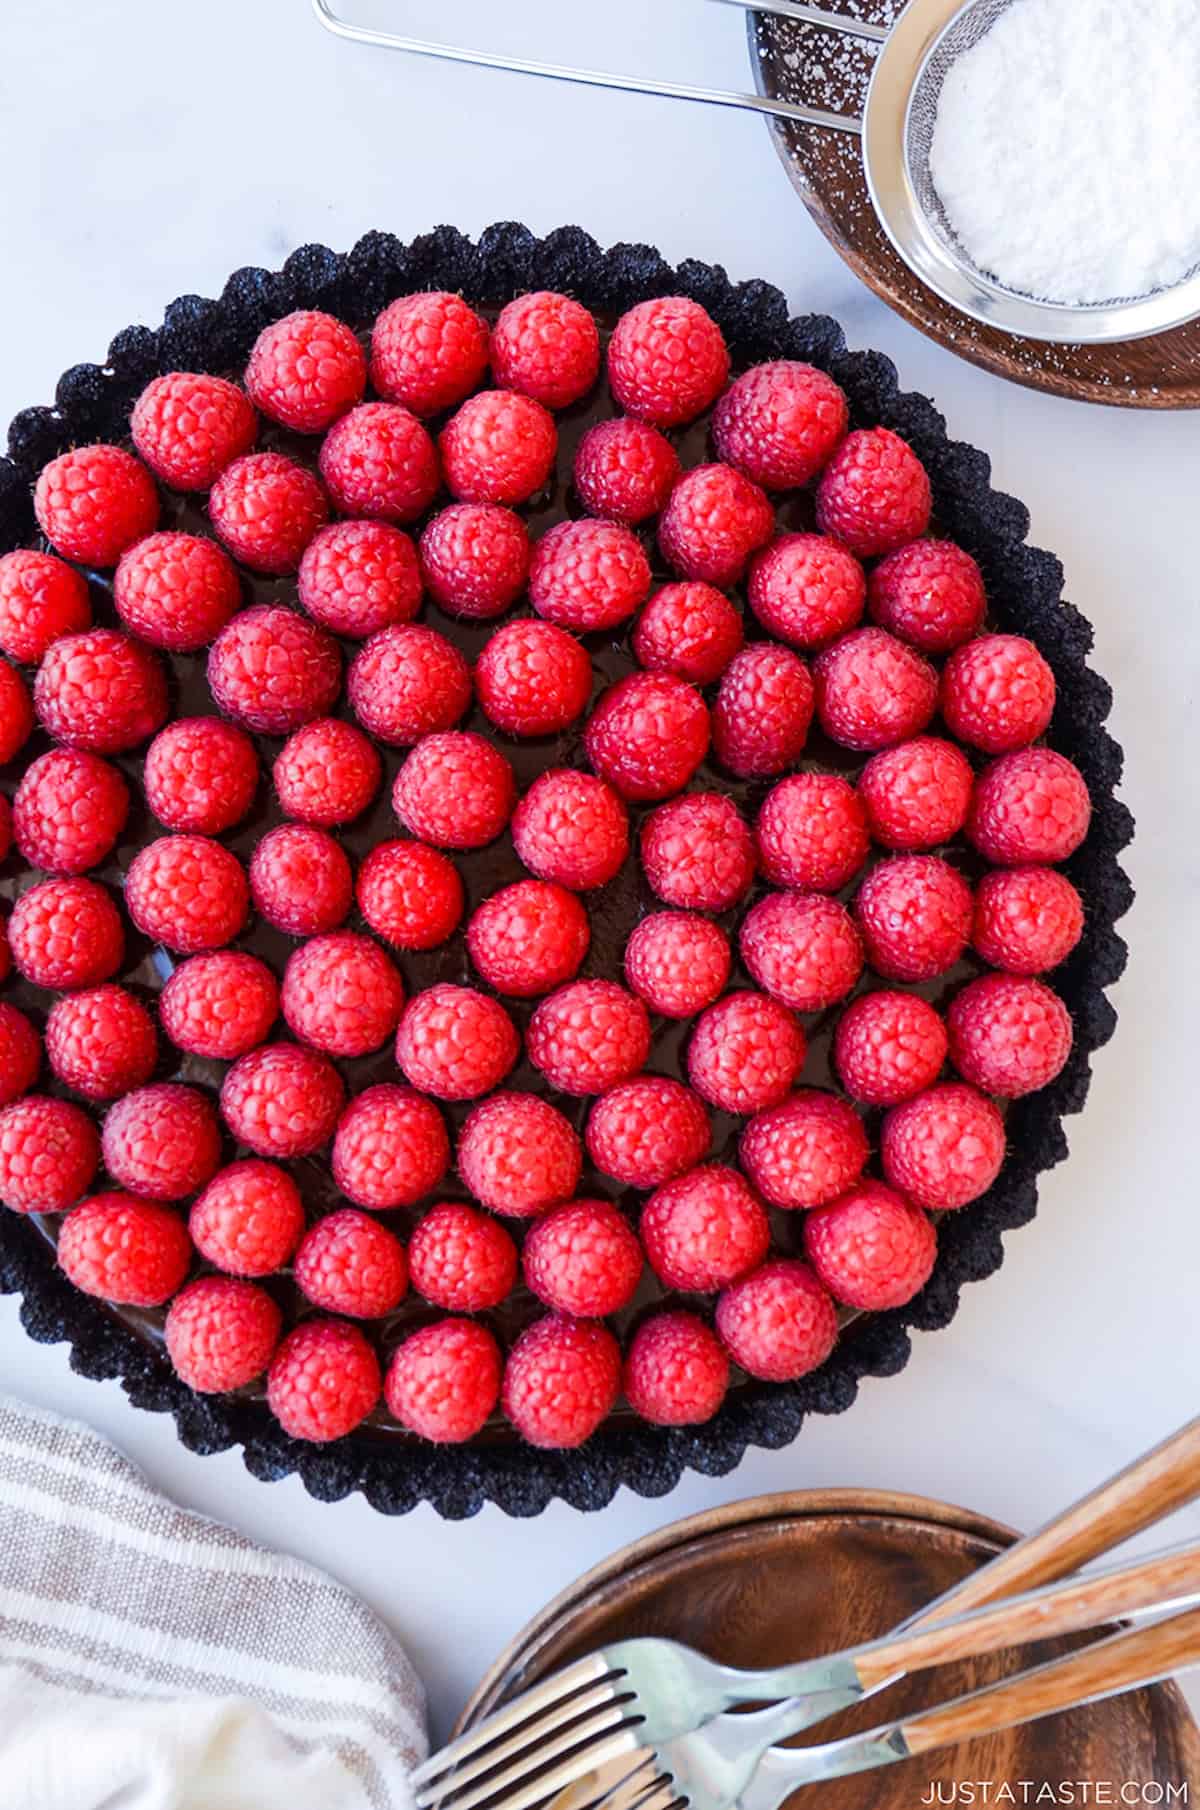
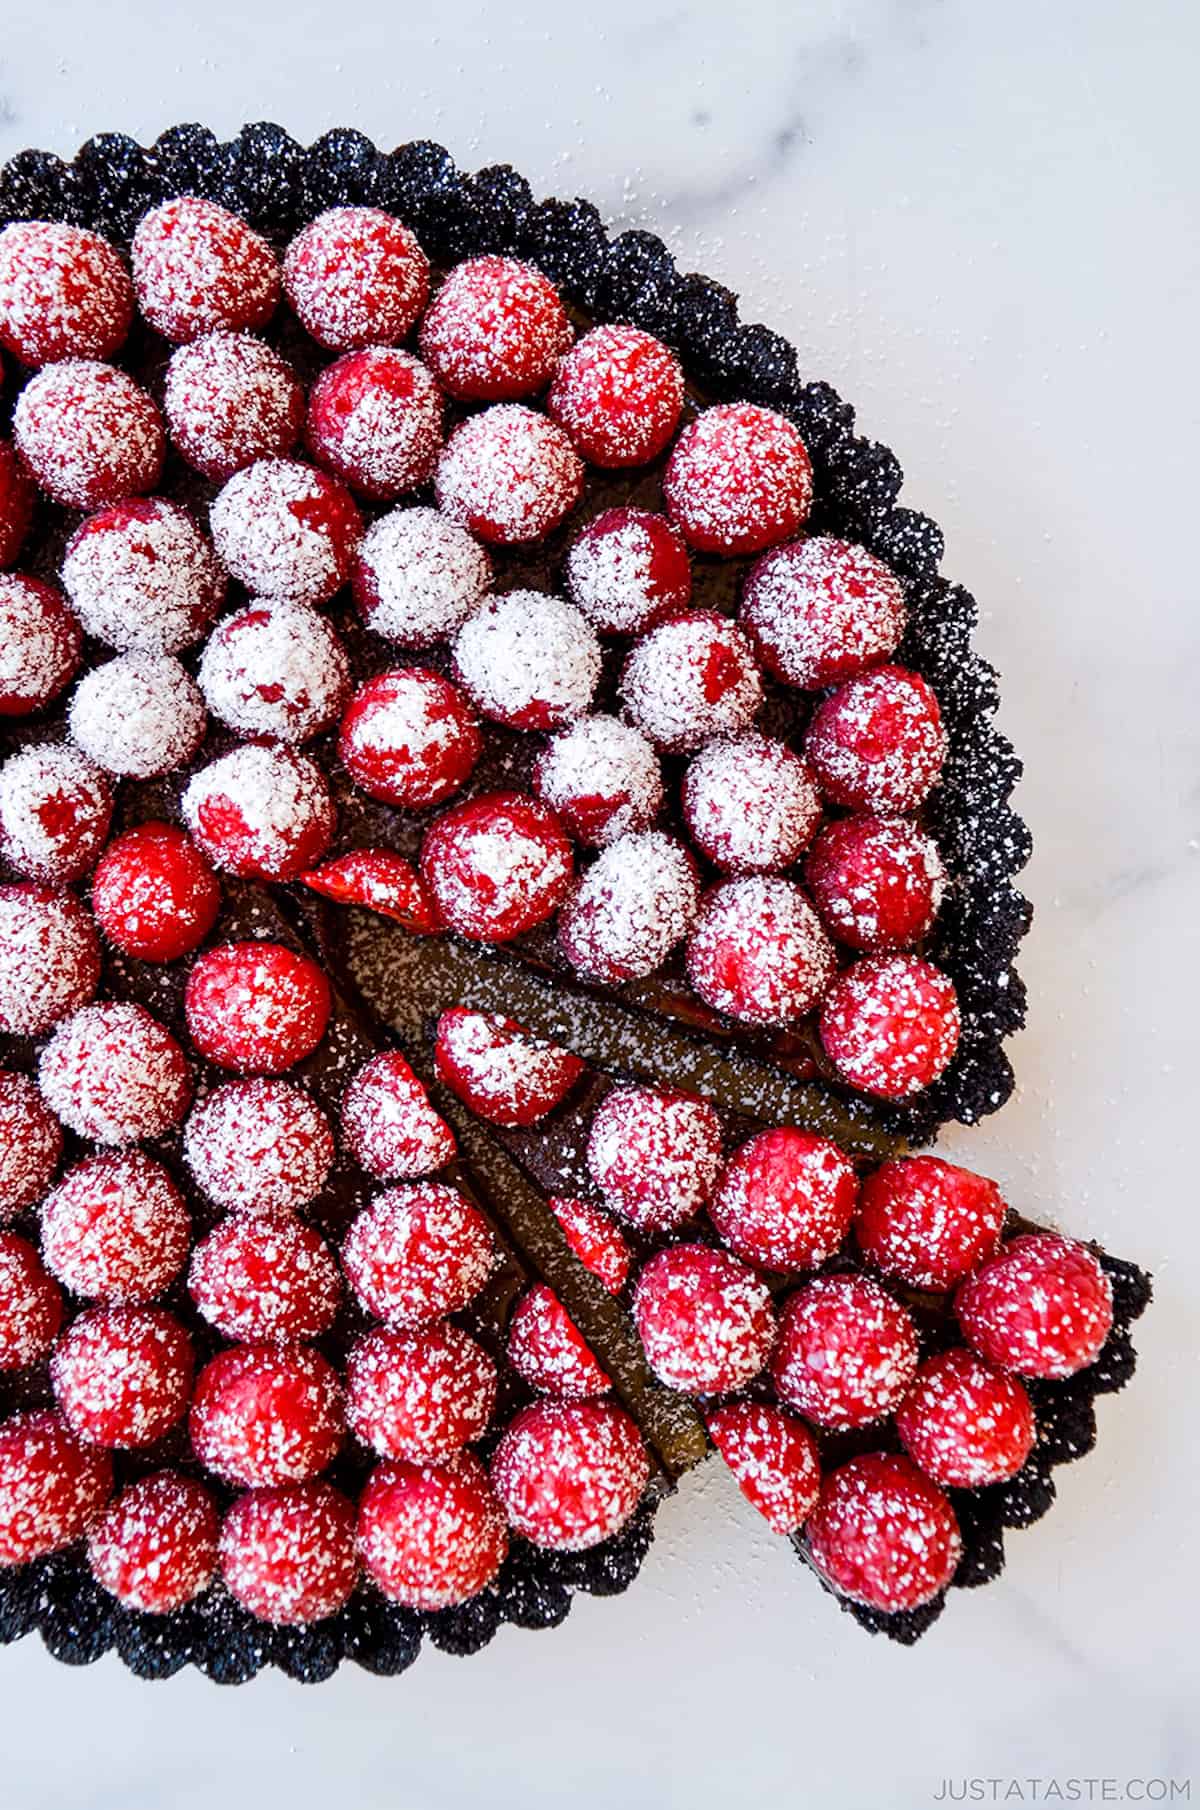
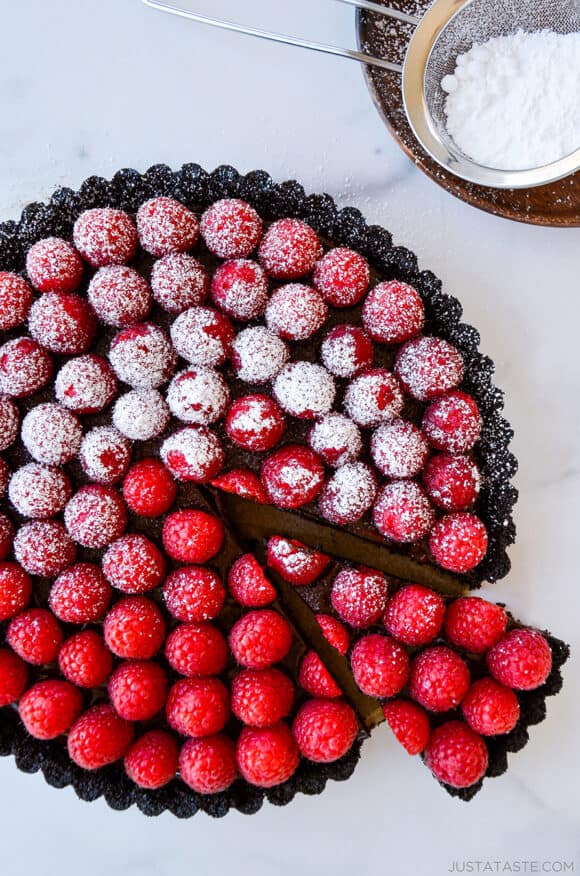
Then all that’s left to do is top it off with fresh raspberries, which make this no-bake tart a welcome addition to any dessert lineup.

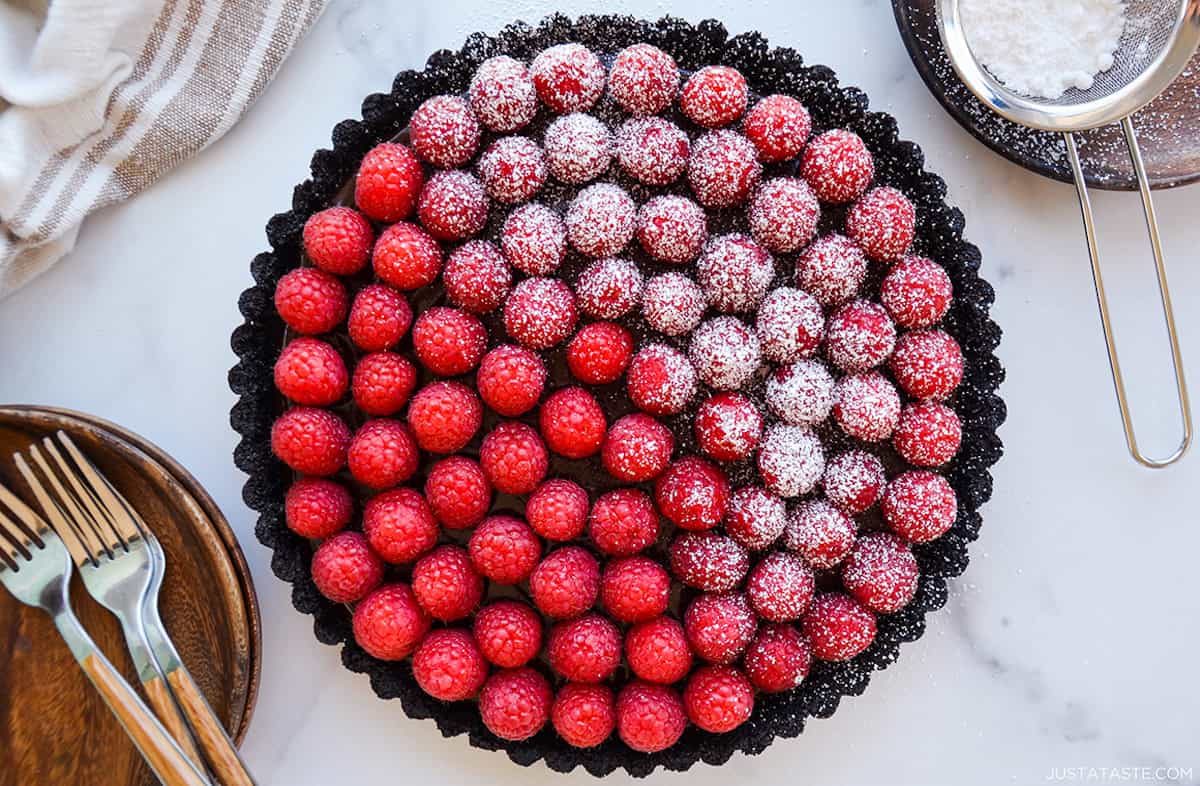
I serve this tart with a simple dusting of confectioners’ sugar, but if you want to really up your dessert game, add a pillowy dollop of whipped cream. You could also serve it alongside a scoop of vanilla ice cream or greek frozen yogurt.
- If You Don’t Own a Food Processor: You can roughly chop the Oreos by hand or place them into a ziplock bag and smash them with a rolling pin. Then, place the crushed cookies into a bowl and stir in the rest of the ingredients.
- Invest in a Tart Pan: A tart pan with a removable bottom will make it super easy to unmold the tart (just push the bottom upwards and the no-bake chocolate raspberry tart will pop right out). Plus, the fluted edges look beautiful.
- Don’t Rush the Chill Time: Make sure to thoroughly chill the tart (I call for an hour, but there’s no harm leaving it in the fridge for longer). Pull it out too soon and you’ll have unset, loose creamy chocolate filling!
- No-Bake Chocolate Cheesecake Cups
- Momoo’s No-Bake Peanut Butter Bars
- Easy No-Bake Cheesecake Parfaits
- The Easiest-Ever Ice Cream Cake
- Chocolate Chip Cookie Dough Dip
Ingredients
For the crust:
- 24 Oreo cookies
- 1 teaspoon vanilla extract
- 1/2 teaspoon kosher salt
- 6 Tablespoons unsalted butter, melted
For the filling:
- 12 oz. semisweet chocolate, finely chopped
- 1 1/4 cups heavy cream
- 1 Tablespoon light corn syrup
- Raspberries, for topping
Instructions
Make the crust:
- In the bowl of a food processor, pulse the Oreos until they are roughly chopped then add the vanilla extract and salt and pulse until combined. With the motor running, stream in the melted butter and continue processing until the mixture comes together into a ball. (Do not over-process the mixture.)
- Spray a 9-inch nonstick tart pan (with removable bottom) with cooking spray. Transfer the cookie mixture into the tart pan, and then using your fingers, press it into the bottom and sides of the pan in an even layer to form the tart crust.
- Cover the pan with plastic wrap and freeze it for 15 minutes.
Make the filling:
- Add the chocolate to a medium bowl.
- In a medium saucepan set over medium heat, whisk together the heavy cream and corn syrup. Bring the mixture to a simmer then remove it from the heat.
- Pour the cream mixture atop the chocolate and let the mixture sit, undisturbed, for 5 minutes.
- Whisk together the ingredients until the mixture is smooth. If the chocolate still hasn’t fully melted, microwave the mixture for 20-second increments, stirring between each increment, until smooth.
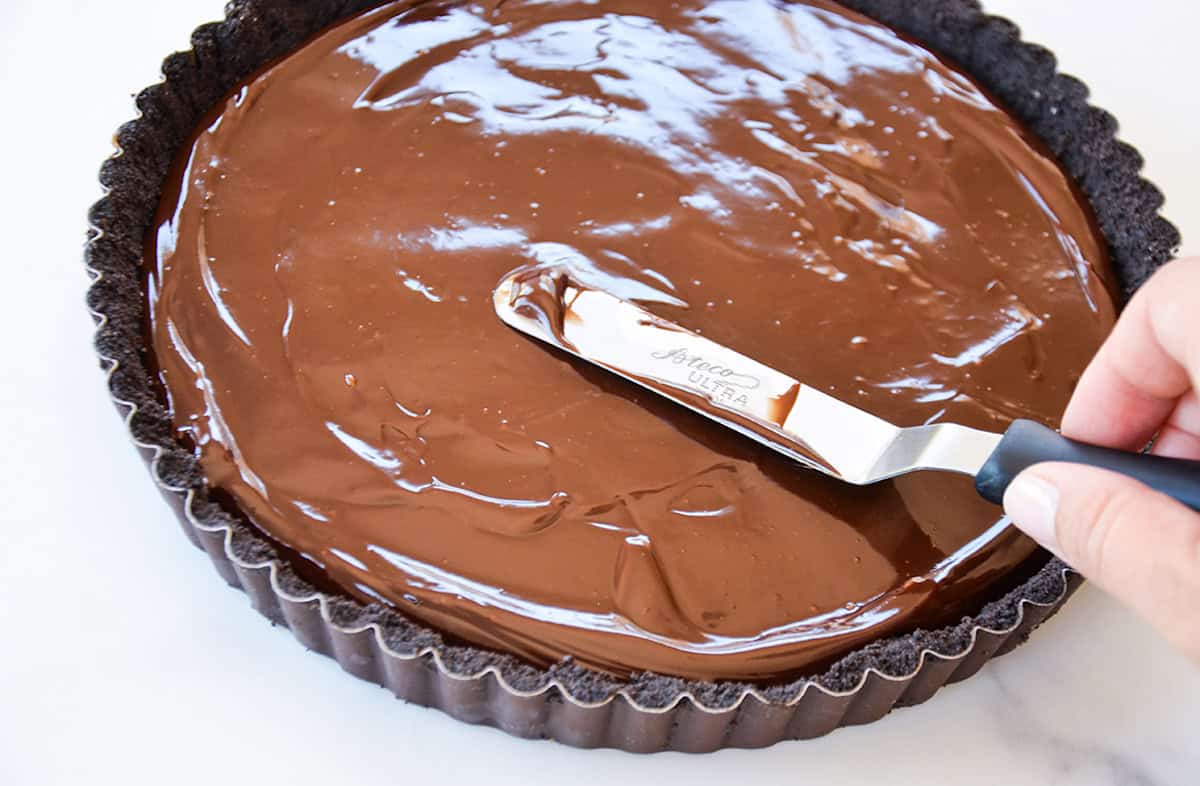
- Remove the tart shell from the freezer. Pour the chocolate mixture into the tart shell, spreading it into an even layer.
- Transfer the tart to the refrigerator until the chocolate has fully hardened, a minimum of 1 hour.
- Arrange the raspberries on top then slice and serve.
Kelly’s Notes
- You can roughly chop the Oreos by hand or place them into a zipper-lock bag and smash them with a rolling pin. Then, place the crushed cookies into a bowl and stir in the rest of the ingredients.
- A tart pan with a removable bottom will make it super easy to unmold the tart (just push the bottom upwards and the no-bake chocolate raspberry tart will pop right out). Plus, the fluted edges look beautiful.
- Make sure to thoroughly chill the tart (I call for an hour, but there’s no harm leaving it in the fridge for longer). Pull it out too soon and you’ll have unset, loose creamy chocolate filling!
- ★ Did you make this recipe? Don’t forget to give it a star rating below!
Nutrition
Did you try this recipe?
Leave a comment below with your star rating!
This post may contain affiliate links.
Recipe by Kelly Senyei of Just a Taste. Please do not reprint this recipe without my permission. If you'd like to feature this recipe on your site, please rewrite the method of preparation and link to this post as the original source.


Trying to convert this to gluten/dairy free. Filling I think I can use coconut milk but for the crust, thoughts on if ghee or coconut oil would work with gluten free Oreos? Thank you!
Hi Jen! Either of those *should* work. Can’t wait to hear your results!
This dessert made this inept (non)baker look like a genius! It had it all. Rich, fabulous flavor, and presentation that elevated it to a whole new level.
Can I just say…..OREOs as crust? Um yes, please. I’m going to experiment with that one for some cheesecakes.
YESSSSS! I’m so thrilled you enjoyed the recipe, Steph!
Easy and a big hit! Putting chocolate chips in the cream mixture I had in a double boiler work just fine. Because I don’t have a large food processor, I processed the cookies in small batches and hand stirred it. With the cream in the filling, it’s not cloyingly sweet nor too too. will definitely make this again!!
I’m so thrilled you enjoyed the recipe, Kim!
This was incredible! So easy and so delicious. A keeper!
I’m so thrilled you enjoyed the recipe, Heather!