
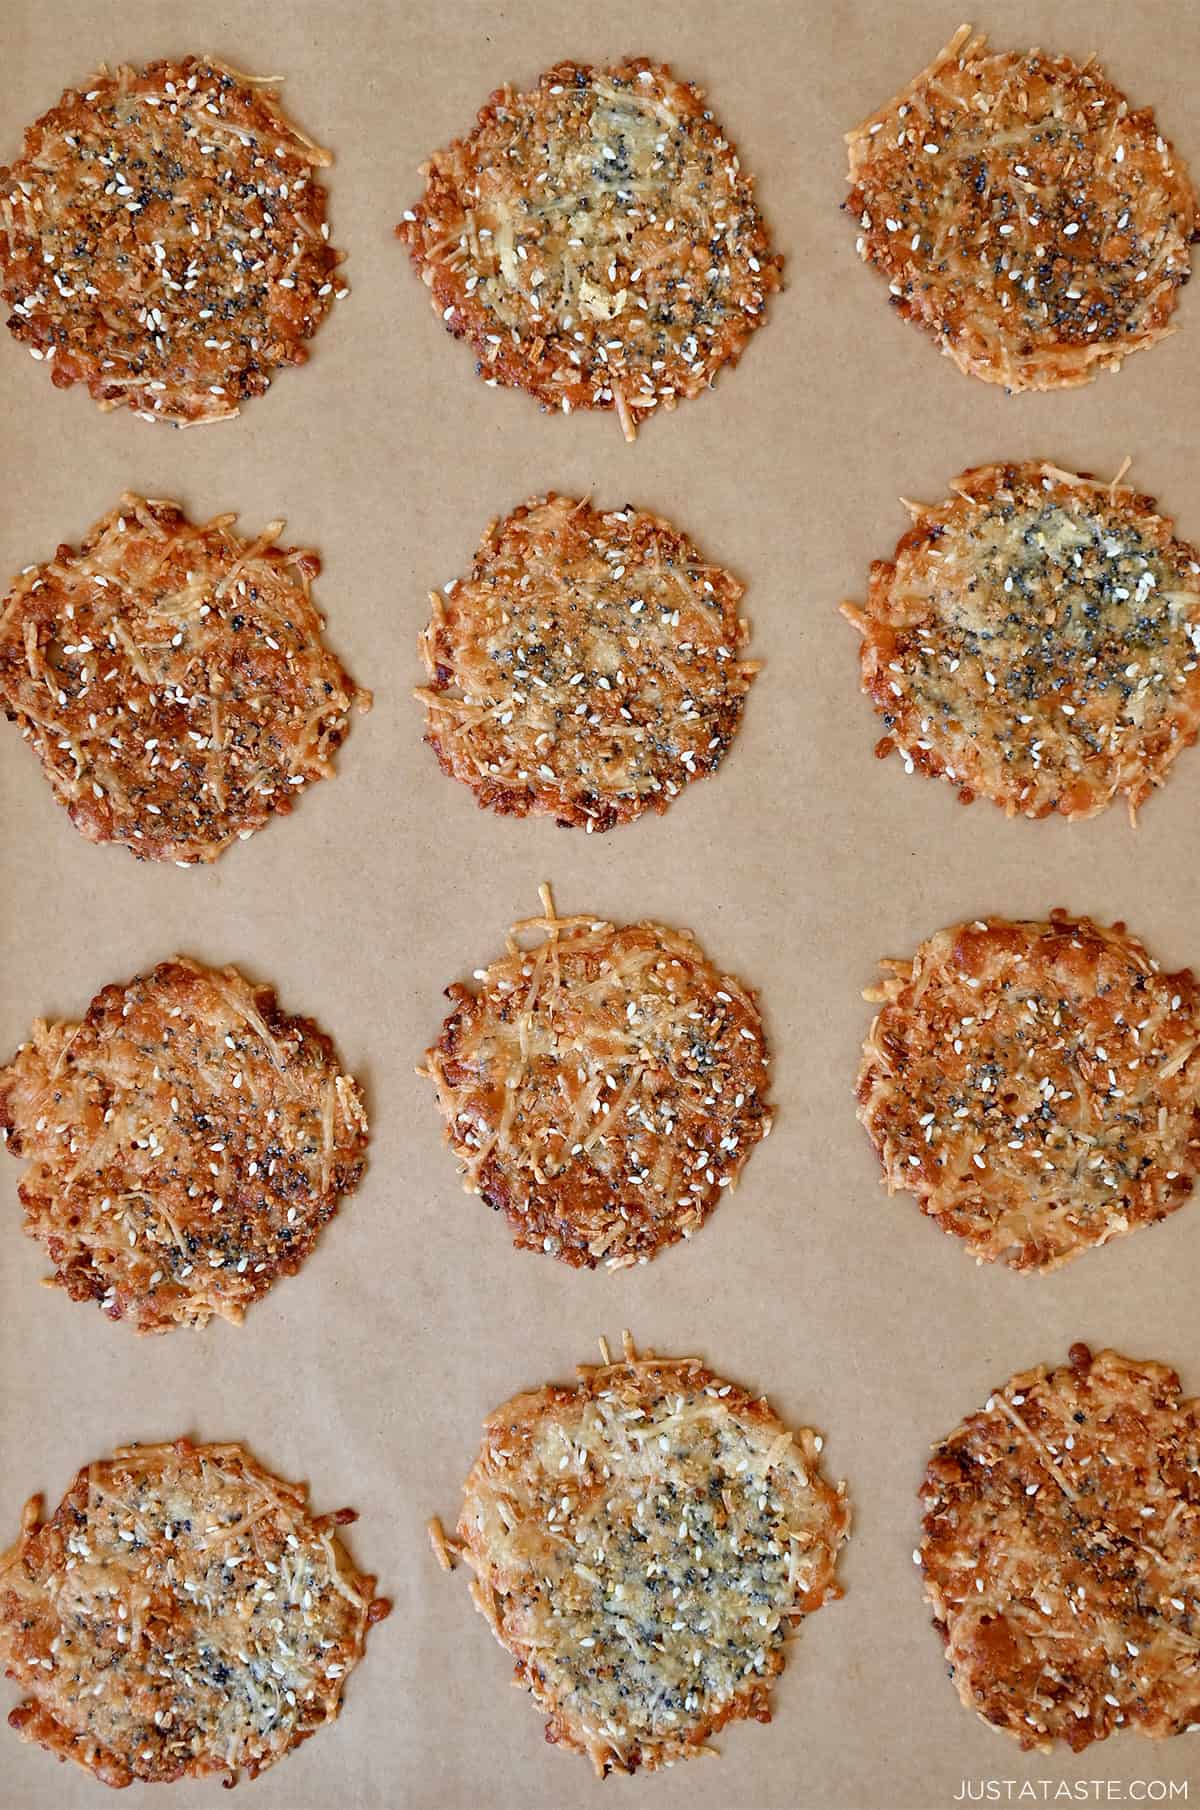
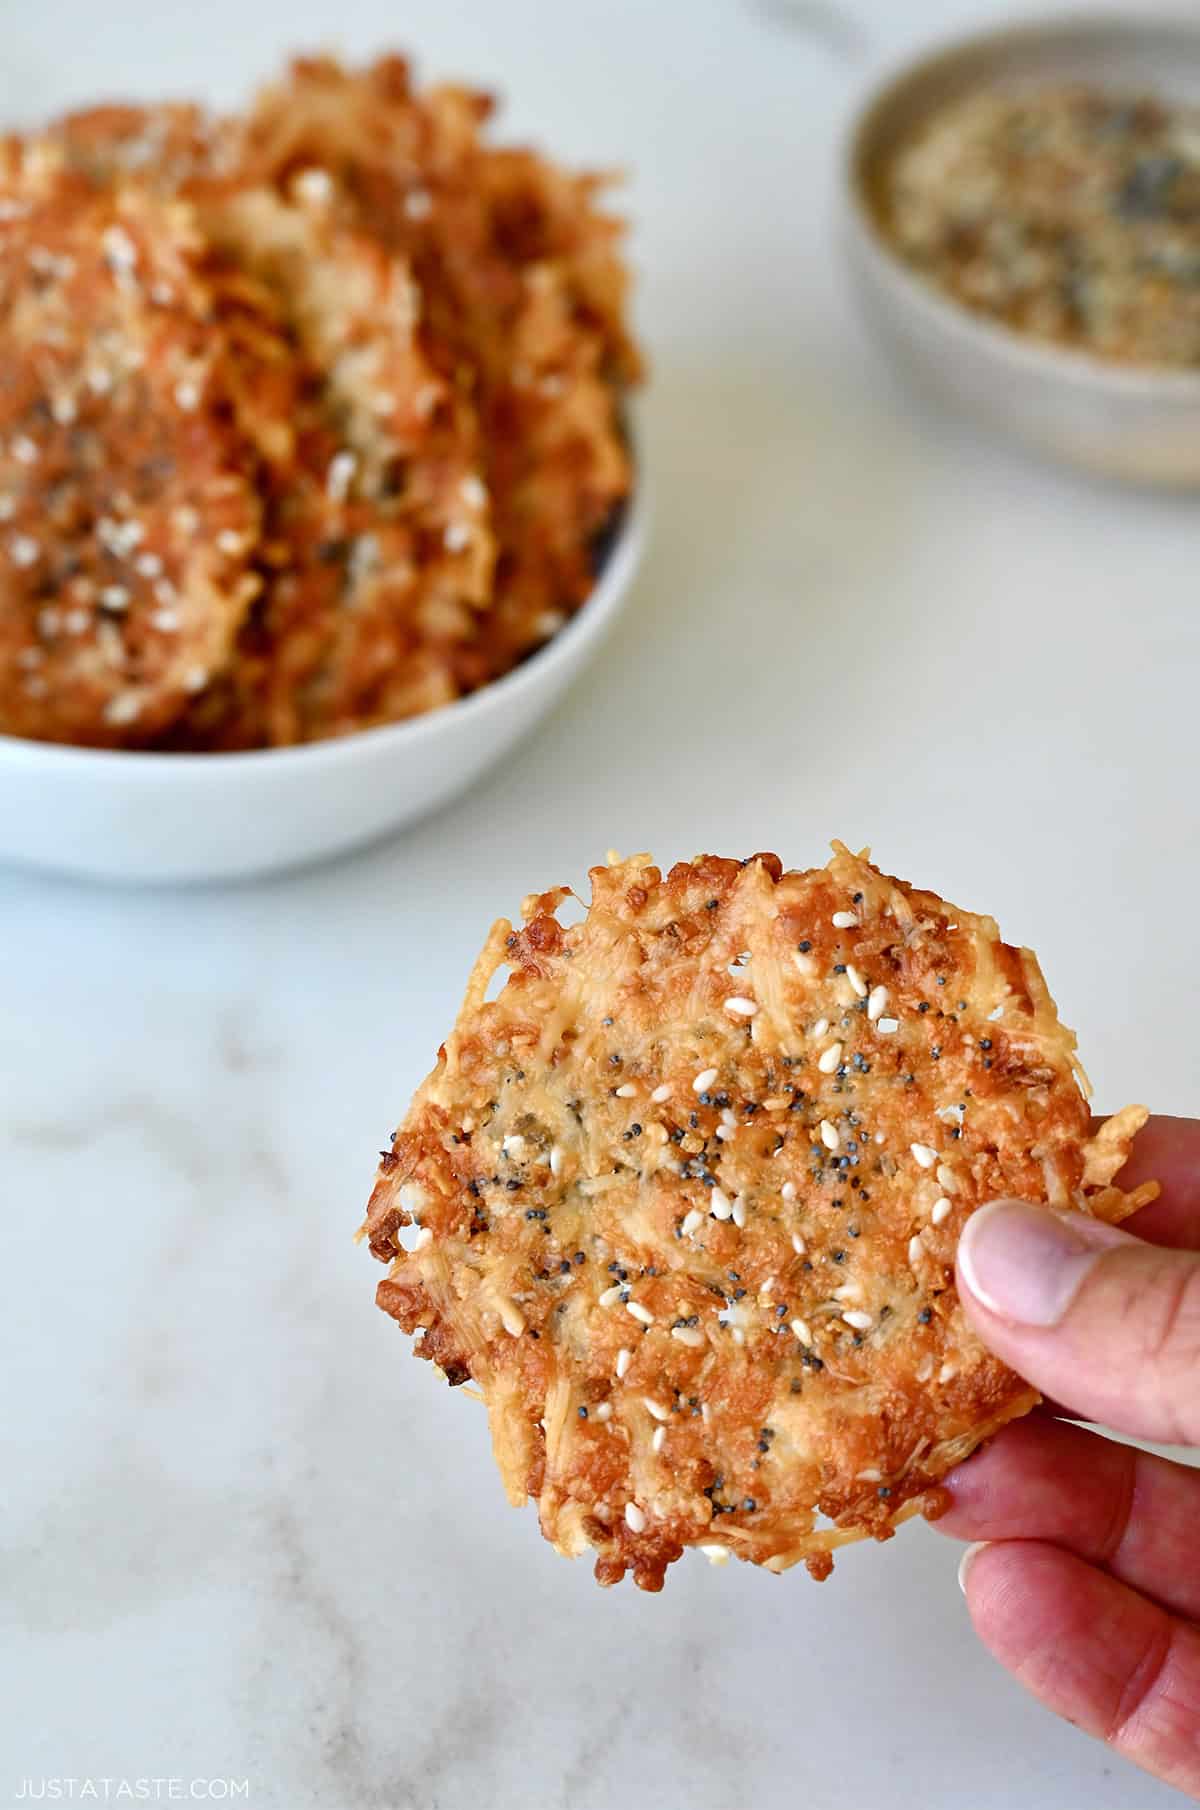
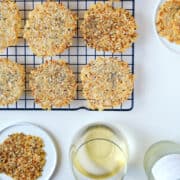
These easy Parmesan cheese crisps are thin, crunchy and packed with everything bagel flavor. Baked until golden in just 10 minutes, they’re a naturally low-carb and gluten-free snack or appetizer that can even be shaped into cheese cups or taco shells.
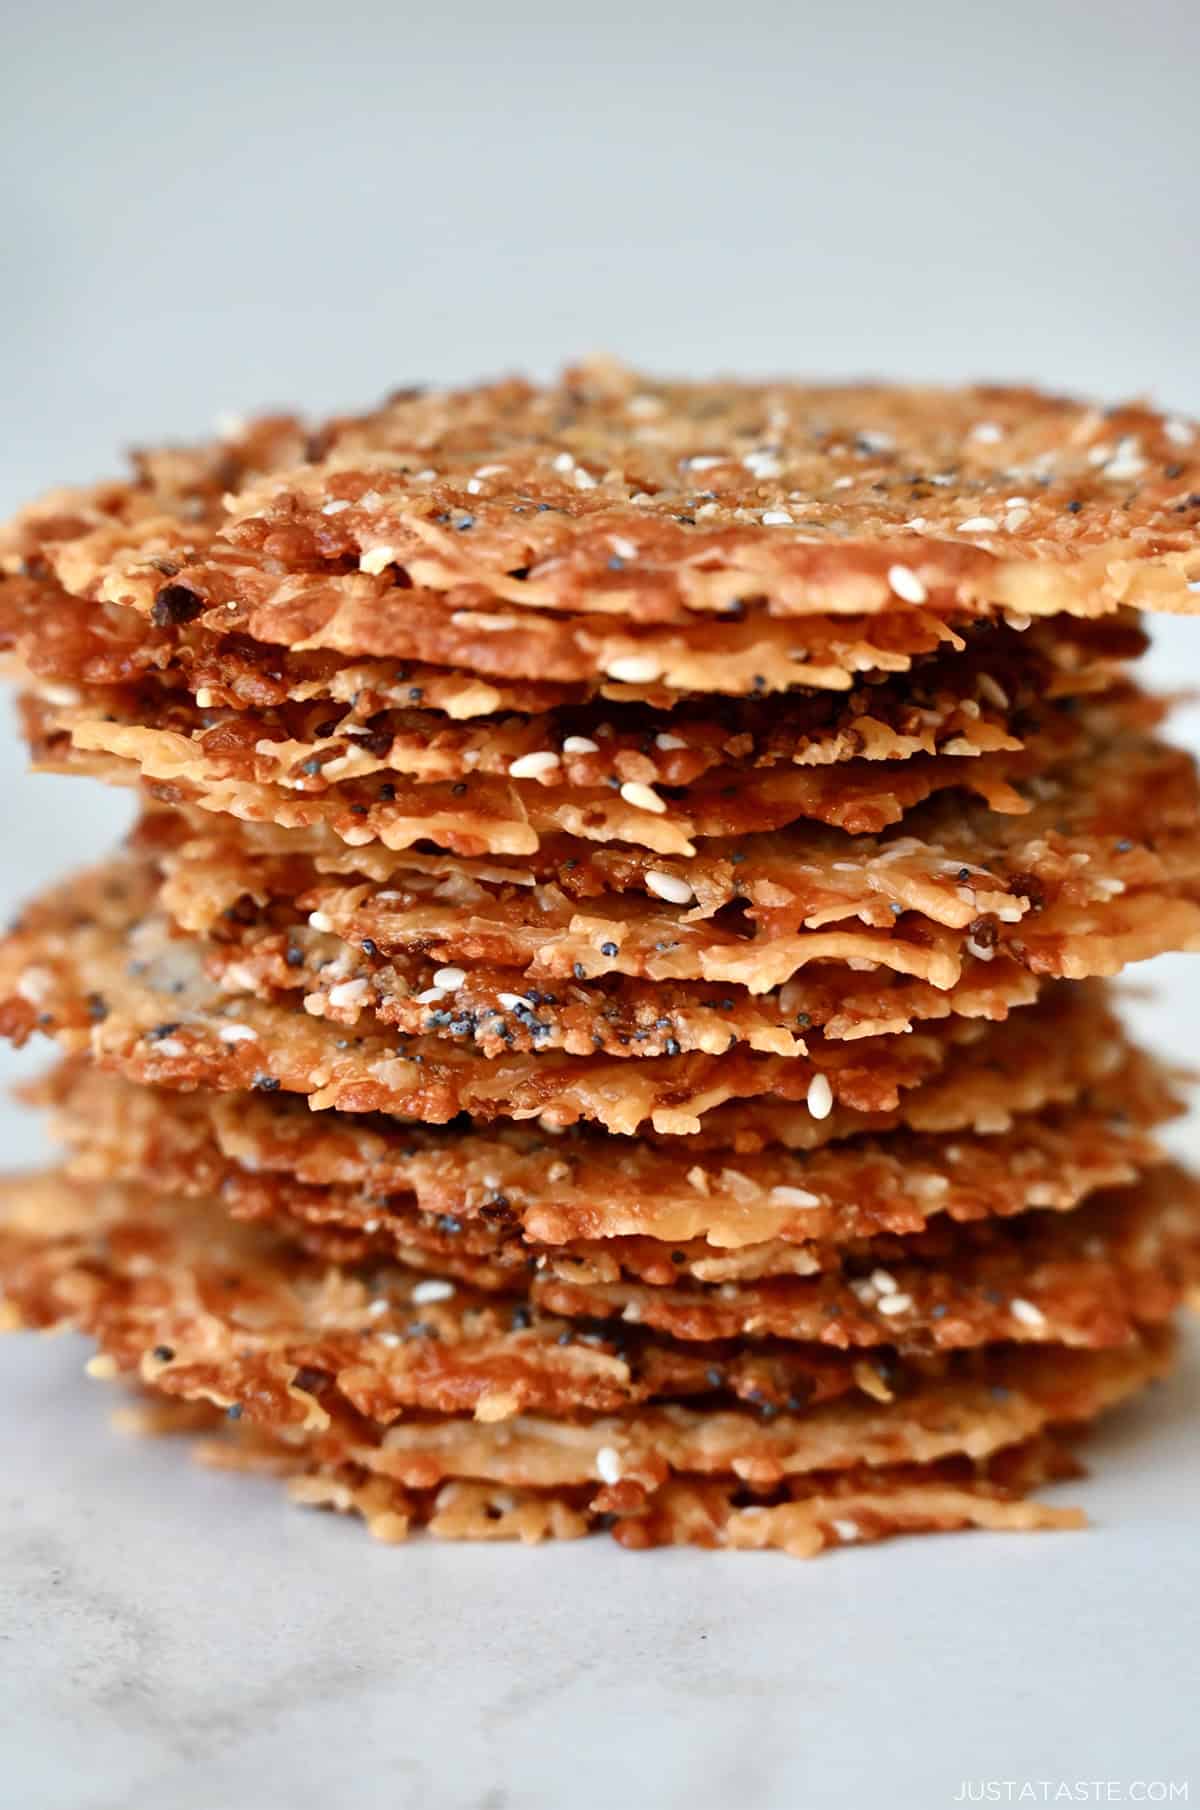
Table of Contents

If there’s one seasoning blend I will put on just about anything, it’s everything bagel seasoning. I’ve added it to everything from homemade bagels to savory cheese crackers and even pigs in a blanket.
And now? We’re adding it to Parmesan cheese crisps. You only need a few simple ingredients and 15 minutes to make a snack that’s salty, crunchy, cheesy and seriously addicting. They’re also naturally low-carb and gluten-free.
I originally shared this recipe back in 2015 and have since made these cheese crisps with all types of cheese and in all kinds of shapes, from the original flat chips to crispy cheese cups (perfect for filling with my Buffalo chicken salad) and even taco shells. Same basic technique, so many ways to use it!
Best of all, these cheese crisps can be made a day in advance and stored in an airtight container, making them perfect for easy snacking or a make-ahead party appetizer.
This Trick Changes Everything
This is the question I get most often about this recipe, so let me address it right up front: Yes, the recipe really does call for both shredded Parmesan AND grated Parmesan.
Here’s why they both matter:
- Shredded Parmesan: The thin strips melt into those signature crispy, lacy edges.
- Grated Parmesan: The fine, powdery cheese fills in the gaps between the shreds, giving you a more solid, cohesive crisp rather than one with a bunch of large holes.
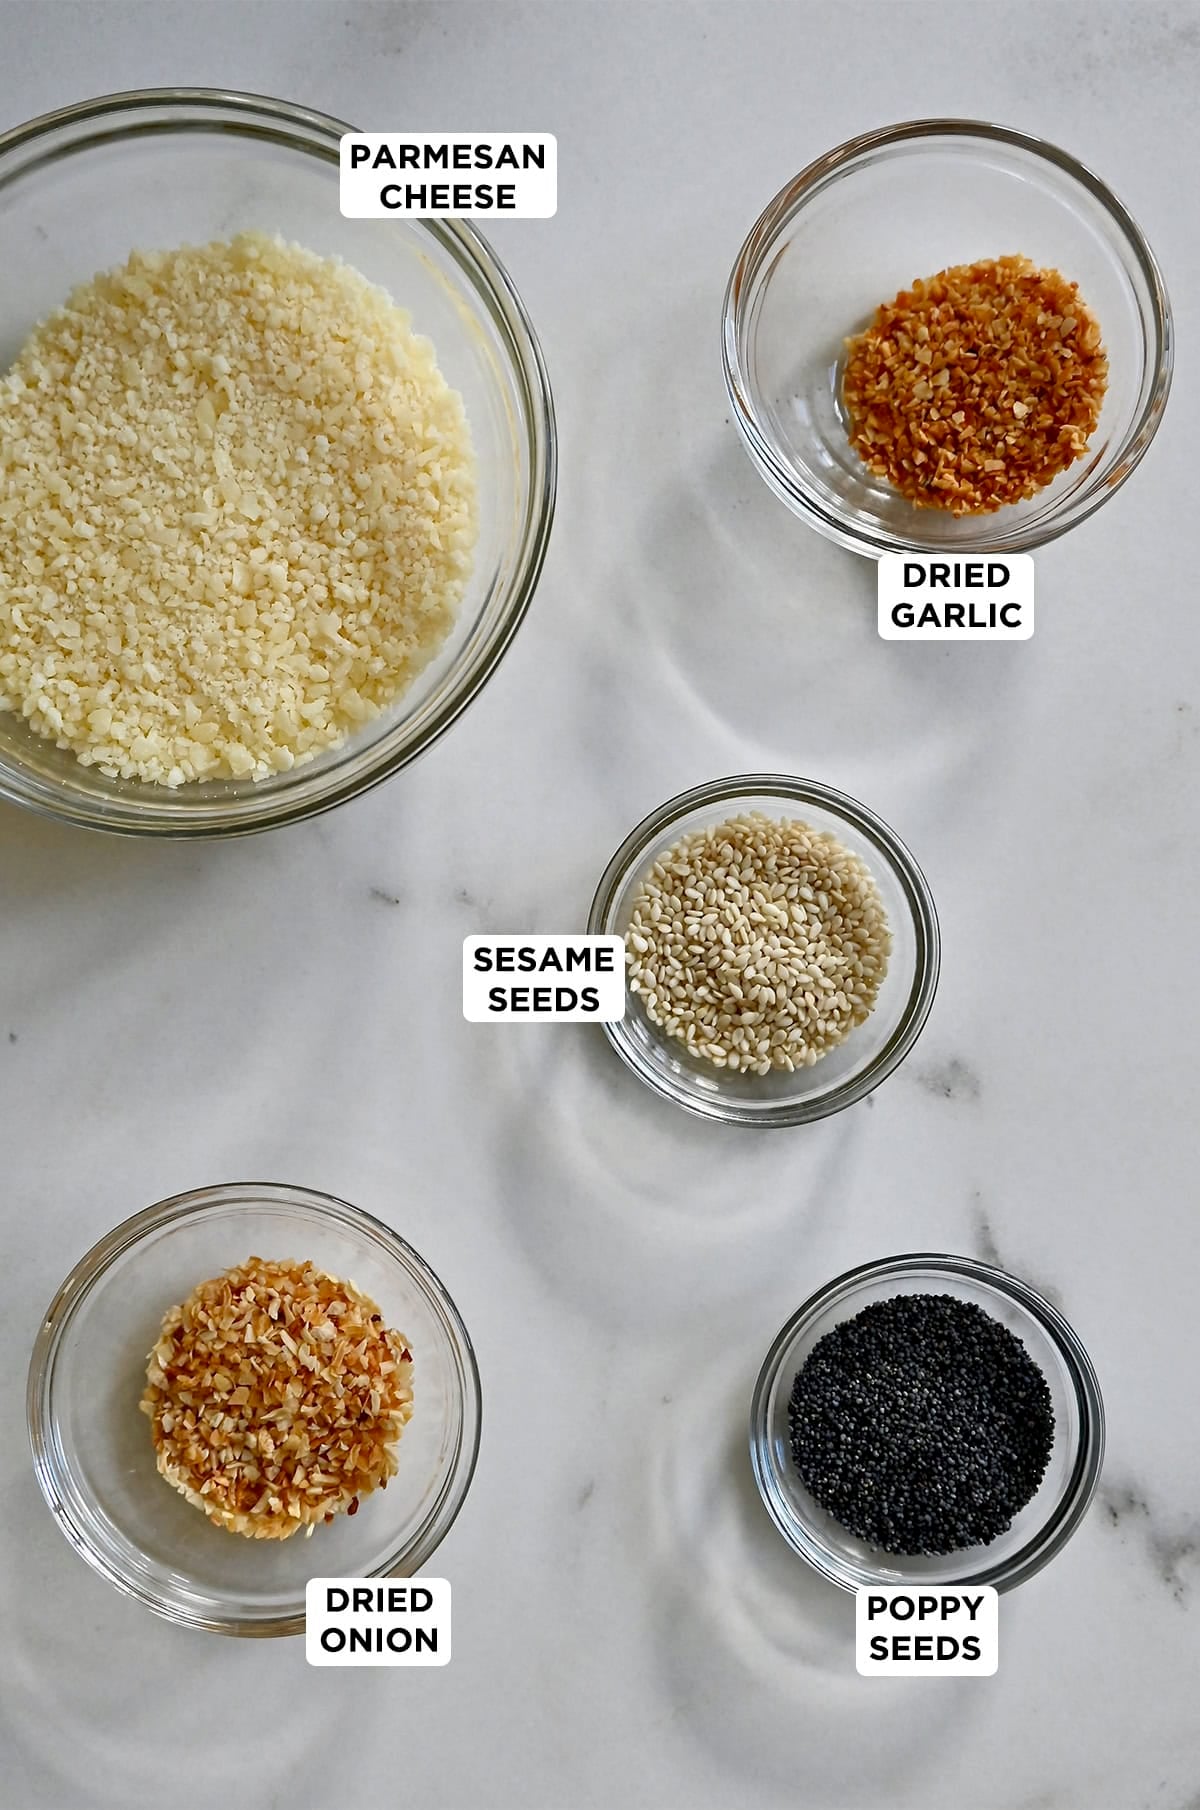
Shortcut: Instead of measuring the poppy seeds, sesame seeds, dried garlic, dried onion and salt individually, use 2 tablespoons of my homemade everything bagel seasoning.
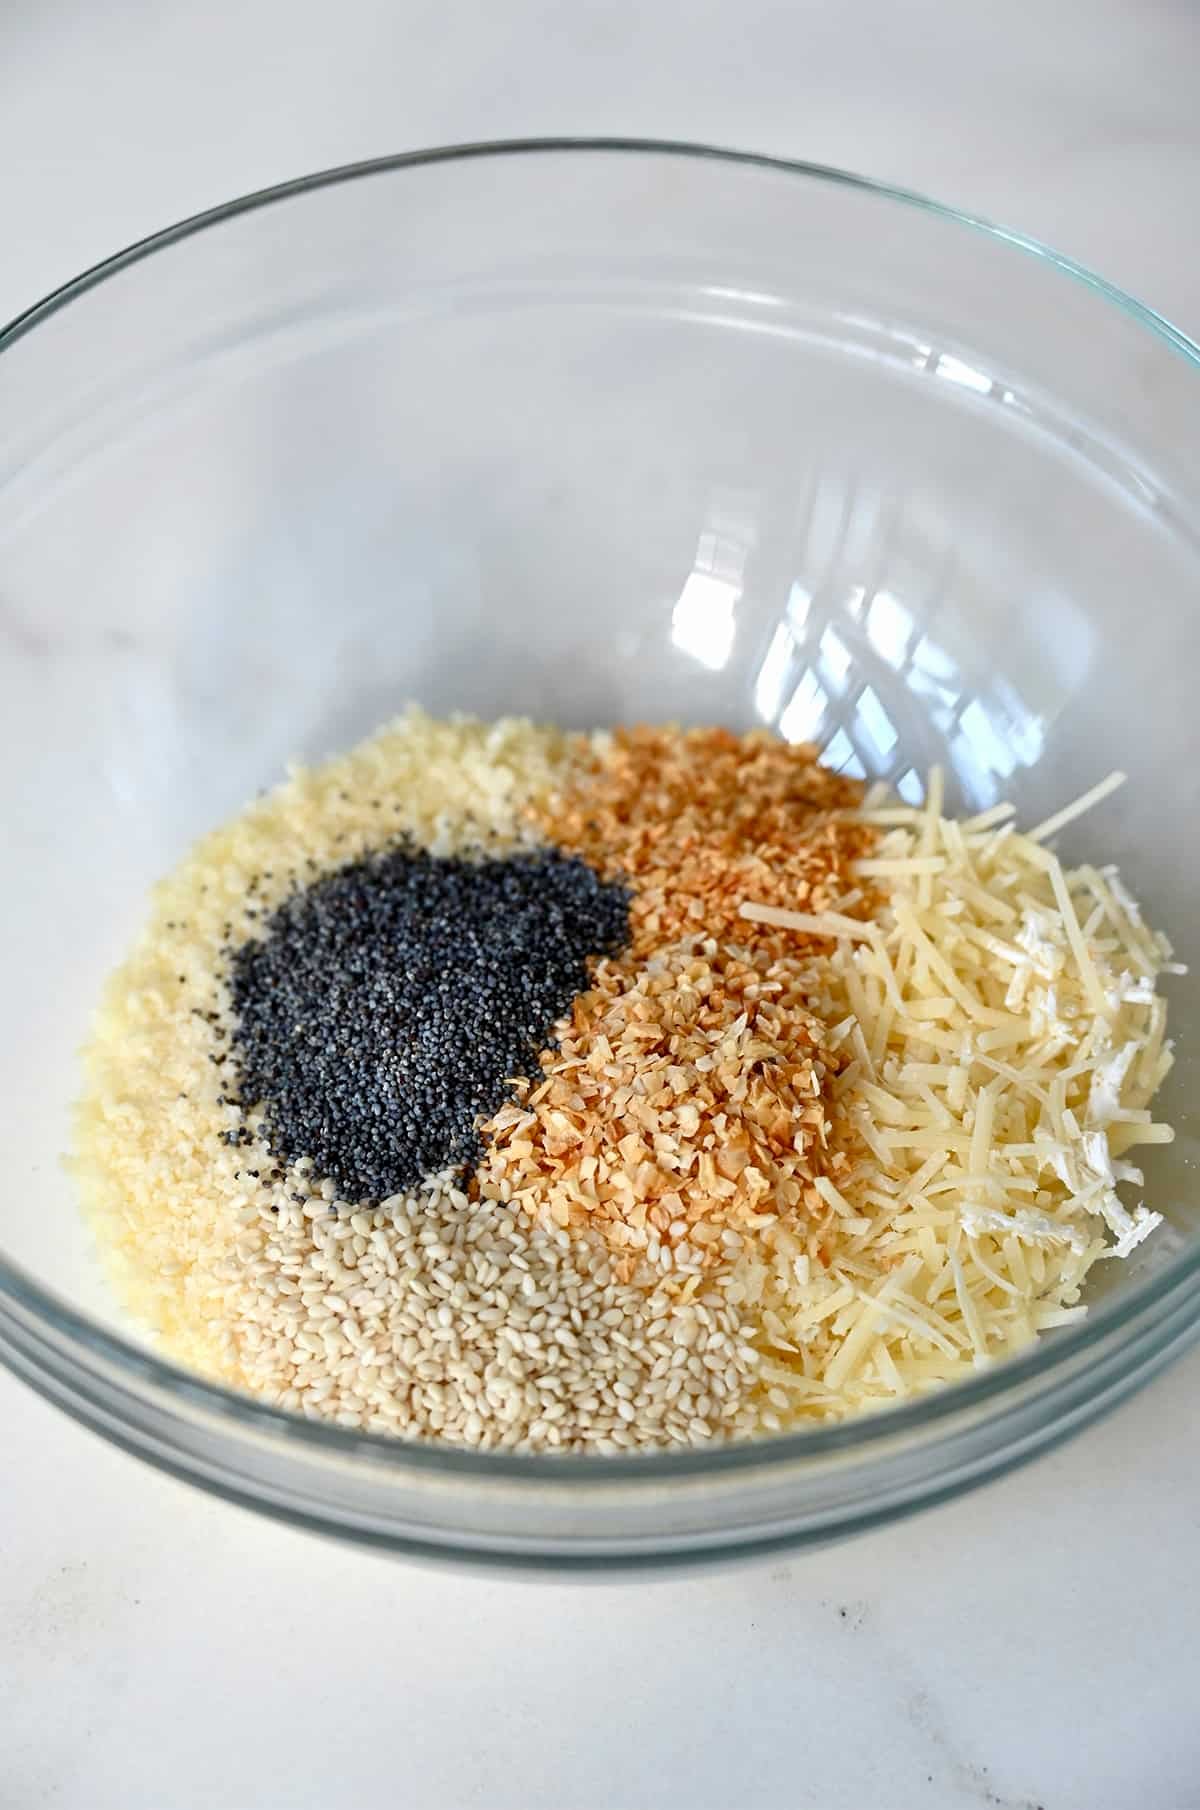
Stir all the ingredients together, then spoon heaping tablespoons of the mixture onto parchment paper-lined baking sheets, leaving plenty of space between each one so the cheese has room to melt and spread in the oven. Gently flatten the mounds before baking so you get thin, evenly crisp chips.
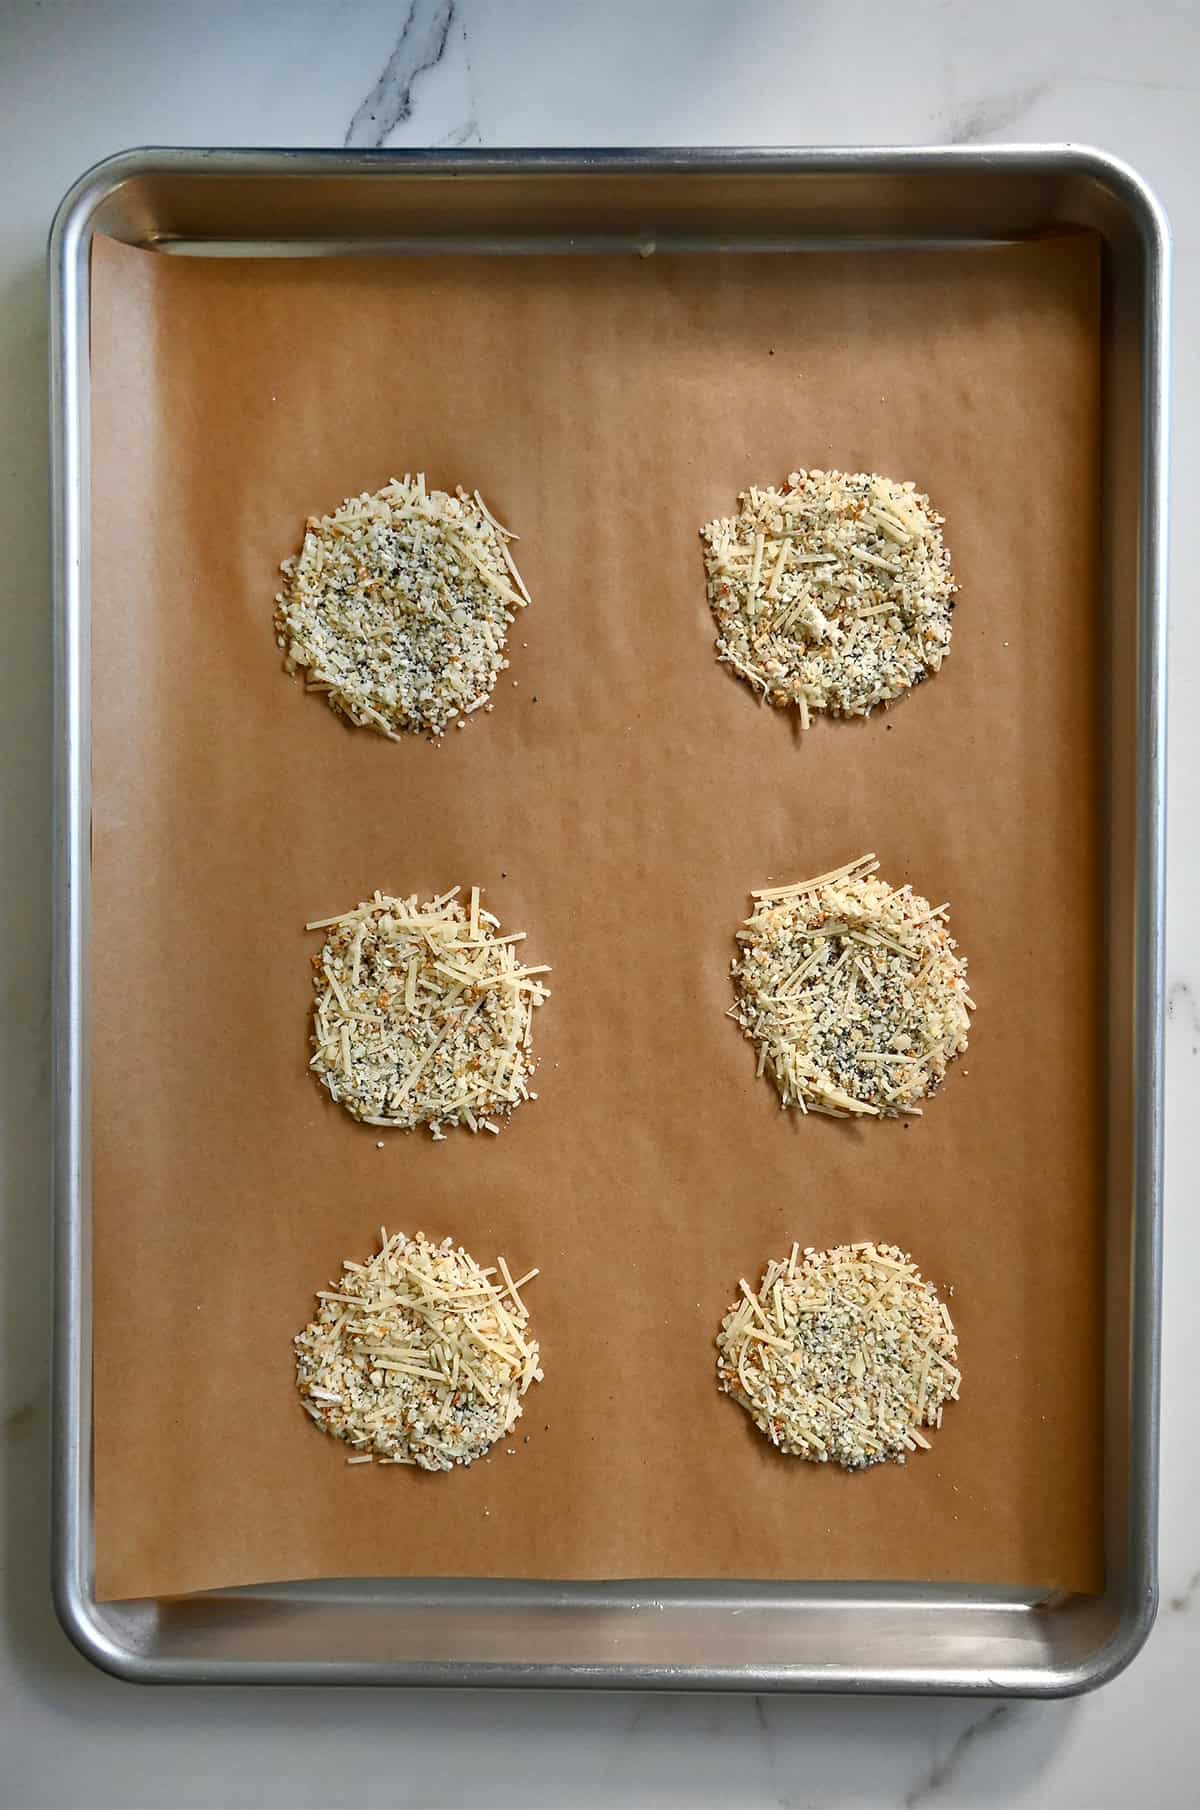
Bake until golden brown, then let them cool completely on the baking sheets before moving them. They’ll continue to firm up and crisp as they cool, and trying to move them while they’re still warm makes them much more likely to break.
2 More Ways to Shape Cheese Crisps
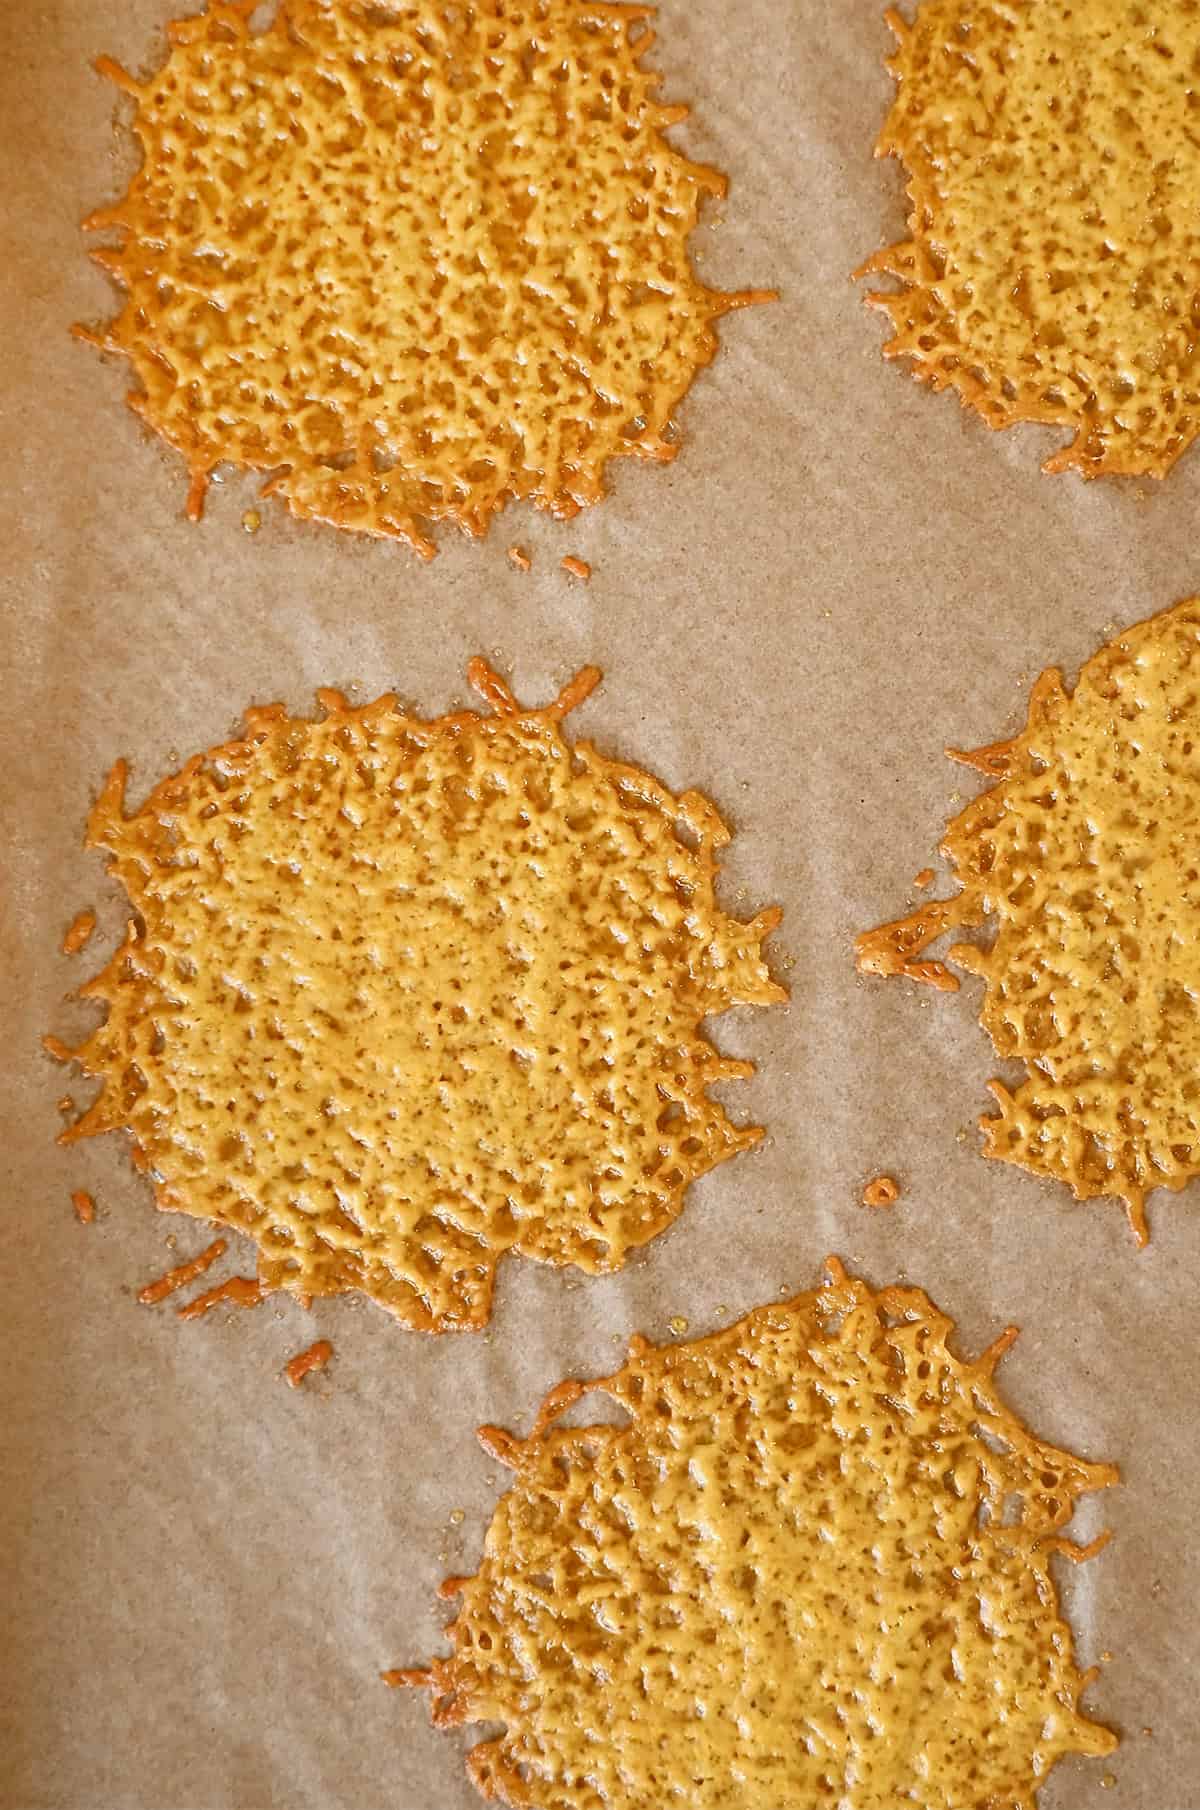
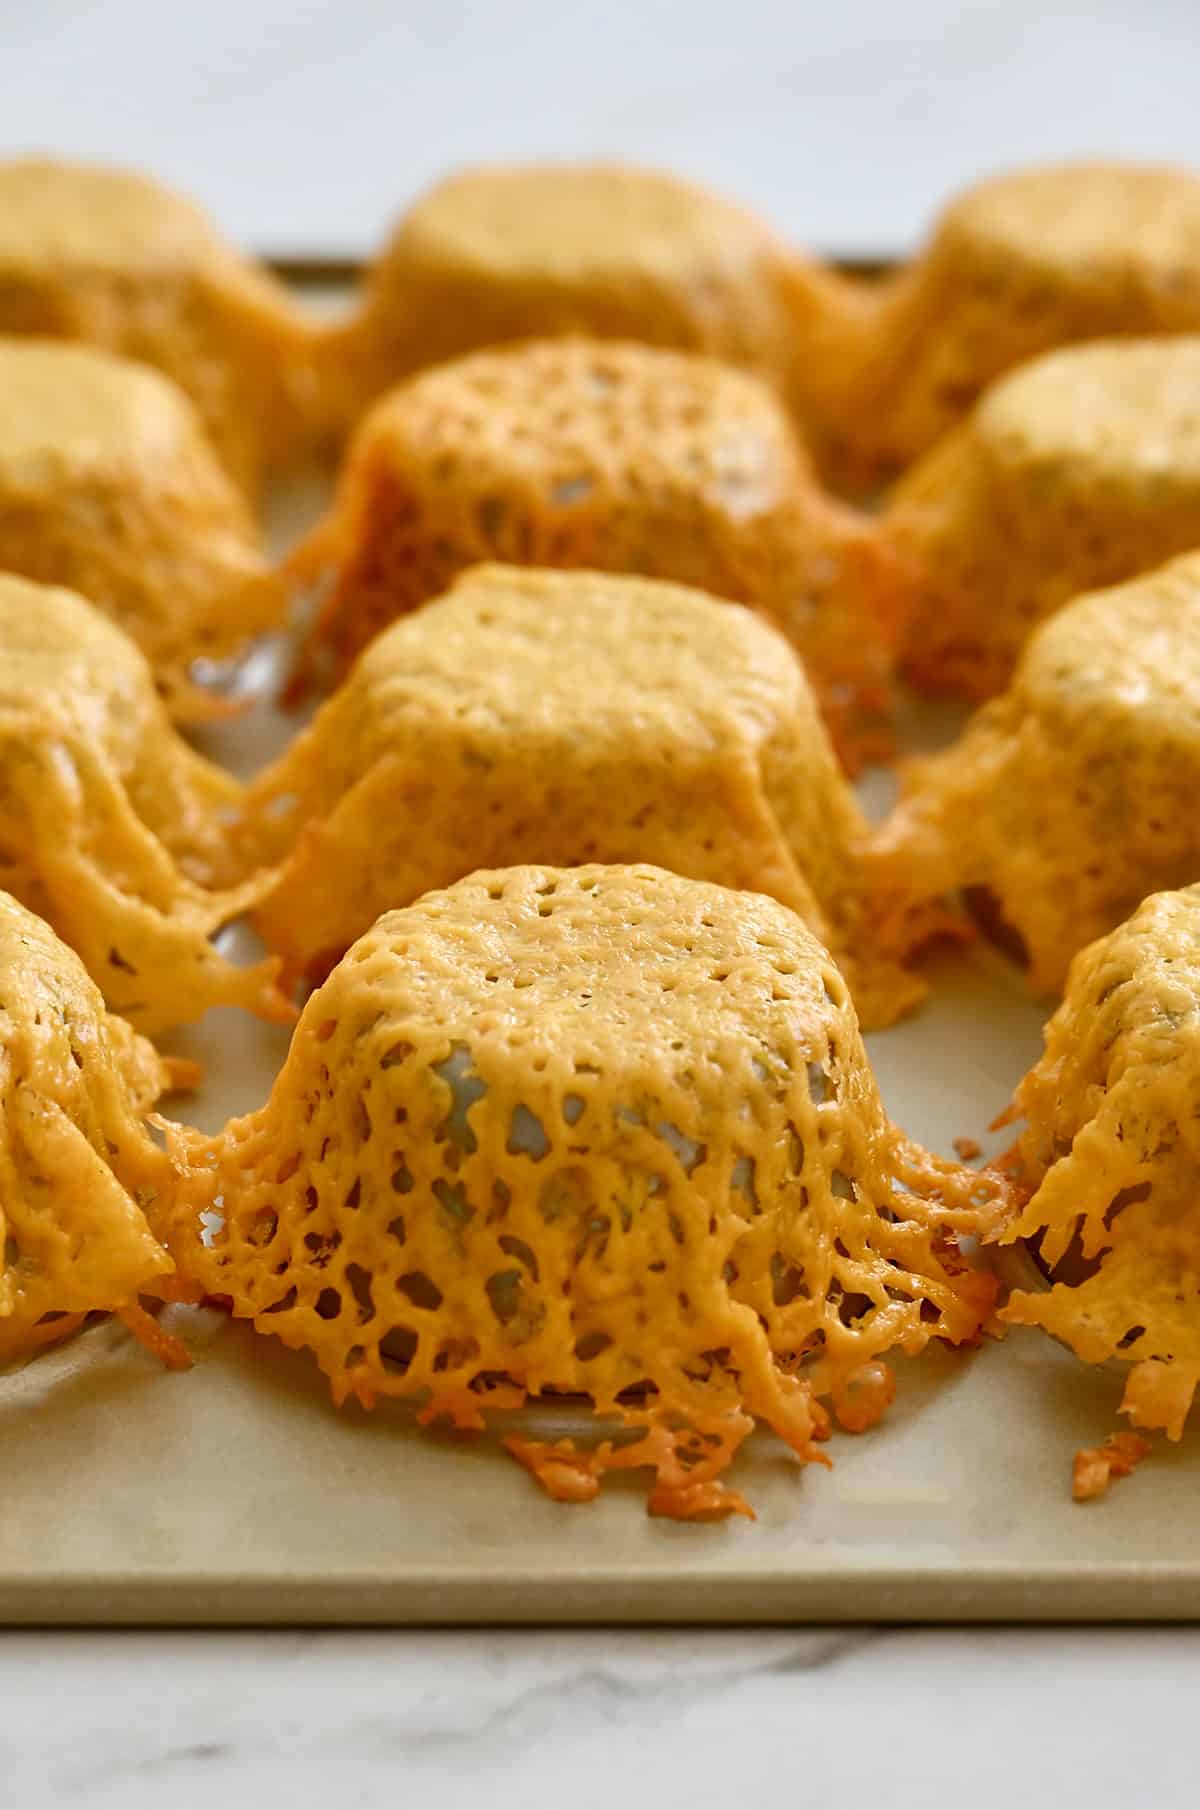
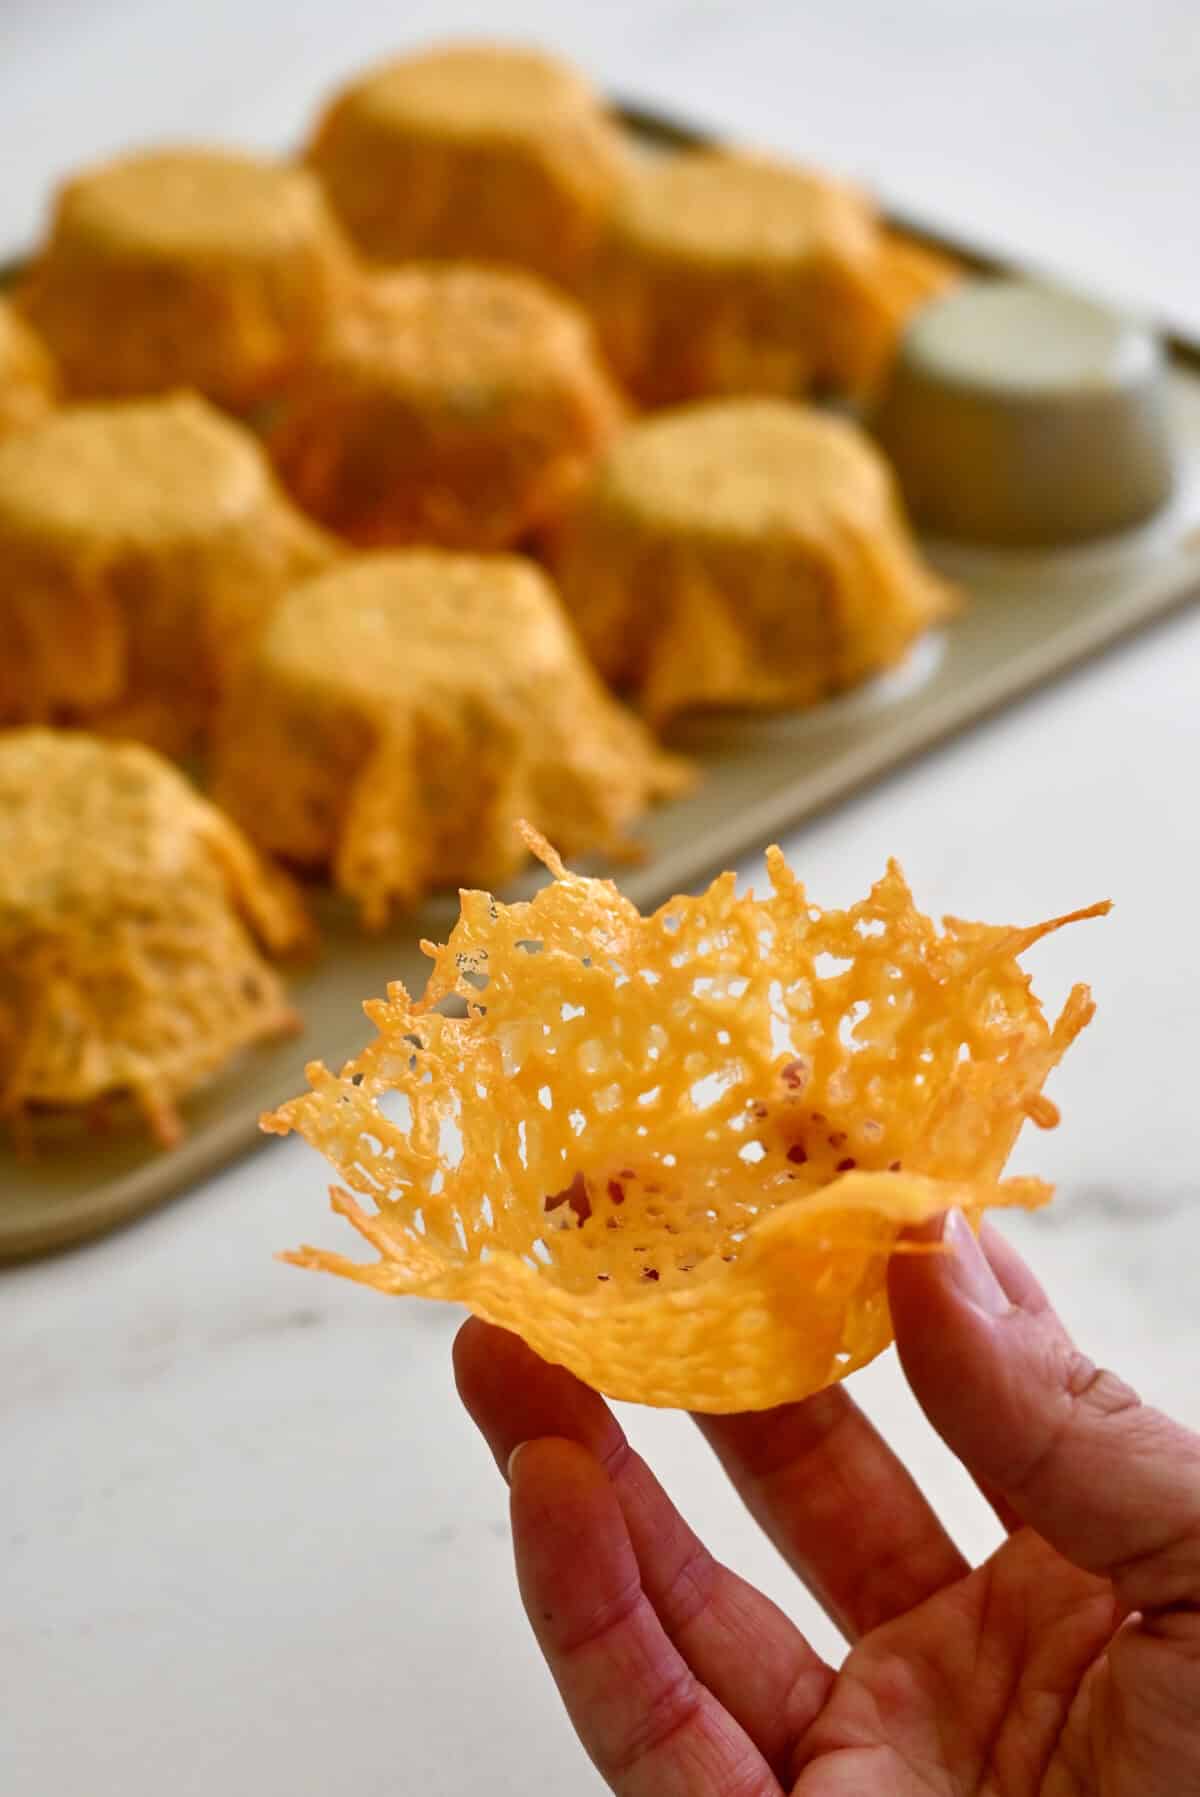
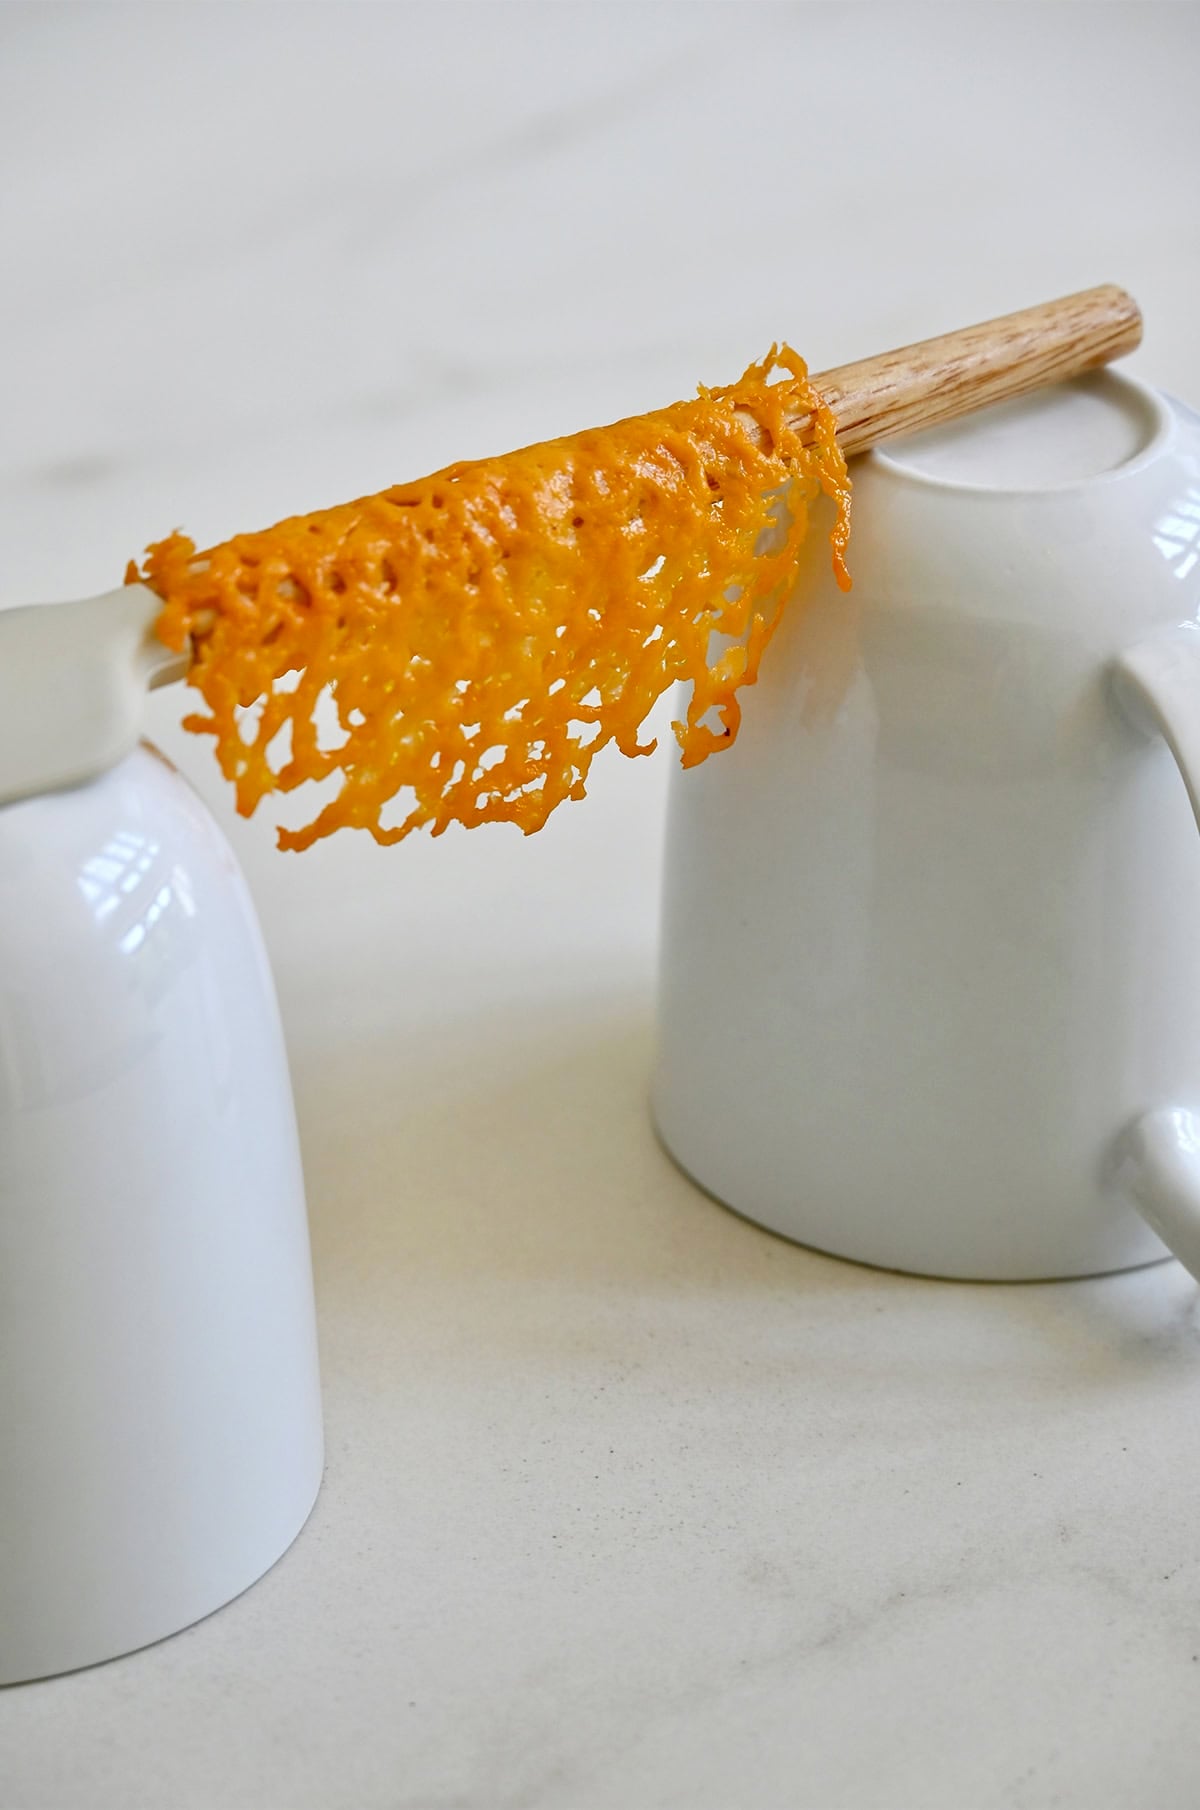
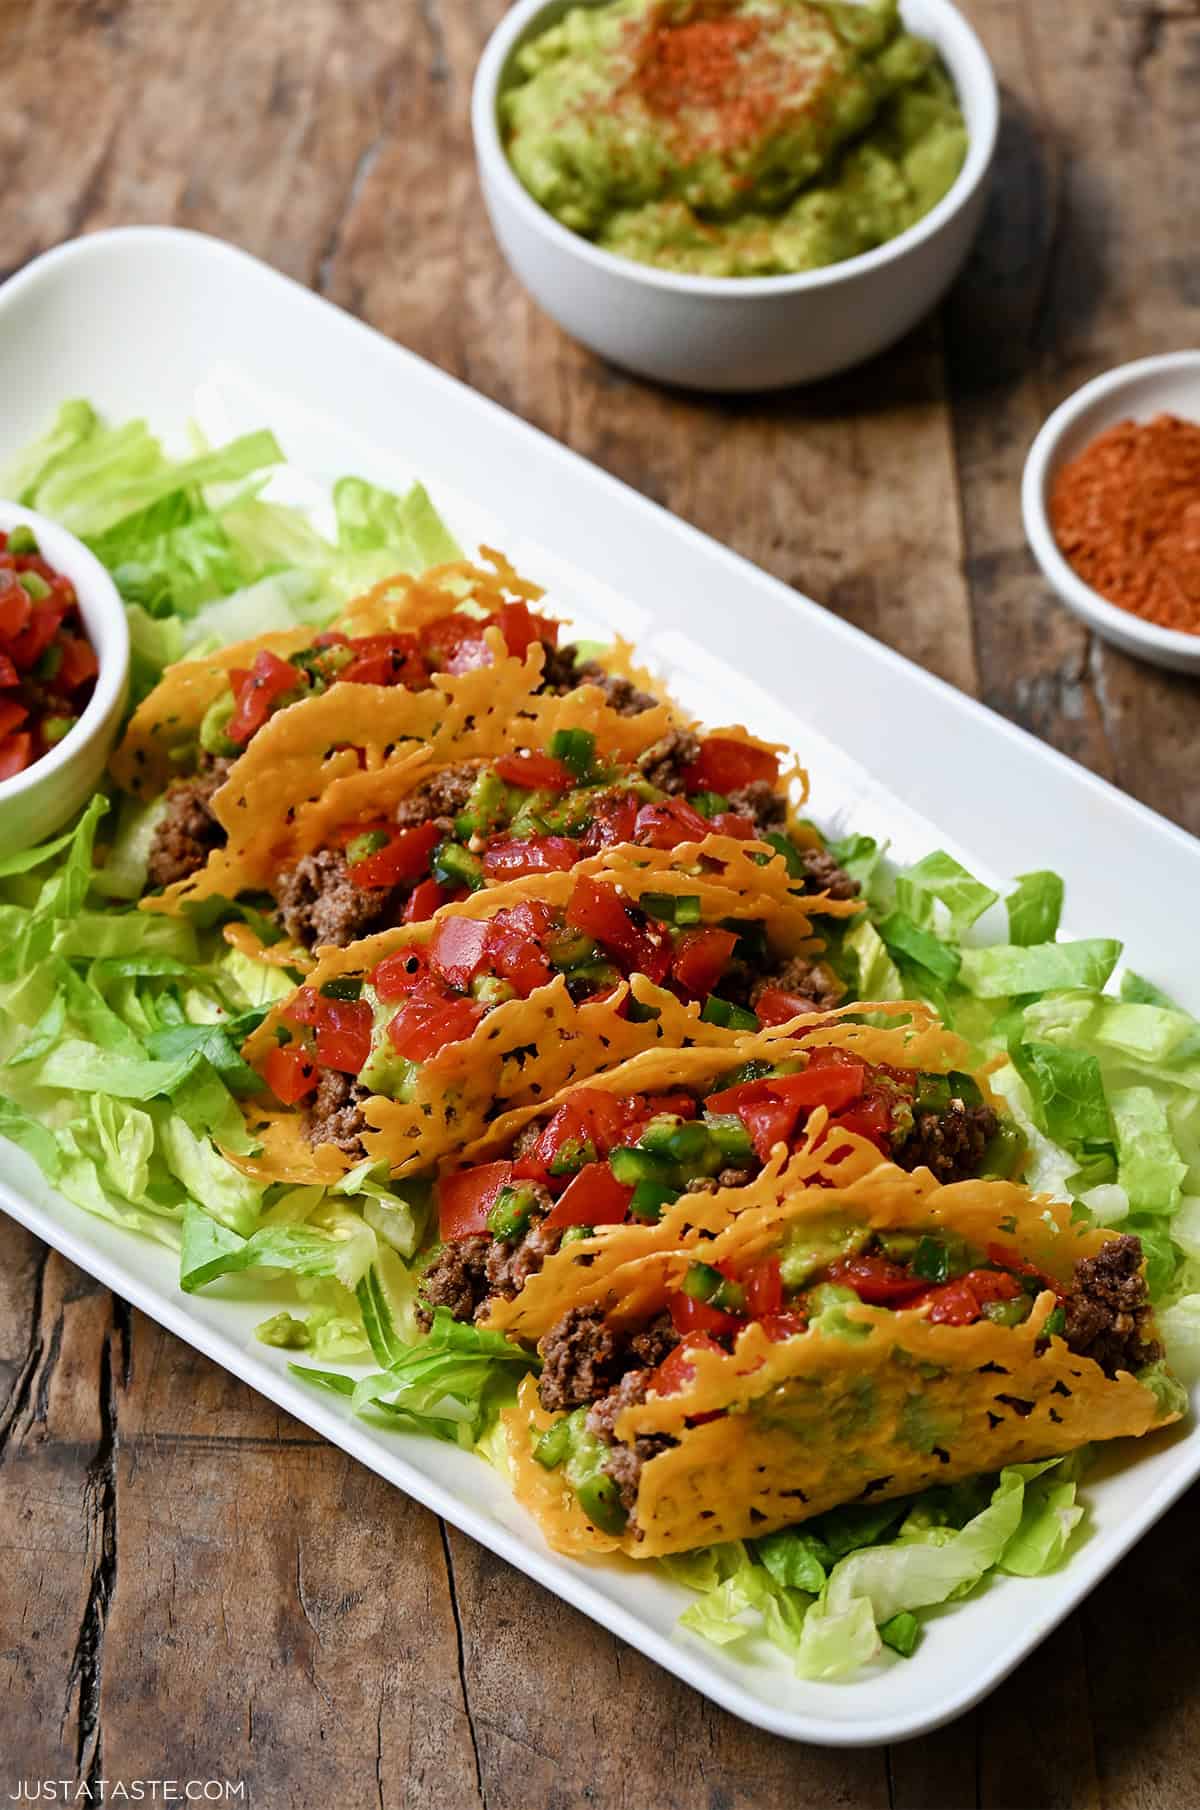
Here’s where you can get creative. You can use this same basic technique with other cheeses, too. Cheddar is one of my favorites for shaping, which is what you’ll see in the photos below. The key here is to shape the cheese while it’s still warm and pliable.
- Cheese cups: Let the baked cheese cool for 1 to 2 minutes, just until it’s cool enough to handle but still warm and pliable. Drape each crisp over the bottom of an upside-down muffin tin and gently shape it into a cup. Once completely cooled, the cheese will firm up and hold its shape. I originally used these crispy cheese cups for my Buffalo chicken salad, but you can fill them with all sorts of savory bites. Just wait to add the filling until you’re ready to serve so the cups stay crisp.
- Cheese taco shells: Again, you’ll want to work while the cheese is still warm and pliable. Drape each crisp over a spatula that’s suspended between two mugs, then let it cool completely. Fill them with your favorite taco fillings or swap them in for the wonton wrappers in my taco cups for an extra-cheesy spin on this appetizer favorite.
Can I Use a Different Cheese?
Yes! As a general rule, firmer, lower-moisture cheeses work best. Think hard and semi-hard cheeses like Asiago, Gruyère, provolone, pepper jack and Swiss. Just keep in mind that every cheese melts a little differently, so the bake time and finished texture may vary. I’d skip high-moisture or soft cheeses, like fresh mozzarella and Brie.
Success tip: Whenever possible, shred the cheese yourself from a block. Pre-shredded cheese often contains anti-caking ingredients that can affect how smoothly it melts, so freshly shredded cheese will give you the best results.
How Do I Keep Them Crisp?
Let the cheese crisps cool completely before storing them. Any warmth trapped inside the container can create moisture, and moisture is the enemy of CRUNCH.
Once completely cooled, store them in an airtight container at room temperature for up to 3 days. If you’re making them ahead for a party, I prefer to make them no more than a day in advance so they’re at their crispiest when it’s time to serve.
Pile them onto a charcuterie board or simply serve them alongside your favorite bubbly. And don’t stop at snacking! One of my favorite ways to use these crispy cheese chips is tucked inside my Parmesan Crisp BLT Sandwich for an extra layer of cheesy crunch.
If you love this recipe, try my melted cheese sandwich wraps next!
Ingredients
- 1/2 cup shredded Parmesan cheese
- 1/2 cup grated Parmesan cheese
- 1 1/2 teaspoons poppy seeds
- 1 1/2 teaspoons sesame seeds
- 2 teaspoons minced dried garlic
- 2 teaspoons minced dried onion
- 1/4 teaspoon kosher salt
Instructions
- Preheat the oven to 400°F. Line two baking sheets with parchment paper or Silpats.
- In a medium bowl, stir together all of the ingredients until well combined.
- Spoon heaping tablespoons of the mixture onto the baking sheets, spreading the mounds at least 2 inches apart and slightly flattening them.
- Bake the crisps for 8 to 10 minutes until they are golden brown. Remove them from the oven and allow them to cool completely on the baking sheets. (Do not remove them from the baking sheets while they are still warm or they may break.)
- Using a spatula, transfer the cooled crisps to serving plates and serve immediately or store in an airtight container at room temperature for up to 3 days.
Kelly’s Notes
- Everything bagel seasoning: Instead of measuring the poppy seeds, sesame seeds, dried garlic, dried onion and salt individually, use 2 tablespoons everything bagel seasoning.
- Cheddar cheese variation: Swap the Parmesan for shredded cheddar cheese. I prefer sharp or extra-sharp cheddar, and for the best melt, shred it yourself from a block.
- Cheese cups and taco shells: Let the baked cheese cool for 1 to 2 minutes, just until it’s cool enough to handle but still warm and pliable. For cups, drape the cheese over the bottom of an upside-down muffin tin and gently shape. For taco shells, drape it over a spatula suspended between two mugs. Let cool completely until firm.
- Storage: Let the cheese crisps cool completely, then store them in an airtight container at room temperature for up to 3 days. For the crispiest results, I recommend making them no more than 1 day in advance.
- ★ Did you make this recipe? Don’t forget to give it a star rating below!
Nutrition
Did you try this recipe?
Leave a comment below with your star rating!
This post may contain affiliate links.
Recipe by Kelly Senyei of Just a Taste. Please do not reprint this recipe without my permission. If you'd like to feature this recipe on your site, please rewrite the method of preparation and link to this post as the original source.
Can you use “everything bagel seasoning” in place of the seasonings?
Absolutely!
Best recipe out there
WOW, thank you! I’m so thrilled you enjoyed it, Dave!
When I made this, my crisps remained stuck to the wax paper. What did you guys do to get the wax paper off them? Thanks!
Hi Kara – You definitely don’t want to use wax paper. The recipe calls for parchment paper or Silpat baking mats. Wax paper will melt in the oven.
Obsessed! Thank you for feeding my everything bagel addiction in a whole new way!
Awesome! So glad you enjoyed the recipe, Elizabeth! Thanks for sharing a rating!
This is perfect add on for cheese & meat tray!!!
Absolutely, April! Enjoy! :)
These are absolutely divine! Simple to make and such a big hit! Everyone who has them wants the recipe. I just used shredded parmesan, more sesame seeds and poppy seeds because we love them and I mix all the ingredients well before baking. Comes out so pretty and what a delicious hit! Thank you once again Kelly. You are wonderful in every way!
So glad you’re enjoying the recipe, Jacklyn!
Hi. I’m confused by the 1/2 cup parmesan twice on the recipe.
Thanks,
Andrea
Hi there Andrea! It’s 1/2 cup shredded Parmesan cheese and then also 1/2 cup grated Parmesan cheese. You’ll want to have both preparations. Enjoy!
I’m still confused, what’s the difference between shredded and grated. Is one a finer grain. Can you use the Parmesan that is sprinkled from a container?
Thanks
Hi Katie – The main difference between shredded cheese and grated cheese is that shredded cheese is like thin strips of cheese, whereas grated cheese is like powdered cheese. I hope that helps!
Yum! I’m definitely going to try these!
Enjoy!
I can’t wait to try!