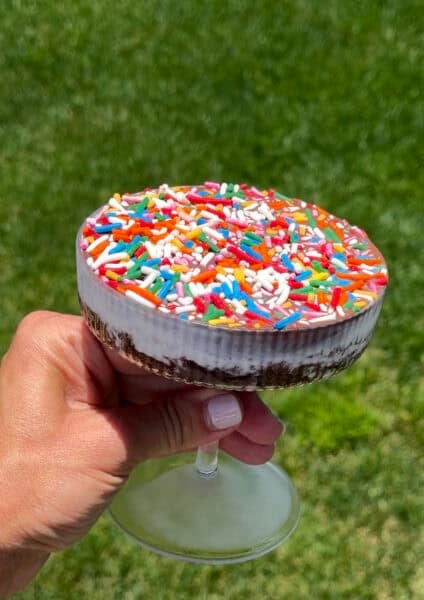
Whip up a festive treat with a quick and easy recipe for Red, White and Blue Ice Cream Cones.
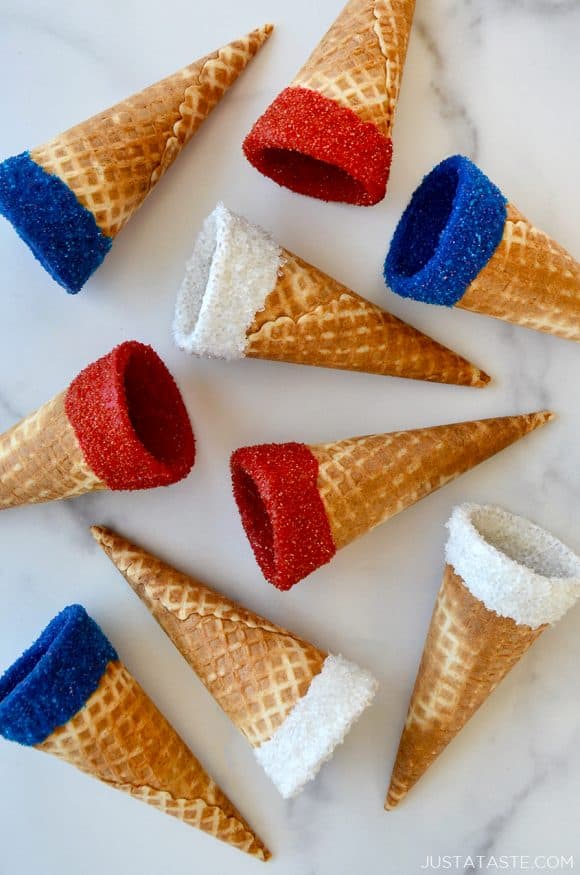
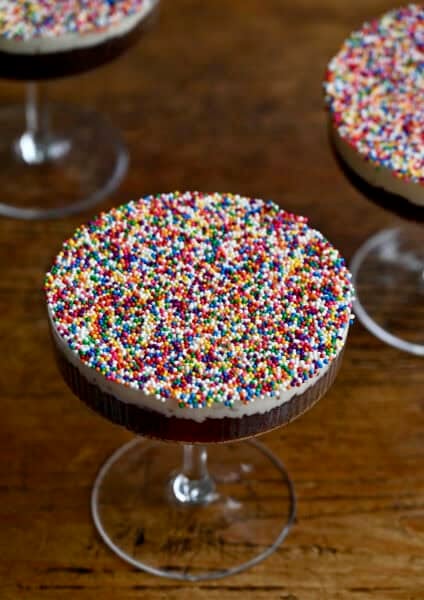
Whether it’s Memorial Day, the 4th of July or another reason to celebrate the stars and stripes, few foods are as festive as an ice cream cone dunked in red, white, and blue candy melts and topped with glittering sanding sugar or sprinkles.
If you’ve never worked with candy melts, there are a few tried-and-tested tips to guarantee the dunkable confection is easy to dip into, easy to sprinkle onto, and more importantly, easy to crunch into with their characteristic hard-crack crunch.
How to Melt Candy Melts
Contrary to popular belief, candy melts aren’t made of chocolate, but rather sugar. They melt similarly to chocolate, but don’t require tempering to turn into a hard coating. While there are various brands to choose from, Wilton has been my longtime favorite.
Depending on the brand you choose, follow the directions on the back of the packaging for how to melt the candy melts either on the stovetop or in the microwave. That being said, here’s my number 1 tip when it comes to microwaving candy melts:
For every 1 cup of candy melts, add 2 teaspoons of vegetable oil to the microwave-safe bowl prior to melting them, and then follow this technique:
- Microwave the candy melts for 30 seconds
- Stir them for a solid 30 seconds
- Return the candy melts to the microwave for an additional 20 to 40 seconds
- Stir the candy melts until they are smooth
How to Avoid Seized Candy Melts
I’ve found that the most common mistake when it comes to candy melts is microwaving them for too long. Remember that the bowl they’re in retains heat, so that’s why it’s important to stir consistently during the microwaving process and to not overcook them. (Overcooked candy melts = crumbled/seized candy melts.)
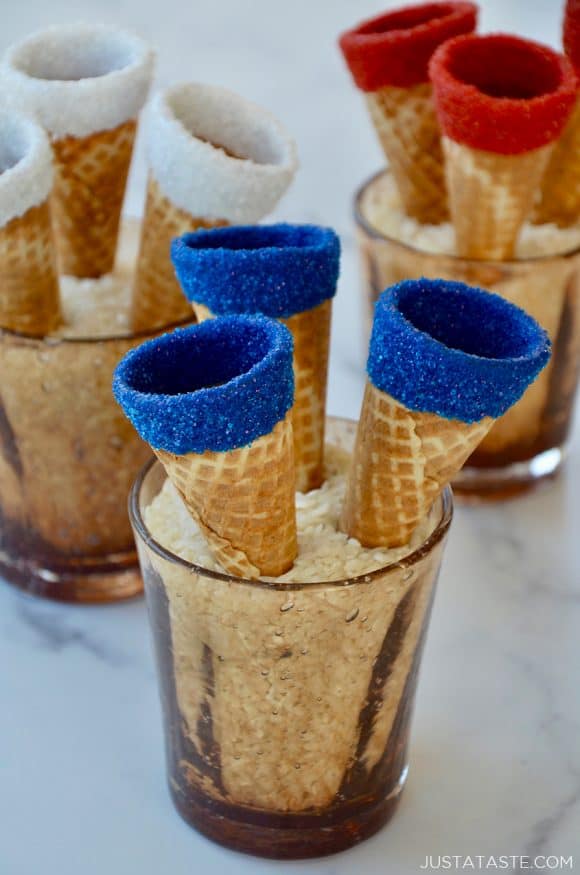
Bonus Tip: Once you’ve dipped your cones, stand them upright in glasses filled with rice or beans to avoid having to lay them flat to dry.
Ready to whip up Red, White and Blue Ice Cream Cones for your next patriotic party? Read on for the recipe and more of my expert tips!
Craving more? Subscribe to Just a Taste to get new recipes, meal plans and a newsletter delivered straight to your inbox! And stay in touch on Facebook, Twitter, Pinterest and Instagram for all of the latest updates.
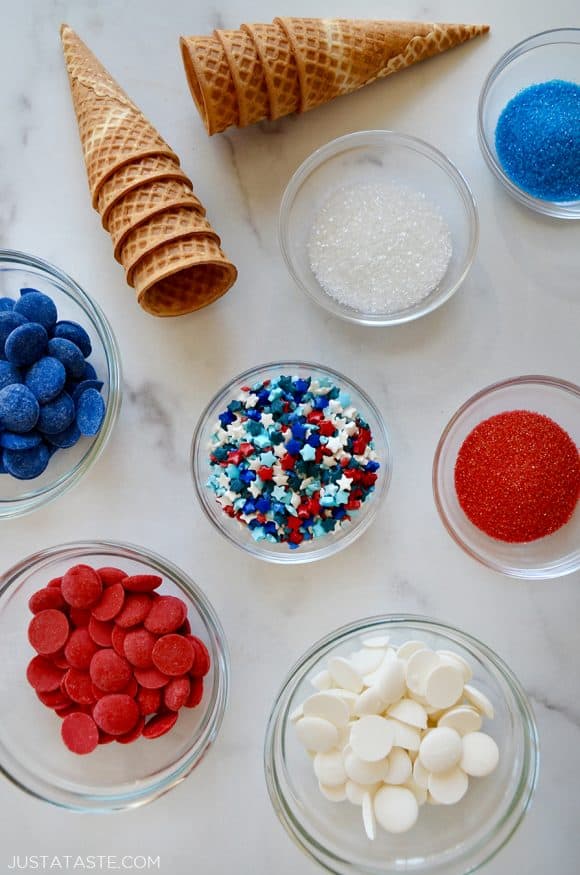
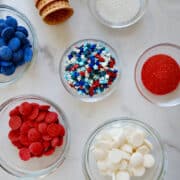
Ingredients
- 1 cup red candy melts
- 1 cup white candy melts
- 1 cup blue candy melts
- 2 to 3 Tablespoons vegetable oil
- 8 ice cream cones
- Assorted sprinkles
Instructions
- Set aside 8 drinking glasses. (This is where you’ll stand up the dipped cones so they can dry and harden.)
- Add each color of the candy melts to separate small microwave-safe bowls. Add 2 teaspoons of vegetable oil to each bowl.
- Microwave each bowl of candy melts (one at a time) for 30 seconds then stir and microwave an additional 15 to 30 seconds until the mixture is smooth. Repeat the microwaving process with the remaining two bowls of candy melts.
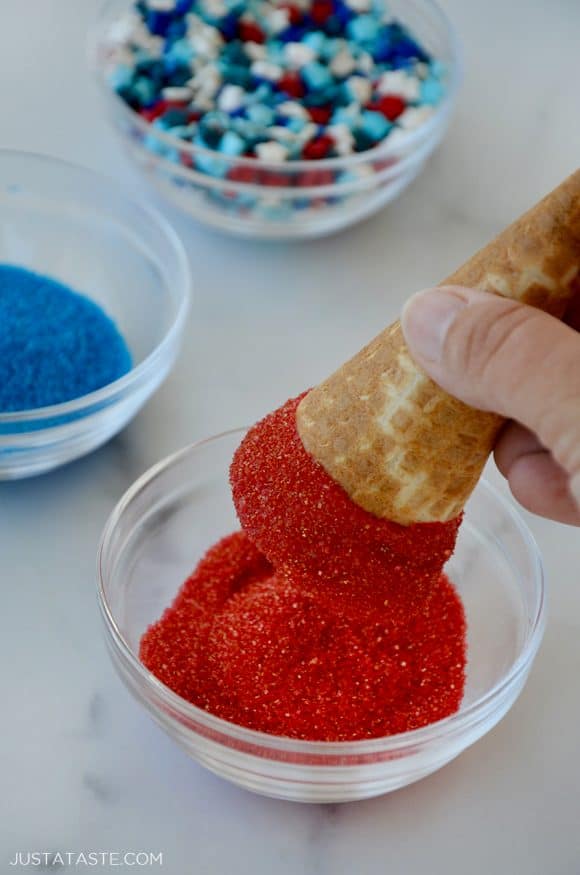
- Working quickly, dip and decorate the ice cream cones with the candy melts then immediately add sprinkles, as the candy melts will harden quickly.
- Stand the cones upright in glasses (pointed side down) and let them sit at room temperature or in the fridge until the candy melts fully harden. Serve.
Kelly's Notes
- If the candy melts are still too thick after microwaving them, thin the mixture with additional vegetable oil, 1 teaspoon at a time, until it is thin enough to dip.
- ★ Did you make this recipe? Don't forget to give it a star rating below!
Nutrition
Did you try this recipe?
Leave a comment below with your star rating!
This post may contain affiliate links.
Recipe by Kelly Senyei of Just a Taste. Please do not reprint this recipe without my permission. If you'd like to feature this recipe on your site, please rewrite the method of preparation and link to this post as the original source.


These are so fun and festive!