Reindeer Rice Krispie Treats

from 1 votes

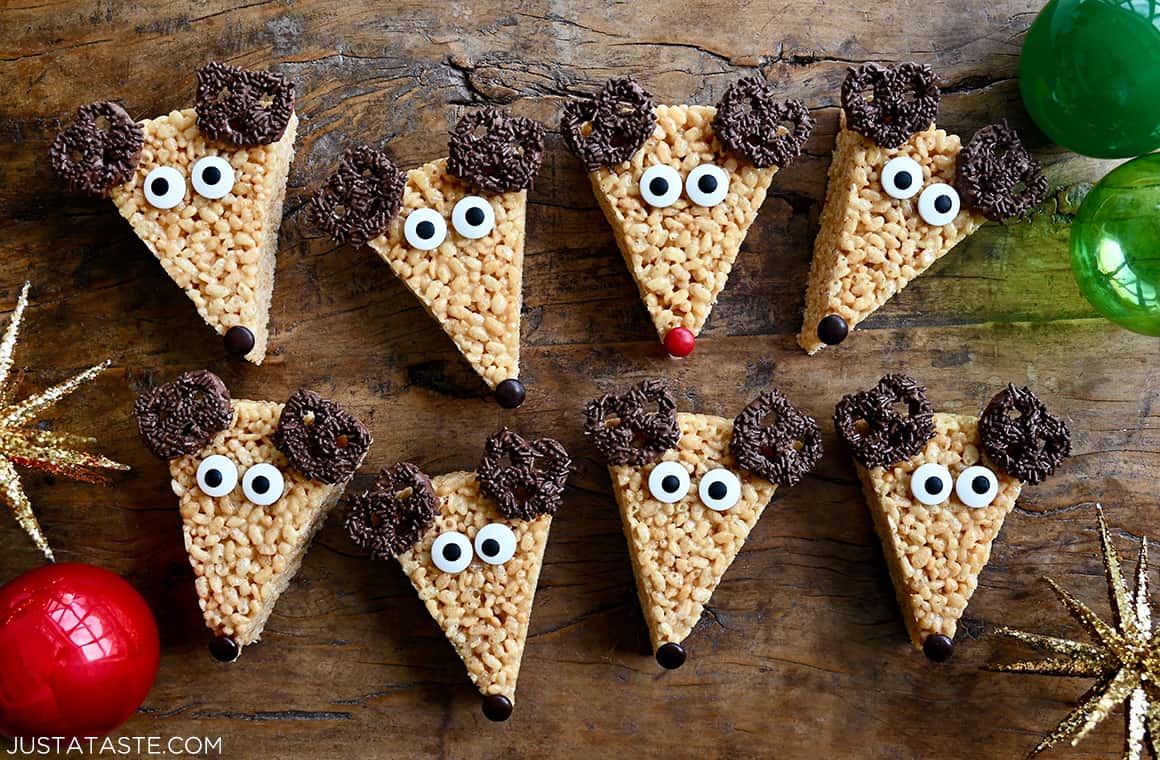
Reindeer Rice Krispie Treats are my kids’ favorite sweet of the holiday season! This easy and oh-so-cute Christmas dessert stars gooey cereal treats, chocolate-covered pretzels and candy eyes. The best part? They come together in no time and add a festive touch to any holiday gathering.

Triangles of Reindeer Rice Krispie Treats with chocolate-covered ears, candy eyes and M&M noses.

If you’ve been around here for a while, you know I’m all about those festive, fun and downright delicious treats that bring a smile to everyone’s face. From reindeer marshmallow pops to chocolate Christmas tree cupcakes. It’s time to add cereal to the Christmas treats lineup with this festive and flavor-packed recipe for Reindeer Rice Krispie Treats.

Dasher, Dancer, Prancer and Vixen. Comet, Cupid, Donner and Blitzen. And don’t forget Rudolph! I’m celebrating all of Santa’s reindeer with a new spin involving marshmallows and pretzels.

So, what makes these adorable reindeer treats the star of your holiday spread? It’s the classic combination of gooey marshmallow-coated Rice Krispies, shaped into festive reindeer heads, and adorned with pretzel antlers, candy eyes and M&M noses. These little guys are as fun to make as they are to eat!

It’s time to get the kids involved, gather around the kitchen and let the holiday cheer begin with these easy-to-make, incredibly cute Christmas crispy rice treats.

Why You’ll Love This Recipe

  • Fast (ready in 30 minutes). 
  • Extra gooey and buttery.
  • Fun and festive for the holiday season.
  • Made with just 6 simple ingredients.
  • Kids will love ‘em and adults will, too!
  • Ideal for holiday parties, cookie exchanges and edible gifts.
  • Easily customizable with your favorite candies and decorations.

Ingredients

  • Butter: Adds richness and helps the marshmallows melt smoothly. I like using unsalted butter so I can control the final amount of salt in the recipe, but feel free to use salted butter if that’s what you have on hand.
  • Marshmallows: When you make any rice krispie treats, marshmallows are what’ll bind the whole thing together, making them sticky and delicious. A bag of regular-sized marshmallows (any brand) will work great.
  • Vanilla extract: A splash of vanilla extract adds a subtle, delicious depth to your treats.
  • Rice Krispies cereal: The classic base for our treats. You can also swap in cocoa-flavored cereal for a chocolatey twist.
  • Chocolate melting wafers or chocolate chips: Used as the “glue” for the chocolate-covered pretzels, candy eyes and noses of our reindeer.
  • Chocolate-covered pretzels: Using these for the reindeer antlers is both adorable and delicious. I’d recommend milk chocolate-coated ones but any flavor will work.
  • Candy eyes: You can find candy eyes easily online or in the baking aisle of most grocery stores.
  • M&Ms: For the reindeer’s noses, you’ll need brown M&Ms and just one red one for (you guessed it!) Rudolph.

See the recipe card for full information on ingredients and quantities.

How to Make Reindeer Out of Rice Crispy Treats

The setup on this one couldn’t be simpler: The classic combination of butter, marshmallows, vanilla extract and cereal gets pressed into a round cake pan and then sliced into wedges. And just like that, it’s already time to start decorating!

  1. Prep the pan. Grease a cake pan with butter. The round shape is important so you can easily cut the Christmas treats with Rice Krispies into triangles.
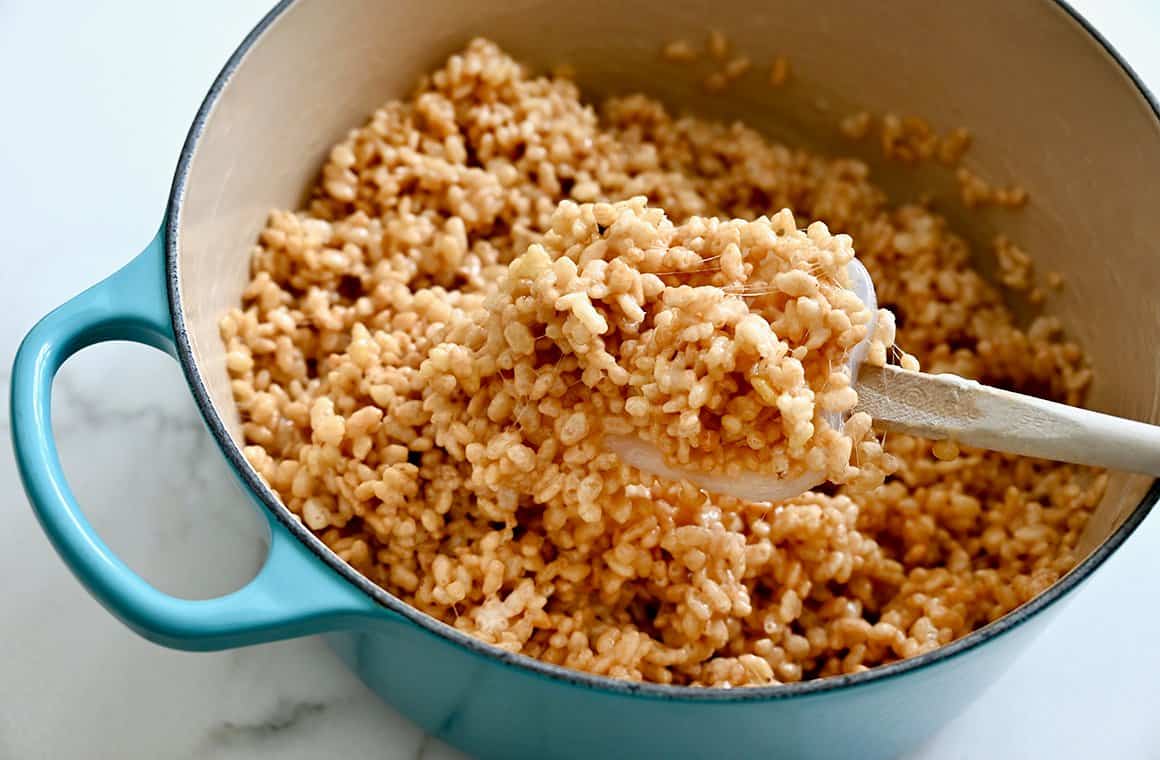
  2. Make the Rice Krispie treats. In a saucepan (or large pot like a Dutch oven), melt the butter. Add the vanilla extract, then the cereal and stir until thoroughly coated. 
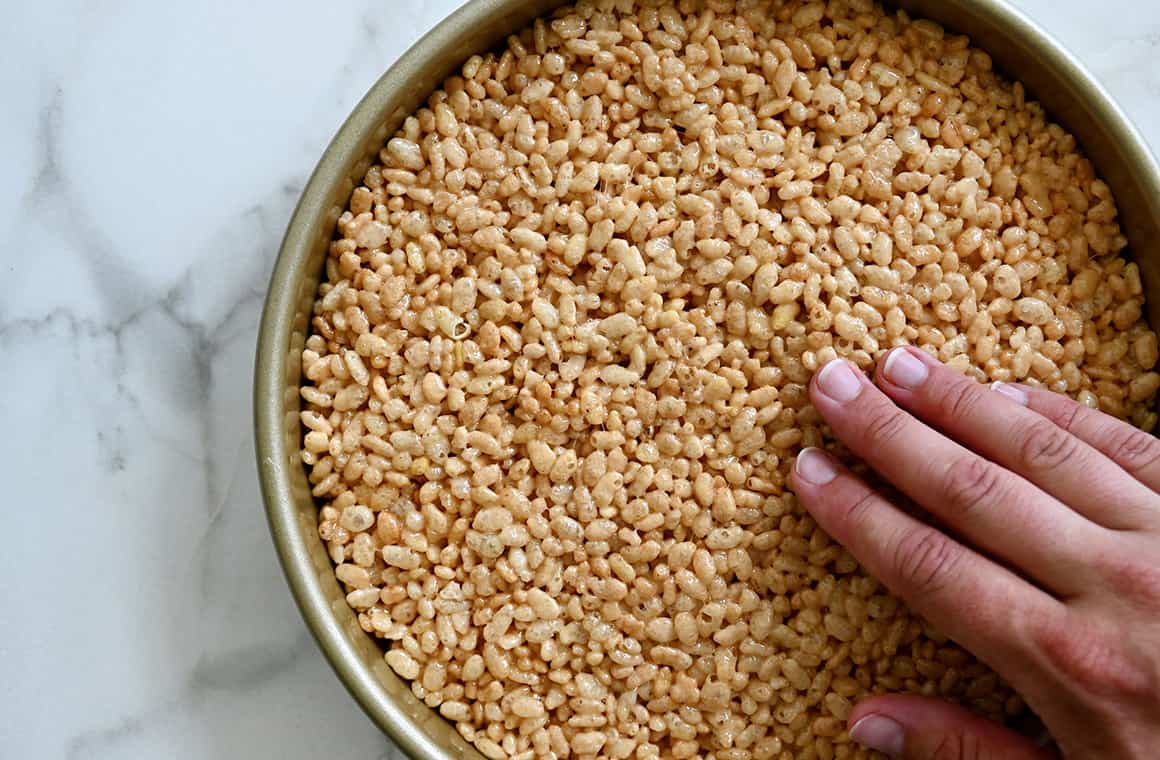
  3. Add to the pan. Immediately (and I do mean it—things will firm up quickly) transfer the marshmallow-cereal mixture to the pan, pressing it into an even layer.

Pro Tip: Grease your hands with cooking spray before patting the mixture down. Alternatively, use a sheet of parchment paper as a buffer. Nothing will stick to it.

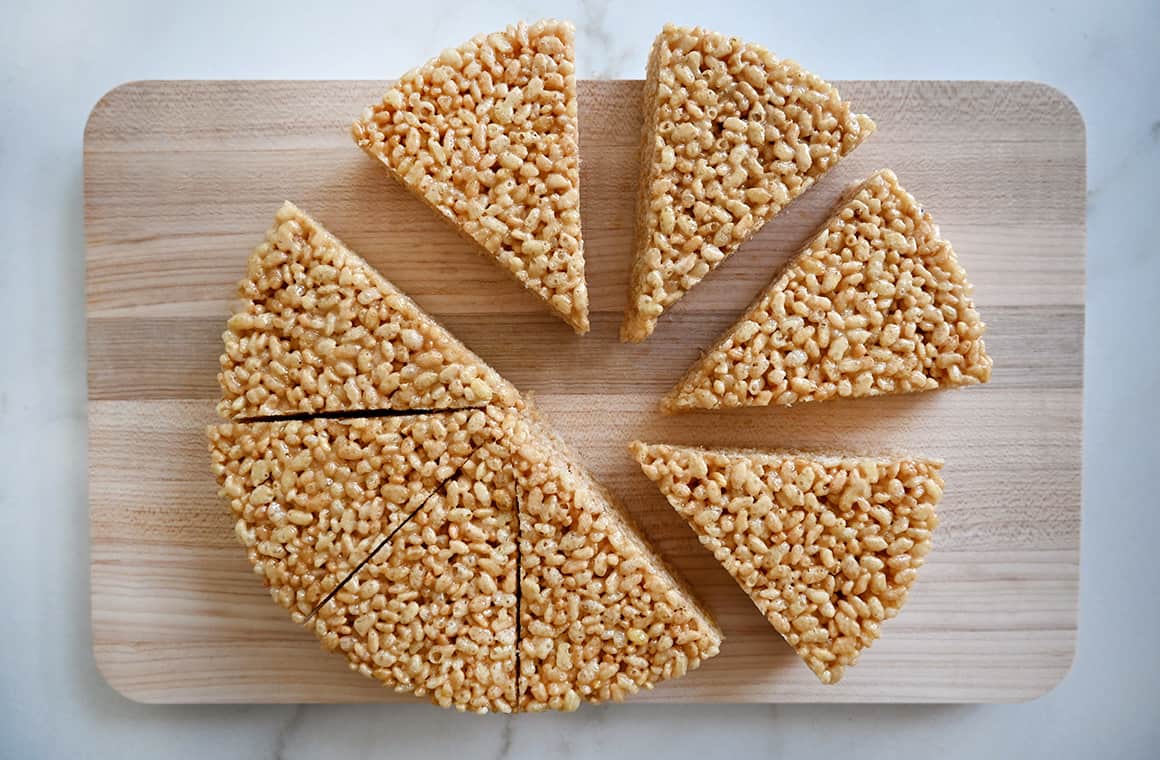
  1. Cool and cut. After the Rice Krispie treats have cooled, invert the pan onto a cutting board. The treats should pop right out. Slice them into 8 wedges.
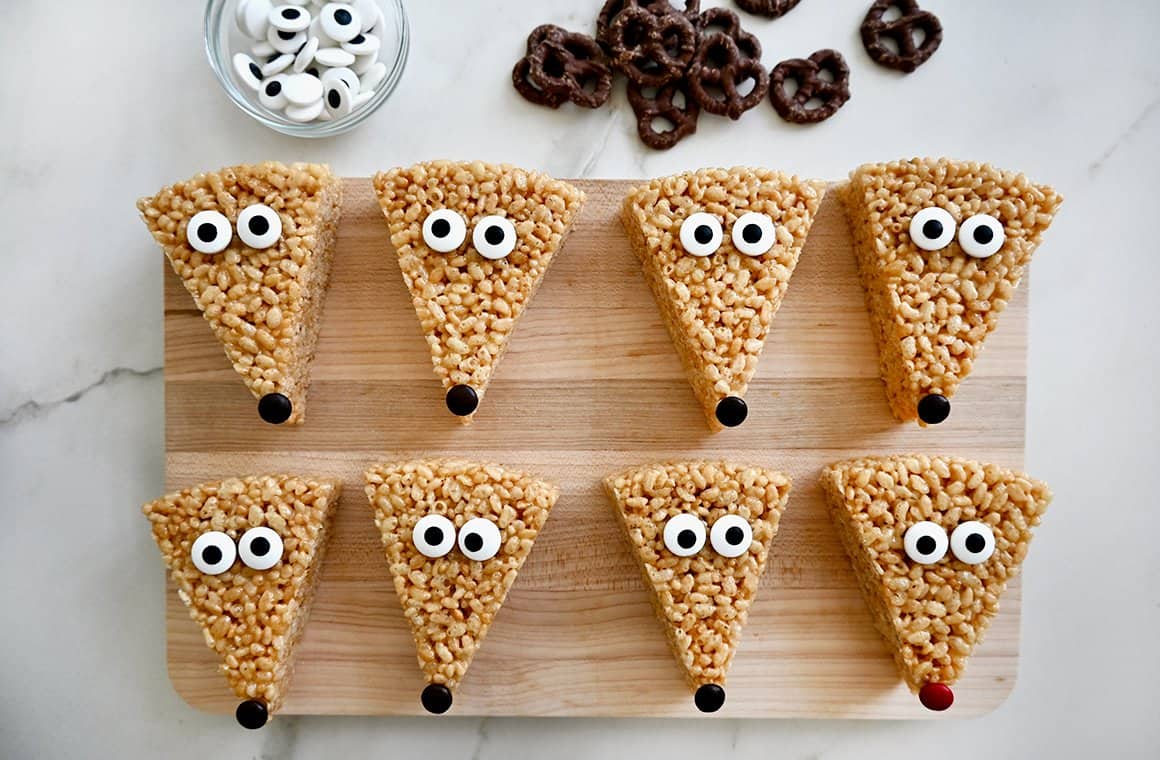
  2. Melt the chocolate. Then, dip the backs of the chocolate-covered pretzels into the melted chocolate. Place two pretzels onto each triangle in the corners, to form ears. Dab the chocolate onto the eyes and M&M noses and put them onto the Rice Krispie treats. After the chocolate sets, these holiday cereal treats are ready to serve.

Melted chocolate is great for attaching the chocolate-covered pretzel antlers, candy eyes and M&M noses, but feel free to get creative. Go wild and dip the whole Rice Krispie treat in chocolate or set up a decorating station with sanding sugars, M&Ms and sprinkles!

How Long Should Rice Krispie Treats Cool Before Cutting?

There’s nothing worse than cutting through some not-quite-ready Rice Krispie treats and having them fall apart. I still eat them, of course, but patience is your friend here. You’ll need at least 30 minutes of cooling time before slicing, but 1 hour is best. They’ll still be warm and slightly gooey after 30 minutes (my favorite), but still cool enough to decorate.

How to Avoid Hard Rice Krispie Treats

There are a few ways to make sure your Rice Krispie treats stay perfectly soft and chewy. Overcooking marshmallows and over-mixing your cereal are the usual suspects when you end up with hard, dense Rice Krispie treats. Once your marshmallows are melted, remove them from the heat immediately.

Speaking of marshmallows: Has your bag of marshmallows seen better days? Opt for a fresh bag over that old bag from the back of the cupboard (save those marshmallows for hot chocolate!). Another surprising culprit for hard, tough treats? Pressing down your mix too densely into your cake pan. Lightly patting down your cereal treats will make sure they stay perfectly soft.

More Helpful Tips and Tricks

  • Keep the heat low. If you melt the marshmallows too fast, it might result in a Rice Krispie treat that is harder and crunchier than chewy. Take your time and let the butter and marshmallows melt slowly.
  • Grease everything. Grease your mixing bowl, spatula, and hands with a little butter or non-stick spray to prevent sticking and make the process smoother.
  • Make sure all of your ingredients are super fresh for the best results. Stale Rice Krispies and old marshmallows can ruin the texture.
  • You can store the Reindeer Rice Krispie Treats at room temperature for up to 2 days. Place pieces of parchment or wax paper in between layers, which will make sure they don’t stick together. 
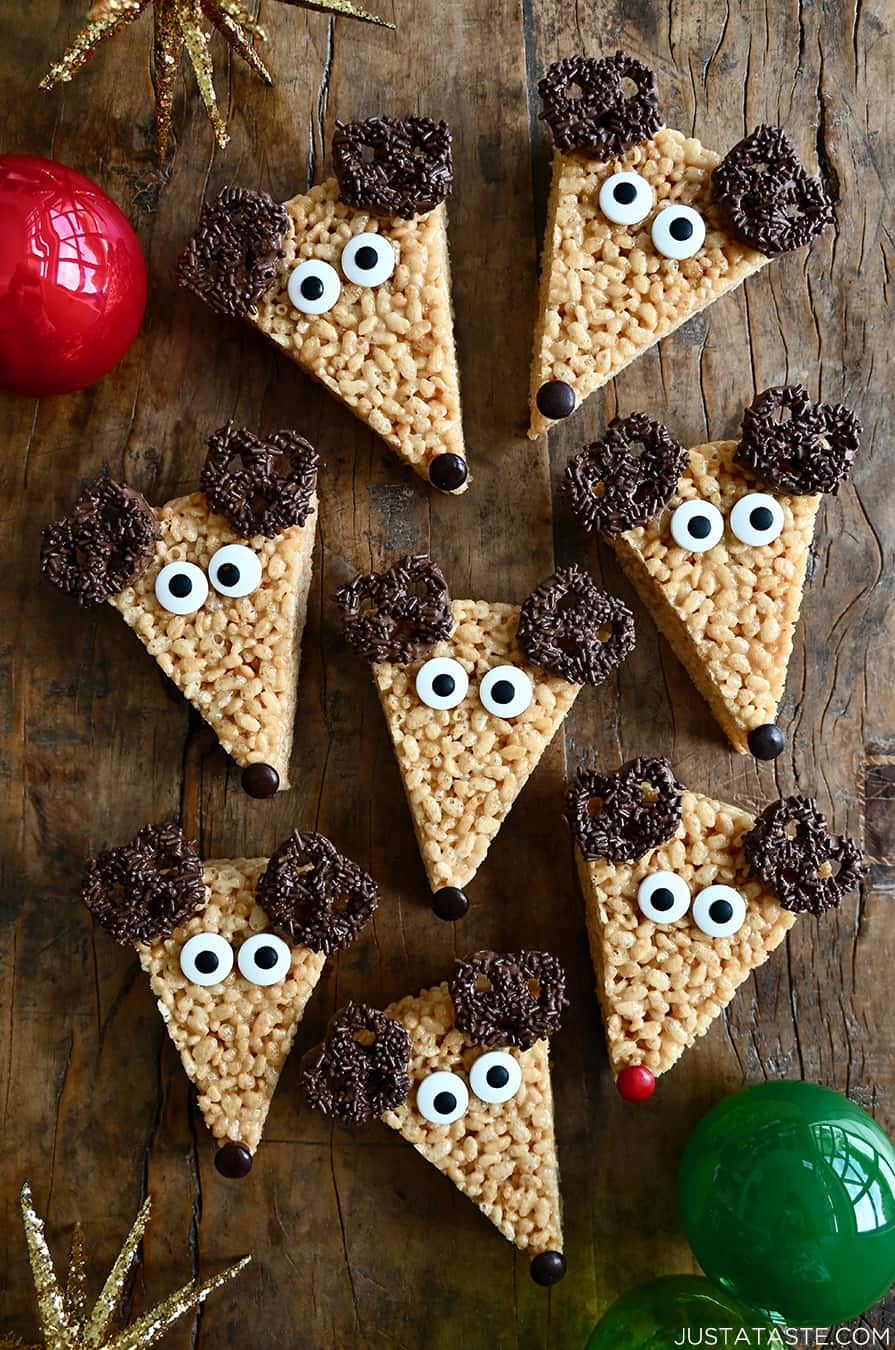
Reindeer Rice Krispie Treats with chocolate-covered ears, candy eyes and M&M noses.

More Christmas Treats You’ll Love

Craving more? Subscribe to Just a Taste to get new recipes, meal plans and a newsletter delivered straight to your inbox! And stay in touch on Facebook, TikTok, Pinterest and Instagram for all of the latest updates.
Dessert

Reindeer Rice Krispie Treats

Cereal treats get a Christmas update with a quick and easy recipe for Reindeer Rice Krispie Treats made with chocolate-covered pretzels and candy eyes.
Author: Kelly Senyei
5 from 1 vote
A top-down view of adorable Reindeer Rice Krispies Treats with candy eyes and chocolate-covered pretzels for antlers
Prep Time 20 minutes
Cook Time 10 minutes
Total Time 30 minutes
Servings 8 servings

Ingredients 

  • 5 Tablespoons unsalted butter, plus more for greasing pan
  • 1 (12-oz.) bag marshmallows (about 45 regular-sized marshmallows)
  • 1 1/2 teaspoons vanilla extract
  • 6 cups Rice Krispies cereal 
  • 1/2 cup chocolate melting wafers or chocolate chips
  • 16 chocolate-covered pretzels
  • 16 candy eyes
  • 7 brown M&Ms
  • 1 red M&M

Instructions 

  • Grease an 8-inch round cake pan with butter. 
  • Add the butter to a medium saucepan set over medium-low heat. Once the butter has melted, add the marshmallows and cook, stirring constantly, until the marshmallows are melted. Stir in the vanilla extract and then the Rice Krispies cereal until the cereal is well coated. 
  • Immediately press the mixture firmly into the pan in an even layer. (The easiest way to do this is to spray your hands with cooking spray or coat them with butter and then press the cereal mixture into the pan.) Let it cool completely then run a knife around the edge of the pan and invert the cereal treats onto a cutting board. Using a sharp knife, cut the circle into 8 wedges. 
  • Melt the chocolate melting wafers according to package instructions. Dip the backs of the chocolate-covered pretzels into the melted chocolate and attach them to the tops of the triangles to form the antlers. Add two dabs of melted chocolate below the antlers and attach the candy eyes. Finally, add a dab of melted chocolate to the tip of the triangle and attach a brown or red M&M for the nose.
  • Let the chocolate set then serve or store in an airtight container at room temperature for up to 2 days. 

Kelly’s Notes

  • For added decoration, dip the chocolate-covered pretzels in additional melted chocolate then top them with brown sprinkles.
  • Grease your mixing bowl, spatula, and hands with a little butter or non-stick spray to prevent sticking and make the process smoother.
  • Make sure all of your ingredients are super fresh for the best results. Stale Rice Krispies and old marshmallows can ruin the texture.
  • ★ Did you make this recipe? Don’t forget to give it a star rating below!

Nutrition

Calories: 329kcal, Carbohydrates: 60g, Protein: 3g, Fat: 10g, Saturated Fat: 6g, Polyunsaturated Fat: 1g, Monounsaturated Fat: 2g, Trans Fat: 1g, Cholesterol: 21mg, Sodium: 174mg, Potassium: 36mg, Fiber: 1g, Sugar: 32g, Vitamin A: 1618IU, Vitamin C: 13mg, Calcium: 6mg, Iron: 7mg

Shoutout

Did you try this recipe?

Share it with the world! Mention @justataste or tag #justatasterecipes!

This post may contain affiliate links.

Feeling social?

Share this recipe!

Categories

Related Recipes

Check out more crave-worthy favorites

Kelly Senyei holding a copy of The Secret Ingredient Cookbook

love the recipes on just a taste?

Check out my cookbook!

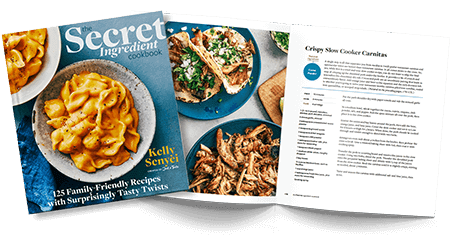
Order your copy of The Secret Ingredient Cookbook featuring 125 brand-new family-friendly recipes with surprisingly tasty twists!

5 from 1 vote

Join the Conversation

Rate and Comment

Your email address will not be published. Required fields are marked *

Recipe Rating


Comments

  1. Lisa says:

    5 stars
    So easy! My kids loved making these (and eating them!).

    1. Kelly Senyei says:

      I’m so happy to read this, Lisa!