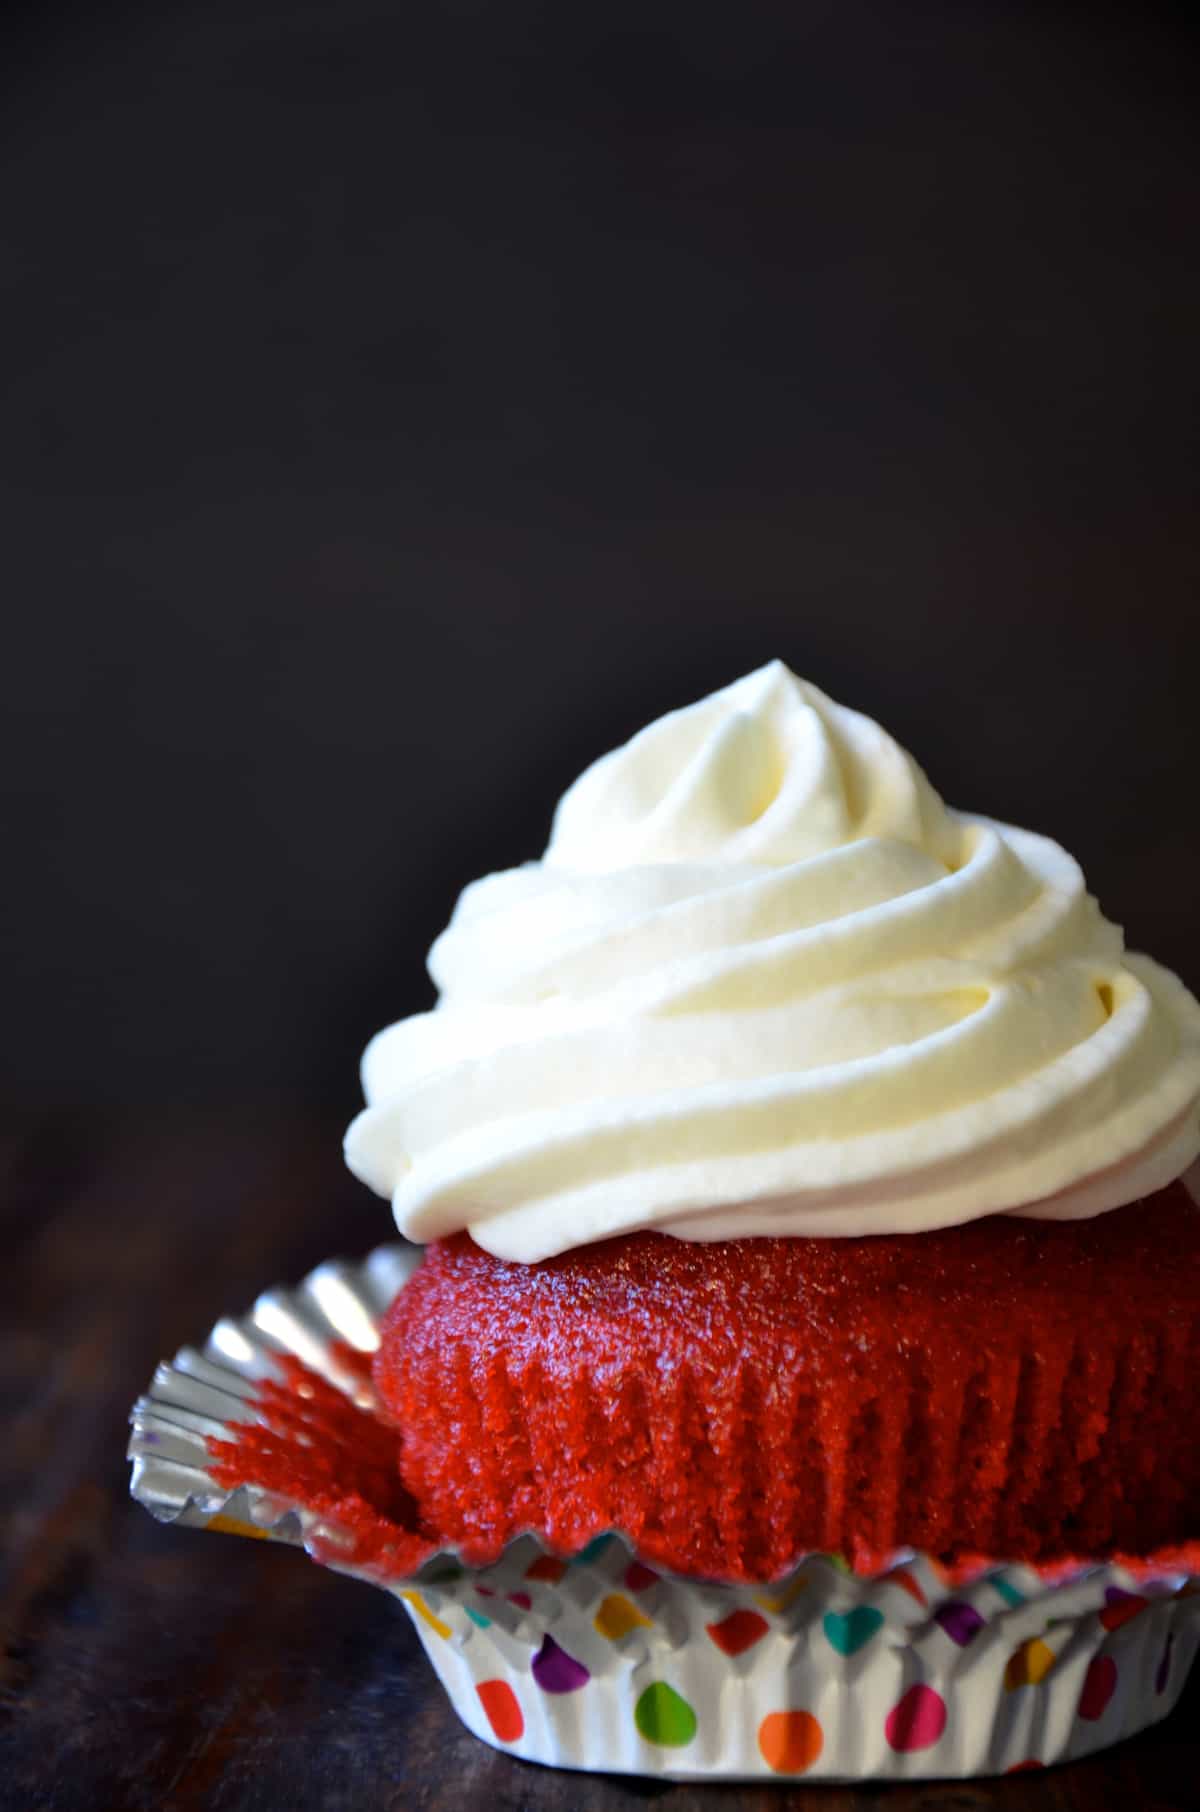
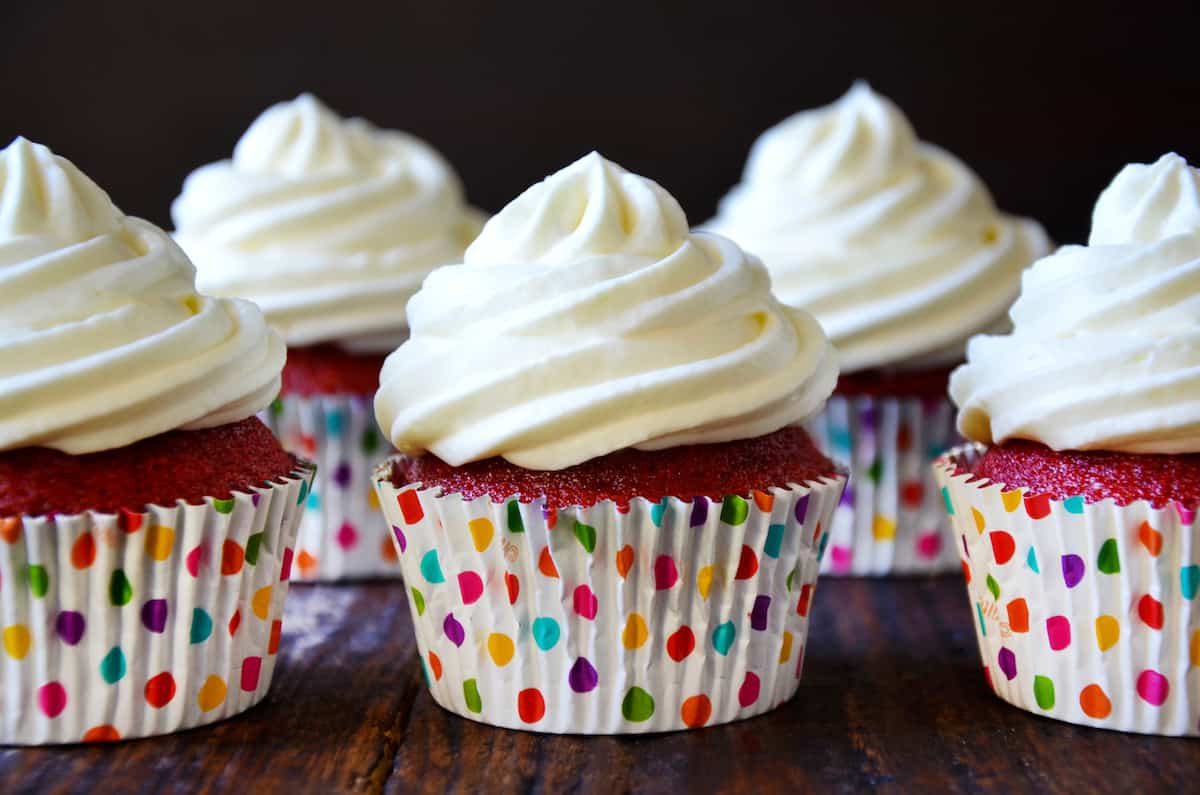
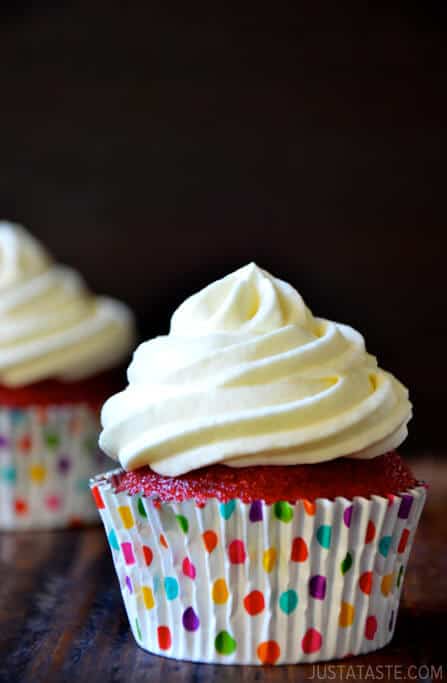
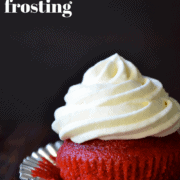
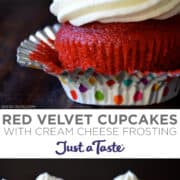
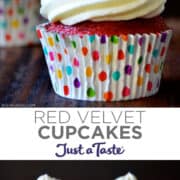
These extra-moist red velvet cupcakes are topped with tangy cream cheese frosting that pipes like a dream. These cupcakes are the perfect blend of rich cocoa flavor and velvety smooth frosting, making them an irresistible treat for any occasion.

Table of Contents
Who doesn’t love red velvet cake? With its dramatic hue, moist texture, and just-chocolatey-enough flavor, this cake is a favorite among kids and adults alike. However, it’s really just a platform for its classic partner, cream cheese frosting. The tangy flavor of the frosting is the perfect complement for the sweet cake.
I wanted to create a red velvet cupcake recipe that would have beautifully piped frosting, so I tested a variety of cream cheese frosting recipes to find one that would be light enough to be piped into swirls, flowers and other fancy decorations.
When I came across Joy of Cooking’s tutorial for red velvet cupcakes, I knew I’d found the secret ingredient to fluffy cream cheese frosting: Heavy cream. After trying out the recipe and making a few adjustments, I was able to create the perfect balance of sturdiness and fluffiness that’s also easy to pipe. This is hands-down the best cream cheese frosting for red velvet cupcakes!
Why You’ll Love This Recipe
- Polished, bakery-quality look. Piping the icing onto the cakes instead of slathering it on with a spatula is an easy way to get a professional look, perfect for special occasions or bake sales.
- Moist and tender.
- Great for Valentine’s Day. If you’re looking for a treat to celebrate that day of love, these are the perfect Valentine’s Day cupcakes.
- The fluffiest frosting. Follow my instructions for frosting that has tangy cream cheese flavor but with an irresistibly light, creamy texture.
Like my recipes for red velvet pancakes and red velvet cinnamon rolls, this recipe relies on cocoa powder and red food coloring to make its signature dramatic color.
For the red velvet cake you’ll need:
- Vegetable oil: Using oil instead of butter in cake yields a moister cake since oil has a higher fat content. Canola, vegetable or any neutral oil can be used interchangeably.
- Buttermilk: The lactic acid in buttermilk activates the leavening power of the baking soda and contributes to a tangy flavor and tender, moist crumb. If you don’t have buttermilk, there are several buttermilk substitutes you can use to make your own.
- Eggs: Help emulsify the batter, provide structure as the cake rises, and add moisture and richness.
- White vinegar: Baking soda needs acid as a catalyst to help cake batter rise, and a teaspoon of white vinegar helps boost the acidity to ensure the leavener can do its job.
- Vanilla extract: Imitation vanilla is fine to use in baked goods, but I recommend using pure vanilla in the frosting where the vanilla notes are more pronounced.
- Food coloring: Red velvet cake gets its distinctive hue from red food coloring. In recipes where I want really vibrant colors, such as my Unicorn Banana Bread, I always opt for gel food coloring, which is more concentrated and requires a smaller amount to get bright results.
- All-purpose flour: In baking, precise measurements are essential for consistent results. Use my scoop-and-sweep method for the best method to accurately measure flour without using a scale.
- Sugar: In addition to sweetening baked goods, granulated sugar binds with liquid to keep baked goods moist for longer and it slows the production of gluten to keep the texture soft and tender.
- Baking soda: Baking soda, or sodium bicarbonate, interacts with acid in a recipe to create carbon dioxide, which helps the batter expand and rise for a fluffy, tender baked good. In the case of this red velvet cake, the buttermilk, cocoa powder and vinegar provide the acidity needed for the baking soda to react.
- Salt: Table salt or kosher salt is needed in nearly every cake recipe to enhance the flavor and balance the sweetness. It also acts as a preservative, helping the baked goods stay fresher for longer.
- Cocoa powder: This recipe uses unsweetened natural cocoa powder rather than Dutch-process cocoa powder. Natural cocoa powder is lighter and redder in color and is more acidic than Dutch-process. The acid is needed to interact with the baking soda so the cake rises properly.
For the cream cheese frosting you’ll need:
- Cream cheese: Use full-fat cream cheese for the proper silky texture and richness, and let it come to room temperature so that it’s soft. This will minimize lumps in the frosting.
- Powdered sugar: As with my recipe for buttercream frosting, I always sift powdered sugar for frosting. Powdered sugar can get clumpy when it’s stored and sifting it breaks up lumps for a smoother frosting.
- Vanilla extract: Use pure vanilla extract, which has a more complex and rich flavor than imitation vanilla. This is a great recipe to showcase homemade vanilla extract.
- Whipping cream: When beaten, the cream aerates the frosting for a fluffy texture. It’s important to keep the whipping cream cold until it’s used. Use heavy whipping cream that has at least 35 percent milk fat content, not light whipping cream.
See the recipe card for full information on ingredients and quantities.
- Preheat the oven. With the oven rack in the center position, preheat the oven to 350˚F. Line a cupcake pan with paper liners.
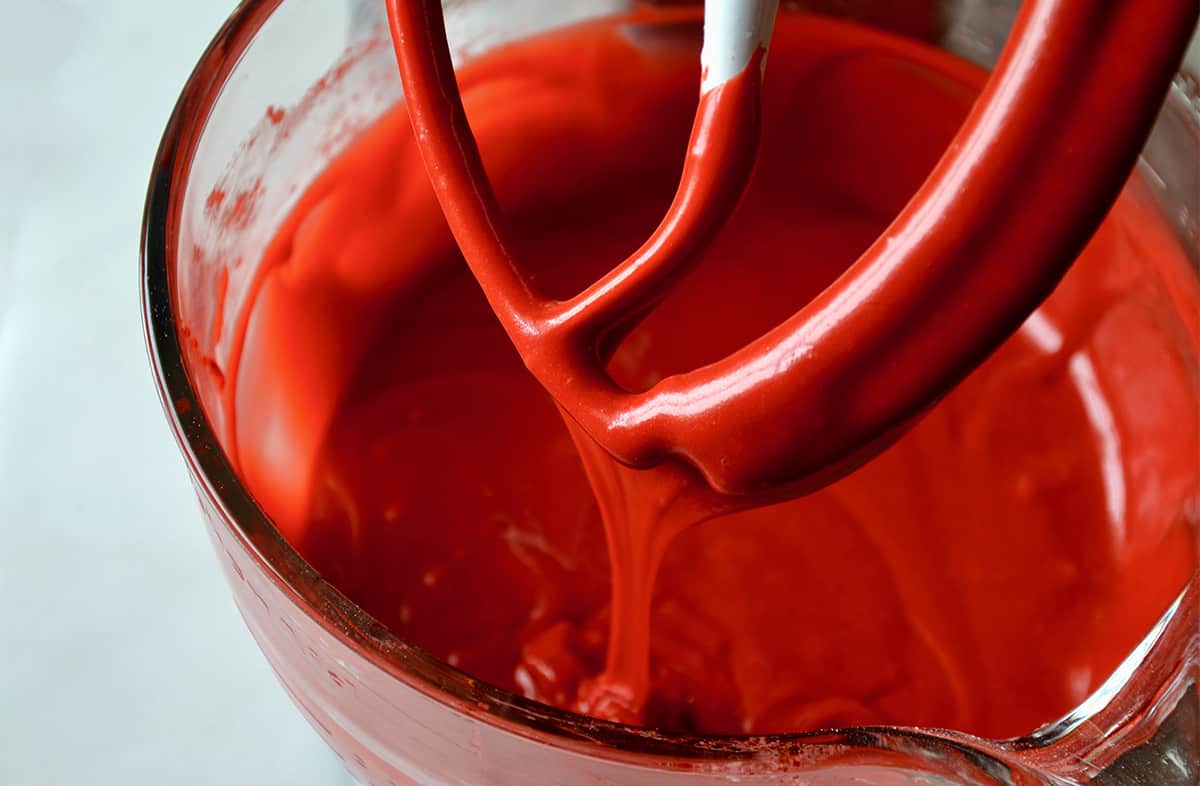
- Mix the wet ingredients. In the bowl of a stand mixer fitted with the paddle, add the oil, buttermilk, eggs, white vinegar and vanilla extract and mix until well combined. Add enough red coloring to reach your desired color.
- Sift the dry ingredients. In a medium bowl, sift together the flour, sugar, baking soda, salt and cocoa powder.
- Combine the wet and dry ingredients. Add the flour mixture to the stand mixer bowl, ½ cup at a time and mix between each addition to prevent lumps, until fully combined.
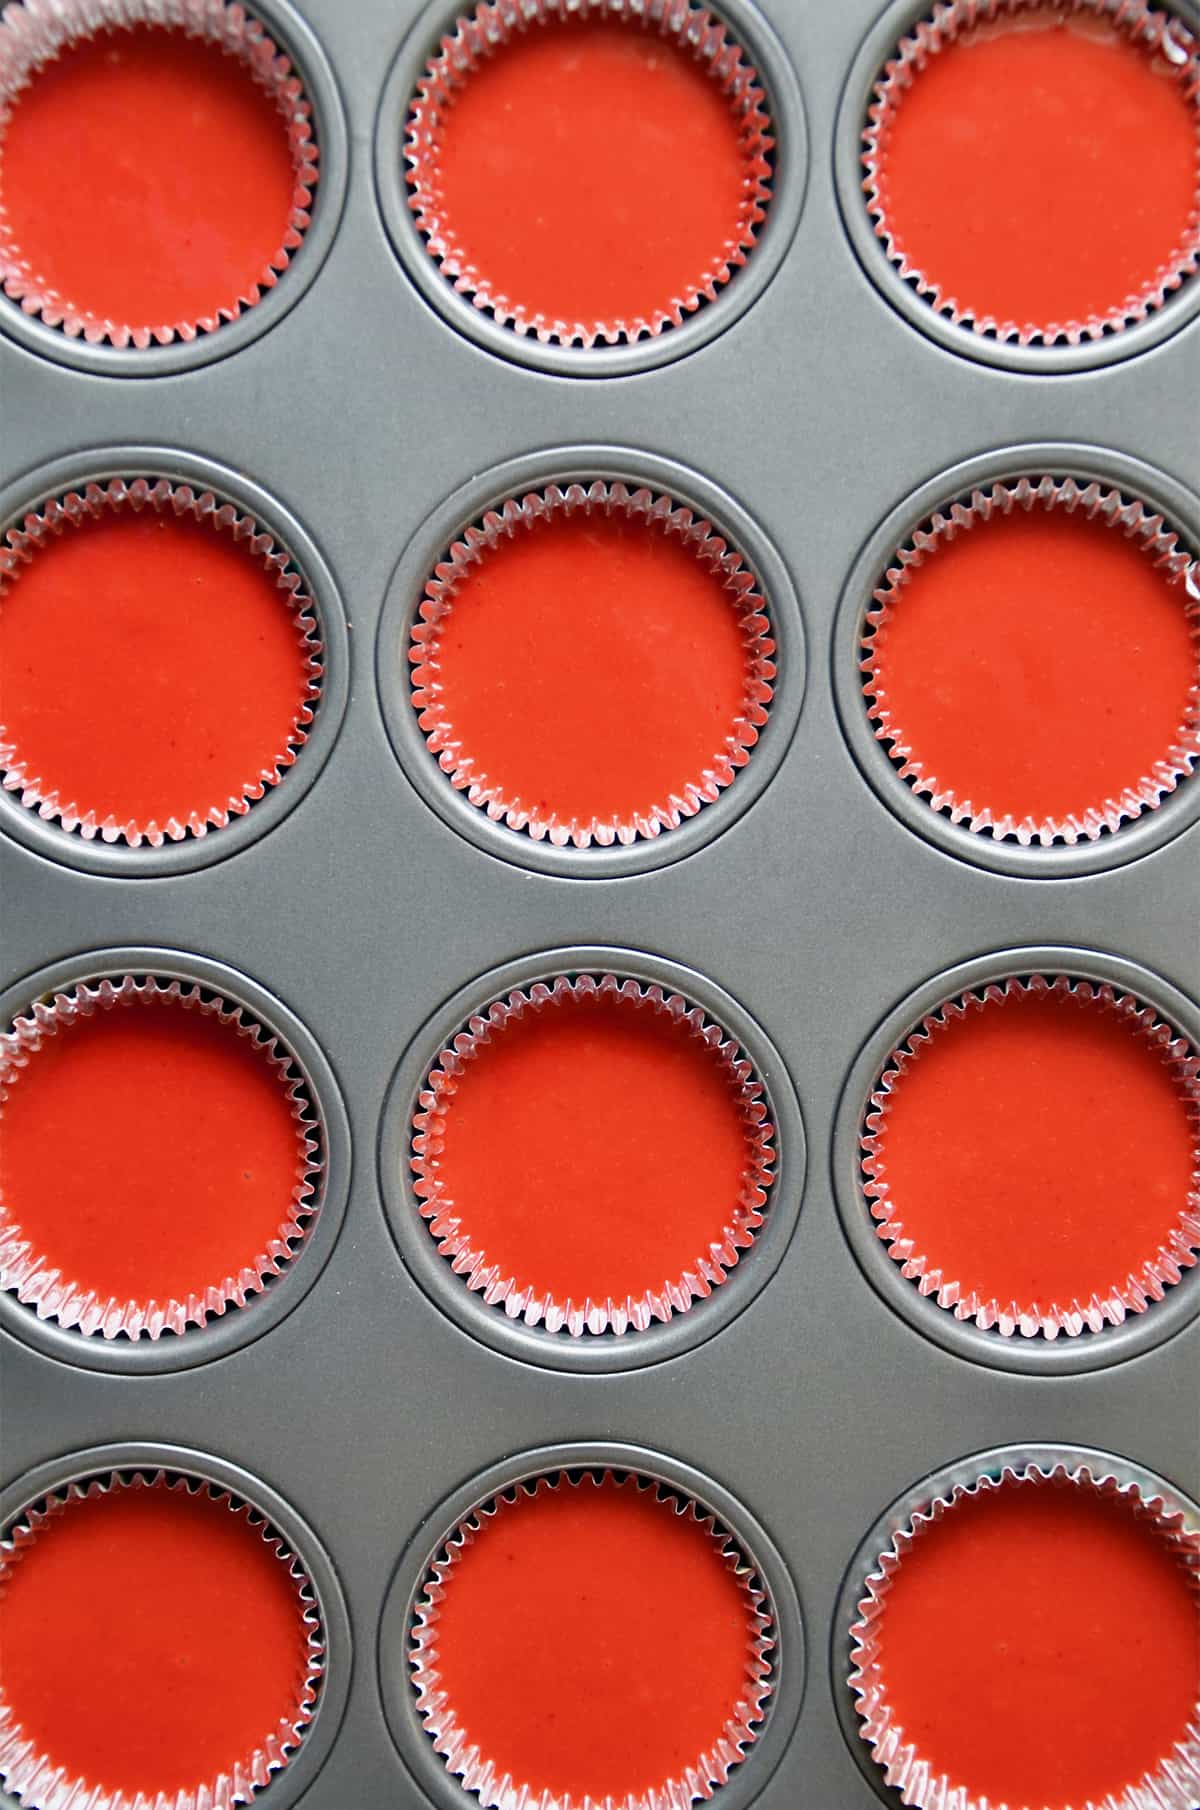
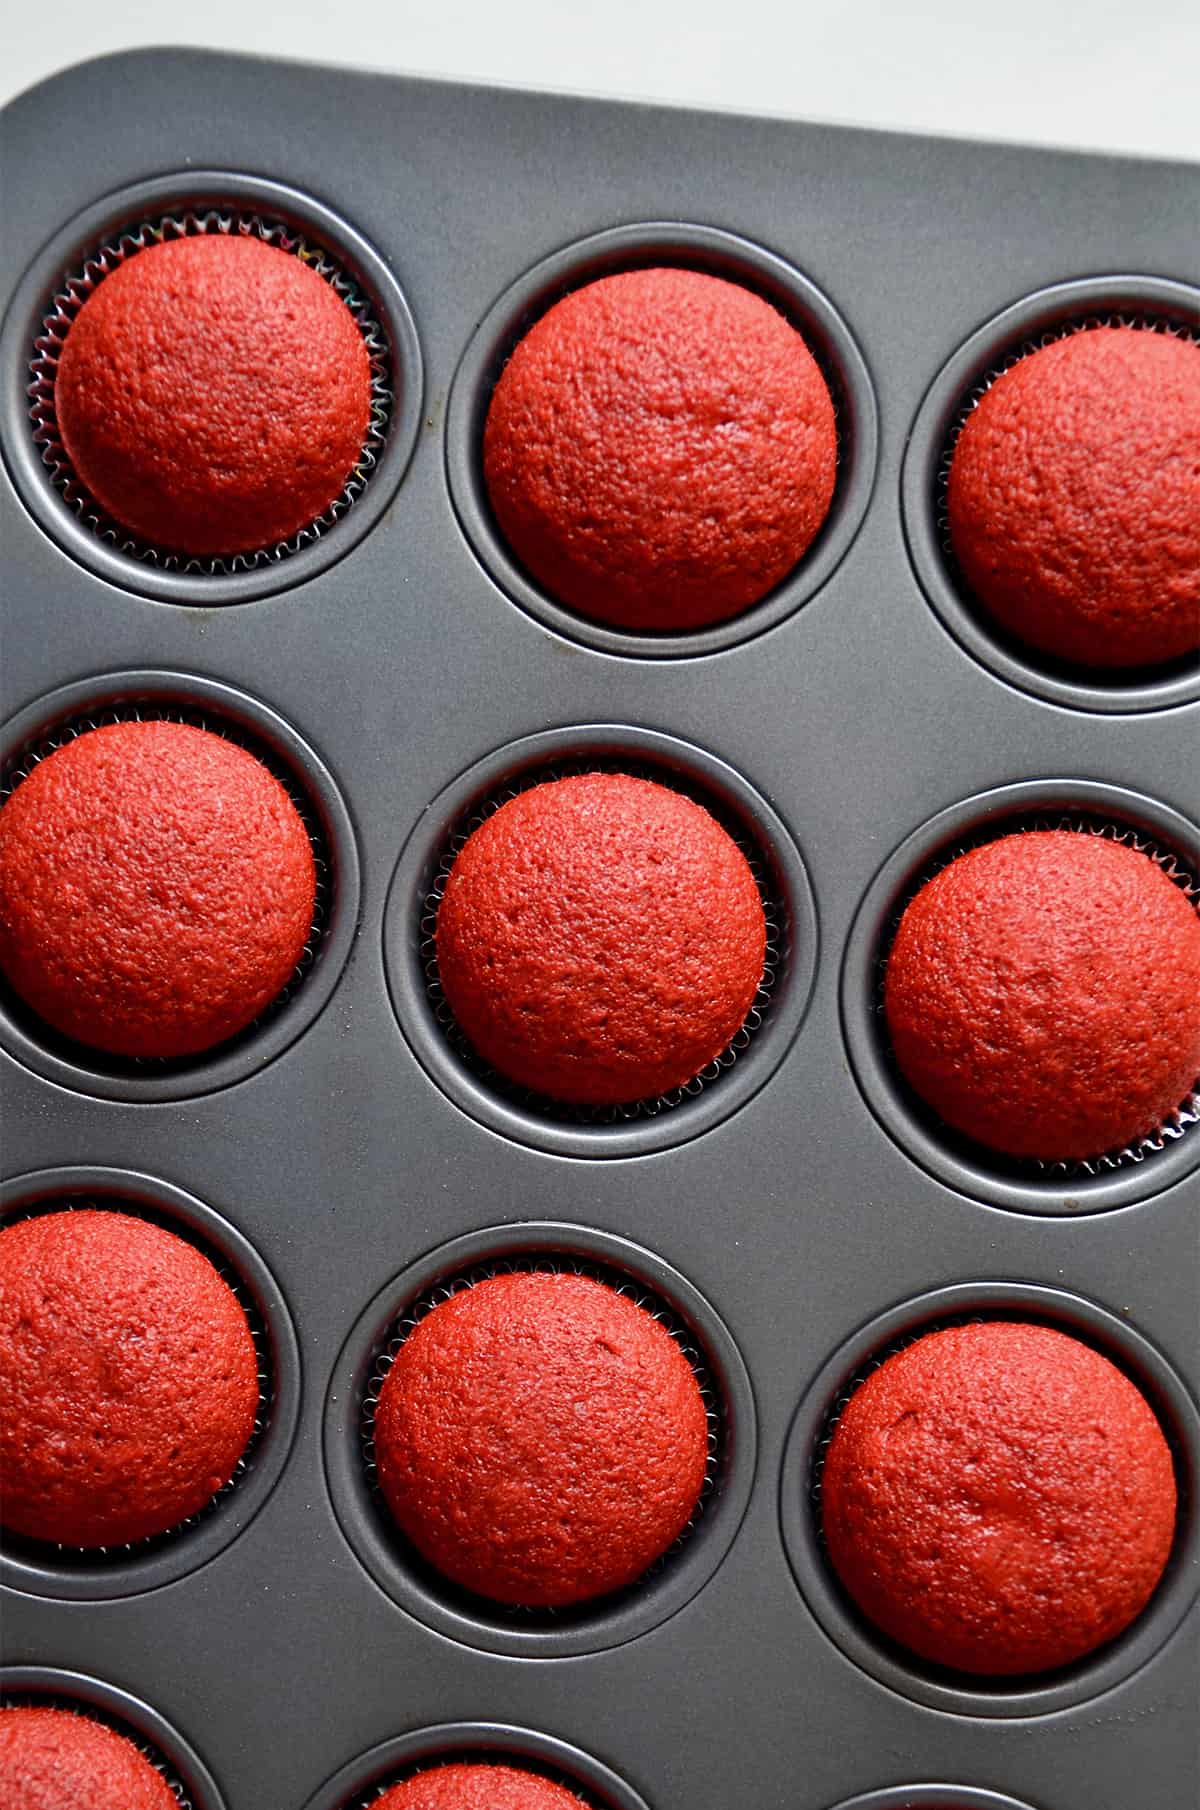
- Bake the cupcakes. Fill each cupcake liner about ¾ full of batter. Bake for 18 to 20 minutes, until a toothpick inserted in the center of a cupcake comes out clean.
- Cool the cupcakes. Cool the cupcakes completely on a cooling rack before frosting.
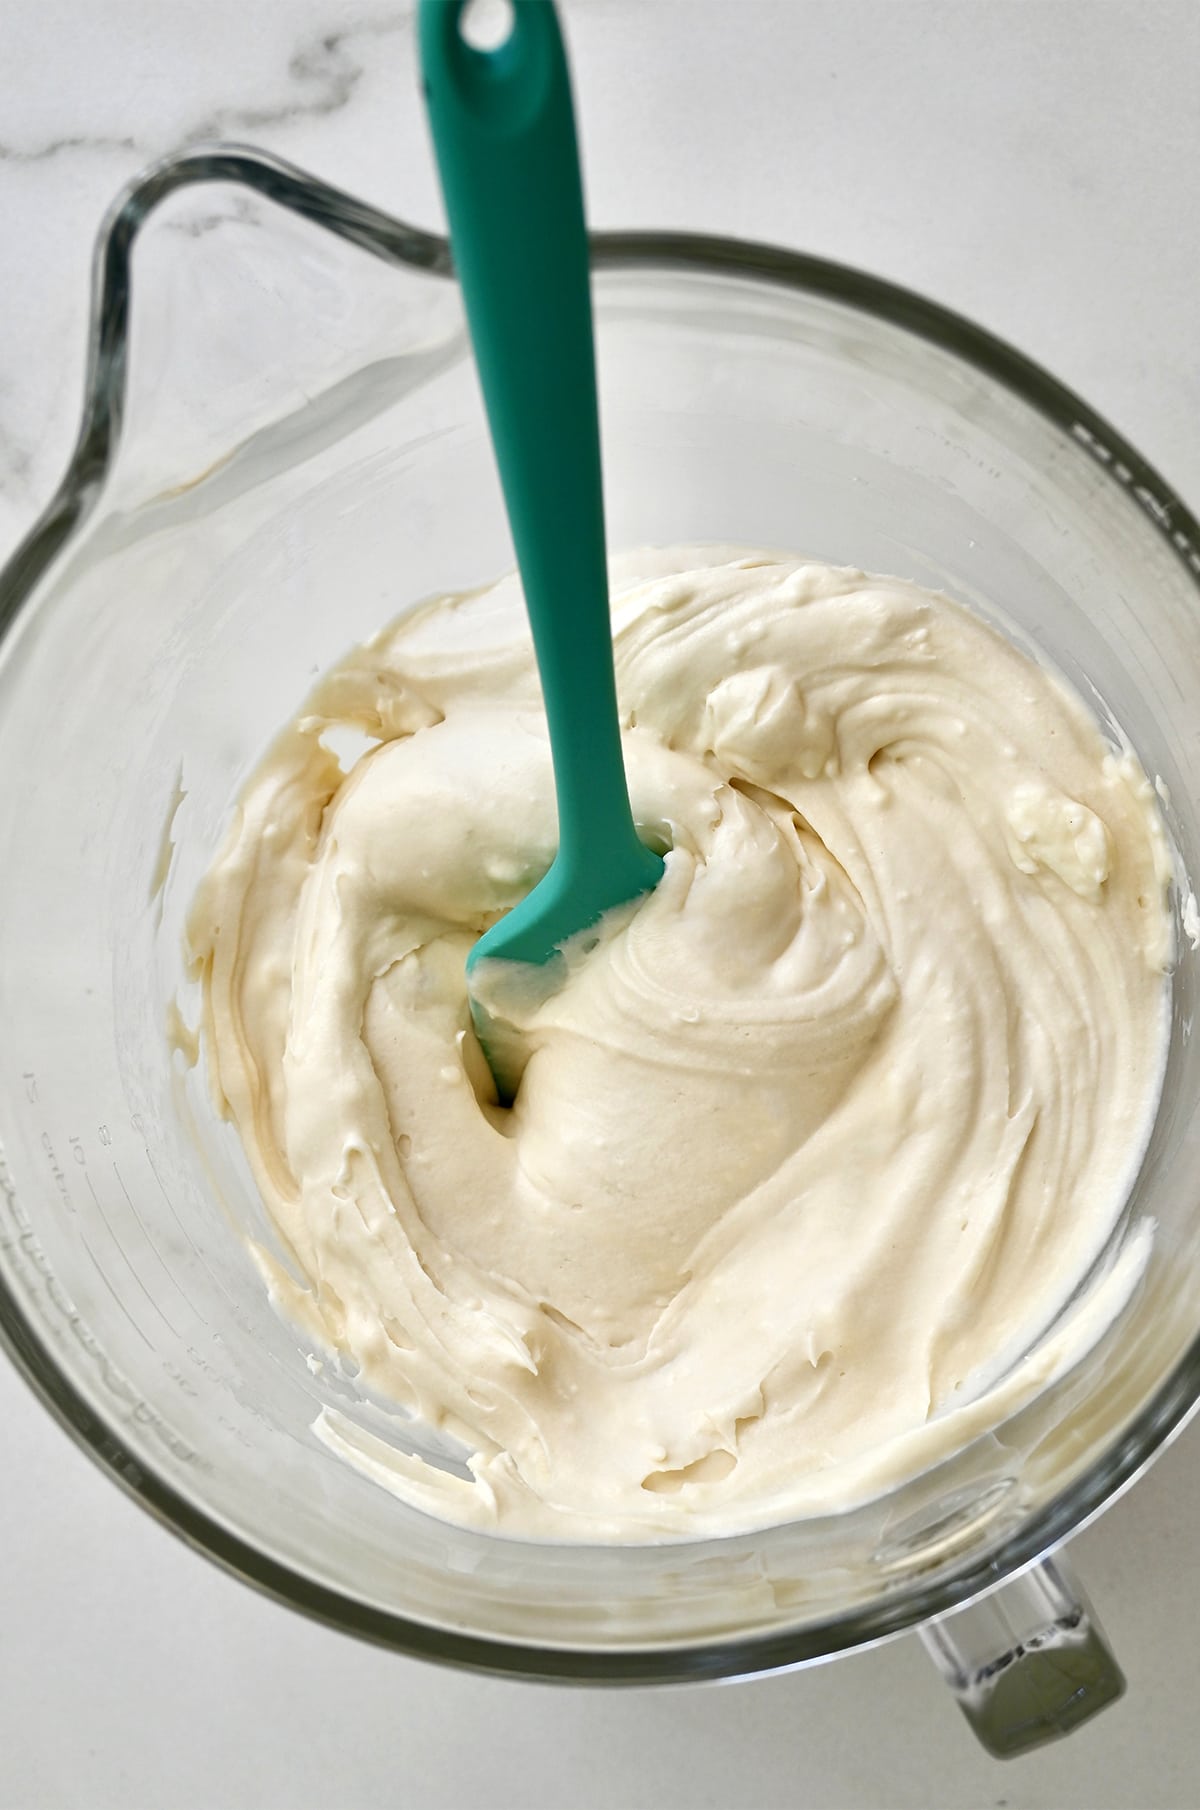
While most cream cheese frostings include butter, this fluffy version relies on whipped cream for its airy texture. Follow my instructions and tips exactly for the best results.
- Beat the cream cheese. In the bowl of the stand mixer fitted with the paddle attachment, beat the softened cream cheese until smooth.
- Add the sugar. Sift the powdered sugar into the bowl and beat to combine. Add the vanilla extract and beat to combine.
- Add the heavy cream. Remove the paddle attachment, scraping off any excess cream cheese mixture with a spatula, and attach the whisk attachment. Scrape down cream cheese from the sides of the bowl. At medium-high speed, pour the chilled heavy cream in a steady stream and beat just until the frosting is thick enough to pipe, 2 to 3 minutes. Do not overmix or the mixture will deflate and become runny.
- Pipe the frosting. Scoop the frosting into a piping bag fitted with your desired pastry tip. Pipe the frosting onto the cooled cupcakes and serve immediately.
Pro Tip: If you don’t have a baking buddy to hold the pastry bag open as you fill it, place the bag inside a pint glass and fold the top over the rim of the glass to hold it open. The glass will hold the bag open and upright as you fill it.
- Use gel-based food coloring. Gel-based food coloring is more concentrated than regular water-based food colorings, so less can be used to achieve a rich, deep red color. If you’re using gel-based food coloring, start with 4 to 5 drops and add more as needed. If you’re using water-based food coloring, you’ll need about 3 tablespoons for the cake to be dark enough.
- Use a brand of heavy cream that whips easily into stiff peaks. If you’re uncertain your heavy cream whips easily, whip the heavy cream separate from the cream cheese (until it reaches stiff peaks) and then fold it into the cream cheese.
- Choose the right pastry tip. For the textured swirls, I used the Ateco #828 star-shaped pastry tip. For a smoother swirl, use a large round pastry tip.
- Make the perfect swirls. Start by piping along the outside of the top of the cupcake and use an inward spiral motion to pipe slightly overlapping concentric circles until you reach the middle. Pull the bag straight up to get the center peak.
Recommended Tools for This Recipe
Here is some of the cooking equipment you’ll need to make these cupcakes:
- Stand mixer: A stand mixer is the best appliance to mix the batter and whip the cream in the frosting to the fluffiest texture. You’ll need both the paddle attachment and the whisk attachment.
- Sifter or fine mesh sieve: Sifting the flour and other dry ingredients together ensures that they’re combined thoroughly, and sifting the powdered sugar removes any lumps. If you don’t have a sifter, a fine mesh sieve works just as well.
- Cupcake wrappers: Lining the cupcake pan with paper cupcake wrappers makes it easier to remove the baked cakes from the pan and keeps the cake fresher for longer. In this recipe, I used foil-lined cupcake wrappers, which keep their bright pattern even after baking plus, they peel easily from the cupcake.
- Cupcake pan: I used a standard-sized cupcake pan for this recipe. The recipe makes 24 cupcakes so you’ll need two 12-cup pans, or you can bake them in batches.
- Baking rack: A wire baking rack lets air circulate completely around baked goods so they cool completely.
- Pastry bag: For a professional-style frosting job, a pastry bag will let you pipe beautiful swirls of frosting onto the cupcakes. I prefer disposable pastry bags because they’re so convenient. Or, learn how to make homemade piping bags with parchment paper.
- Pastry tips: A metal pastry tip fitted into the pastry bag can give the piped frosting a different look. A large round tip will give smooth piped swirls, while an open star tip will make grooved swirls.
Store cupcakes in the refrigerator until they’re served. The cupcakes are best enjoyed the day they’re made.
Unfrosted cupcakes can be frozen in an airtight container or freezer bag for two to three months. Thaw cupcakes completely before frosting.
Frequently Asked Questions
Because of the whipped cream in the frosting, these cupcakes are best if they are served shortly after frosting. If necessary, they can be frosted several hours ahead of time and refrigerated until serving.
Butter has a water content of as much as 18 percent, which evaporates during baking. Cupcakes made with oil, which has a higher fat content, will have a moister texture and will taste fresh for longer.
While the cupcakes taste best the day they’re made and frosted, unfrosted cupcakes can be baked ahead of time and frozen. Store them in an airtight container or freezer bag and defrost completely before frosting.
Three things will ensure thick, fluffy frosting. First, use heavy whipping cream that contains at least 35 percent milk fat. Second, ensure the heavy cream is very cold before using. Third, don’t overmix. The moment the whipping cream thickens, stop the mixer.
Yes. Natural cocoa powder has a lighter hue and more acidity, so it is the best cocoa powder to use in this recipe.
Skip the store-bought sweets in favor of easy Valentine’s Day dessert recipes, including these reader-favorites:
- White Chocolate-Covered Strawberries
- Red Velvet Brookies
- Red Velvet Chocolate Chip Cake Mix Cookies
- Pink Pinwheel Sugar Cookies
- Red Velvet Cheesecake Brownie Bites
- Easy No-Bake Chocolate Tart with Strawberries
Craving more? Subscribe to Just a Taste to get new recipes, meal plans and a newsletter delivered straight to your inbox! And stay in touch on Facebook, TikTok, Pinterest and Instagram for all of the latest updates.
Ingredients
For the cupcakes:
- 1 1/4 cups vegetable oil
- 1 cup buttermilk
- 2 large eggs
- 1 teaspoon white vinegar
- 2 teaspoons vanilla extract
- Red food coloring (See Kelly’s Notes)
- 2 1/2 cups all-purpose flour
- 1 3/4 cups sugar
- 1 teaspoon baking soda
- 3/4 teaspoon salt
- 1 Tablespoon unsweetened cocoa powder
For the frosting:
- 2 (8-oz.) packages cream cheese, at room temperature
- 1 cup powdered sugar
- 2 1/2 teaspoons vanilla extract
- 1 1/3 cups cold heavy whipping cream (See Kelly’s Notes)
Instructions
Make the cupcakes:
- Preheat the oven to 350ºF. Line a cupcake pan with liners.
- In the bowl of a stand mixer fitted with the paddle attachment, beat together the oil, buttermilk, eggs, white vinegar, vanilla extract and enough red food coloring until the mixture is well combined and reaches your desired color.
- In a separate medium bowl, sift together the flour, sugar, baking soda, salt and cocoa powder.
- Add the dry ingredients to the wet ingredients, ½ a cup at a time, mixing between each addition to avoid any lumps in the batter.
- Fill each cupcake liner about ¾ full with batter and bake for 18 to 20 minutes until a toothpick inserted comes out clean. Transfer the cupcakes to a cooling rack to cool completely while you make the frosting.
Make the frosting:
- In the bowl of a stand mixer fitted with the paddle attachment, beat the cream cheese until smooth. Sift the powdered sugar into the bowl, beating to combine, then add the vanilla extract.
- Remove the paddle attachment and attach the whisk attachment. Scrape down any cream cheese from the sides of the bowl, and then with the whisk beating at medium-high speed, stream in the cold heavy cream until the frosting is thick enough to pipe. Please watch the video from Joy of Baking, which features the frosting recipe and addresses potential issues to prevent the frosting from being too thin.
- Transfer the frosting to a piping bag fitted with your desired pastry tip. Pipe the frosting onto the cooled cupcakes and serve immediately.
Kelly’s Notes
- Use gel-based food coloring, which is more concentrated than regular water-based food colorings are not as concentrated, so less can be used to achieve a rich, deep red color. Start with 4 to 5 drops and add more as needed. If you’re using water-based food coloring, you’ll need about 3 tablespoons.
- You must use a brand of heavy cream that whips easily into stiff peaks. If you’re uncertain your heavy cream whips easily, whip the heavy cream separate from the cream cheese (until it reaches stiff peaks) and then fold it into the cream cheese.
- Use a star-shaped pastry tip for textured swirls and a large round pastry tip for a smoother swirl.
- To make the perfect swirls, start by piping along the outside of the top of the cupcake and use an inward spiral motion to pipe slightly overlapping concentric circles until you reach the middle. Pull the bag straight up to get the center peak.
- ★ Did you make this recipe? Don’t forget to give it a star rating below!
Nutrition
Did you try this recipe?
Leave a comment below with your star rating!
This post may contain affiliate links.
Cupcake recipe adapted from Kiss My Bundt. Frosting recipe adapted from Joy of Baking.


I was looking for a cream cheese icing recipe that could be piped as every other one I’d tried was too runny. With only a cup of icing sugar this was not very sweet so I added an extra cup (which is still way lower than the 3 to 4 cups in other recipes). It piped well and I was able to create flowers, although those were piped onto parchment then frozen so I could transfer them. The recipe made enough to cover and fill a two layer cake, with some left over to eat from the bowl
Awesome! I’m so thrilled you enjoyed the recipe, Karyn!
Can I make this as cake?
Hi Charlotte! This recipe will definitely work as a cake, however I’m not sure the size and the baking time.
Hi, how long would these cupcakes be good in an air tight container? I need to make 150 and I need to do it at least 3 days prior to my event so I can have time…
Hi Karen! This recipe is definitely best when prepared on the day of your event.
Can you use cake flour instead ap flour?
I’ve never tried this recipe with cake flour so I’m not sure!
I love the recipe for the icing! ( I have never made the cake yet)
Can I make the icing tonight, refrigerate and then pipe and serve tomorrow? Or would the icing get to hard?
Hi Sierra! That should work. You may just need to whip the icing a little bit after you remove it from the fridge.
I made these and my icing just came out too runny, I let it sit for about 15 minutes but it never hardened up!
Hi Lucy – If the frosting was too runny, it was likely overmixed. You may find this link to Joy of Cooking, which shows the frosting recipe being made, helpful:
http://www.joyofbaking.com/RedVelvetCupcakes.html Please note how slowly it’s also added to the bowl.
I hope this helps clarify the technique on the frosting recipe. :)
I gave putting it in the fridge overnight a shot! They do keep their shape, and are still very good the next day :) Love the icing, it’s not overly sweet unlike most cream cheese icings.
Awesome! Thank you so much for letting me know!
Hi. How long do you think the piped frosting shape would last in the fridge? Would like to make this for work, and I would have to make them the night before as I wouldn’t have time in the morning…
Hi there, Ihsan! I’ve never tested serving this frosting the next day, so I’m not certain how it’d hold up in the fridge. Would love to hear your results if you give it a shot!
Made for my son’s birthday at his request. Lovely little cakes and everyone enjoyed them! Thank you!
So glad to hear you enjoyed the recipe, Shannon!