Poaching chicken is one of those techniques that sounds fancier than it is. It’s simply cooking chicken in liquid at a low, gentle temperature, and when it’s done right, it produces the most tender, juicy chicken breast you’ve ever made.
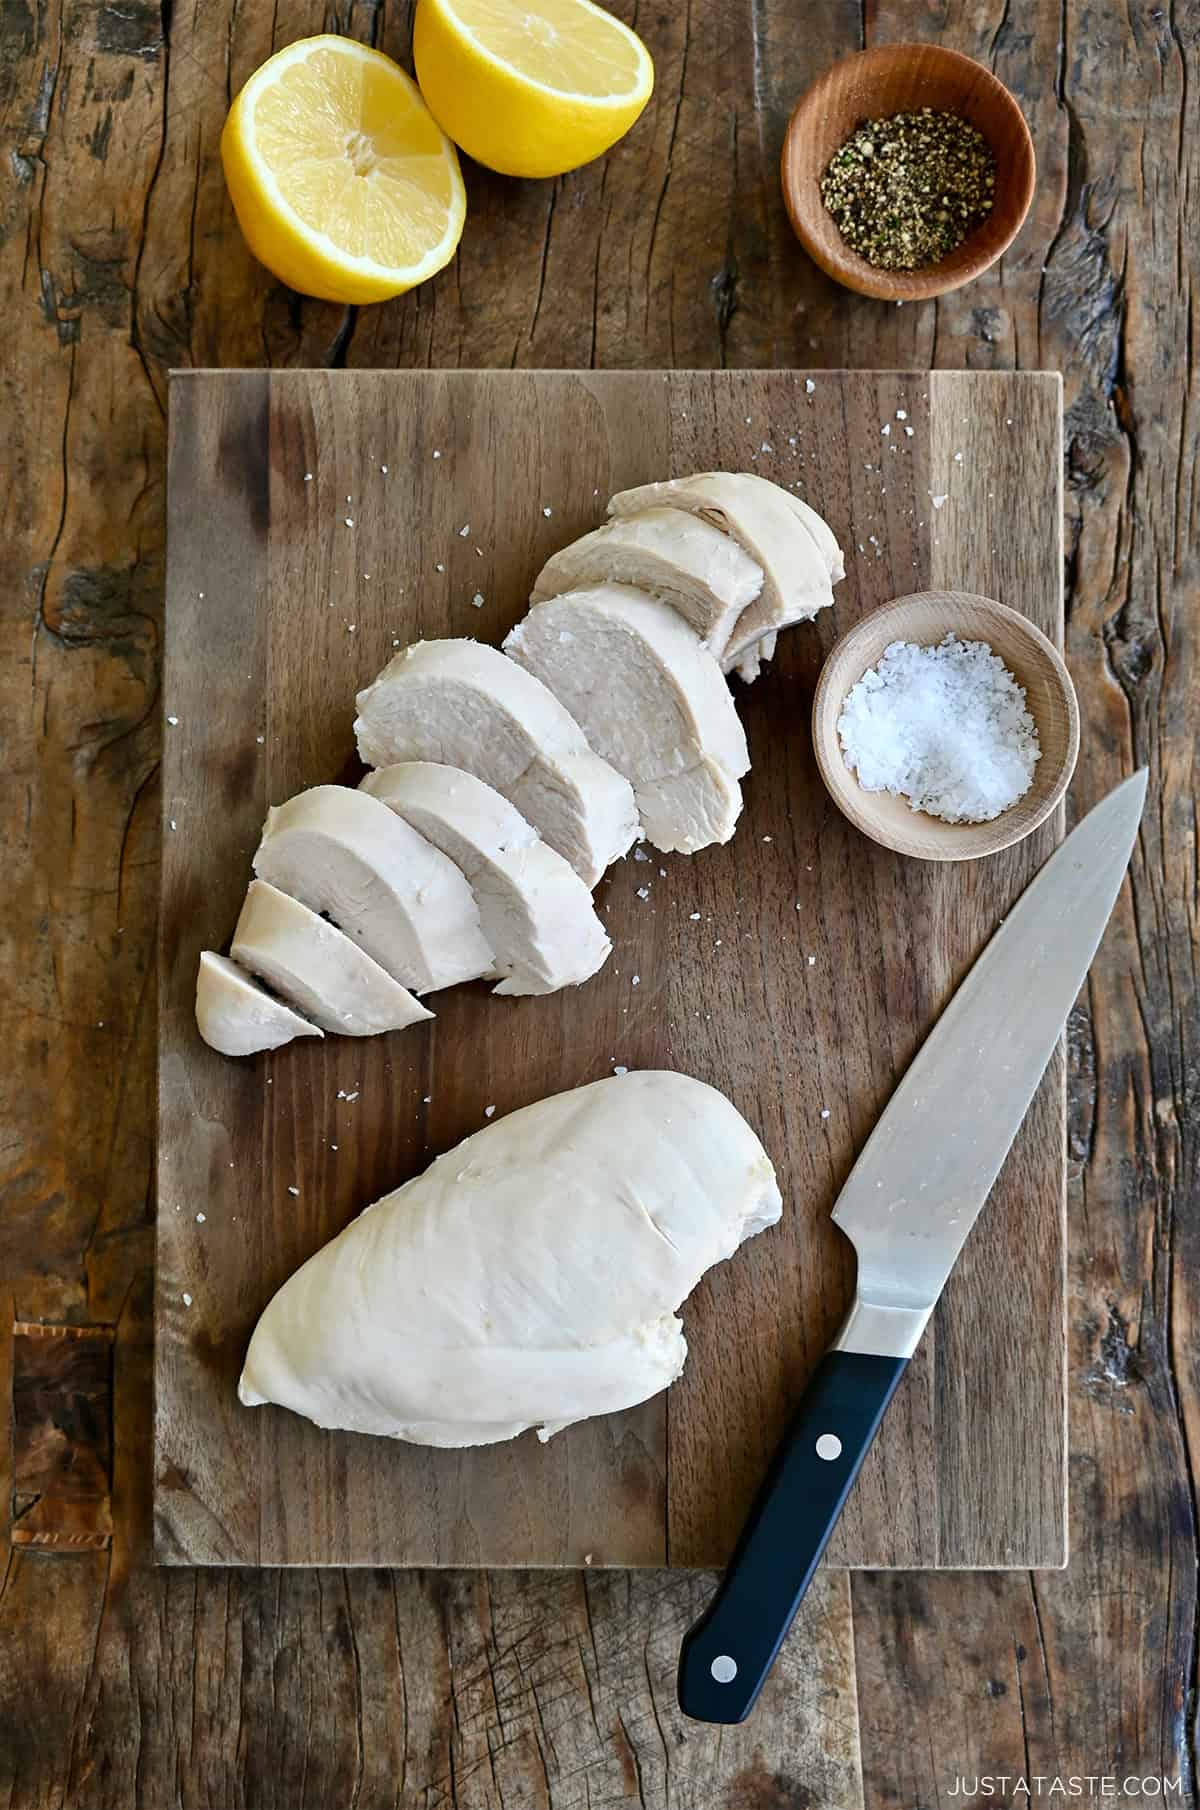
Table of Contents

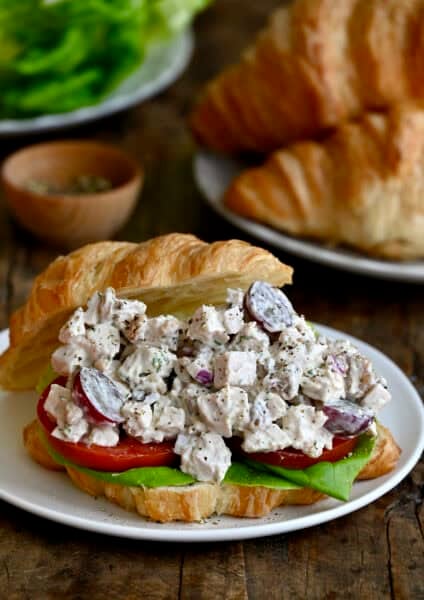
Poached chicken is a weeknight staple in my kitchen, whether it’s being quickly cut up for kids’ plates or transformed into my favorite chicken salad with grapes and walnuts. Once you have a batch in the fridge, dinner comes together in minutes.
Today I’m sharing my go-to foolproof, super simple technique.
Poaching vs. Boiling
There are as many ways to poach chicken as there are ways to hard-boil an egg. But before we get into my preferred method, it’s worth knowing that “poached” and “boiled” get used interchangeably all the time, and they’re really not the same thing.
Boiling means cooking in rapidly bubbling, aggressively hot water. Poaching means cooking in liquid that’s barely simmering, with just a few gentle bubbles breaking the surface. That low, slow heat is what keeps the chicken tender and juicy. Crank the heat and you’ll get tough, rubbery, stringy chicken every single time.
One popular method involves bringing the liquid to a full boil first, submerging the chicken, then covering the pot and turning the heat completely off to let the residual heat do the cooking. I’ve tried it, and while it works, cooking times vary wildly depending on the thickness of your chicken. Too thin and it’s overcooked. Too thick and it’s underdone. Keeping the heat on low the whole time is simply more predictable, and the results are consistently better.
See the recipe card for full information on ingredients and quantities.
How to Poach Chicken
You’ll want a large, deep saucepan with a tight-fitting lid. You need enough room for the chicken to be fully submerged under at least 2 inches of liquid, so don’t try to squeeze it into a pan that’s too small.
And then, unlike that other method I mentioned above, I like to start the chicken in cold liquid and bring it up to a gentle simmer together. Starting cold prevents the outside of the chicken from seizing before the inside has a chance to cook through, which means more even cooking and juicier results, similar to my cold-oven bacon trick.
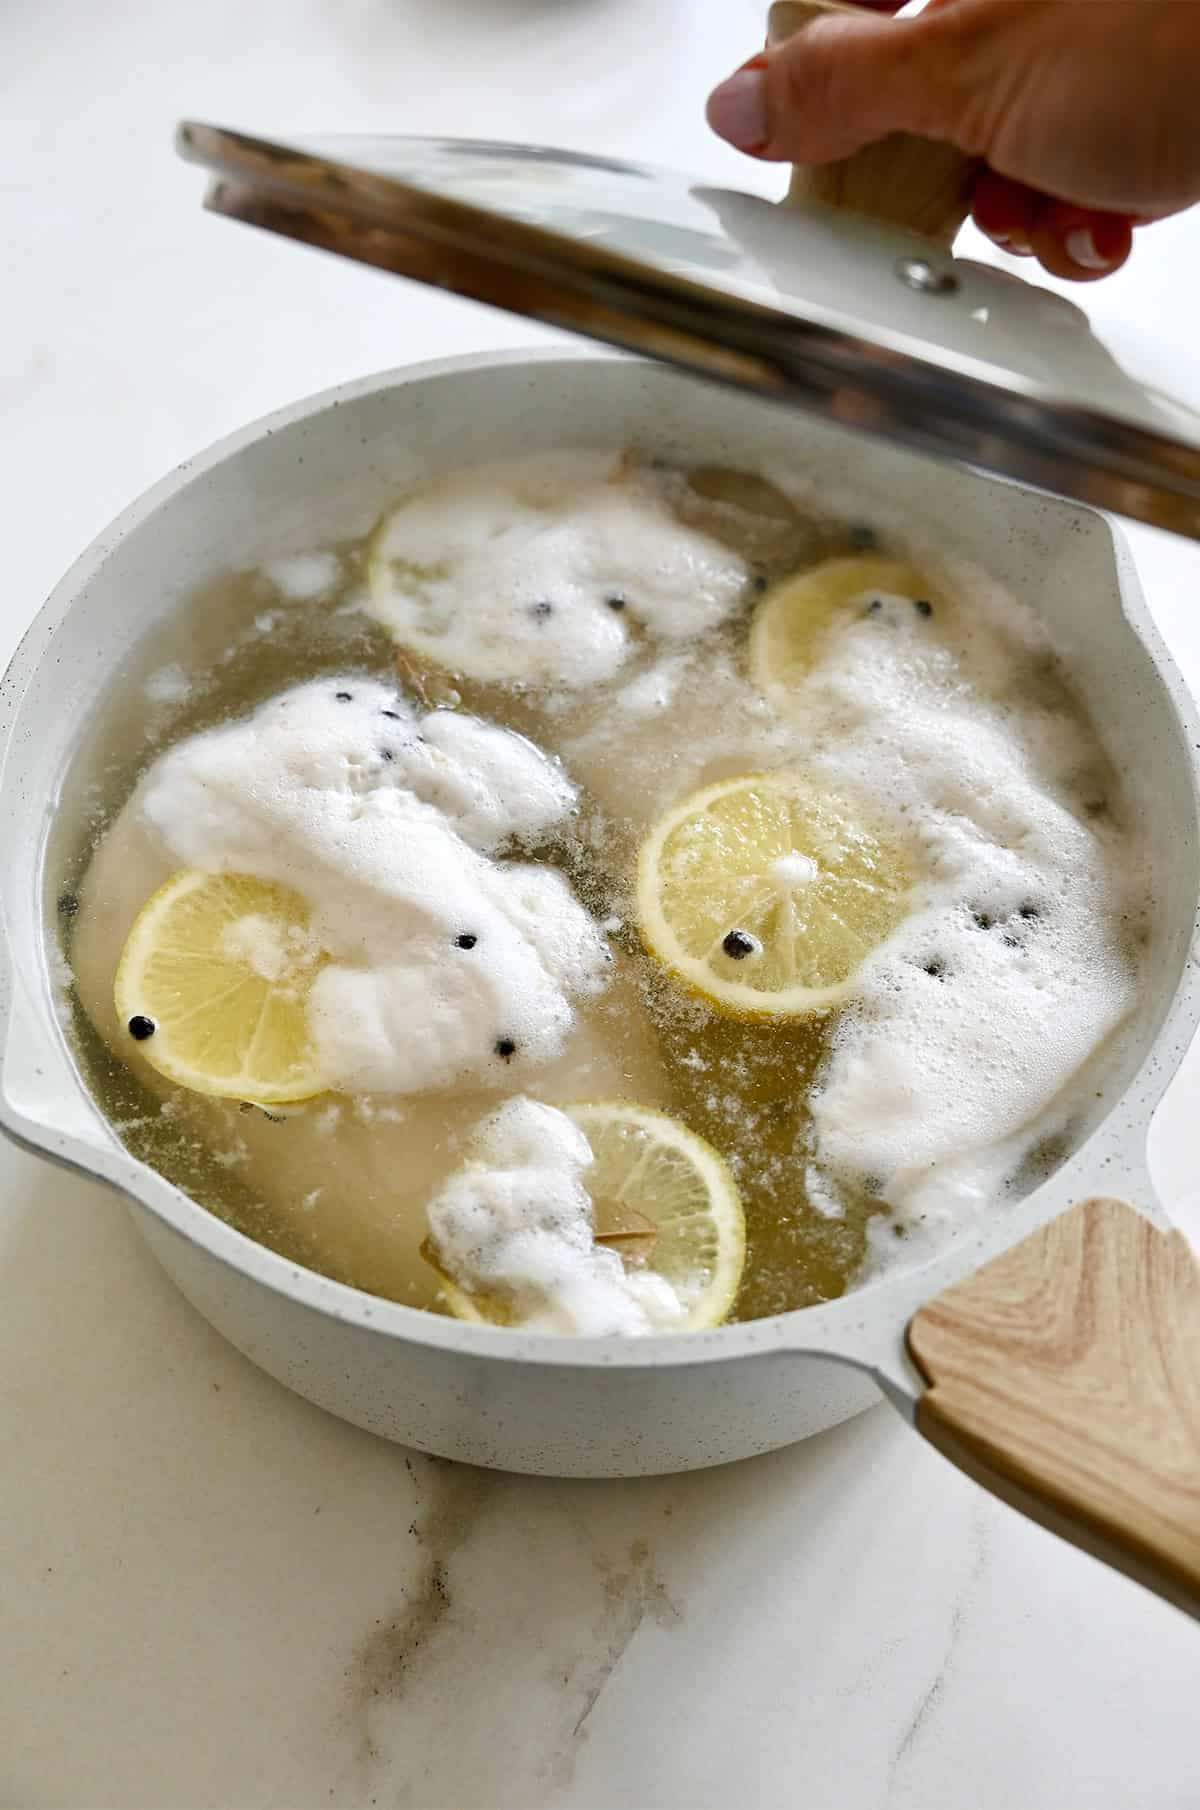
Once the liquid reaches a gentle simmer, cover the pot, reduce the heat to low and let it do its thing. No stirring, no fussing. Just keep that simmer gentle and steady and let your thermometer tell you when it’s done.
Speaking of which…
My #1 Tip for Juicy Poached Chicken
Remove the chicken from the liquid at 150°F and let it rest for 10 minutes. The carryover cooking will bring it up to a safe 165°F on its own. This is the best way to guarantee your poached chicken is juicy and not dry or overcooked.
The only way to nail this is with a meat thermometer. Poaching times vary depending on the size and thickness of your chicken breasts, so a timer alone won’t save you. It’s an inexpensive kitchen tool you’ll reach for constantly, from this poached chicken recipe to stovetop steak, prime rib, baked ham, herb-crusted pork loin and even baked salmon.
How to Customize Your Poaching Liquid
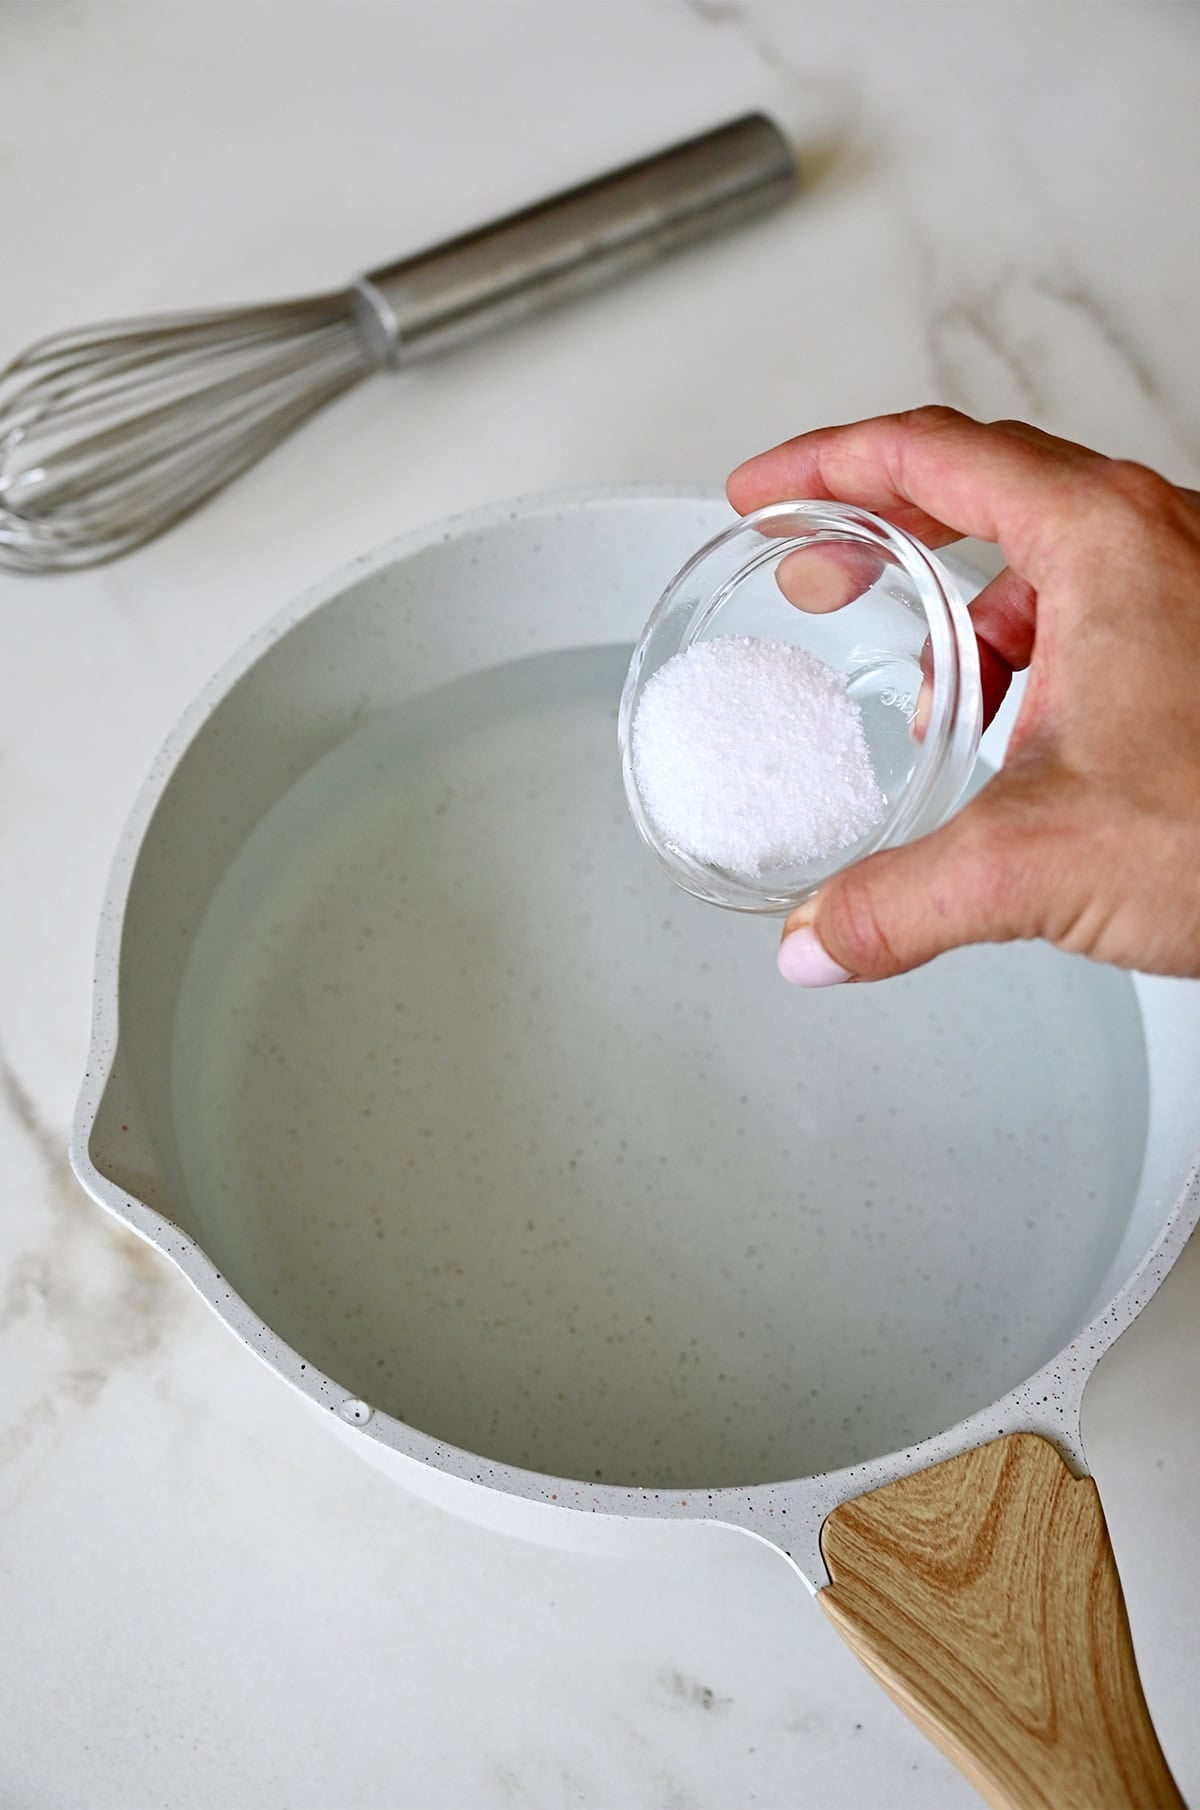
At its most basic, all you need is water and salt, but the poaching liquid is also an opportunity to add flavor, and since chicken is so mild, it soaks up whatever you put it in.
A few easy ways to customize it:
- Swap the liquid: Chicken broth adds a deeper, more savory flavor. A splash of white wine adds subtle richness. I’ll often do half water, half chicken broth.
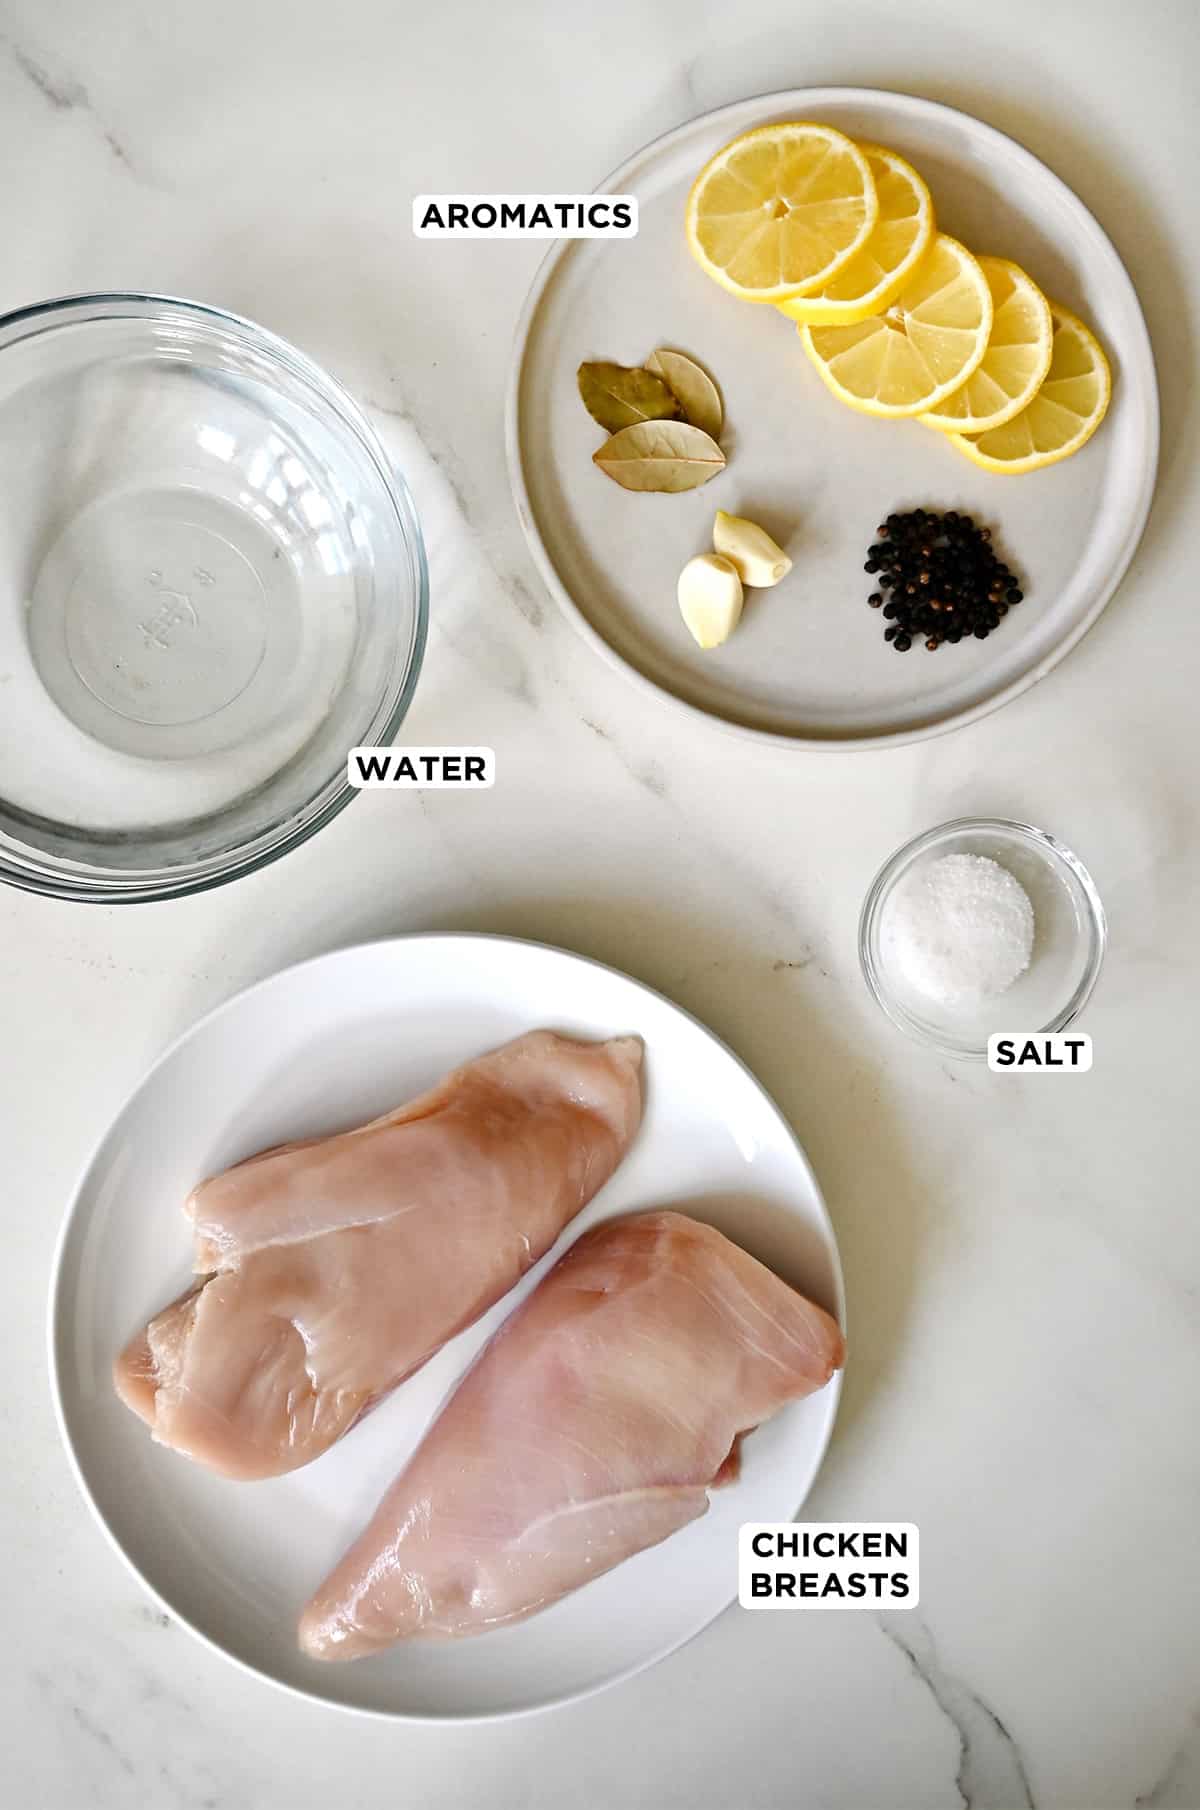
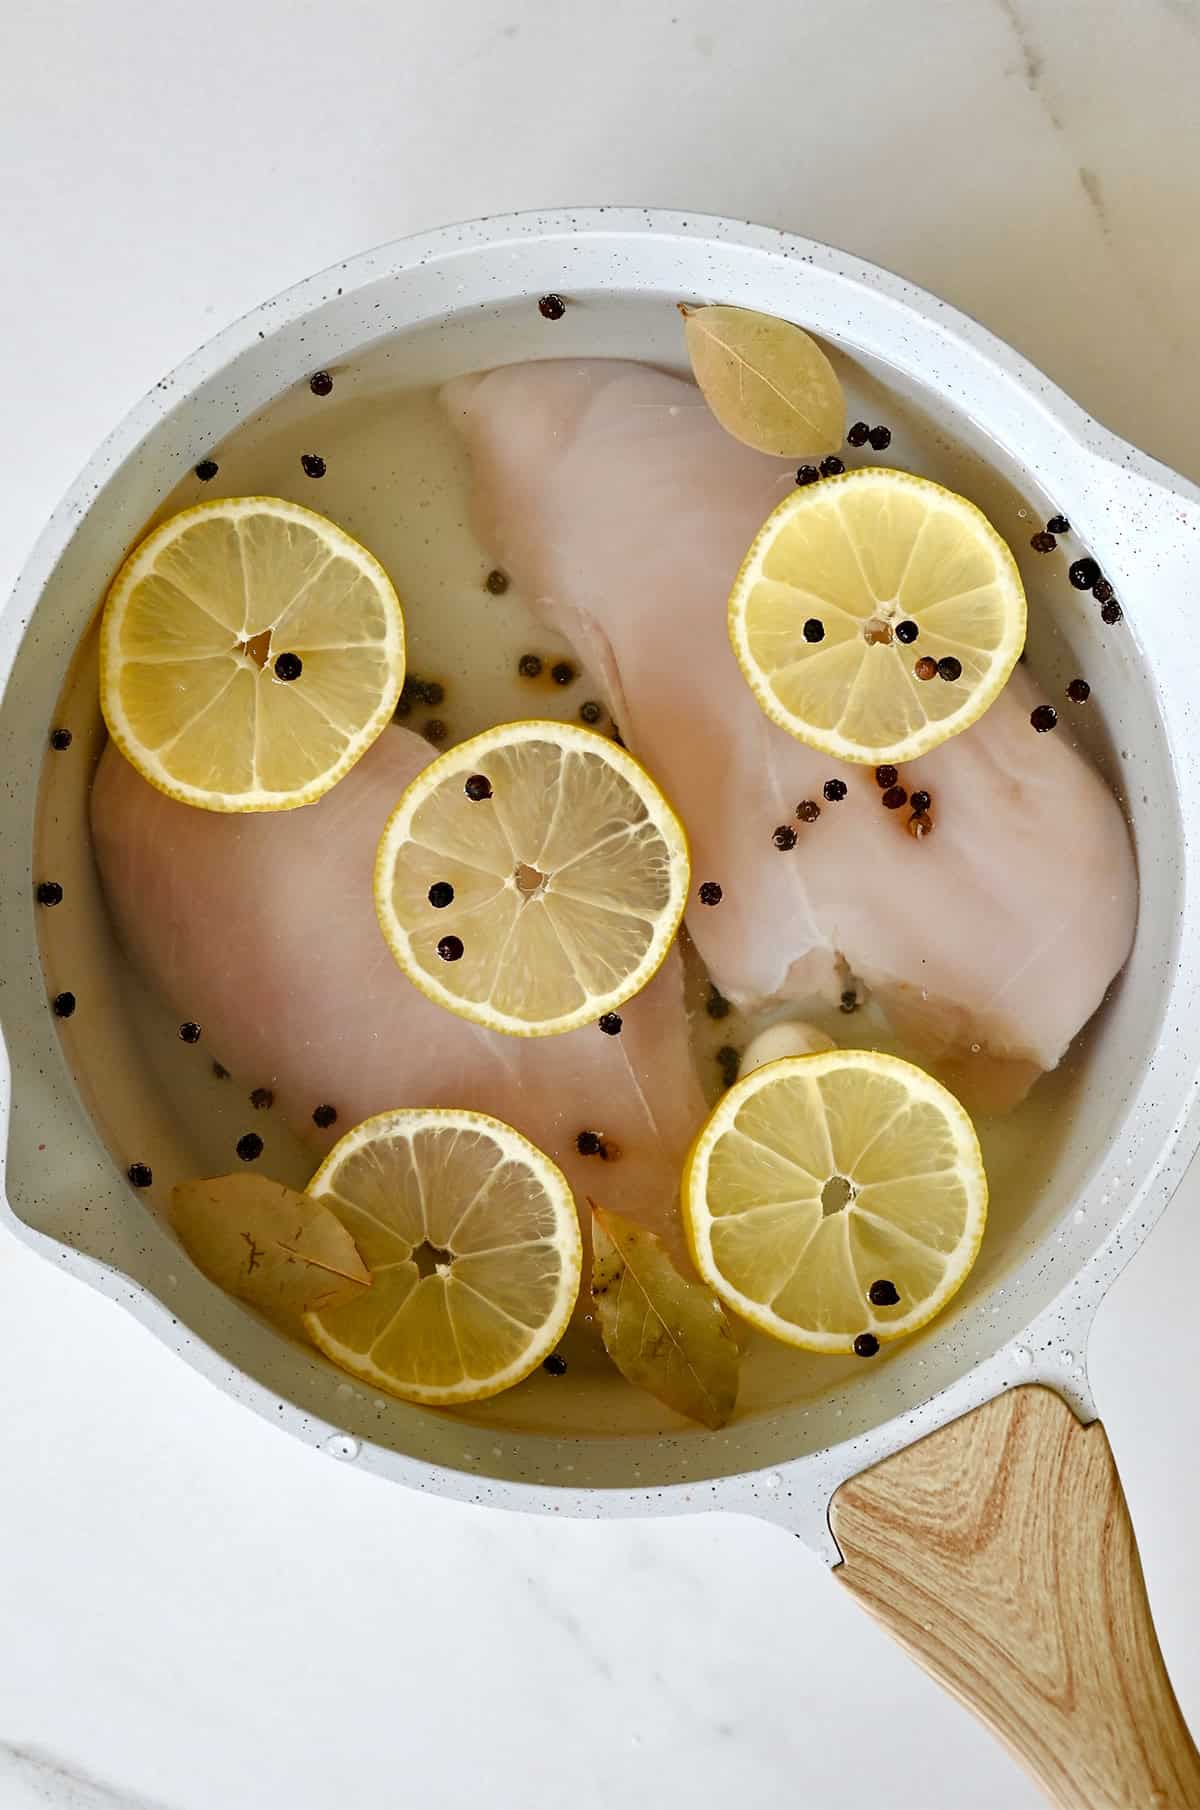
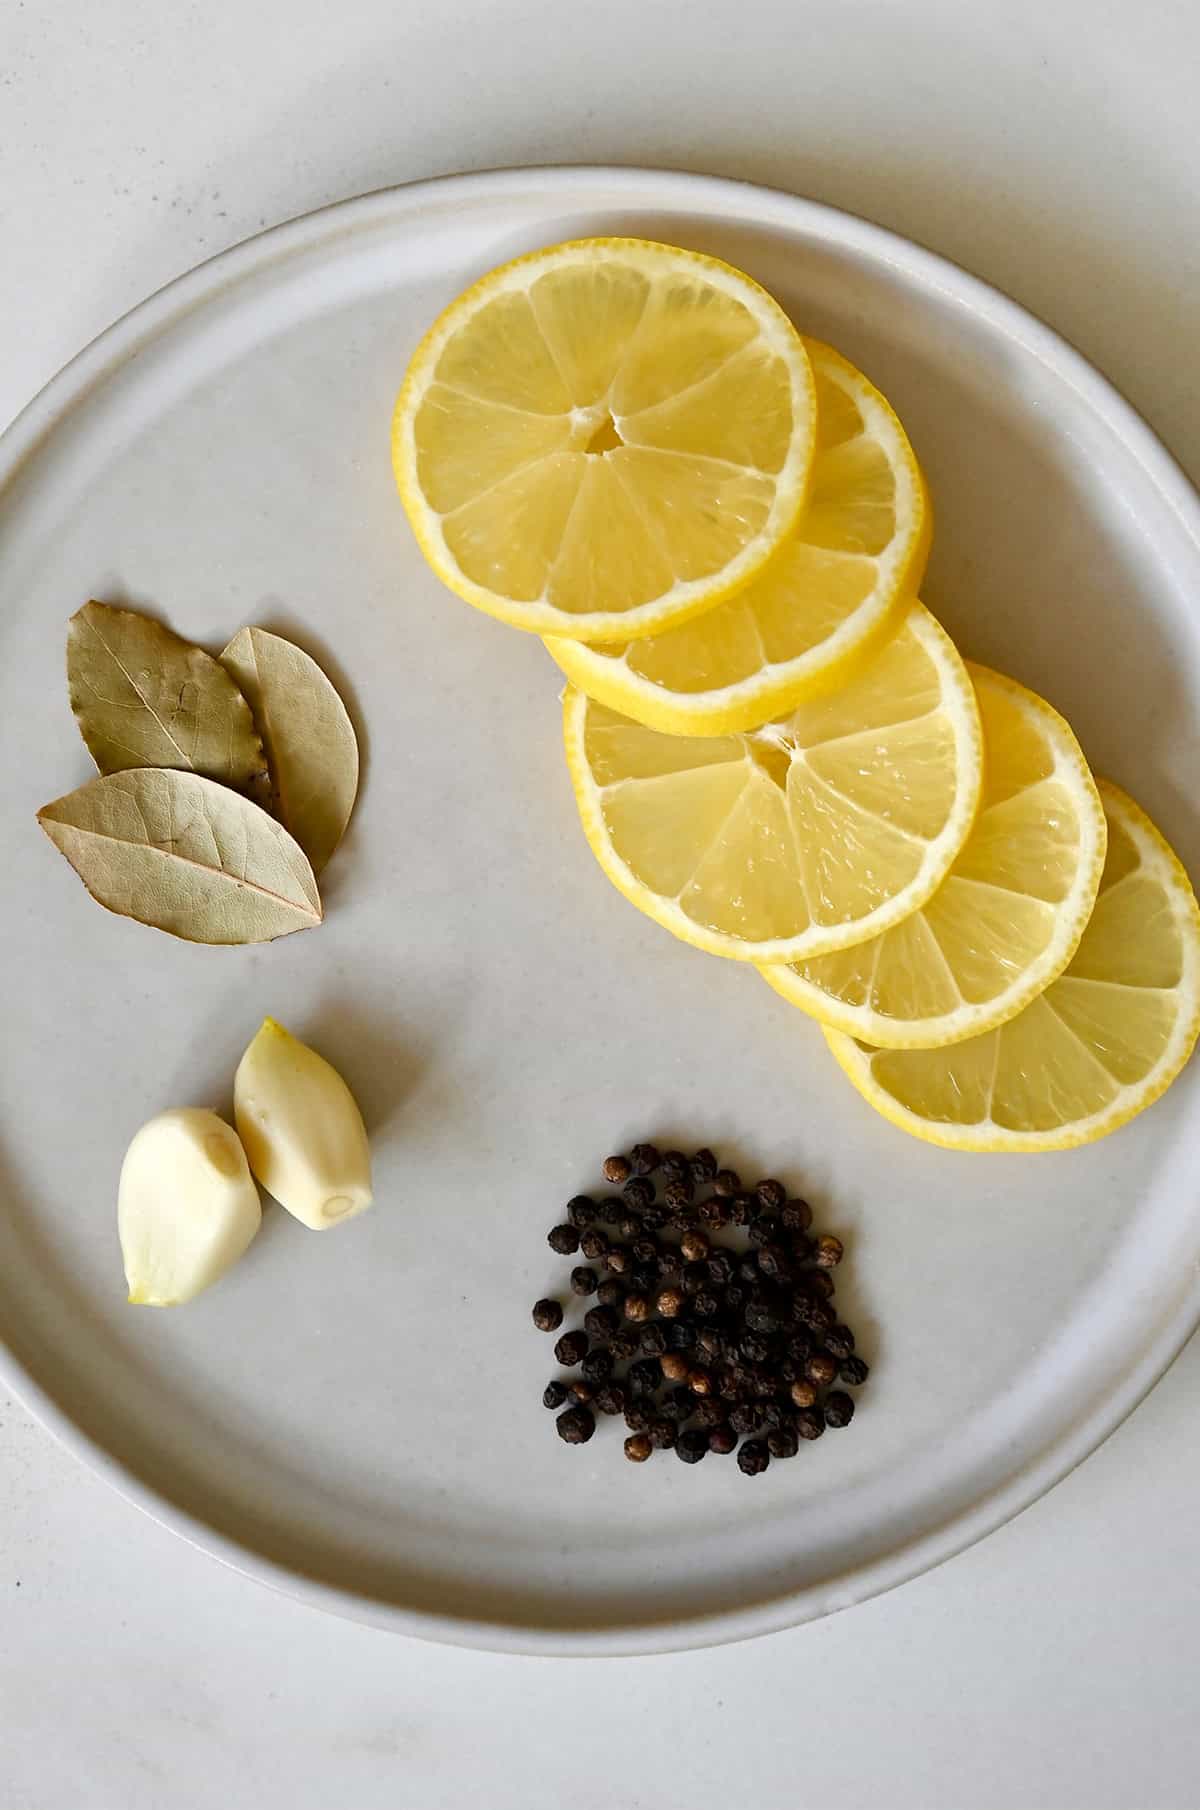
- Add aromatics: This is where you can really customize. Fresh lemon slices, garlic cloves, whole peppercorns, bay leaves, and fresh herbs like thyme, rosemary or parsley all work well. You can even add veggies like celery, carrots, onion, etc. Add everything to the cold liquid before you start heating and it’ll all infuse the chicken as it cooks.
The more you add, the more flavorful your chicken will be, which is especially worth doing if you’re making classic chicken salad or any recipe where the chicken is the star.
What to Make with Poached Chicken
Poached chicken is one of the most versatile proteins you can have in your fridge. It keeps in an airtight container for up to 4 days, making it ideal for meal prep during the season of life where dinner happens between practices. Here are some of my favorite ways to use it:
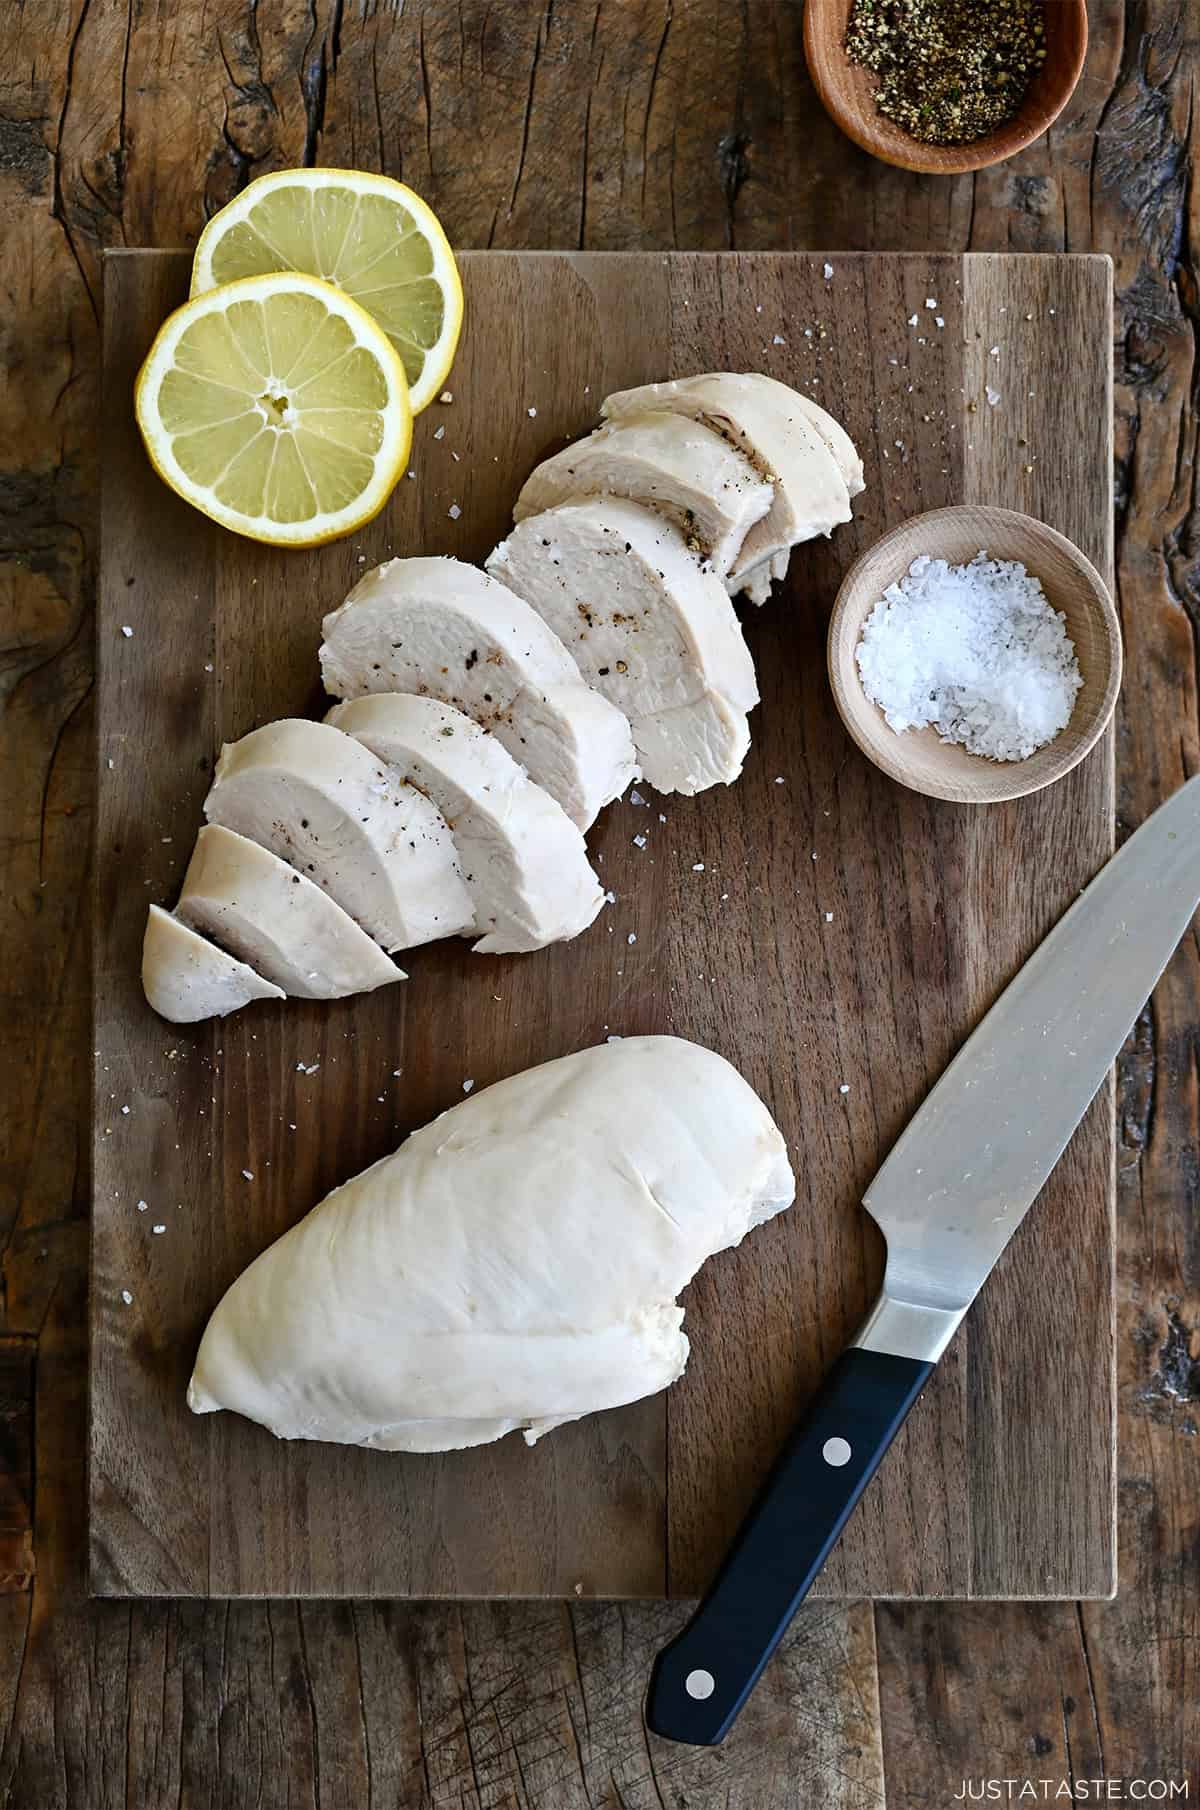
- Use it anywhere you’d use rotisserie chicken: Pull the warm chicken apart with two forks for the most effortlessly tender shredded chicken you’ve ever made. Use it in enchiladas, stromboli, soups, sandwiches, chicken pot pie and beyond!
- Make chicken salad: Try my recipes for Chicken Salad with Grapes, Avocado Chicken Salad or Buffalo Chicken Salad.
- Serve it with sauce: A drizzle of Thai peanut sauce, homemade teriyaki sauce or a creamy mushroom sauce turns simple poached chicken into a full meal in minutes.
- Add it to a salad: Slice or dice, then toss into your favorite salad that calls for cooked chicken. I love it in this Thai Chicken Pasta Salad, Chinese Chicken Salad or Chicken Caesar Pasta Salad.
FAQs
Absolutely, don’t toss it! Strain it and use it in place of chicken broth in soups, risotto or any recipe that calls for stock. It’s essentially a light, flavorful chicken broth at this point.
Yes, and they’ll actually give you juicier, more flavorful meat. The bone acts as an insulator, slowing down the cooking and helping the meat stay moist. That said, I almost always use boneless, skinless chicken breasts because that’s what I typically have on hand. Just know that bone-in breasts will need additional cooking time, so rely on your thermometer rather than the clock.
It’s best to thaw your chicken completely before poaching. Cooking from frozen makes it very difficult to control the internal temperature evenly, which means the outside can overcook before the inside is done. Thaw overnight in the refrigerator and you’re good to go.
Use an instant-read thermometer. Insert it into the thickest part of the breast. You’re looking for 150°F if you’re pulling early to rest (recommended!), or 165°F if you’re cooking all the way through. A toothpick or fork won’t tell you what you need to know here.
Store cooled poached chicken in an airtight container in the refrigerator for up to 4 days. For best results, add a splash of the poaching liquid to keep it moist. To freeze, wrap tightly and freeze for up to 3 months. Thaw overnight in the refrigerator.
Ingredients
- 2 medium chicken breasts
- 10 cups water or chicken broth
- 2 teaspoons kosher salt
- Optional aromatics: lemon slices, garlic cloves, whole peppercorns, bay leaves
Instructions
- In a large saucepan, whisk together 8 cups water with 2 teaspoons kosher salt.
- Add the chicken breasts to the pan. (Ensure they are submerged under at least 2 inches of water. If not, add more water as needed.)
- Place the pan over medium-low heat. Once the water starts to simmer, cover the pan with a tight-fitting lid then reduce the heat to low and simmer the chicken, covered, until it reaches an internal temperature of 165°F, 12 to 15 minutes (depending on the thickness of your chicken breasts). (If desired, you can remove the chicken at 150°F and allow it to rest so that the carryover cooking brings it to 165°F. This is the best way to guarantee your poached chicken is juicy and not dry or overcooked.)
- Remove the chicken from the liquid and let it rest for 10 minutes before serving.
Kelly’s Notes
- Do NOT boil. A gentle simmer is everything here. Boiling will make your chicken tough and stringy.
- Use a meat thermometer. Cooking times vary by thickness and a timer alone won’t save you. Pull the chicken at 150°F and let carryover cooking bring it to a safe 165°F during the 10-minute rest.
- Bone-in chicken breasts will produce juicier meat but will need additional cooking time.
- Customize your liquid: Swap water for chicken broth or white wine, and add any sort of aromatics you like, from fresh lemon slices and herbs to garlic and other veggies (think celery, carrots, onions, etc.)
- Don’t toss the poaching liquid: Strain it and use it in place of chicken broth in soups, risotto or any recipe that calls for stock.
- To store: Refrigerate in an airtight container with a splash of poaching liquid for up to 4 days, or freeze for up to 3 months.
- ★ Did you make this recipe? Don’t forget to give it a star rating below!
Nutrition
Did you try this recipe?
Leave a comment below with your star rating!
This post may contain affiliate links.