All you need is three simple ingredients for this tried and tested recipe for Homemade Lollipops.
What better gift to give this holiday season than one that can be eaten?
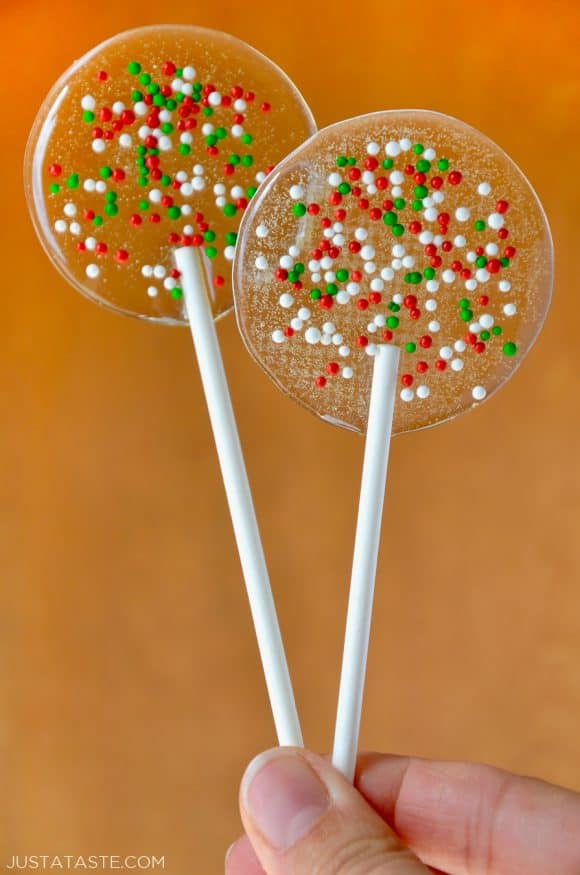
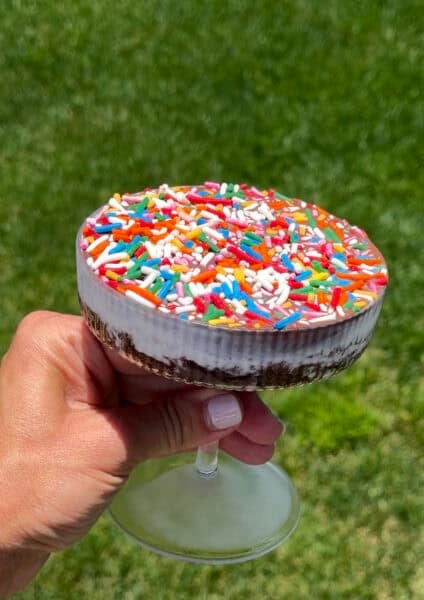
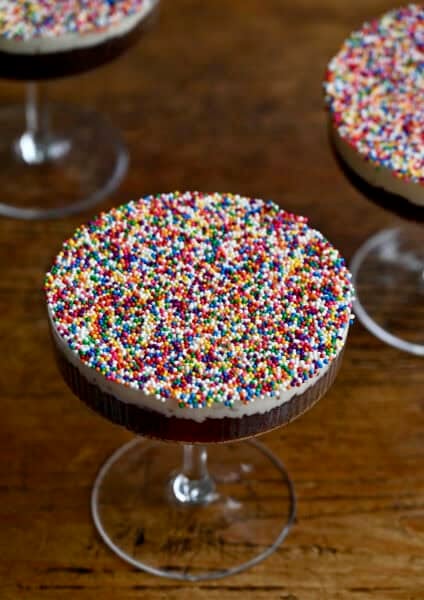
Easy Homemade Lollipops are the fastest and easiest edible treat to gift or get. Their crystal-clear color leaves the door wide open for customization when it comes to the colorful add-ins.
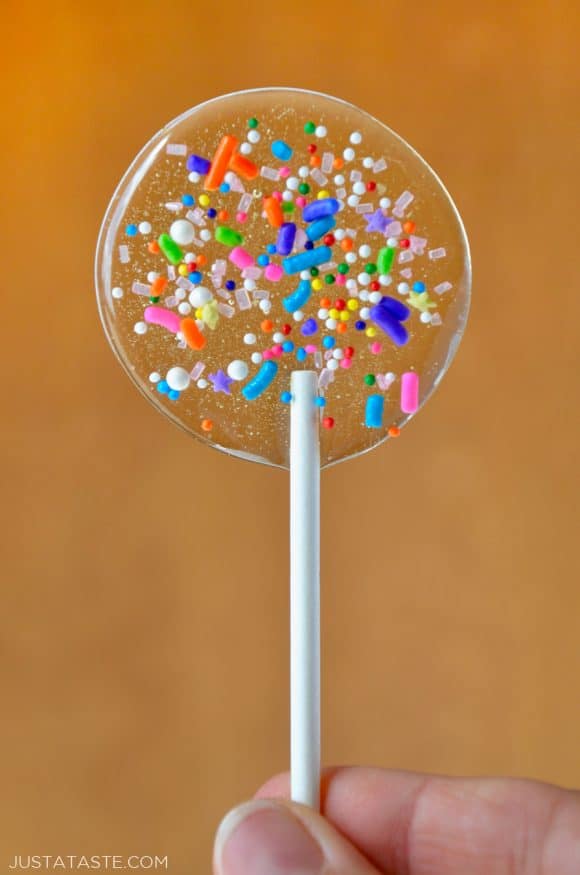
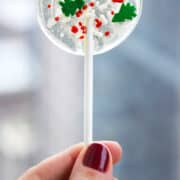
I’ve opted for seasonal sprinkles, but you could also decorate them with crushed candy canes for a wintery spin. And don’t forget to stir in your favorite flavorings, such as cherry or strawberry extract to give the pops a punch of fruity flavor.
If boiling sugar makes you run for the hills (or candy aisle!), have no fear. I’ve included all my candy-making tips in the recipe to guarantee sweet success.

Are you ready to give the gift of good taste this season? Tie together a bundle of these easy-to-make homemade lollipops, or wrap up a plate full of festive Marshmallow Christmas Wreaths or Christmas Tree Shortbread Cookies.
And if you’re hesitant to enter the world of homemade candy and caramelized sugar, have no fear! You can tune in to my video below for a tutorial on how to turn two ingredients into these festive sweets on a stick.
Ingredients
- 2 cups sugar
- 2/3 cup light corn syrup
- 2 teaspoons flavored extract, such as mint or vanilla (optional; See Kelly's Notes)
- Assorted sprinkles or candy
- Lollipop sticks
Special equipment:
- candy thermometer
Instructions
- Line two large baking sheets with parchment paper or Silpat baking mats. Fill a large bowl with ice water and set it aside.
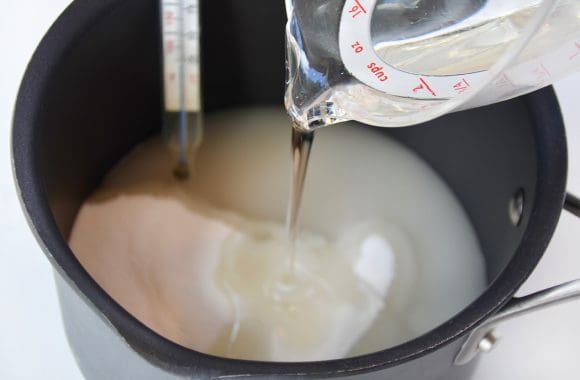
- Combine the sugar, corn syrup and ¼ cup water in a small saucepan set over medium heat. Attach the candy thermometer to the interior of the saucepan.
- Increase the heat to medium-high to bring the mix to a boil, stirring until the sugar has disolved. Using a small pastry brush dipped in water, wash down the sides of the saucepan to prevent crystals from forming.
- Boil the mixture for 5 to 7 minutes until it reaches 310°F (hard-crack stage) on the candy thermometer. Immediately transfer the saucepan to the bowl of ice water, carefully submerging the sides but ensuring no water seeps into it. Swirl the pan for 10 to 15 seconds to help the mixture cool then remove the saucepan from the bowl of ice water. If you're using an extract, carefully swirl it into the mixture immediately after you remove the saucepan from the ice bath.
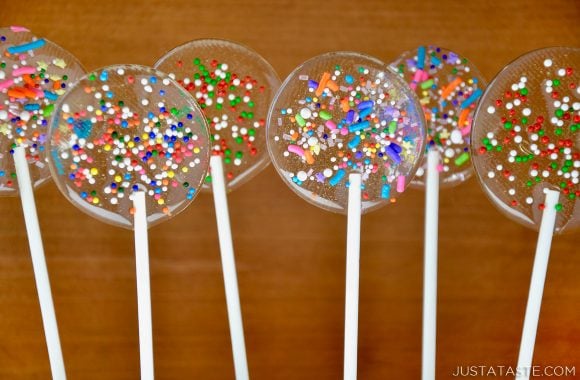
- Working quickly, pour the syrup onto the baking sheets to form circles that are 2 to 3 inches in diameter. (Space the lollipops 3 to 4 inches apart to guarantee they don't run into each other.) Immediately press in the lollipop sticks and sprinkle the lollipops with your sprinkles or candy, lightly pressing the garnishes into the syrup. Let cool completely until fully hardened then carefully peel the lollipops off the baking sheet.
Kelly's Notes:
- Opt for an extract that is clear in color in order to maintain the crystal clear color of the lollipops.
- It's much easier to cleanly pour the syrup onto the baking sheet if you use a saucepan with a pour spot.
- Work quickly as soon as you remove the syrup from the stove, as it'll harden very quickly. If the syrup gets too hard, re-warm it over medium heat until it softens slightly.
- ★ Did you make this recipe? Don't forget to give it a star rating below!
Nutrition
Did you try this recipe?
Leave a comment below with your star rating!
This post may contain affiliate links.
Recipe adapted from MarthaStewart.com.


How do I keep them dry?
Hi Darlene! Keeping them in a dry environment is step 1, and then if needed, you can give them a very light dusting of powdered sugar. Enjoy!
It’s so tasty, Bon Appetit
Thrilled you enjoyed it!
5 Stars for such clear instructions. I’m going to try this however may I ask. Could I use a silicone mould instead of parchment paper?
If so you will save me alot of money in buying 50 personalised lollipops
Yes! A silicone mould would also work well!
I rated ot as high as I did because overall it was a fun little project for my kids and I to do together. Otherwise, it was a bust. We followed the recipe exactly as instructed but somehow it didn’t work. The lollipops have been setting on the counter for over an hour and they’re still not hardened. They’re really cute to look at, but I can’t even pick them up because they’re too soft.
Hi Ember – I’m sorry you didn’t have success with the recipe. Did you cook the sugar to the specified temp/hard crack stage?
These were lovely! Though, about an hour after they set, they started to get wet/sticky; they were no longer smooth to the touch. Is this typical, and if not, how do you prevent it? Also, what can individual ones be wrapped in? (Don’t want them sticking to their wrapper.)
Hi Bev – Is it by chance humid where you are? Humidity can cause the lollipops to be extra-sticky. And to wrap them individually, I’d recommend using clear cellophane bags such as these: https://amzn.to/33VgI8N :)
Do you recommend nonpareils sprinkles, or are they too small?
Those would work great, Gitana!
You mention adding 1/4 cup water to the sugar, corn syrup mix in the written directions but it’s not in the ingredient list. Do you need the 1/4 cup water? Thank you.
Hi Carmen! We don’t generally list water as an ingredient. So yes, you’ll need the 1/4 cup of water mentioned in the directions.
What size pour-spout sauce pan is that? Trying to find it on Amazon.
Hi there! It’s a 2-quart saucepan :)
No clue how to make it clear but this recipe turned out beautifully. Used dried blood oranges and a floral tea for decoration.
I’m thrilled you enjoyed the recipe, Fawn!
Try torching them it will make them less cloudy
I used Domino sugar and LouAnn flavoring. I used a (what I believe is) a candle making “pan”?with non-stick coating and a pour spout. I first put in the syrup, then sugar, then water and gently mixed it until it was all wet. I then put it on a pre-heated burner on medium heat and then turned the burner on high until it hit 300. From start to finish I didn’t stir it at all. All I did was wash down the sides on occasion with a silicone brush with a small bit of water. Quickly put it in an ice bath for 10 sec and put 2 drops of the flavoring in (it was plenty!). Then I poured it into my lollipop molds that I earlier sprayed with Pam coconut oil. They turned out perfect! I had quite a bit left over that hardened in the pan. Later I re-heated it and it performed just the same, however, with more of a golden tinge. I don’t know if it was because of re-heating it or because I already had the tinted flavoring in it. I am going to start over with the second batch and do like the first. These were really easy to make. Hope my specific experience helps someone!
Thanks so much for your notes, Brooke! I’m thrilled you enjoyed the recipe!
I made these with great success but I wanted to know if I can substitute honey for the sugar? I want them to have a honey flavor.
Hi Brenda – I’ve never tried that so I can’t say with certainty what the results would be.
We liked the recipe and thought it worked well. We added orange flavoring to some and left others plain- both were great. My biggest problem was trying to make circles all the same size lol- user error♀️
Love the orange flavor idea, Crissie! I’m so thrilled you enjoyed the recipe!
I saw a few comments about less than perfect results. I also had yellow tinged candies all though it did not affect the taste.
Here are some circumstances that may be likely culprits to less than expected results. I had to eliminate a few before I was successful.
1 Dishwasher residue. If you use a dish washing machine, or have a water softener, there can be residual soaps and water conditioners/ drying agents on your pans. Before making candy wash your pots with very hot water, going over each surface even if it looks perfectly clean, and dry with paper towels or air dry.
2 Poor quality sugar. I know its pennies on the dollar but some generic sugars do not use as many purification steps as the more expensive labels. Sugar is whitened with chemicals and when those are not removed you’ll see the results as cloudy, yellow, or worse inclusions in your candy when it reached melting points before crystallization. Try ordering Sugar made specifically for candying for crystal results.
3 Stirring. The temptation is too much! You’ll want to blend your sugar and syrup but you really do not have to and the results can leave you with big chunky inclusions. Pour the Corn syrup in to the pan first then the sugar. leave the bubbles alone, cook on a medium temperature over a burner that fits the bottom of your pan and leave it alone.
Thank you so, so much for your notes, Monica! I’m thrilled you enjoyed the recipe!
Thank you so much for the easy-to-fllow recipe! We made our first batch of lollipops and they turned out great.
Wish there is a way i can show you how well ours turned out. My kids were so proud they shared it with their friends. Now we have to make more. Will definitely check out your other recipes.
Yay! I’m so thrilled your family enjoyed the recipe! You can share your creations with me by mentioning @justataste or tagging #justatasterecipes on Instagram :)