These Christmas Cornflake Wreaths are the no-bake holiday cookies my family has made for more than 30 years! They come together in minutes, are perfect for making with kids, and are always the first treats to disappear from the dessert table.
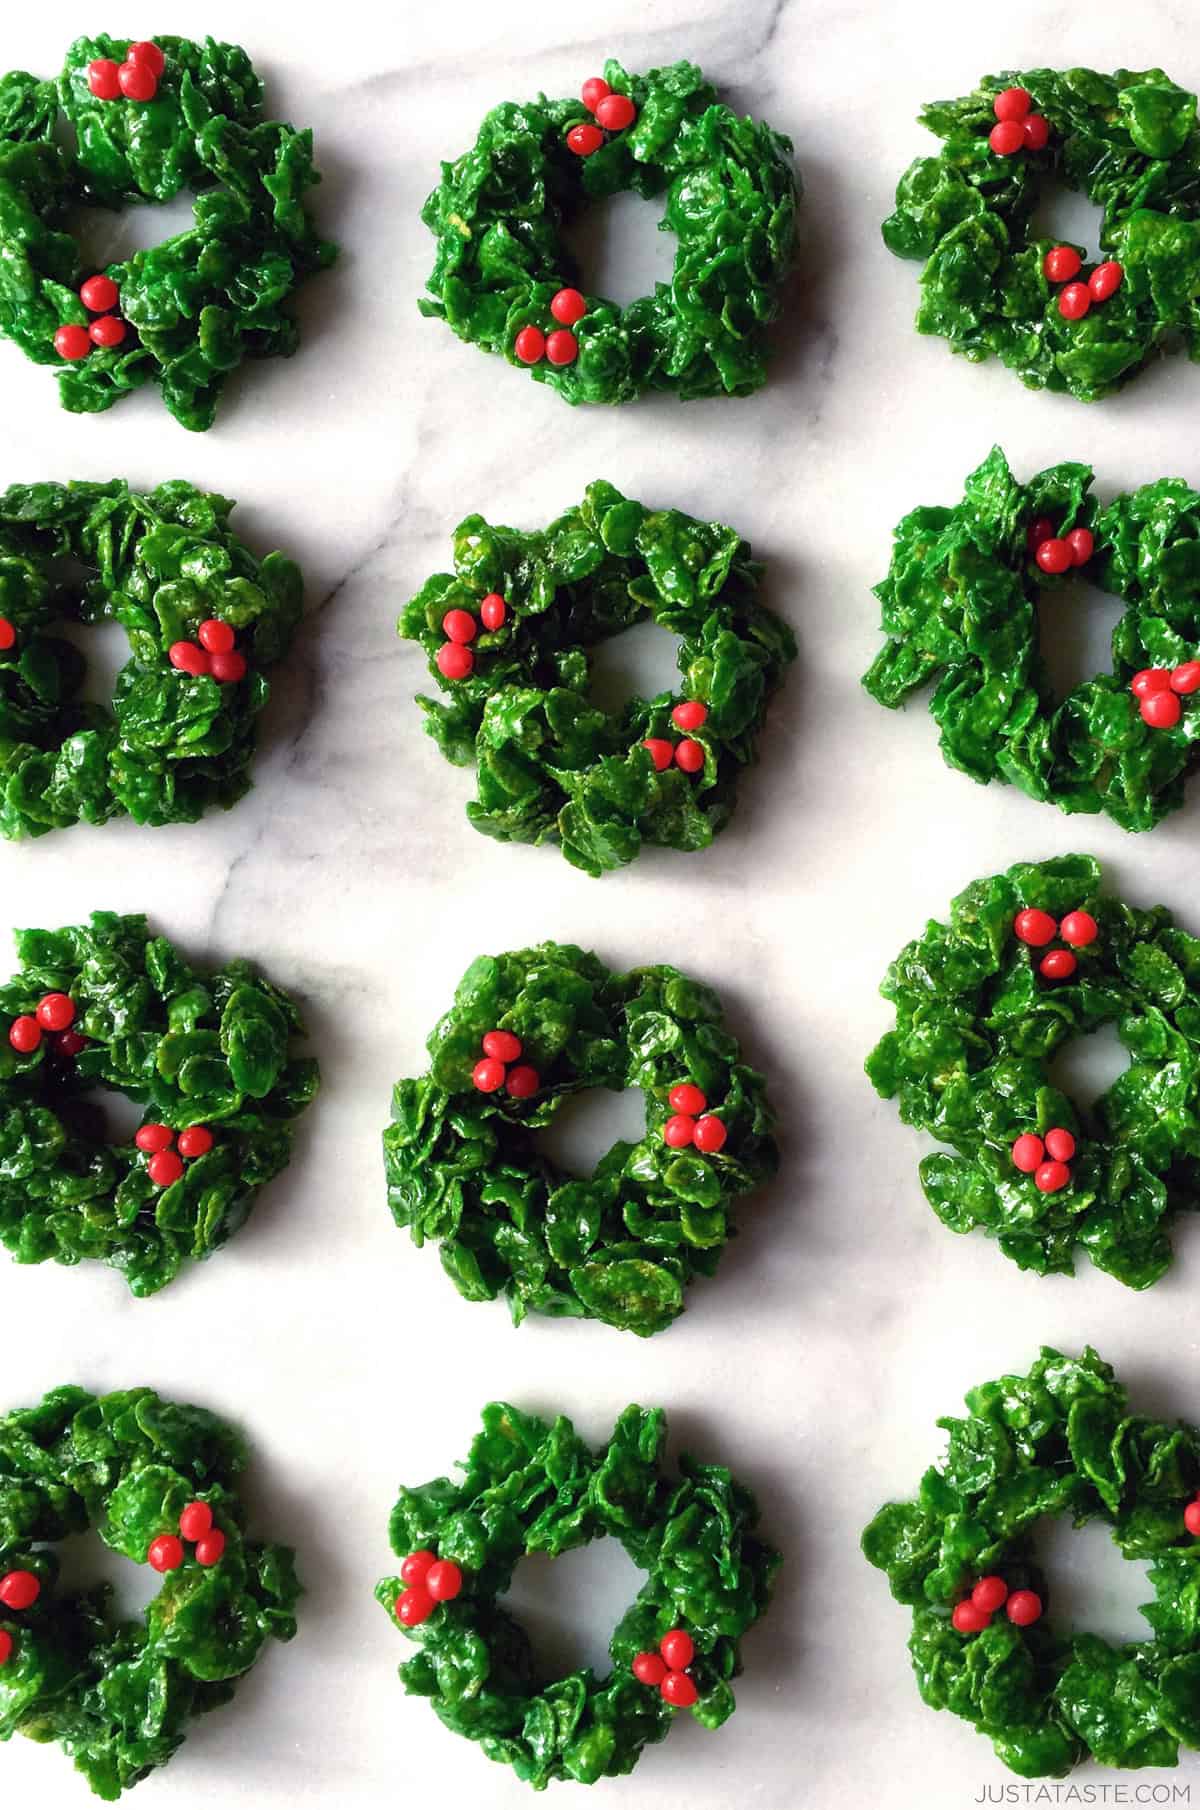
Table of Contents
My Family’s No-Bake Christmas Cookie Tradition

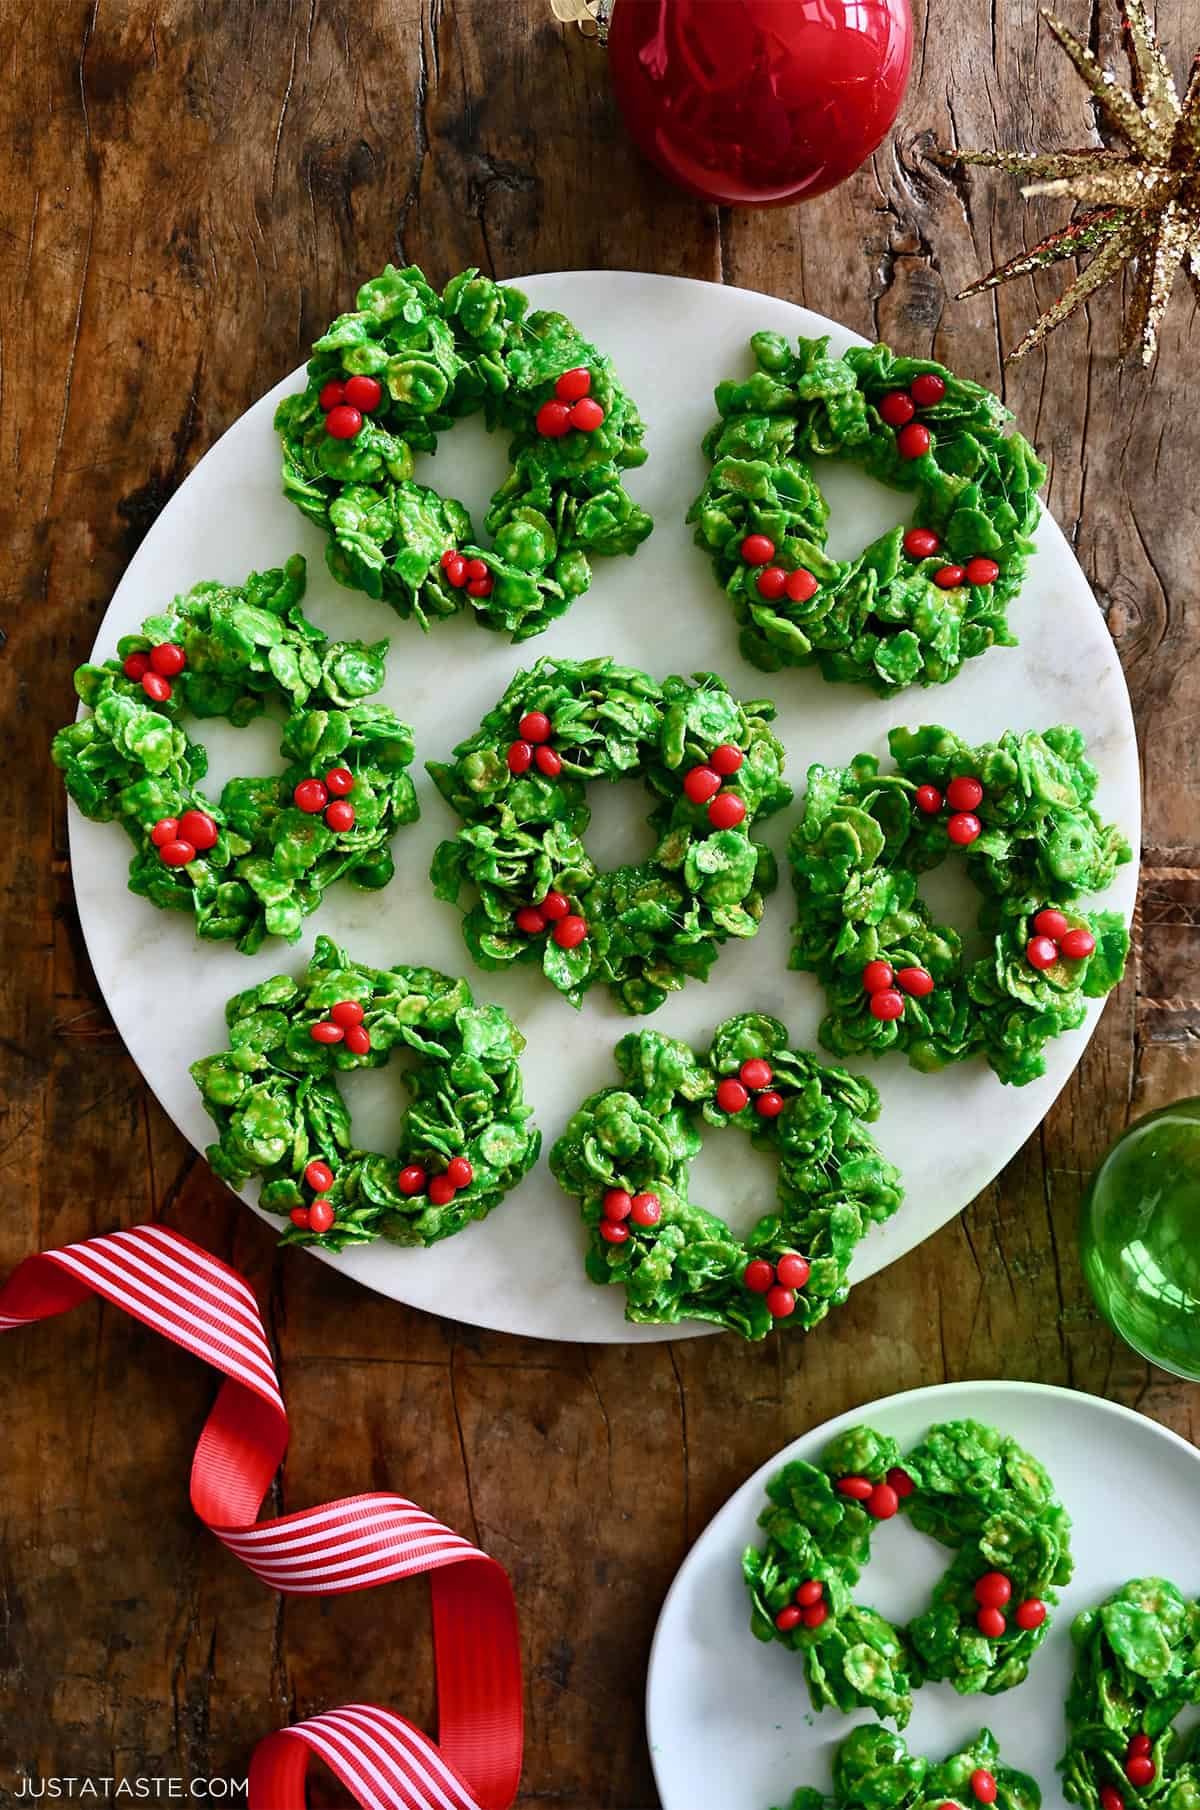
The holidays don’t officially begin in our house until iconic Christmas Cornflake Wreaths make their annual debut! Just one taste of these crispy, chewy treats and I am transported to Beaver Creek, Colorado, where my family and I spend every winter holiday season.
Shaping these wreath cookies alongside my mom, Noni, is one of my earliest childhood memories. These nostalgic Christmas treats are a super festive twist on classic Rice Krispies Treats (and a confectionery cousin to our popular and just-as-festive Reindeer Rice Krispie Treats). Instead of cereal squares, you get adorable little edible wreaths made from gooey marshmallows, crunchy cornflakes and a squeeze of green food coloring. And for the holly berries? Cinnamon red hot candies!
I’ve been making this recipe for more than 30 years and love that my kids are now making it with me, too. These Christmas wreath cookies are no-bake, make-ahead friendly, and the perfect addition to any holiday dessert spread or tucked into cookie boxes for gifting.
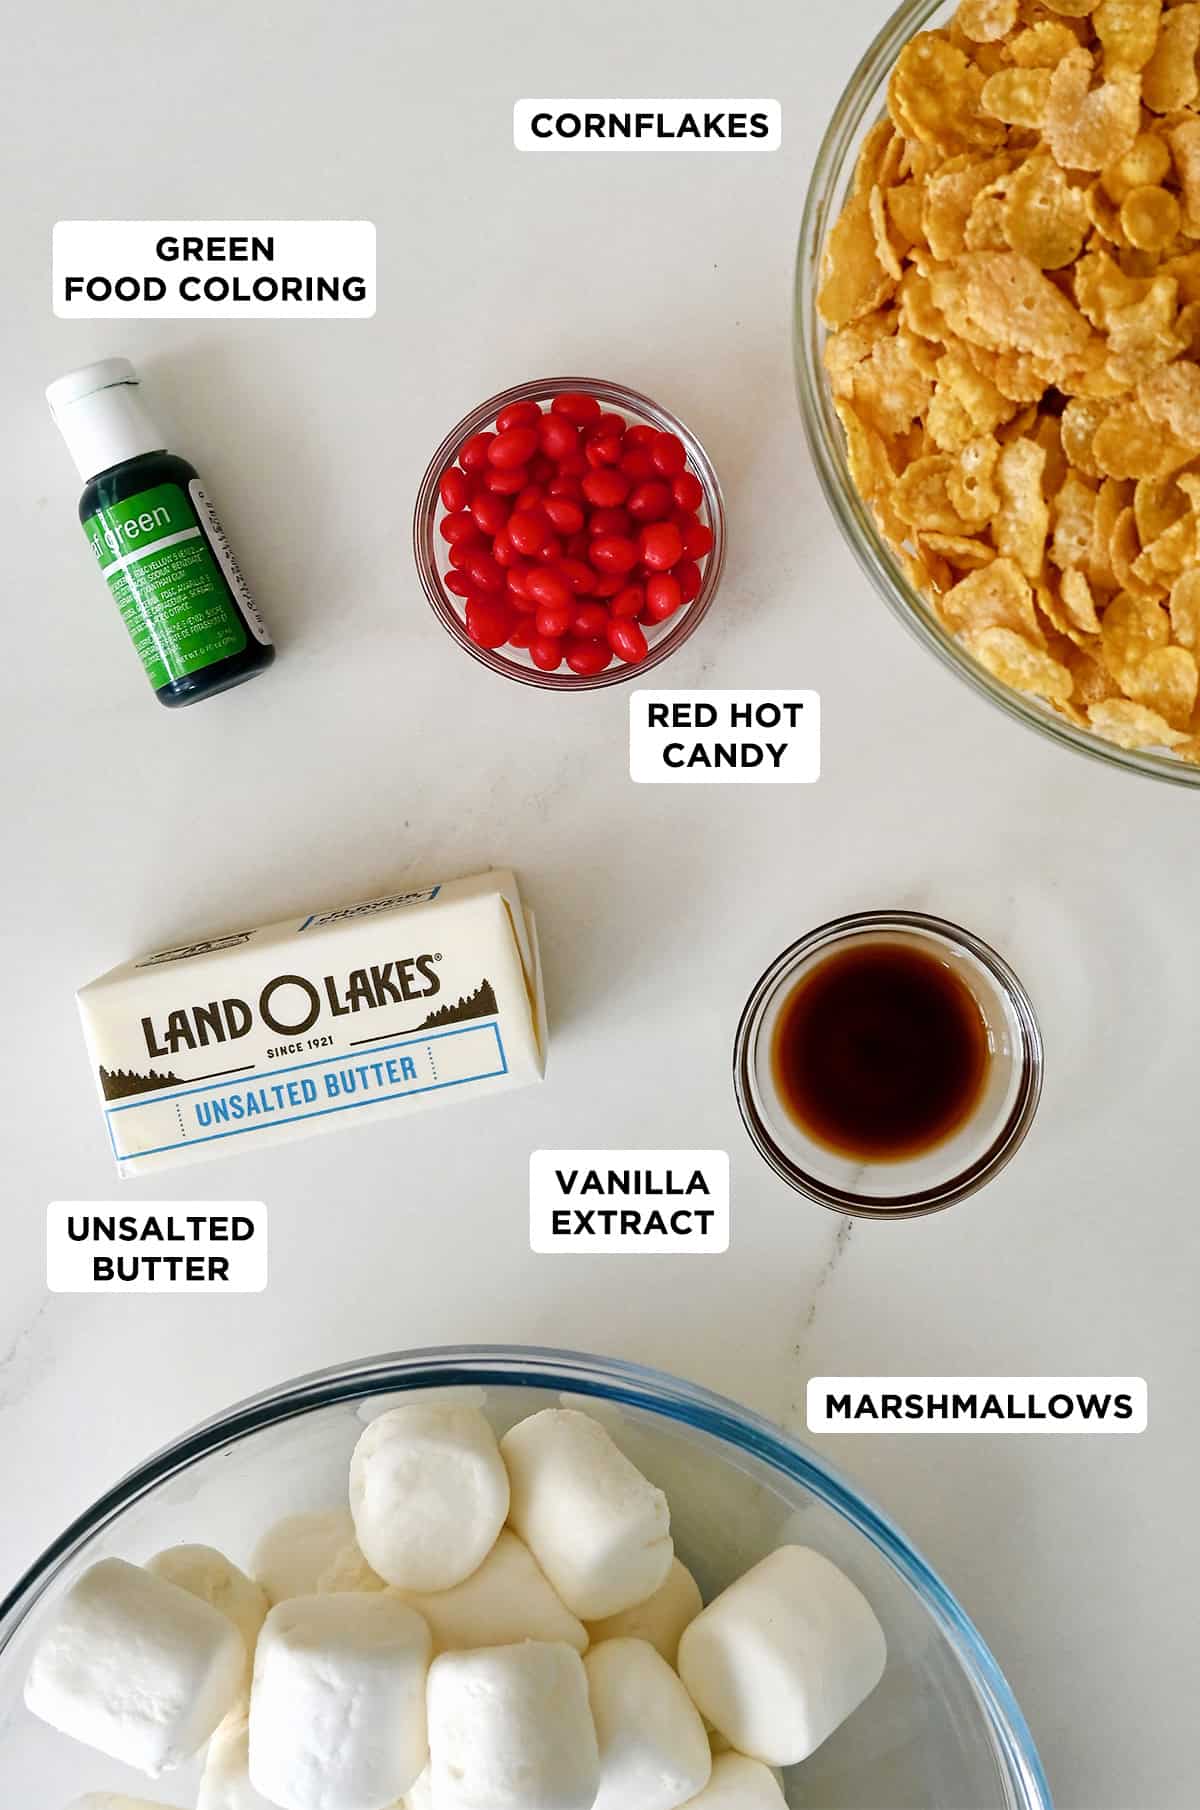
- Cornflakes: The star of the show! Kellogg’s Corn Flakes are what give these cookies their signature crispy-chewy texture and classic flavor.
- Marshmallows: You’ll need 3 cups of large marshmallows. You can use mini marshmallows, but increase the amount to 4 cups so the ratio stays the same. I’ve always used large marshmallows, but many other cornflake Christmas wreath recipes use this ratio when subbing in minis.
- Butter: Adds rich flavor and keeps the mixture pliable. I use unsalted butter, but salted works too if that’s what you have in your fridge.
- Green food coloring: Gel or liquid both work, but I prefer gel because you only need a few drops and you get the most vibrant color. I used this Leaf Green gel food coloring; start with 1-2 drops and add more as needed until you reach your desired Christmas tree shade.
- Vanilla extract: A splash for flavor.
- Red cinnamon candies: Red Hots are the most traditional choice for that classic holly berry look, but you can also use mini red M&M’s for a more kid-friendly, non-spicy version.
- Cooking spray: Your best friend for shaping! A quick spritz keeps the marshmallow mixture from sticking to your hands.
See the recipe card for full information on ingredients and quantities.
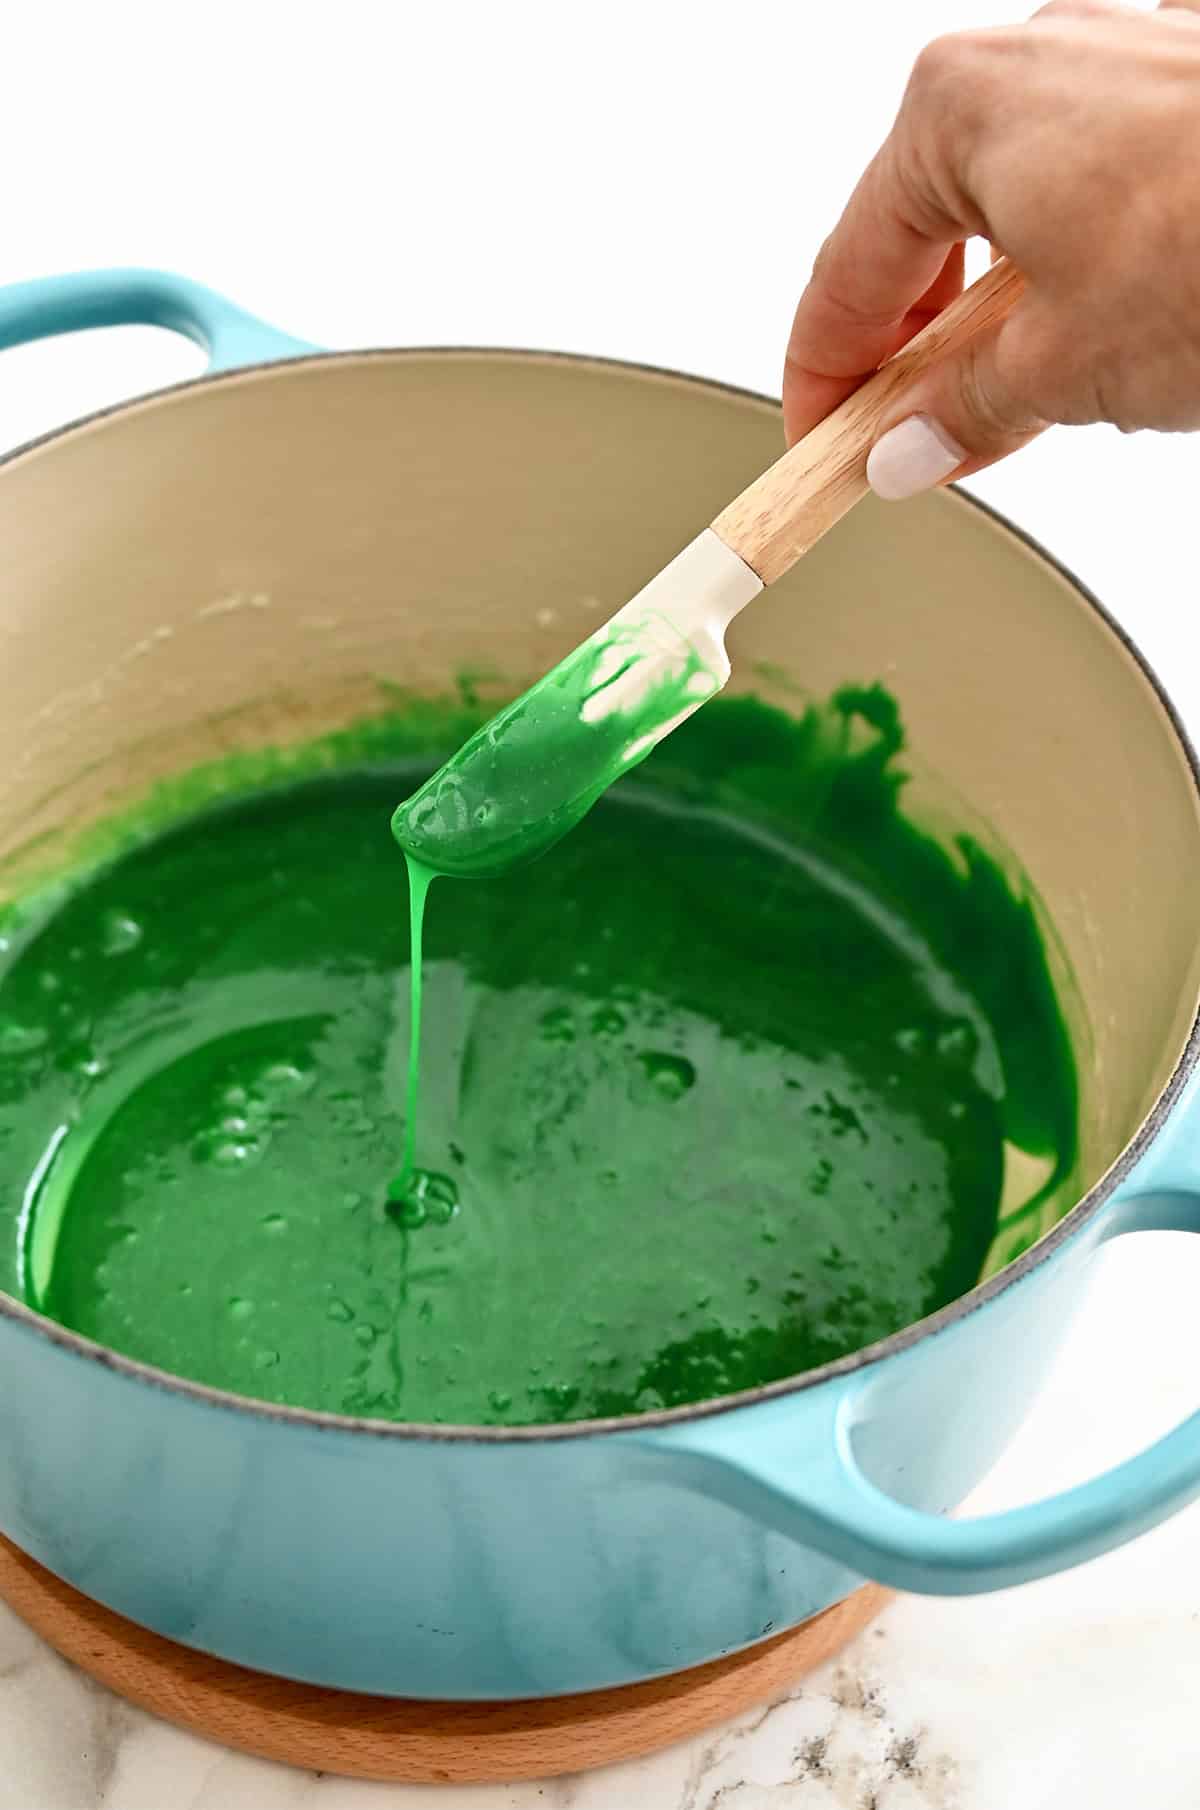
This recipe is fast, fun and truly a whole-family activity. My best tip? Measure everything before you turn on the stove. Once the marshmallows melt, things move quickly. You’ll melt the butter and marshmallows, tint them green, fold in the cornflakes, then shape the wreaths while everything is still warm and sticky.
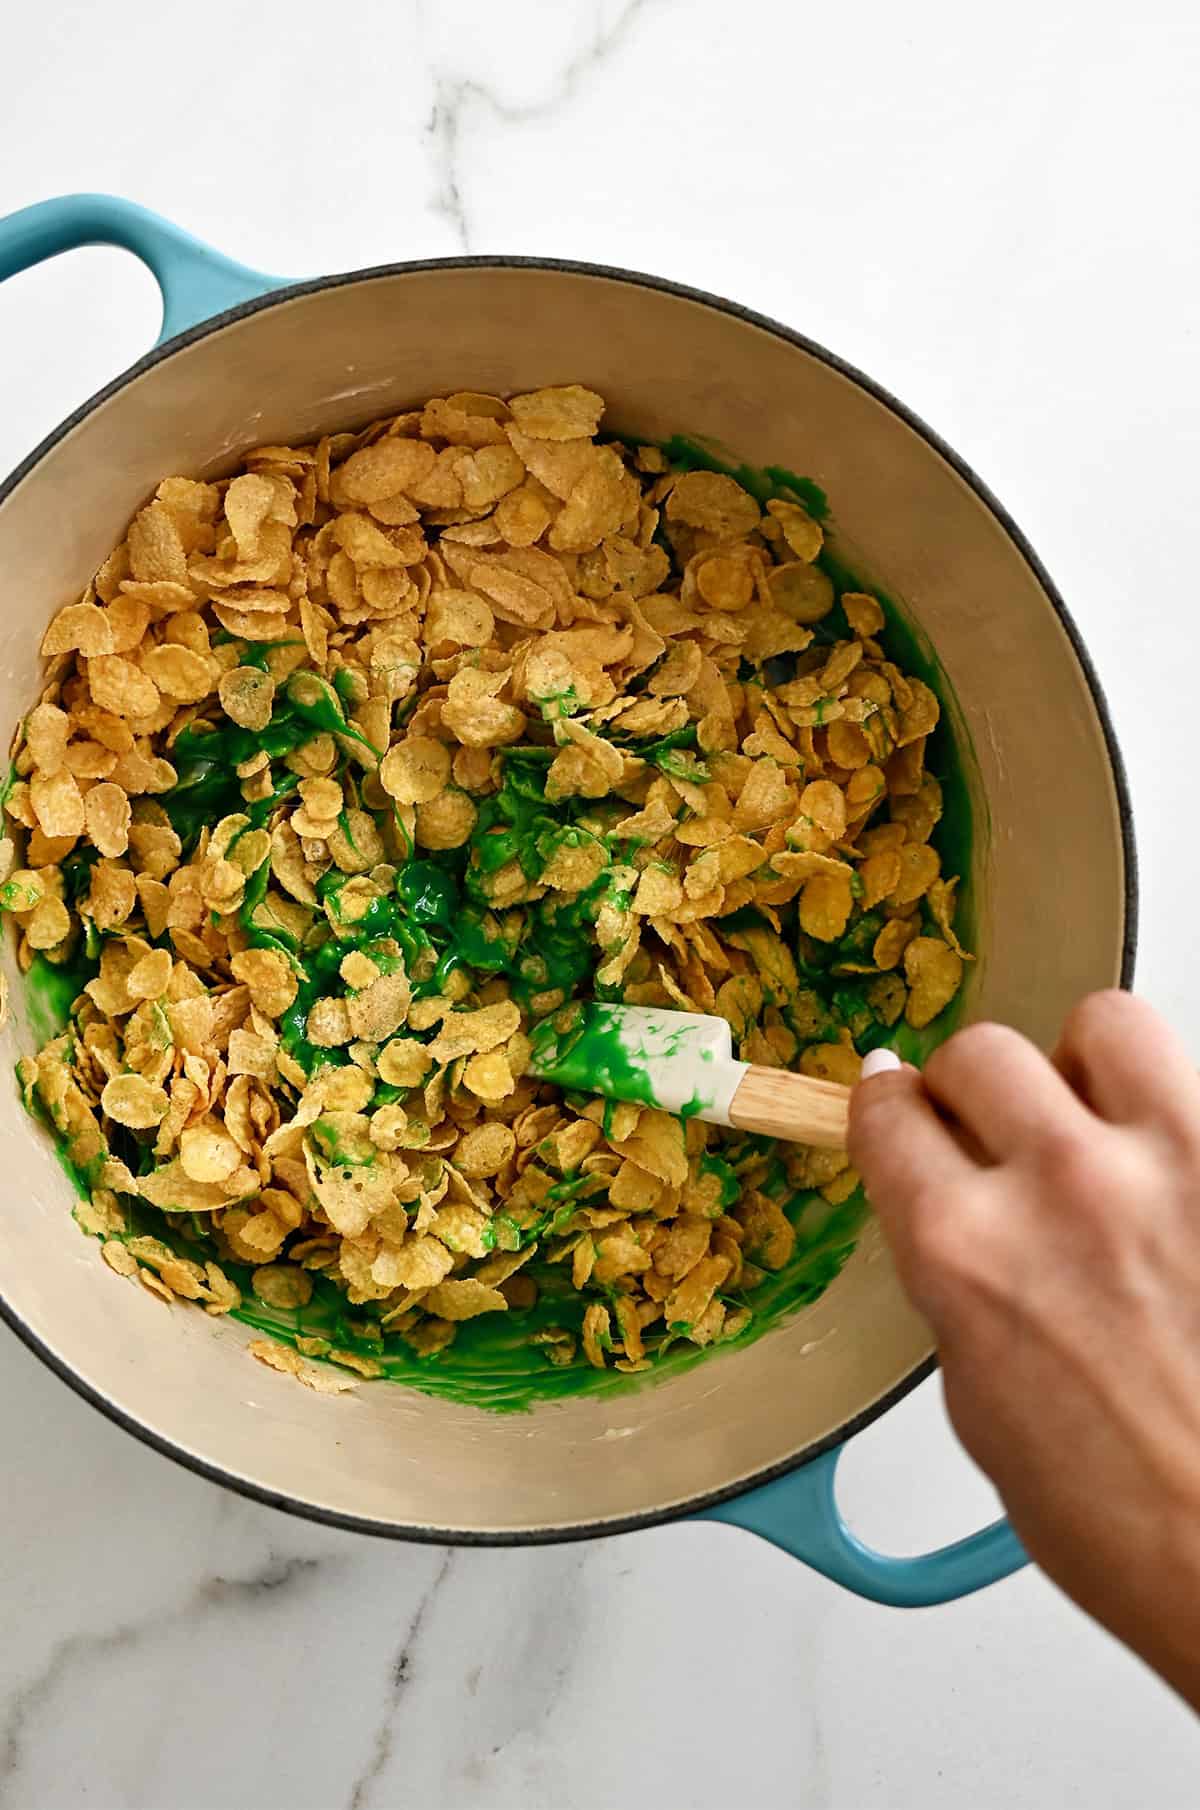
Kelly’s Note: You want every nook and cranny of your cereal coated in the green marshmallow mixture. A big silicone spatula works best here.

Shape the Wreaths
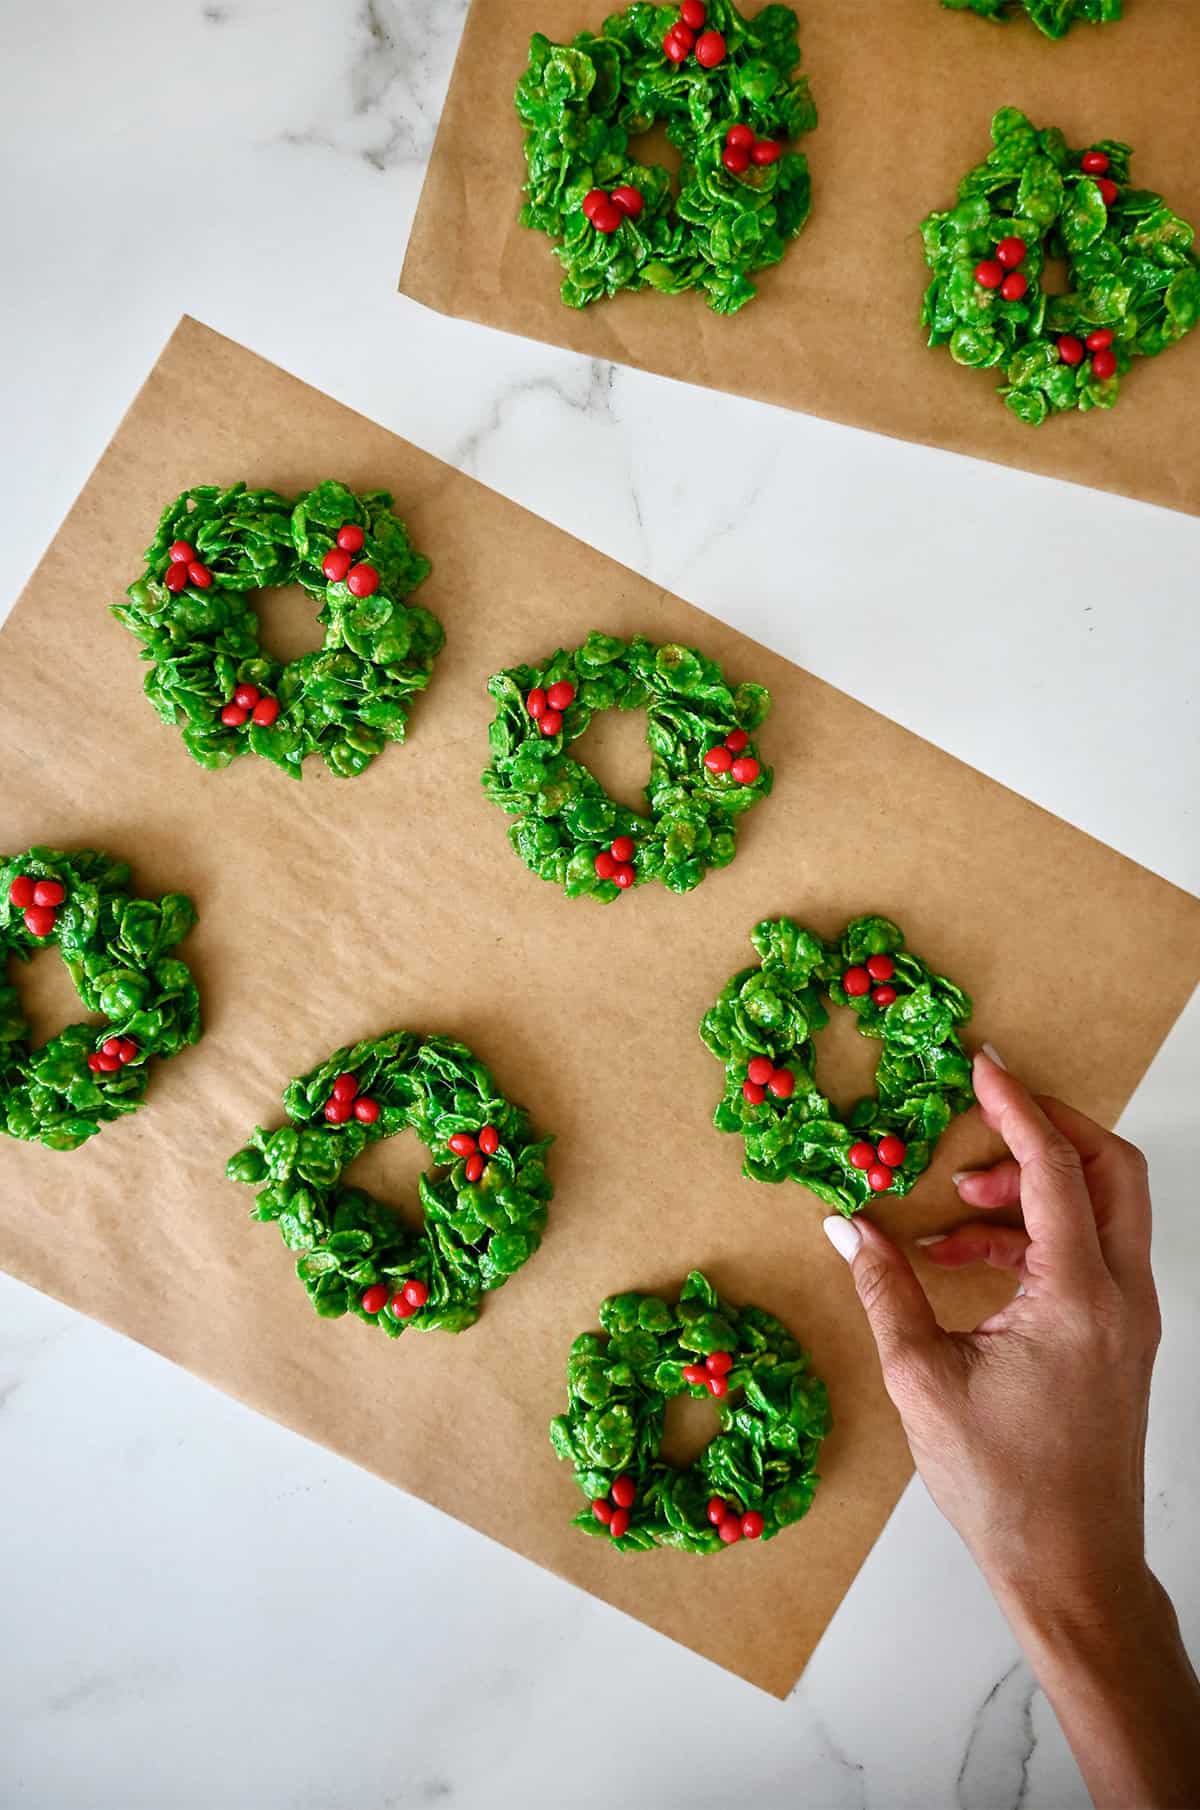
Once you have your marshmallow cornflake mixture, it’s time to shape it into wreaths—this is where you can get the kids involved! You’ll need to move quickly, but be careful because the mixture will be warm.
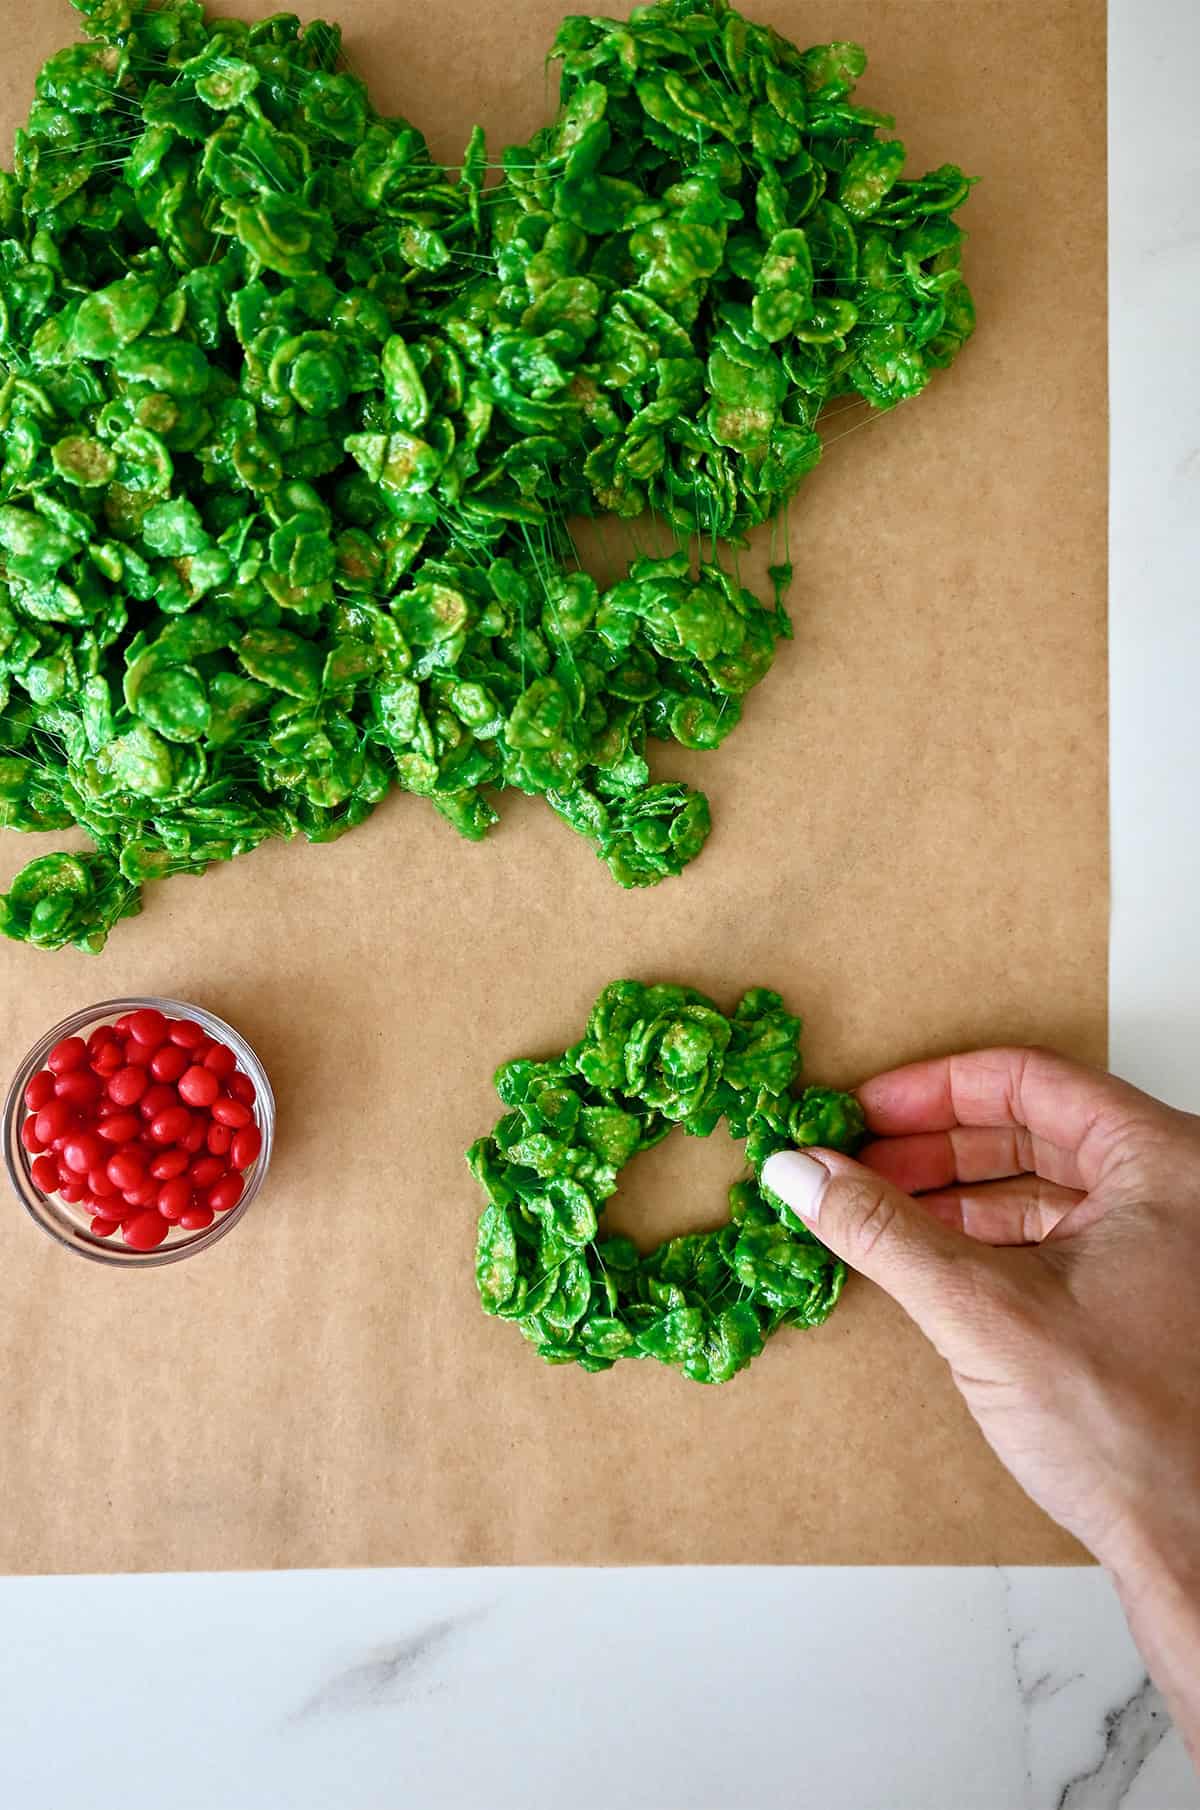
I like to dump the cornflake mixture onto wax paper taped to my counter. Spray your hands lightly with cooking spray, then grab small handfuls and portion them onto another sheet of wax paper.
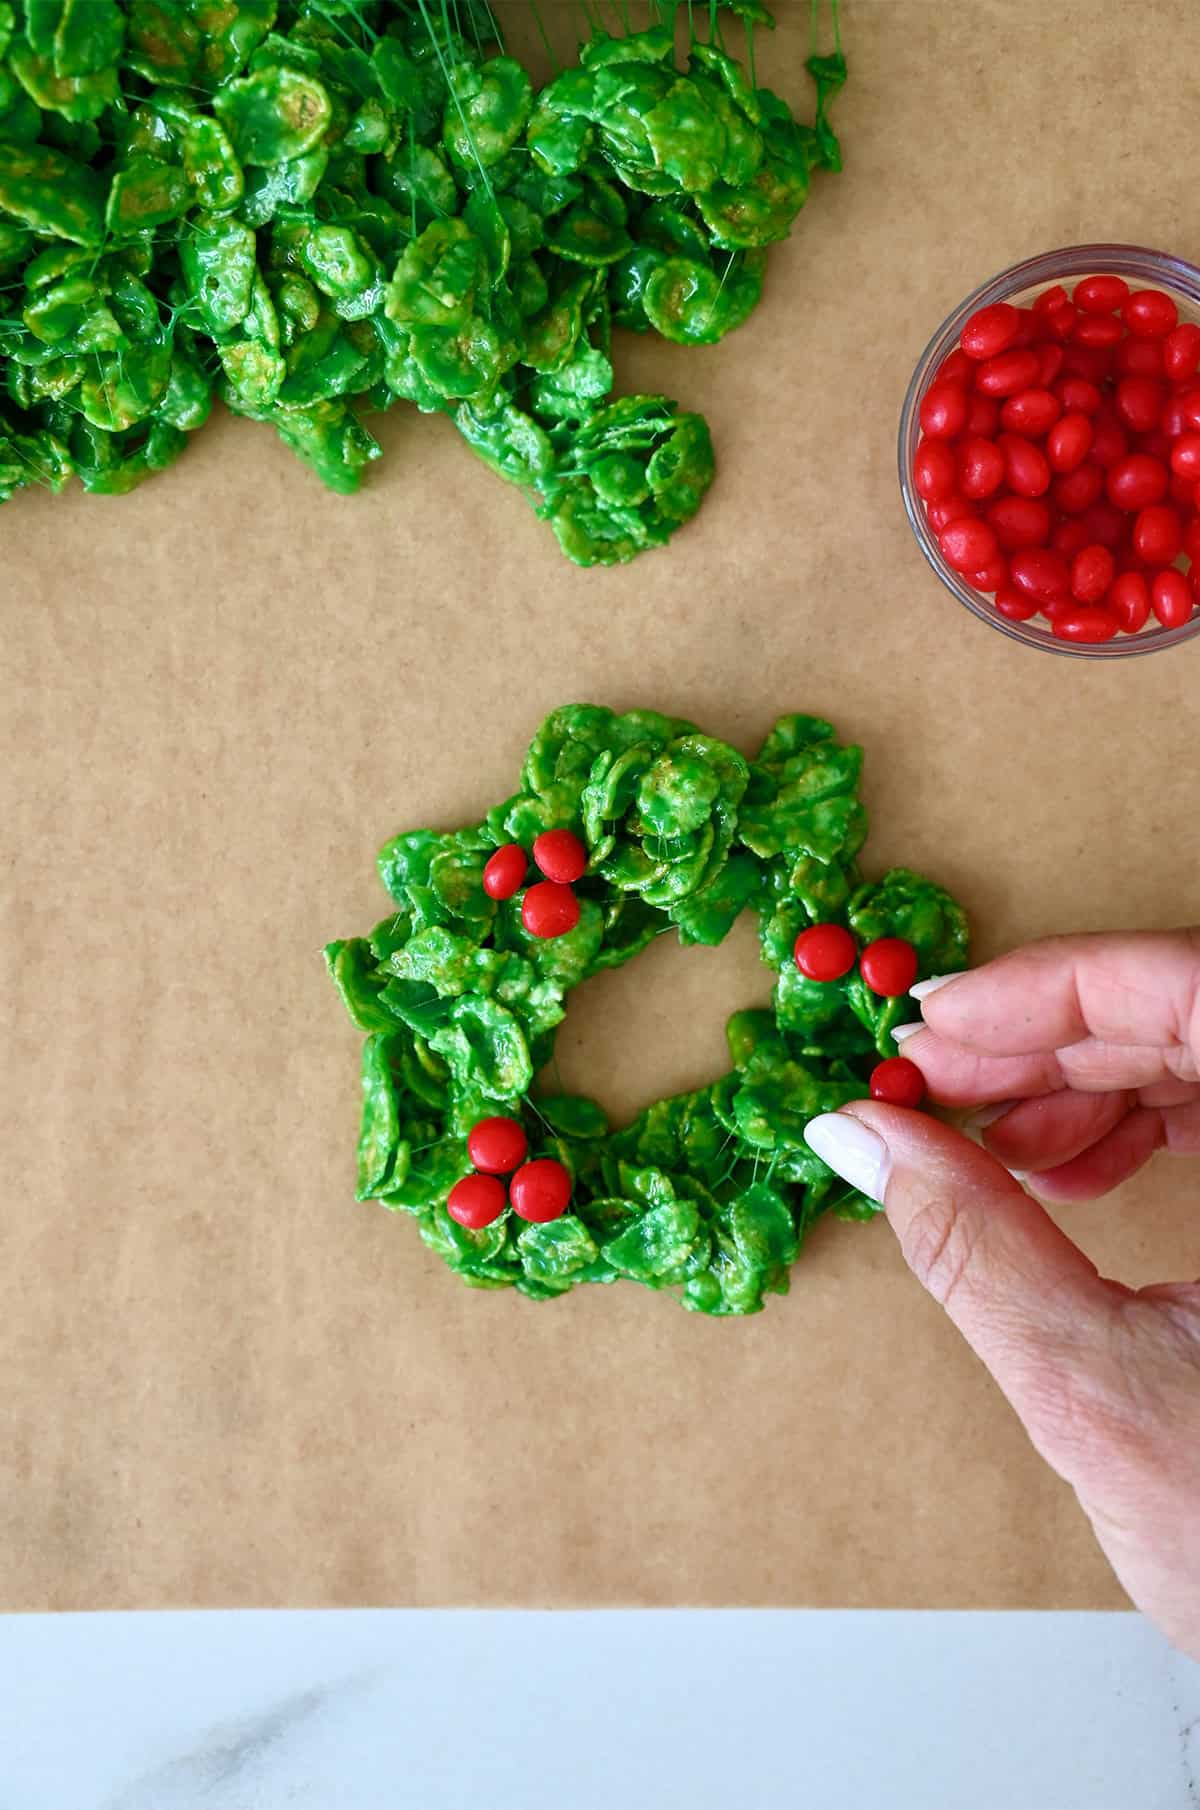
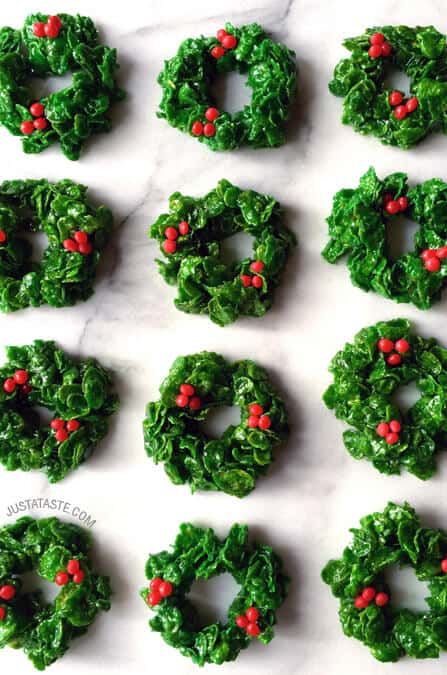
Once you’ve formed all your mounds, go back and shape each one into a circle with a small opening in the center. While the wreaths are still warm, gently press 2–3 red cinnamon candies onto each one so they stick.
That’s it! Just let them cool completely so they firm up before serving or packing.
If you’re in a rush, or prefer a more communal approach to dessert, skip shaping the cereal treats into individual wreaths and gather the mixture together to form one giant wreath. Then friends and family can pull off pieces as they please.
Tips from 30+ Years of Making These
- If the mixture stiffens before you’re done shaping: Pop the pan back over low heat for 15–20 seconds to loosen it again. Don’t walk away. You’re not remelting the marshmallows, just warming the mixture enough so it becomes pliable again.
- If the mixture is sticking to your hands: Give your hands another light mist of cooking spray or lightly dampen your fingertips with water. You may need to repeat this once or twice while shaping.
- If the wreaths are losing their shape: This usually means the mixture cooled a little too much (very normal, the window is short!). Warm mixture = easy shaping, so work quickly. You can also give each mound a gentle “massage” with your fingertips to help redefine the circle in the center.
- If your green looks too pale or too dark: Food coloring intensifies slightly as it sits. Start with less gel color than you think you need, mix, then add drop by drop until you hit your perfect shade of green.
Storage and Freezing Instructions
Store fully cooled marshmallow wreaths in an airtight container at room temperature for up to 5 days. If you’re stacking them, add parchment paper between layers to prevent sticking. Keep them away from warm spots in your kitchen so they stay firm and hold their shape.
Christmas wreath cookies freeze really well and taste just as delicious once thawed. Arrange them in a single layer on a baking sheet and freeze until solid. Then, transfer them to an airtight container or freezer bag with parchment between layers, and freeze for up to 1 month. Thaw at room temperature.
Do They Travel Well?
YES. These are one of the best no-bake Christmas treats for cookie tins, dessert trays, teacher gifts and neighbor drop-offs. They don’t crumble, they don’t melt, and they stay chewy for days.
For more festive Christmas dessert inspiration, don’t miss my favorite holiday cookie recipes!
Ingredients
- 1/2 cup unsalted butter
- 30 large marshmallows (about 3 cups)
- 1 Tablespoon green food coloring
- 1 teaspoon vanilla extract
- 4 cups cornflakes
- Cinnamon red-hot candies
- Cooking Spray
Instructions
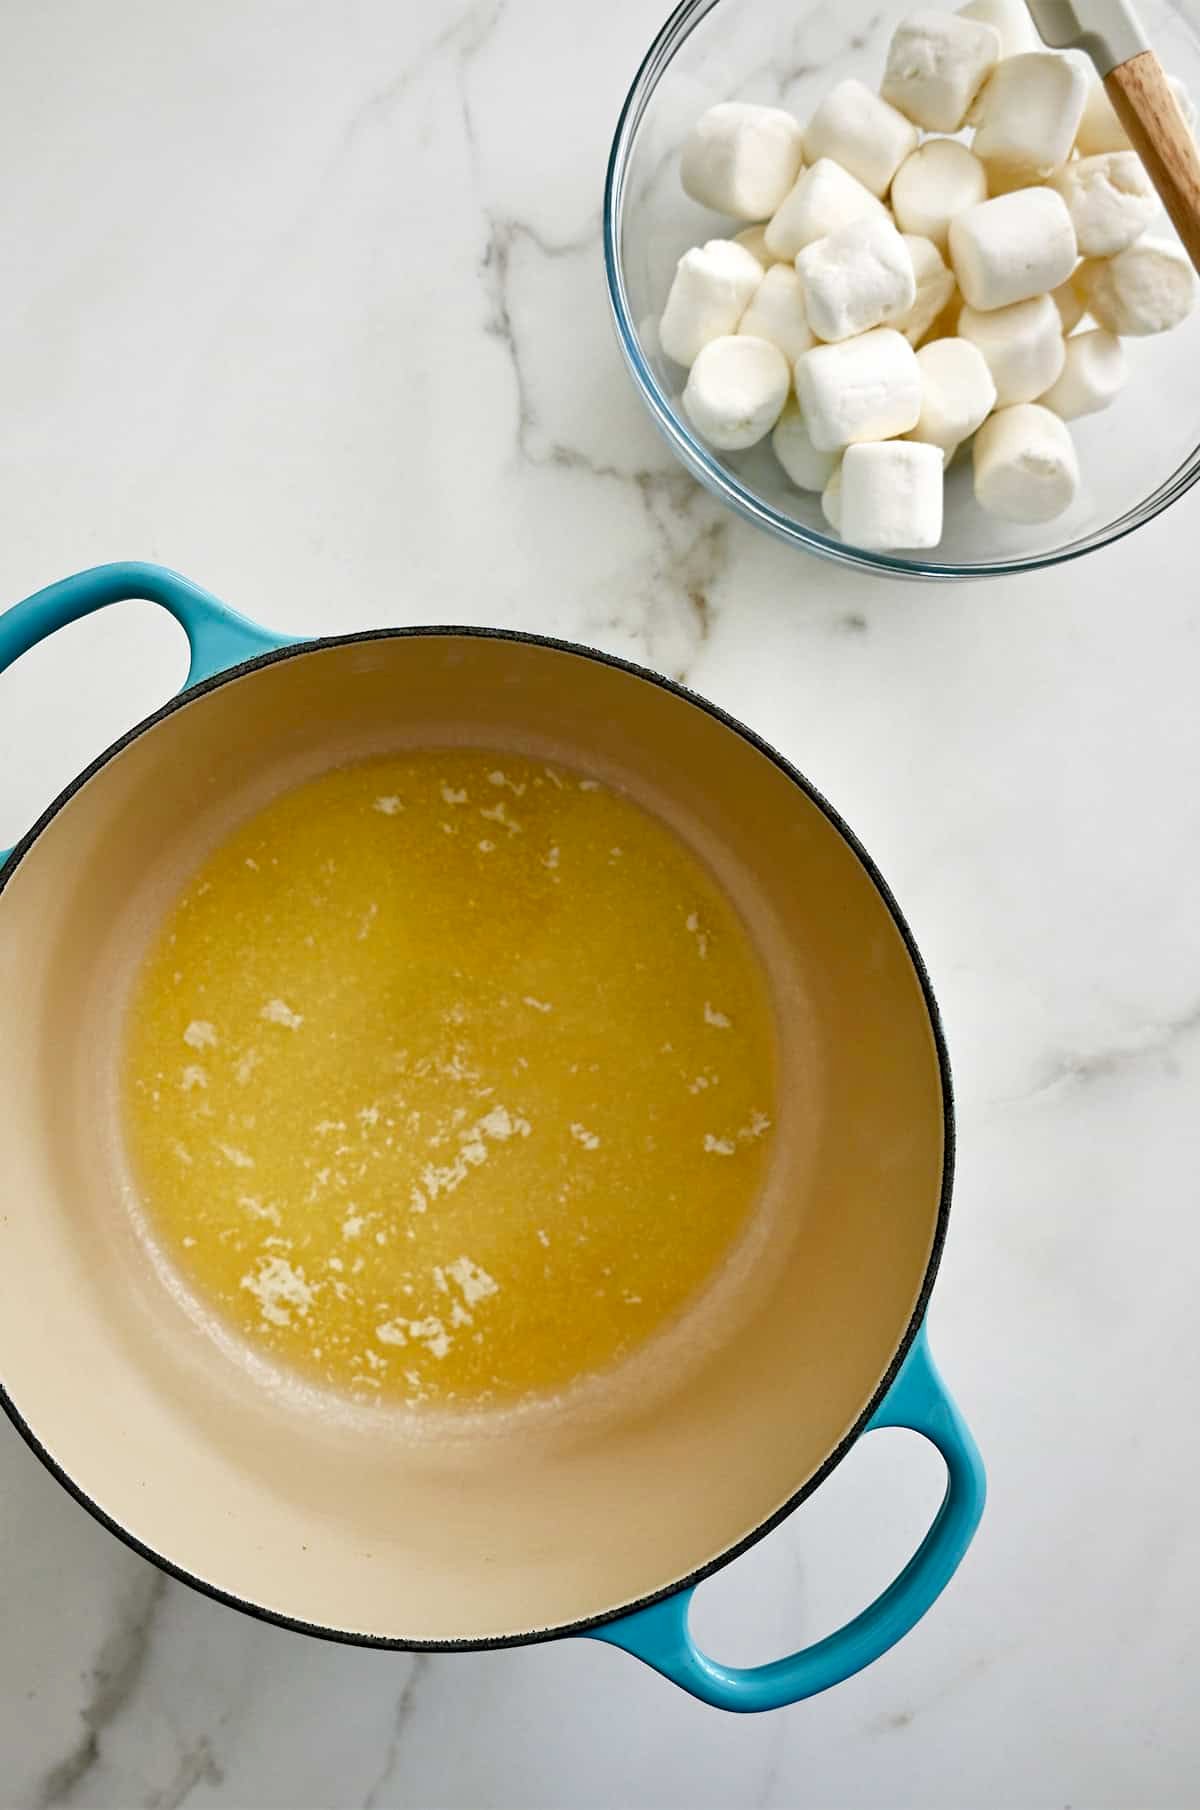
- Melt the butter in a large saucepan over low heat.
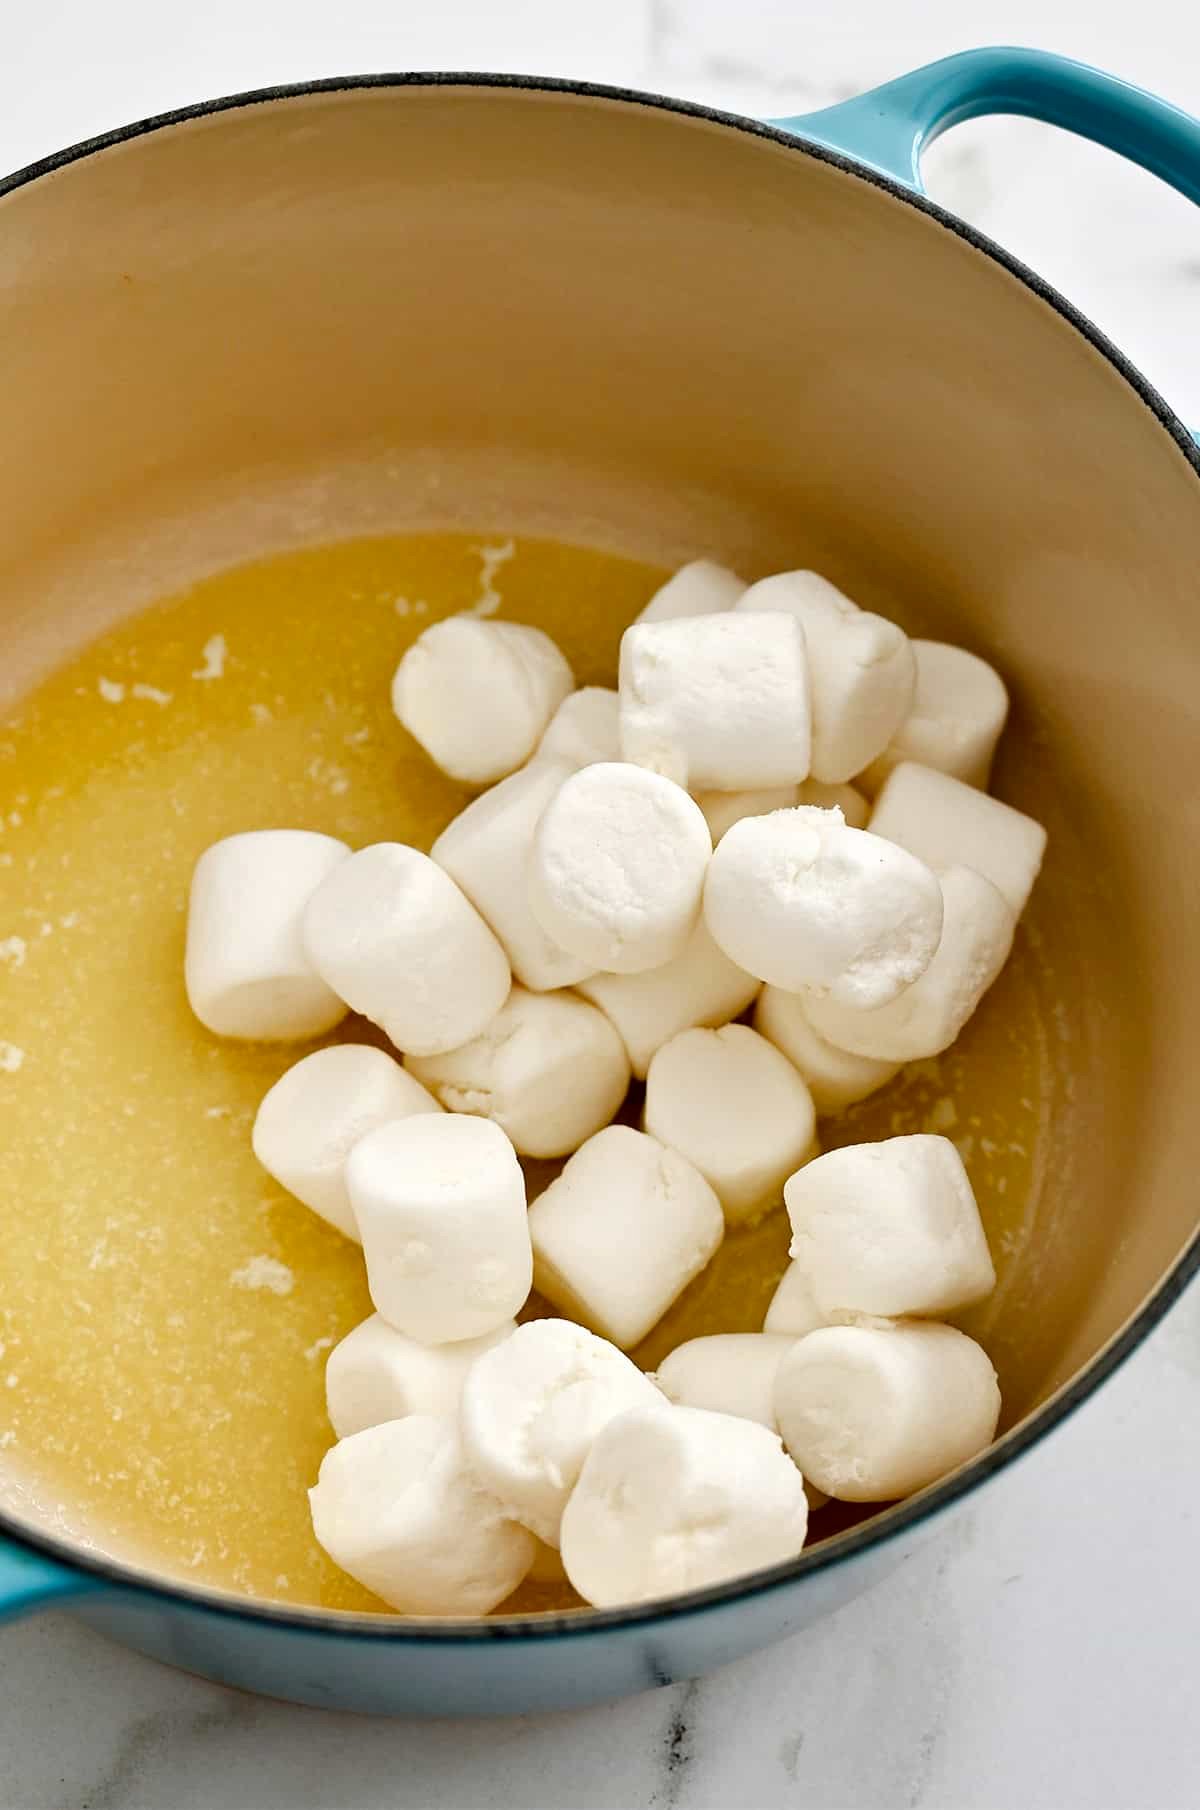
- Add the marshmallows to the melted butter and stir constantly with a wooden spoon until the mixture is smooth.
- Add the green food coloring and the vanilla extract, stirring to combine.
- Add the cornflakes and stir the mixture constantly until the cornflakes are evenly coated.
- Place a large piece of parchment paper on the counter and spray it lightly with cooking spray.
- Remove the saucepan from the stove and quickly form the cornflake mixture into wreaths by making a small hole in each mound of the cornflake mixture.
- While the cornflakes are still warm, place the red-hot candies atop the wreaths for garnish.
Video
Marshmallow Christmas Wreaths
Add a pop of color and flavor to your holiday table with this quick and easy recipe for Marshmallow Christmas Wreaths! RECIPE: http://bit.ly/2z5TKge
Kelly’s Notes
- If using mini marshmallows, increase to 4 cups.
- Work quickly when shaping. A warm marshmallow mixture is easiest to mold.
- Lightly spray your hands with cooking spray to prevent sticking. You may need to repeat this once or twice while shaping.
- If the mixture firms up before you’re done, warm the pot over low heat for 10–15 seconds to loosen it again.
- For kid-friendly wreaths, use mini red M&M’s instead of spicy cinnamon candies.
- To make a giant wreath, press the mixture into one large ring and add candies while warm.
- To store: Store fully cooled marshmallow wreaths in an airtight container at room temperature for up to 5 days. If you’re stacking them, add parchment paper between layers to prevent sticking. Keep them away from warm spots in your kitchen so they stay firm and hold their shape.
- To freeze: Arrange them in a single layer on a baking sheet and freeze until solid. Then, transfer them to an airtight container or freezer bag with parchment between layers, and freeze for up to 1 month. Thaw at room temperature.
- ★ Did you make this recipe? Don’t forget to give it a star rating below!
Nutrition
Did you try this recipe?
Leave a comment below with your star rating!
This post may contain affiliate links.
Recipe adapted from Rose's Christmas Cookies by Rose Levy Beranbaum.


Fun recipe to make for Christmas. I actually enjoyed the red hots on them and was not sure I would. #jatrecipechallenge
So glad you enjoyed the recipe, Lanna!
These were fun to make. I did not think I would like the red hots on them but I was surprised, they were very good.
So glad you enjoyed the recipe, Lanna!