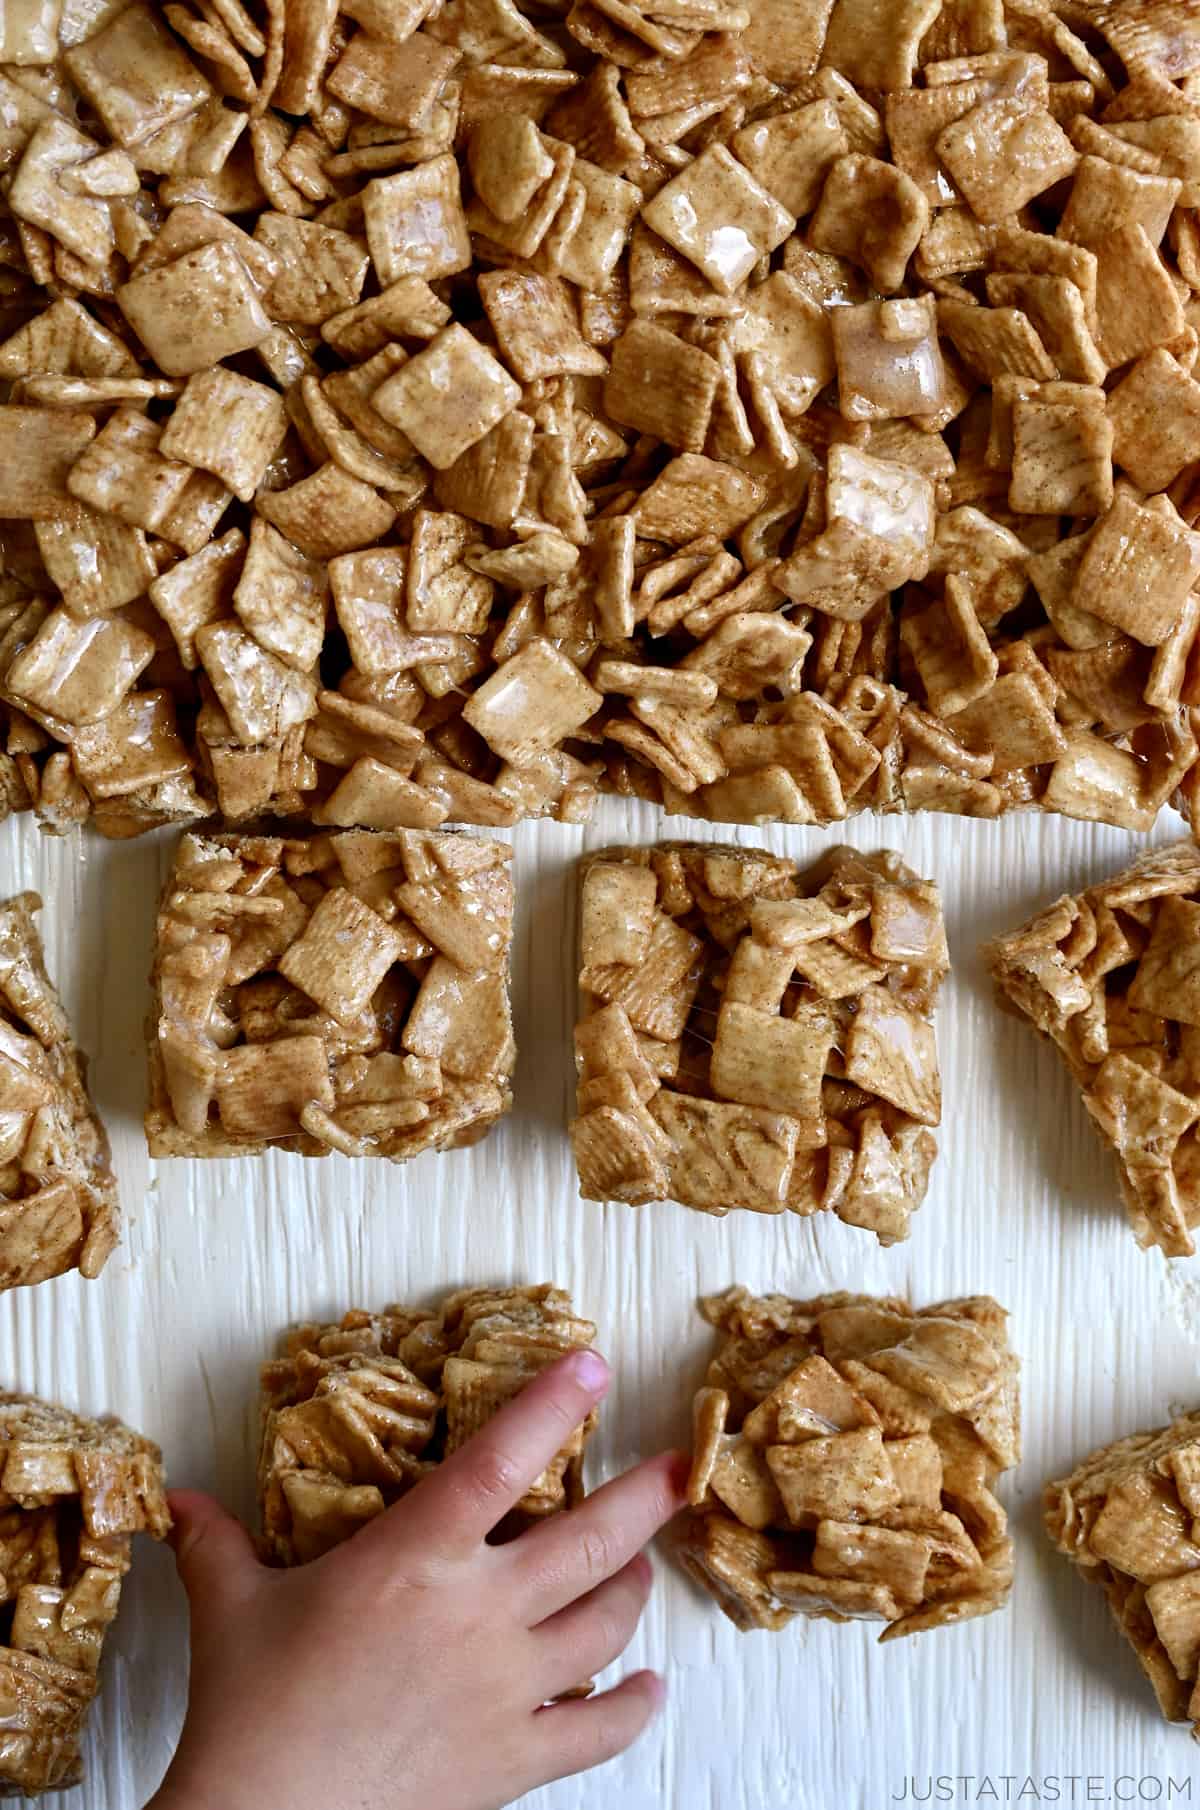
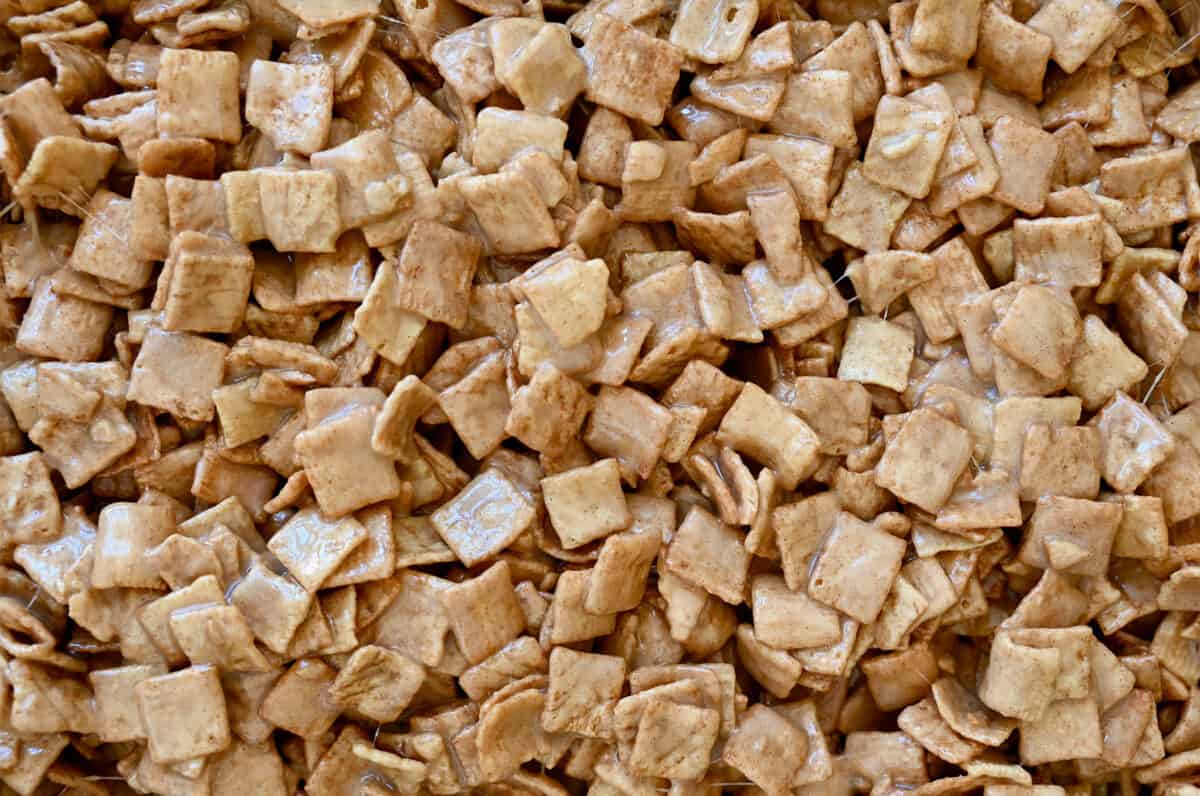
All you need is three simple ingredients for the best Cinnamon Toast Crunch Bars. These cereal bars are the ultimate twist on classic Rice Krispie treats and take just minutes to make!
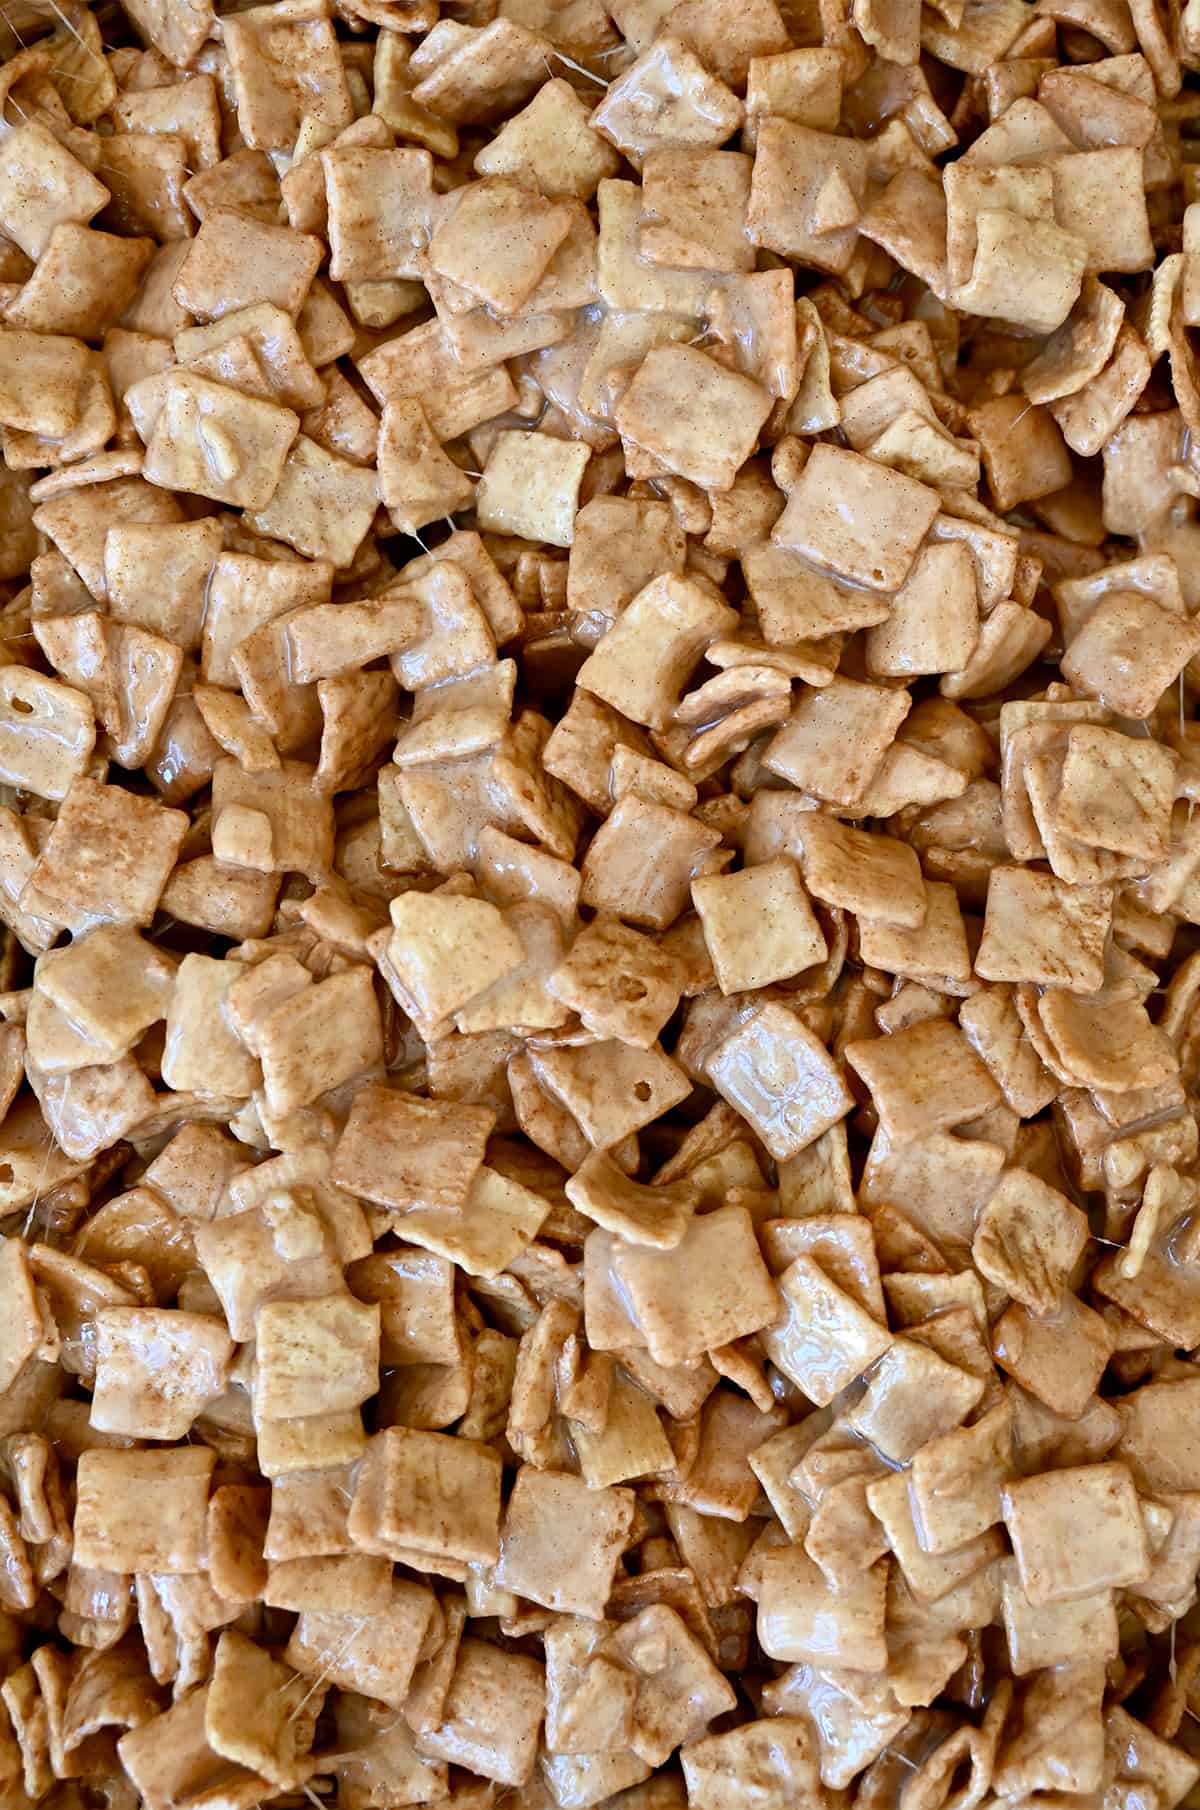
Table of Contents
Move aside, Cheerios marshmallow bars! See ya later, Rice Krispies! There’s a new cereal stealing the marshmallow treats spotlight: Cinnamon Toast Crunch. Just imagine the warm, comforting taste of cinnamon and sugar from your favorite breakfast cereal combined with the ooey-gooey goodness of marshmallows. It’s a match made in cereal bar heaven!
When you’re a mom with a busy kitchen (and even busier kids), simplicity becomes the key to culinary success. With just three main ingredients, these marshmallow cereal treats prove that you don’t need a complicated recipe to create something incredibly delicious. So gather your ingredients, get the kids involved and prepare yourself for the ultimate twist on a classic!
Why You’ll Love this Recipe
- Made with just three ingredients. No long grocery list here!
- Seriously simple and easy to make. Whether you need a quick after-school snack or a last-minute treat for a gathering, these bars come to the rescue without breaking a sweat.
- No need to preheat the oven! No-bake desserts are fan favorites around here because they’re a quick and easy solution for satisfying sweet cravings with minimal effort.
- You can get the kids in on the action. I love getting my kids involved in the kitchen whenever possible, it’s one of my top tips for how to avoid the picky eaters’ club. From helping with mixing the ingredients to pressing the mixture into the pan, your kids will have a blast participating in the prep.
- Portable snack perfection. Wrap them individually for an easy on-the-go snack, making them ideal for lunchboxes, picnics or road trips.
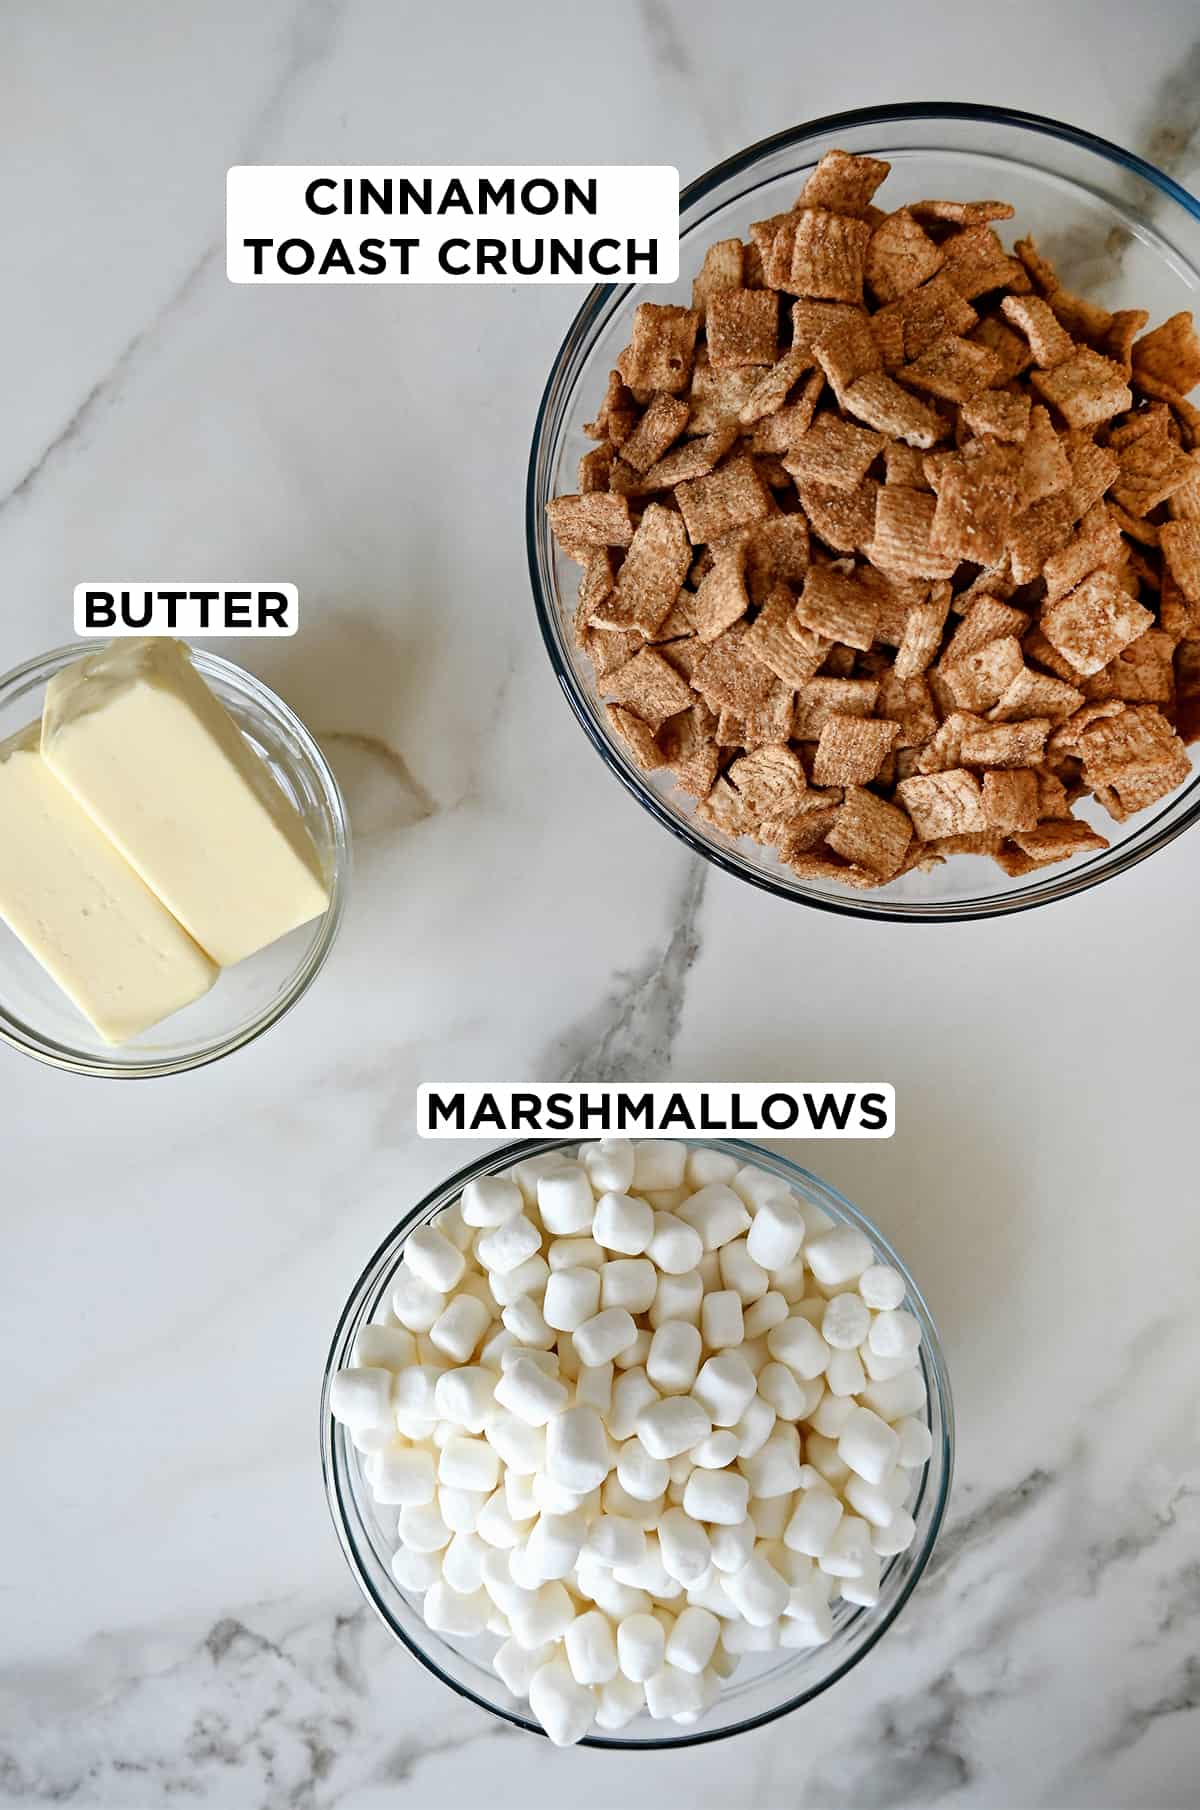
- Unsalted butter: Butter is a crucial ingredient in this recipe, as it adds richness and flavor to the bars. Plus, the fat content in butter contributes to the chewy and slightly crisp texture of the bars. I prefer to use unsalted butter as it allows me to control the amount of salt in the recipe, but salted butter works, too.
- Marshmallows: Whether you choose mini marshmallows or regular-sized, there’s one not-so-secret trick to perfectly soft and chewy marshmallow treats – fresh marshmallows! Fresh marshmallows are more pliable and contain more moisture, which contributes to that ever-desirable ooey, gooey texture. So, save that bag of old and stale ‘mallows for your hot chocolate!
- Cinnamon Toast Crunch cereal: The star ingredient! Grab a big ol’ box of that cinnamon-sugar deliciousness because you’ll need 12 cups for this recipe.
Kelly’s Note: I prefer to use mini marshmallows in this recipe because they melt more quickly and evenly.
See the recipe card for full information on ingredients and quantities.
- Prepare your pan. Grease a 13×9-inch baking pan with butter and set it aside.
- Melt the butter. In a large stock pot set over medium-low heat, melt the butter.
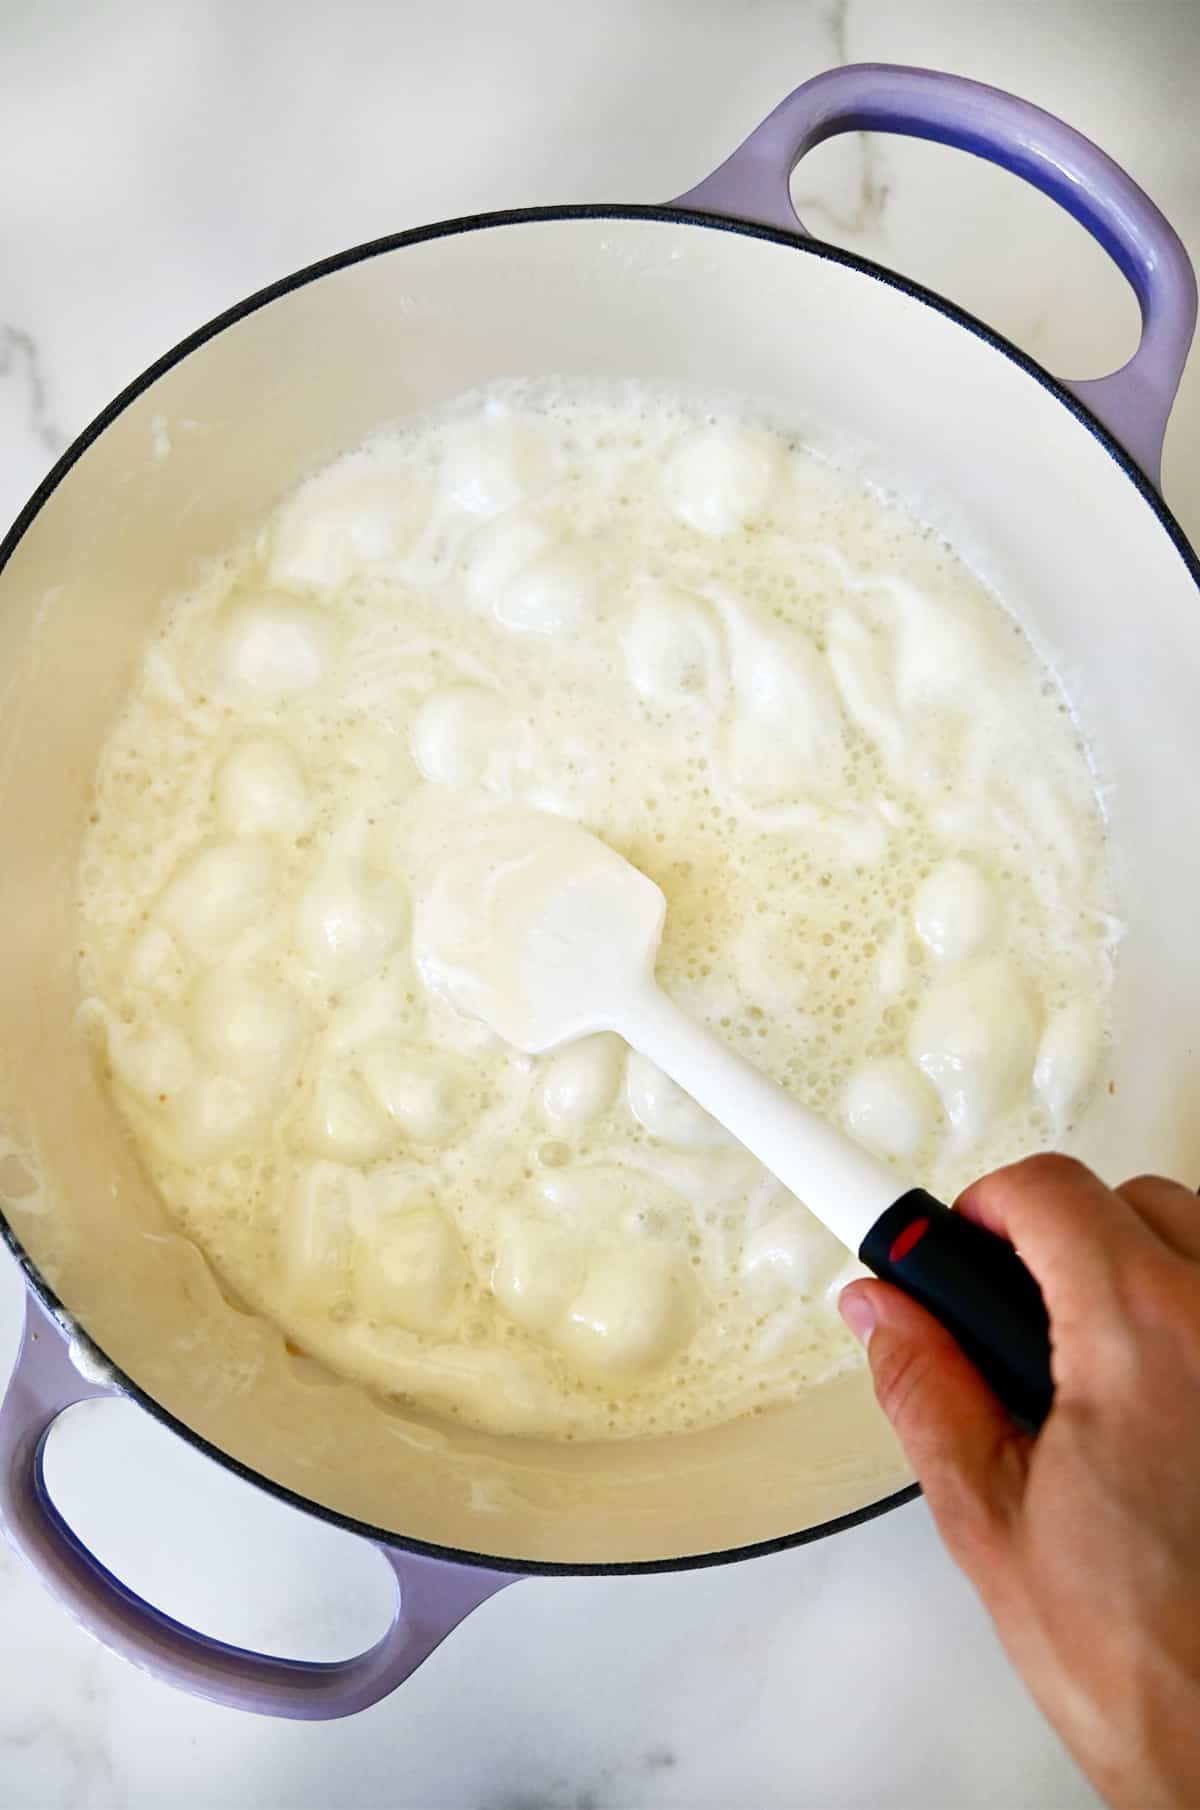
- Melt the marshmallows. Once the butter has melted, stir in the marshmallows and continue cooking, stirring occasionally, until the mixture is smooth.
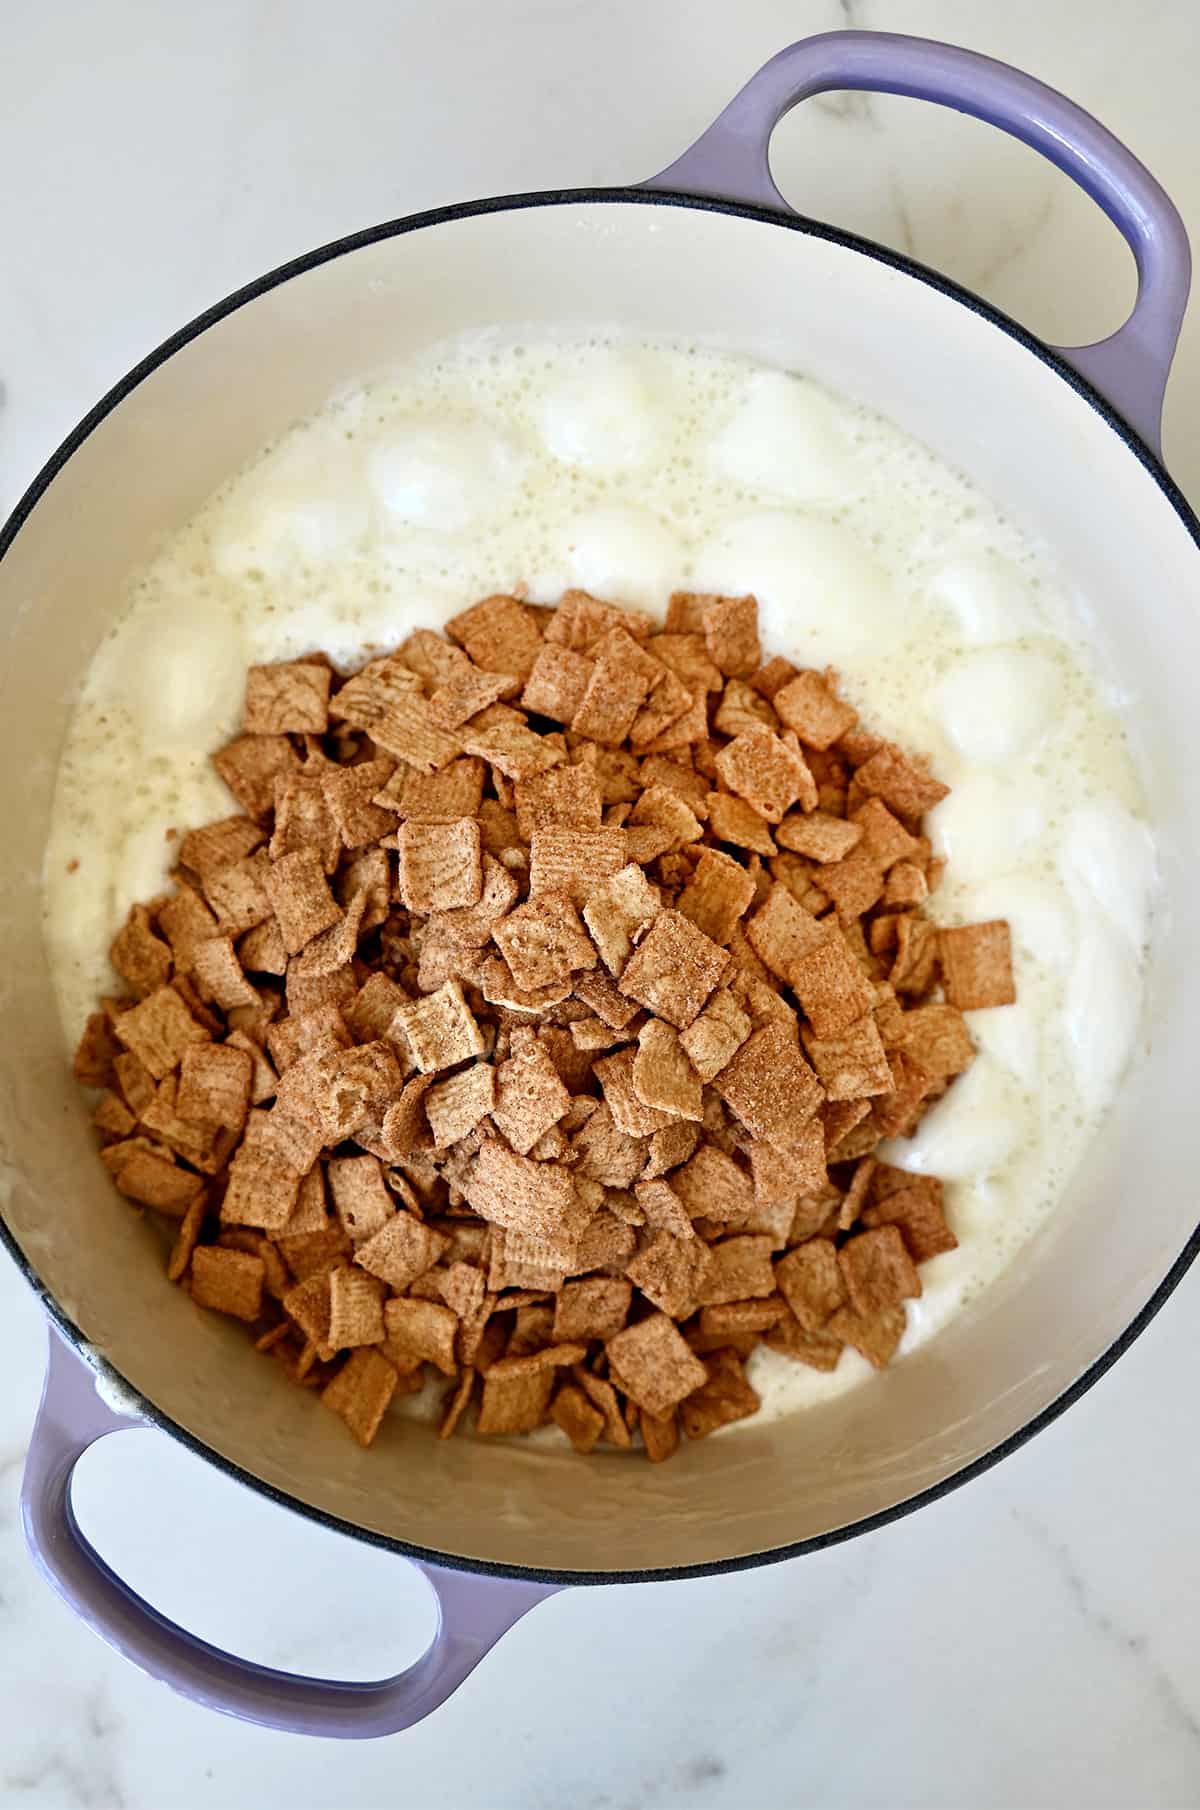
- Add the cereal. Stir in the cereal until well-coated then immediately transfer the mixture into the prepared pan, pressing it into an even layer.
- Cool, slice and devour! Let the cereal treats cool completely in the pan then slice into bars and serve.
- Use Fresh Marshmallows: I can’t say this enough. Fresh marshmallows make all of the difference when making any kind of marshmallow treats.
- Use Low Heat: When melting marshmallows, use low to medium-low heat. High heat can scorch the marshmallows, resulting in an unpleasant burnt flavor.
- Grease Your Tools: When working with marshmallow treats, grease your hands, spatulas and any other utensils with butter or cooking spray. This prevents sticking and makes shaping and pressing the treats easier. Alternatively, to avoid having the treats stick to your hand when pressing them into the pan, wet your hands, shake off any excess and press.
- Gently Press into the Pan: When transferring the marshmallow mixture into the pan, use a gentle touch to press it down. Avoid pressing too firmly, as this can result in dense and hard treats.
- Allow Time to Set: After pressing the mixture into the pan, give the treats ample time to set and cool. This ensures that they hold their shape and are easier to slice.
- Store Like a Pro: Store them in an airtight container at room temperature for up to 2-3 days (but I doubt they’ll last that long!). Use parchment or wax paper between layers to prevent sticking.
Frequently Asked Questions
Yes, you can use marshmallow fluff as a substitute for marshmallows when making cereal marshmallow treats.
Using old or stale marshmallows can affect the softness of the treats. Fresh marshmallows have a softer texture and better flavor. Additionally, overcooking the marshmallows can cause them to lose moisture, resulting in hard treats.
Yes, making marshmallow treats in the microwave is a quick and convenient alternative to the traditional stovetop method. Start by melting the butter and a bag of mini marshmallows in a microwave-safe bowl. Microwave in 30-second intervals, stirring each time until smooth (usually 2-3 minutes). Stir in the cereal, press into a pan, and cool for about 30 minutes before slicing and serving.
Absolutely! You could use the classic Rice Krispies, any variety of Chex (corn, chocolate, etc.), Cheerios or even cornflakes to make equally as delicious cereal treats.
- Peanut Butter Cheerios Marshmallow Treats
- Funfetti Marshmallow Popcorn Treats
- Reindeer Rice Krispie Treats
- Frankenstein Rice Krispie Treats
- Marshmallow Christmas Wreaths
- Pumpkin Pie Rice Krispies Treats

Ingredients
- 1/2 cup unsalted butter, plus more for greasing pan
- 16 oz. marshmallows
- 12 cups Cinnamon Toast Crunch cereal
Instructions
- Grease a 13×9-inch baking pan with butter and set it aside.
- In a large stock pot set over medium-low heat, melt the butter.
- Once the butter has melted, stir in the marshmallows and continue cooking, stirring occasionally, until the mixture is smooth.
- Stir in the cereal until well-coated then immediately transfer the mixture into the prepared pan, pressing it into an even layer.
- Let the cereal treats cool completely in the pan then slice into bars and serve.
Kelly’s Notes
- Fresh marshmallows make all of the difference when making any kind of marshmallow treats.
- When working with marshmallow treats, grease your hands, spatulas and any other utensils with butter or cooking spray. This prevents sticking and makes shaping and pressing the treats easier. Alternatively, to avoid having the treats stick to your hand when pressing them into the pan, wet your hands, shake off any excess and press.
- When transferring the marshmallow mixture into the pan, use a gentle touch to press it down. Avoid pressing too firmly, as this can result in dense and hard treats.
- Store the cereal bars in an airtight container at room temperature for up to 2-3 days. Use parchment or wax paper between layers to prevent sticking.
- This recipe can be easily halved.
-
★ Did you make this recipe? Don’t forget to give it a star rating below!
Nutrition
Shoutout
Did you try this recipe?
Share it with the world! Mention @justataste or tag #justatasterecipes!
This post may contain affiliate links.




OK I kinda thought these were going to be too sweet but they were PERFECT!!!!!! The exact amount of marshmallow I like in my cereal treats. Never using Rice Krispies again!
Thrilled you enjoyed the recipe, Gina!