
This is the exact stovetop method I use week after week for fluffy, tender steamed white rice—no rice cooker, no rinsing, and no complicated steps. If your rice ever turns out mushy, gummy, or burned on the bottom, this foolproof technique (plus my simple trick!) will change the way you cook rice for good.
This recipe works well with long-grain white rice, jasmine and basmati varieties.
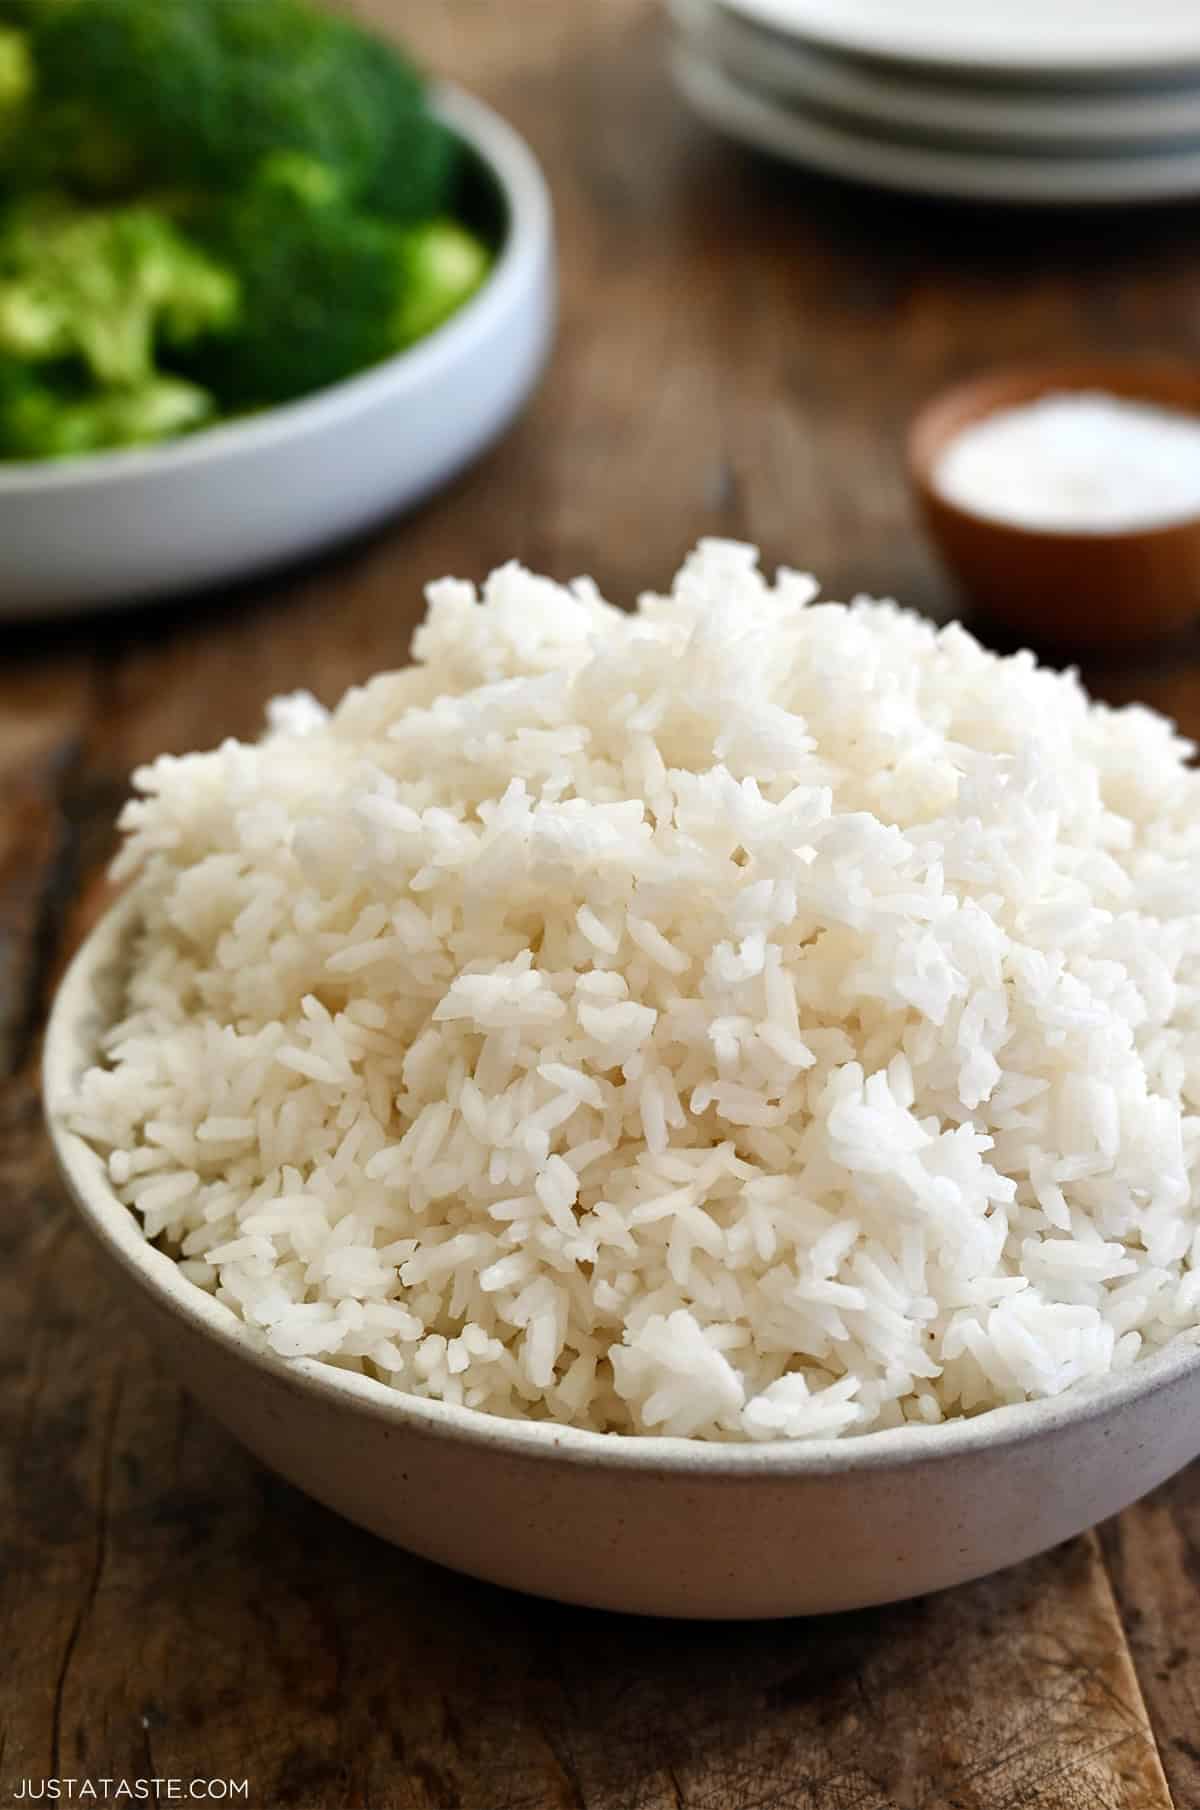
Table of Contents

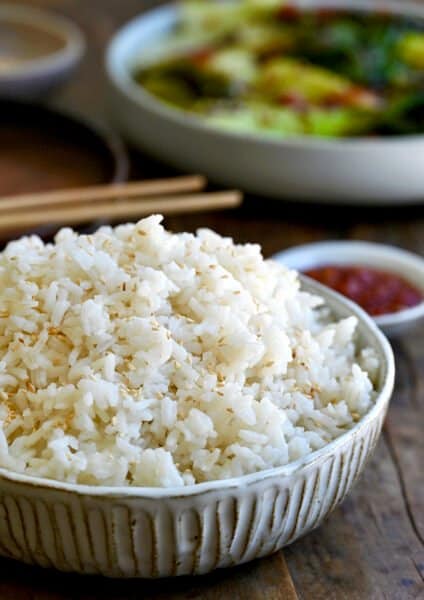
White rice shows up on our dinner table at least once a week, and this stovetop method is the one I rely on every single time. It’s simple, foolproof, and delivers fluffy, tender rice without any special equipment or guesswork.
Here’s what makes my method different (and why it works):
- I use less water than most recipes. Many stovetop rice recipes call for 2 cups of water per cup of rice, which often leads to mushy or gummy results. I stick to a 1:1.5 rice-to-liquid ratio for perfectly cooked grains. And if I’m being honest, I rarely measure—I use the finger method, and it works every time (more on that below!).
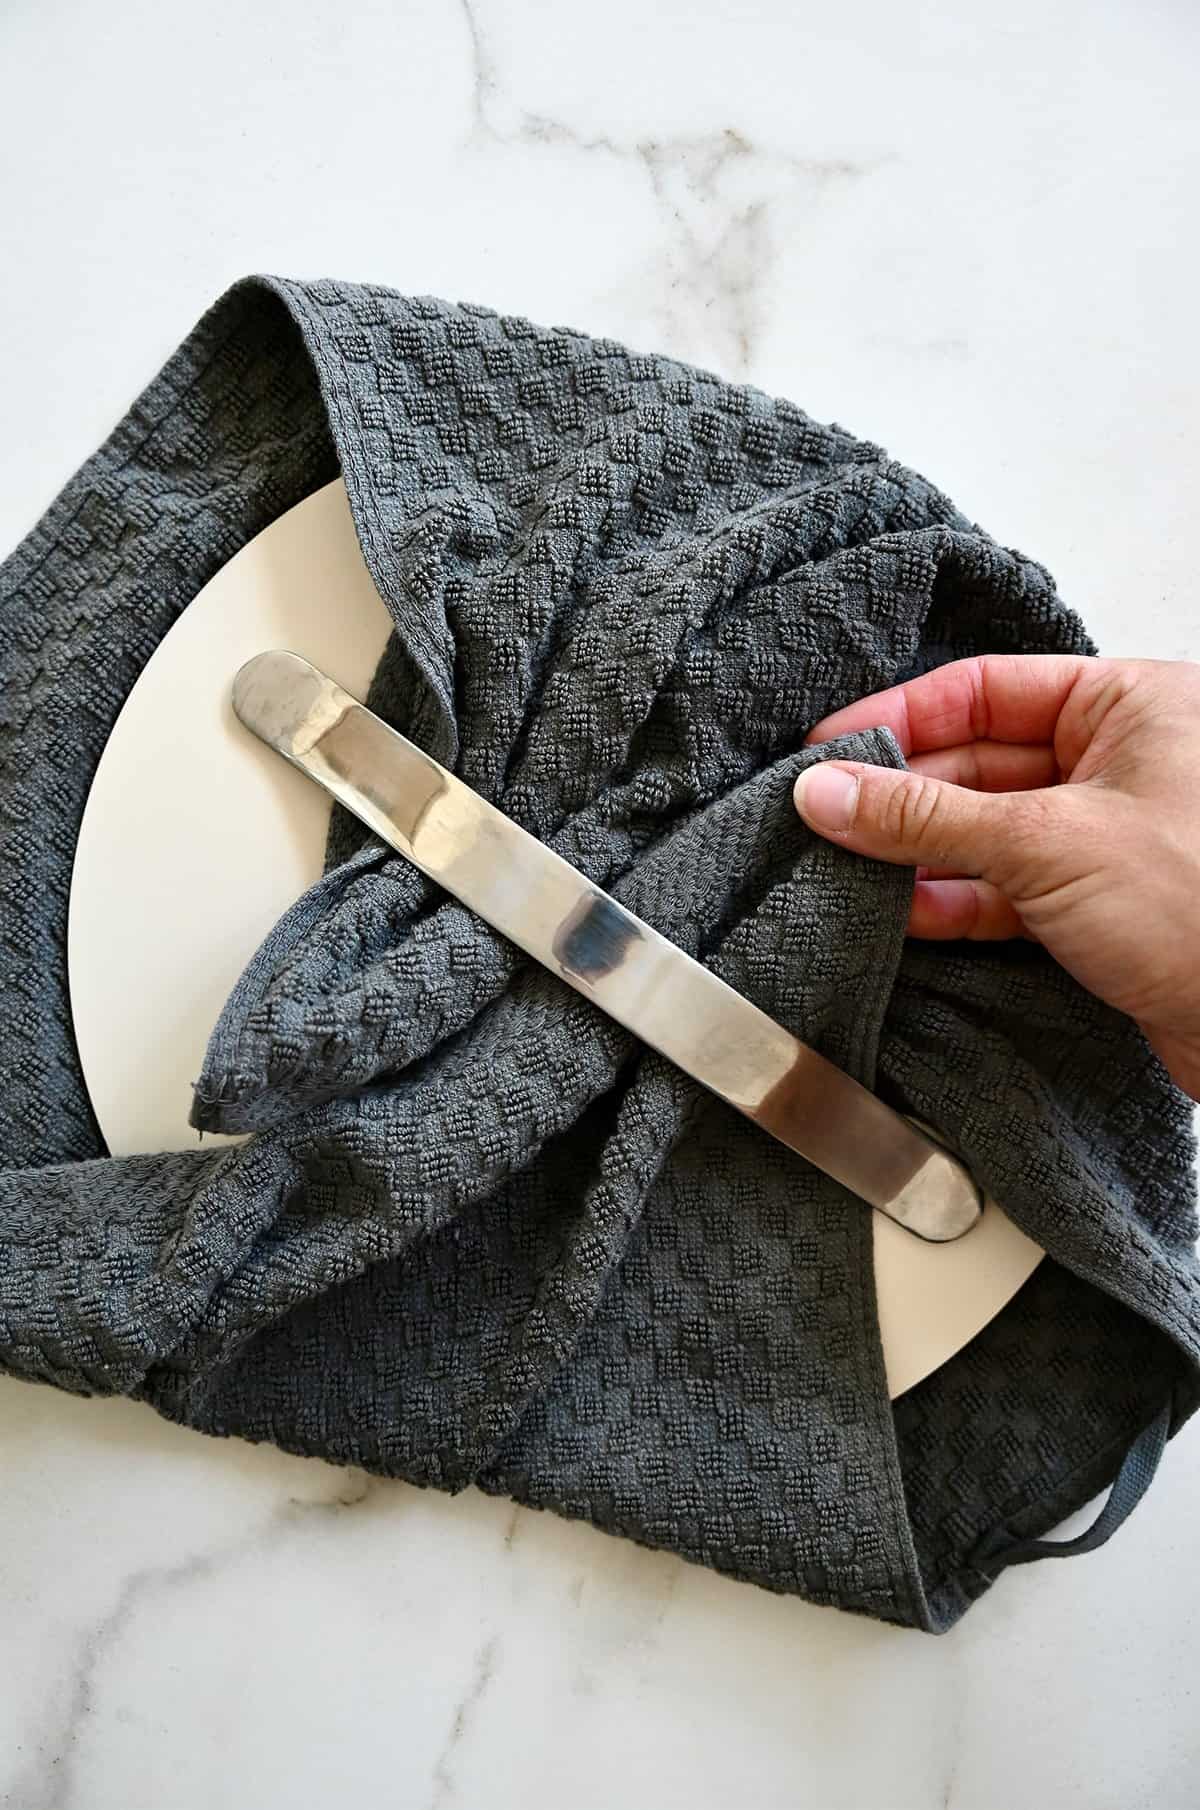
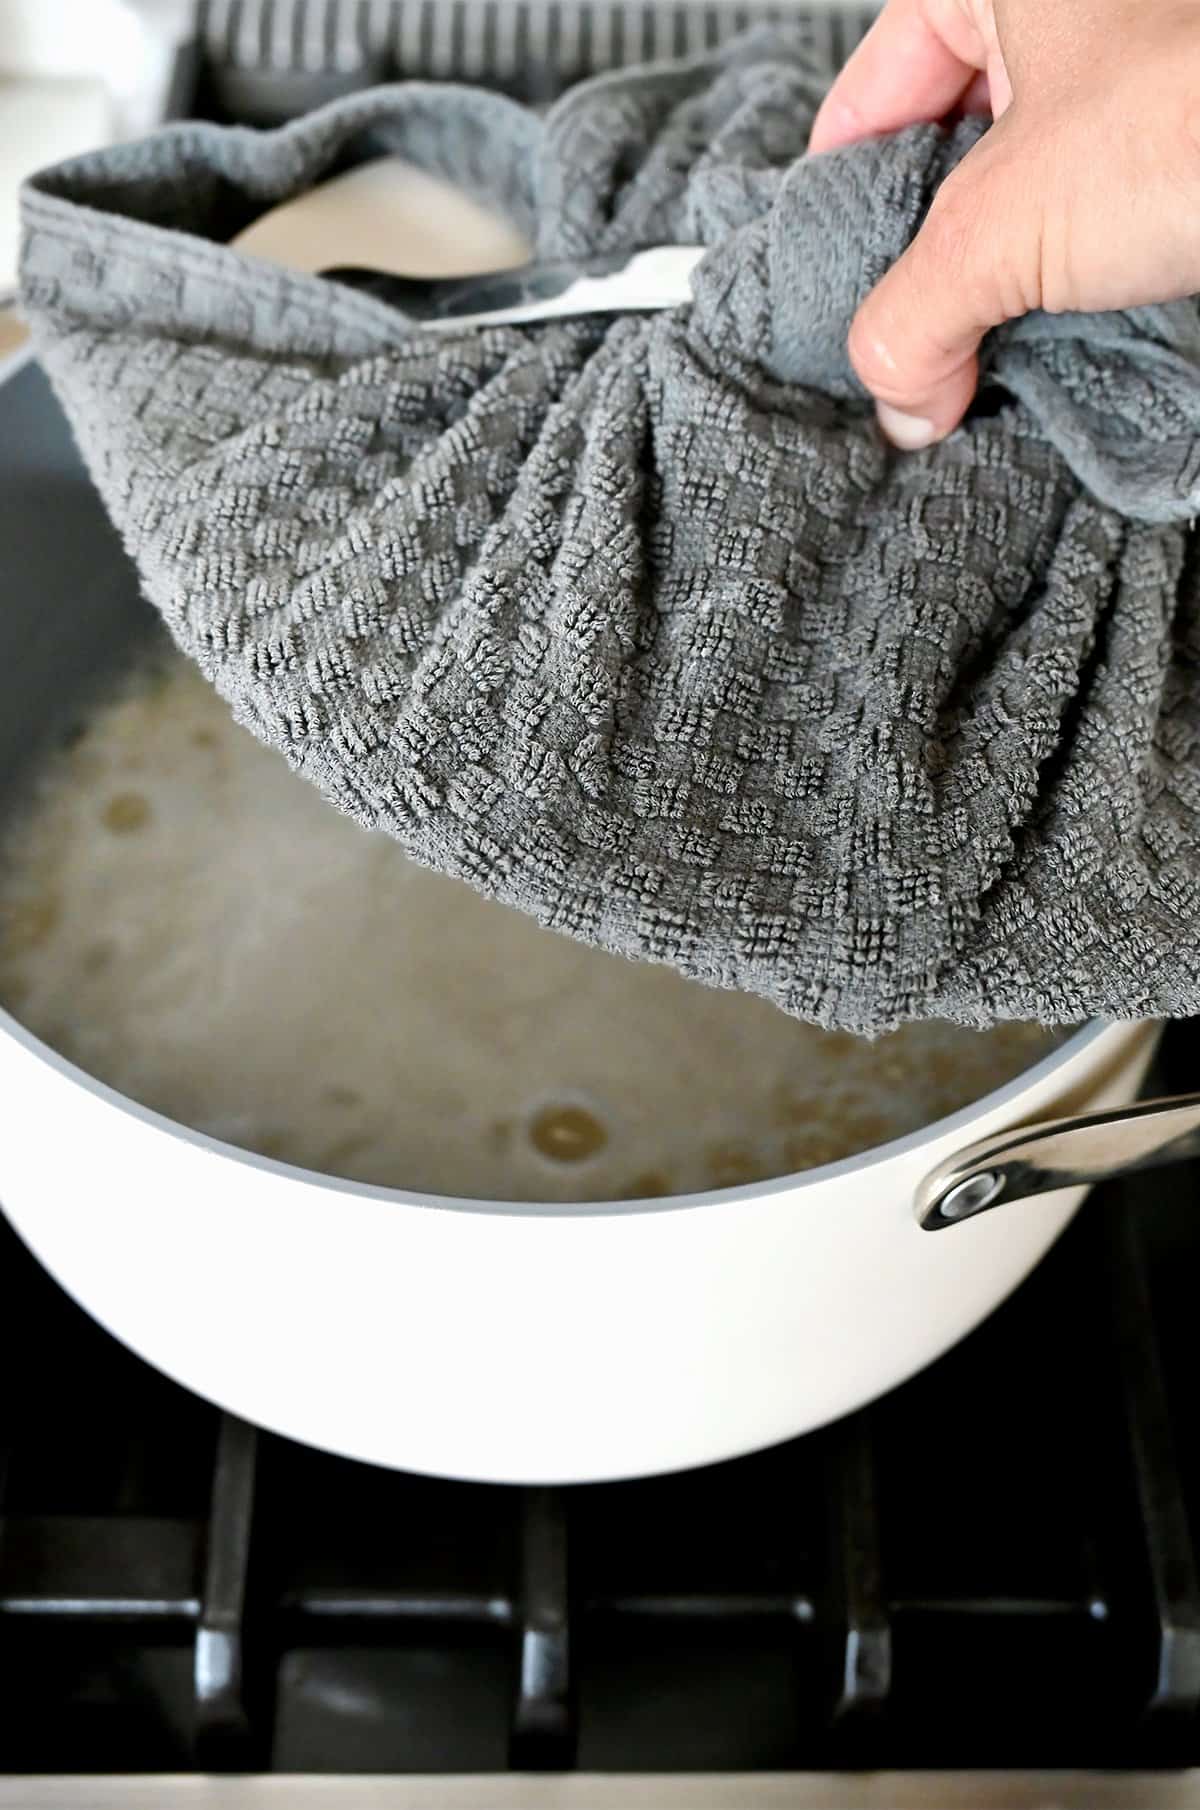
- I wrap a towel around the lid. This is the game-changer. As the rice cooks, steam builds up inside the pot. The towel absorbs that excess moisture so it doesn’t drip back into the pot, which helps prevent clumping and keeps the rice fluffy instead of sticky.
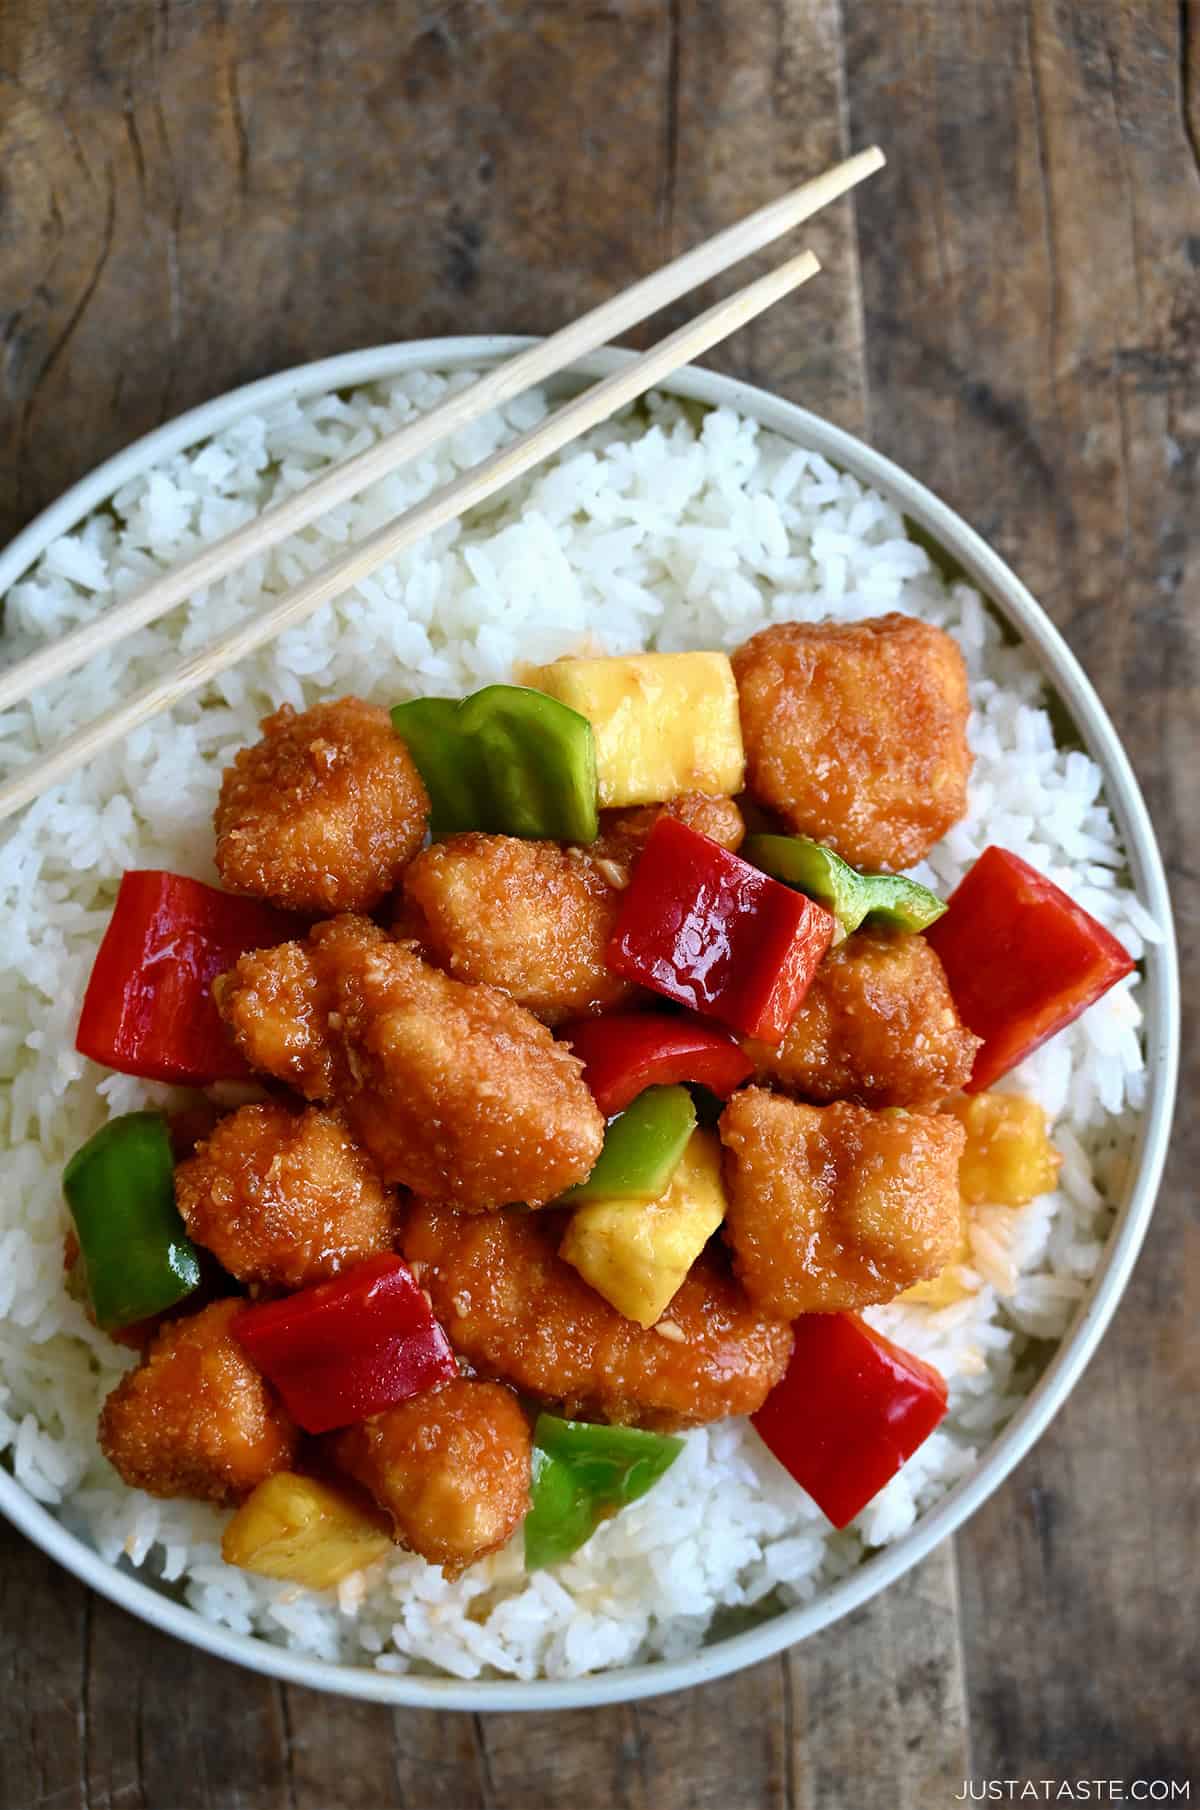
I use this exact technique whether I’m making plain rice to serve alongside my favorite honey garlic glazed salmon or sweet and sour chicken, or turning leftovers into fried rice the next day.
What Type of Rice Works Best
This recipe is designed for white rice, and it works beautifully with several common varieties you probably already have in your pantry. You can use:
- Long-grain white rice (my go-to for everyday meals)
- Jasmine rice (light, fragrant, and perfect for takeout-style dinners)
- Basmati rice (great for curries and dishes where you want separate, fluffy grains)
- Medium-grain white rice (slightly softer and a touch more tender)
This technique is not ideal for brown rice, short-grain or sushi rice, wild rice, or other rice blends, as they require different cooking times and liquid ratios.
Rice-to-Water Ratio
If there’s one thing that makes or breaks cooking rice on the stovetop, it’s the rice-to-water ratio. While many recipes call for 2 cups of water per 1 cup of rice, I’ve found that a 1:1.5 ratio is the sweet spot for perfectly cooked white rice.
That means: 1 cup rice → 1½ cups water or other liquid, such as chicken stock or coconut milk (I love swapping water for coconut milk to make coconut rice).
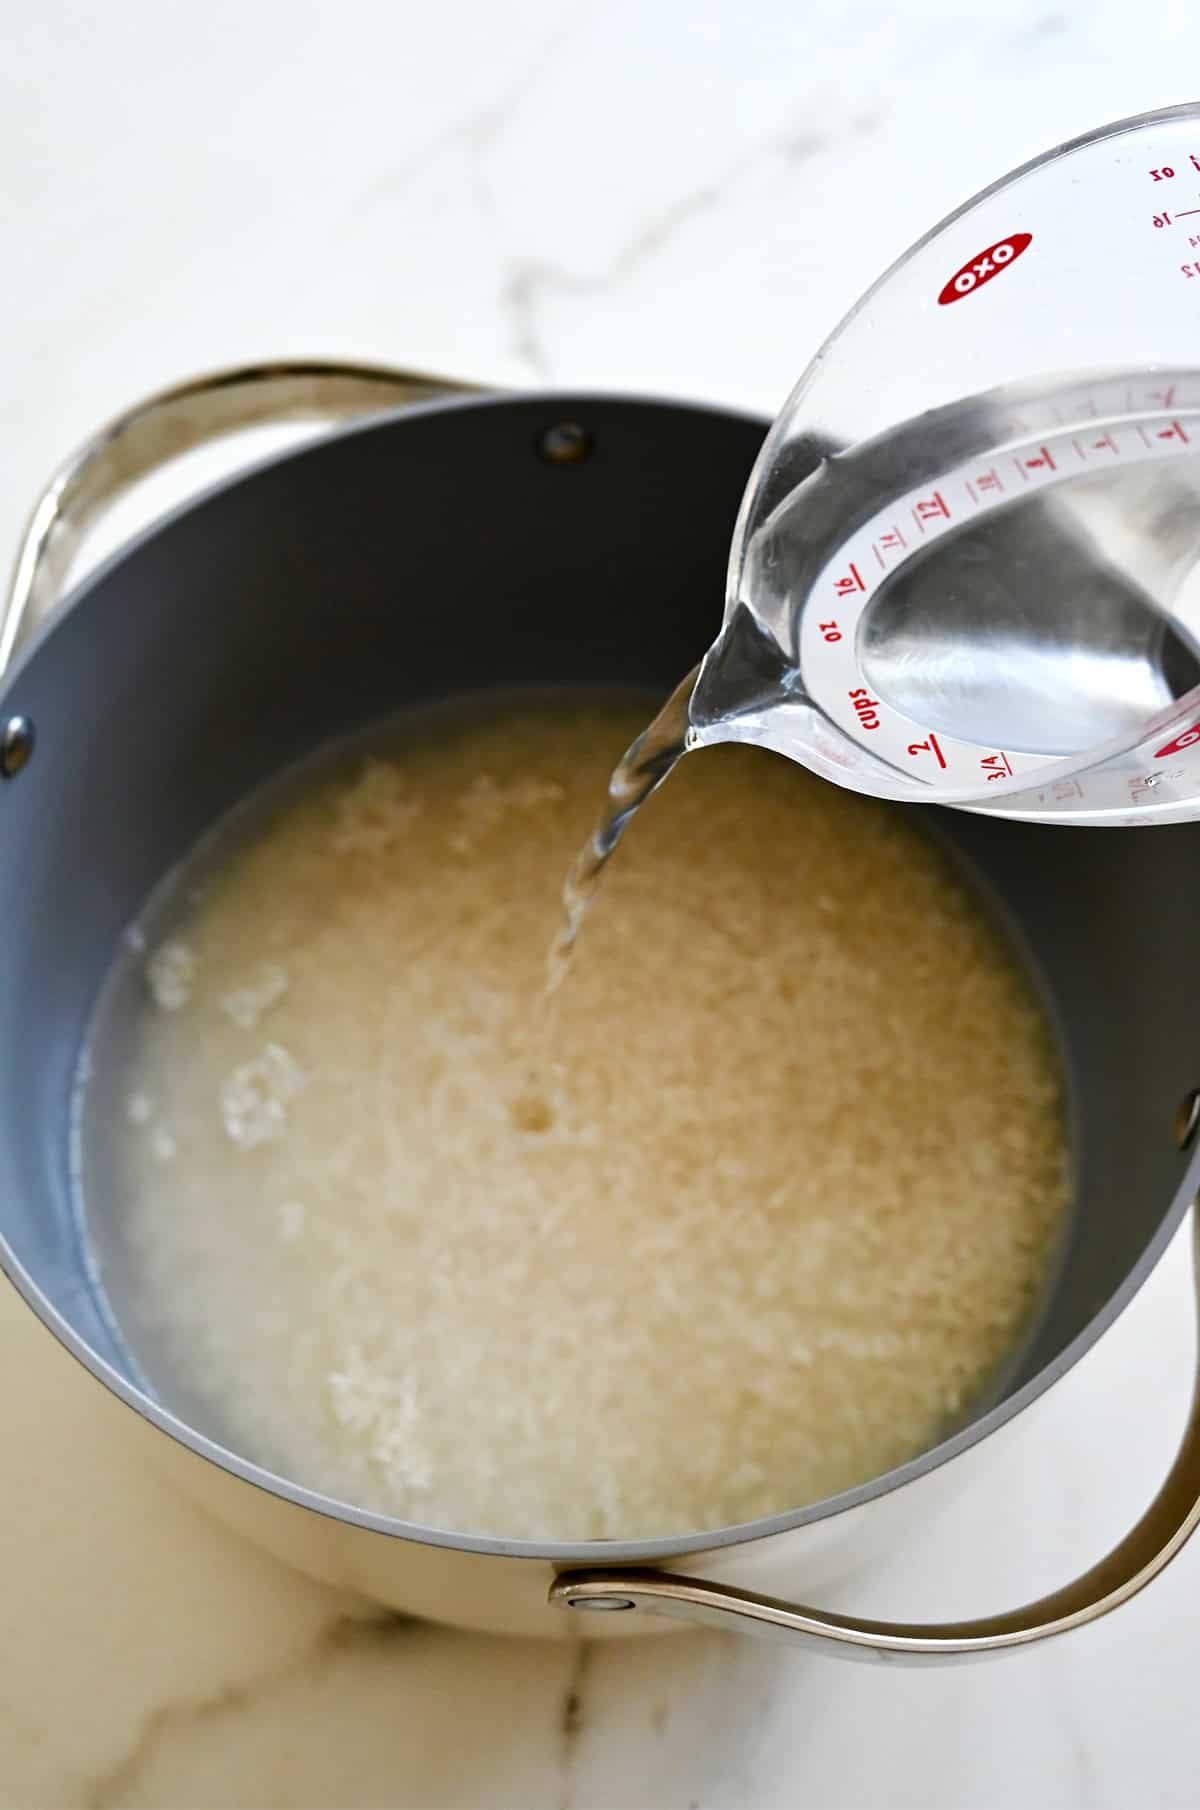
But I have a confession. I actually don’t even measure the water… I use the finger method: Add the rice to the pot, then pour in enough water so the rice is covered by about 1 inch of liquid. I literally stick my finger into the pot to gauge it. It sounds unscientific, but it works—and once you try it a few times, you’ll never overthink this step again.
Should You Rinse Rice Before Cooking?
This is a widely debated topic, and I’ll be honest, my opinion has changed over the years. When I was fresh out of culinary school, I would’ve said without a doubt that you have to rinse your rice. Fast-forward to four kids and hundreds of weeknight dinners that need to get on the table fast, and here’s the truth: I never, ever rinse my rice. And you know what, it still turns out perfectly fluffy every time. As long as you follow my rice-to-water ratio and stovetop cooking method, you’ll get great results.
Bottom line: Save yourself the time and extra dishes. Skipping the rinse won’t make your rice any less fluffy.
That said, if you’re concerned about impurities in your rice, you can rinse it by placing it in a fine-mesh sieve and running it under cold water until the water runs mostly clear. If you do rinse, reduce the cooking liquid by 1–2 tablespoons per cup of rice to account for the extra moisture the rice has absorbed.
How to Cook Rice on the Stove
Add the rice to a medium saucepan with a tight-fitting lid. Pour in the water (or broth) and season with kosher salt, then give everything a quick stir to make sure the rice is evenly distributed.
Before covering the pot, wrap a clean kitchen towel around the underside of the lid and secure it in place. This is how I wrap it and secure it in place:
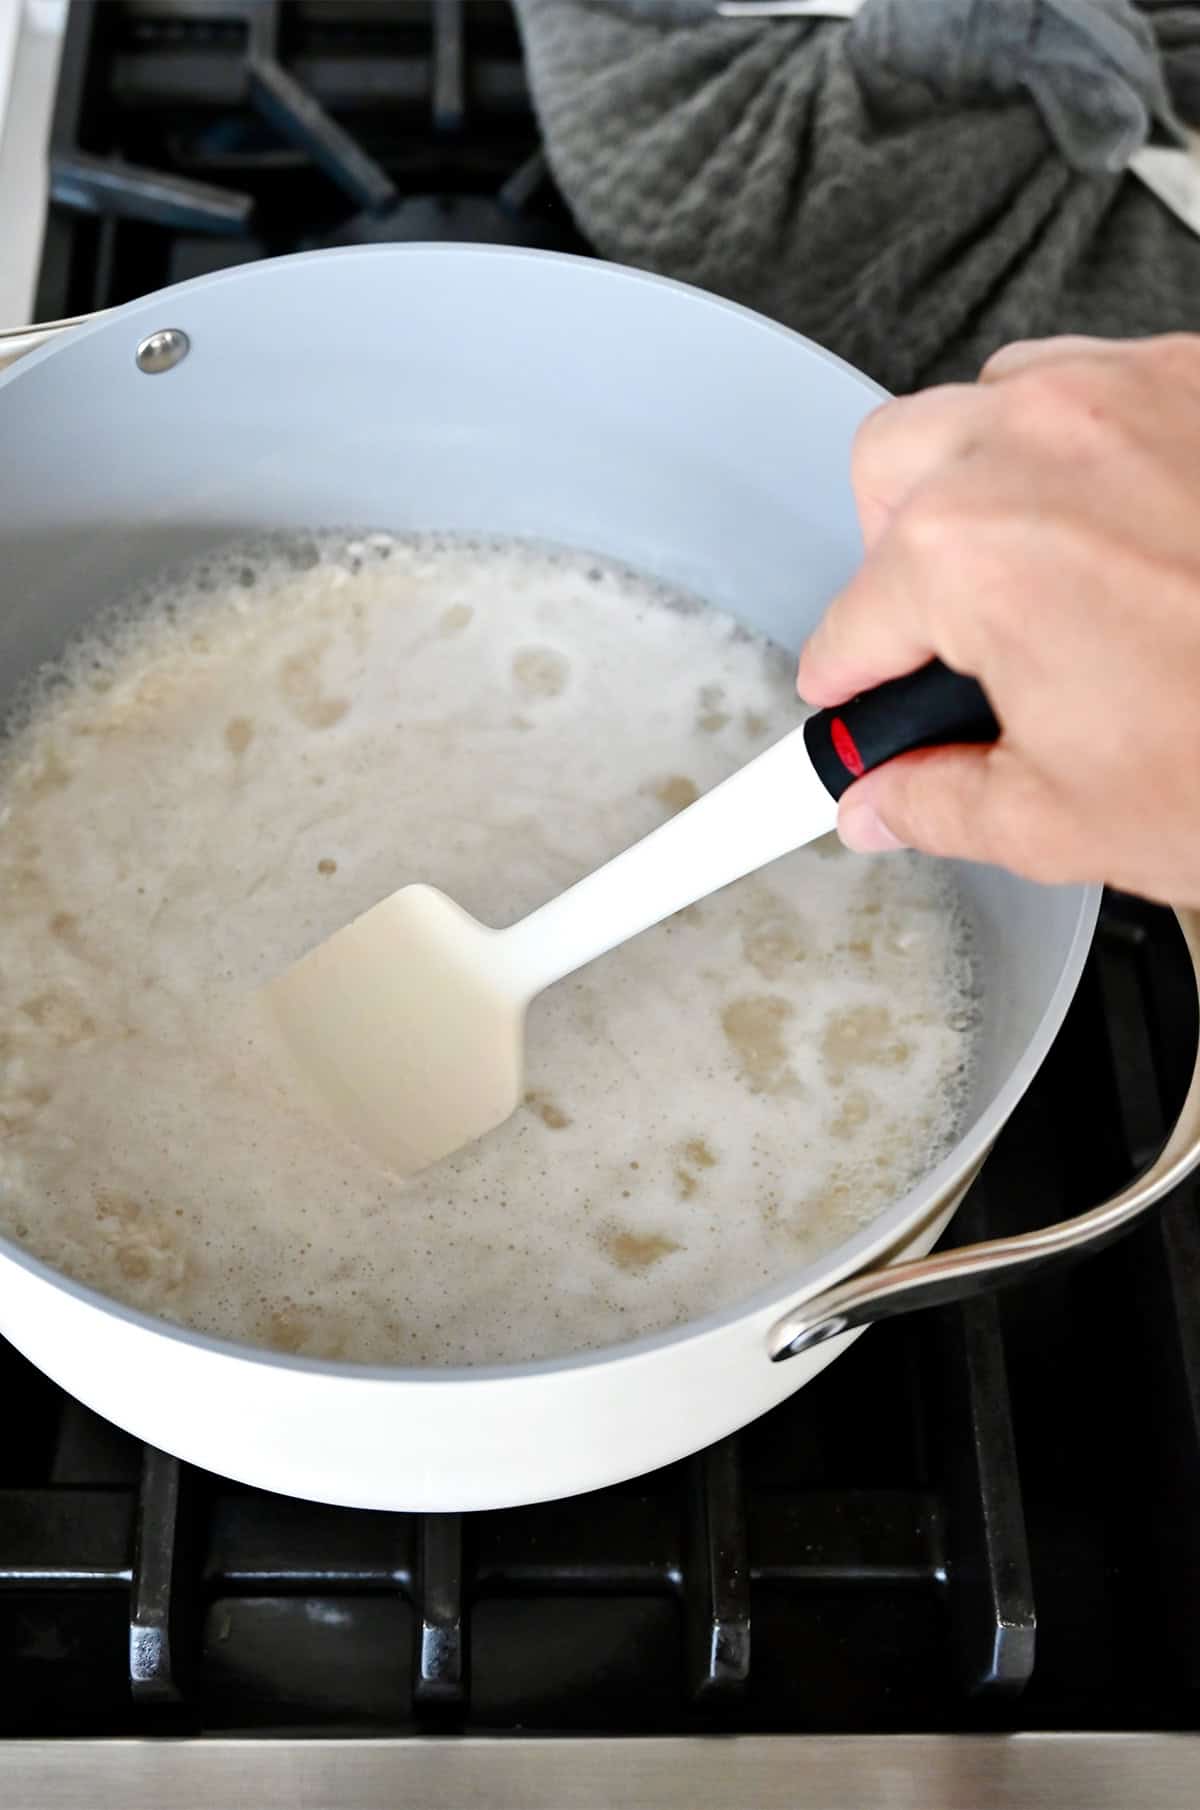
Set the pot over medium-high heat and bring the mixture to a gentle boil. Once you see bubbling across the surface, cover the pot, reduce the heat to low, and let the rice cook undisturbed until the liquid is absorbed and the grains are tender, about 15 to 20 minutes.
Resist the urge to peek or stir while the rice cooks; lifting the lid releases steam and can lead to unevenly cooked rice.
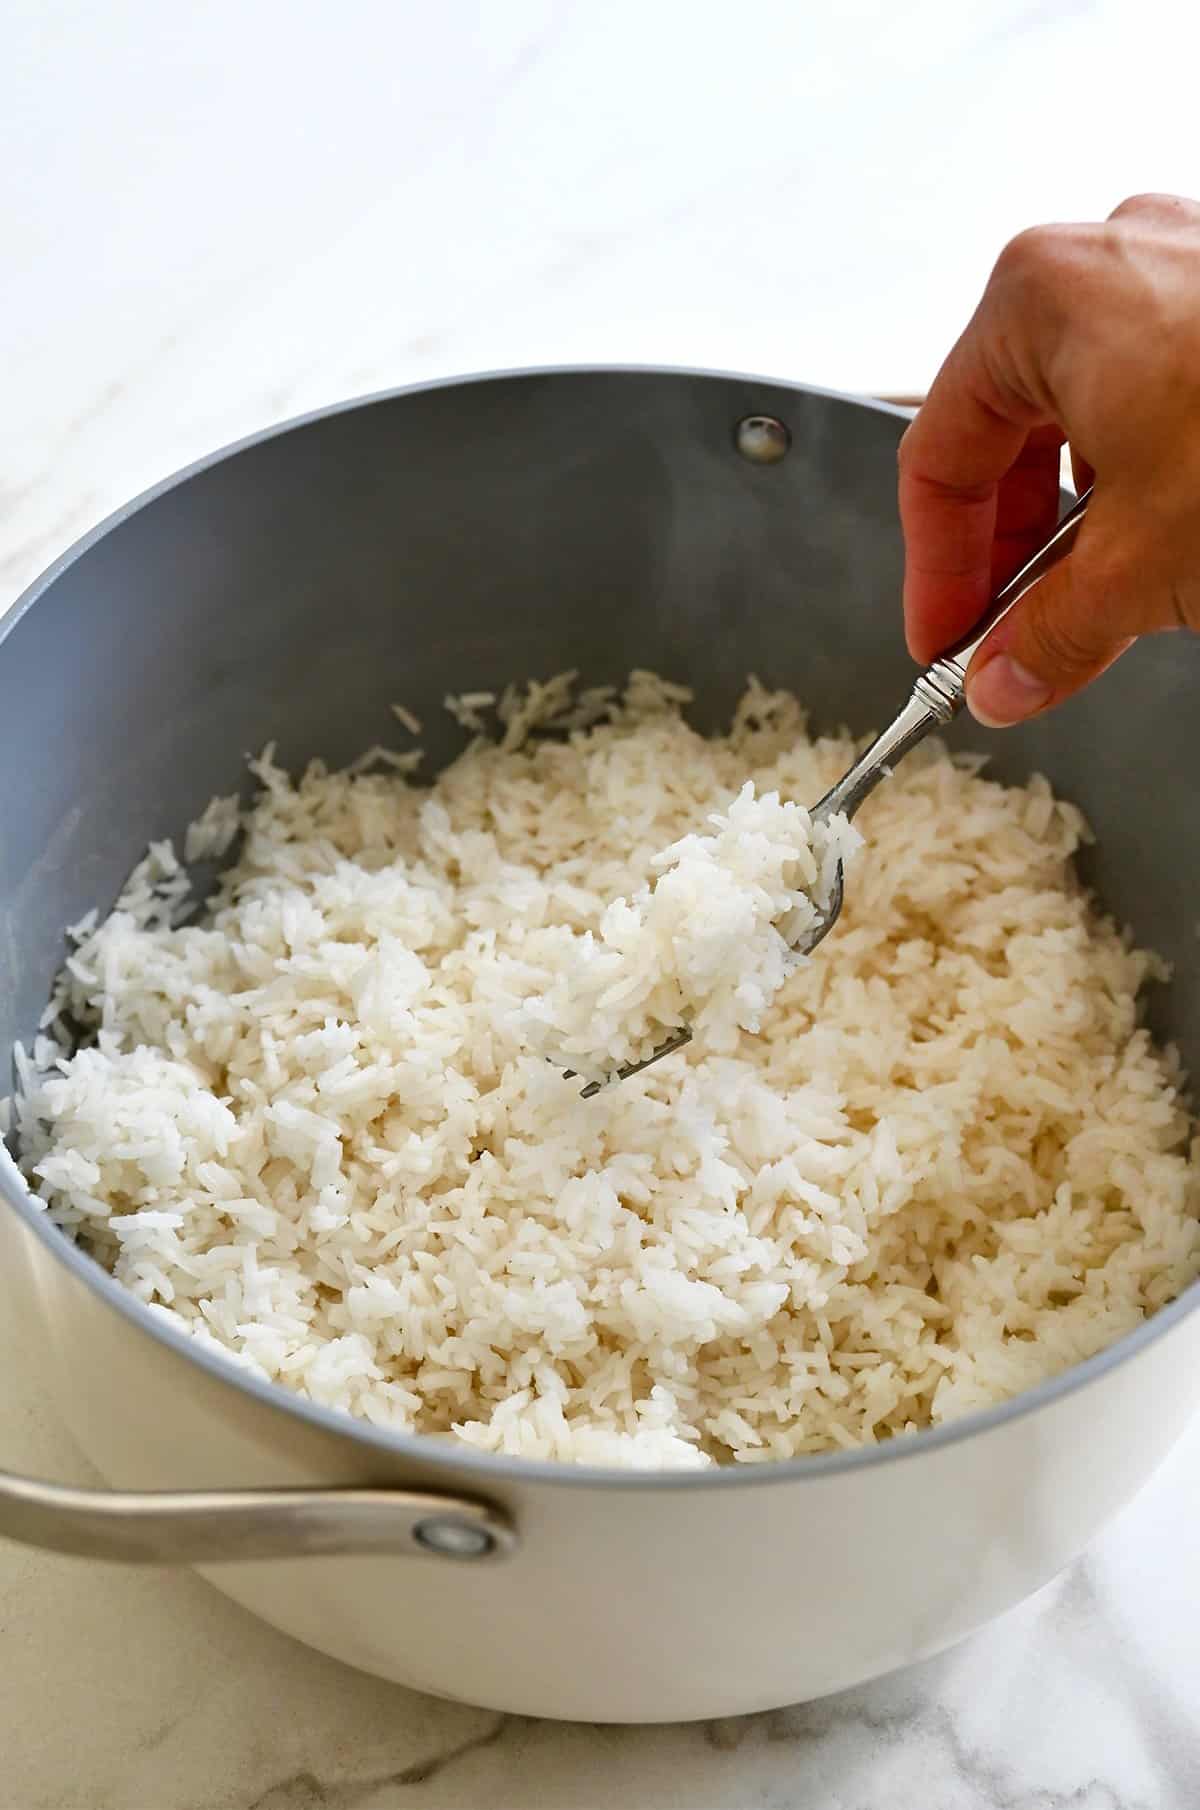
You’ll know the rice is done when the liquid has fully absorbed and you can see small steam holes across the surface of the rice. Remove the lid, fluff the rice gently with a fork, and serve.
Troubleshooting
- My rice burned on the bottom. This usually means the heat was too high or the pot was too large for the amount of rice you were cooking. Try using a smaller burner, lowering the heat slightly, or choosing a saucepan that better fits the quantity of rice.
- My rice is sticky. Too much liquid is almost always the culprit. Stick with the 1:1.5 rice-to-water ratio, and remember that rinsed rice holds onto extra moisture. Also, avoid stirring while the rice cooks, which can activate excess starch and lead to gummy results.
- My rice is undercooked or crunchy. If the liquid evaporated before the rice finished cooking, don’t panic. Add 2–4 tablespoons of water, cover the pot, and cook on low for a few more minutes. Let it steam gently until the grains soften.
- My rice cooked unevenly. Peeking during cooking is often to blame. Steam is what cooks the rice evenly, so keep the lid on and let it do its thing. Using a properly sized pot also helps prevent uneven evaporation.
- My rice is softer or firmer than I like. This method produces fluffy, tender rice with defined grains — similar to how it’s served in many restaurants. If you prefer softer rice, add 1–2 extra tablespoons of liquid next time. For firmer rice, reduce the liquid slightly.
FAQs
Yes, just be sure to use a pot large enough to accommodate the extra rice and liquid. Keep the same 1:1.5 rice-to-water ratio, and don’t rush the cooking time.
You don’t need it, but it makes a noticeable difference. The towel helps absorb excess steam as the rice cooks, keeping condensation from dripping back into the pot and making the rice sticky.
Absolutely. Chicken stock or vegetable stock adds extra flavor and works perfectly with this method. Just keep the same ratio. You could even try coconut milk (or a mix of coconut milk and water) for creamy coconut rice (my family’s fave!).
Brown rice needs more liquid and a longer cooking time, so this exact method isn’t ideal for it. I recommend a separate approach specifically designed for brown rice.
Storage and Reheating
Cooked rice keeps well, which makes it perfect for meal prepping and busy weeknights.
- To store: Once cooled completely, transfer it to an airtight container and refrigerate for up to 4 days.
- To reheat: add the rice to a microwave-safe bowl with a splash of water, cover loosely, and heat until warmed through, stirring once halfway. The added moisture helps re-steam the rice so it doesn’t dry out. You can also reheat rice on the stovetop by placing it in a saucepan over low heat with a few tablespoons of water, covering, and heating gently until warm.
- To freeze: Let the rice cool completely, then freeze it in an airtight container or resealable freezer bag for up to 3 months. Reheat straight from frozen with a splash of water to bring it back to life.
My favorite pro tip: Leftover rice makes the best fried rice. Day-old rice is slightly drier, which means it fries up better without turning mushy. Try it in my bacon and egg fried rice or pineapple chicken fried rice.
Serving Ideas
Perfectly cooked white rice is the ultimate blank canvas. Serve it alongside your favorite protein, as a base for bowls, or anytime you need something to soak up a great sauce (looking at you, coconut chicken curry!). Here are a few of my favorite ways to serve it:
Ingredients
- 1 cup long-grain white rice
- 1 1/2 cups water, broth or other liquid
Instructions
- Add the rice to a sieve then rinse it repeatedly under cold water until the water runs clear.
- Add the rice to a medium stock pot (with a lid) set over medium-high heat then add the water and ½ teaspoon kosher salt and stir to combine.
- Wrap a towel securely around the lid.
- Bring the mixture to a boil then cover it with the lid and reduce the heat to low.
- Cook the rice (covered) until the liquid has absorbed and the rice is tender, 15 to 20 minutes.
- Remove the lid then fluff the rice with a fork and serve.
Kelly’s Notes
- Liquid options: Water works great, but feel free to swap in chicken stock, vegetable stock, or coconut milk for extra flavor.
- Butter add-in: For richer rice, stir in 1–2 tablespoons unsalted butter after cooking, just before fluffing.
- To rinse or not to rinse: I include rinsing instructions for those who prefer it, but I personally never rinse my rice—and it still turns out fluffy every time.
- Rice-to-liquid ratio: I use a 1:1.5 ratio (1 cup rice to 1½ cups liquid). You can use up to 2 cups liquid if you prefer softer rice.
- The finger method: I rarely measure liquid. Add the rice to the pot, then add enough liquid so that the rice is covered by 1 inch (I stick my finger in the pot to gauge how much liquid there is).
- Storage: Let the rice cool completely, then store it in an airtight container in the refrigerator for up to 4 days. To reheat, add a splash of water and warm gently in the microwave or on the stovetop, covered, until heated through. Rice can also be frozen for up to 3 months.
- ★ Did you make this recipe? Don’t forget to give it a star rating below!
Nutrition
Did you try this recipe?
Leave a comment below with your star rating!
This post may contain affiliate links.


One you make rice this way, you will NEVER make it any other way. Perfect every single time! I passed this method on to my three college kids, and now they always have rice ready to go in their fridge, to add to a quick lunch or dinner! Thanks for teaching me something new in the kitchen!
Love reading this so much!