
Tired of slicing apples only to have them turn brown before you can enjoy them? I tested four of the most popular methods for how to keep apples from browning to see which one actually works (and passes the picky-kid taste test). The winner? A super simple trick that takes just 5 minutes—and it’s now a staple in our lunchboxes, party platters, snack prep and even cheese boards.
Ah, the ol’ parent report card: Just how much of their lunch did they actually eat?
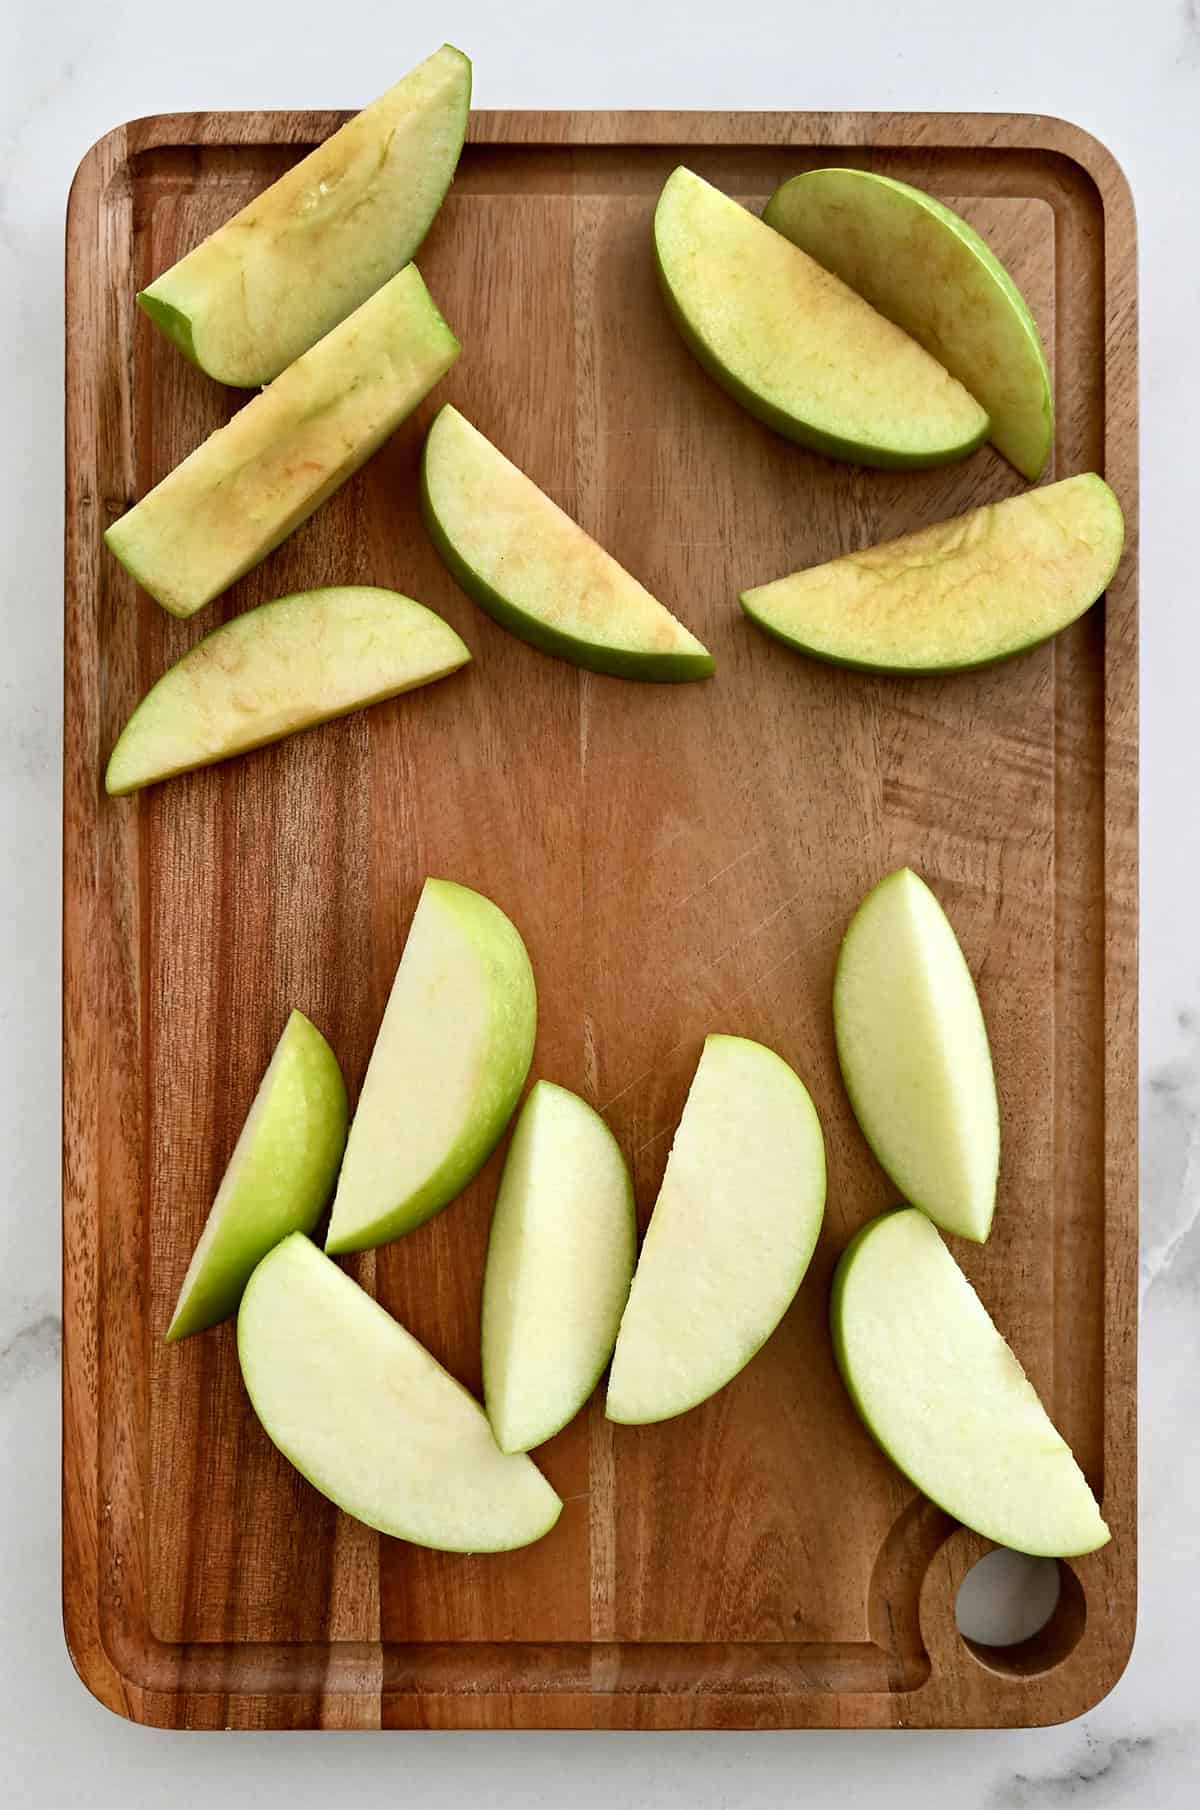
If brown apple slices are regularly making their way back home untouched, you’re not alone.
Luckily, I’ve tested four of the most popular methods for keeping sliced apples fresh—and I’ve got the scoop on which one actually works without leaving them tasting weird.
The Best Way to Keep Apples from Browning
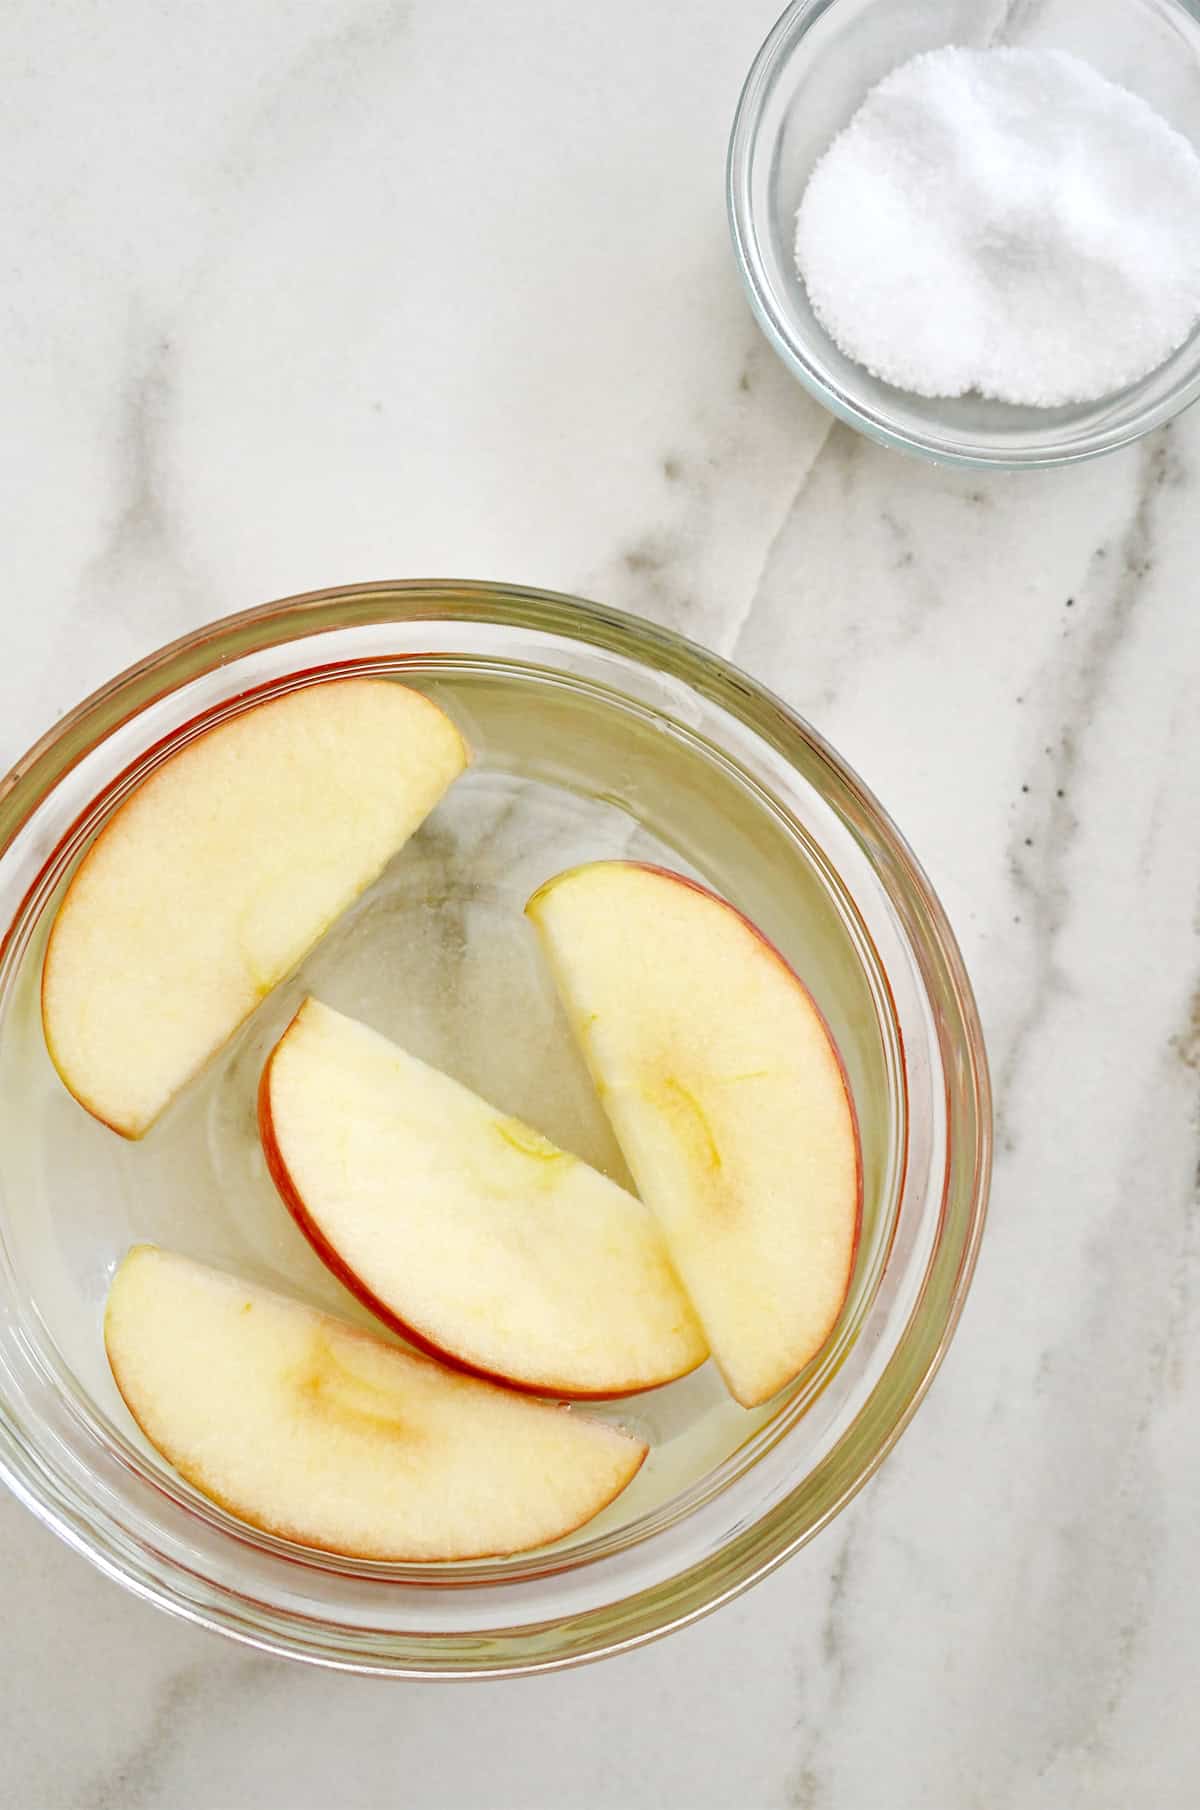
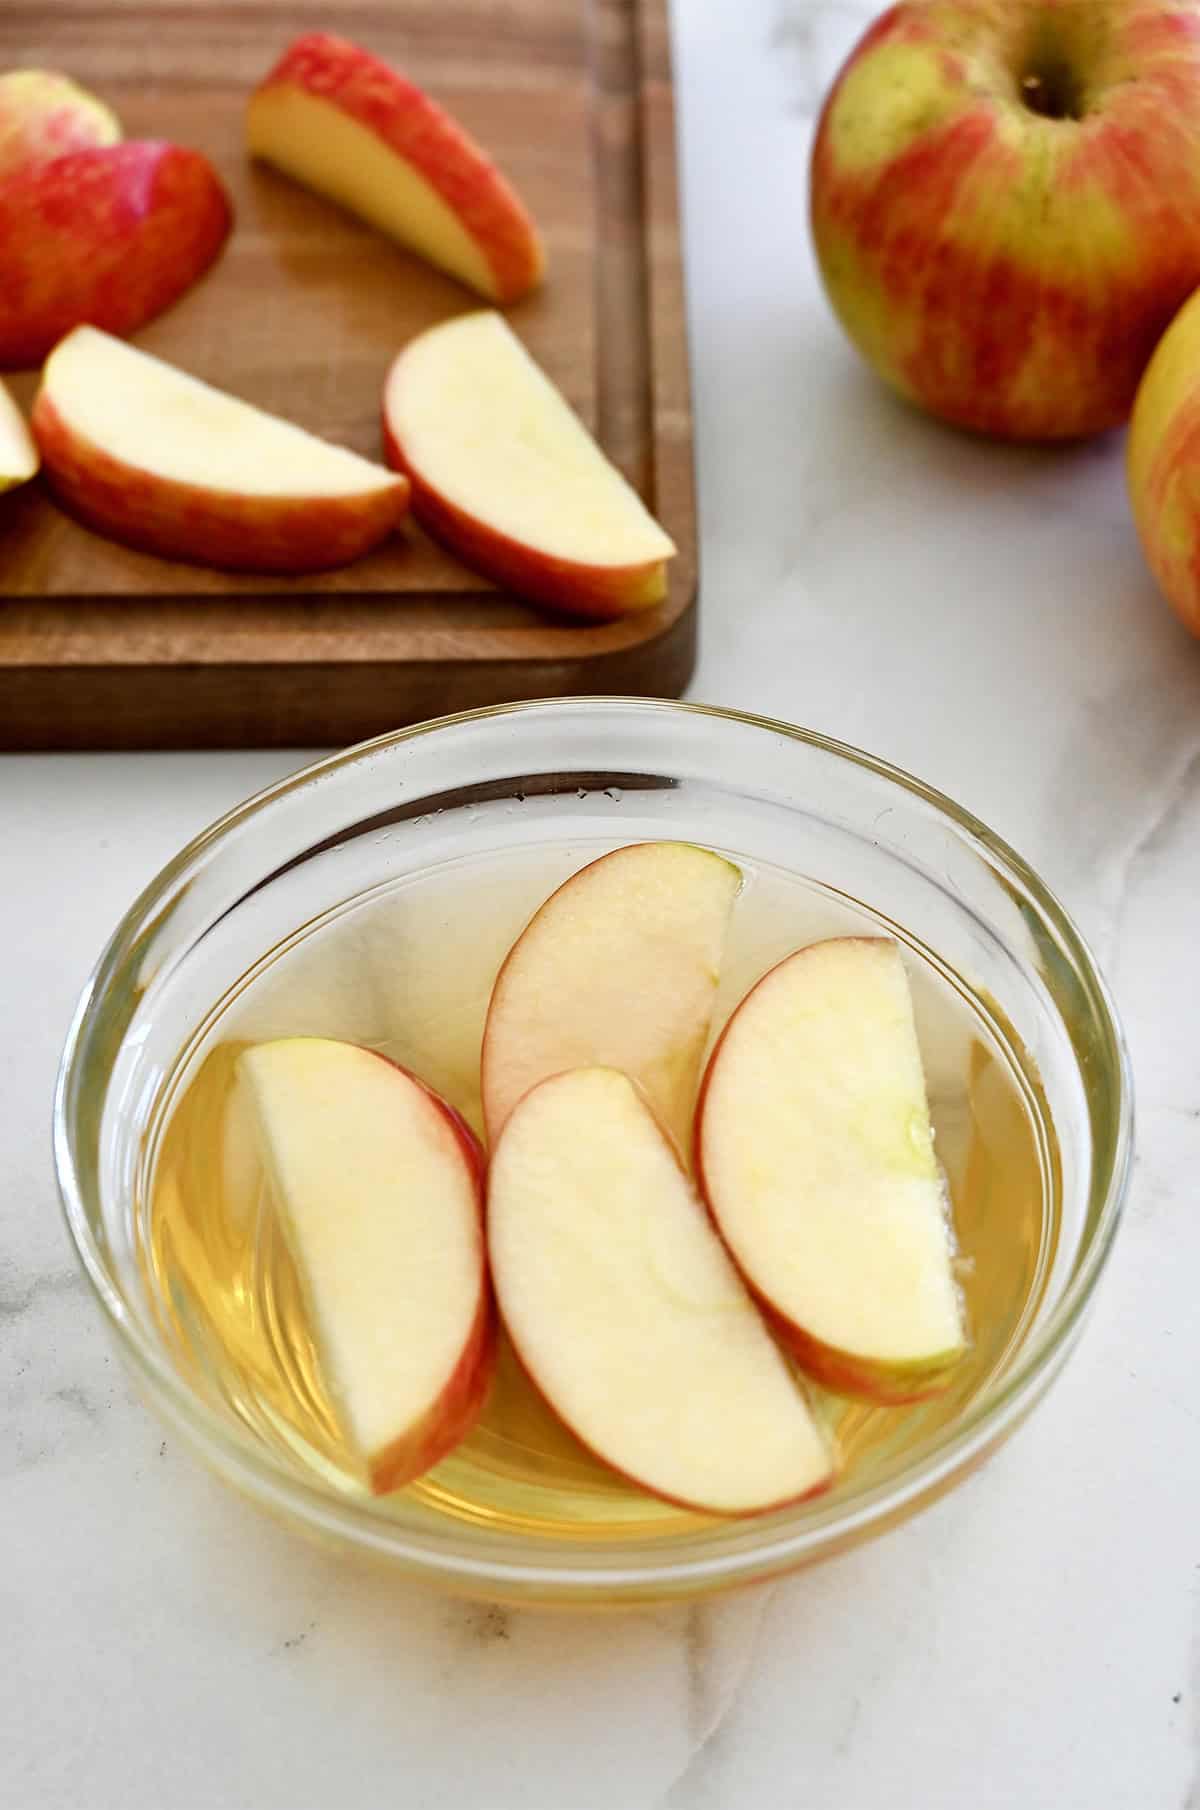
Soak sliced apples in salt water (½ teaspoon salt per 1 cup of water) for 5 minutes. Rinse, dry and pack! It keeps them fresh without affecting the taste for up to 6 hours.

I Tested 4 Popular Methods to Keep Apples Fresh
Science experiment, but make it mom life. I tested the most popular tricks so you don’t have to—because if anyone’s going to be picky about apple slices turning brown, it’s our kids. Here’s to no more sad, brown apples making the trip back home in the lunchbox!
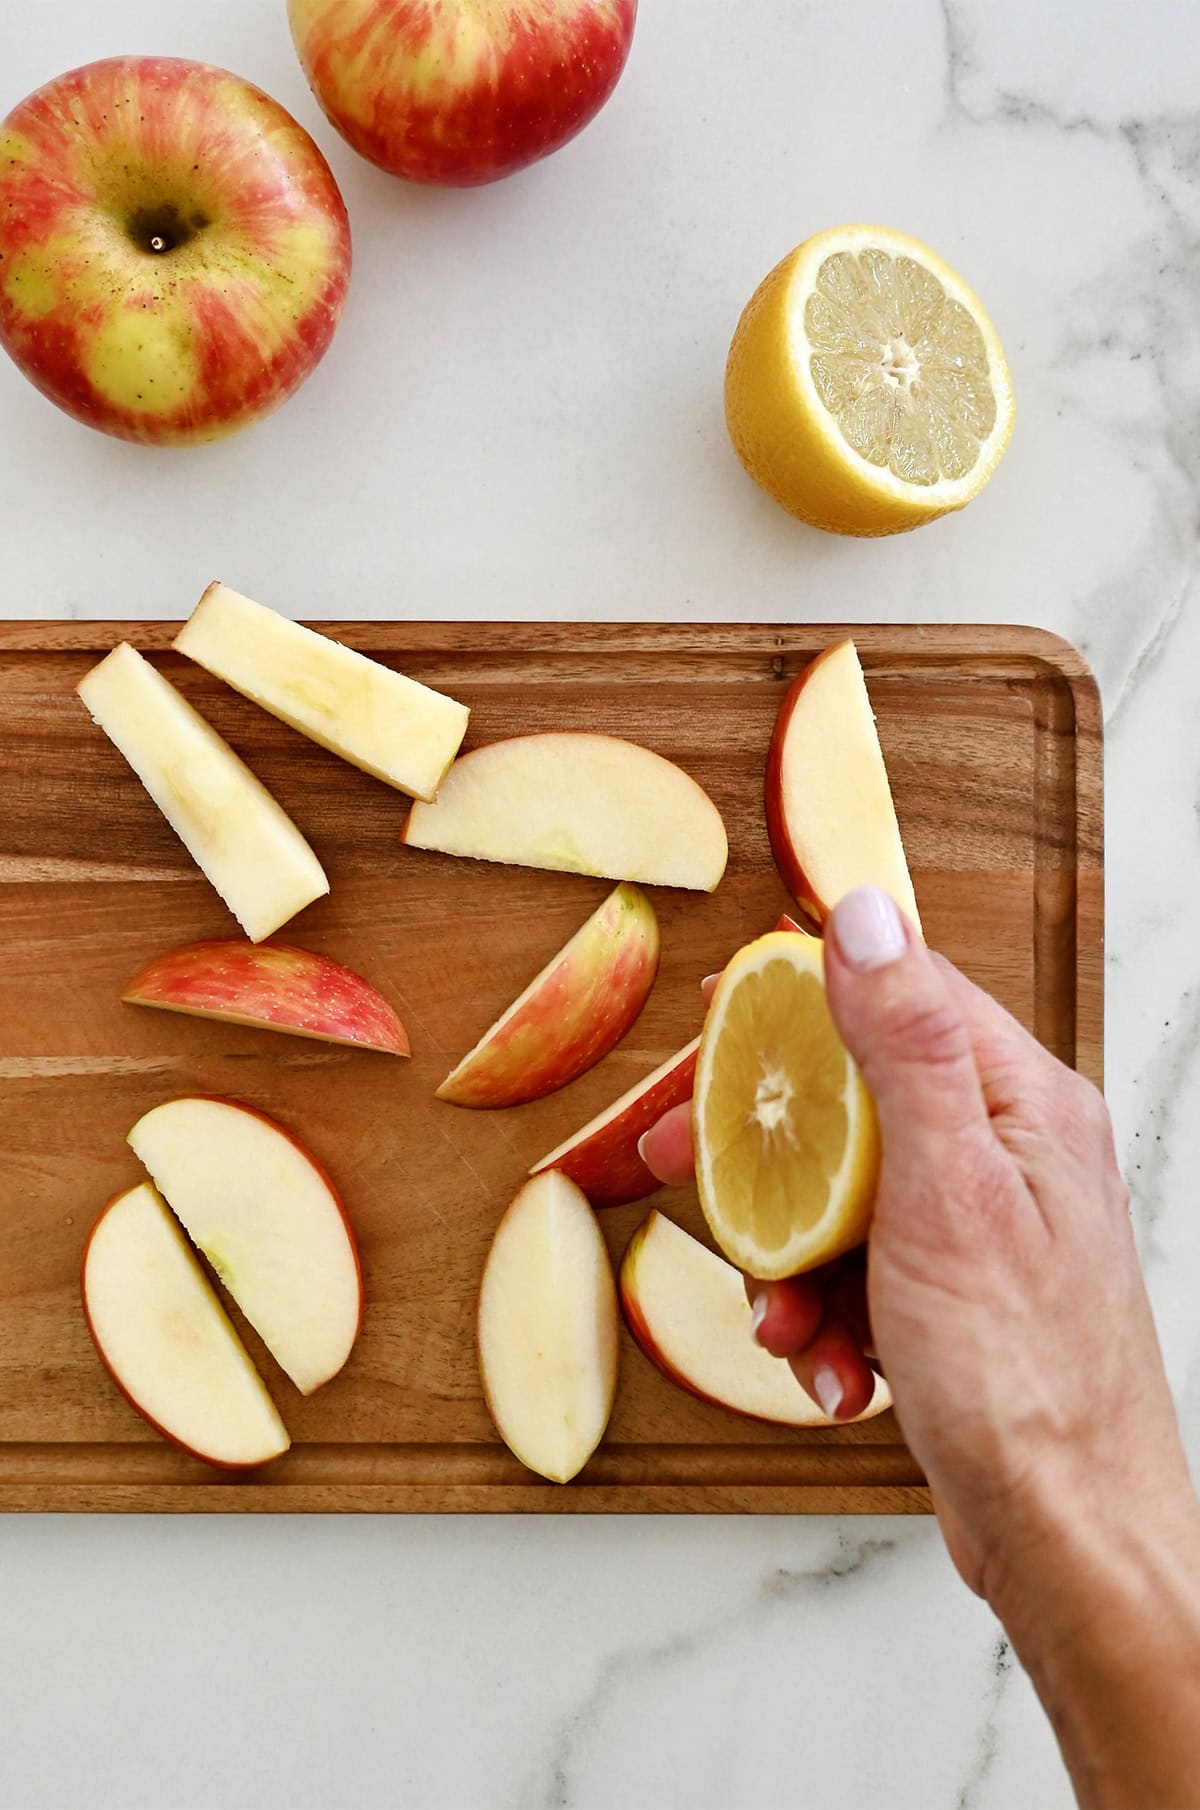
Method 1: Lemon Juice
The classic. A quick squeeze of lemon juice over sliced apples helps slow oxidation thanks to the acidity. It works, but let’s be honest—some kids (mine included) aren’t big fans of the tangy aftertaste.
Method 2: Salt Water Soak
This one surprised me! Soak the apple slices in a bowl of salt water (½ teaspoon salt per cup of water) for 5 minutes, then give them a quick rinse. The result? Crisp, fresh-looking apples with zero salty flavor. This method gets my vote for being the most effective without messing with taste.
Method 3: Fruit Preserver Powder
Fruit preservers (like Mrs. Wages Fresh Fruit Preserver) are made from citric acid and are super effective at slowing browning. Just sprinkle and toss. It works well and doesn’t change the flavor, but it’s one more item to remember to buy.
Method 4: Apple Juice Dunk
Yep, apple juice! Dunking sliced apples in apple juice coats them in a similar pH and sugar level, which slows browning and keeps the flavor consistent. It’s a great option if you already have juice on hand, and it definitely passed the kid taste test.

The Winner: Salt Water Soak
Out of all the methods I tried, the salt water soak came out on top. The apples looked the freshest after several hours, and none of my kids noticed a difference in taste. No citrus tang, no salty bite, no extra gadgets needed. Just a quick 5-minute soak and a rinse. It’s simple, budget-friendly and totally lunchbox-friendly. And that’s Just a Taste Approved!
Why it works: The salt slows oxidation by pulling moisture to the surface and slightly lowering the pH.
FAQs
Nope! Some apples brown faster than others. Granny Smiths tend to brown slower, while sweeter varieties like Gala or Honeycrisp brown more quickly. If your kid has a favorite, try the salt water method—it works across all types.
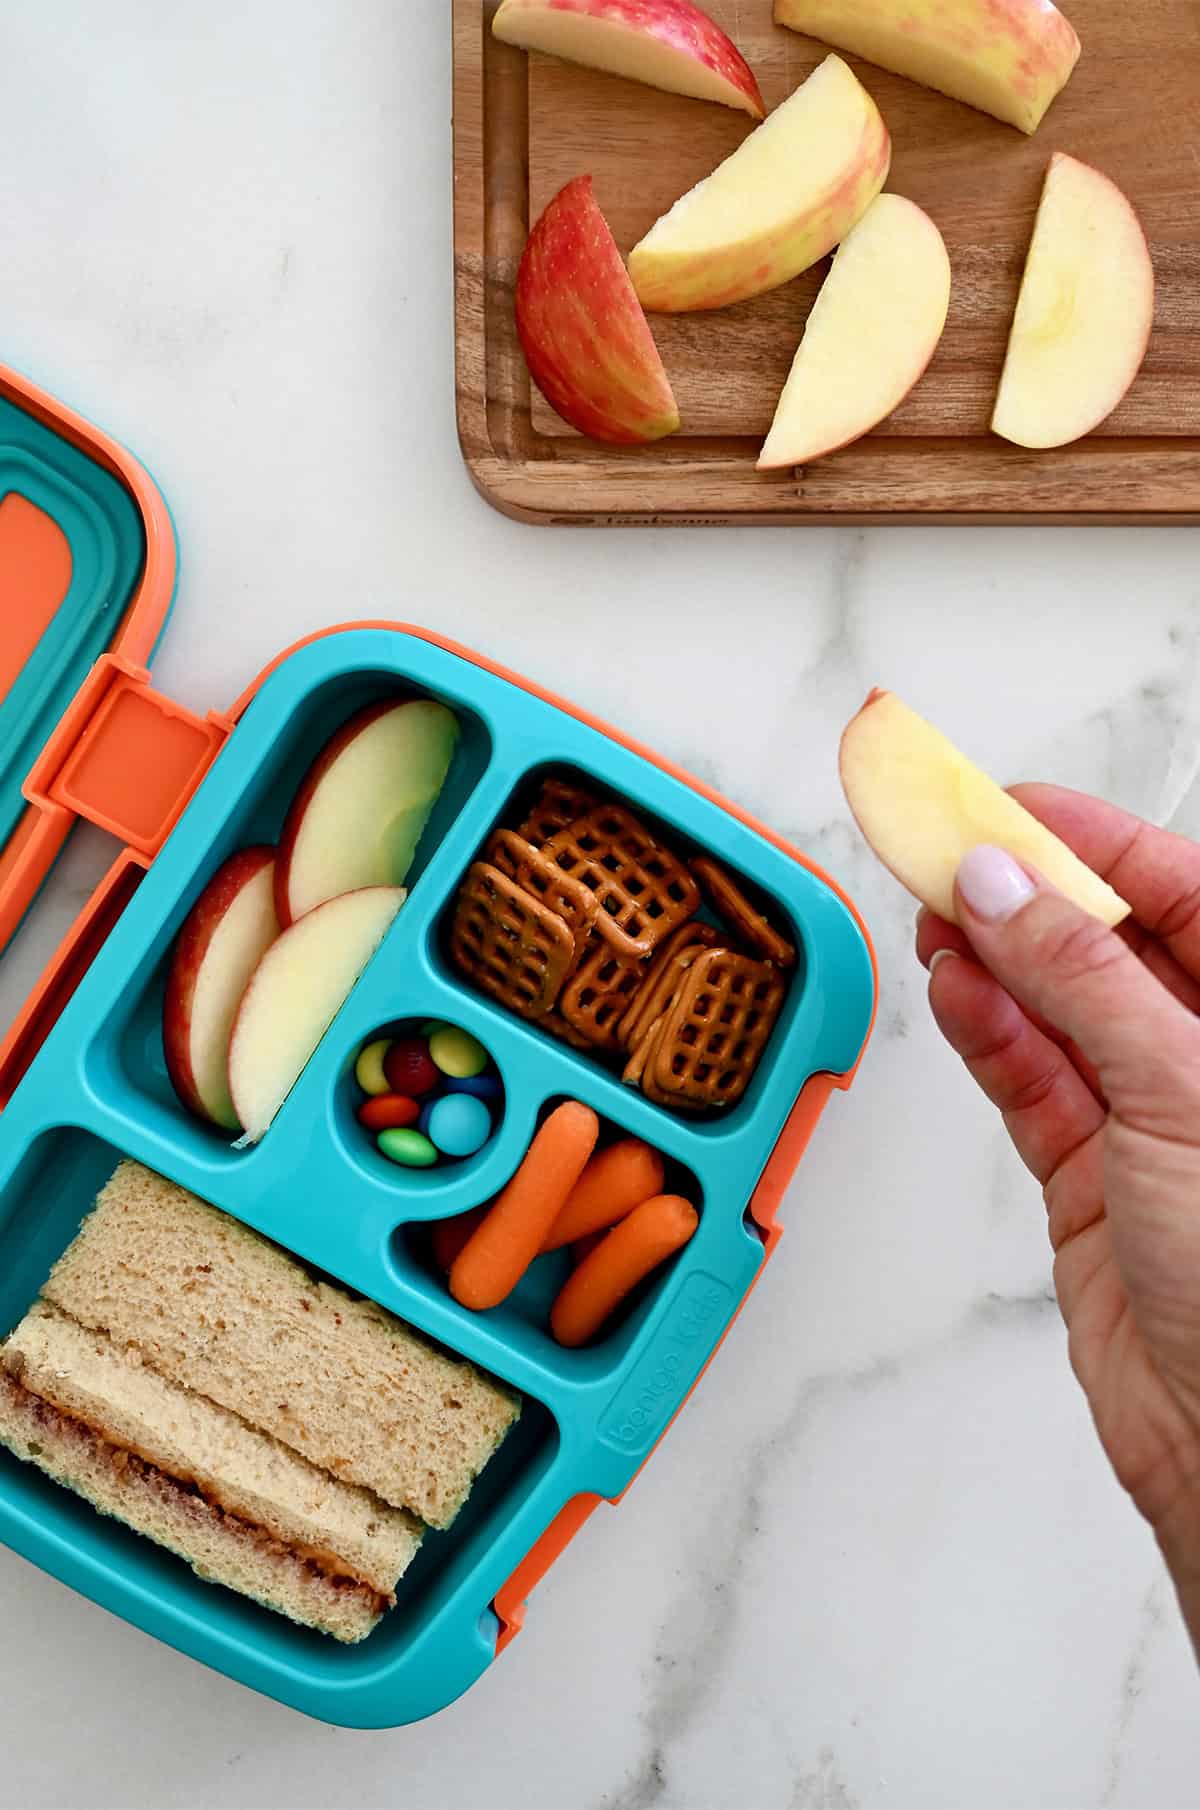
Yes! Use the salt water trick, rinse, dry, and then store them in an airtight container or snack bag in the fridge. I do this for school lunches all the time, and the apples stay crisp and fresh overnight.
Not at all—as long as you rinse them after soaking! The salt works its magic during the soak but disappears after a quick rinse. My kids never notice a thing.
With the salt water method, apples can look fresh for at least 6 hours—long enough to survive a full school day. I’ve even tested a few overnight, and they still looked great by morning.
None are totally foolproof, but salt water is your best bet for long-lasting results without affecting flavor. If appearance is a top priority (say, for a party platter), slice apples last-minute or use a fruit preserver powder.
This simple trick for how to keep apples from turning brown has been a game changer for my crew—and now it’s your turn to try it! Whether you’re whipping up an epic charcuterie board or just trying to survive a Tuesday morning rush, this easy method keeps your apples crisp, fresh-looking and totally kid-approved.
Got another lunch-packing question you want me to test? Let me know—I’m always game for a little mom science!
More Lunch-Packing Wins
Ingredients
- 1 cup cold water
- 1/2 teaspoon kosher salt
- Apple slices (1–2 apples, any variety)
Instructions
- Stir the salt into the water until dissolved.
- Add apple slices and let soak for 5 minutes.
- Rinse, pat dry, and pack into lunchboxes, serve on party platters, or store in the fridge for snacks, salads or cheese boards.
Kelly’s Notes
- Works for any type of apple.
- Keeps slices looking fresh for up to 6 hours.
- Kid-approved and taste-tested—no salty flavor after rinsing!
- ★ Did you make this recipe? Don’t forget to give it a star rating below!
Nutrition
Did you try this recipe?
Leave a comment below with your star rating!
This post may contain affiliate links.


I always soaked the slices in lemon lime soda (7Up, Sprite, etc) and that worked, too. I like the salt water better….always have those ingredients.
Great idea, Debbie!