
These Mini Halloween Cakes transform a box of cake mix into a spooky Halloween dessert! Sour cream makes the mini cakes extra moist, while a skull-shaped pan does all the decorating for you. Add a splatter of raspberry or strawberry sauce for a frightfully fun finishing touch.
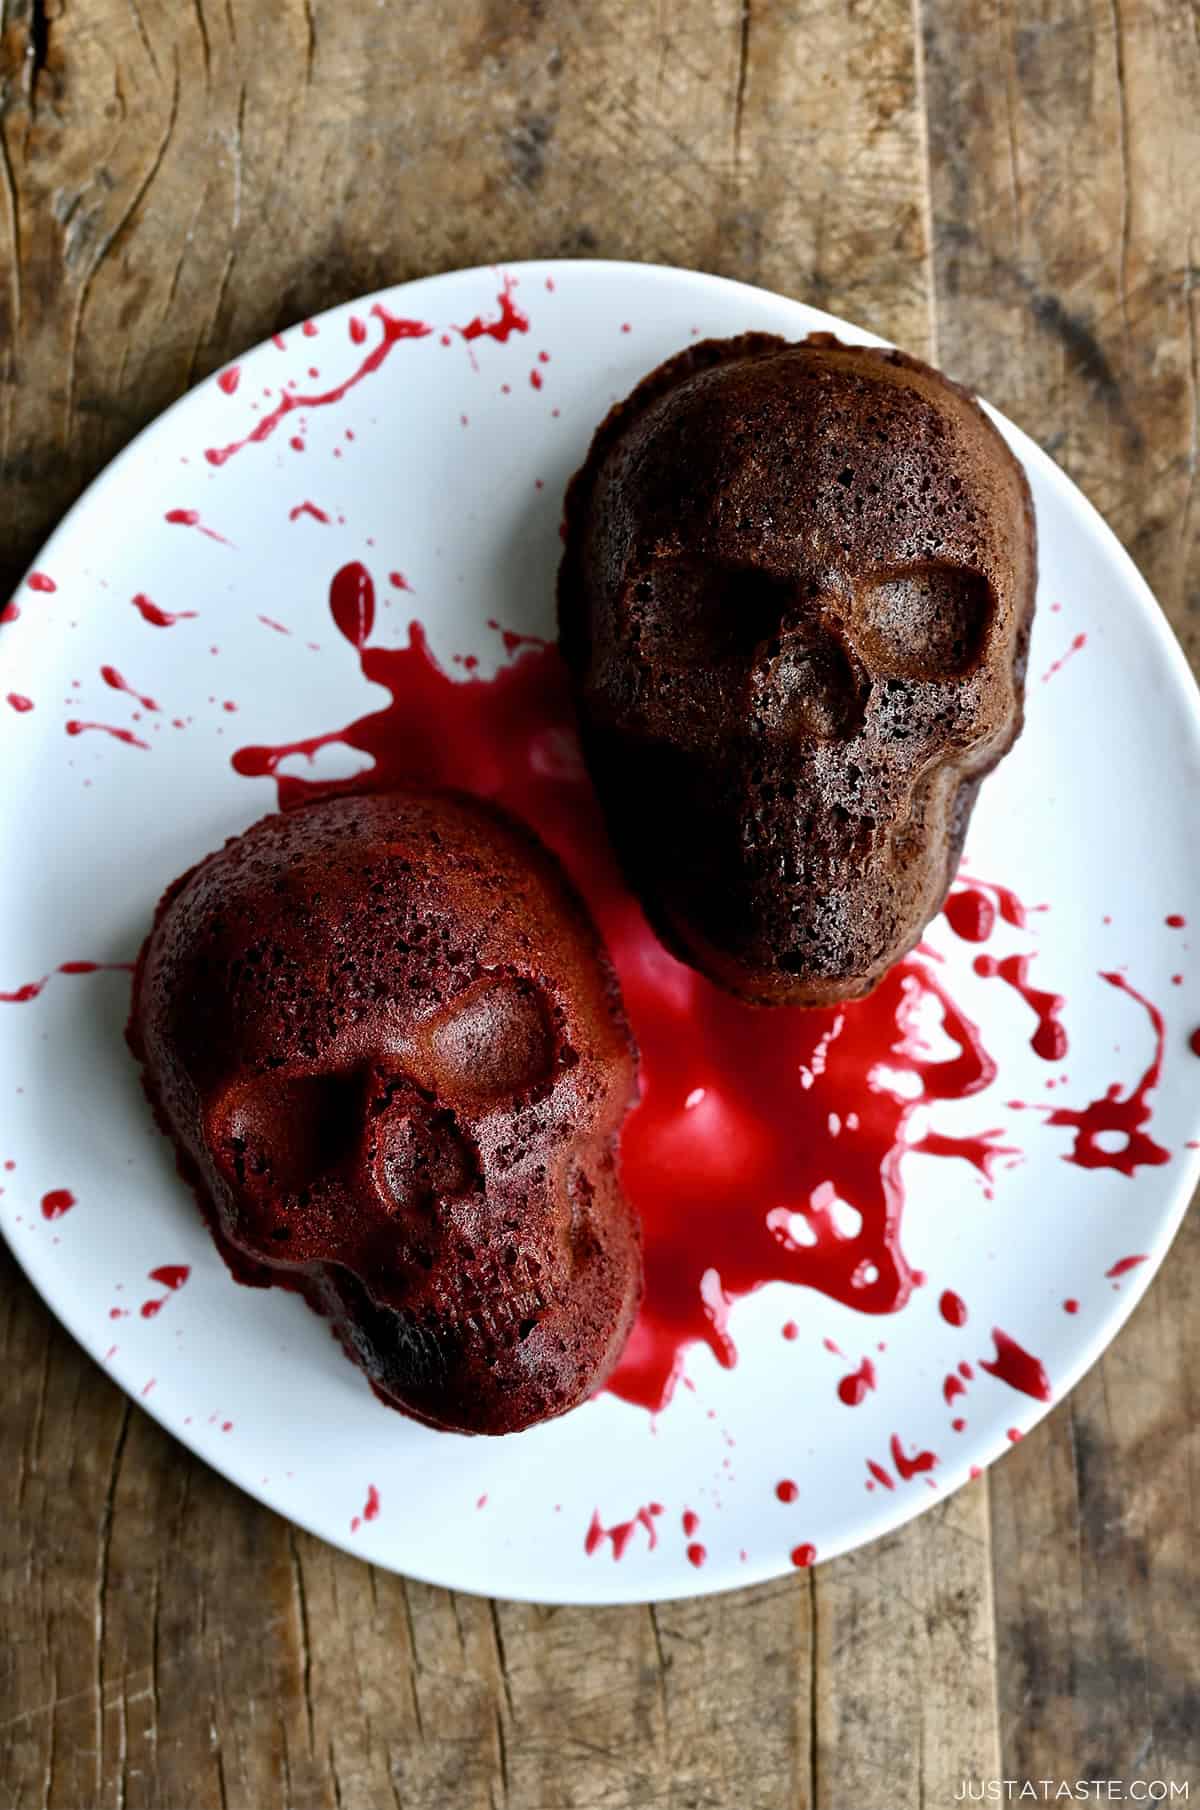
Table of Contents

I’m not usually one for single-use kitchen gadgets, but apparently all bets are off when Halloween rolls around. This is, after all, the woman who accidentally ordered an 8-foot, 64-pound spider named Steven for her front yard. So when I spotted this skull cakelette pan, restraint went right out the window.
These mini Halloween cakes start with a box of Devil’s Food or red velvet cake mix, upgraded with sour cream for an extra-moist texture. And the best part? The skull pan does all the decorating for you. No piping bags, no buttercream, no artistic skills required.
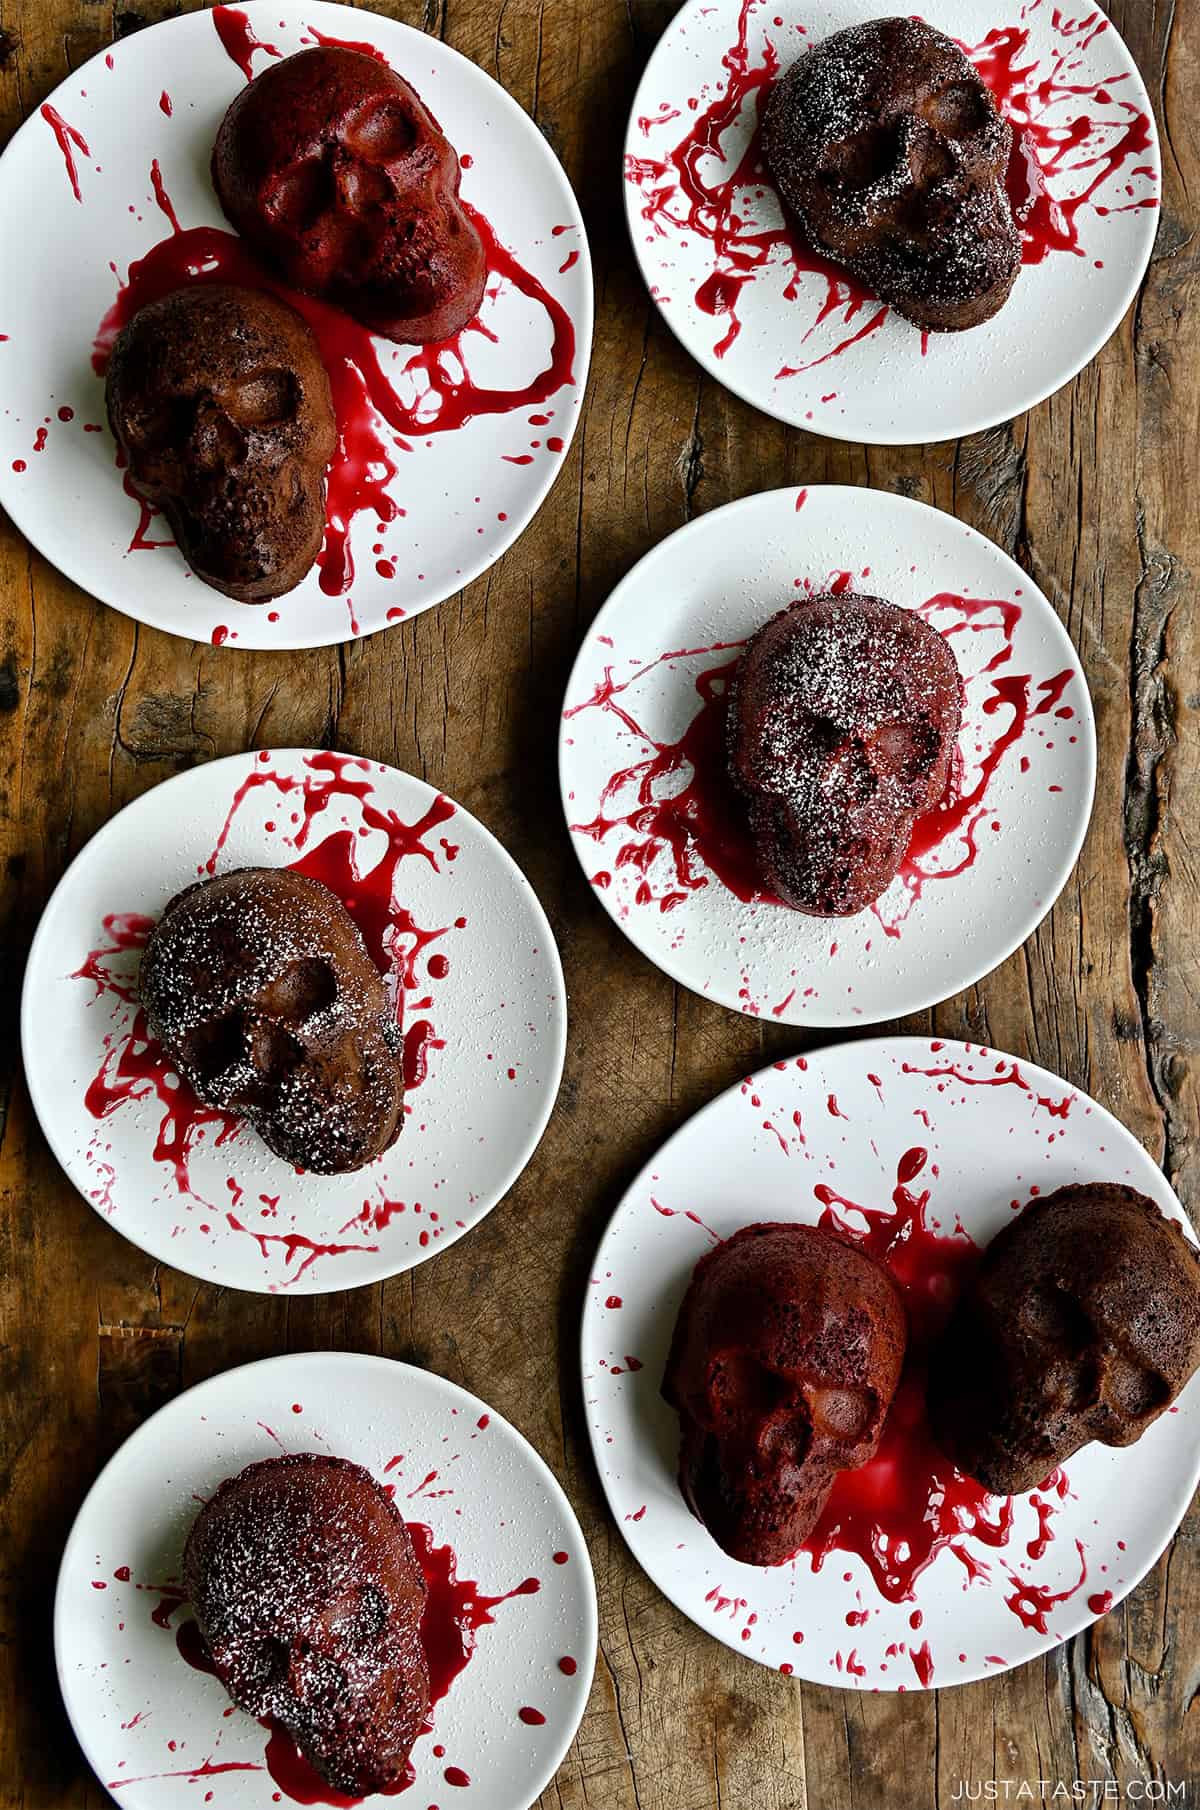
Serve them over a splatter of homemade raspberry or strawberry sauce for a bloody-good finishing touch, then dust with powdered sugar and prepare to scare the pants off your Halloween party guests.
If you’ve made my easy coconut cake or German chocolate cake, then you already know I’m a big fan of starting with a boxed cake mix and doctoring it up. It’s one of my favorite shortcuts for getting a moist, flavorful cake without measuring a dozen ingredients.
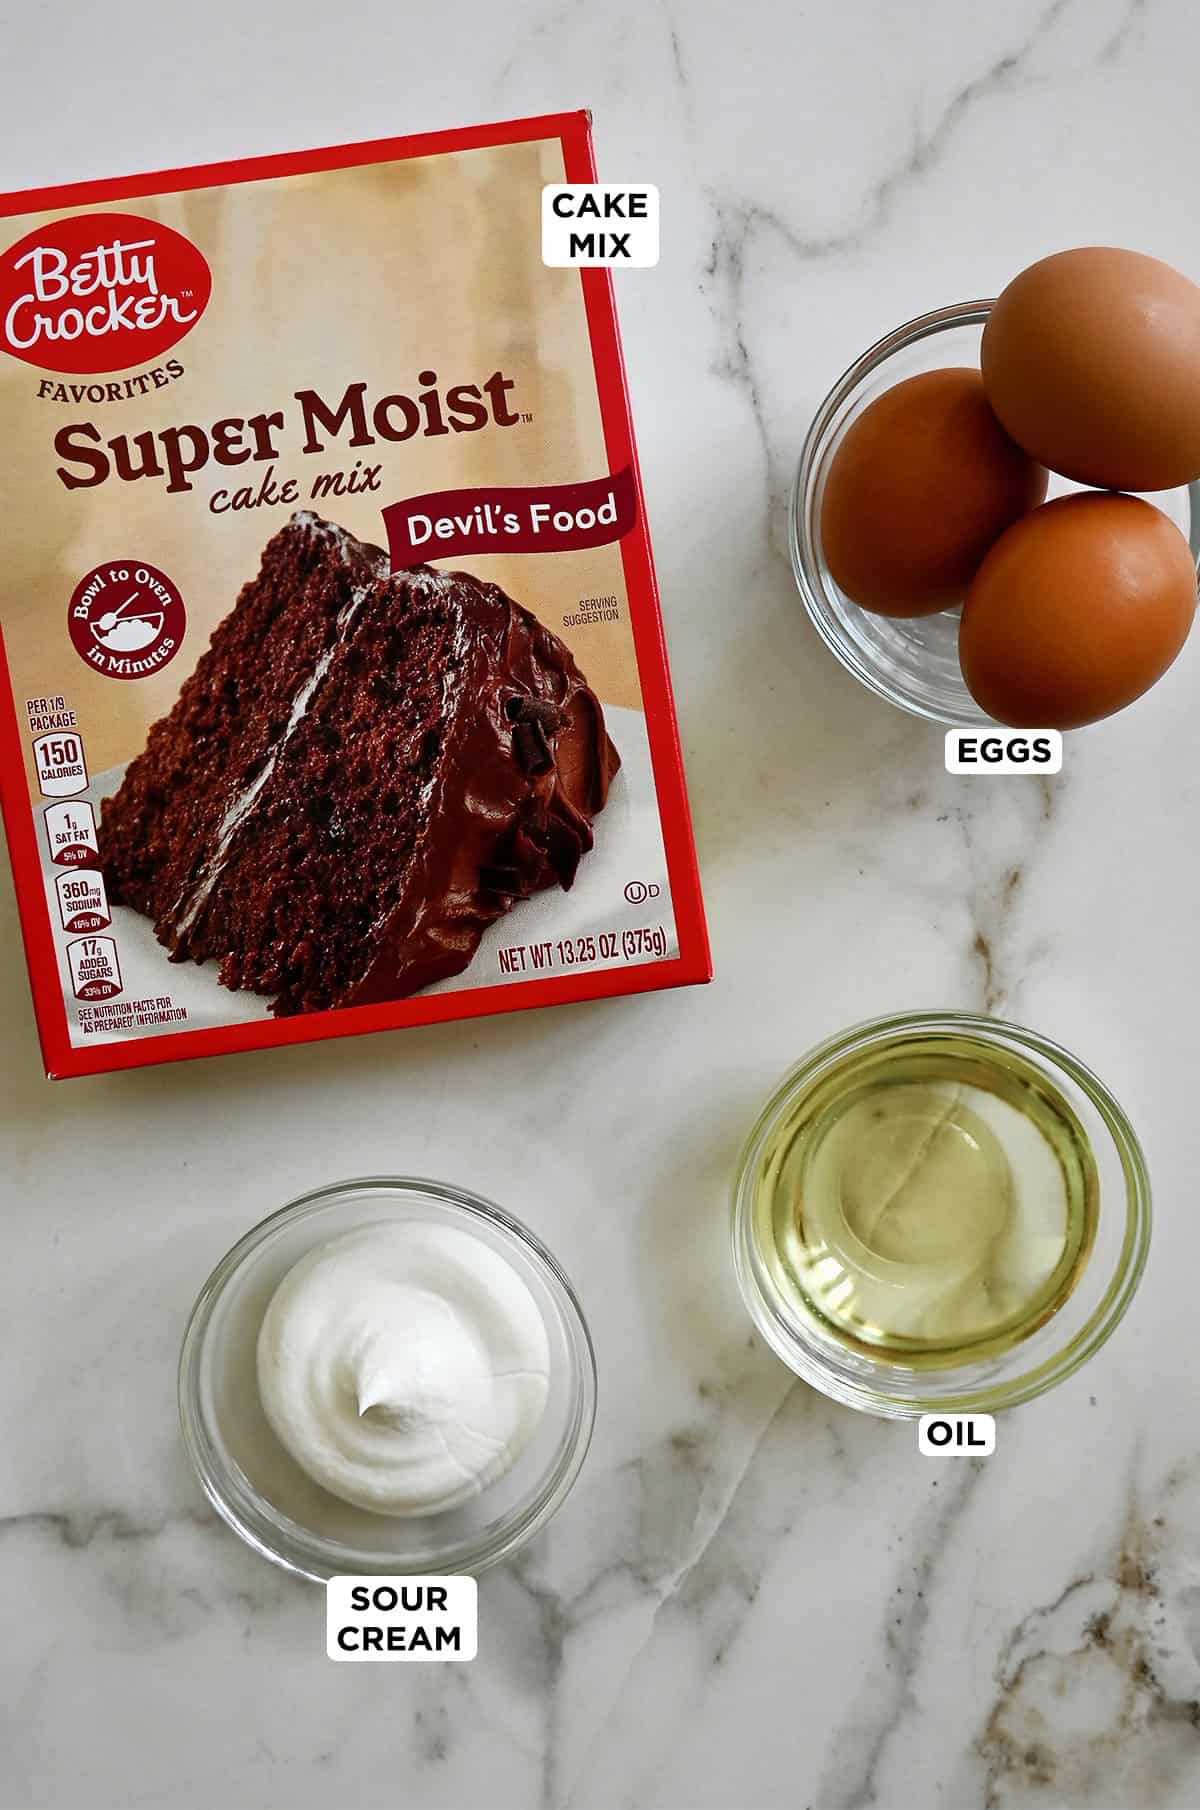
- Cake mix: I’ve made these mini cakes with both Devil’s Food and Red Velvet cake mix, but you can use any flavor you prefer. Just make sure you’re starting with a 13.25-ounce box of cake mix so the ingredient ratios stay the same.
- Sour cream: This is one of my favorite ingredients for adding moisture to baked goods. I use it in everything from my sour cream banana bread to coffee cake muffins, and here it transforms boxed cake mix into soft, tender cakes that taste much more homemade.
- Vegetable oil: Helps keep these mini cakes moist, even after they’ve cooled. Canola or another neutral-flavored oil works, too.
- Raspberry or strawberry sauce: Either the raspberry sauce from my chocolate lava cakes recipe or my strawberry sauce creates the perfect bloody splatter underneath each skull. Use whichever you prefer.
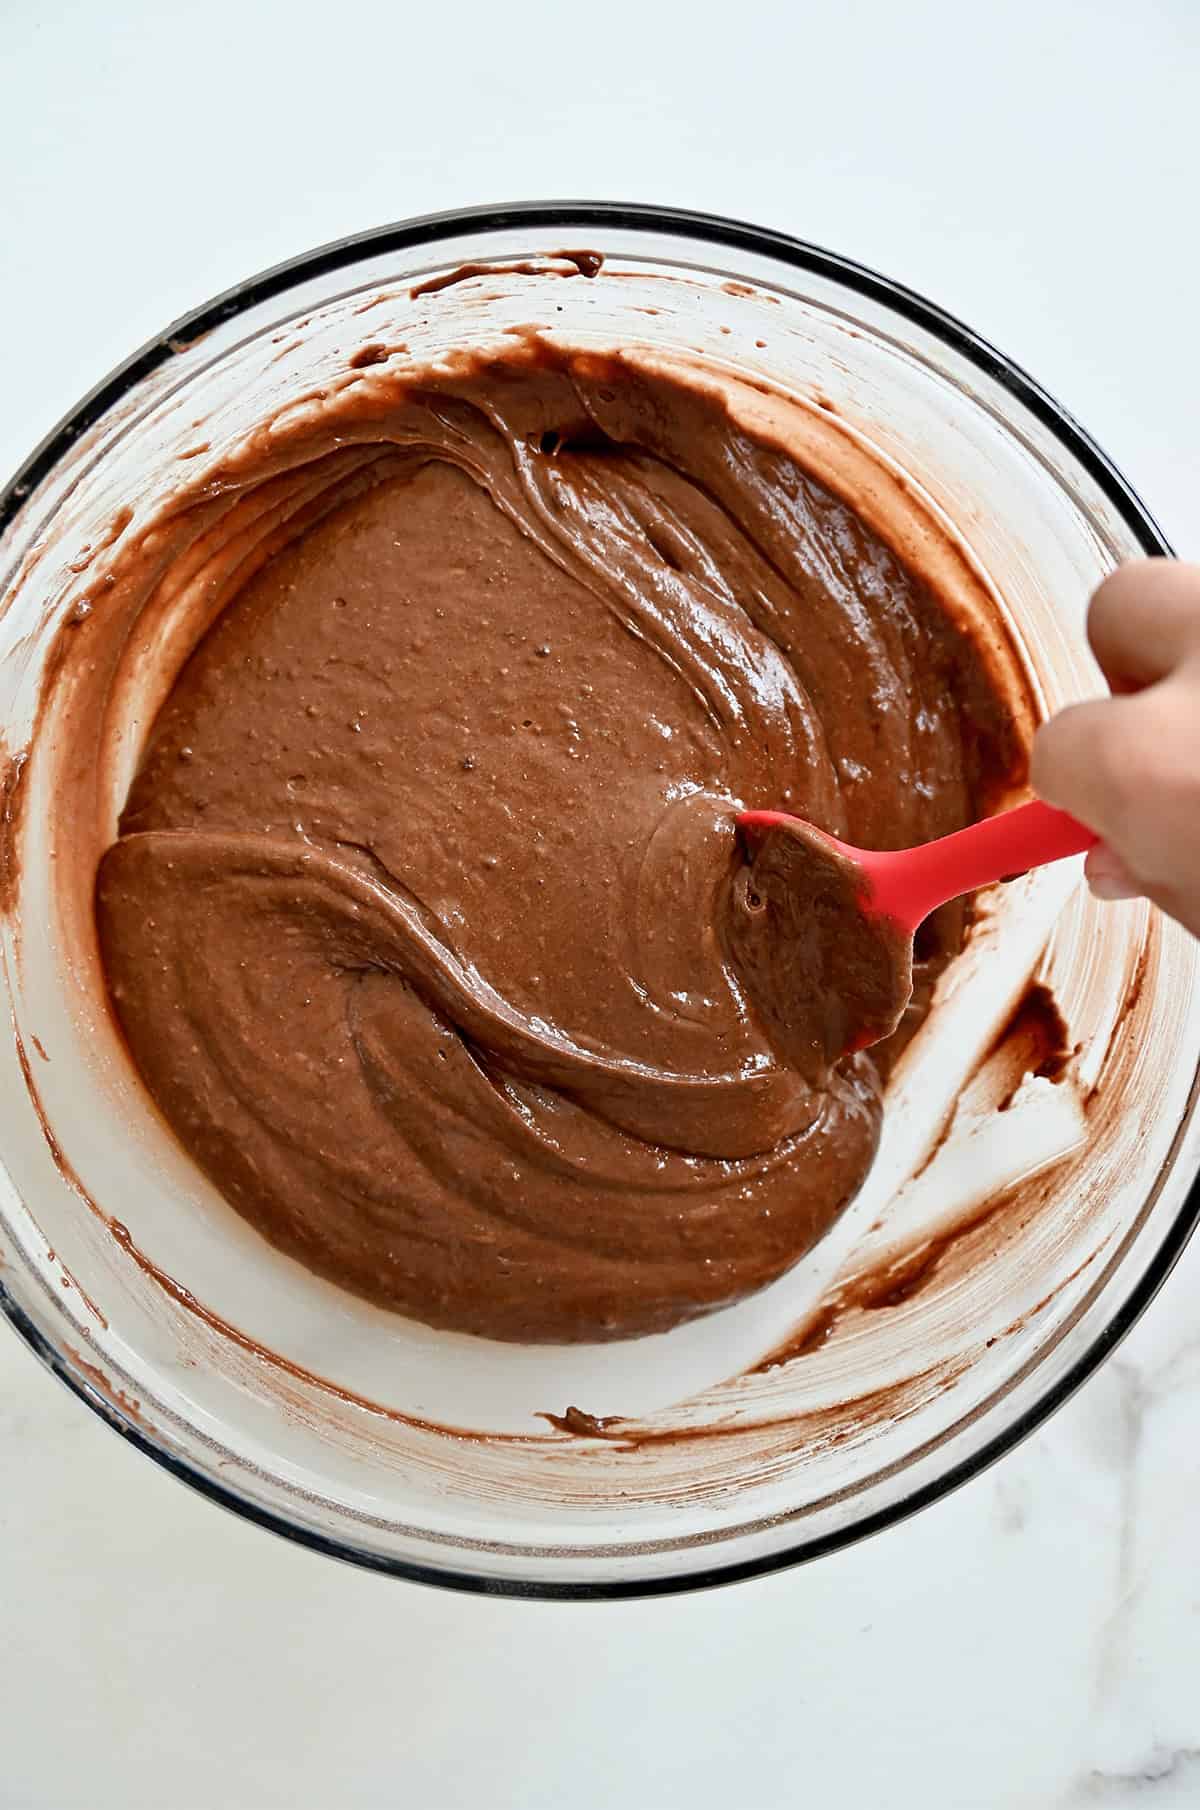
This cake batter couldn’t be easier to make. Everything comes together in one bowl with just a whisk. The finished batter should be smooth and pourable:
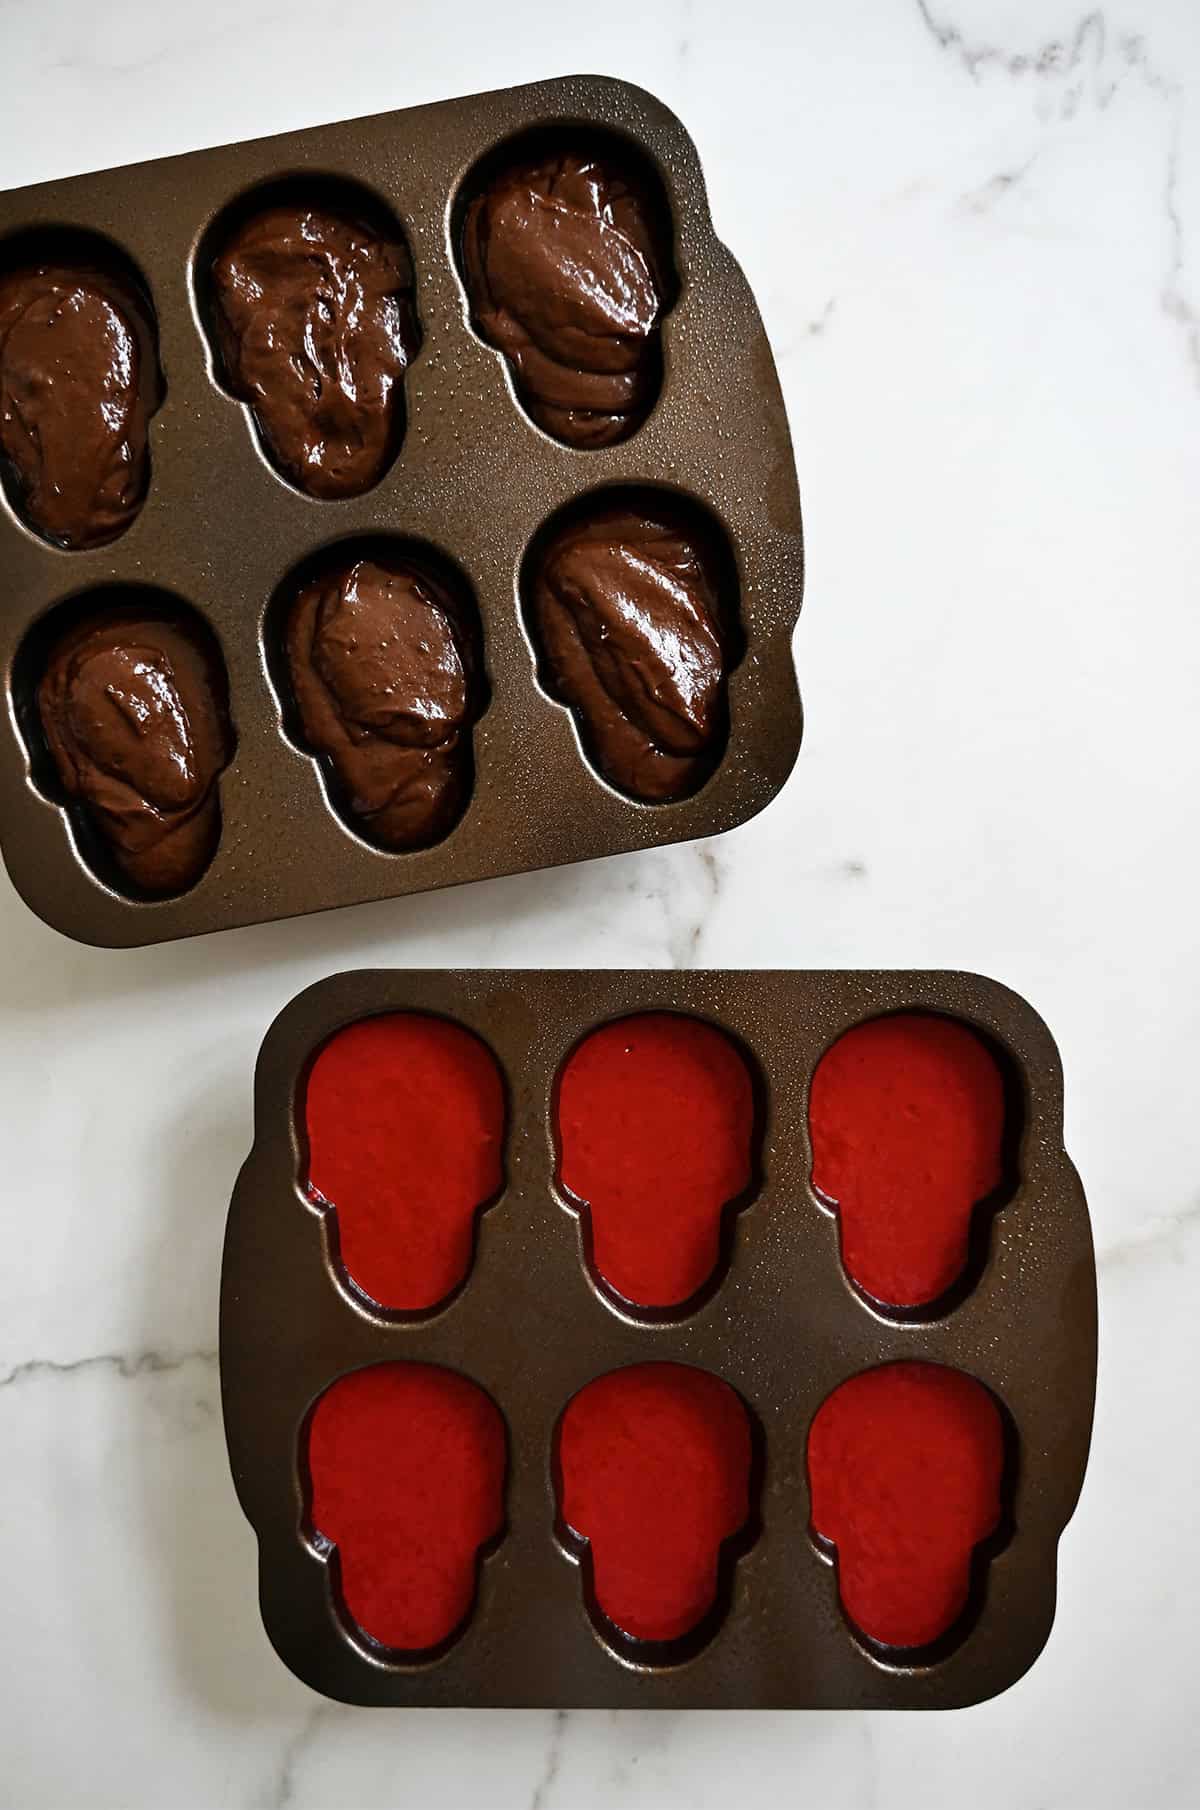
About the skull cake pan: I use this Nordic Ware Skull Cake Pan, which has six individual cakelette cavities. But here’s the thing: this recipe makes enough batter for eight mini cakes, and while it may be tempting to divide all the batter among the six molds, don’t do it! I tested it, and the cakes overflowed. If you only have one pan, bake the first six, let the pan cool completely, then grease two of the molds again and bake the remaining batter. And don’t retire the pan after Halloween cakes! You can also use it to make everything from skull-shaped ice for Halloween punch to muffin tin pizza pockets.
4 Tips for Perfectly Shaped Skull Cakes
The skull pan does most of the decorating for you, but getting all those creepy little details to release cleanly comes down to a few important steps:
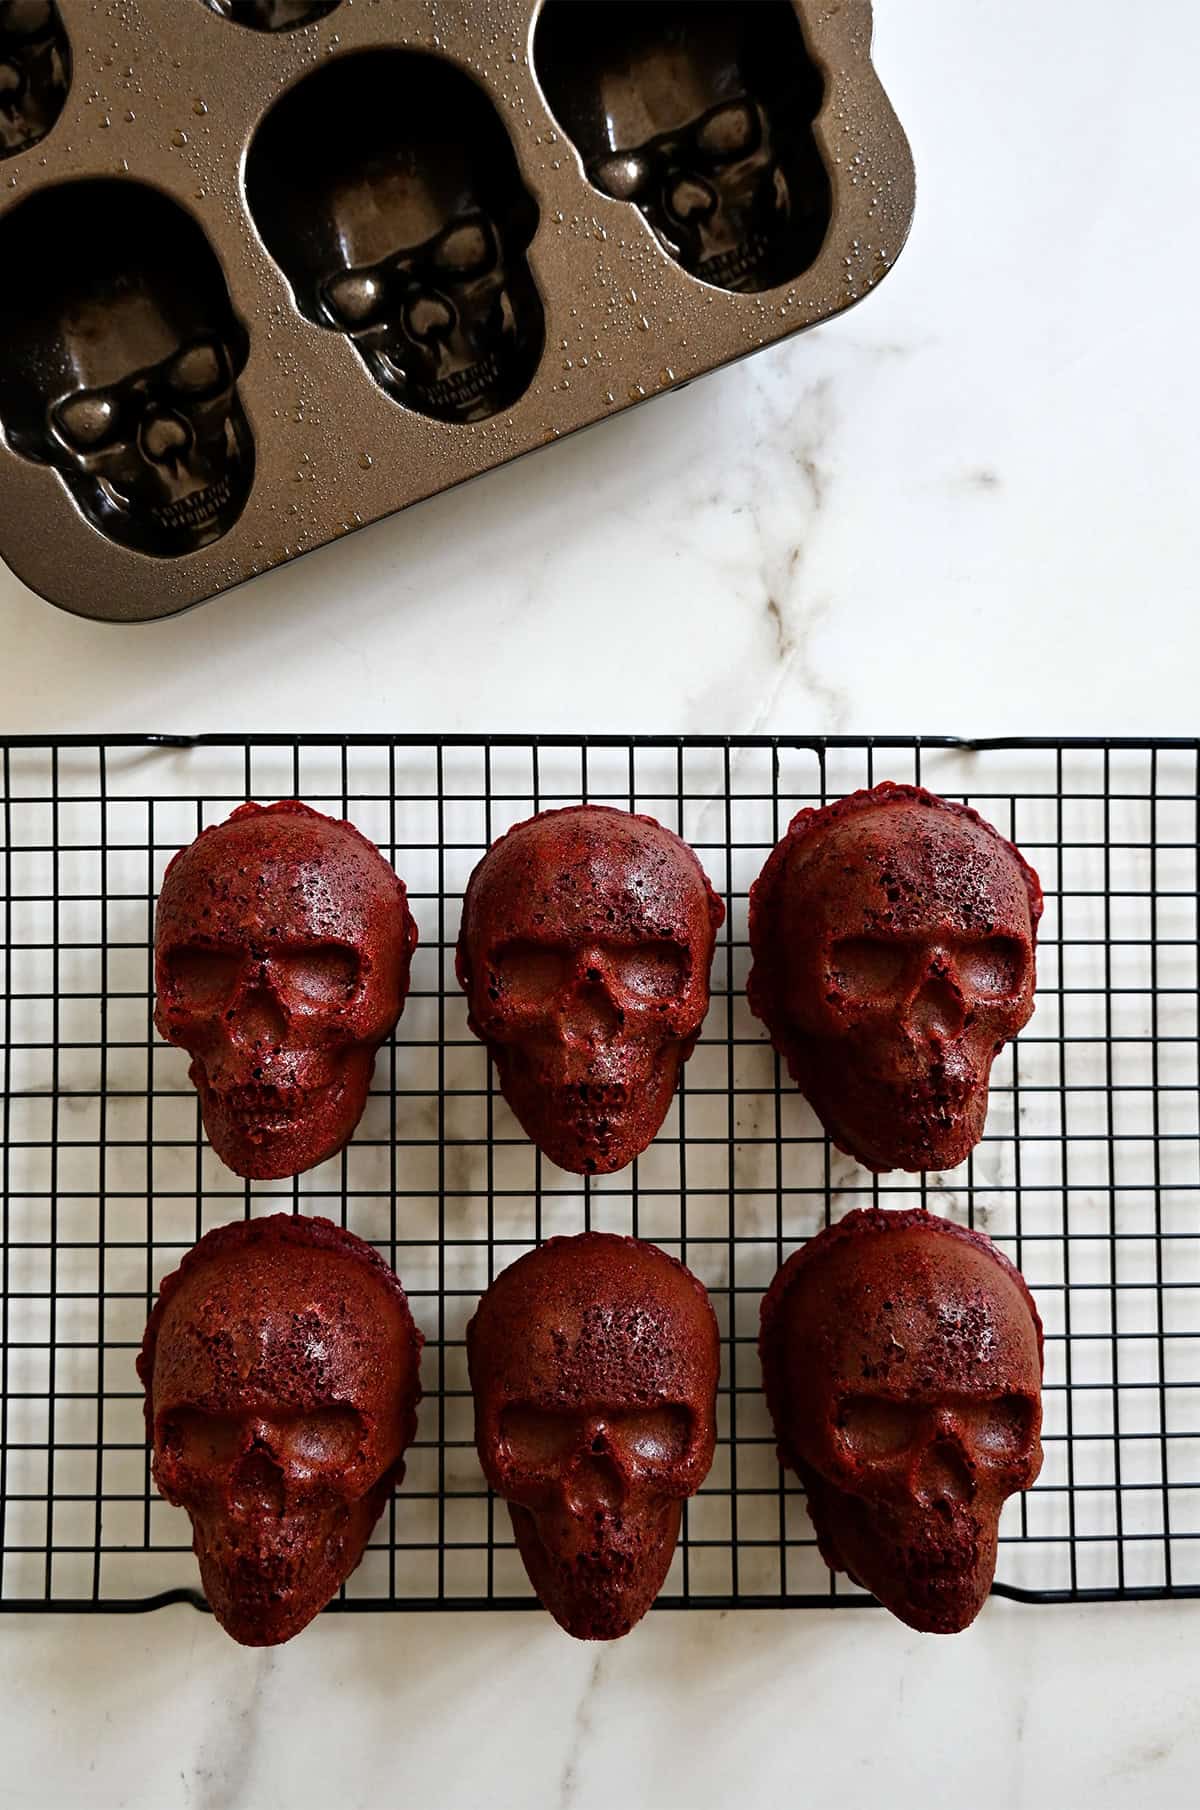
- Grease every nook and cranny. Those eye sockets, cheekbones and teeth are exactly what make these Halloween cakes so fun, but they’re also prime spots for sticking. Coat the molds generously with cooking spray, making sure you get into every crevice.
- Fill each mold ¾ full. This gives the cakes enough room to rise without overflowing while still filling out all those intricate skull details.
- Give the pan a few good taps. Once you’ve added the batter, gently tap the pan against the counter several times. This releases trapped air bubbles and helps the batter settle into the intricate details for more defined eyes, teeth and cheekbones once baked.
- Don’t rush the unmolding. Let the cakes cool in the pan for 5 minutes before inverting them onto a wire rack. They need those few minutes to set up so they’re less likely to break when released from the molds.
How to Create the Spooky Splatter
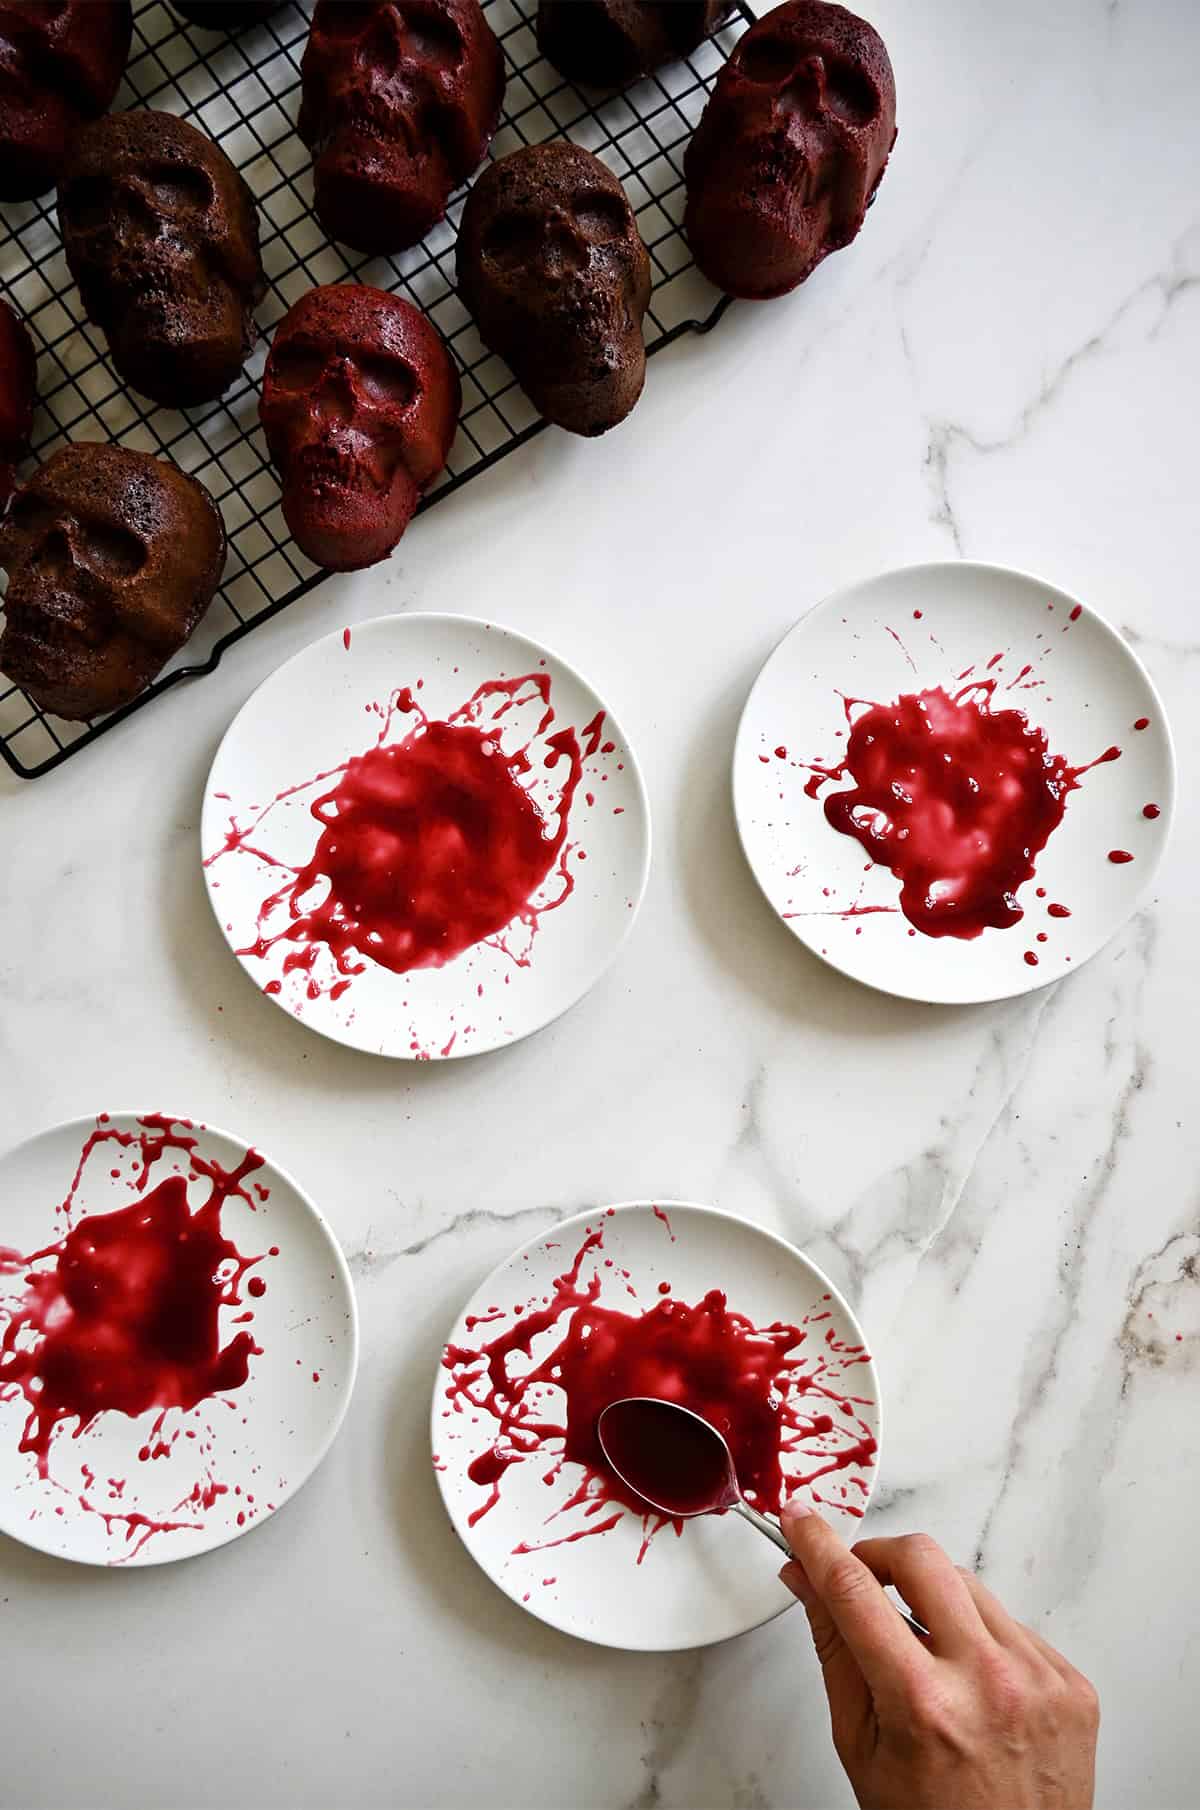
Now for the fun part! Add a dollop of raspberry sauce to the center of each serving plate, then smack the back of a spoon down on top to create a splattered effect. Place a skull cake on top and finish with a dusting of powdered sugar.
You could absolutely serve these with a scoop of ice cream or homemade whipped cream, too. And if you’re planning a full-on spooky spread, don’t miss all of my Halloween recipes, party ideas and decorating tips, including candy apples (one of my fave fall recipes!).
Equipment
Ingredients
- Cooking spray
- 1 (13.25-oz.) box Devil’s Food or Red Velvet cake mix
- 3 large eggs
- 1 cup water
- 1/2 cup vegetable oil
- 1/2 cup sour cream
- Raspberry or strawberry sauce, for serving
- Powdered sugar, for serving
Instructions
- Preheat the oven to 325°F. Grease the skull cake pan with cooking spray.
- In a large bowl, whisk together the cake mix, eggs, water, vegetable oil and sour cream.
- Fill six of the skull molds ¾ full. Do not overfill the molds or the cakes will overflow. If you have a second skull pan, divide the remaining batter between two additional molds. Gently tap the pan(s) on the counter several times to release any air bubbles.
- Bake the cakes until a toothpick inserted comes out clean, 27 to 30 minutes. Let the cakes cool for 5 minutes in the pan before inverting them onto a wire rack to cool completely. If using one pan, let it cool completely, then grease two of the molds again, divide the remaining batter between them and repeat the baking and cooling process.
- Add a dollop of the raspberry or strawberry sauce to the center of each serving plate, then carefully smack a spoon down on top of it to create a splattered effect.
- Place each cake on top of the sauce, then dust it with powdered sugar and serve.
Kelly’s Notes
- Cake mix: I’ve tested this recipe with both Devil’s Food and Red Velvet cake mix. You can use another flavor, but make sure you’re starting with a 13.25-ounce box so the ingredient ratios stay the same.
- Pan: I use the Nordic Ware Skull Cake Pan, which has six cavities. This recipe makes eight mini cakes, so if you only have one pan, you’ll need to bake the final two in a second batch. Don’t try to squeeze all the batter into six molds or the cakes will overflow!
- Sauce: Either the raspberry sauce from my chocolate lava cakes recipe or my strawberry sauce works great for creating the splattered effect.
- Make-ahead and storage: The mini cakes can be baked up to 2 days in advance and stored in an airtight container at room temperature. Wait to add the berry sauce and powdered sugar until just before serving. Leftover cakes will keep for up to 3 days at room temperature.
- ★ Did you make this recipe? Don’t forget to give it a star rating below!
Nutrition
Did you try this recipe?
Leave a comment below with your star rating!
This post may contain affiliate links.
These mini skull cakes are an absolute MUST for spooky season! My friends loved the “blood splatter” (I went with the strawberry sauce), and even added spooky candy eyes for a truly terrifying moment. 10/10!
Great idea with the candy eyes, Crystal!
Did a test run for my Halloween party and I am so obsessed!!! Tried the red velvet but will do chocolate, too!
So glad you enjoyed it, Ellie! Have a wonderful party!