Upgrade a classic appetizer with a party-friendly recipe for The Best Deviled Eggs with Bacon starring a creamy filling loaded with crispy bacon and chopped fresh chives.

Table of Contents
Tired of the same ol’ boring deviled eggs? I’ve got you covered, from pickled to holiday-themed to loaded with guacamole! But this latest spin starring bacon might just be my favorite of all. The creamy egg yolks mixed with mayo, mustard, and sweet relish create a smooth and velvety texture that’s balanced out by crispy bacon crumbles.
Bacon isn’t just a simple ingredient in deviled eggs. It’s a game-changer. The salty, smoky flavor of cooked bacon is the perfect complement to the rich and creamy egg yolk filling. It takes the classic appetizer from good to gourmet in just one step. Not only does it enhance the flavor, but it also adds a visual appeal with its crispy, crumbled texture on top.
Why You’ll Love this Recipe
- The perfect blend of creamy and crunchy.
- Takes classic deviled eggs to the next level with its savory bacon flavor.
- With just a few simple ingredients and a few minutes of your time, you can easily transform a traditional snack into a truly unique and memorable dish.
- Perfect make-ahead appetizer for any occasion!
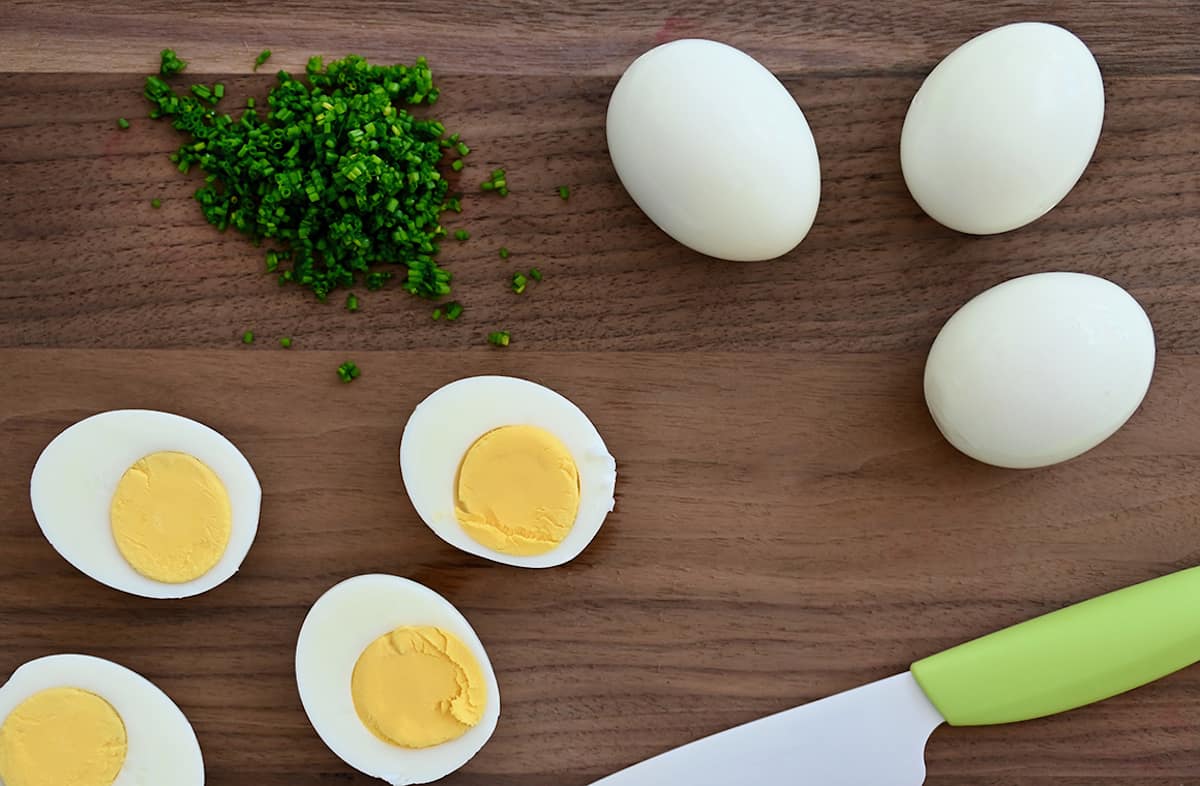
- Eggs: The best deviled eggs start with well-cooked hard-boiled eggs. I share my tried-and-true recipe for perfectly hard-boiled eggs below.
- Mayonnaise: Not a fan of mayo? Swap in plain Greek yogurt instead!
- Mustard: I prefer to use yellow mustard but dijon would work, too. Feel free to add a bit more or less to taste.
- Sweet relish: Finely chopped sweet pickles can be used if you don’t have sweet relish on hand.
- Bacon: I recommend using your favorite variety of bacon.
How to Make Perfect Hard-Boiled Eggs for Deviled Eggs
Cooking the perfect hard-boiled egg can be tricky. Over the years I’ve found one method that never lets me down. If you’re a home cook looking for the ultimate key to perfectly cooked whites and golden yolks, this foolproof method is for you.
- Add the eggs to a pan and add enough water to be 1 inch above the eggs.
- Place the pan over medium-high heat and bring the water to a boil.
- Once the water reaches a boil, cover the pan and turn off the stovetop.
- Let the eggs sit (covered) on the stovetop for exactly 11 minutes.
- Rinse the eggs with cold water then peel.
In this recipe, you mash the yolks with mayonnaise, yellow mustard, and sweet relish before stirring in chopped fresh chives and bacon crumbles. The mixture gets piled inside the egg whites and topped with more chives, bacon and a sprinkle of paprika for that classic touch.
- Older eggs are easier to peel than fresh eggs.
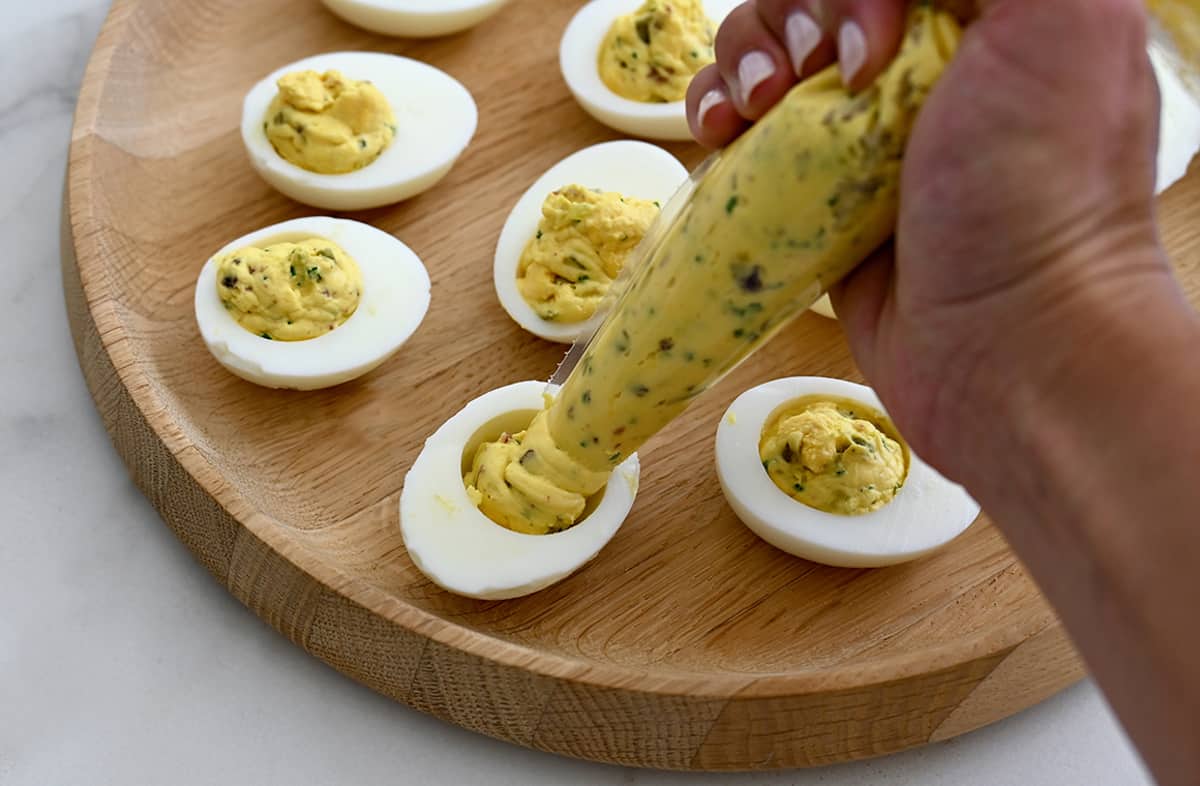
- Instead of spooning the mixture into each egg white half, use a plastic bag with a corner cut off to create a clean and precise presentation.
- Deviled eggs are a great make-ahead snack. To keep them extra-fresh, store the egg whites and the filling separately in the fridge then fill right before serving.
Recipe FAQs
No need! There are a million suggested techniques for what makes it harder or easier to remove the shell. I rinse warm eggs under room temp water while peeling them.
Absolutely! You can make deviled eggs up to 2 days in advance; be sure to store the egg whites and filling separately until you’re ready to serve.
As long as you store your deviled eggs in the fridge, they’ll last between 2 to 4 days covered securely in plastic wrap or in an airtight container. If they’re being served at room temperature, they should be eaten within two hours.
Transporting your deviled eggs might seem like a perilous undertaking, but there are a few tricks to getting them to the party in one piece. The easiest option? Assembling at your destination. Pack the egg white halves in a sealed container and your filling in a plastic bag. The plastic bag also doubles as a handy piping bag with a quick snip of the scissors!
You can also use a muffin tin to transport your assembled deviled eggs. Place each half into the muffin tin and cover with plastic wrap. For the safest and surest way to transport them, I recommend this inexpensive deviled egg carrier.


Ingredients
- 6 large eggs
- 2 1/2 Tablespoons mayonnaise
- 2 teaspoons yellow mustard
- 1 1/2 Tablespoons sweet relish
- 1 Tablespoon chopped fresh chives, divided
- 4 slices bacon, cooked and crumbled
- Paprika, for garnishing
Instructions
- Add the eggs to a medium saucepot and fill it with enough water to cover the eggs by 1 inch. Set the saucepot over medium-high heat and bring the water to a boil.
- Once the water is boiling, cover the saucepot and turn off the heat. Let the eggs sit for 11 minutes then rinse them with cold water. Once the eggs are cooled, peel them then cut them in half lengthwise.
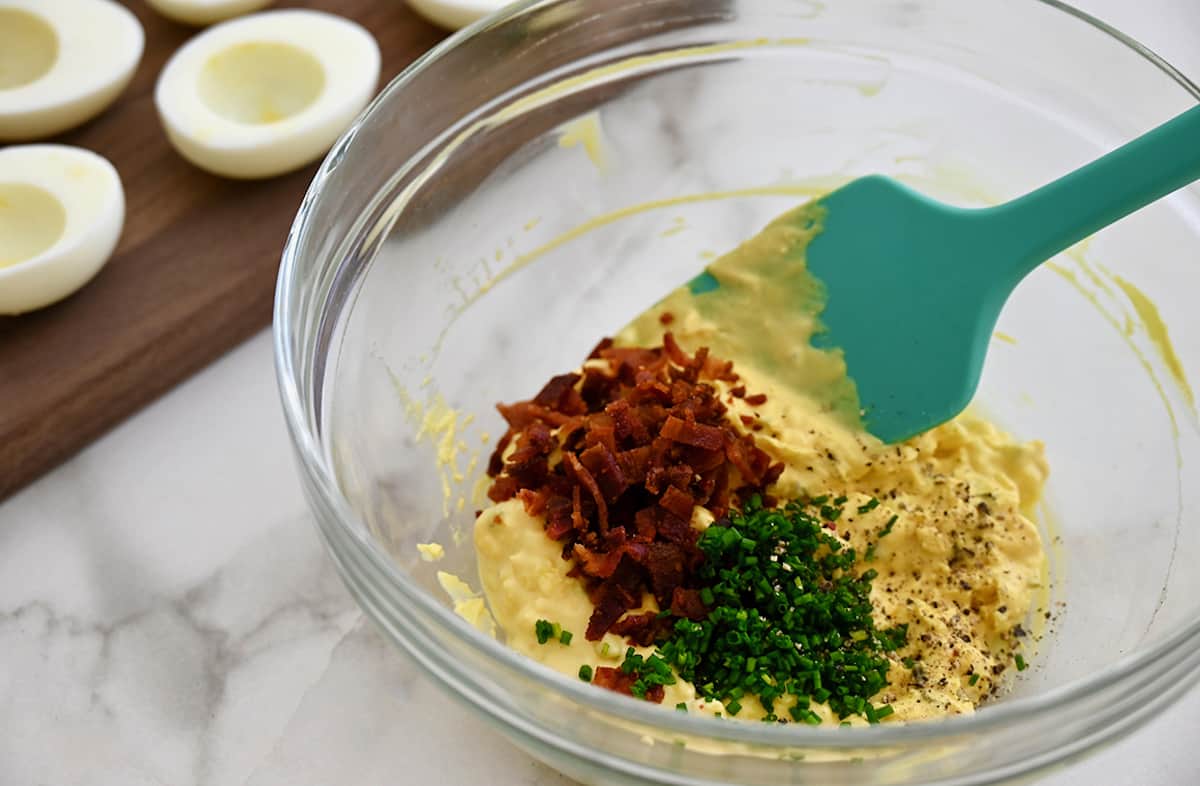
- Add the yolks to a small bowl and set the halved egg whites aside. Add the mayonnaise, yellow mustard and sweet relish to the bowl and mash to combine. Stir in half of the chopped chives and bacon crumbles pieces then taste and season the mixture with salt and pepper.
- Arrange the halved egg whites on a plate. Spoon the egg yolk mixture into each egg white. Garnish with the remaining chives, bacon crumbles and a sprinkle of paprika then serve.
Kelly's Notes:
- Older eggs are easier to peel than fresh eggs.
- Instead of spooning the mixture into each egg white half, use a plastic bag with a corner cut off to create a clean and precise presentation.
- You can make deviled eggs up to 2 days in advance; be sure to store the egg whites and filling separately until you’re ready to serve.
- ★ Did you make this recipe? Don't forget to give it a star rating below!
Nutrition
Shoutout
Did you try this recipe?
Share it with the world! Mention @justataste or tag #justatasterecipes!
This post may contain affiliate links.






Perfectly cooked hard boiled eggs! Thank you for the tip !! Great recipe with Easter coming ! Thank you very much.
I’m so glad it was helpful, Dominique!
Perfect eggs! Thanks for the tips on how to cook the eggs. Always stressful for me if they will turn out right or not. This worked perfectly! I substituted some white wine vinegar for the relish (not all family members like it) and it worked.
Woohoo! I’m thrilled you enjoyed the recipe, Abbie!
After reading the directions for making ‘perfect’ hard boiled eggs, I have a question about steps 3 and 4:
Once the water reaches a boil, cover the pan and turn off the stovetop.
Let the eggs sit (covered) on the stovetop for exactly 11 minutes.
Does “turn off the stovetop” mean you should leave the pan ON THE BURNER once the water reaches a boil or take the pan OFF the burner and let it sit for 11 minutes???
Please let me know what you mean in your directions!
Thank you!
P.S. I love the recipes that you send in your emails!!!
Hi Nancy! Sorry for the confusion. You can leave the pan on the burner. :)
made these for lunch – so delicious!!!!
I’m thrilled you enjoyed the recipe, Pamela!