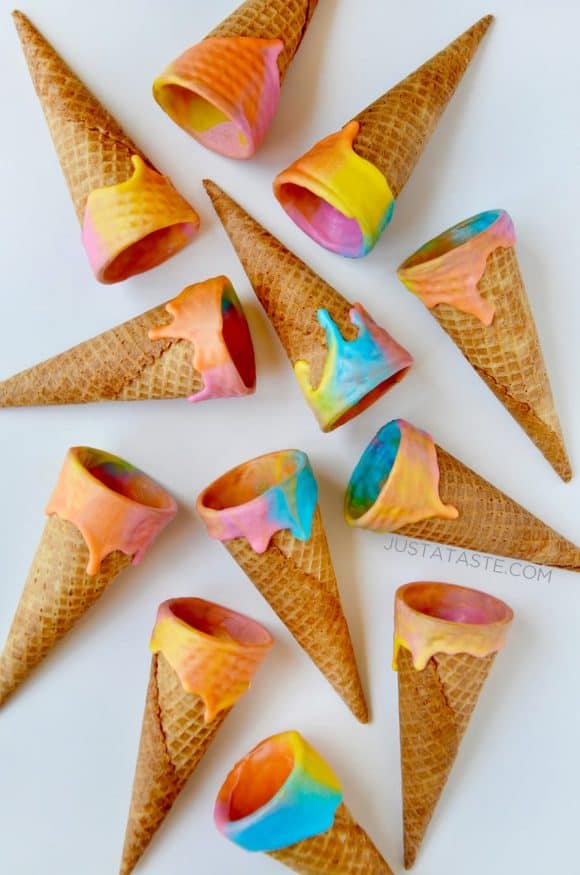
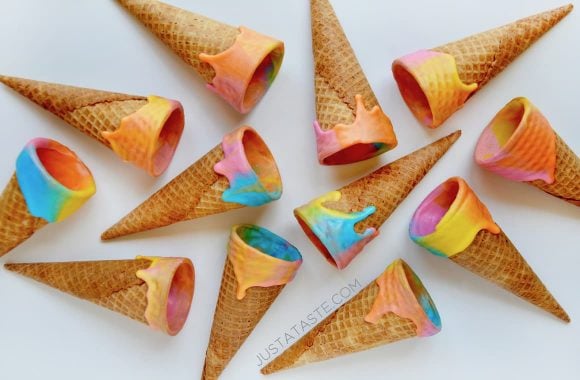
Just when you thought we couldn’t unicorn anything else, I present to you Unicorn Ice Cream Cones! This colorful craze has made its way from unicorn bagels and unicorn frappuccinos to unicorn toast and even our very own unicorn banana bread.
But the latest rainbow creation coming out of my kitchen was quite the happy accident…
I was working on new summer-inspired treats yesterday when I had some leftover candy melts and decided to experiment. One minute in the microwave and some spare sundae supplies later, and Unicorn Ice Cream Cones were born.
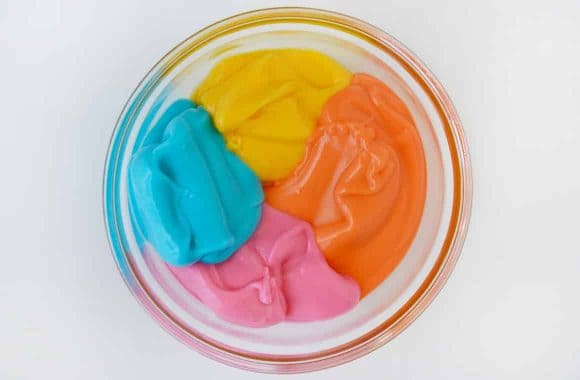
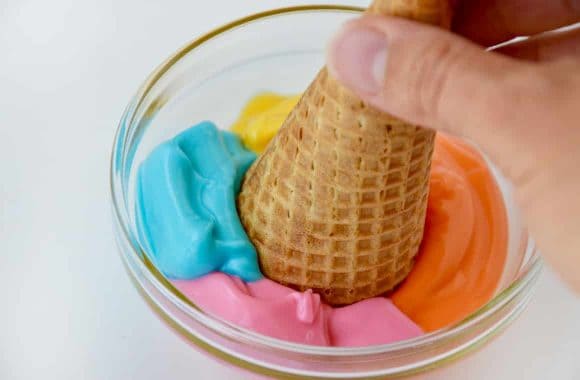
The real trick to get the unicorn (a.k.a. rainbow) effect is to keep the colors separated within the bowl and then to dip and just barely twist the cone into the center, shaking it slightly to cause the colors to drip down the sides of the cone.
And tip #2 for unicorn color scheme success is to ensure the candy melts are the right consistency. If they’re too thick, the colors won’t swirl properly, but if they’re too thin, they won’t adhere properly to the cones.
Ready to add a pop of color to your next ice cream extravaganza? Stock up on my favorite candy melts and let the dipping and swirling begin!
And don’t miss more colorful cuisine with recipes for Rainbow Cupcakes, the easiest-ever Rainbow Cake and Unicorn Banana Bread.
Craving more? Subscribe to Just a Taste to get new recipes, meal plans and a newsletter delivered straight to your inbox! And stay in touch on Facebook, Twitter, Pinterest and Instagram for all of the latest updates.
Disclosure: This post contains affiliate links.
Ingredients
- 12 sugar cones
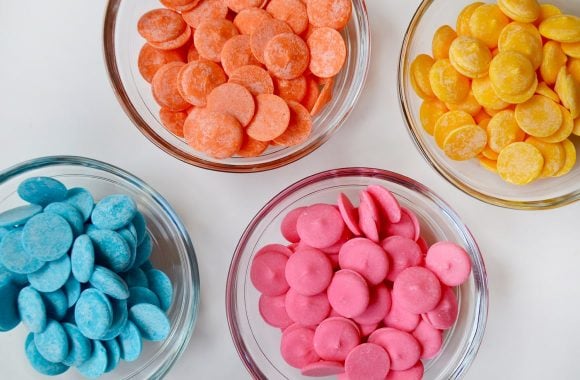
- 1 cup pink candy melts
- 1 cup yellow candy melts
- 1 cup orange candy melts
- 1 cup blue candy melts
Instructions
- Melt each color of the candy melts in separate bowls according to the package directions.
- In a small bowl, add a portion of each color, mixing the colors as little as possible.
- Dip each cone into the center of the candy melts and twist it slightly. Remove the cone from the candy melts and gently shake it to cause the candy melts to drip down the sides. Set the cone aside until the candy melts have fully hardened then repeat the dipping process with the remaining cones.
Kelly's Notes:
- If the candy melts aren't as thin as you'd like once you've melted them, stir in 1 to 2 teaspoons of vegetable oil to thin the mixture.
- A great way to allow the cones to dry standing upright is to fill glasses with oatmeal, rice or beans, then stick the cones into them.
- ★ Did you make this recipe? Don't forget to give it a star rating below!
Nutrition
Did you try this recipe?
Leave a comment below with your star rating!
This post may contain affiliate links.
Recipe by Kelly Senyei of Just a Taste. Please do not reprint this recipe without my permission. If you'd like to feature this recipe on your site, please rewrite the method of preparation and link to this post as the original source.


How can you stored in any leftovers?
In an airtight container at room temp!
My birthdays coming up soon so I will try some of these
Happy birthday!
Made these for my daughter’s 5th birthday party. They were a hit! Thank you :)
These look so fun! Unicorn stuff is popping up all over the place these days!
These are super cute! Perfect for this coming summer!
Thank you, Tammy!
This is what I love about food blogging: making miracles when having plenty leftovers. Thank you for this beauty !
Thanks so much :)
Yummy ideas.. Brooke
Thank you so much, Brooke!