
No ice cream maker? No problem! All you need is three simple ingredients to make creamy no-churn ice cream. Best of all, you can customize this homemade vanilla ice cream base with nearly every mix-in imaginable, from chocolate chips and fresh fruit to swirls of peanut butter and beyond.
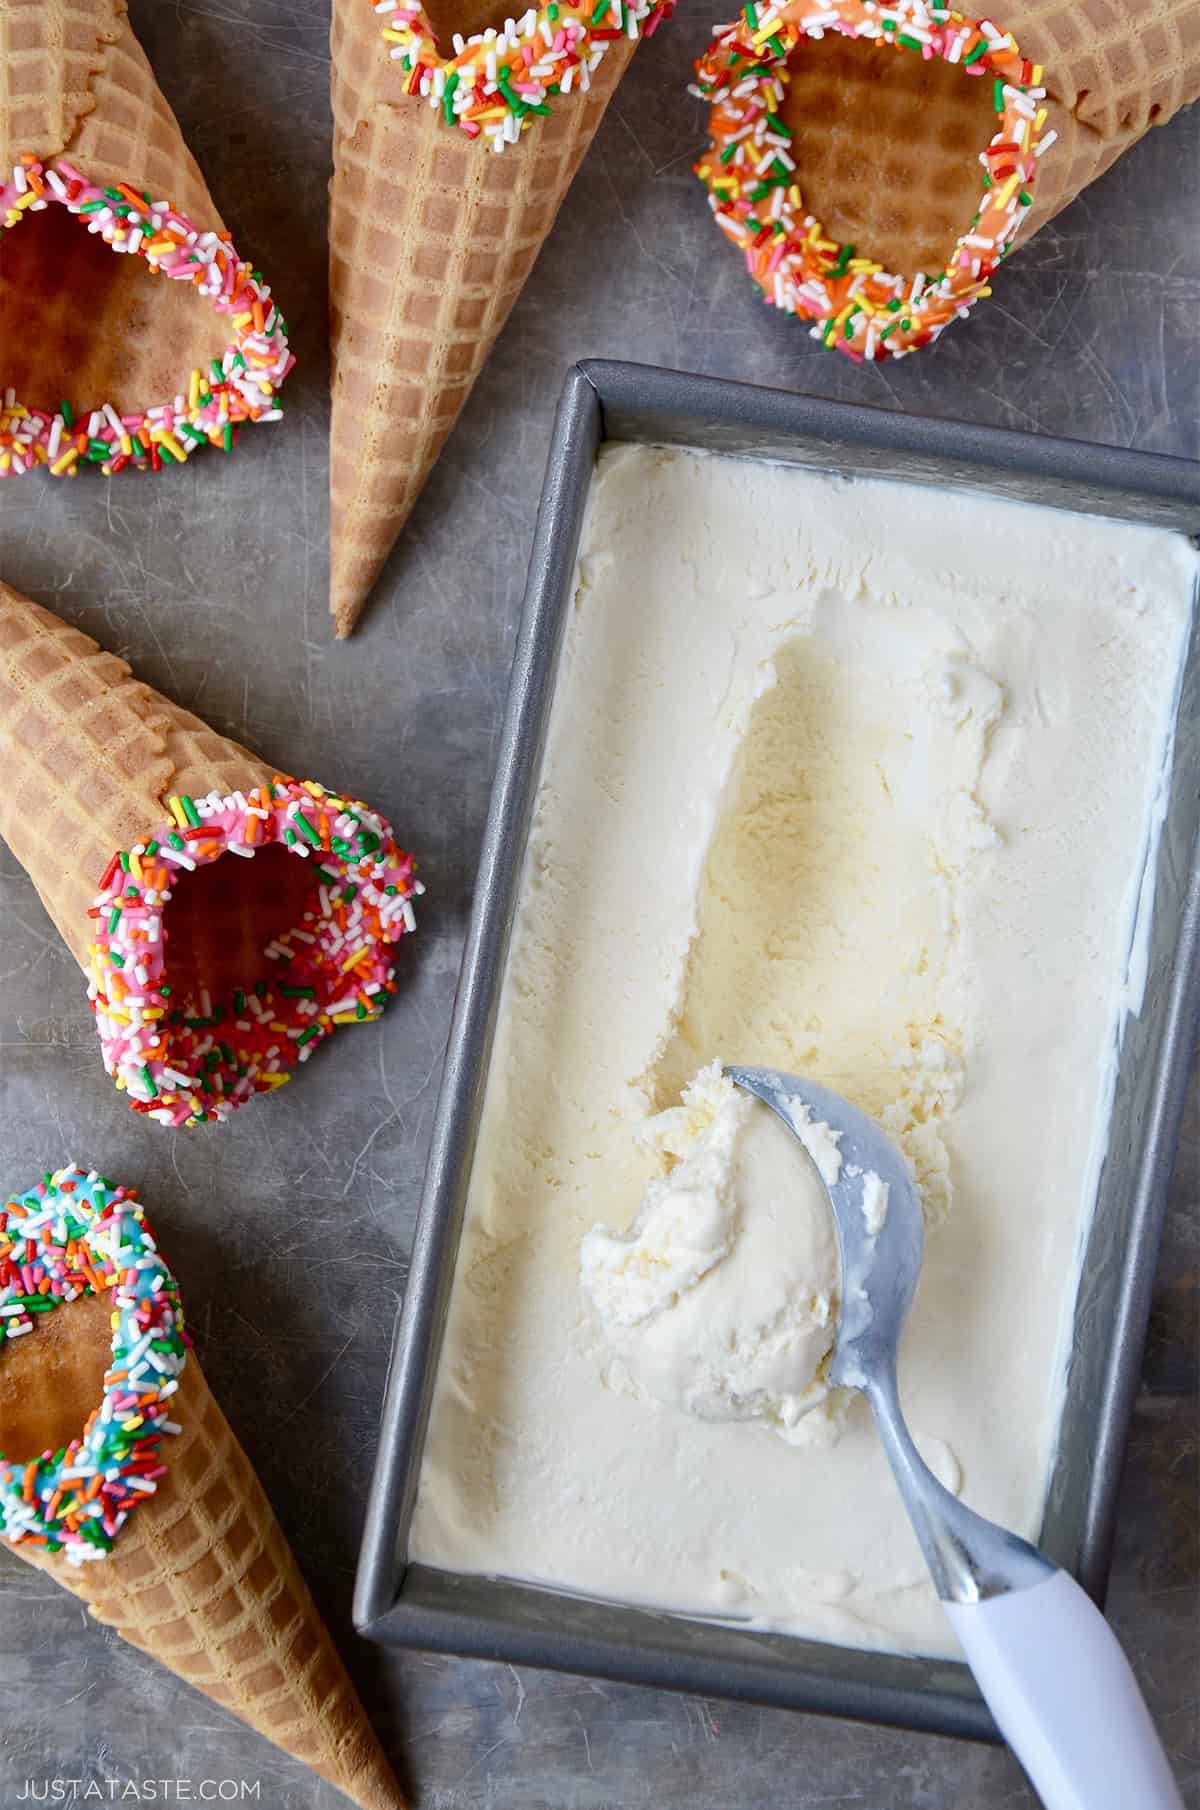
Table of Contents
San Diego, Chicago, New York City, Newport Beach. Name a city I’ve lived in and I’ll tell you my go-to spot for the best ice cream in the land. Because no matter what town I’ve called home during the past four decades, it has been a life requirement to find the creamiest scoop, and then enjoy said scoop time and time (… and time) again.
So what are these magical, not-so-mythical destinations and what menu items are irresistible?
- San Diego: The Baked Bear – Two hot-pressed chocolate chip cookies sandwiched together with vanilla ice cream rolled in rainbow sprinkles. I loved them so much I made my own chocolate chip cookie ice cream sandwiches a few years ago, and they’ve been a summer staple ever since!
- Chicago: Ghirardelli – Chocolate-dipped waffle cone loaded with strawberry and vanilla ice cream.
- New York City: Grom – Two scoops of straciatella (chocolate chip), and if it’s cold outside, drop ’em into a mug of their thicker-than-ever hot chocolate. Eggloo’s bubble waffle cones are a close second place.
- Newport Beach: Sprinkles Ice Cream – A red velvet cone loaded with strawberry and chocolate ice cream, finished off with a shower of rainbow sprinkles.
Yes, indeed. Those are my “Best Ice Cream in the City” spots from coast to coast. And now my award for Best Homemade Ice Cream that Doesn’t Require an Ice Cream Maker goes to…
This recipe for the easiest, creamiest no-churn vanilla ice cream! We’re talking three ingredients and less than 10 minutes before this cool concoction gets stashed in your freezer and chilled until solid. And all you need is a stand mixer OR handheld beater OR a good ol’ whisk and some serious arm strength.
Go ahead and let this no-churn vanilla ice cream become your base, as you stir in nearly every topping imaginable, from fresh fruit and chopped nuts to various extracts (hello, chocolate chip mint!) and all. the. chocolate. And for all those craving a frosty treat but don’t have the patience for it to chill, don’t miss my top-rated 5-Minute Healthy Strawberry Frozen Yogurt. #TeamIceCream
P.S. Curious about those cones? Go the DIY route with my quick-fix recipe for Rainbow Dipped Waffle Cones!
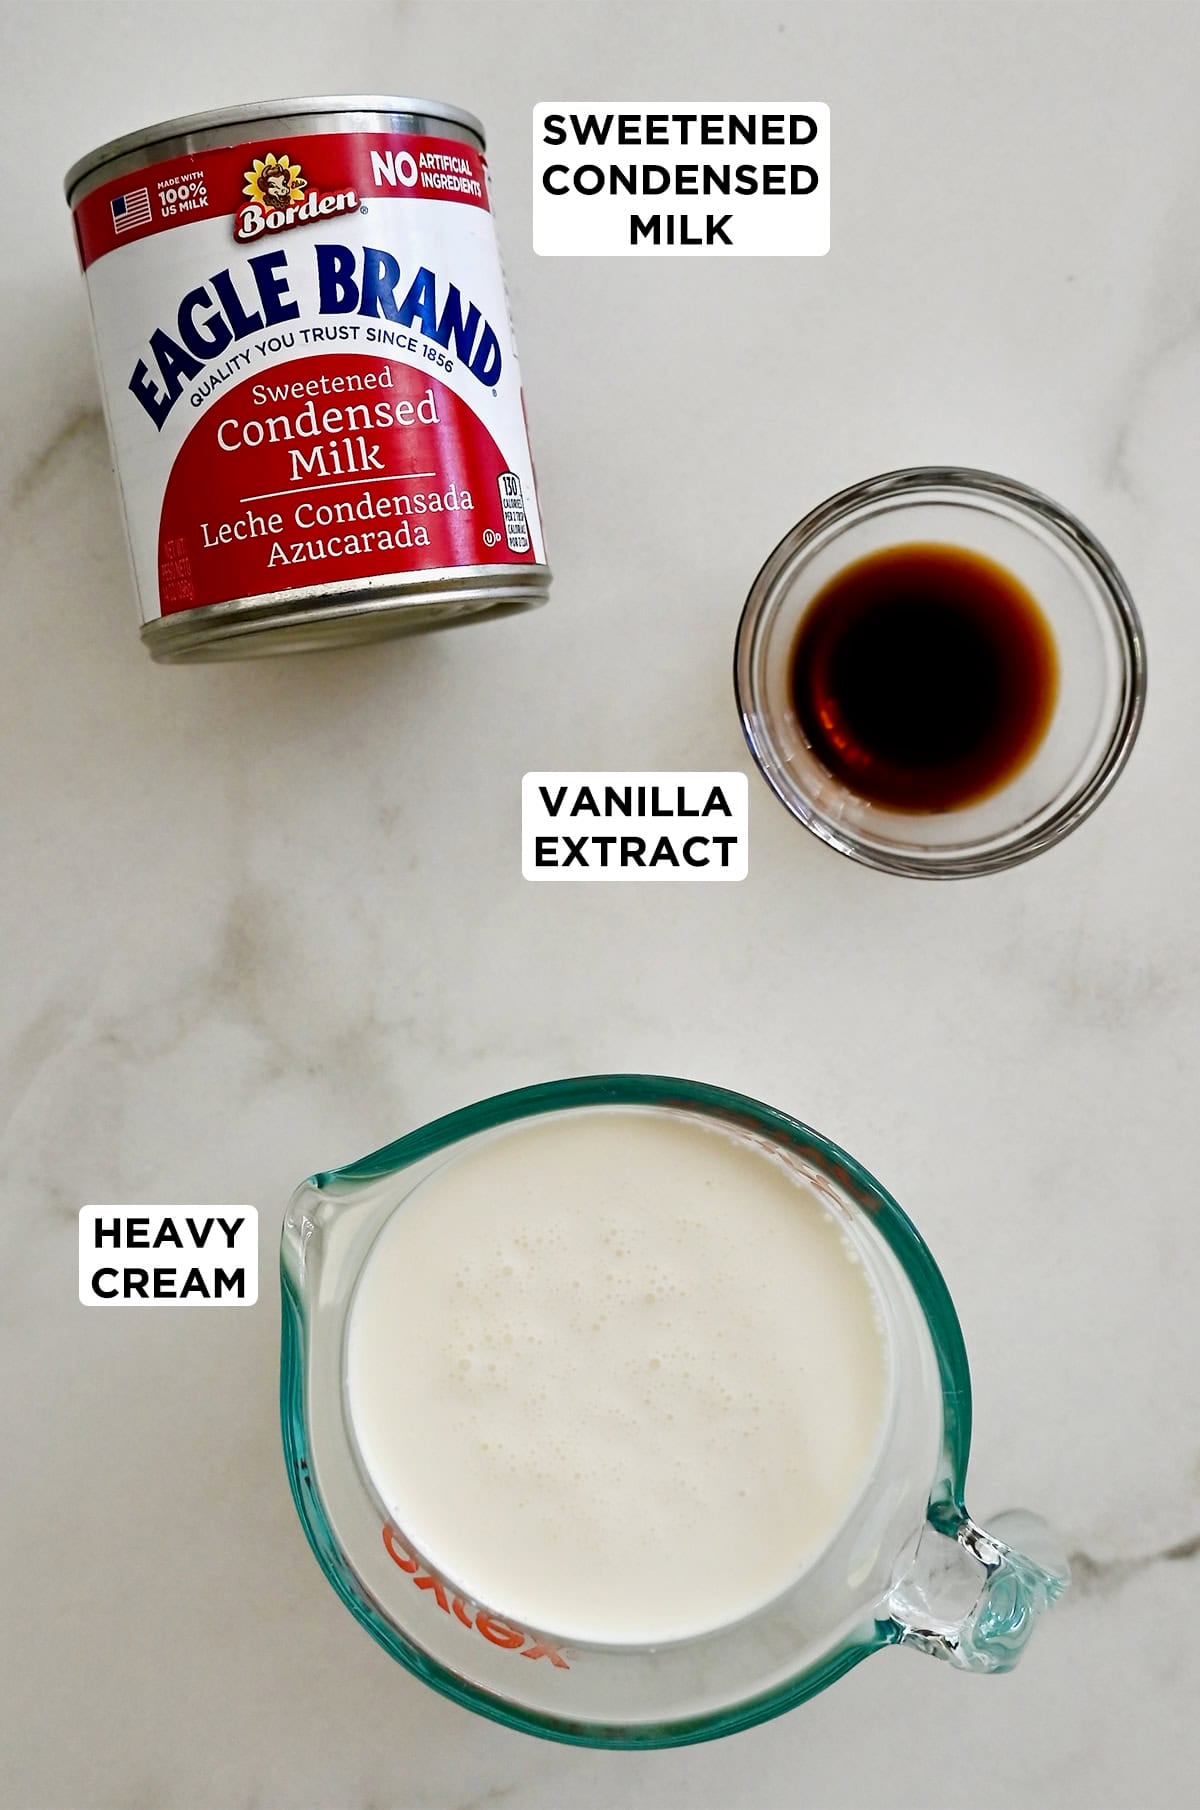
- Sweetened condensed milk: The backbone of this recipe and the reason you don’t need an ice cream maker. It replaces the traditional custard base (think eggs, sugar and cream cooked together) and gives the ice cream its creamy, stable structure. One important note: do not swap for evaporated milk, which is unsweetened and won’t work the same way.
- Vanilla extract: If you have homemade vanilla extract on hand, use it here! You can also substitute an equal amount of vanilla bean paste for beautiful flecks of real vanilla throughout, just like in my vanilla bean cupcakes. More on flavor variations below!
- Cold heavy whipping cream: The colder the better. Cold cream whips faster and holds its peaks more reliably, which is what gives this ice cream its light, airy, scoopable texture. If your kitchen is warm, pop your metal mixing bowl in the freezer for 15 minutes before whipping.
See the recipe card for full information on ingredients and quantities.
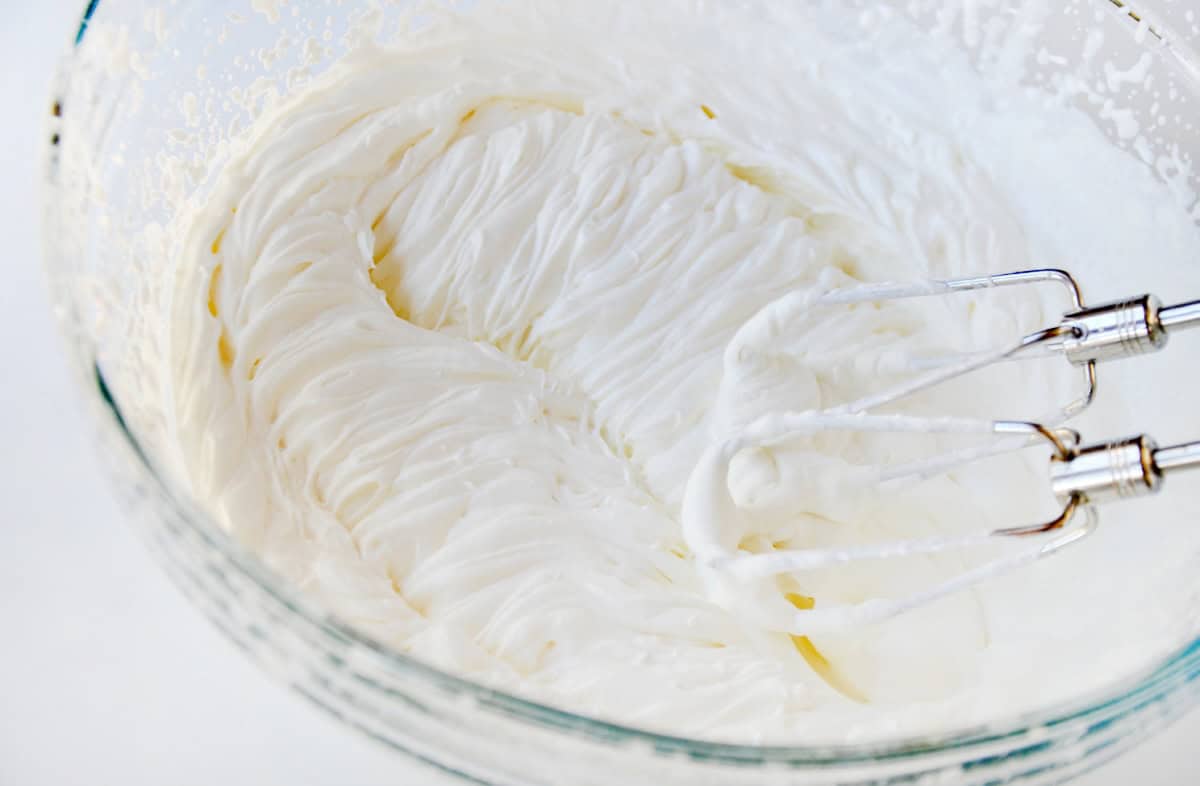
The most important step in this entire recipe is whipping the heavy cream to stiff peaks. Under-whipped cream means a denser, icier result. Just like when making homemade whipped cream, whip until the peaks stand straight up and hold their shape when you lift the whisk. Like this:
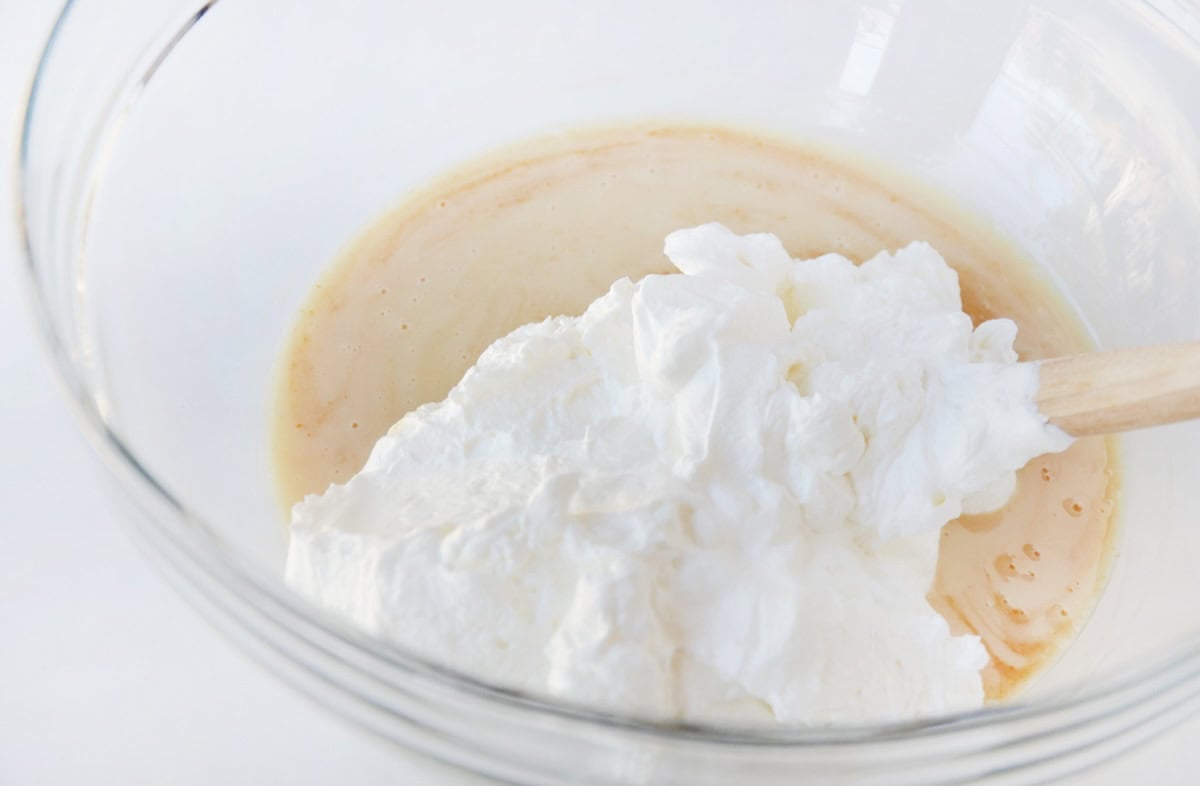
Using a spatula, gently fold half the whipped cream into the bowl with the sweetened condensed milk and vanilla. Fold in the remaining half.
Transfer to a 9×5-inch loaf pan or airtight container. My #1 success tip here is to press plastic wrap directly onto the surface of your homemade ice cream before putting it in the freezer (don’t just drape it over the top). This applies even if you’re using a container with a lid.
Direct contact prevents ice crystals from forming and keeps the texture smooth and creamy. I also like to place the whole loaf pan in a sealable plastic bag for an extra layer of protection against freezer burn.
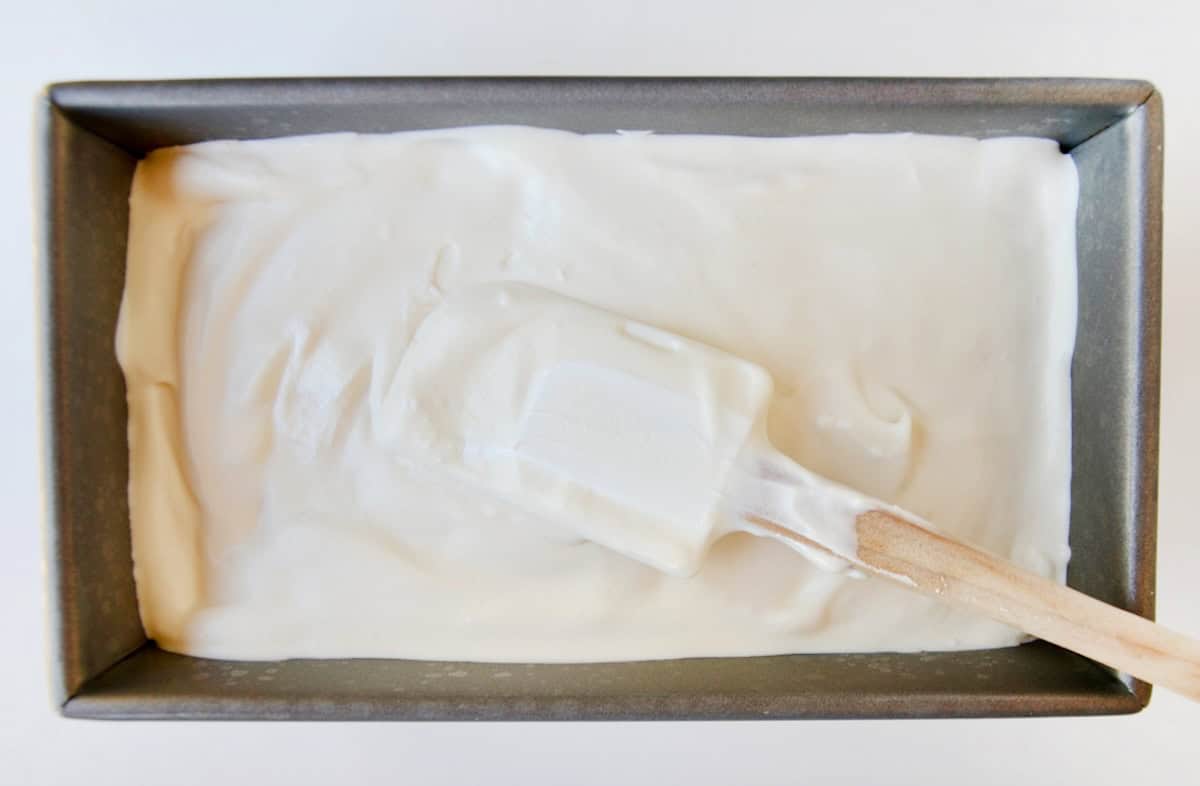
Freeze for at least 6 hours or overnight. No-churn ice cream tends to freeze a little firmer than store-bought, so I recommend letting it sit at room temp for 5 minutes before scooping or running your ice cream scoop under warm water for the easiest, cleanest scoops.
10+ No-Churn Ice Cream Flavors
- Chocolate Chip: Fold in ½ cup of chocolate chips right before transferring to the pan.
- Mint Chocolate Chip: Add 1 teaspoon peppermint extract to the condensed milk mixture, then fold in ½ cup chocolate chips.
- Cookies and Cream: Fold in 8 to 10 crushed Oreo cookies right before transferring to the pan.
- Strawberry Ice Cream
- Cookie Dough: Fold in small scoops of my edible cookie dough right before transferring to the pan.
- Coffee: Stir 2 teaspoons of instant espresso powder into the condensed milk mixture.
- Peanut Butter Swirl: Warm 3 tablespoons of peanut butter until just pourable, then swirl through the ice cream with a knife before freezing.
- Chocolate: Stir 2 tablespoons of unsweetened cocoa powder into the condensed milk mixture before folding in the whipped cream.
- Peach: Fold in ½ cup of chopped fresh peaches or peach jam for a summery, fruity twist. And for a protein-packed twist, try my healthy peach frozen yogurt recipe!
- Brownie: Fold in bite-sized pieces of homemade cocoa powder brownies right before transferring to the pan for a fudgy, chewy mix-in.
- Cherry Chocolate Chip: Fold in ½ cup chopped fresh or frozen cherries and ¼ cup chocolate chips. Pat the cherries dry first so they don’t add excess moisture to the base.
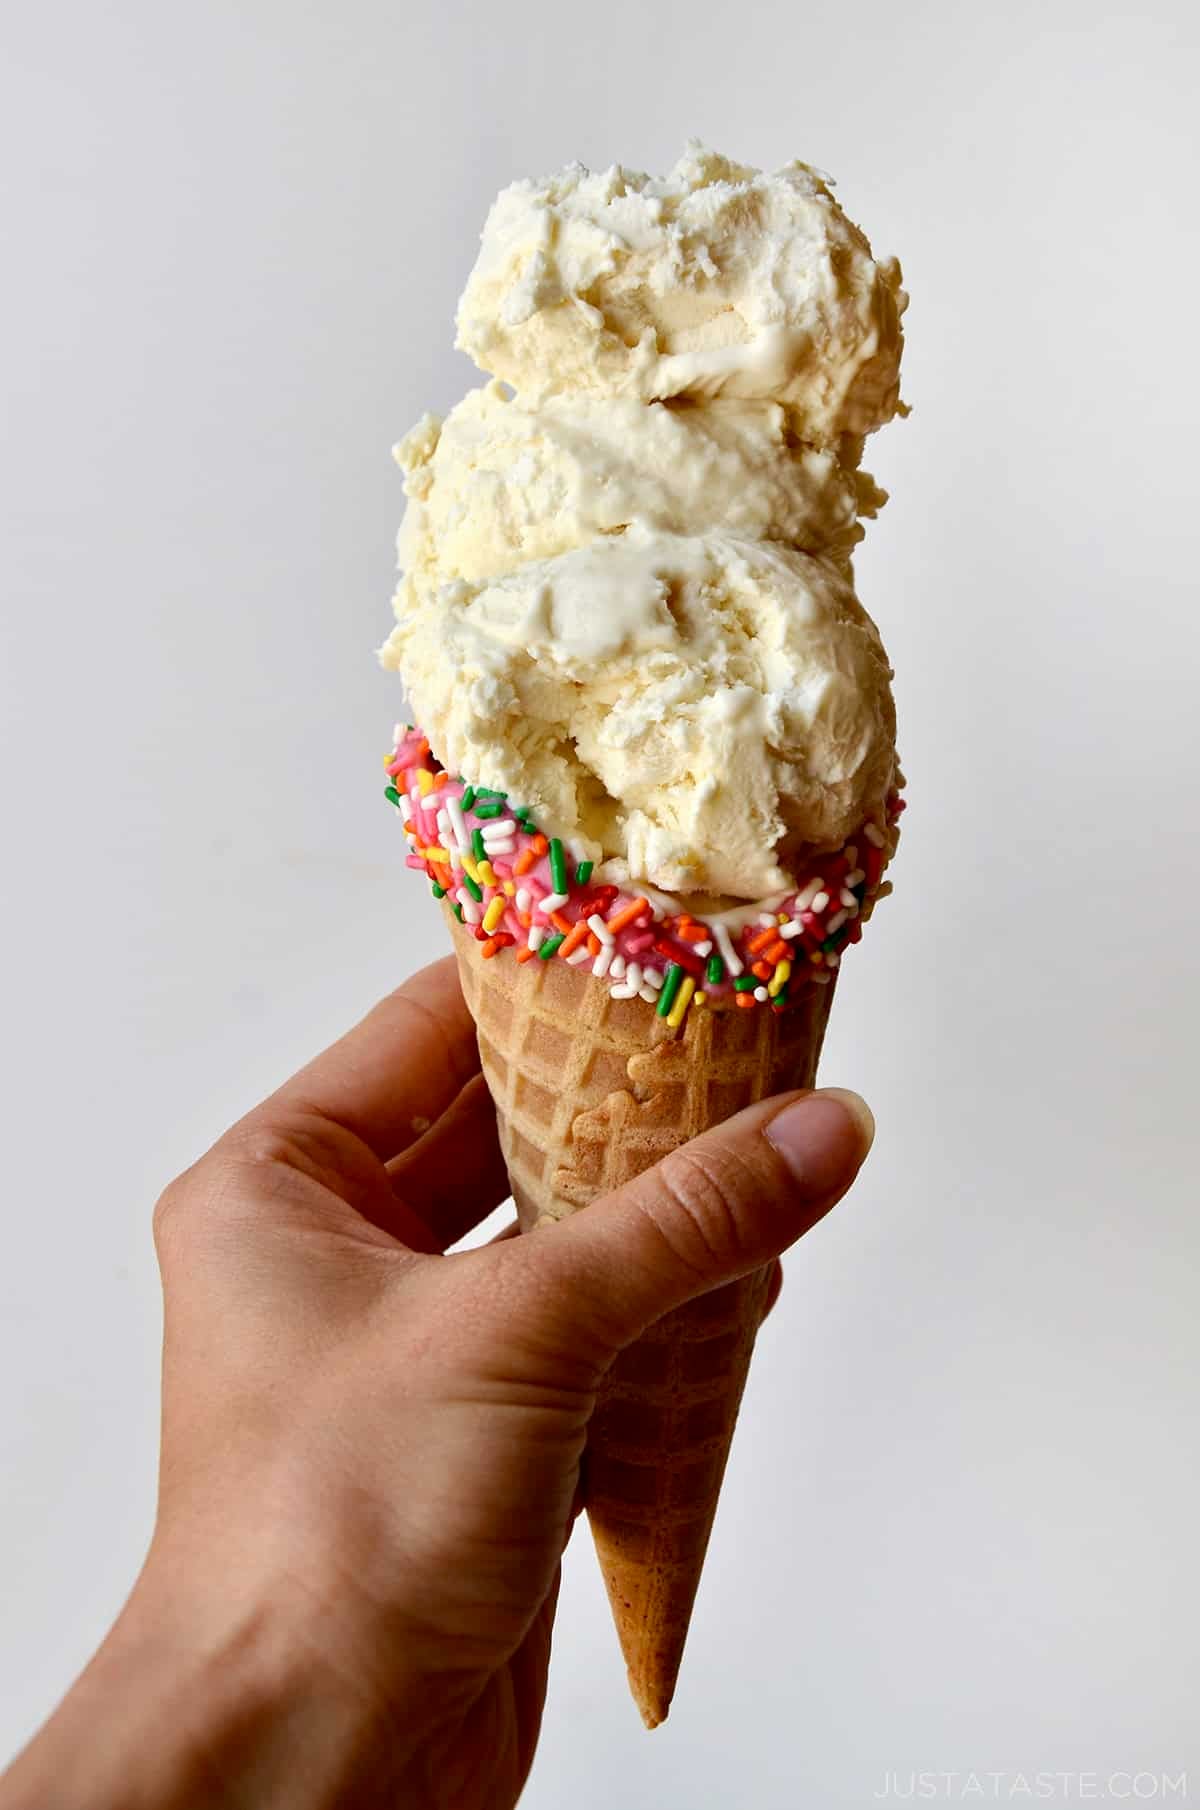
Using the recipe below as your starting point, feel free to get creative with whatever mix-ins you love most, including white chocolate chips, toasted pecans, caramel sauce, crushed graham crackers and beyond. Then scoop your creamy homemade ice cream into DIY rainbow dipped waffle cones, or into a big ol’ bowl and top with homemade strawberry sauce or blueberry sauce and call it the easiest summer dessert you’ve ever made.
FAQs
Two likely culprits: the heavy whipping cream wasn’t whipped to stiff peaks before folding, or the plastic wrap wasn’t pressed directly against the surface of the ice cream before freezing. Both steps are essential for a smooth, creamy result.
Unfortunately, no. It replaces the traditional egg custard base and is what gives the ice cream its creamy, stable structure. Just make sure you grab sweetened condensed milk and not evaporated milk. They look nearly identical on the shelf but are very different!
You can try! Swap the sweetened condensed milk for coconut condensed milk and the heavy cream for full-fat coconut cream chilled overnight. I haven’t personally tested this version, so I can’t guarantee the results. Let me know if you try it!
Ingredients
- 1 (14-oz.) can sweetened condensed milk
- 2 teaspoons vanilla extract
- 2 cups cold heavy whipping cream
Instructions
- In a large bowl, stir together the sweetened condensed milk and vanilla extract. Set it aside.
- In the bowl of a stand mixer fitted with the whisk attachment, whisk the cold heavy cream until stiff peaks form, about 2 minutes. (Alternately, use a handheld mixer and beat until stiff peaks form.)
- Add half of the whipped cream to the sweetened condensed milk, using a spatula to fold the ingredients together. Fold in the remaining half of the whipped cream then transfer the ice cream to an airtight container with a lid or a metal loaf pan. Cover it securely with plastic wrap and freeze until firm, at least 6 hours.
Kelly’s Notes
- Add any sort of mix-ins after you’ve folded in all of the whipped cream (fruit, nuts, chocolate chips, etc.) and any other extracts (mint, coconut, banana, strawberry, etc.).
- Place the container in a sealable plastic bag and ensure the plastic wrap is touching the surface of the ice cream to prevent ice crystals from forming. It’s best enjoyed within 2 weeks for the freshest flavor and creamiest texture, but it will keep for up to 1 month.
- ★Did you make this recipe? Don’t forget to give it a star rating below!
Nutrition
Did you try this recipe?
Leave a comment below with your star rating!
This post may contain affiliate links.
Recipe by Kelly Senyei of Just a Taste. Please do not reprint this recipe without my permission. If you'd like to feature this recipe on your site, please rewrite the method of preparation and link to this post as the original source.

I just made some. Just put it in the freezer. It tastes great .
I hope you enjoy it, Judy!
i didnt freeze it yet, but it looks and tastes like whipped cream but vanilla
Add in your chocolate, candy bar or fruit pieces after being in the freezer for 2-3 hours or it may all drop to the bottom.
Thanks for that tip, Mike!
Your recipe seem so simple. I would love to try it, but I am a diabetic. What kind of sweetener can I substitute for the condensed milk?
Hi Janet – I have never made this recipe using a sweetened condensed milk substitute so unfortunately, I can’t weigh in on this. Sorry I can’t be of more help!
It was great recipe and easy to prepare
Thanks a lot
I’m so glad you enjoyed it, Mohammed!
This ice cream is amazing with its simplicity and taste;
tried it for the first time!
I took it to my friends Christmas Day fiesta and everyone who ate it, loved it. Yippee!
Thrilled you enjoyed the recipe!
I am so excited to try the ice-cream! What a great way to have it fresh and at anytime. Great idea!!!
Thank you so much, Diana. Enjoy!
I made your ice cream recipe this morning and I have to tell you, the best! Thank you for such a great recipe.
You are so welcome, Nancy! I’m thrilled you enjoyed it!
So into ice creams ! Will try your creation ! Thank you so much !
Enjoy!
Going to try the ice cream. The whole family lover ice cream. This will be a way to make and store up on it.
Enjoy!
I made this for a family pizza night for dessert. Everyone loved loved it! The recipe was so easy and soo sooo delicious!
So glad you all enjoyed it, Joanna!