Say goodbye to dry, cakey brownies! This recipe for the best Homemade Brownies with Cocoa Powder results in a rich, fudgy center with perfectly crisp edges. With just a handful of pantry staples, you can whip up a batch of brownies that rivals those from your favorite bakery.
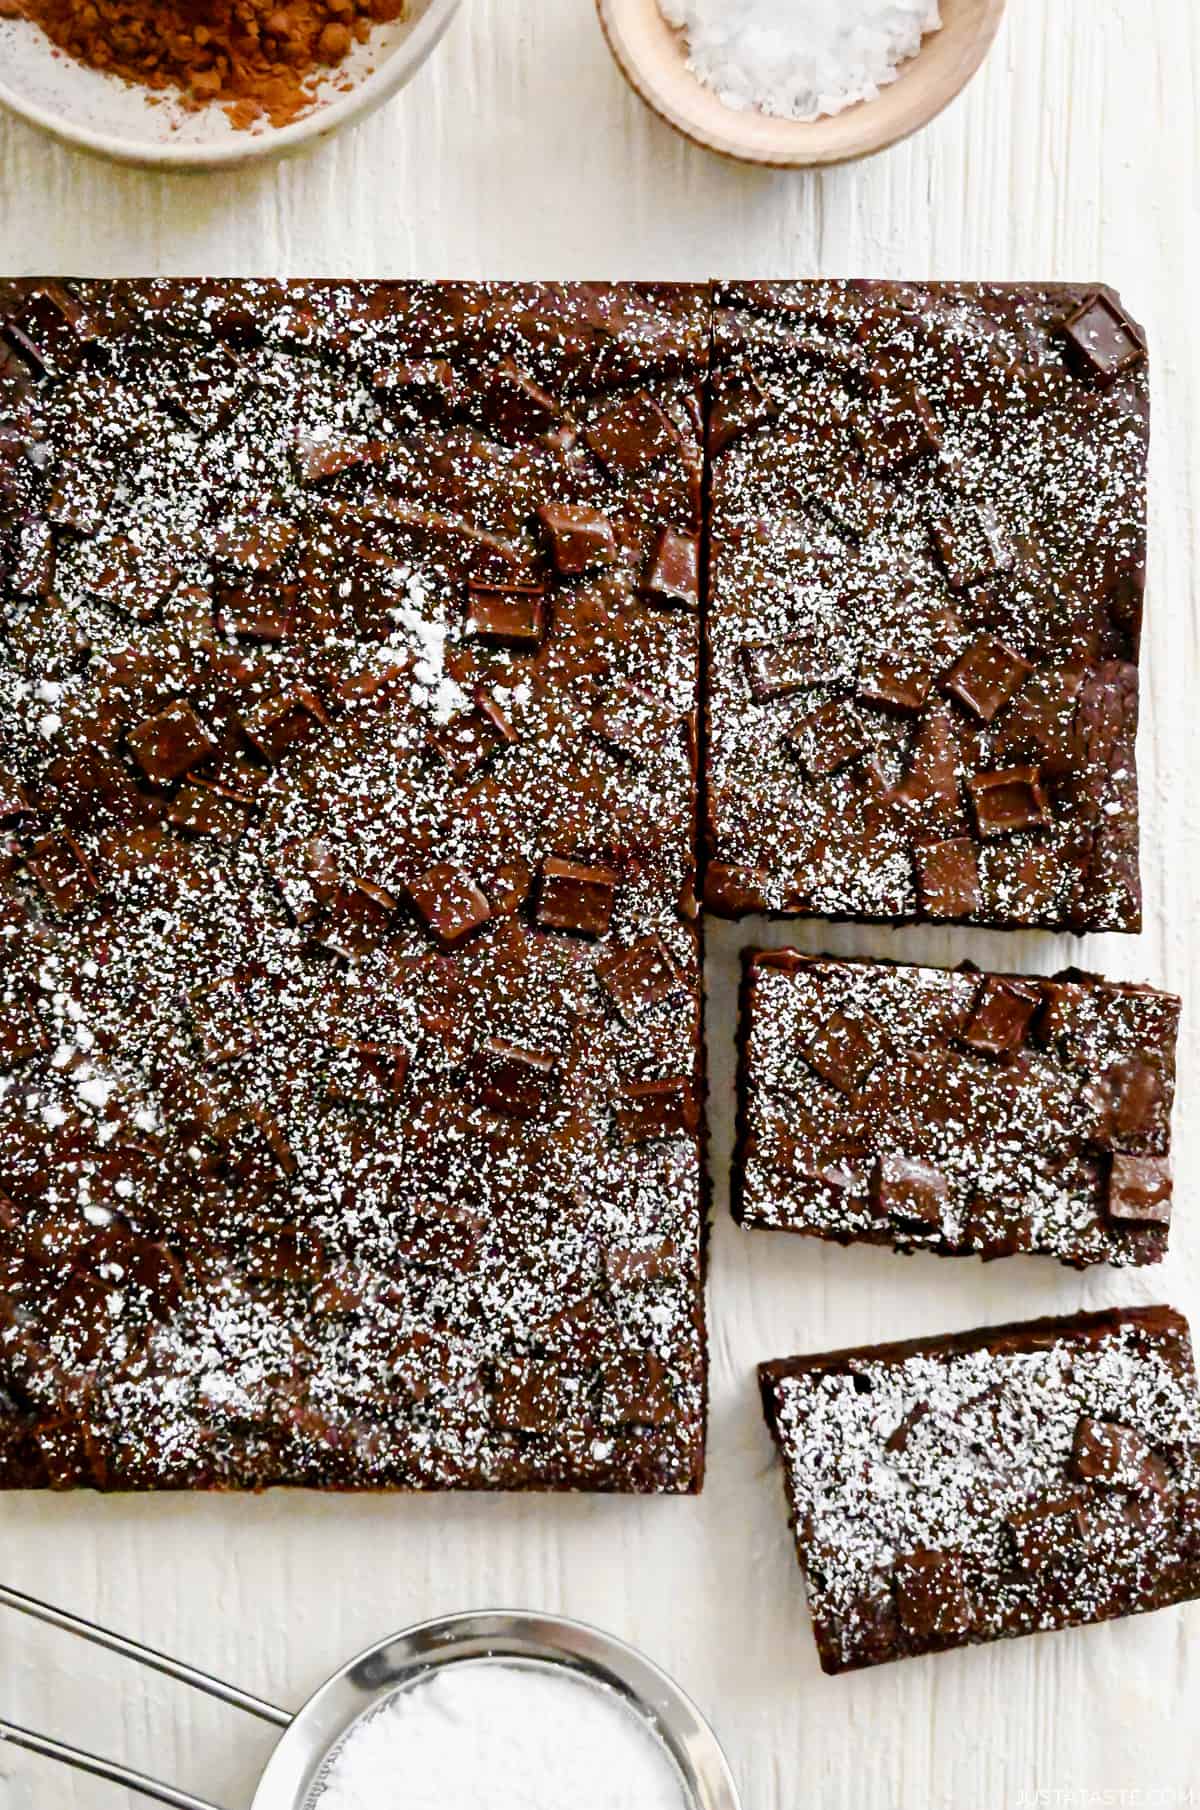
Table of Contents
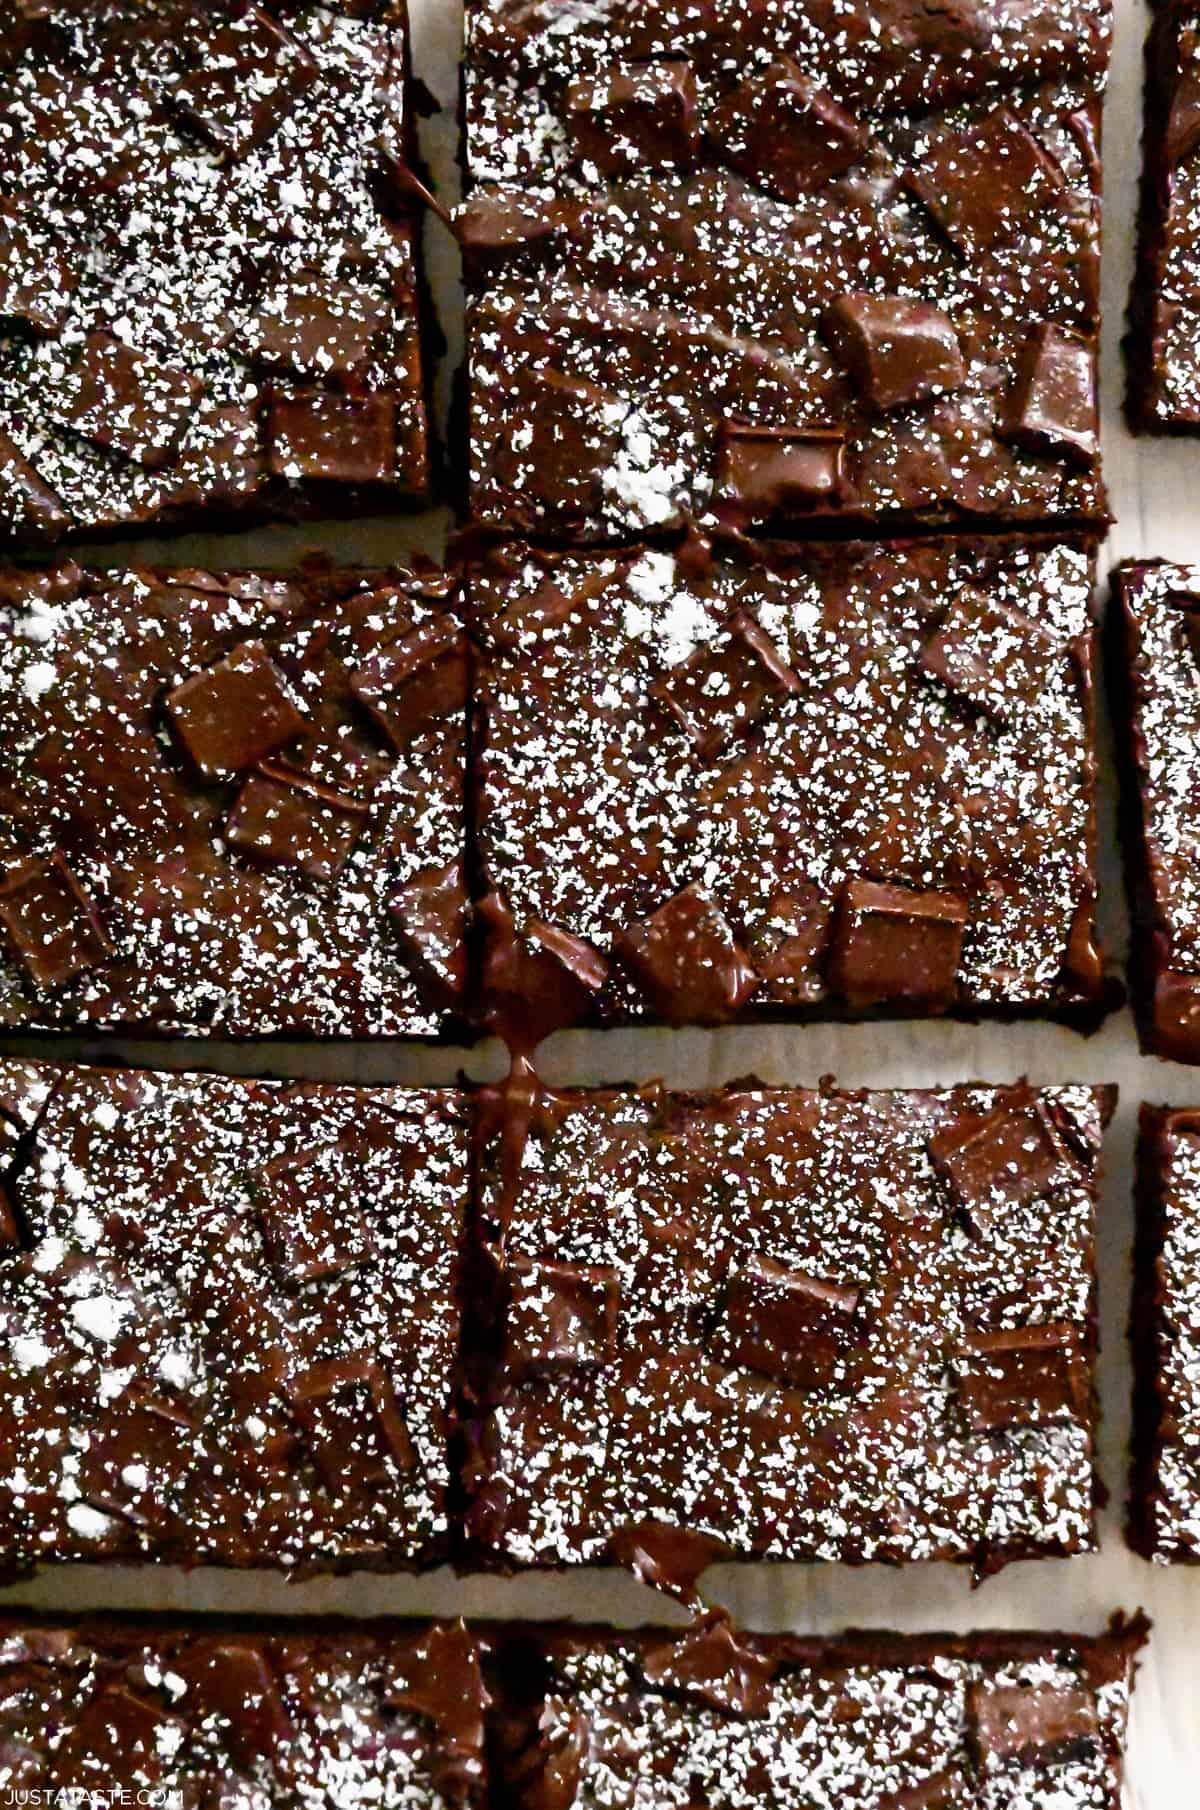
Ditch those boxed brownie mixes, because today we’re going to take your brownie game to the next level with the best homemade brownies made with cocoa powder! Not only are these brownies easy to make, but they’re also packed with rich chocolate flavor and have the perfect texture – a chewy center with a crackly, thick outer crust that is sure to satisfy your sweet tooth.
So, want to know the secret to achieve the perfect texture in these homemade brownies? It’s simple – a combination of fat (butter and vegetable oil) and chocolate chips. This combination creates a rich, dense batter that results in the coveted fudgy texture.
Kelly’s Note: It’s important not to swap the vegetable oil for more butter, as this will result in fluffier, cake-like brownies.
Keep reading to discover how you can customize these fudgy brownies to suit your taste buds and impress everyone lucky enough to try them!
Why You’ll Love Cocoa Brownies
- Decadently rich flavor.
- Perfectly fudgy.
- Made with only a few simple ingredients that you probably already have in your pantry.
- Simple to make and will disappear from the dessert table in record time!
The ingredient lineup for these homemade fudgy cocoa brownies is very similar to my chocolate-covered strawberry brownies but instead of topping this batch with juicy berries, I’ve opted for a dusting of powdered sugar.
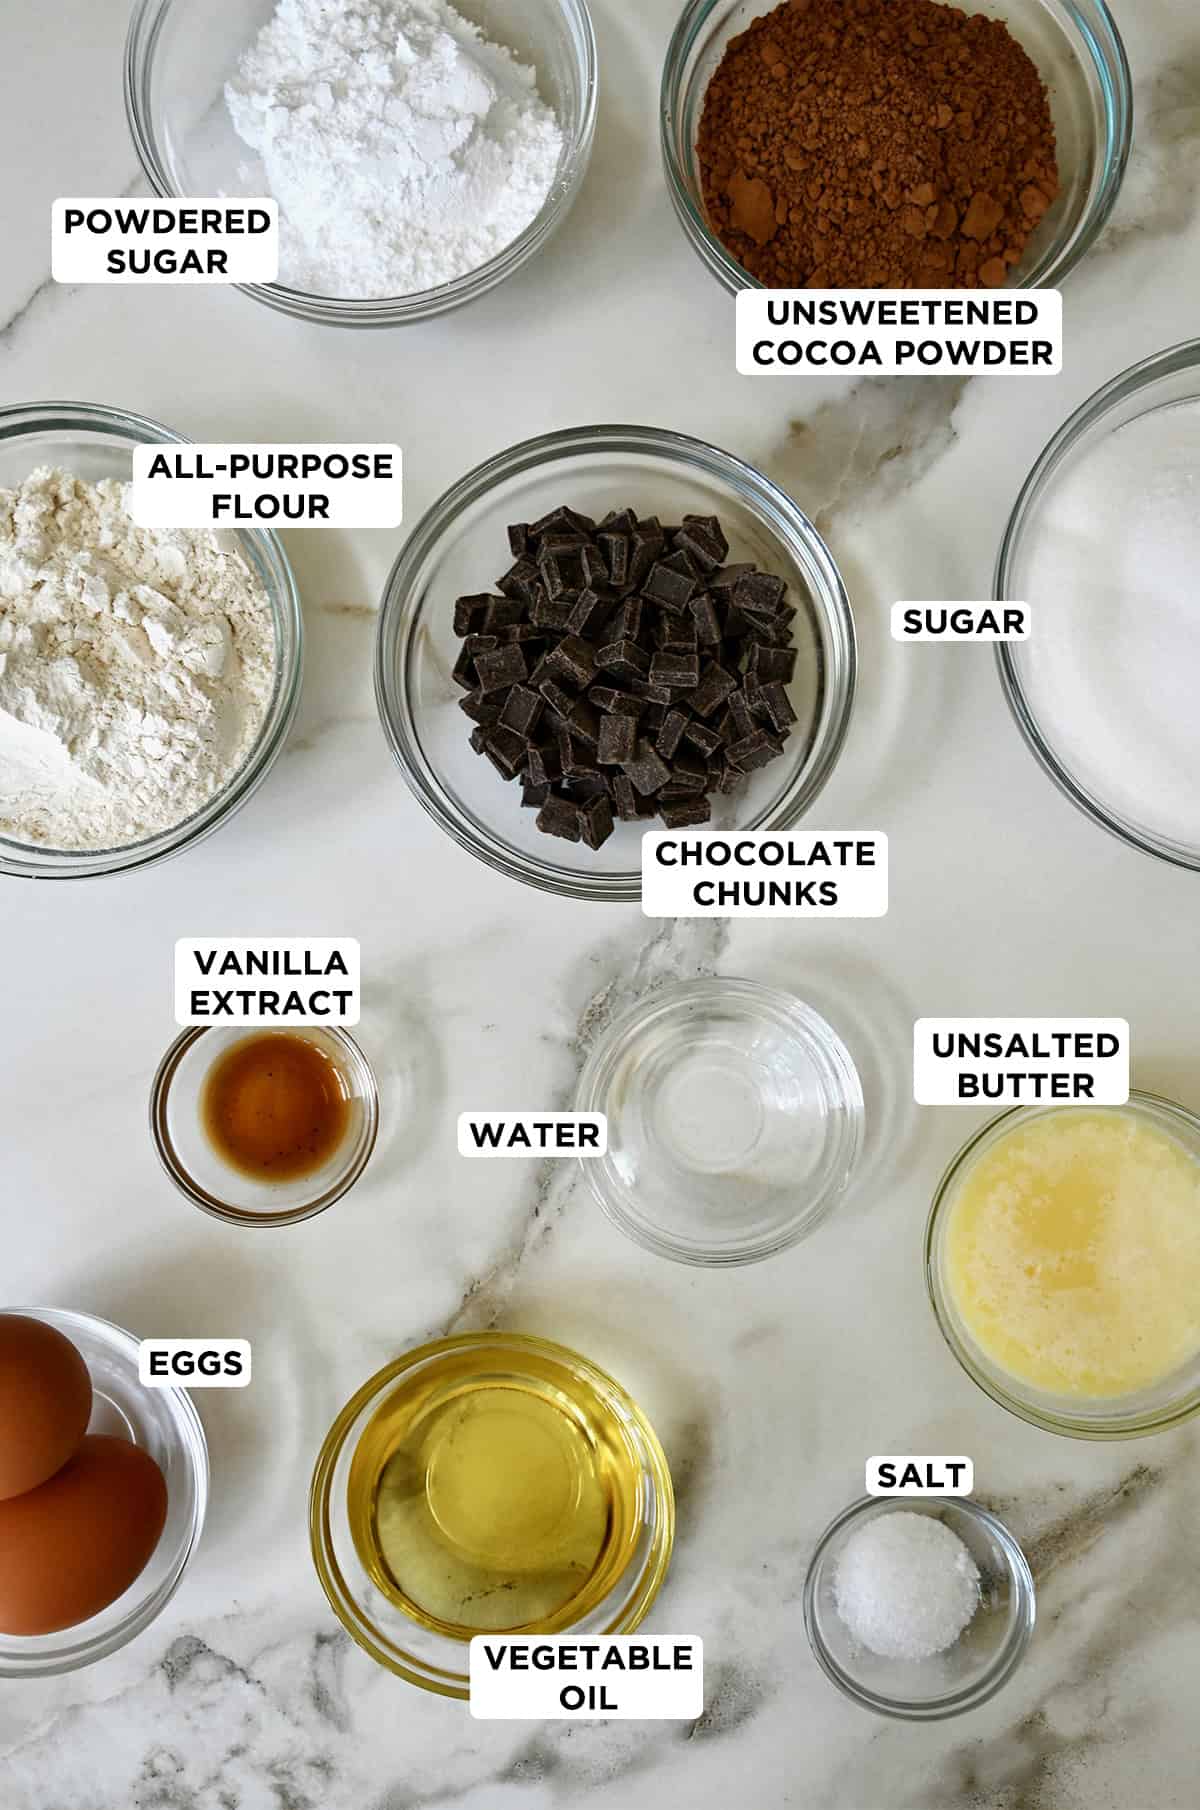
- Eggs: Serve as a binding agent in this recipe, helping to hold the batter together and achieve that perfect fudgy texture.
- Vegetable oil: Helps keep these moist and tender, while also creating that fudgy texture.
- Unsalted butter: Be sure to melt it gently and allow it to cool slightly before incorporating it into the wet ingredients.
- Vanilla extract: Whenever I have homemade vanilla extract on hand, I use that!
- Water: Helps to loosen the brownie batter and ensure a smooth consistency. To intensify the chocolate flavor, you can substitute the water with brewed coffee or espresso.
- Sugar: Just good ol’ granulated sugar.
- All-purpose flour: Accurately measure your flour by gently spooning it into the measuring cup and leveling it off with a straight edge to avoid packing it down.
- Cocoa powder: The star ingredient that gives these brownies their rich chocolate flavor. For an extra dark and intense chocolate taste, use Dutch-processed cocoa powder instead of natural cocoa powder.
- Confectioners’ sugar: Also known as powdered sugar, adds a delicate sweetness and helps to achieve that smooth, fudgy texture we all crave.
- Kosher salt: I usually use kosher salt for baking because it helps me control the level of saltiness and balances the flavors better. However, if you only have table salt, that works too! Just use half the amount and your brownies won’t taste too salty, but still be deliciously chocolatey.
- Chocolate chips or chunks: Just like my go-to salted chocolate chunk cookie bars, I am Team Chocolate Chunks all the way! And for this recipe, they’re an absolute game-changer. The intense flavor of cocoa powder pairs perfectly with the sweetness of those big, irresistible pieces.
See the recipe card for full information on ingredients and quantities.
What I love about cocoa powder (as opposed to only using chocolate chips), is how easy it mixes to create a smooth, rich batter. I usually opt for Dutch-processed cocoa powder, which is specifically processed for baking and helps the batter bake evenly. Let’s dive into how to make these homemade brownies:
- Preheat the oven to 325°F and prepare your 8-inch square baking pan. Line your pan with parchment paper, leaving a 2-inch overhang, then grease it with cooking spray. Secure the overhanging parchment paper with all-metal binder clips to keep the paper in place during baking.
- Whisk together the wet ingredients.
- In a separate bowl, combine the dry ingredients.
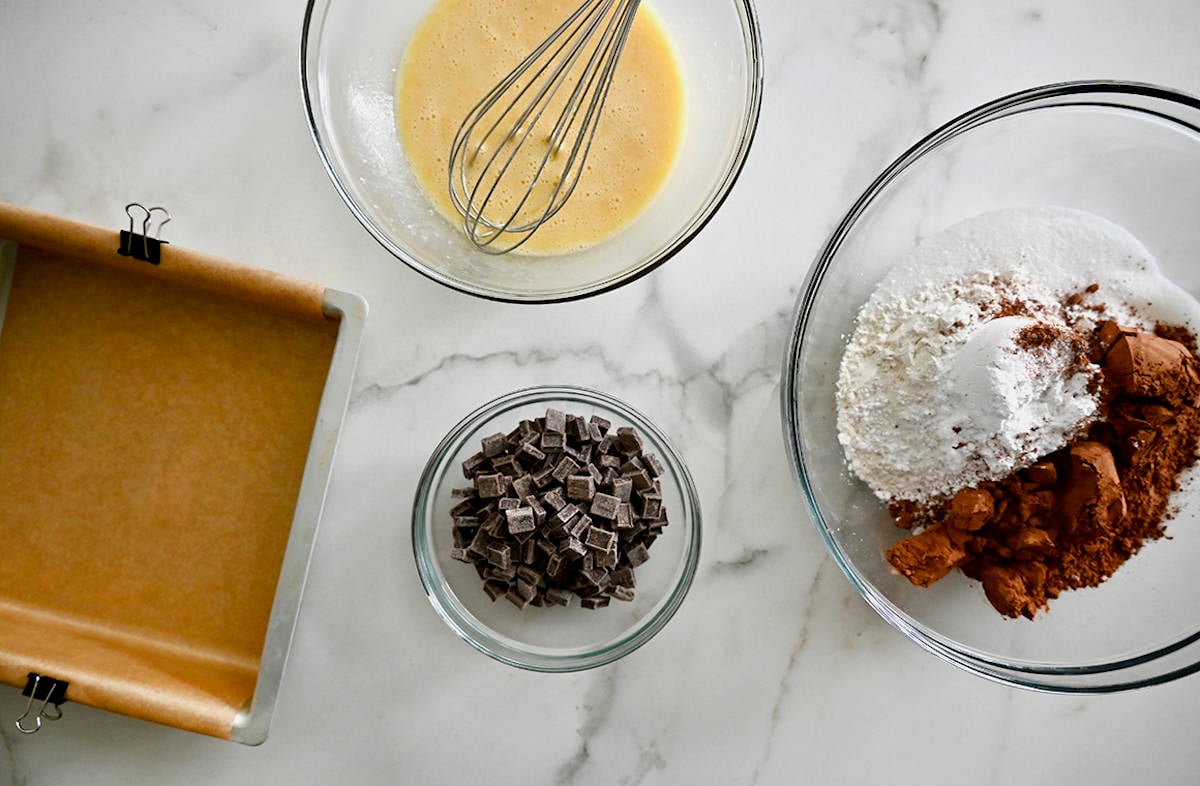
- Add the dry ingredients to the wet ingredients and mix just until combined. Overmixing can lead to dense and tough brownies, so stop as soon as there are no visible streaks of flour.
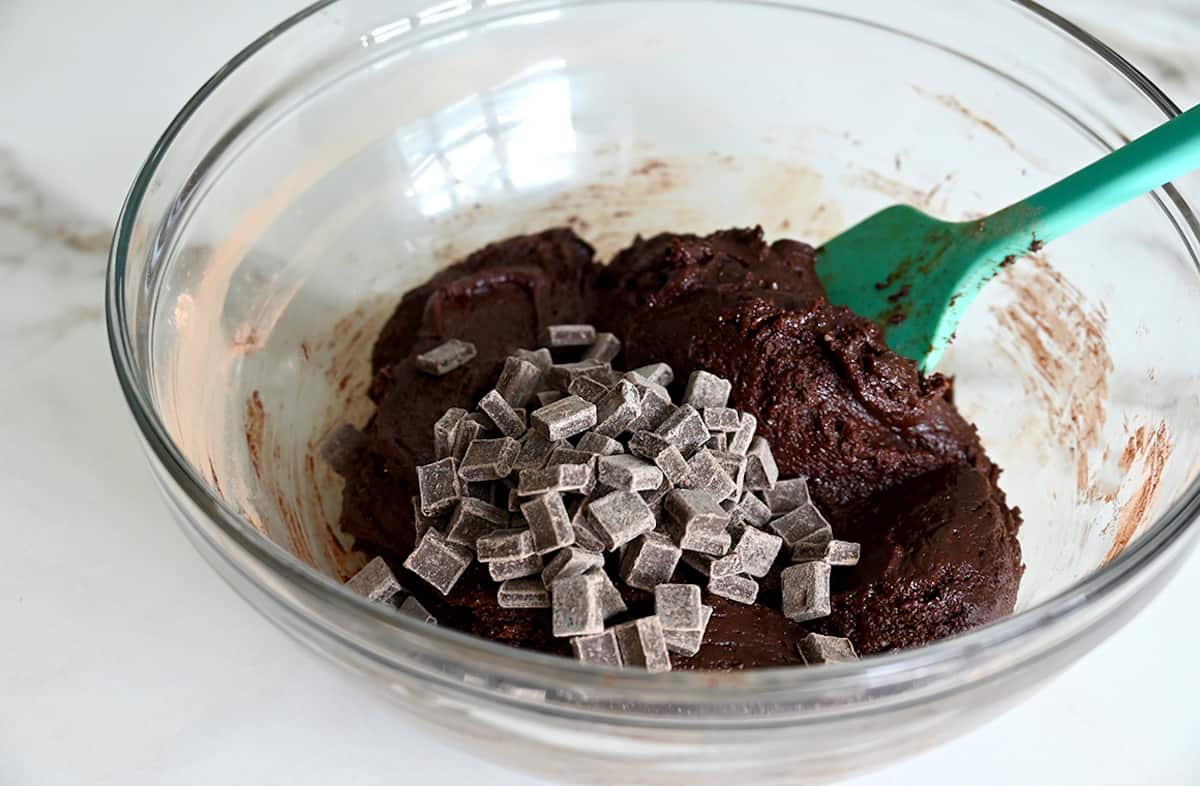
- Fold in the chocolate chips then pour the batter into the prepared baking pan.
- Bake. A toothpick inserted into the center should come out with a few moist crumbs, but not wet batter.
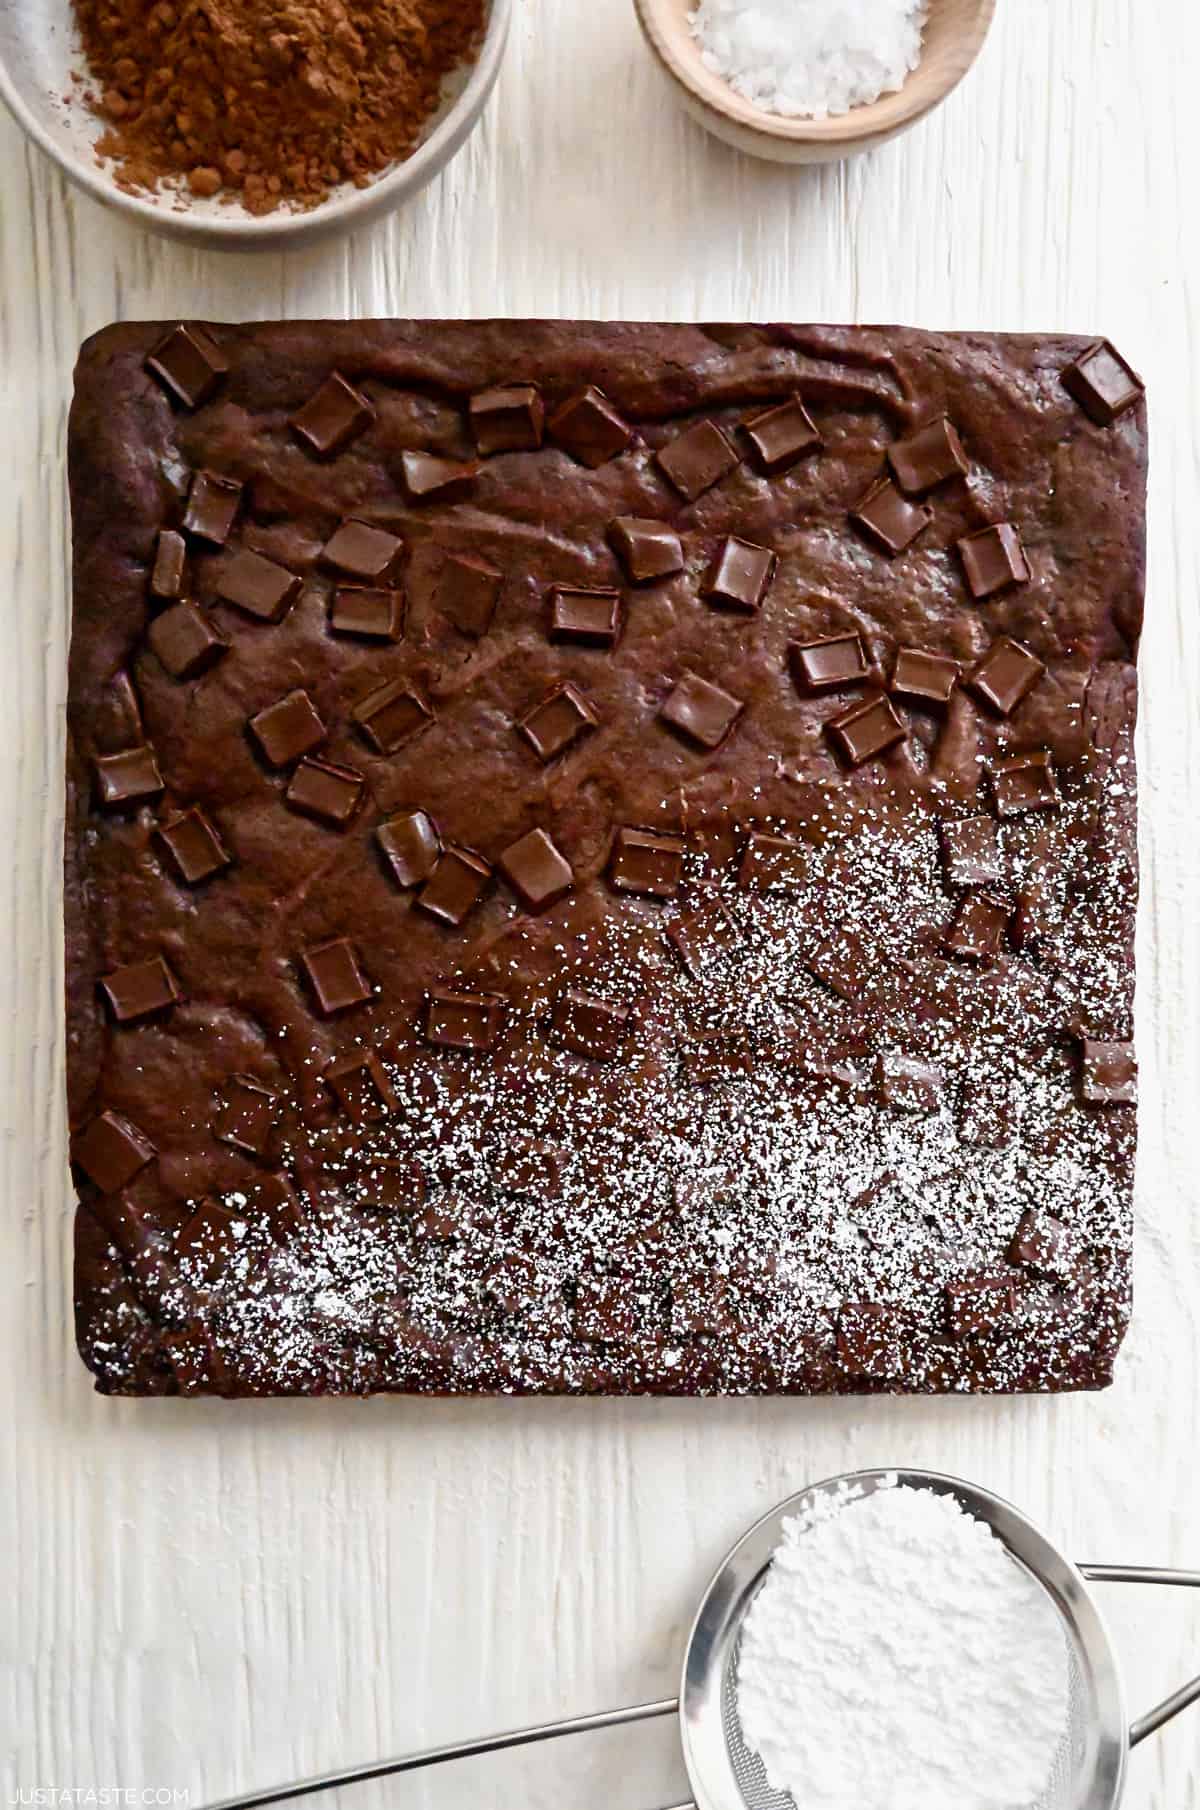
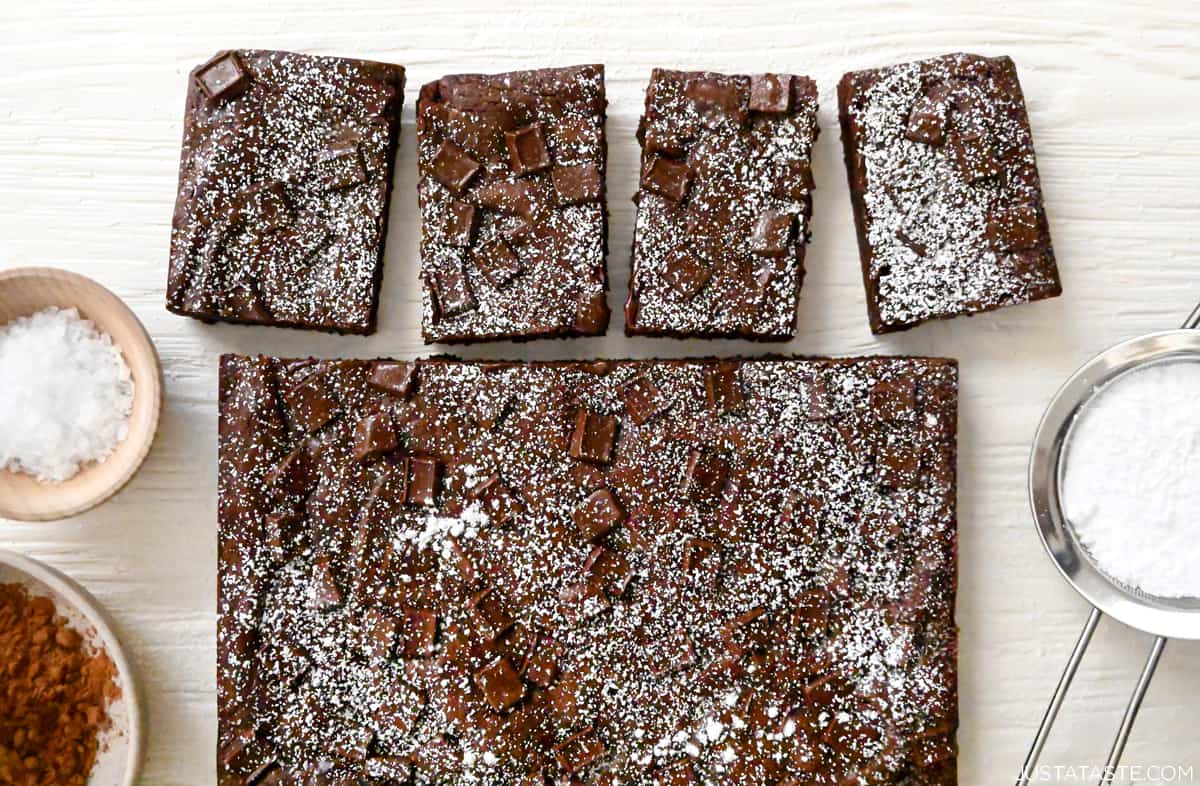
- Allow the brownies to cool completely in the pan before slicing. This helps them set and makes for clean, neat slices. If you can’t wait, chilling them in the fridge for a bit can speed up the process.
You’ve just baked the perfect batch of fudgy cocoa brownies, and now it’s time to serve them up. But how can you ensure clean cuts without cracks, crumbles or a sticky mess? Learn all of my tips and tricks for how to cut brownies cleanly!
- Choose light-colored or shiny metal baking pans for uniform baking. Dark pans or non-metal options like glass or ceramic can impact the bake time and texture of your brownies. If using these pans, monitor the brownies closely while baking by checking them 5 minutes before the recommended baking time and then every 5 minutes thereafter until they’re fully baked.
- How to tell when brownies are done: 1. Look for signs of doneness such as the edges pulling away from the sides of the pan, and a shiny, crackly surface. The brownies should also appear set in the center. 2. Insert a toothpick into the center of the brownies. If it comes out with a few moist crumbs clinging to it, the brownies are done. However, if there is wet batter on the toothpick, continue baking for a few more minutes and test again.
- Store leftover brownies in an airtight container at room temperature for up to 3 days to maintain their freshness. For extended shelf life, pop them in the refrigerator—just be sure to warm them briefly in the microwave before serving for that irresistible gooey goodness.
Variations
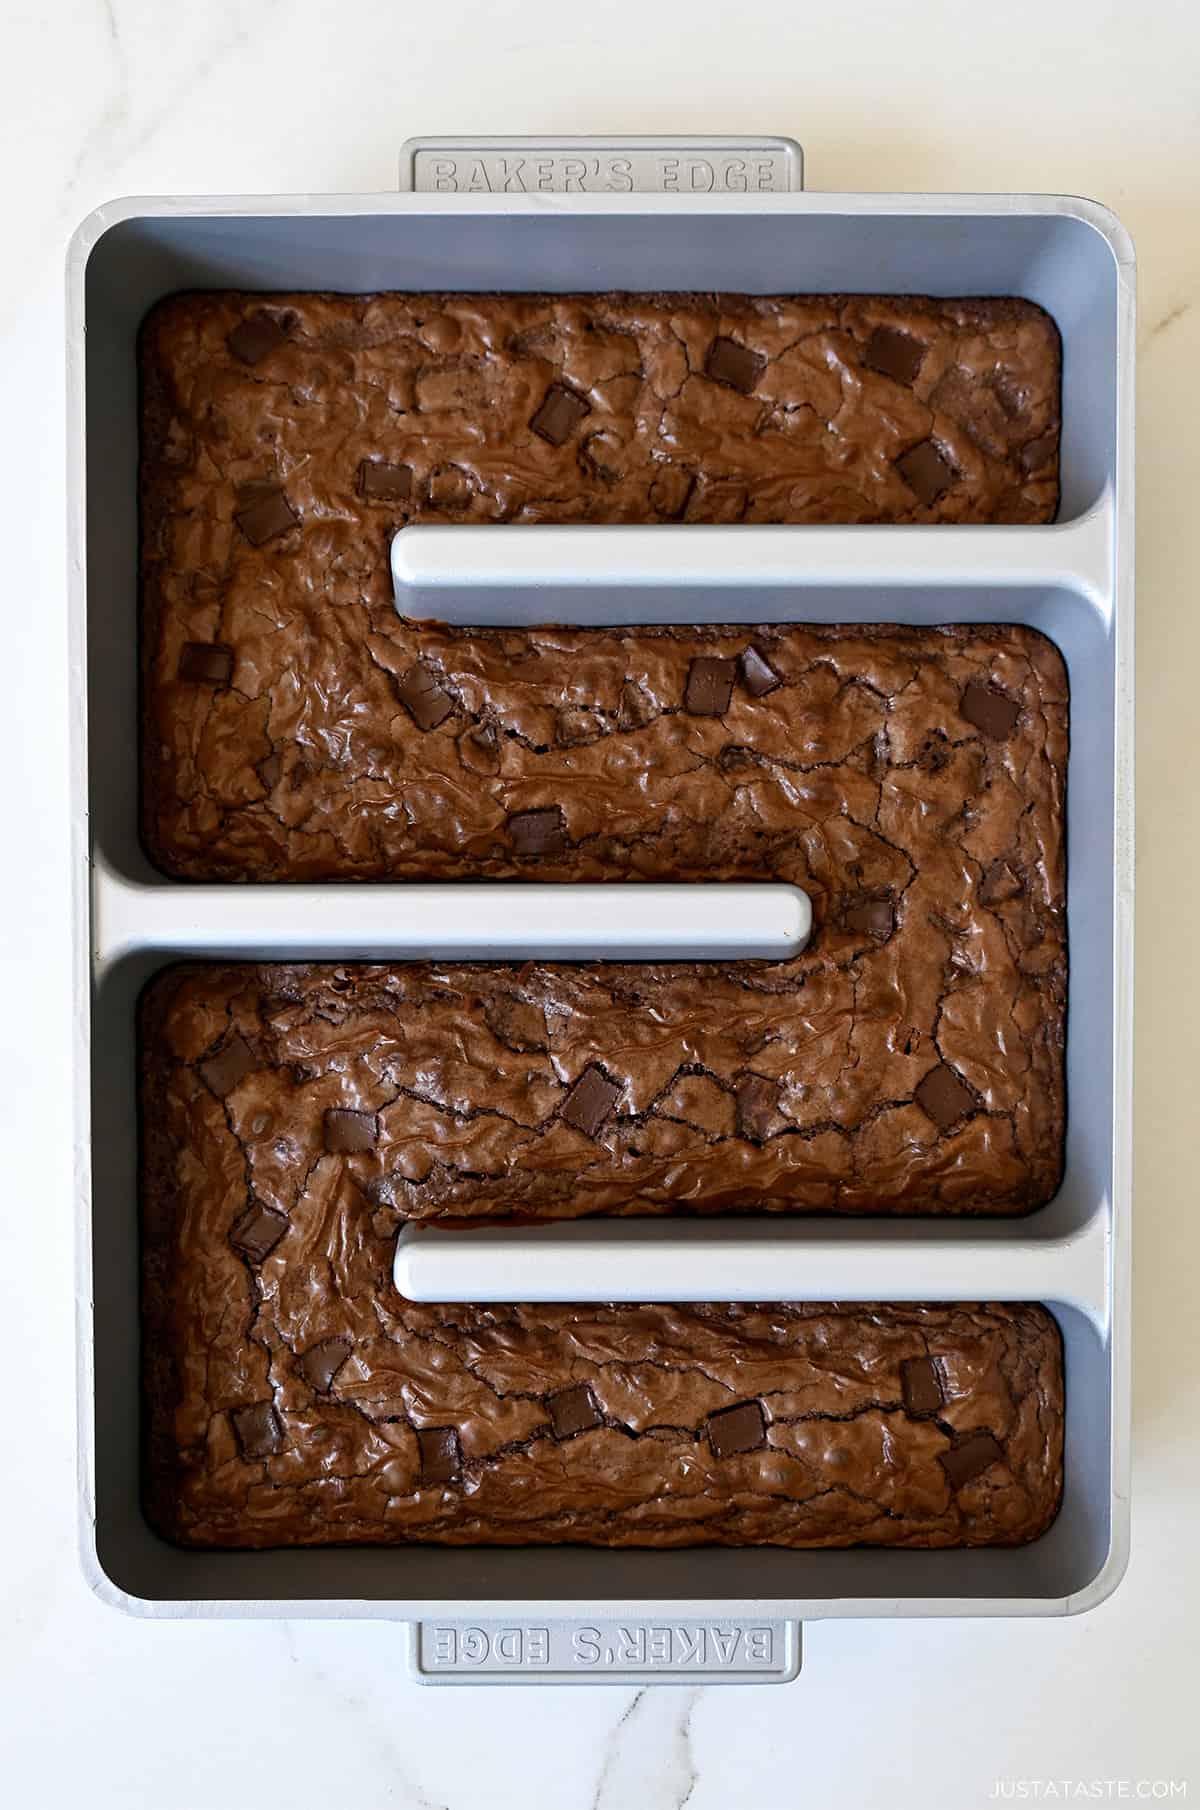
1. Edges Only Brownie Pan
If you’re a fan of the extra-chewy, slightly crispy edge (and specifically corner!) brownie pieces, then allow me to introduce you to my favorite Baker’s Edge Brownie Pan. This nonstick pan works wonders with this brownie recipe. Bonus point: It’s also great for lasagna!
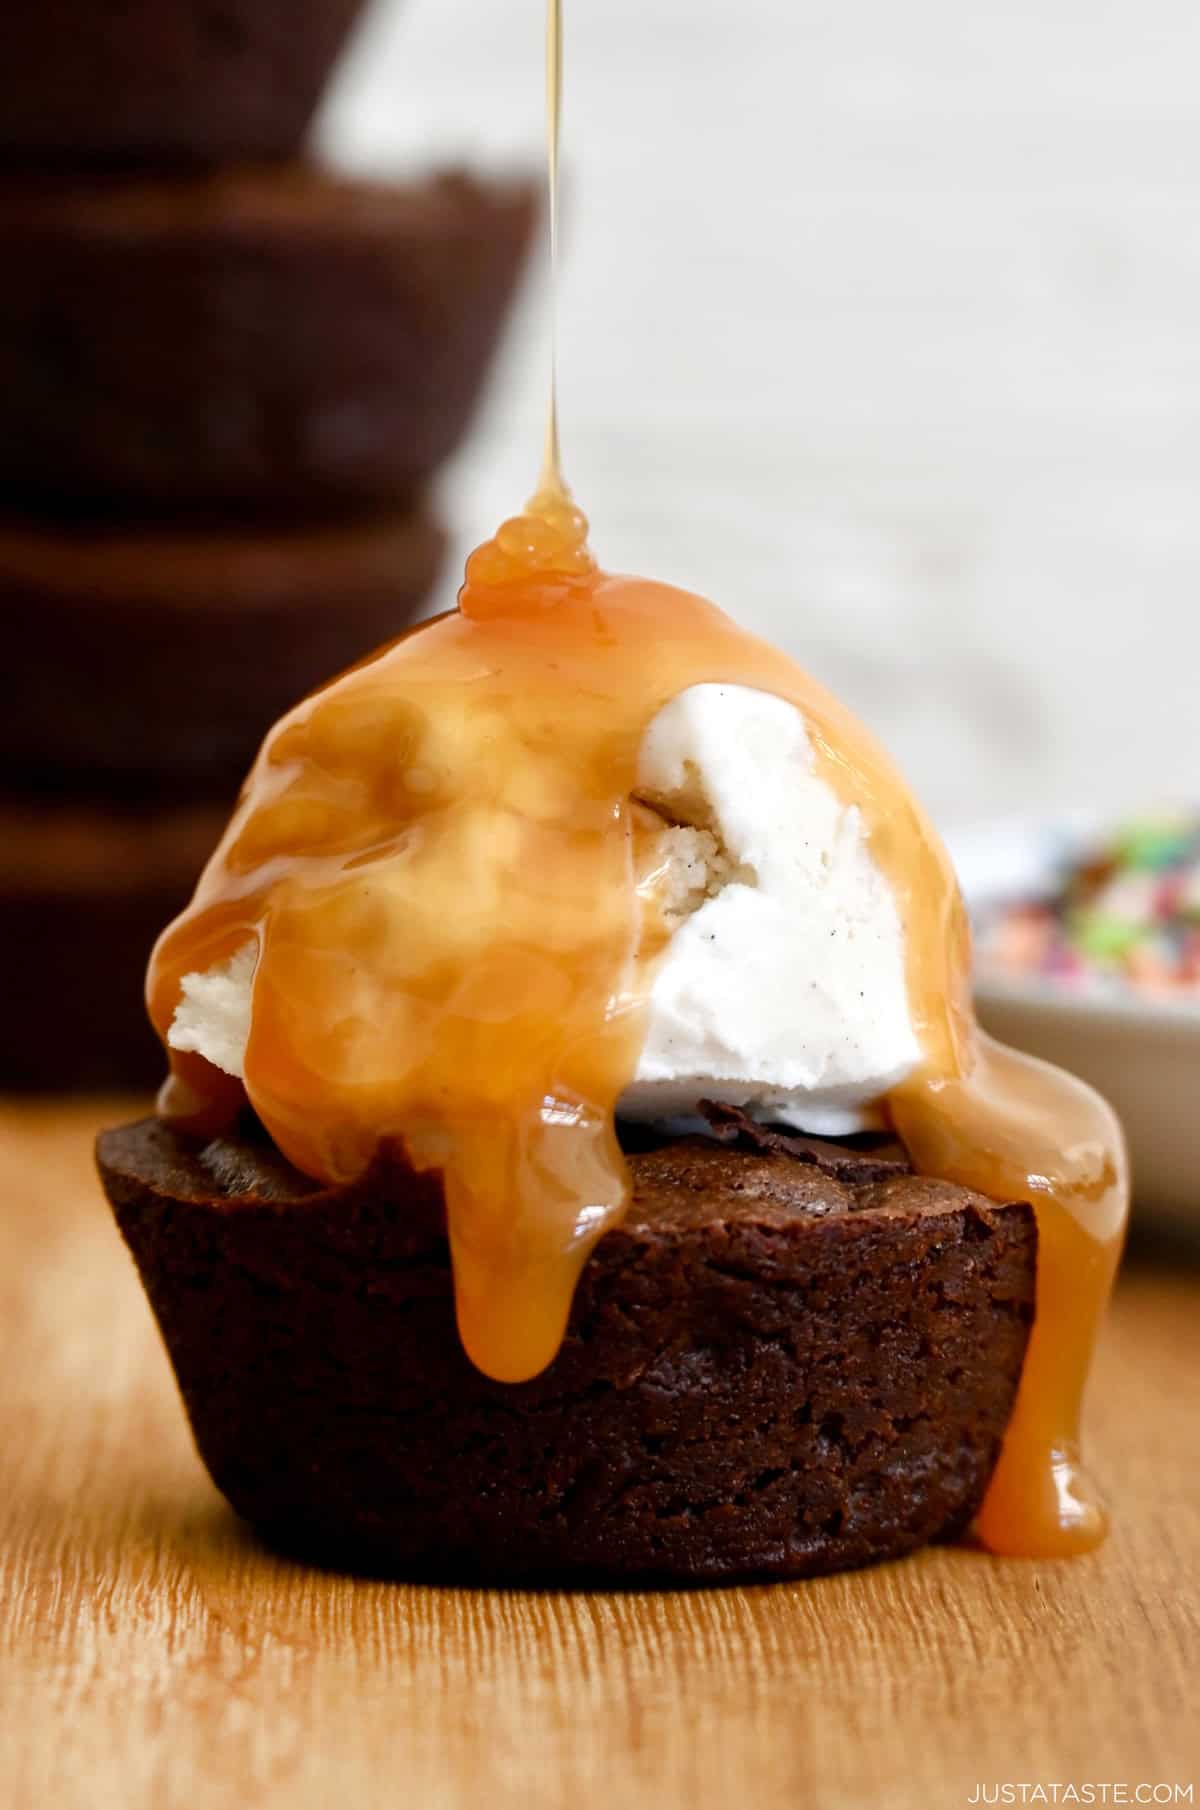
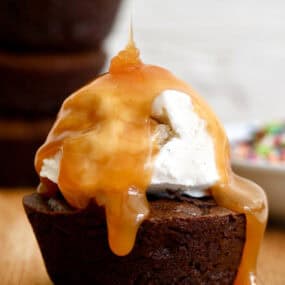
2. Fudgy Brownie Cupcakes
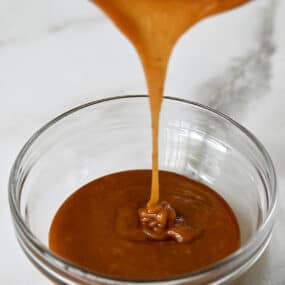
Ditch the square baking pan in favor of a muffin tin for easy brownie cupcakes that are perfect for topping with a scoop of ice cream and a drizzle of homemade bourbon caramel sauce.
Decorating Ideas
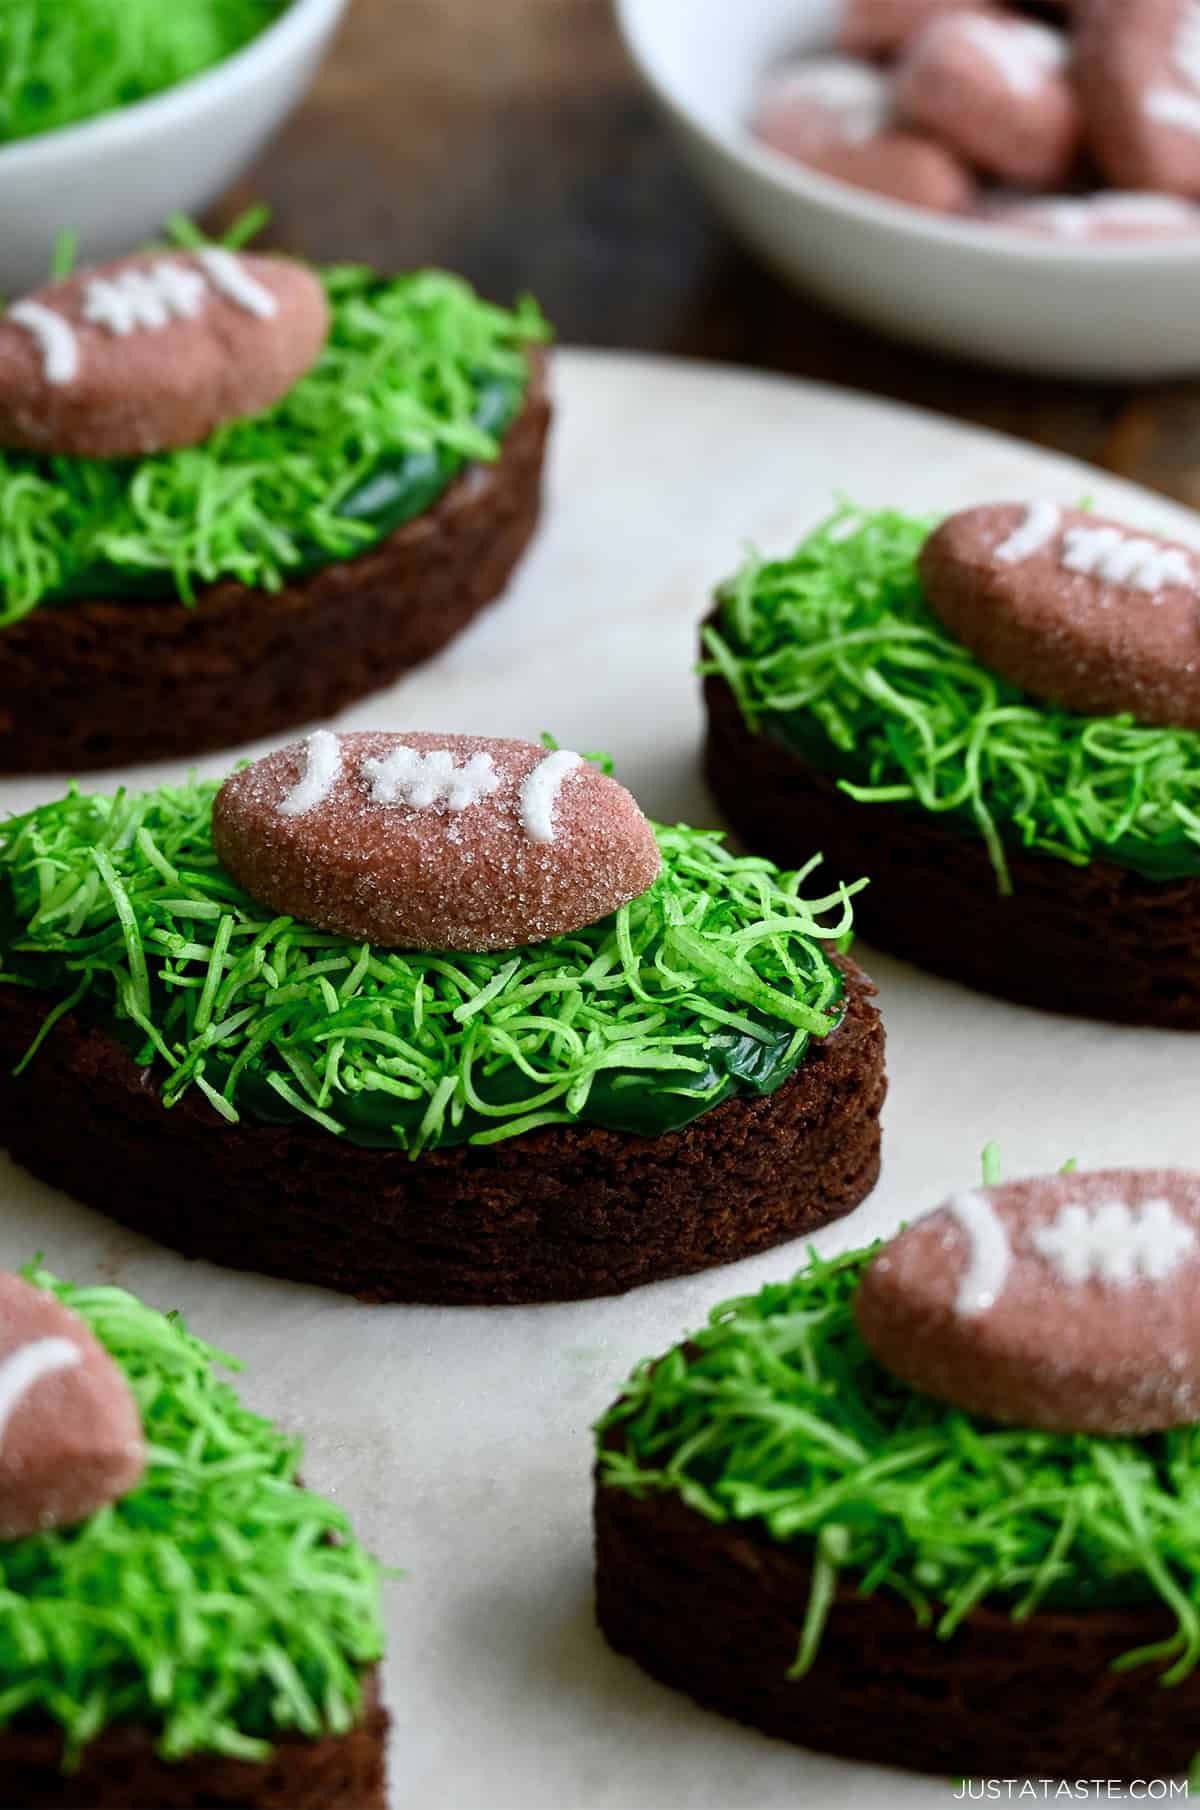
While these brownies are delicious served as is, they’re also the perfect blank canvas to be cut out and decorated for any occasion. It’s important to let them cool completely before using a cookie cutter.

I grabbed my favorite football-shaped cookie cutter to make this festive gameday dessert. The grass is made by adding shredded coconut and green food coloring to a sealable plastic bag then sealing and shaking until the coconut is evenly coated. Add a thin layer of frosting atop the brownies, sprinkle on the “grass” then pop a football marshmallow on top for a tasty dessert touchdown!
It doesn’t get much better than a warm, fudgy cocoa brownie served with a big ol’ scoop of vanilla ice cream. Add a few juicy raspberries and you have my favorite dessert combo of all time. Here are more delicious toppings to try:
- Whipped cream
- Butterscotch sauce – generously drizzle over the top for a sweet and gooey touch to each bite
- Large-flake sea salt – my secret to enhancing the flavors (also a must-try atop Nutella-stuffed chocolate chip cookies!)
Frequently Asked Questions
Keep a close eye on the baking time and avoid overbaking the brownies. Use a toothpick to test for doneness—insert it into the center of the brownies, and if it comes out with a few moist crumbs, they’re ready to be taken out of the oven.
Absolutely! Allow the brownies to cool completely, then wrap them tightly in plastic wrap and foil before placing them in a freezer-safe container or bag. To thaw, leave them at room temperature or warm them briefly in the microwave.
- Sour Cream Chocolate Cupcakes
- Giant Chocolate Chip Cookie Cake
- Monster Cookies
- Banana Chocolate Chip Bundt Cake
- Soft and Chewy Peanut Butter Cookies

Ingredients
- Cooking spray
- 2 large eggs
- 1/4 cup vegetable oil
- 4 Tablespoons unsalted butter, melted
- 1 teaspoon vanilla extract
- 2 Tablespoons water
- 1 1/4 cups sugar
- 3/4 cup all-purpose flour
- 2/3 cup cocoa powder
- 1/2 cup confectioners’ sugar
- 1/2 teaspoon kosher salt
- 1/2 cup chocolate chips or chunks
Instructions
- Preheat the oven to 325°F. Line an 8-inch square baking pan with parchment paper then grease it with cooking spray.
- In a large bowl, whisk together the eggs, vegetable oil, melted butter, vanilla extract and water.
- In a separate medium bowl, whisk together the sugar, flour, cocoa powders, confectioners’ sugar and salt. Add the dry ingredients to the wet ingredients and mix just until combined.
- Fold in the chocolate chips then pour the batter into the prepared baking pan.
- Bake the brownies until they are just set in the center and a toothpick inserted comes out clean, 35 to 40 minutes. Remove the brownies from the oven then let them cool completely in the pan, then slice and serve.
Kelly’s Notes
- How to tell when brownies are done: 1. Look for signs of doneness such as the edges pulling away from the sides of the pan, and a shiny, crackly surface. The brownies should also appear set in the center. 2. Insert a toothpick into the center of the brownies. If it comes out with a few moist crumbs clinging to it, the brownies are done. However, if there is wet batter on the toothpick, continue baking for a few more minutes and test again.
- Store leftover brownies in an airtight container at room temperature for up to 3 days to maintain their freshness. For extended shelf life, pop them in the refrigerator—just be sure to warm them briefly in the microwave before serving for that irresistible gooey goodness.
- ★ Did you make this recipe? Don’t forget to give it a star rating below!
Nutrition
Shoutout
Did you try this recipe?
Share it with the world! Mention @justataste or tag #justatasterecipes!
This post may contain affiliate links.

Amazing! I doubled it and put in a 13×9.
Sprinkled some of the chocolate chips on top.
Had greased and floured bottom of dish.
Baked for 49 minutes.
Thrilled you enjoyed the recipe, Kimberly!
Wow wow wow! These were perfect. I can’t believe how easy they are. Love that you don’t have to melt chocolate. And the flavor was perfectly chocolatey. Added some p.b. chips and everyone gobbled them up!
I’m so glad you enjoyed the recipe, Amanda!
These are moist, fudgy brownies with the rich, complex taste you only get with cocoa powder. The chocolate level was perfect for me; my daughter found them to be excellent, though a bit chocolate-intense for her. I used semi-sweet chips, so might try with milk-chocolate for her, next time, or maybe even sans chips. I like a thicker brownie, so I made the double recipe and baked it in a 13X9” pan for 51 minutes, and they came out great.
I’m so thrilled you enjoyed the recipe, Cheryl!
Tested these out for my Valentine’s party and they are a WINNER! So easy and I love that I don’t need a chocolate bar. THANK YOU!
So glad you enjoyed it, Kaitlin!