Satisfy your chocolate cravings with these extra moist, rich and incredibly chocolatey Sour Cream Chocolate Cupcakes! Made with two surprising ingredients for an extra-indulgent touch, they’re a decadent treat you won’t be able to resist. And don’t forget the buttercream frosting!
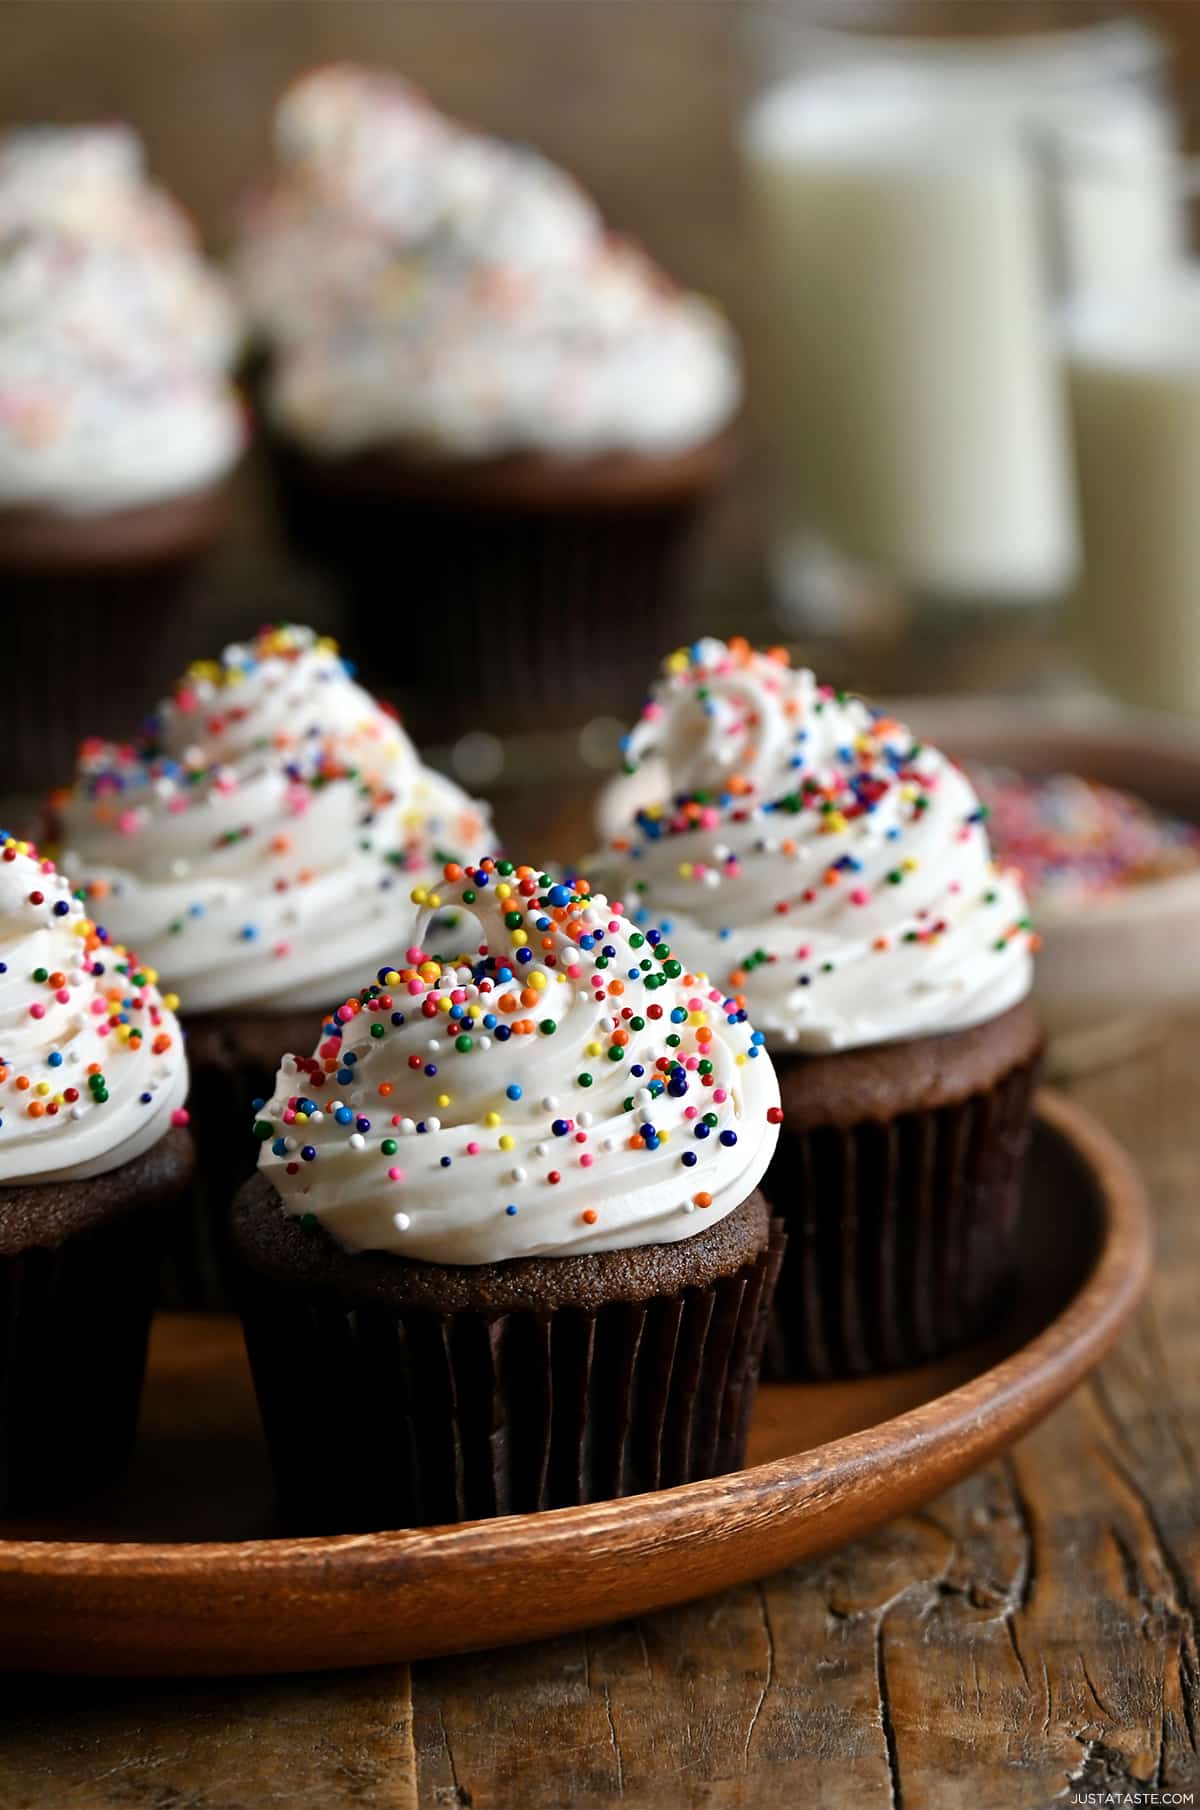
Table of Contents
If you’re a chocoholic like me, you’ll understand the quest for the perfect chocolate cupcake—moist, rich and downright delicious. And today, I’m sharing my go-to recipe, and let me tell you, it’s a total game-changer. Get ready for the perfect balance of sweet and tangy flavors because these rich, decadent sour cream chocolate cupcakes are made with two secret ingredients – sour cream and chocolate milk!
These ingredients not only make the cupcakes ultra-moist but also add a unique flavor that you won’t find in any other recipe. So, if you’re ready to take your chocolate cupcake game to the next level, grab your apron, and let’s get baking!
What Makes These Chocolate Cupcakes Unique
- Sour cream. Adding sour cream to the batter might seem unconventional, but it’s the secret ingredient that sets these cupcakes apart. The tanginess of the sour cream not only enhances the depth of flavor but also contributes to a moist, tender crumb that keeps these cupcakes irresistibly soft and fresh.
- A triple dose of chocolate. While many chocolate cupcake recipes rely solely on cocoa powder for their chocolate flavor, I’ve taken these to the next level by incorporating cocoa powder, chocolate milk and mini chocolate chips.
Why You’ll Love ‘Em
- Super moist. Much like my favorite brownie cookies, these chocolate cupcakes have a perfectly moist crumb that’s simply irresistible.
- Rich, chocolatey flavor.
- Perfect balance between light and airy and moist and dense.
- Surprisingly simple. With just a handful of pantry staples and a quick mix, you’ll have a batch of heavenly chocolate treats ready to impress.
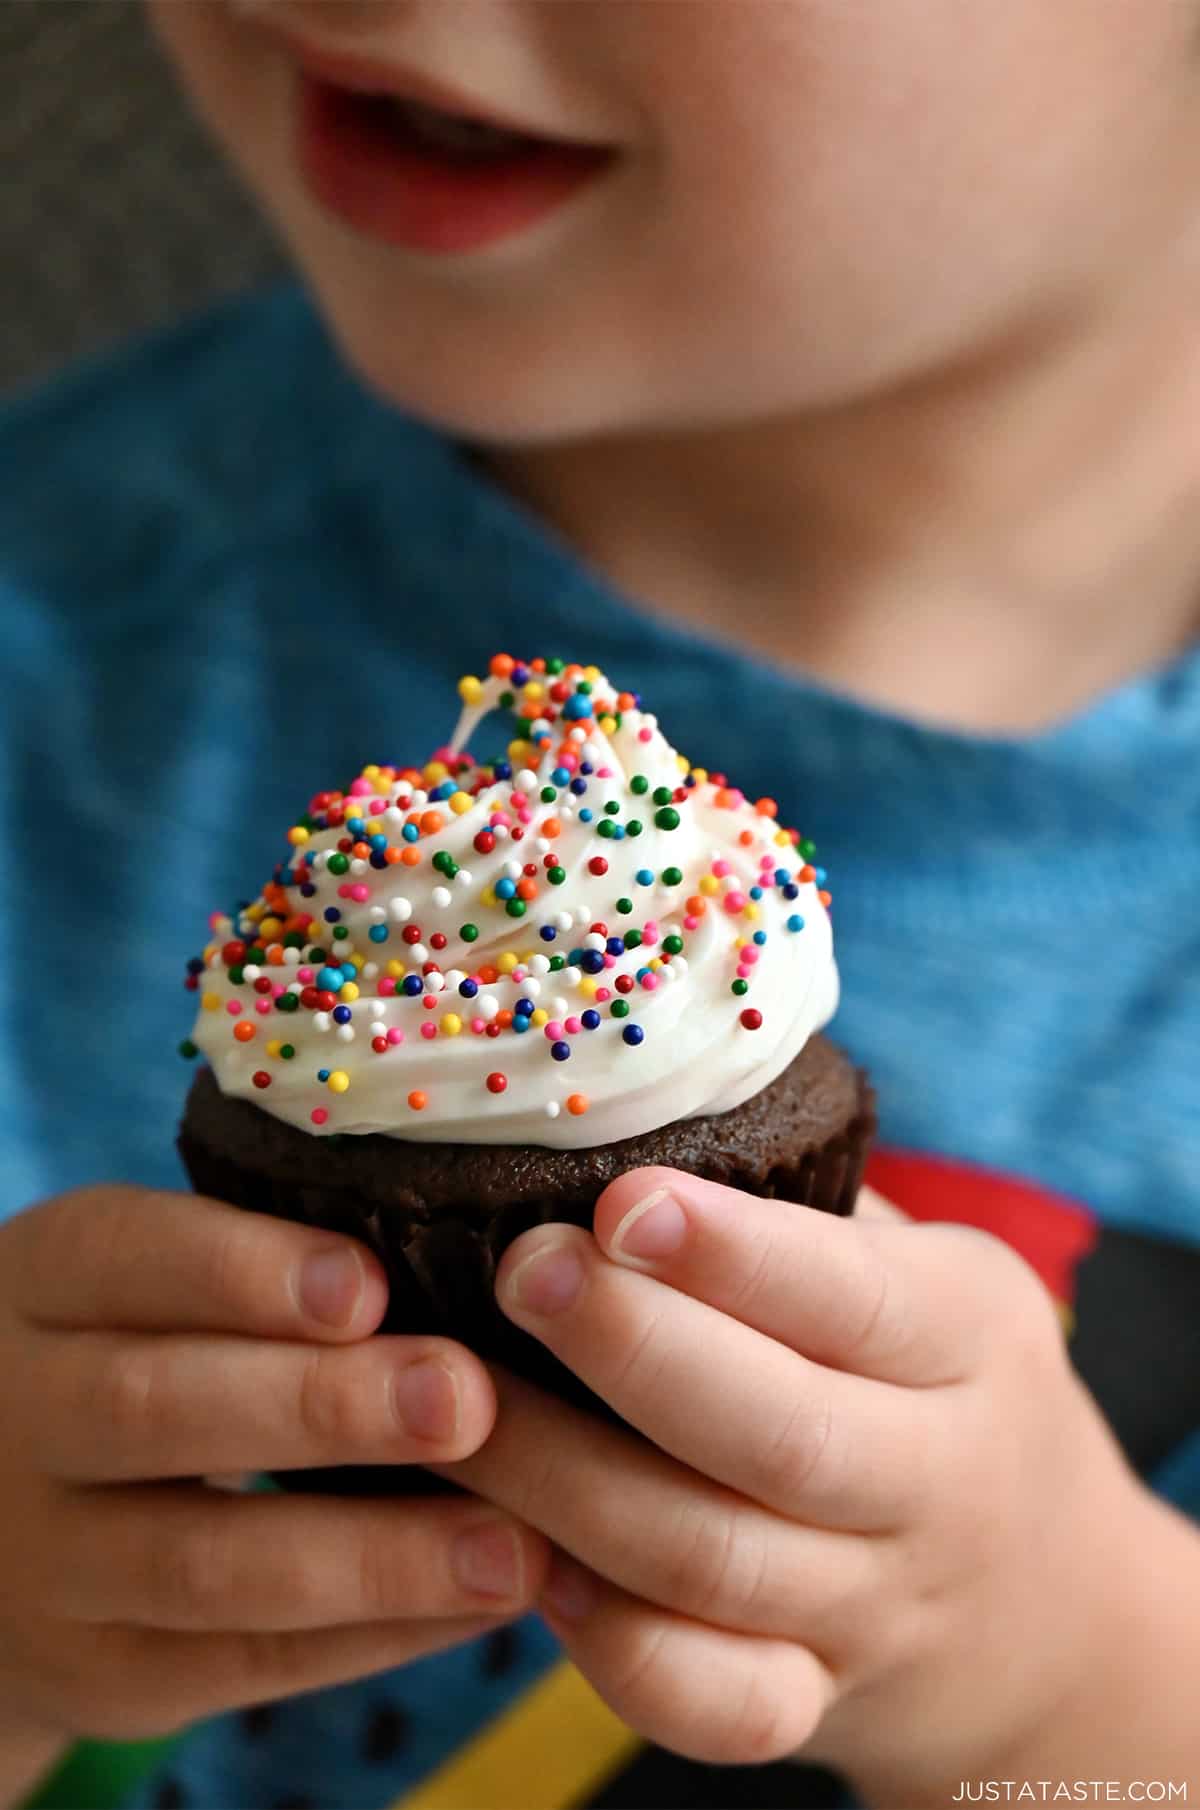
- Perfect for any occasion from birthday parties and bake sales to midnight snack sessions.
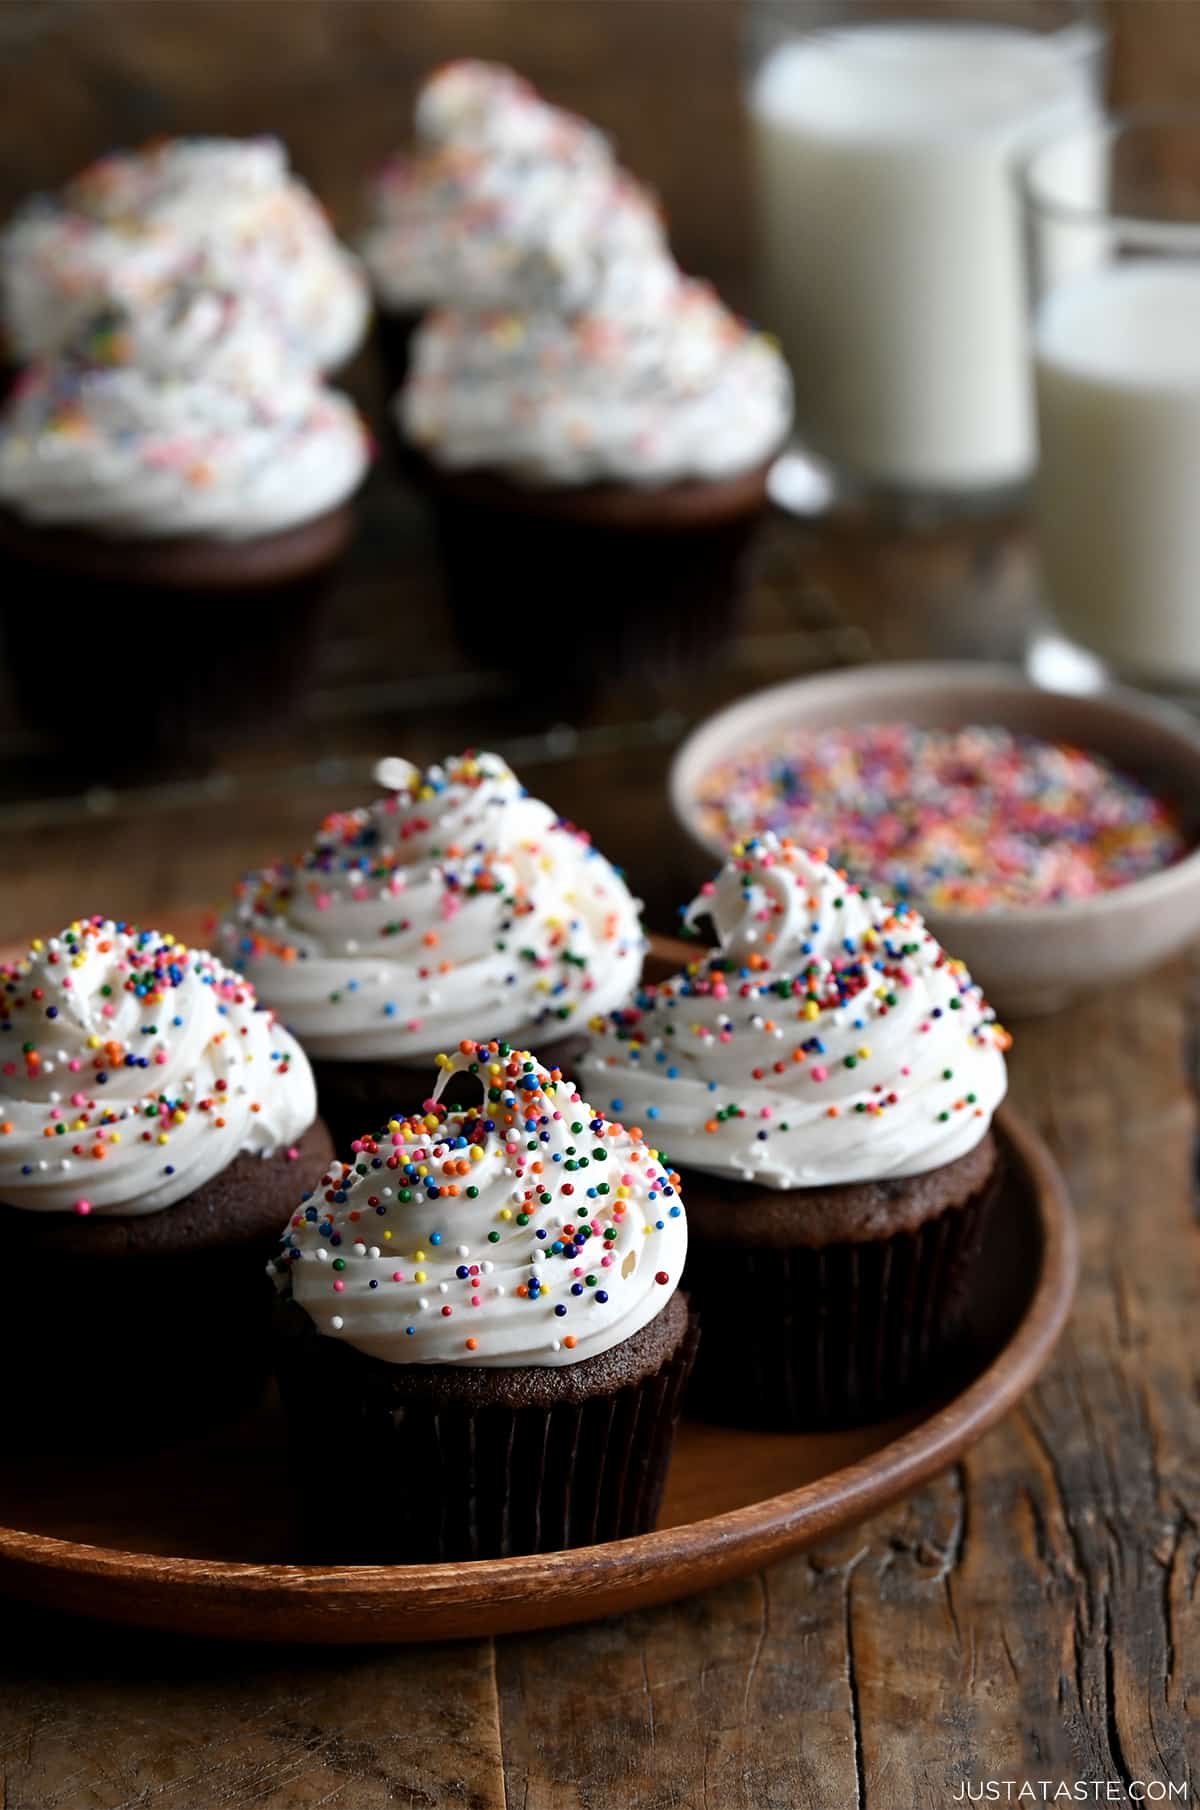
- A blank canvas for your favorite frosting and decorations. From classic chocolate buttercream frosting to rainbow sprinkles or even a dollop of whipped cream, the possibilities are endless.
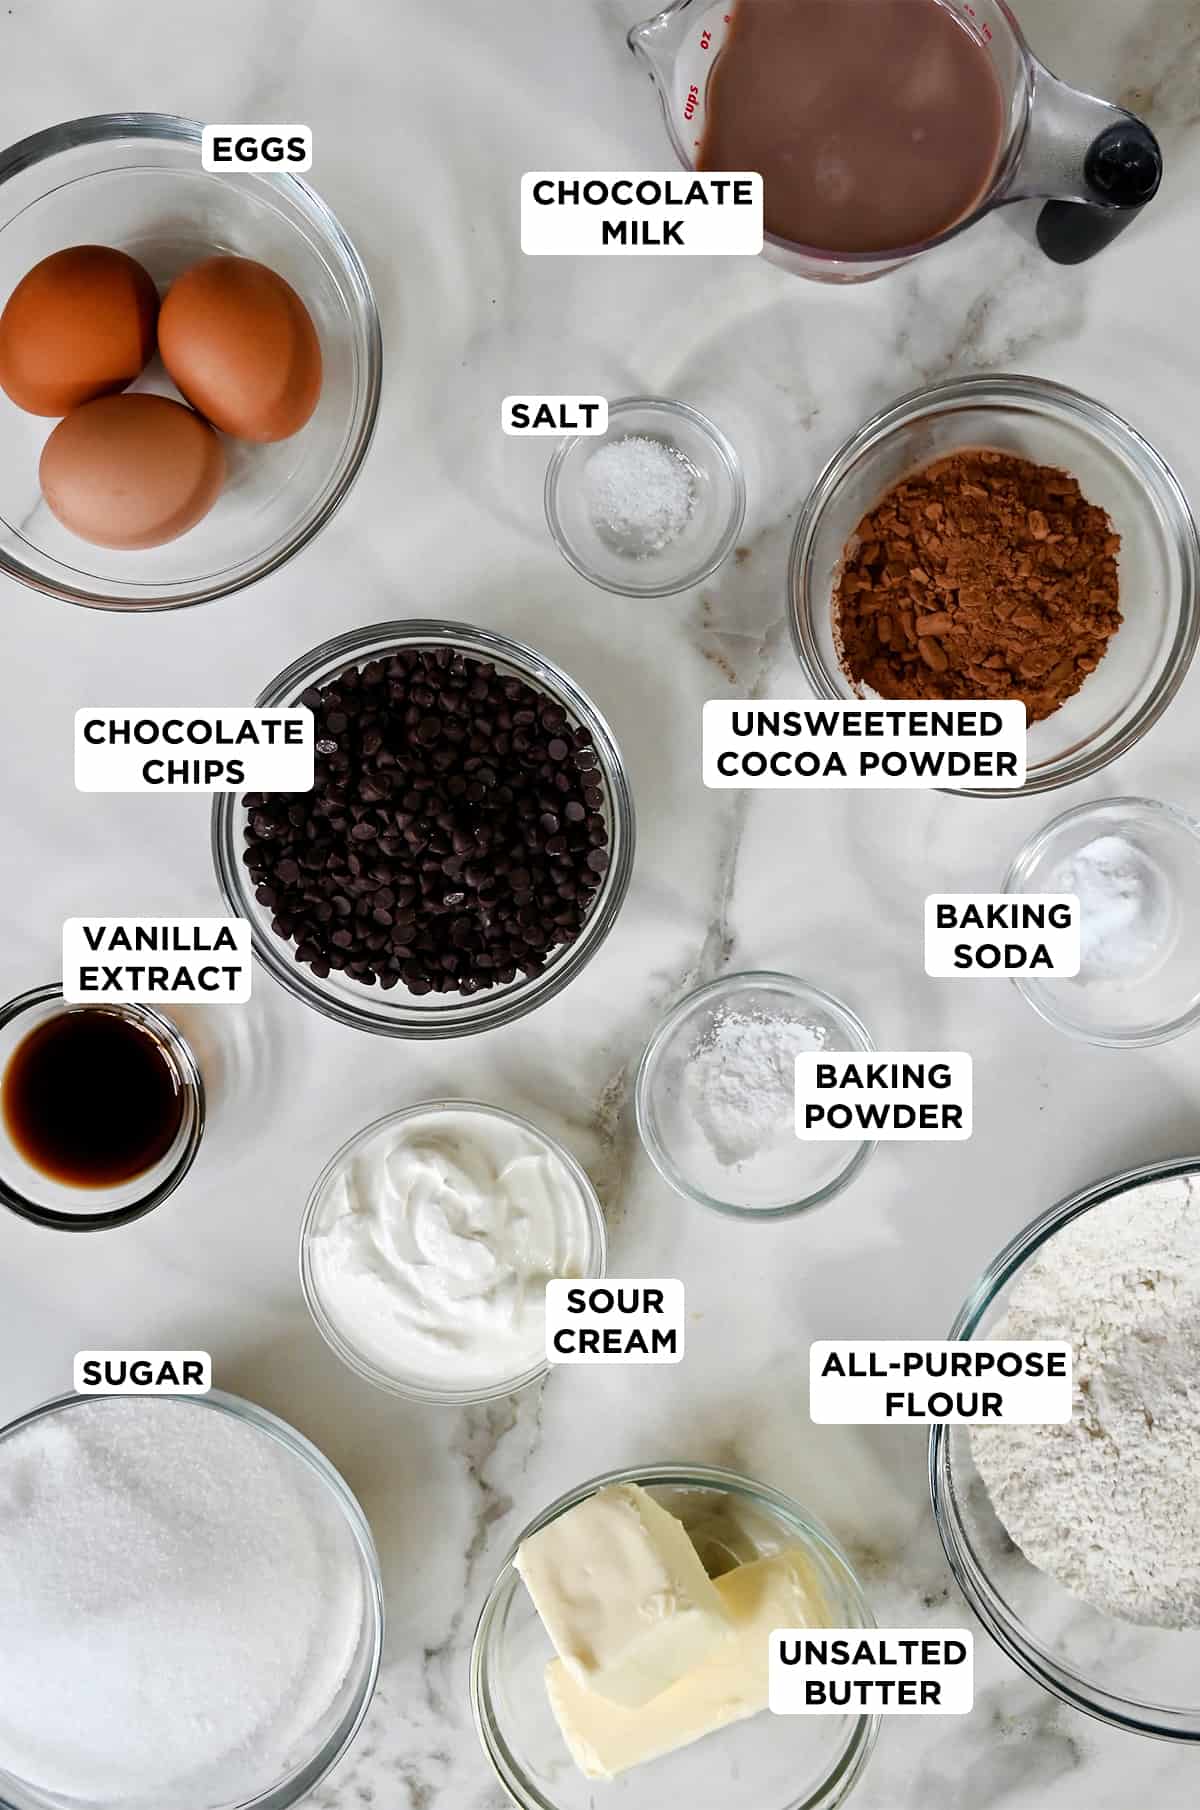
- All-purpose flour: For a lighter texture, sift the flour before adding it to the batter. This helps to aerate the flour, resulting in a softer crumb.
- Cocoa powder: I used regular unsweetened cocoa powder because it has a milder and smoother flavor than Dutch-processed, which is more intense and has a slightly acidic taste. However, if you prefer Dutch-processed cocoa powder, use it!
- Baking soda and baking powder: Make sure your leavening agents are fresh for optimal rising. To test, sprinkle a bit of baking soda or powder into vinegar—if it bubbles vigorously, it’s still active.
- Kosher salt: Enhances the flavor of chocolate, so don’t skip it! However, if using table salt, reduce the amount by half.
- Unsalted butter: Make sure your butter is truly at room temp for easier incorporation into the batter. It should be soft but not melted.
- Sugar: Adds sweetness, moisture, and tenderness to cupcakes while also aiding in browning during baking, resulting in a deliciously balanced and moist texture.
- Eggs: Bring them to room temperature to mix better with the other ingredients, giving you a smoother batter. To quickly bring eggs to room temp, place them in a bowl of warm water for a few minutes.
- Sour cream: Be sure to use full-fat sour cream for the best texture. Greek yogurt can be substituted if that’s what you have on hand or if sour cream is unavailable.
- Vanilla extract: Use pure vanilla extract for the best flavor.
- Chocolate milk: Adds an extra layer of richness and flavor. Whole milk works, too!
- Mini chocolate chips: Gently fold them into the batter to evenly distribute, or toss them in a tablespoon of flour to prevent sinking during baking. Regular ol’ chocolate chips work, too.
See the recipe card for full information on ingredients and quantities.
Whether you’re celebrating a special milestone or simply craving a chocolate fix, these moist chocolate cupcakes are the ultimate crowd-pleaser.
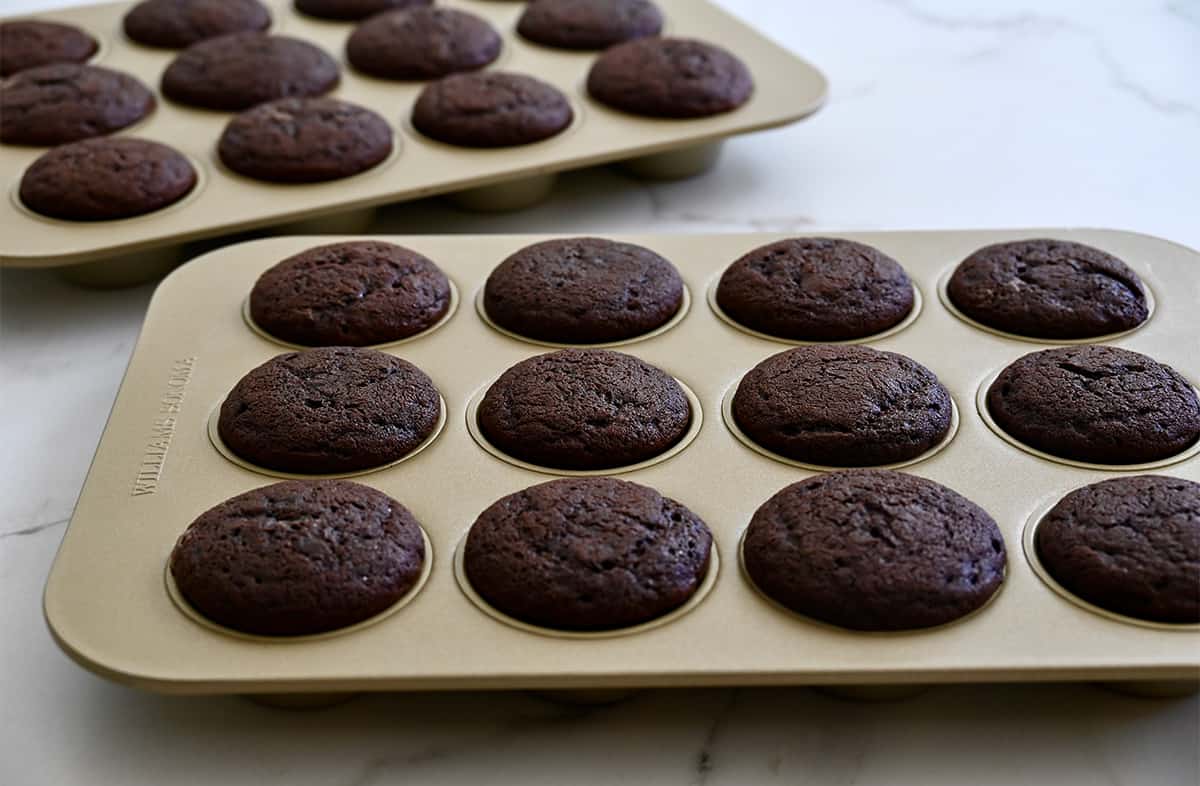
- Preheat the oven to 350°F. Line two muffin pans with cupcake wrappers. Make sure your oven is fully preheated before placing the cupcakes inside. This ensures even baking and prevents undercooked centers.
- Whisk together the dry ingredients. Be sure to properly measure your dry ingredients using the spoon and level method.
- Cream together the butter and sugar until light and fluffy. This incorporates air into the mixture, resulting in a lighter texture.
- Add the eggs, sour cream and vanilla. Adding the eggs one at a time ensures they are fully incorporated without overmixing. Be sure to scrape down the sides of the bowl as needed for even mixing.
- Alternate adding the milk and dry ingredients in three increments. This prevents the batter from becoming too dense.
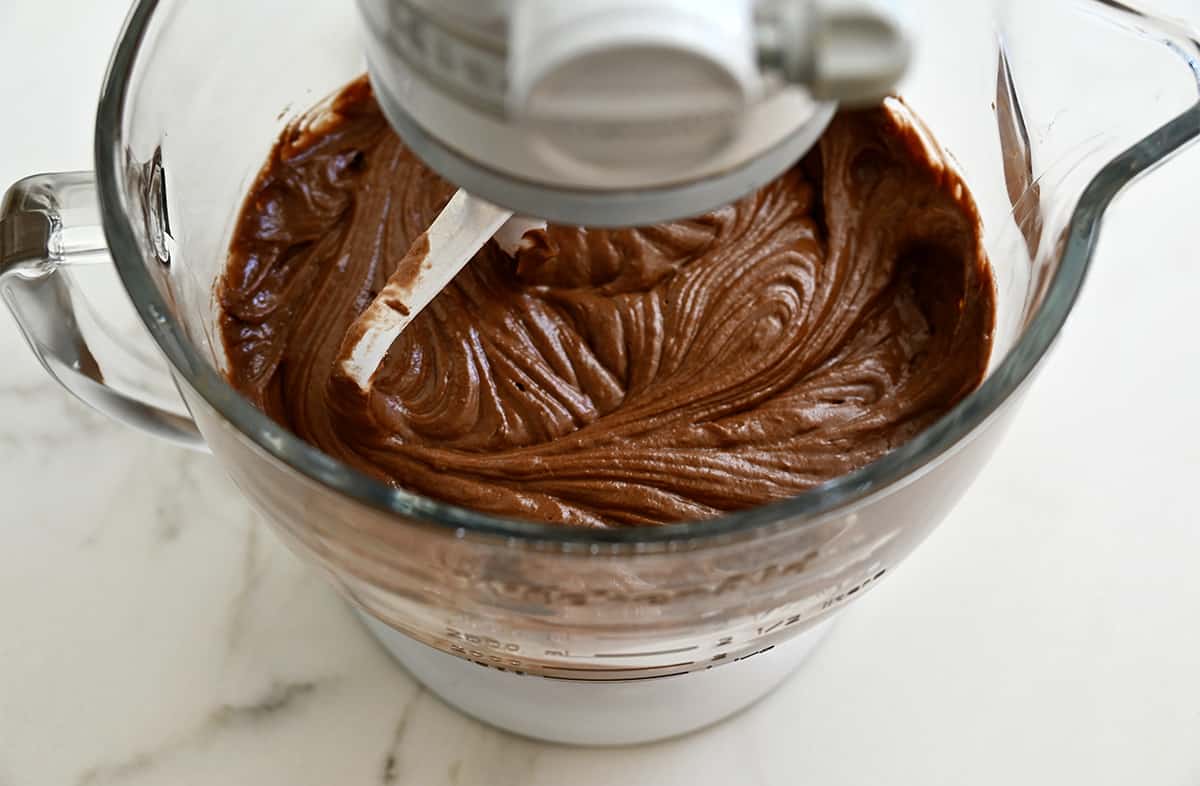
- Fold in the mini chocolate chips. Use a gentle folding motion when adding the chocolate chips to avoid deflating the batter.
- Divide the batter among the cupcake wrappers and bake for about 18 to 22 minutes.
Kelly’s Note: Oven temperatures may vary, so keep an eye on the cupcakes towards the end of the baking time. Insert a toothpick into the center of a cupcake to check for doneness; it should come out clean or with a few moist crumbs attached, but not wet batter.
- Here’s a baking tip I swear by: Before placing paper liners in your cupcake pan, sprinkle a little rice at the bottom. It absorbs moisture, preventing greasy bottoms and ensuring even baking every time!
- It’s tempting to fill the cupcake liners to the brim, but I’ve learned the hard way that it can lead to messy cupcakes. I always fill them about three-quarters full to avoid any mishaps.
- Patience is key when it comes to cooling cupcakes. I make sure to let them cool completely on a wire rack before frosting. It helps the frosting set better and prevents any sogginess.
- I like to use a cookie scoop to portion out the batter evenly. This way, each cupcake bakes up perfectly and prevents some from being under or overcooked.
When it comes to frosting these sour cream chocolate cupcakes, you have plenty of options. In my batch, I used a vanilla buttercream recipe from my favorite vanilla bean cupcakes, but you could also try a fluffy cream cheese frosting (using the frosting recipe from my favorite banana cupcakes!) for a tangy contrast to the rich chocolate cupcakes. Here are more of my favorite frosting recipes to try:
- Classic buttercream frosting
- Chocolate buttercream frosting
- Coffee Buttercream Frosting
- 5-Minute Marshmallow Frosting
Check out my video tutorial on four popular piping tips to learn how to pipe your cupcakes like a pro.
Decorating Options
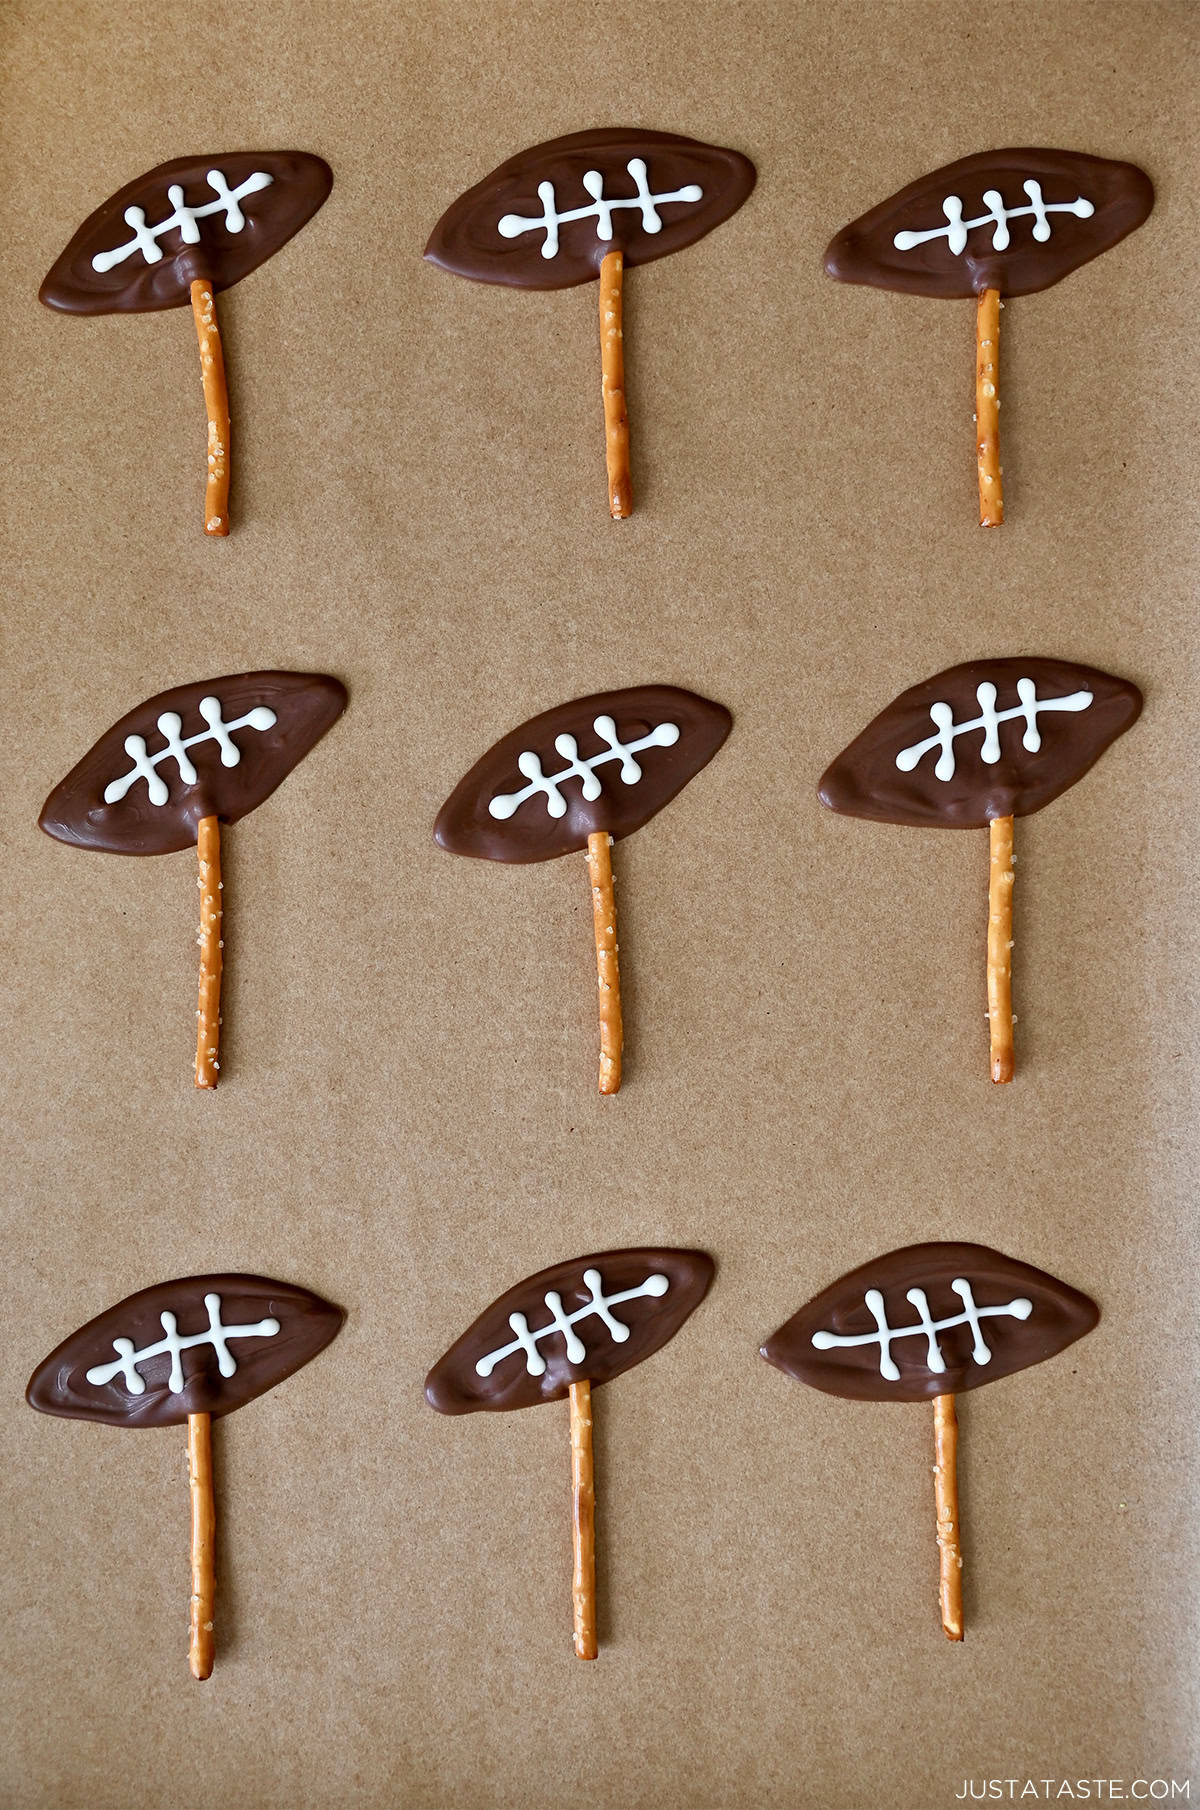
Aside from the classic swirl of vanilla or chocolate buttercream frosting, these cupcakes can be adorned any way imaginable, including with a sporty spin! For a festive gameday dessert, I top the cupcakes with green-tinted frosting, shredded coconut “grass” and edible football cupcake toppers.

To make the chocolate footballs, arrange pretzel sticks on a baking sheet lined with parchment paper then pipe melted chocolate on top in the shape of a football. Once the chocolate has hardened, pipe white chocolate in the shape of laces. let the footballs set completely before peeling them off the parchment paper and inserting them into the cupcakes.
When storing leftover chocolate cupcakes, I always keep them in an airtight container at room temperature. If they’re frosted, I pop them in the fridge and let them come to room temperature before serving them for the best taste and texture.
Common Questions
Yes, you can freeze unfrosted chocolate cupcakes. Wrap them individually in plastic wrap or aluminum foil, then place them in a freezer-safe bag or container. Thaw the cupcakes in the refrigerator overnight before frosting and serving.
To prevent cupcakes from sticking to the liners, make sure to use high-quality liners. You can also spray the liners lightly with non-stick cooking spray before filling them with batter.
Cupcakes can sink in the middle due to several reasons, such as overmixing the batter, opening the oven door too often while baking or underbaking. To prevent sinking, avoid overmixing the batter, bake the cupcakes until a toothpick inserted into the center comes out clean and refrain from opening the oven door too frequently during baking.
Satisfy your sweet tooth with quick and easy chocolate dessert recipes, including these top-rated favorites:
- Flourless Chocolate Cookies
- No-Bake Chocolate Cookie Pops
- Chocolate Chip Brownie Cookies
- Easy No-Bake Chocolate Tart with Raspberries
- Chocolate-Peanut Butter Pretzel Tart
- Chocolate Lava Cakes with Raspberry Sauce
- Chocolate Sugar Cookies
- Chocolate Puff Pastry Twists
Ingredients
- 2 cups all-purpose flour
- 3/4 cup unsweetened cocoa powder
- 1 teaspoon baking soda
- 3/4 teaspoon baking powder
- 1/2 teaspoon kosher salt
- 3/4 cup unsalted butter, at room temp
- 2 cups sugar
- 3 large eggs
- 1/2 cup sour cream
- 2 1/2 teaspoons vanilla extract
- 1 cup whole milk or chocolate milk
- 1 cup mini chocolate chips
Instructions
- Preheat the oven to 350°F. Line two muffin pans with cupcake wrappers.
- In a large bowl, whisk together the flour, cocoa powder, baking soda, baking powder and salt.
- In the bowl of a stand mixer fitted with the paddle attachment, cream together the butter and sugar until light and fluffy. Add the eggs one at a time, beating between each addition. Add the sour cream and vanilla, beating until combined.
- Alternately add the milk and flour mixture in three increments. Fold in the mini chocolate chips. Divide the batter among the cupcake wrappers, filling each ¾ full.
- Bake the cupcakes until a toothpick inserted comes out clean, 18 to 22 minutes. Let the cupcakes cool for 10 minutes in the pan then transfer them to a rack to cool completely.
Kelly’s Notes
- Before placing paper liners in your cupcake pan, sprinkle a little rice at the bottom. It absorbs moisture, preventing greasy bottoms and ensuring even baking every time!
- When storing leftover chocolate cupcakes, I always keep them in an airtight container at room temperature. If they’re frosted, I pop them in the fridge and let them come to room temperature before serving them for the best taste and texture.
- ★ Did you make this recipe? Don’t forget to give it a star rating below!
Nutrition
Did you try this recipe?
Leave a comment below with your star rating!
This post may contain affiliate links.


These were amazingly moist!! Just tested them out for my Super Bowl party and everyone raved. Can’t wait to make them again… and again!!
So glad you enjoyed the recipe, Lynda!
I am definitely going to make this for my son’s birthday next month!! Could I make these in cake pans? If yes which sizes and what would be the bake time?
Absolutely! I have a cake version of this recipe coming up soon. It’s best in 3 8-inch pans but I haven’t finalized the bake time yet, so start testing them around the 20-min mark!