
This homemade pumpkin pie recipe is a classic Thanksgiving dessert with a buttery, flaky crust and smooth, spiced pumpkin filling. Top it with homemade whipped cream and sugared cranberries for a make-ahead dessert that’s guaranteed to steal the show at your holiday table.
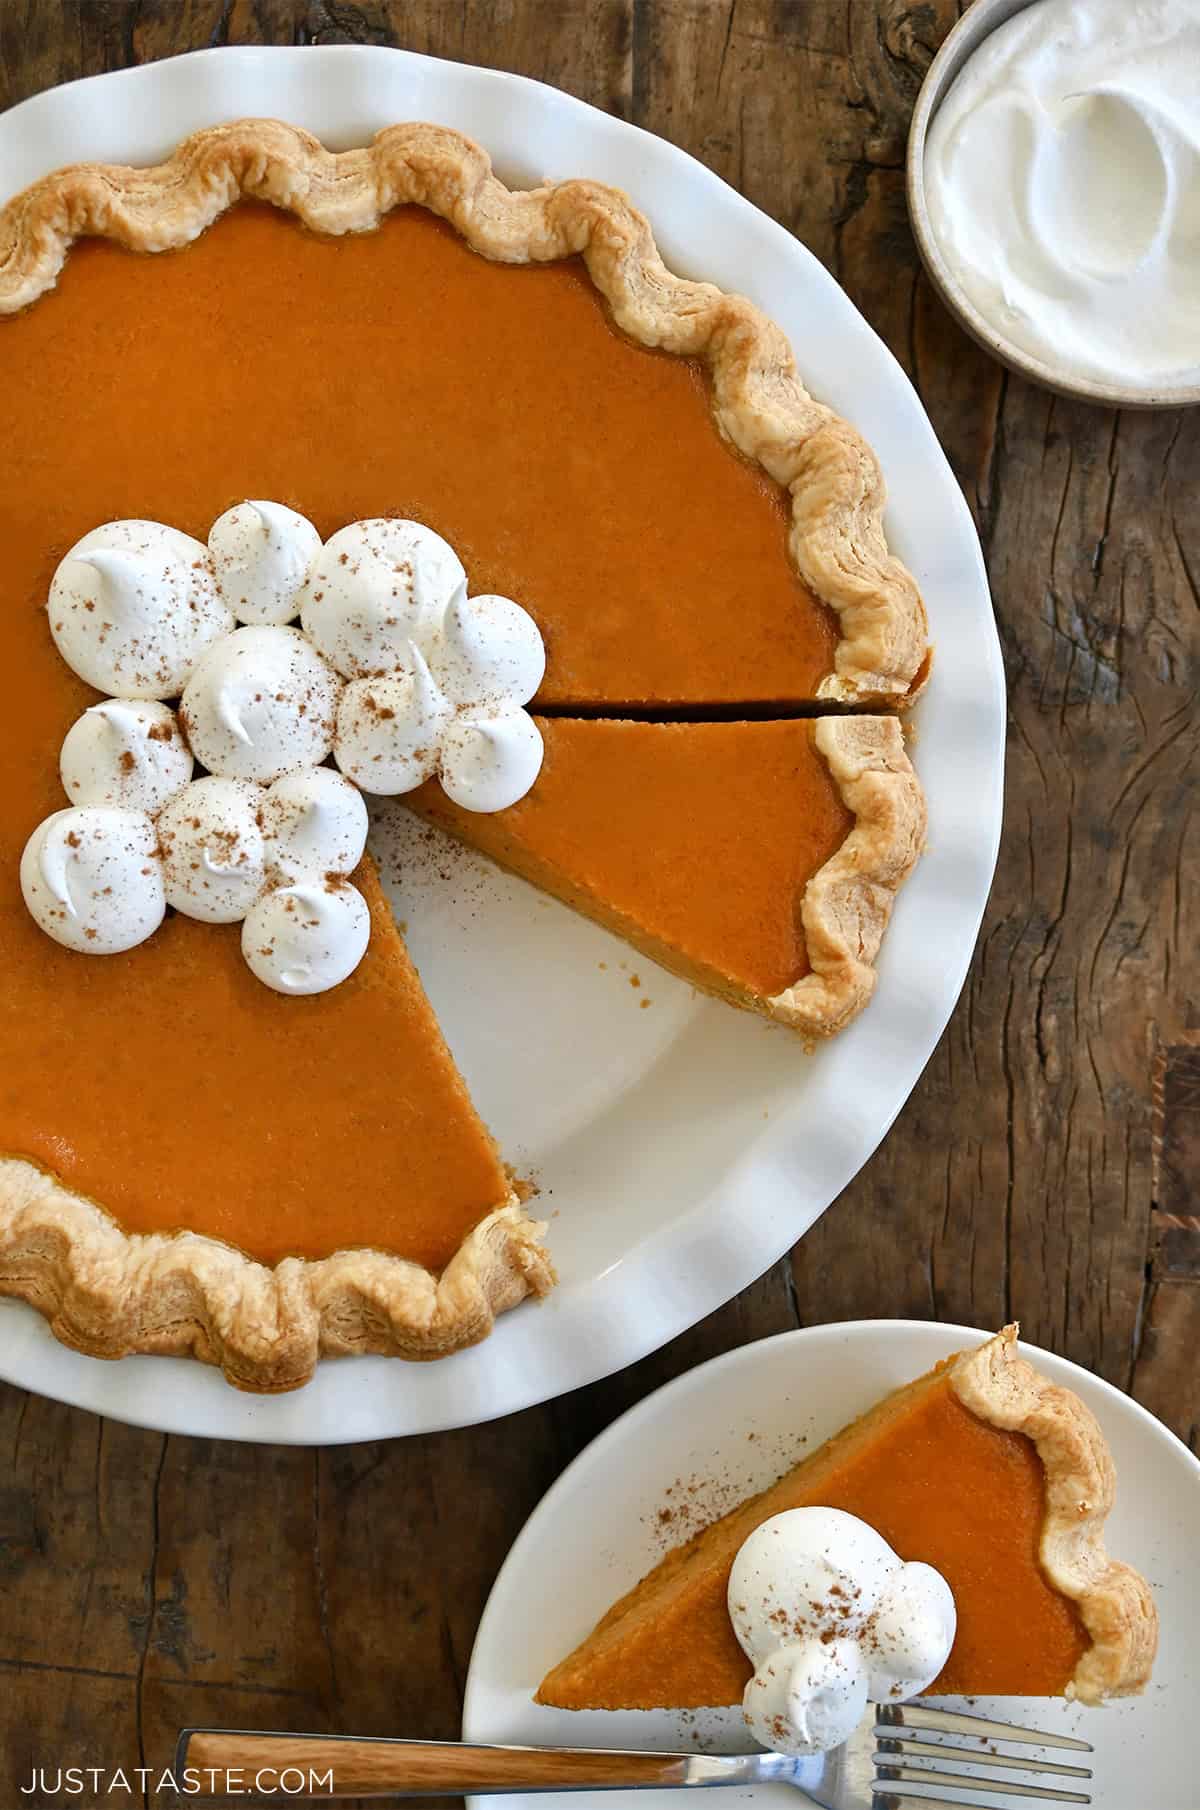
Table of Contents

Buttery crust. Silky, spiced filling. A dollop of whipped cream so perfect it should count as a love language. When it comes to Thanksgiving desserts, nothing beats classic pumpkin pie.
And while our most popular holiday treats tend to be of the handheld variety (looking at you, pecan pie bars and mini apple pies!), it was high time I shared my go-to easy pumpkin pie recipe.
I’ve tested (and tasted!) dozens of versions over the years, from homemade pie crusts to store-bought crusts (spoiler alert: either works for this recipe), to different milks and every possible spice combo. But when it comes to the filling, nothing compares to the original Libby’s pumpkin pie recipe. The only tweak I’ve made is swapping in my homemade pumpkin pie spice for a touch more flavor and a lot less measuring. Read: A major win if you’re trying to juggle ten dishes at once for your big holiday feast.
Keep reading for all my tips and tricks for making the best pumpkin pie. And if you’re looking for more pumpkin desserts to add to your table, don’t miss my pumpkin cheesecake bars or my family-favorite pumpkin bars, a recipe that’s been in our holiday lineup for over 50 years!
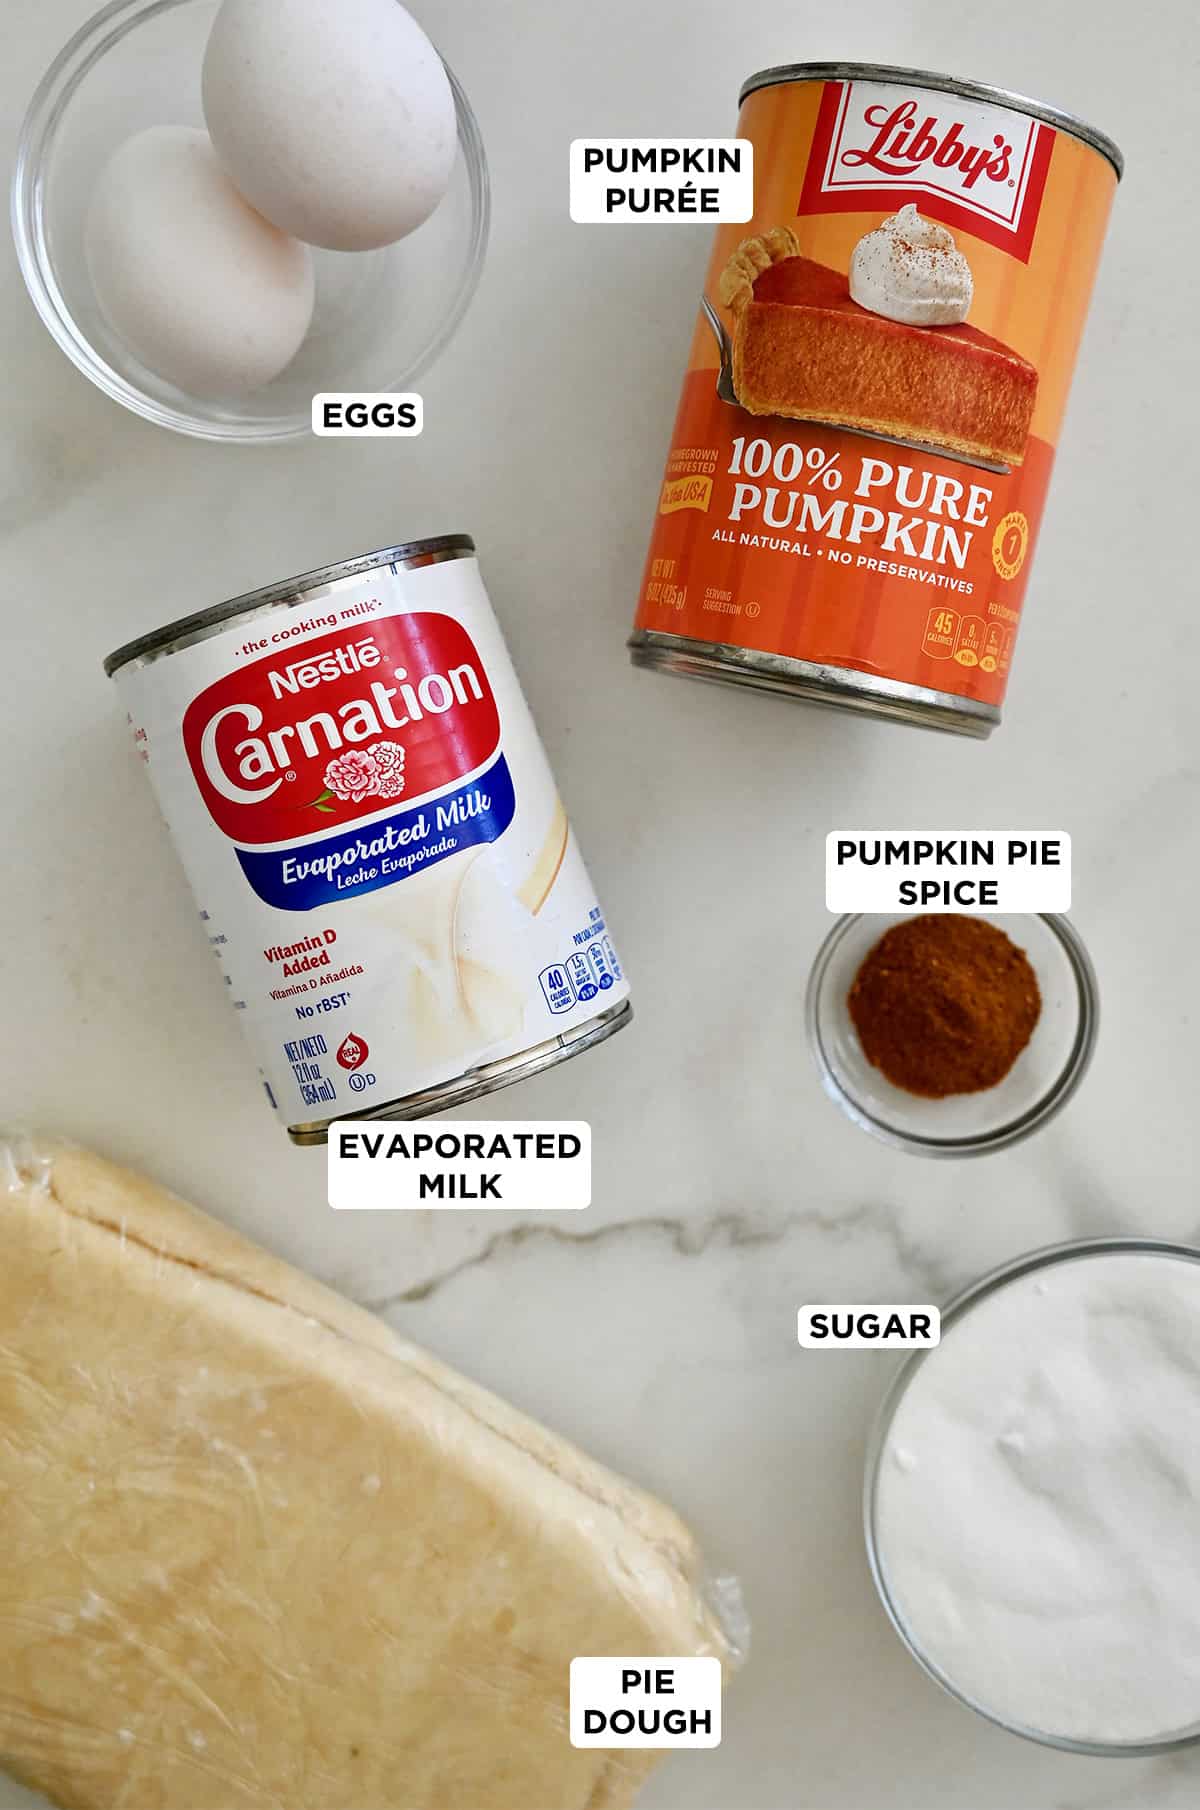
- Pumpkin purée: You’ll need one 15-ounce can of pumpkin purée, not pumpkin pie filling. The filling already contains sugar and spices, and we want to control those ourselves. You can absolutely use homemade pumpkin purée if you’ve got a fresh sugar pumpkin on hand. (More on that below.)
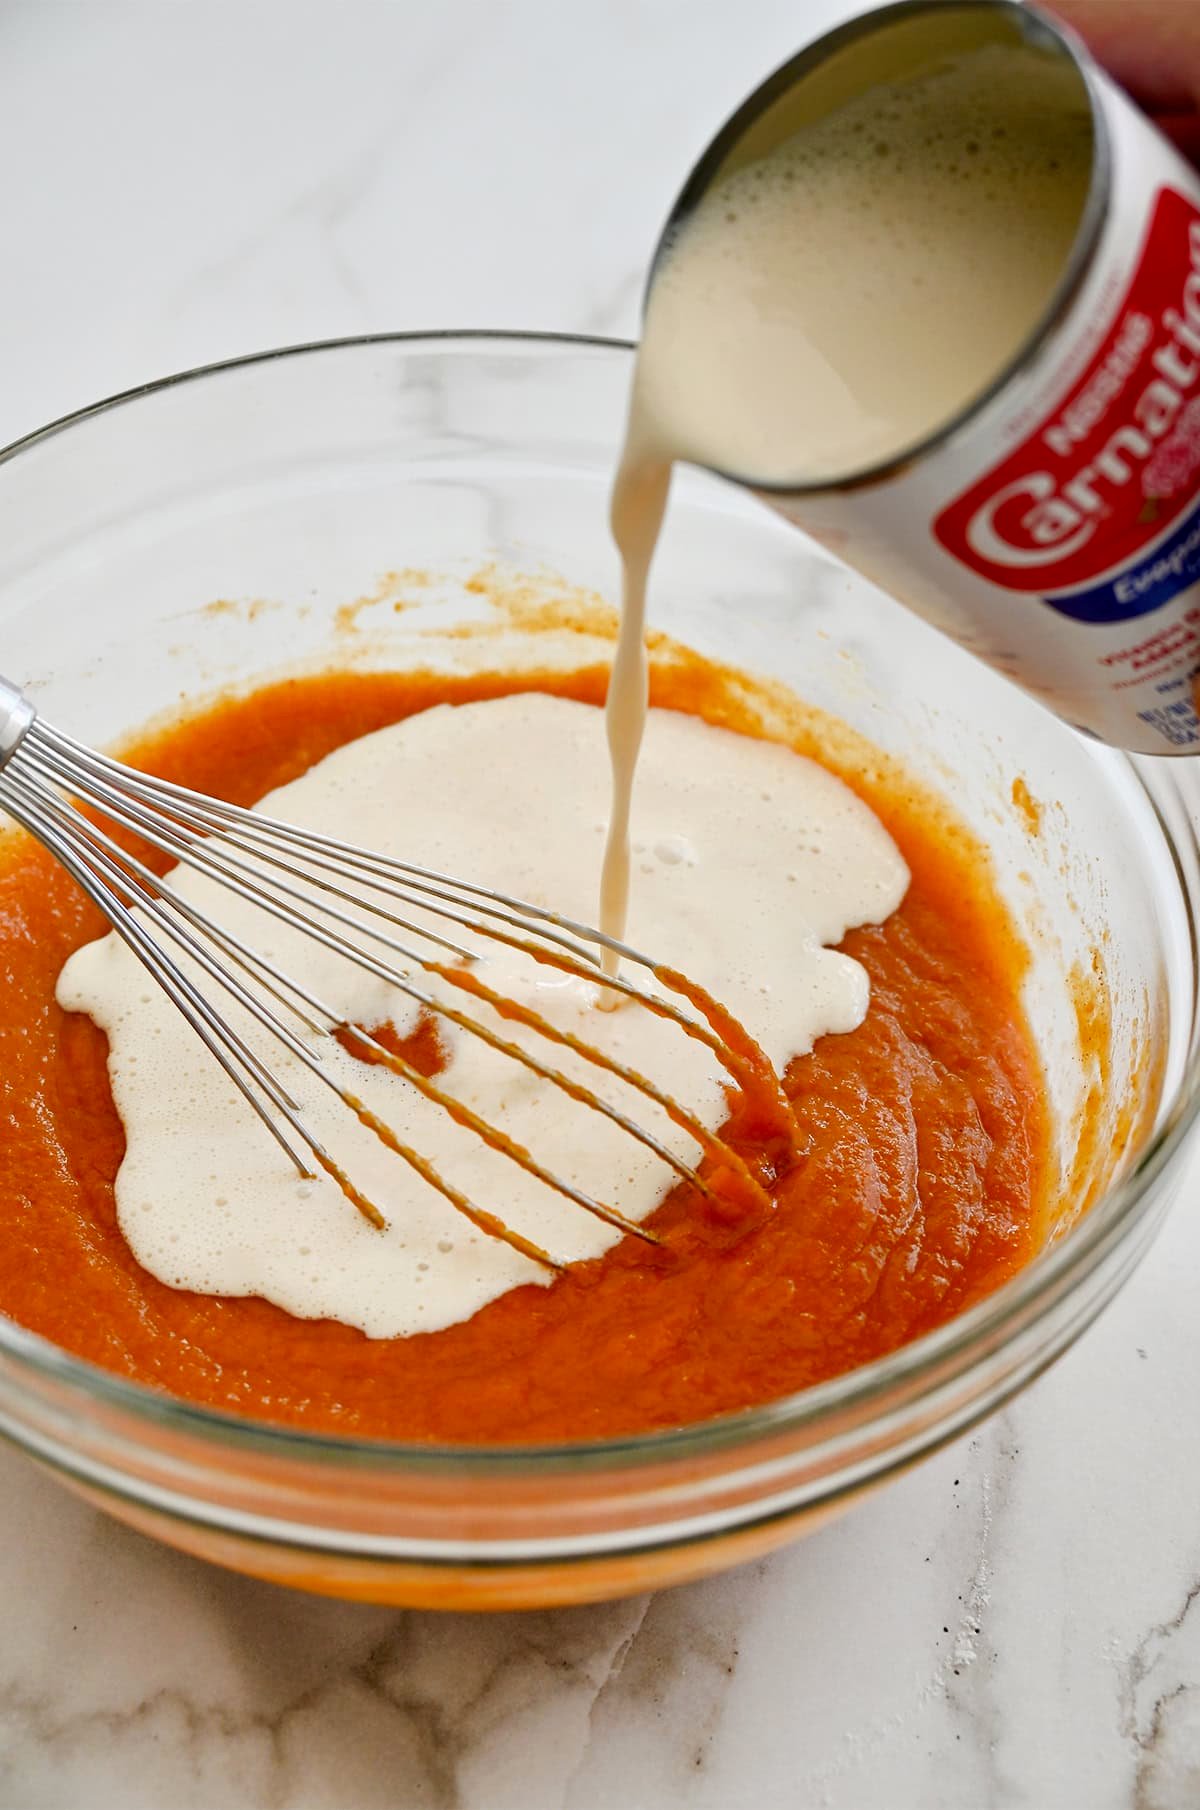
- Evaporated milk: About 60% of the water is removed from evaporated milk, which makes it thicker and richer than regular milk. Translation: that concentrated consistency is what helps the pie set into a firm, custardy texture. Just make sure you grab evaporated milk, not sweetened condensed milk (they often live side by side on grocery shelves). Condensed milk is sweetened and much thicker, which will completely throw off the flavor and texture.
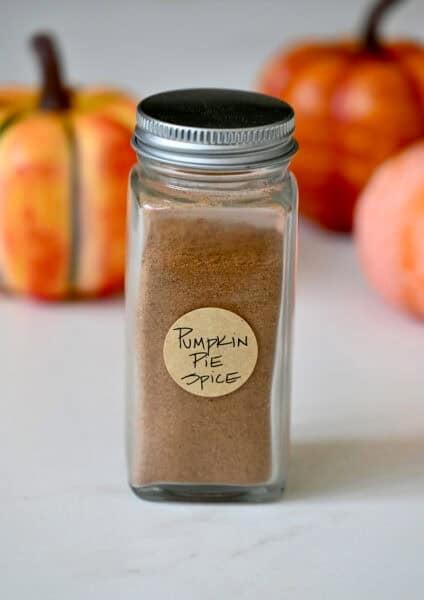
- Pumpkin pie spice: My not-so-secret ingredient! Instead of measuring out cinnamon, ginger, and cloves individually, I use a pumpkin pie spice blend, which adds warmth and balance with a hint of nutmeg and allspice.
- Sugar + eggs: The combo that gives pumpkin pie its custardy structure and gentle sweetness.
- Pie crust: Start with an unbaked deep-dish pie crust, either store-bought or my homemade buttery pie crust.
See the recipe card for full information on ingredients and quantities.
Fresh vs. Canned Pumpkin Purée
I’ve tested both, and honestly, canned pumpkin (specifically Libby’s) wins every single time for homemade pumpkin pie. It’s flavorful, consistent and made from a proprietary strain of Dickinson squash—a close relative of butternut squash. (My mind was blown when I learned that Libby’s pumpkin purée isn’t technically pumpkin at all!) Plus, it saves you one major step in the middle of holiday chaos.
Fresh pumpkin purée, on the other hand, can vary a lot depending on the pumpkin variety, how it’s roasted and how much moisture it retains. That extra liquid can make your pie take longer to bake and turn out softer or slightly soggy in the center.
If you’re a DIY purist (I see you!), you can absolutely use your own homemade pumpkin purée, just be sure to drain off any excess liquid before using it. A quick trick: line a fine mesh sieve with paper towels and let the purée sit for 15–20 minutes to remove extra moisture.
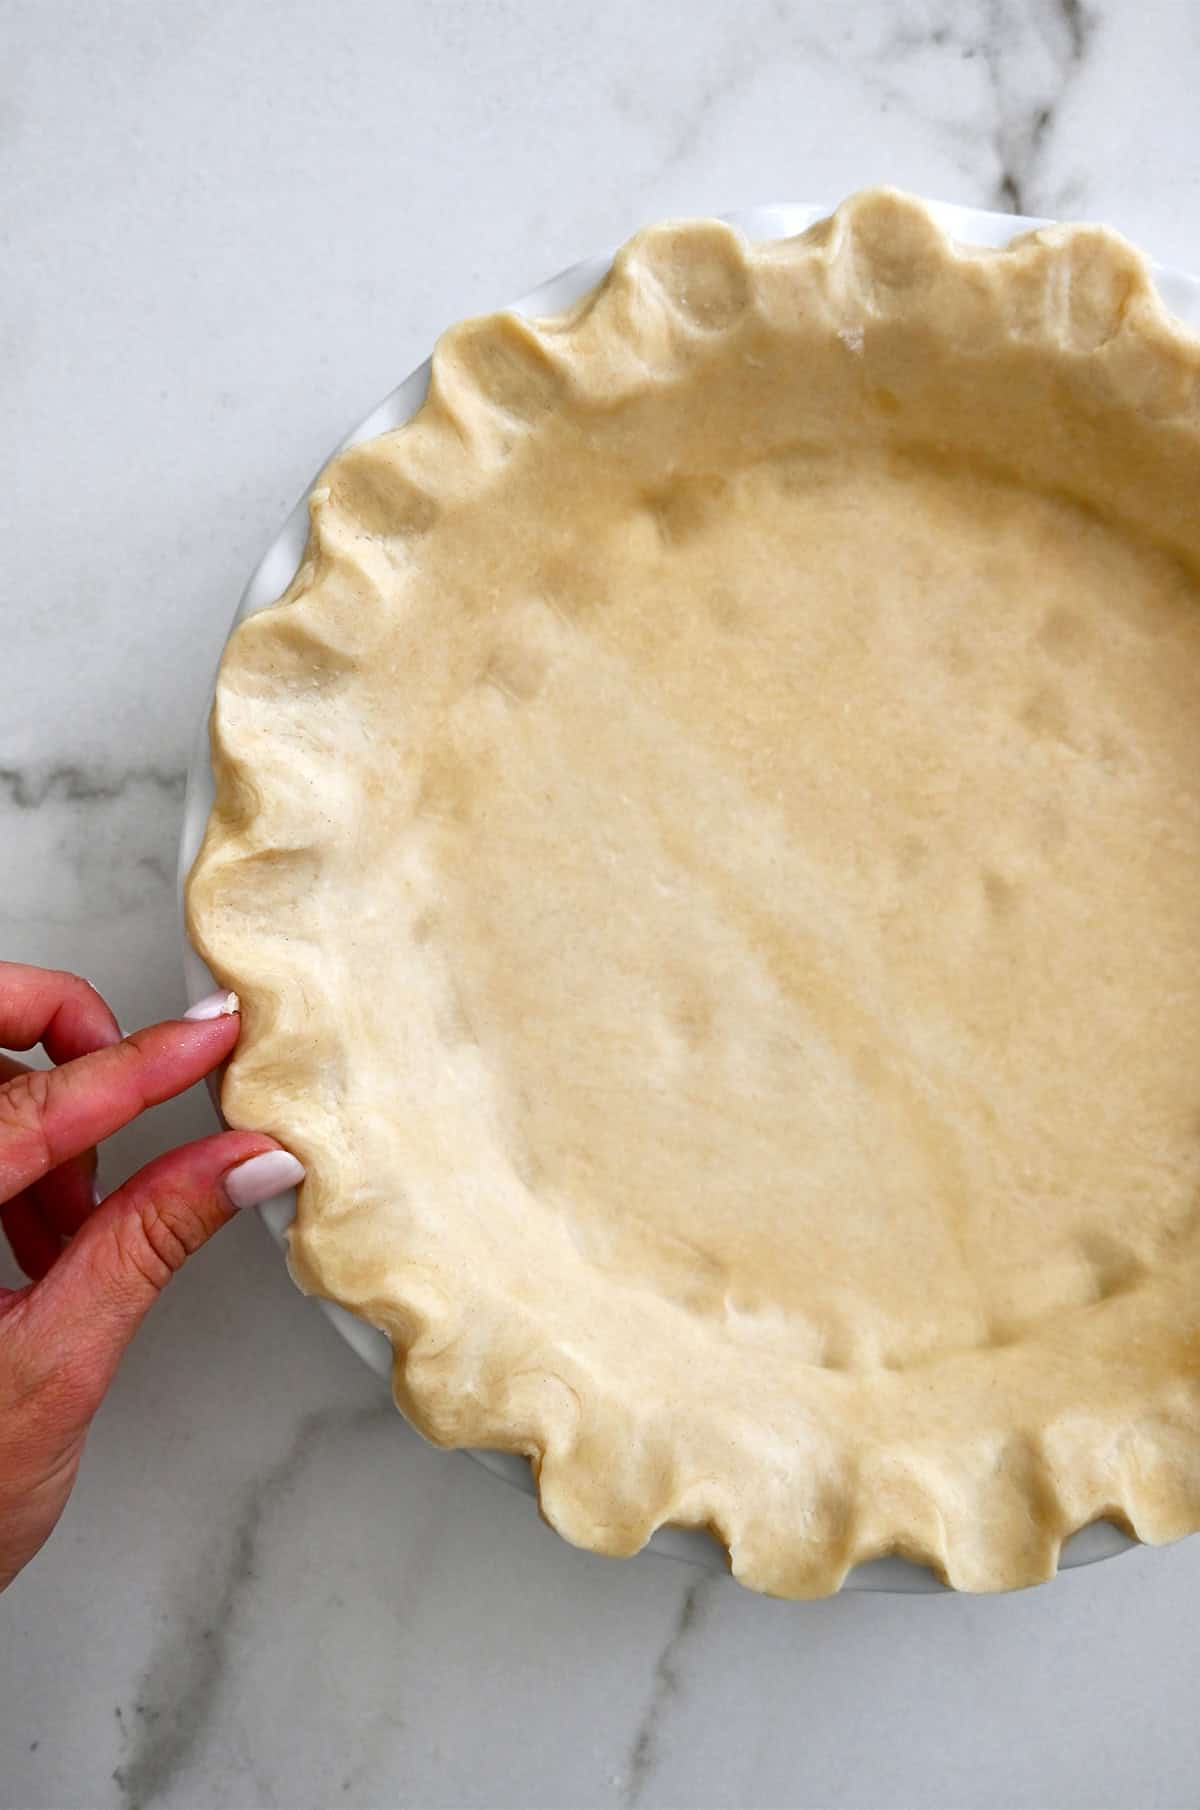
My Favorite Pie Crust
Every great pumpkin pie starts with one thing: a buttery, flaky crust. My easy pie crust has been my go-to recipe for over a decade and stars my not-so-secret ingredient: sour cream. If you’re new to working with pie dough, this is the recipe for you. I walk you through each step, and you can even make it ahead and freeze it.
Prefer to use a store-bought pie crust? No judgment here! Store-bought and frozen pie crusts can absolutely work. Just make sure you grab a 9-inch deep-dish crust that’s unbaked. And if you’re using a frozen crust, you can pour the pumpkin filling right into it without thawing it first. That’s actually the best method for custard-based pies since the cold crust helps keep the edges crisp and flaky while the filling sets.
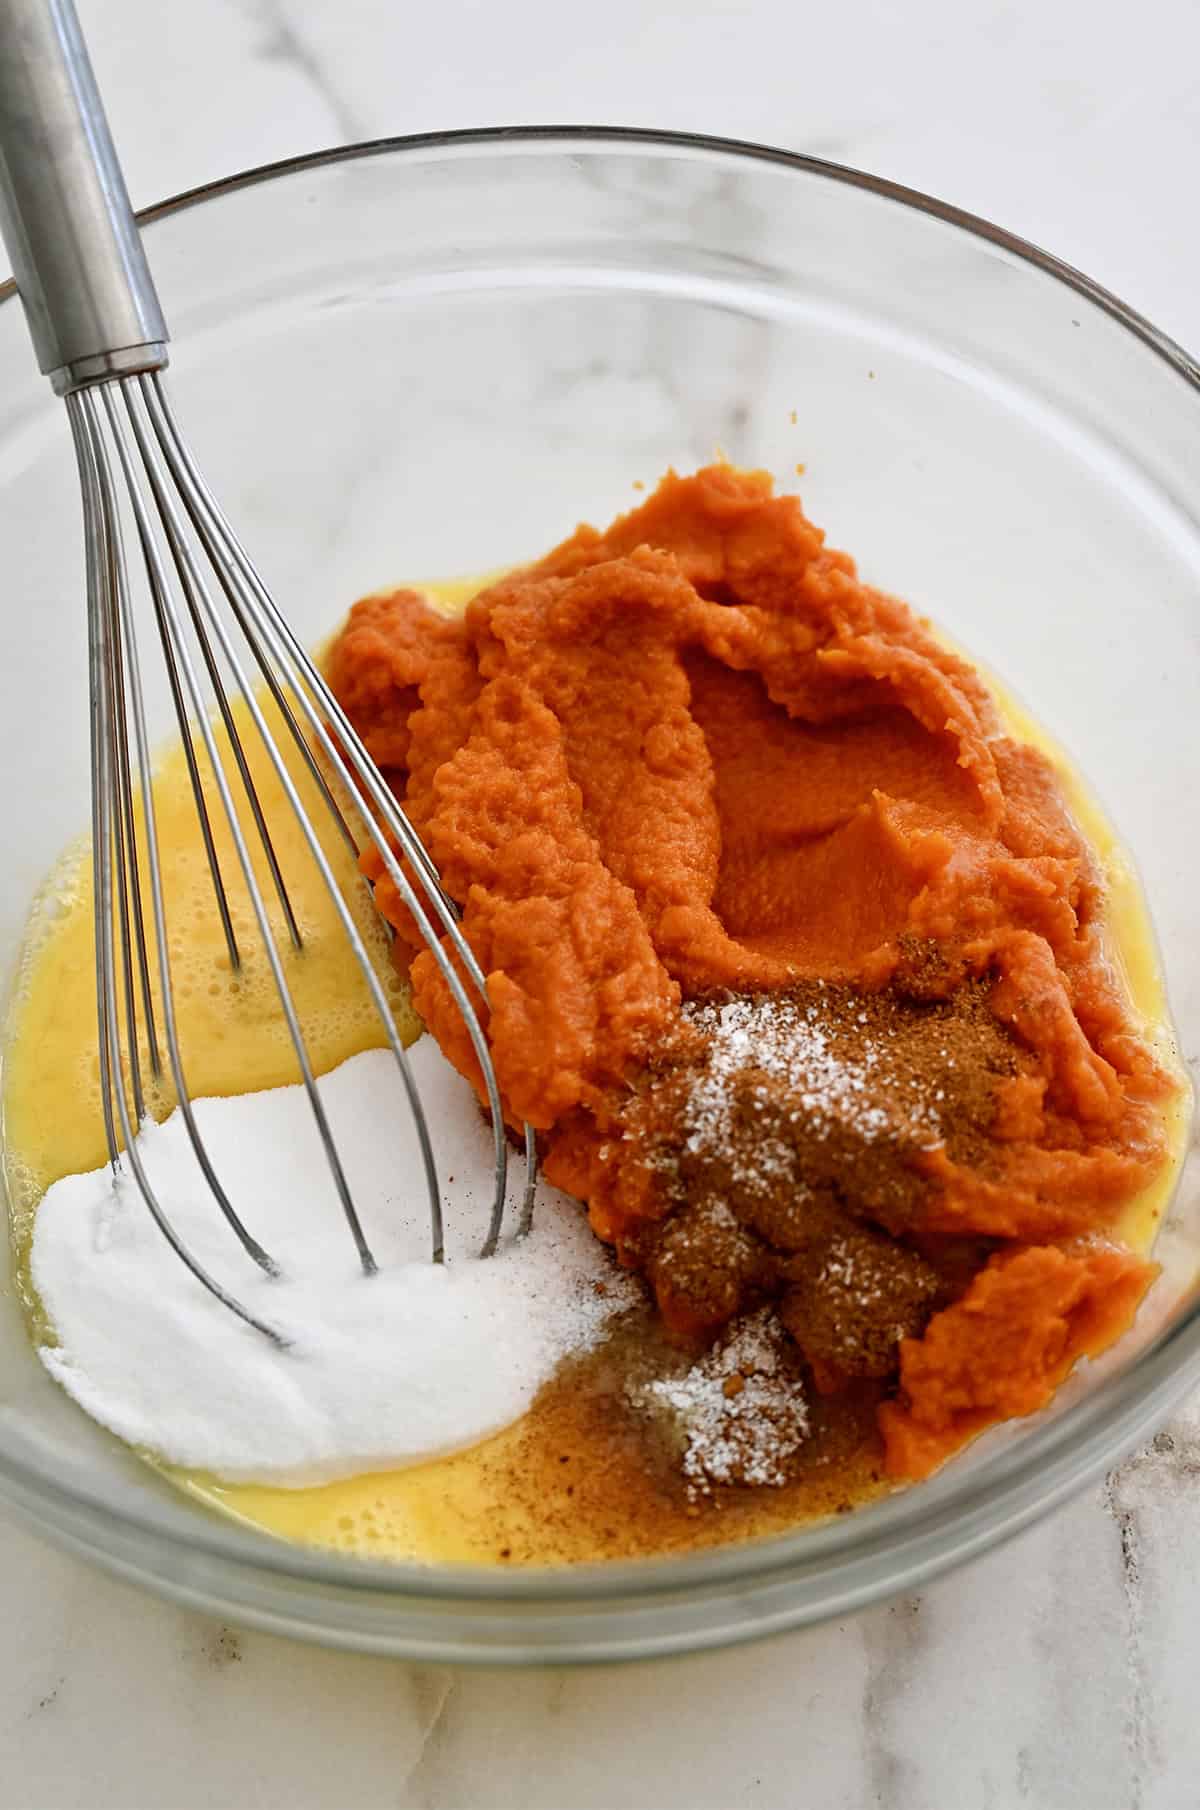
Classic Pumpkin Pie Filling
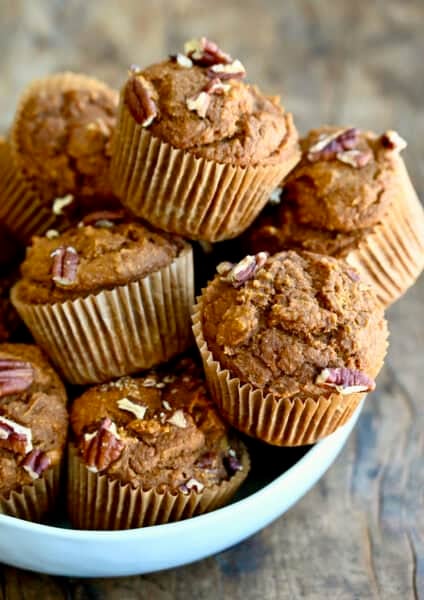
Once your crust is ready, it’s time for the star of the show: that creamy pumpkin filling. This recipe makes enough filling for a 9-inch deep-dish pie pan (2 to 2½ inches deep). If you use a standard pie plate, you’ll have a bit of extra filling. Pour it into a few ramekins for crustless mini pumpkin pies. I love them chilled with coffee the next morning.

How to Avoid Cracks in Pumpkin Pie
Cracks in your pumpkin pie are almost always caused by one of three things: overbaking, rapid temperature changes or overmixing the filling.
- Don’t overbake it. The center of your pie should still have a slight wobble when you give the pan a gentle shake (think Jell-O, not soup). It will continue to cook and set as it cools, giving you that creamy, custardy texture. If you wait until it looks fully set in the oven, it’s already overbaked.
- When reducing the oven temperature, do not open the oven. A sudden drop in temperature can cause the custard to contract and crack.
- Don’t overmix the filling. Whisk just until everything is smooth and combined. You want the ingredients well combined, not aerated. Whisking too aggressively adds air bubbles that expand in the oven, then collapse as the pie cools, leaving little cracks on top.
- Cool it slowly. Once your pie is baked, let it cool at room temperature for at least 2 hours before refrigerating. Moving it straight from a hot oven to a cold fridge is a one-way ticket to crack city.
And if your pie does crack, don’t stress! Dollop some whipped cream on top or add sugared cranberries. It’ll still taste just as delicious.
More Tips for Success
- Don’t pre-bake the crust. This classic dessert bakes all in one go, filling and crust together. The result? A perfectly flaky crust that’s golden on the edges and never overdone underneath.
- Bake on the lower oven rack. Custard pies like this one bake best with steady, even heat. A lower rack keeps the crust crisp while preventing the filling from overcooking on top.
- Shield the crust edges. Pumpkin pie takes nearly an hour to bake, which means those delicate edges can brown too quickly. Use a pie shield or strips of foil to protect the crust once it’s perfectly golden.
Make-Ahead and Storage Instructions
Pumpkin pie is the ultimate make-ahead Thanksgiving dessert because it actually tastes better the next day. The spices have time to fully bloom (read: more flavorful), the texture turns extra smooth, and it frees you up to focus on the rest of your holiday dinner. It’s best served chilled or slightly cool, but if you prefer a softer texture, let it sit at room temperature for about 30 minutes before slicing.
- To make ahead: Bake the pie completely, then let it cool at room temperature for at least 2 hours. Once cool, cover it loosely with foil or plastic wrap and refrigerate for up to 3 days.
- To freeze: You can absolutely freeze pumpkin pie. Once cooled, wrap the whole pie (or individual slices) tightly in plastic wrap, then a layer of foil. This helps prevent freezer burn. Freeze for up to 1 month. Thaw overnight in the refrigerator before serving.
Equipment
- 9-inch Deep dish pie pan
Ingredients
- 1 (9-inch) Homemade Pie Crust or store-bought, unbaked
- 2 large eggs
- 3/4 cup sugar
- 1 (15-oz.) can pumpkin purée
- 1 1/2 teaspoons pumpkin pie spice
- 1 (12-oz.) can evaporated milk
- Whipped cream, for serving
Instructions
- Preheat the oven to 425°F with a rack in the center.
- In a large bowl, whisk together the eggs then whisk in the sugar, pumpkin purée, pumpkin pie spice and ½ teaspoon kosher salt. Gradually whisk in evaporated milk.
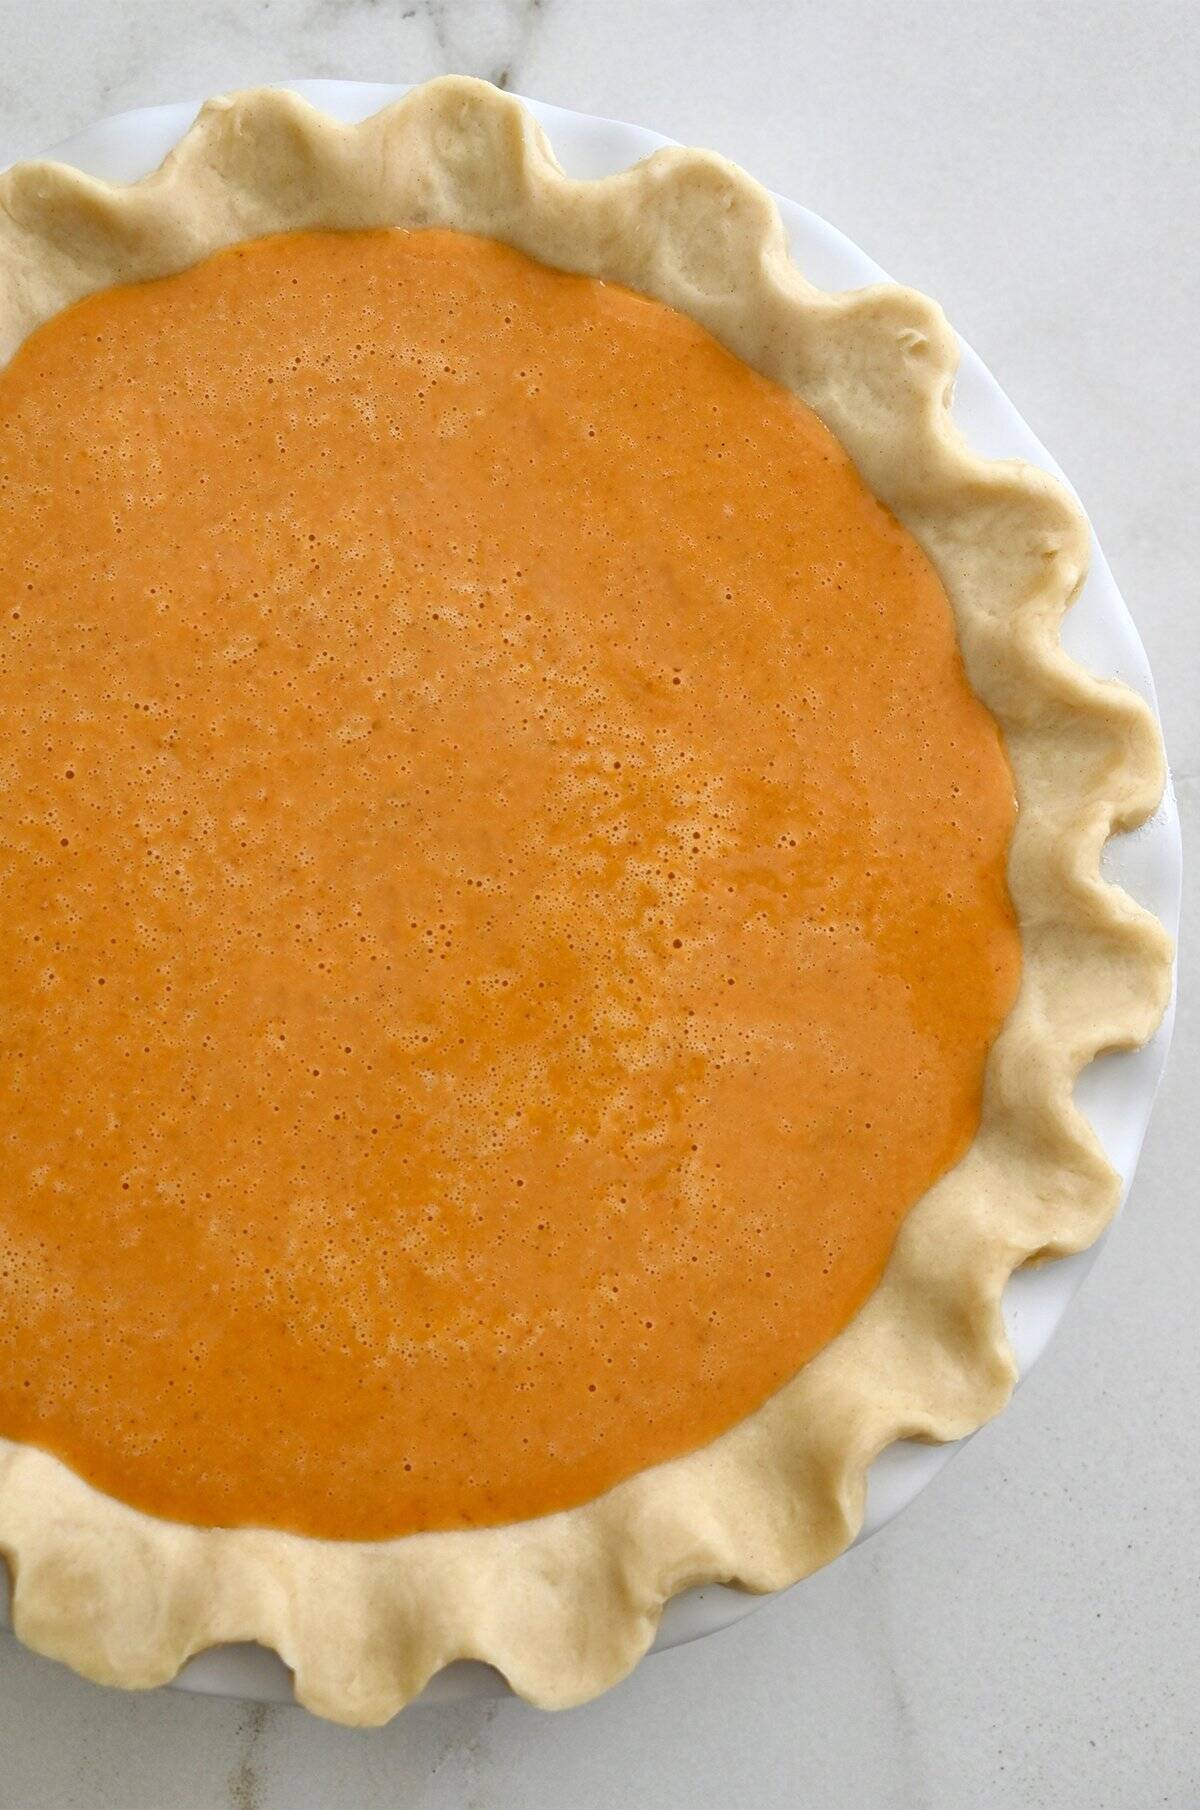
- Pour the pumpkin mixture into the unbaked pie shell.
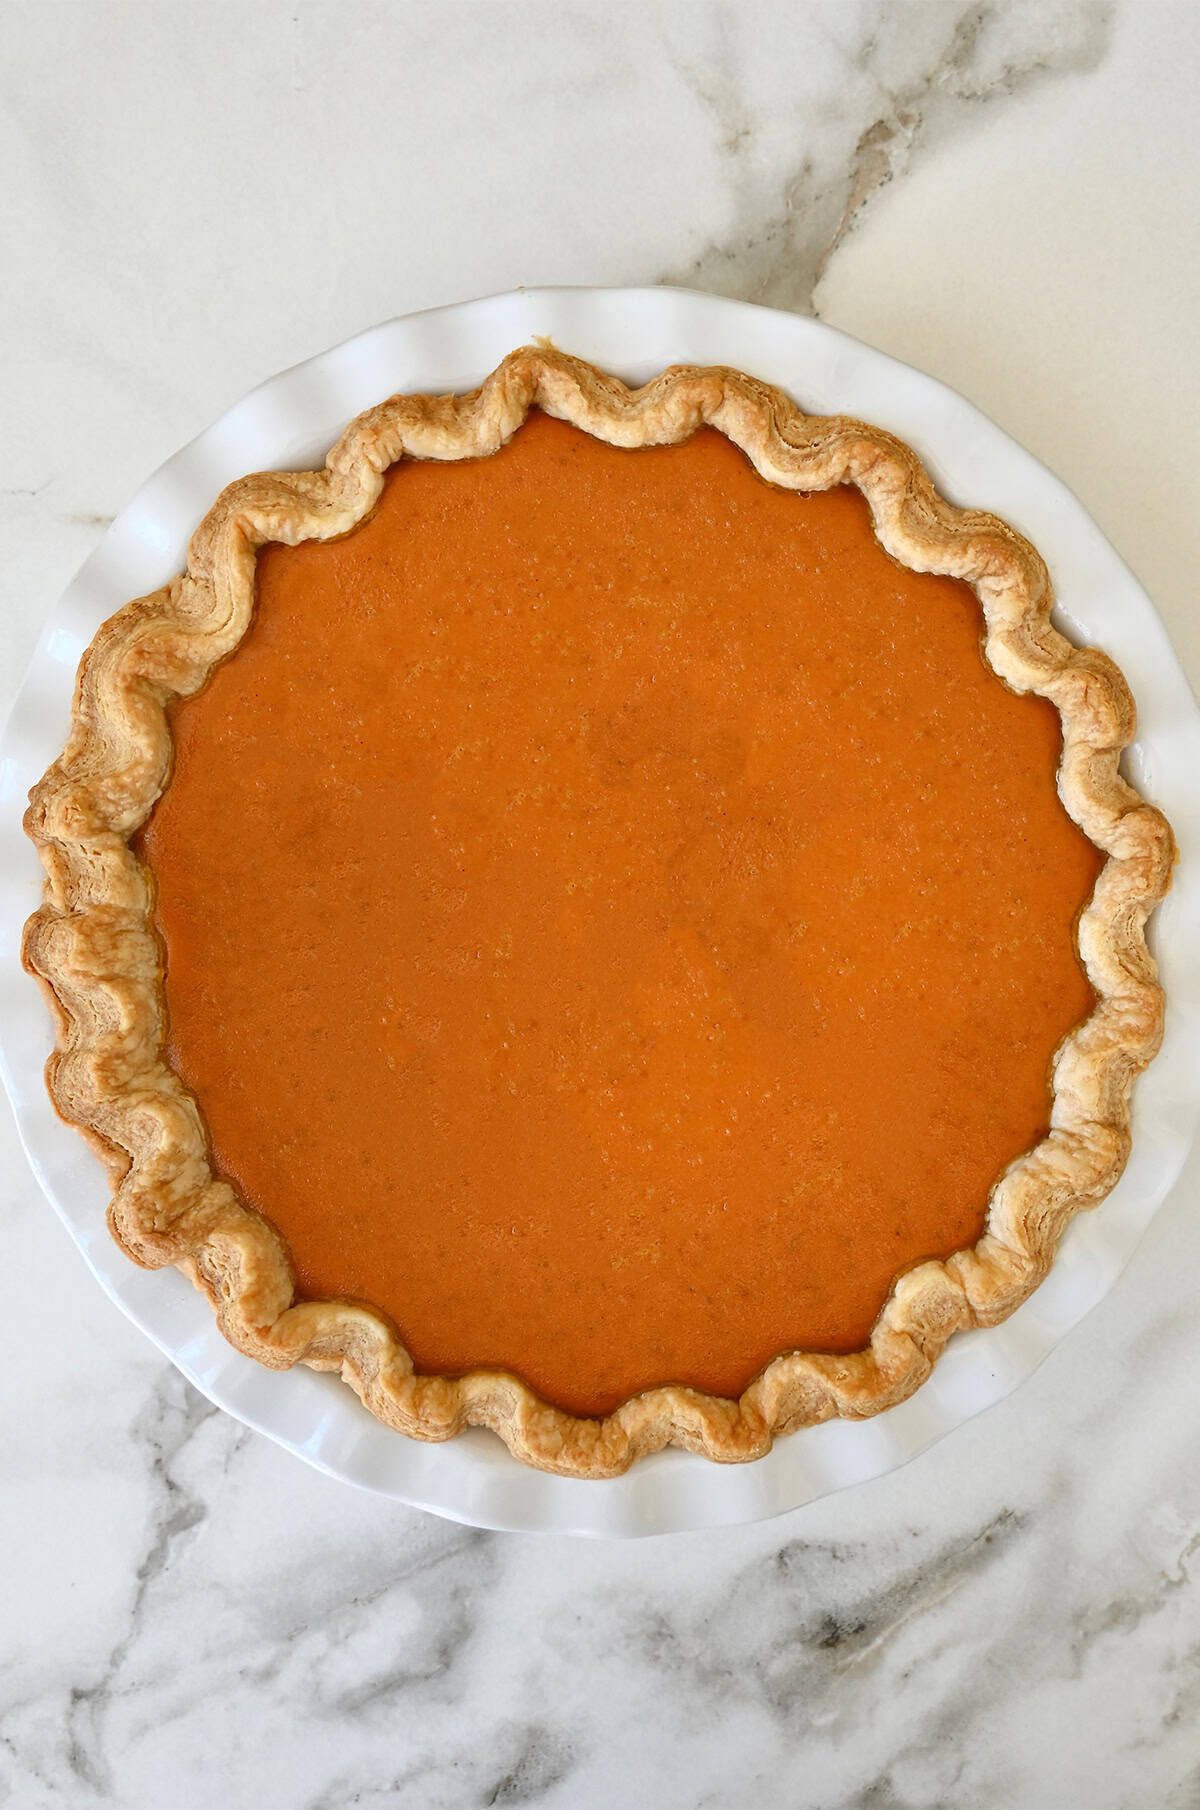
- Bake the pie for 15 minutes, then reduce the oven temperature to 350°F and continue baking until the center is set and a toothpick inserted into the center comes out clean, about 40 minutes.
- Remove the pie from the oven and let it cool on a rack for a minimum of 2 hours. (If not serving, store in the refrigerator tented with foil.)
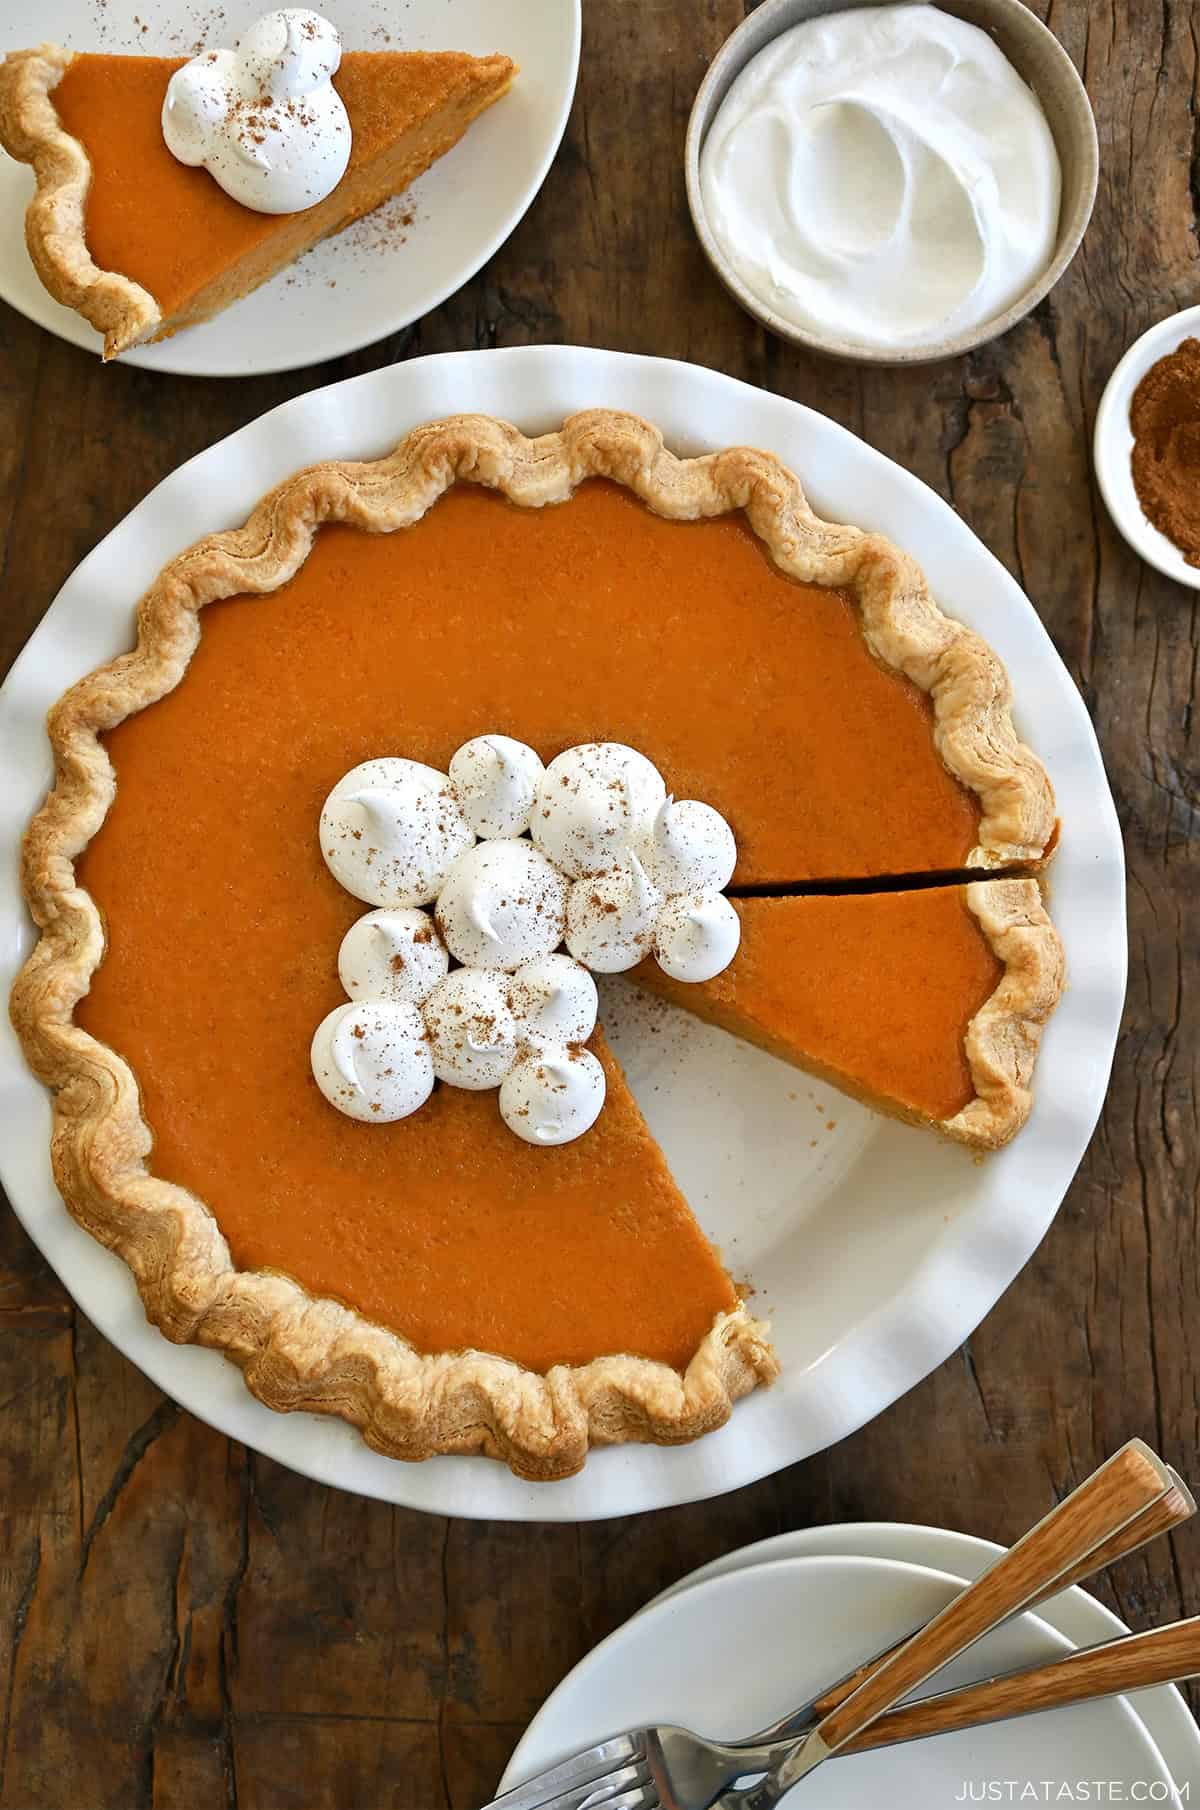
- When ready to serve, cut the pie into slices and top with whipped cream.
Kelly’s Notes
- This recipe makes enough filling for a 9-inch deep-dish pie (2–2½ inches deep). If you use a standard pie plate, you’ll have too much filling. And if you’re using a store-bought crust, double-check that it’s labeled “deep dish.”
- If you’re using a frozen crust, you can pour the pumpkin filling right into it; no need to thaw it first.
- Don’t open the oven door when you lower the temperature from 425°F to 350°F. That blast of cool air can cause cracks to form in the custard.
- I like to top my pumpkin pie with swirls of homemade whipped cream, but if you really want to take it over the top, add a handful of sugared cranberries for a little sparkle and tang.
- To make ahead: Bake the pie completely, then let it cool at room temperature for at least 2 hours. Once cool, cover it loosely with foil or plastic wrap and refrigerate for up to 3 days.
- To freeze: You can absolutely freeze pumpkin pie. Once cooled, wrap the whole pie (or individual slices) tightly in plastic wrap, then a layer of foil. This helps prevent freezer burn. Freeze for up to 1 month. Thaw overnight in the refrigerator before serving.
- ★ Did you make this recipe? Don’t forget to give it a star rating below!
Nutrition
Did you try this recipe?
Leave a comment below with your star rating!
This post may contain affiliate links.


Have you tried using any kind of sugar substitute?
Hi Marge! I have not but keep me posted if you make any tweaks!
Did a test for Thanksgiving and it’s truly perfect. Husband requested this be on every menu from now on!
So glad you enjoyed the recipe, Amanda!
Truly the best! Thanks for sharing!
So glad you enjoyed it, Deanne!