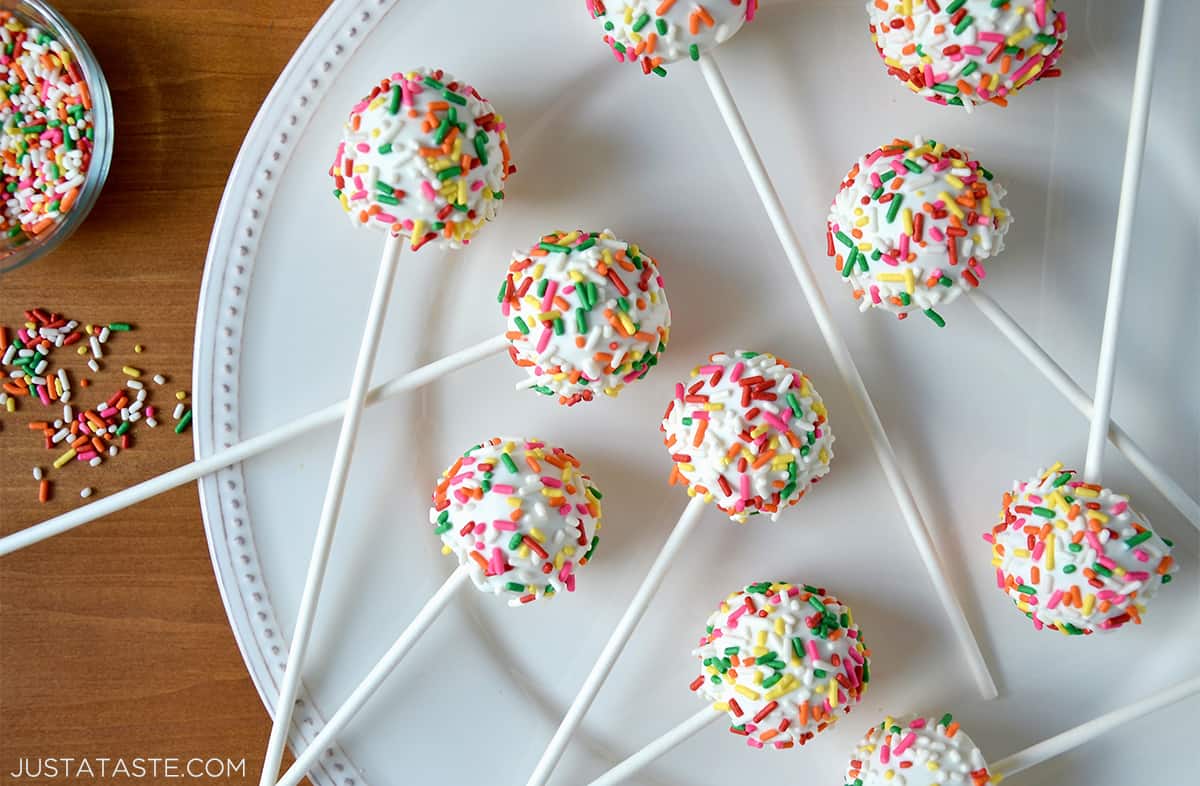
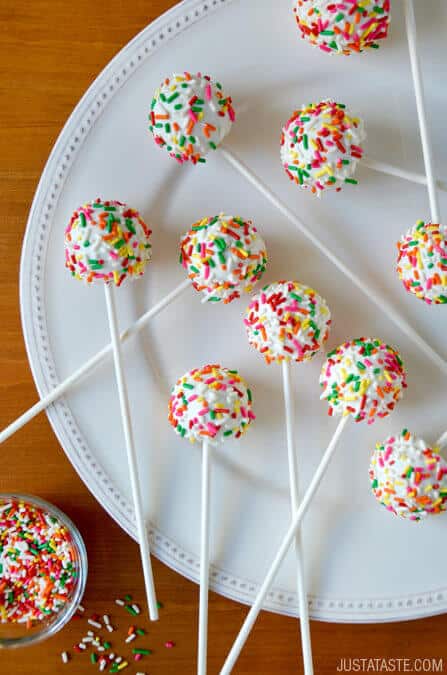
Move over cake pops, there’s a new treat in town – No-Bake Cheesecake Cookie Pops! This 6-ingredient dessert stars creamy cheesecake bites covered in white chocolate. Customize the cookie pops with a final shower of sprinkles to match any occasion.
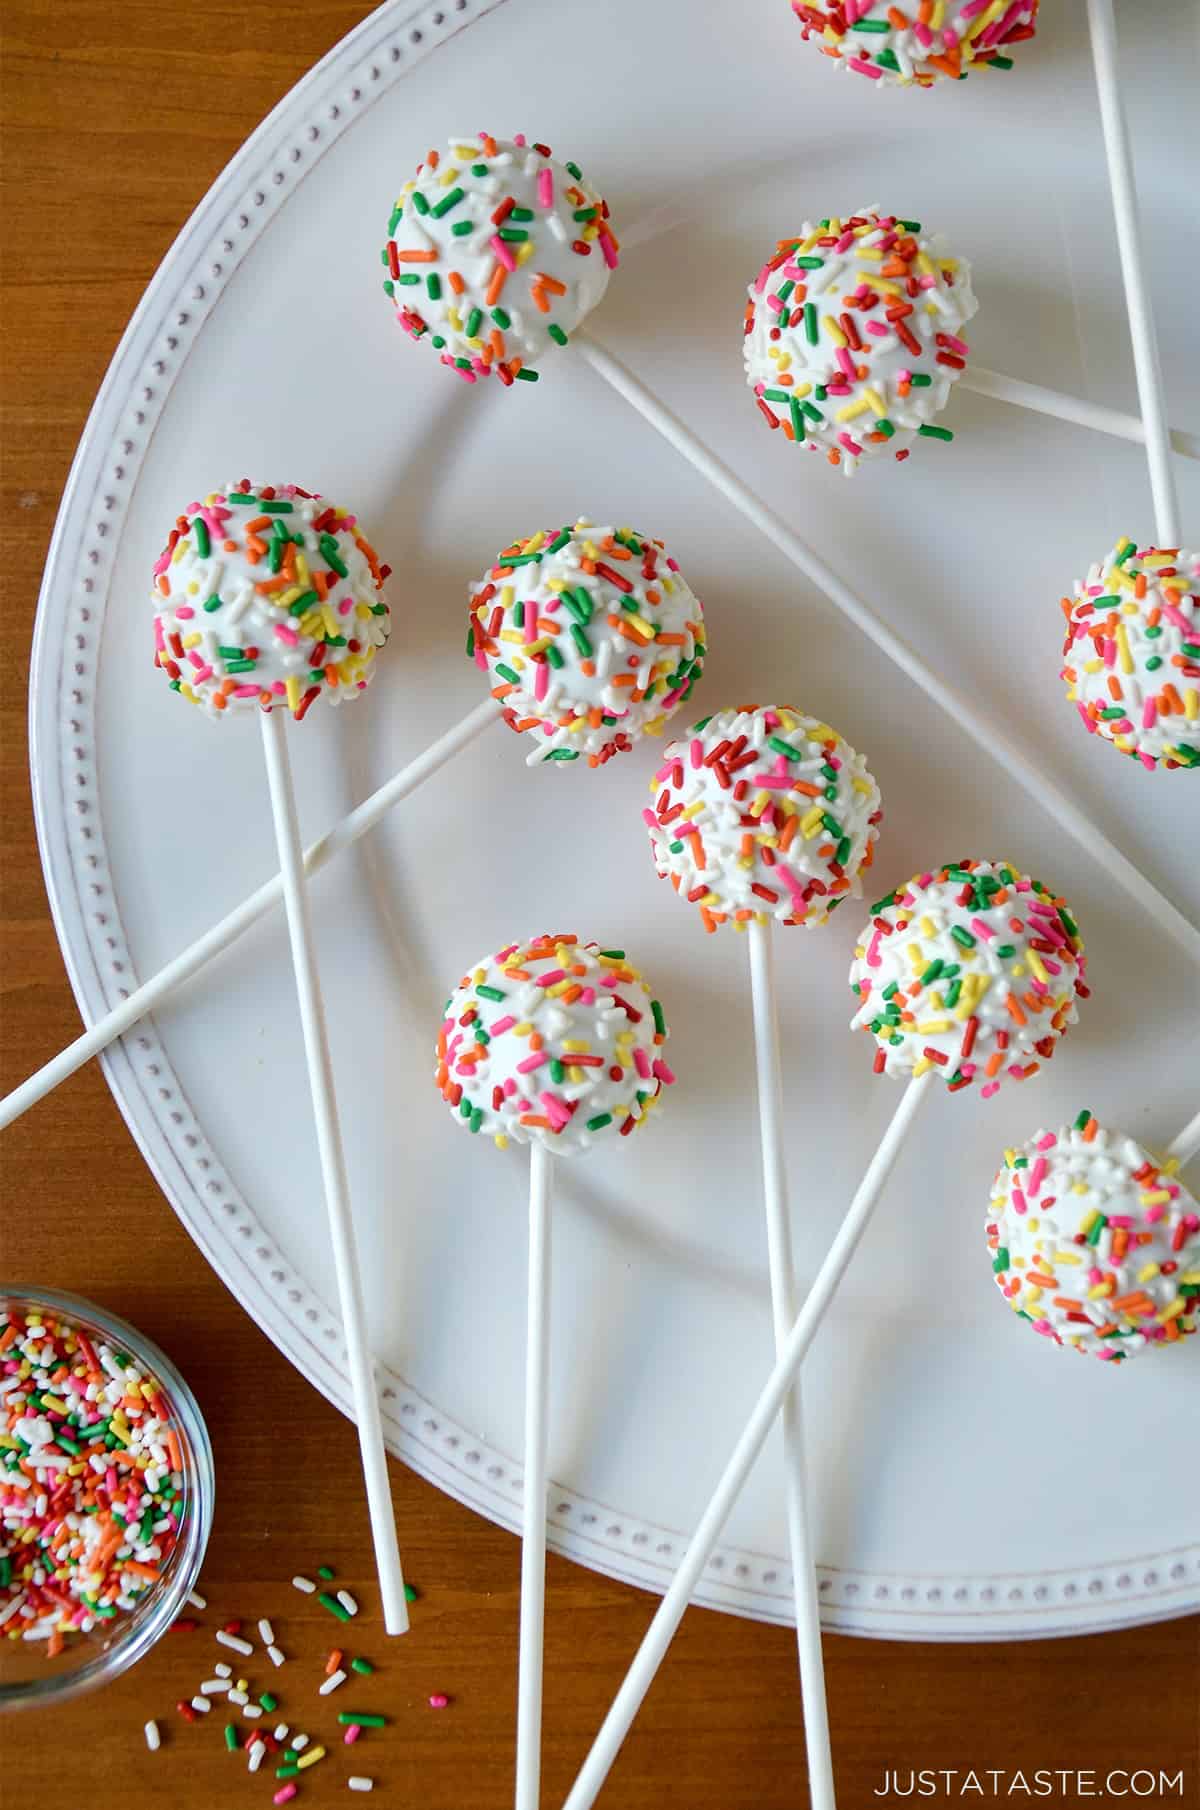
Table of Contents
Cookie pops are a crowd favorite around these parts. While chocolate cookie pops certainly satisfy your sweet tooth, there’s just something about the zesty tang of cheesecake cookies that’s loved by dessert enthusiasts of all ages.
Best of all, you can skip the oven and ditch the forks because these festive bites are the ultimate no-bake sweets-on-a-stick. Vanilla sandwich cookies are blended with cream cheese and plenty of fresh lemon juice and lemon zest before being dunked in creamy white chocolate. Customize the cookie pops with a final shower of sprinkles and your ultimate birthday, Valentine’s Day, Easter, Halloween or (insert holiday here) dessert is served!
Looking for more sweets-on-a-stick? Don’t miss my Easy Homemade Lollipops, Chocolate Marshmallow Pops and Frozen Chocolate-Covered Bananas.
Why You’ll Love This Recipe
- No-bake.
- Make-ahead.
- Kid-friendly.
- Minimal ingredients.
- Vanilla sandwich cookies with cream filling: These store-bought cookies will form the base of these easy cheesecake pops. Their cream filling adds to the cheesecake flavor. You can use any brand you like.
- Cream cheese: They wouldn’t be no-bake cheesecake pops without cream cheese. For the best flavor, use full-fat cream cheese (these are bite-size desserts after all!).
- Lemon: Lemon? Cream cheese? Vanilla? Yes, please! You’ll need one lemon for its juice and zest.
- White chocolate: You can use white chocolate chips or candy melts. Candy melts are easier since their stabilizers prevent them from seizing, making for super-smooth, meltable, dippable chocolate.
- Rainbow sprinkles: I love using any variety or color of sprinkles to match the occasion or theme of the event. It adds such a fun and personalized touch!
See the recipe card for full information on ingredients and quantities.
- Use a different cookie. You can use any flavor of sandwich cookie you like (strawberry would be delicious, too!)—even one that’s gluten-free.
- Make it dairy-free. Just swap in dairy-free sandwich cookies, cream cheese and white chocolate chips.
- Personalize your toppings! Instead of sprinkles, I love using crushed cookies, chopped nuts, or a drizzle of dark chocolate for that extra flavor kick and visual charm. Get creative and tailor these to suit your taste and style!
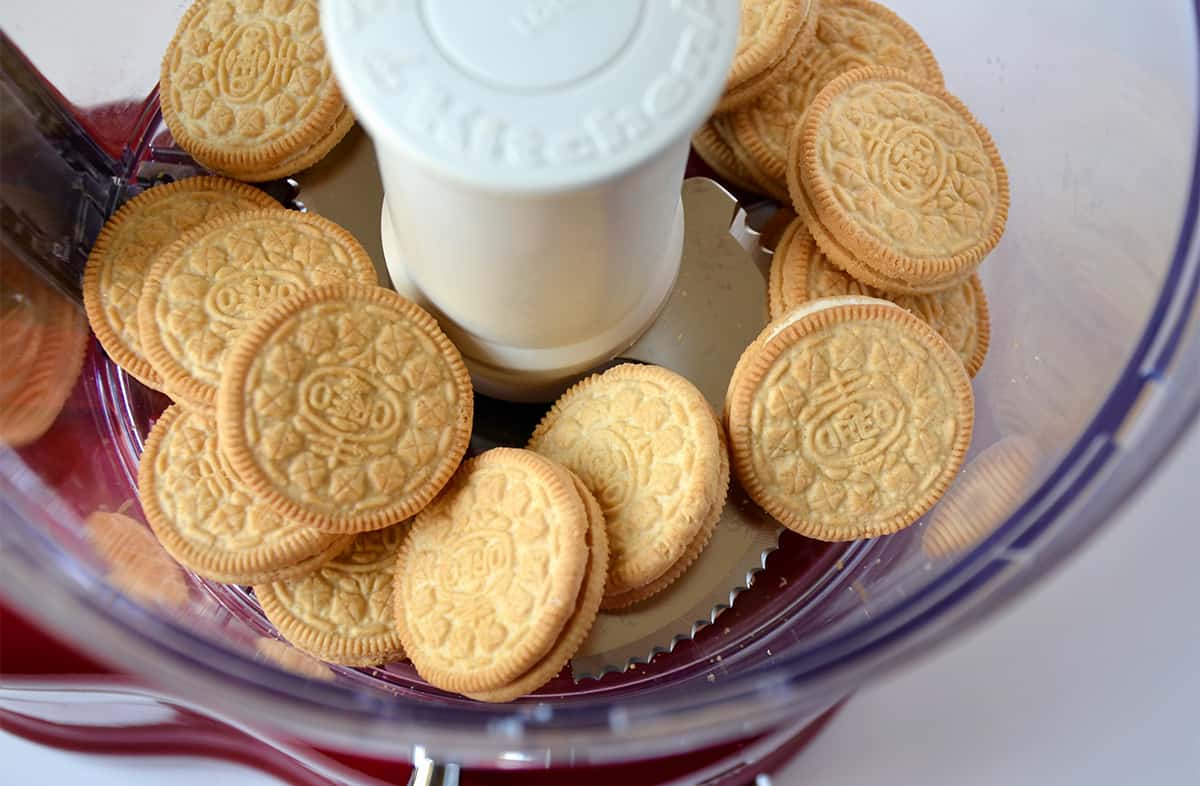
- Chop the cookies. In a food processor, pulse the cookies until they’re roughly chopped.
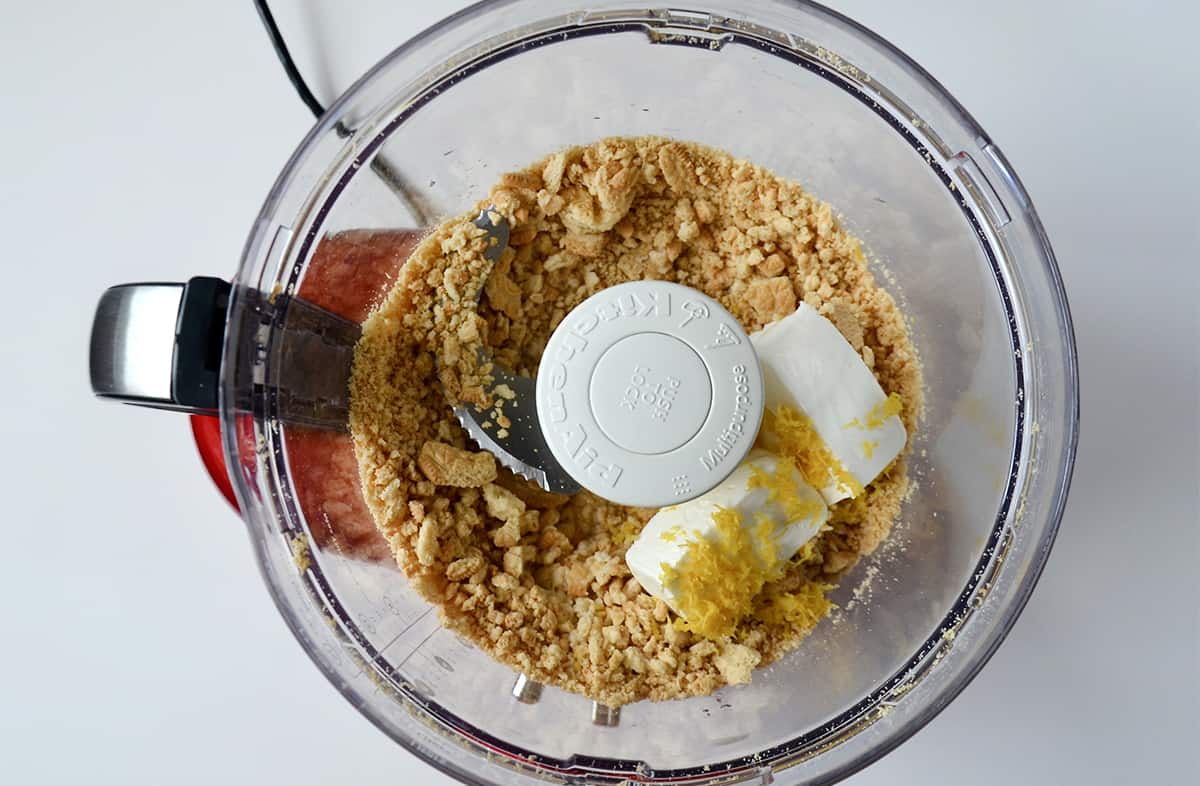
- Make the cheesecake-cookie base. Add the cream cheese and lemon juice and zest and pulse until everything is well combined and no larger pieces of cookies remain.
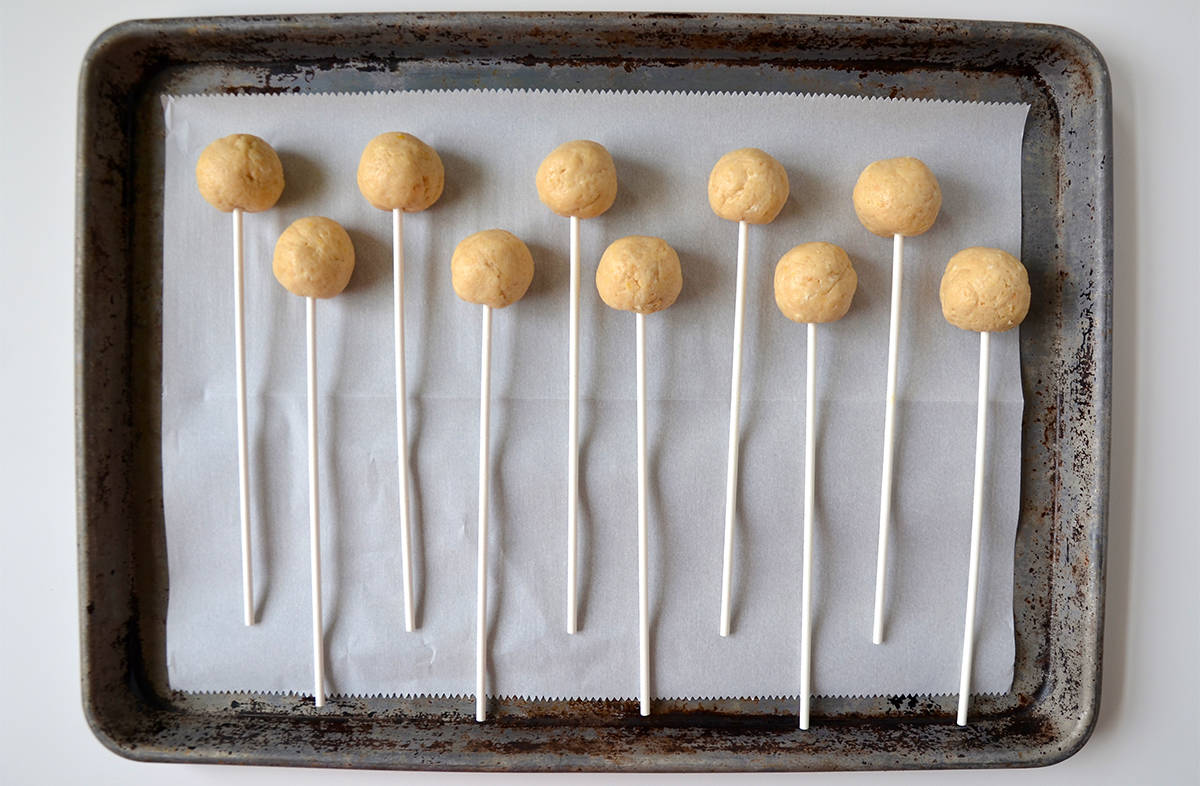
- Shape the no-bake cheesecake balls. Shape the mixture into 1-inch balls, using your hands or a portion scoop. Then, place them on a parchment- or wax paper-lined baking sheet. Add a lollipop stick to each ball and freeze for 30 minutes.
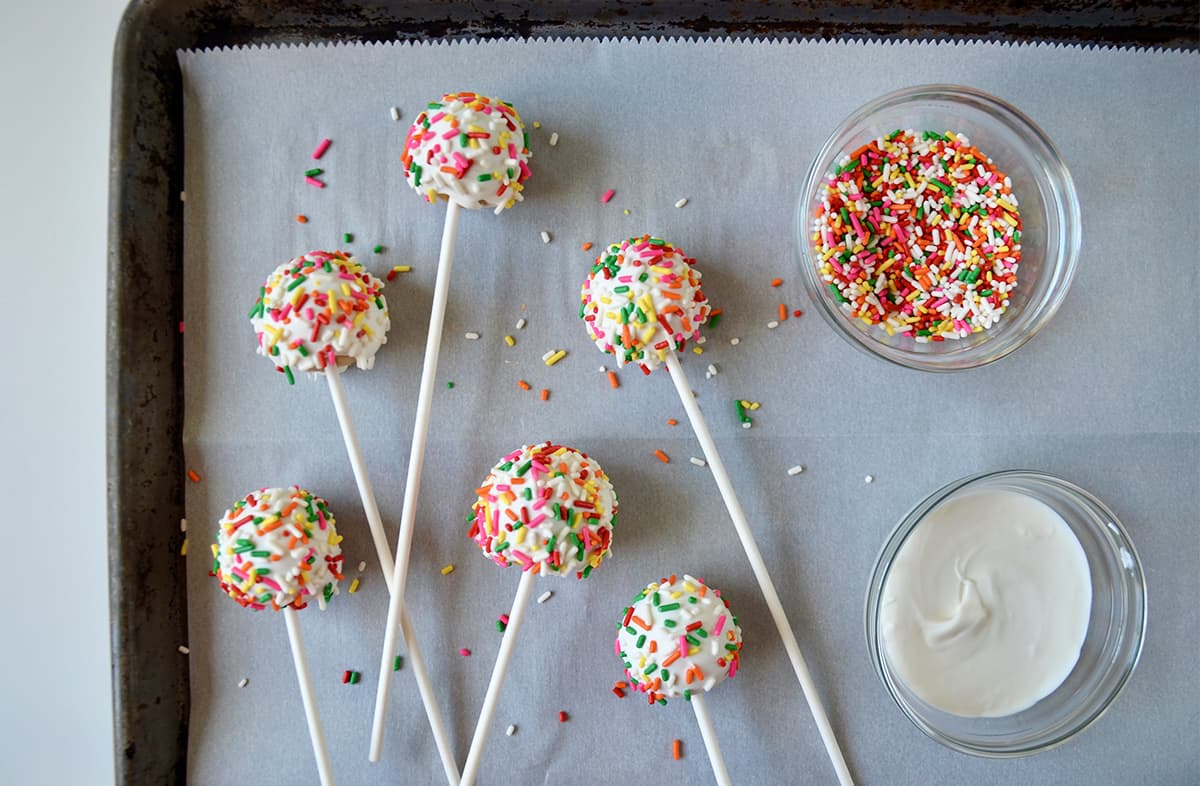
- Melt the chocolate. Melt the chocolate until smooth. Dip the cheesecake sandwich cookie pops into the chocolate and immediately top with sprinkles.
- Chill the cheesecake cookie pops. Return the coated pops to the baking sheet and place back in the fridge for 10 minutes.
- Melt the Chocolate: You can melt the chocolate in the microwave (in 30-second bursts, stirring between each one) or in a double boiler. A double boiler involves setting a heat-safe bowl with the chocolate in it over a saucepan of simmering water. The bottom of the bowl shouldn’t touch the water, but the heat will melt the chocolate as you stir it.
- Use Room-Temperature Cream Cheese: Room-temperature cream cheese will be the easiest to incorporate with the cookie crumbs and other ingredients. The cream cheese should be easy to indent with your finger—that’s how you know it’s at the right temperature!
- Don’t Use a Blender: A blender won’t be able to evenly chop the cookies or combine the ingredients like a food processor can. I highly recommend investing in a food processor if you don’t own one.
The cookie pops will last up to a week when stored in an airtight container in the fridge.
How to Freeze
While freezing can alter the texture slightly, many people find that these still taste delicious after being frozen and thawed. Just make sure to follow these steps to maintain their quality.
- Prepare them for freezing. After assembling, freeze them uncovered on a lined baking sheet for 1-2 hours until firm.
- Wrap them properly. Individually wrap each pop in plastic wrap or foil, then store them in an airtight container or freezer bag labeled with the date. This extra layer of wrapping helps prevent freezer burn and preserves the flavor.
- Store them in the freezer for up to 1-2 months. To thaw, transfer them to the refrigerator and let them thaw slowly for several hours or overnight. This method helps preserve texture and prevents the cream cheese from developing off flavors.
Frequently Asked Questions
You can dip cheesecake cookie pops in any kind of melted chocolate or candy melts (like milk chocolate, dark chocolate or butterscotch).
A food processor will do the best job of finely chopping the cookies and mixing the ingredients. If you don’t own one, finely crush the cookies by hand (you can place them in a zipper-lock bag and crush them with a rolling pin), place them into a large bowl and mix in the rest of the ingredients with a spatula or wooden spoon.
The cookie pops can be made up to a week ahead if they’re stored in an airtight container in the fridge.
Keep the cheesecake pops in the fridge until serving. They can be stored on their baking sheet for the short-term, or placed in an airtight container for long-term storage.
You can use almost any cookie for cookie pops. For this recipe, I prefer to use sandwich cookies, since their creamy filling adds moisture and flavor.
- Funfetti Marshmallow Popcorn Treats
- Quick and Easy Skillet Brownies
- 20-Minute Banana Fritters
- 5-Minute Healthy Blueberry Frozen Yogurt
Ingredients
- 18 vanilla sandwich cookies with cream filling
- 4 ounces cream cheese
- 1 Tablespoon lemon juice
- 2 teaspoons lemon zest
- 1 1/2 cups white chocolate chips or white candy melts
- Rainbow sprinkles, for topping
Equipment:
- Lollipop sticks
Instructions
- In the bowl of a food processor, pulse the sandwich cookies until they are roughly chopped. Add the cream cheese, lemon juice and lemon zest, pulsing the mixture until it is combined and there are no large pieces of cookie remaining.
- Line a baking sheet with parchment paper or wax paper. Using your hands, scoop out a portion of the cookie mixture and roll it into 1-inch balls, arranging the balls on the baking sheet. Insert a lollipop stick into each cookie ball then freeze them for 30 minutes.
- Melt the chocolate chips or candy melts until they are smooth. Dip each cookie pop into the chocolate then immediately top it with sprinkles. Return each coated cookie pop to the baking sheet then refrigerate them for 10 minutes or until the chocolate is set.
Kelly’s Notes
- You can melt the chocolate in the microwave (in 30-second bursts, stirring between each one) or in a double boiler. A double boiler involves setting a heat-safe bowl with the chocolate in it over a saucepan of simmering water. The bottom of the bowl shouldn’t touch the water, but the heat will melt the chocolate as you stir it.
- Room-temperature cream cheese will be the easiest to incorporate with the cookie crumbs and the rest of the ingredients. The cream cheese should be easy to indent with your finger—that’s how you know it’s at the right temperature!
- A blender won’t be able to evenly chop the cookies or combine the ingredients like a food processor can. I highly recommend investing in a food processor if you don’t own one.
- ★ Did you make this recipe? Don’t forget to give it a star rating below!
Nutrition
Shoutout
Did you try this recipe?
Share it with the world! Mention @justataste or tag #justatasterecipes!
This post may contain affiliate links.
Recipe by Kelly Senyei of Just a Taste. Please do not reprint this recipe without my permission. If you'd like to feature this recipe on your site, please rewrite the method of preparation and link to this post as the original source.


Hi! Is it possible to make these a day or two before dipping them and keep them in a sealed Tupperware container in the fridge?
That should work!
Made these for a quick treat to take to friends. We over-mixed them a bit, but they still tasted great!
Hello. How did you melt the chocolate for coating?
Hi Reina! Melt the chocolate in the microwave in 30-second intervals, stirring between each interval, until fully melted. :)
Could you tell me what lemon zest is?
It’s the exterior of the lemon :)
Shortbread cookies are great in vanilla pudding instead of vanilla wafers!! Or pulverize into crumbs and use the same as you would graham cracker crumbs…
Can you substitute any cookie for the sandwich cookie? I have some store-bought shortbread cookies left over from Christmas which I’d like to turn into something other than store-bought shortbread.
Hi there! You’d just need to use any type of sandwich cookie, as the cream filling helps bind the mixture.
Hallo, I want to ask, should cream cheese be as Philadelphia, or as Mascarpone? Thanks!
Philadelphia :)
Love that you added lemon zest, it always gives that something extra! Hope you are well!
Thanks so much, Elizabeth!