Learn how to make my take on the viral dot cakes with classic and creative recipes, including ice cream, s’mores and beyond! Plus, I’m sharing what you’ll need to make these mini desserts and fun designs to wow your crew.
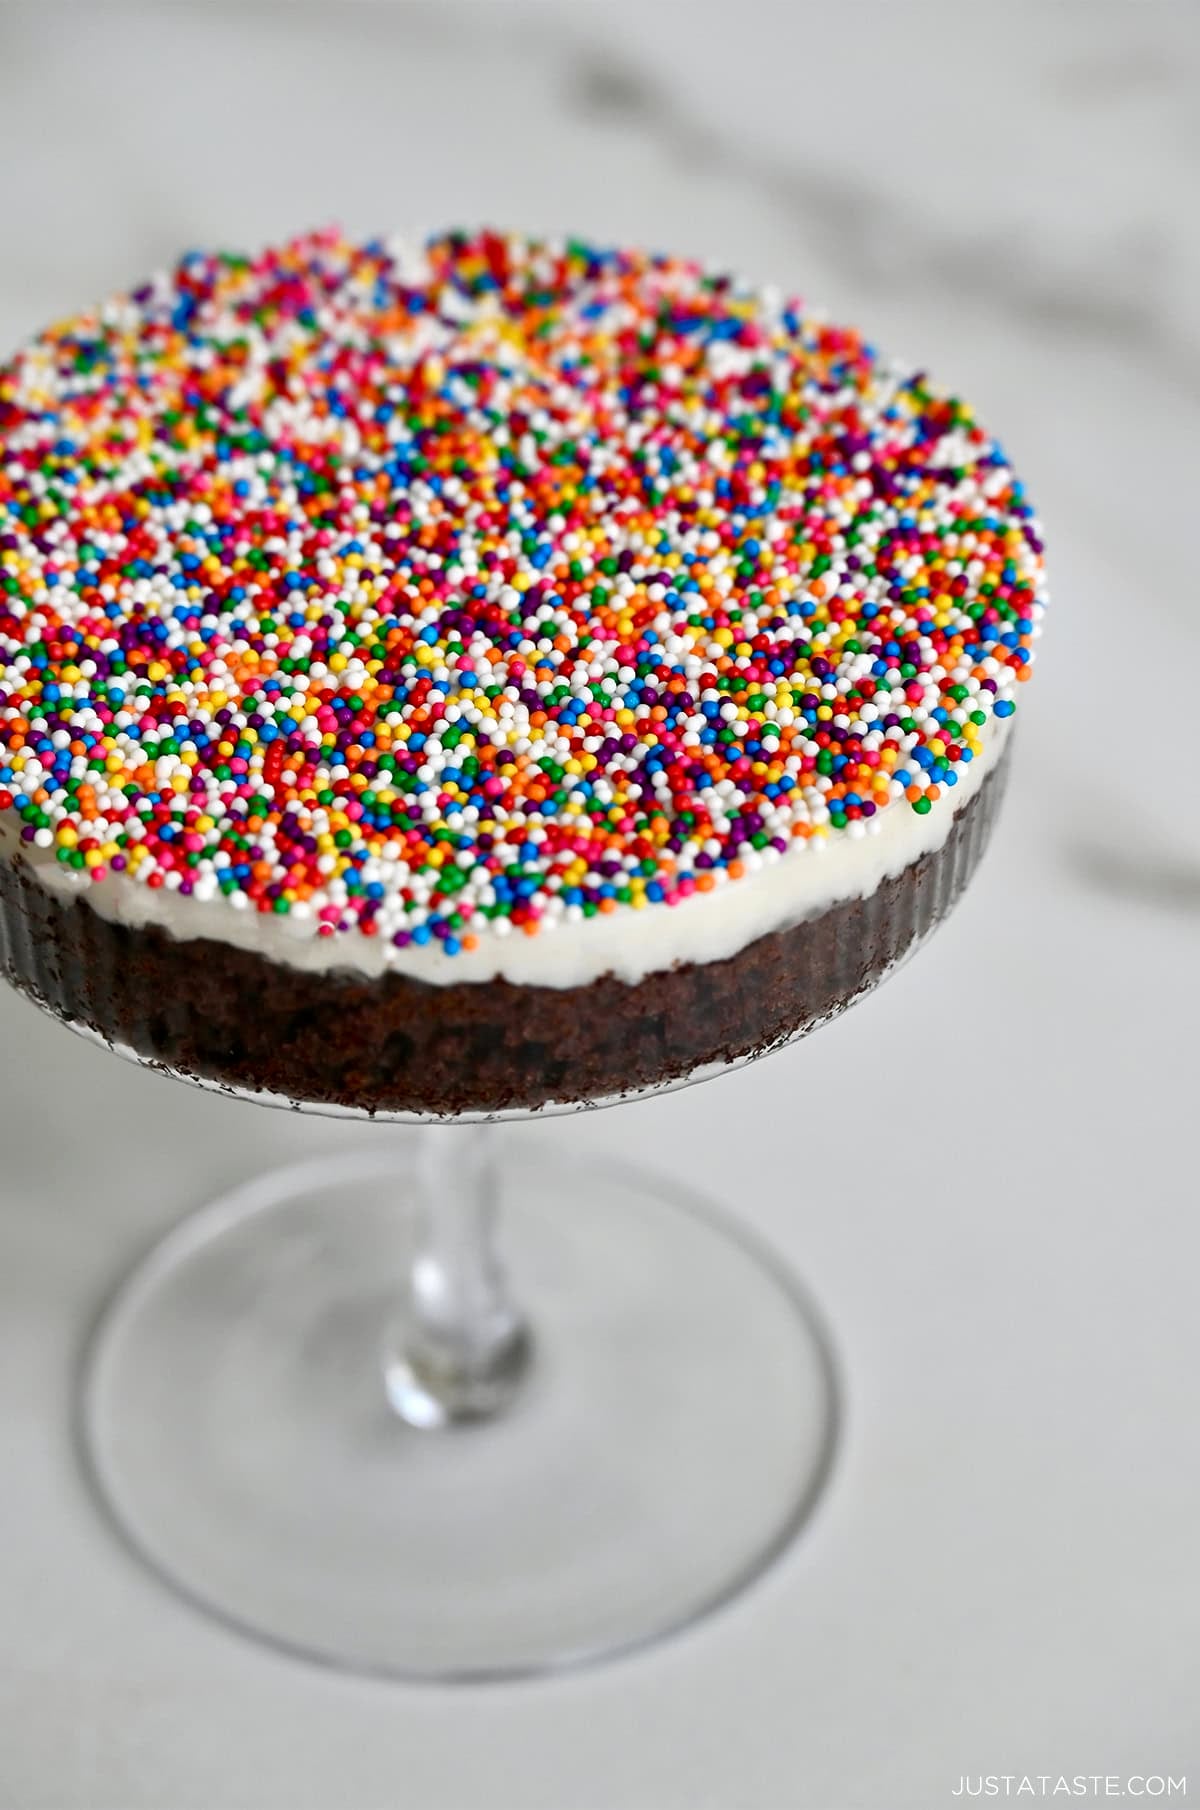
Table of Contents

If you’ve been scrolling through Instagram lately, you’ve probably seen the viral Dot Cakes. Those adorable little layered desserts served in small mason jars are taking over everyone’s feed. I got fully obsessed and then I did what I always do: made them my own.
Instead of a mason jar, I serve mine in a cocktail glass and honestly, it changes everything. A little more elegant, a little more fun, and a whole lot more “wow” when you set them out at a party. I’ve been calling mine Cocktail Cakes ever since and I’ve never looked back.
Below you’ll find all of my cocktail cake recipes, from the classic version starring chocolate cake and buttercream frosting to creative spins like ice cream and s’mores, plus a few fun designs that will impress your guests.
What Are Dot Cakes?
Dot Cakes started at a small bakery called The Dotcakes out of Roslyn, New York, and they’ve actually been around for over a decade. Sometimes it just takes the right clip and the right moment, and suddenly the whole Internet loses its mind.
The concept is simple: a single-serving cup of cake topped with frosting and completely coated in nonpareils, those tiny round sprinkles that give Dot Cakes their name and their whole look.
The good news? You absolutely do not need to wait in a bakery line that stretches around the block. You can make them at home, and spoiler: They’re easy and even better than the original.
What You Need to Get Started
The beauty of these individual desserts is that you don’t need much. I use coupe cocktail glasses but any wide-mouthed glass works well (think small mason jars, ramekins, etc.). You’ll need a 13×9-inch pan to bake your cake (I’ve perfected the ratios in my recipes below so you get a perfectly thin layer of cake). Then use the rim of your glass to cut out the cake rounds, an offset spatula to spread your frosting, ice cream or whipped cream, and of course, SPRINKLES!
Depending on the variation you choose below, you may also need a piping bag. A zip-top bag with the corner snipped works perfectly, too.
The Recipes
Homemade Dot Cakes
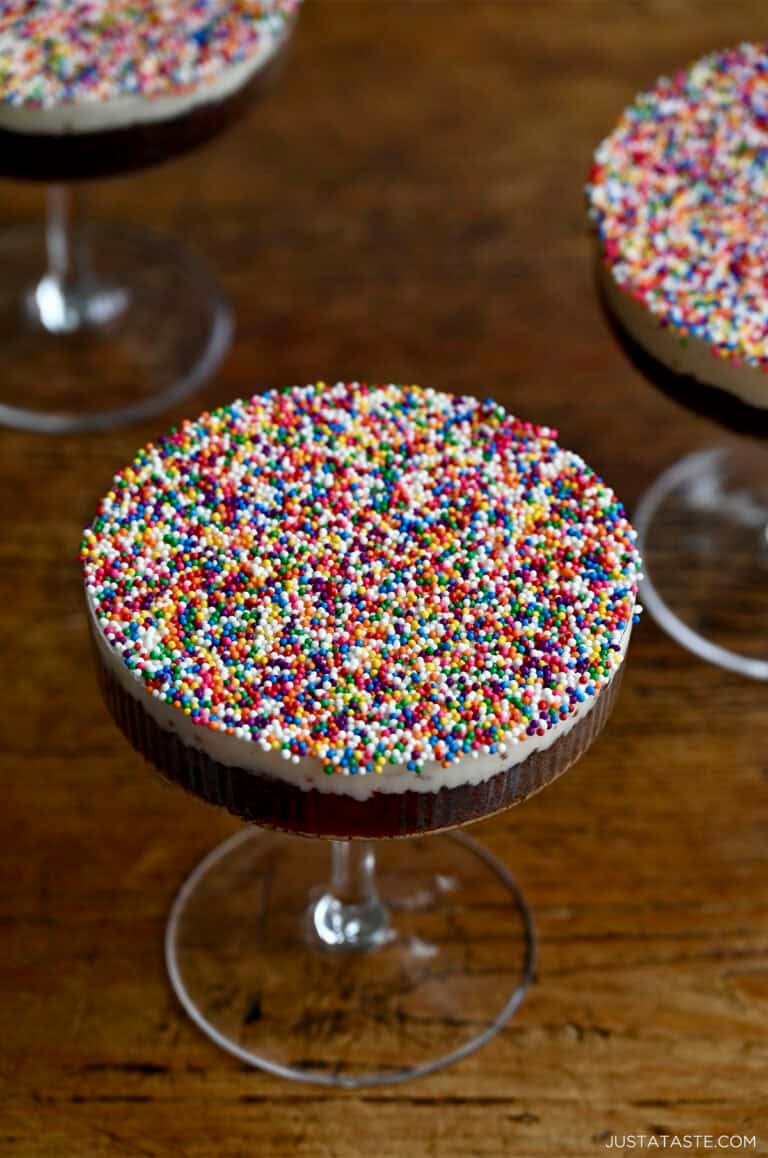
Dot cakes, but make them dinner party-worthy! Rich chocolate cake, creamy vanilla buttercream and rainbow nonpareils in a cocktail glass. I'm calling them Cocktail Cakes and they're completely irresistible.
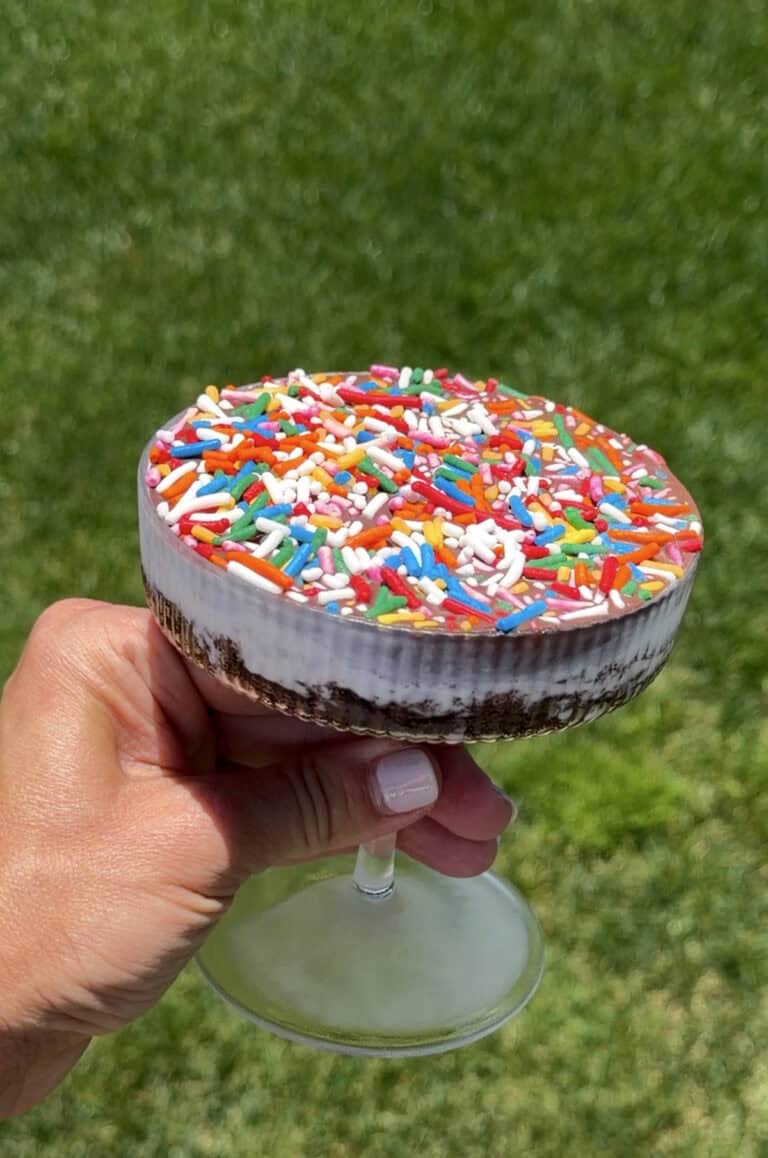
Ice Cream Cocktail Cakes
These individual ice cream cocktail cakes star moist chocolate cake topped with your favorite ice cream, Magic Shell and rainbow sprinkles in a cocktail glass. The ultimate make-ahead summer dessert!
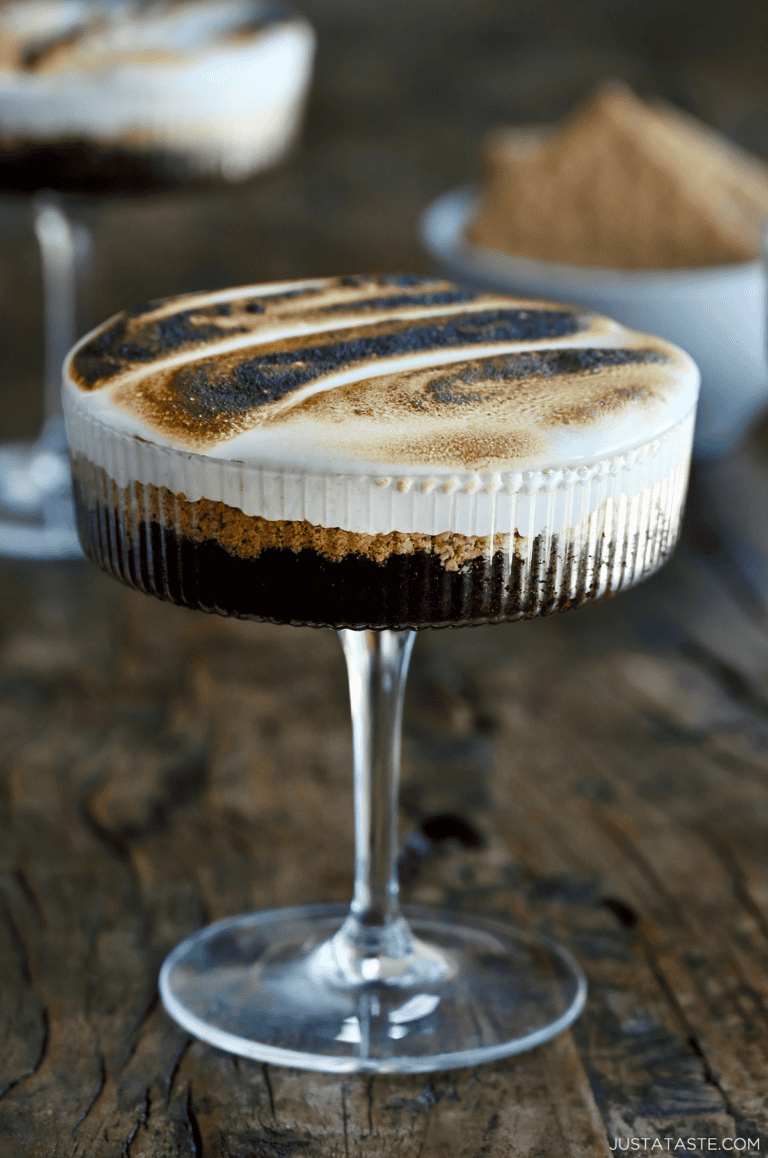
S’mores Cocktail Cakes
Moist chocolate cake, crushed graham crackers and a generous swirl of toasted marshmallow fluff, all layered in a cocktail glass. S'mores have never looked so elegant.
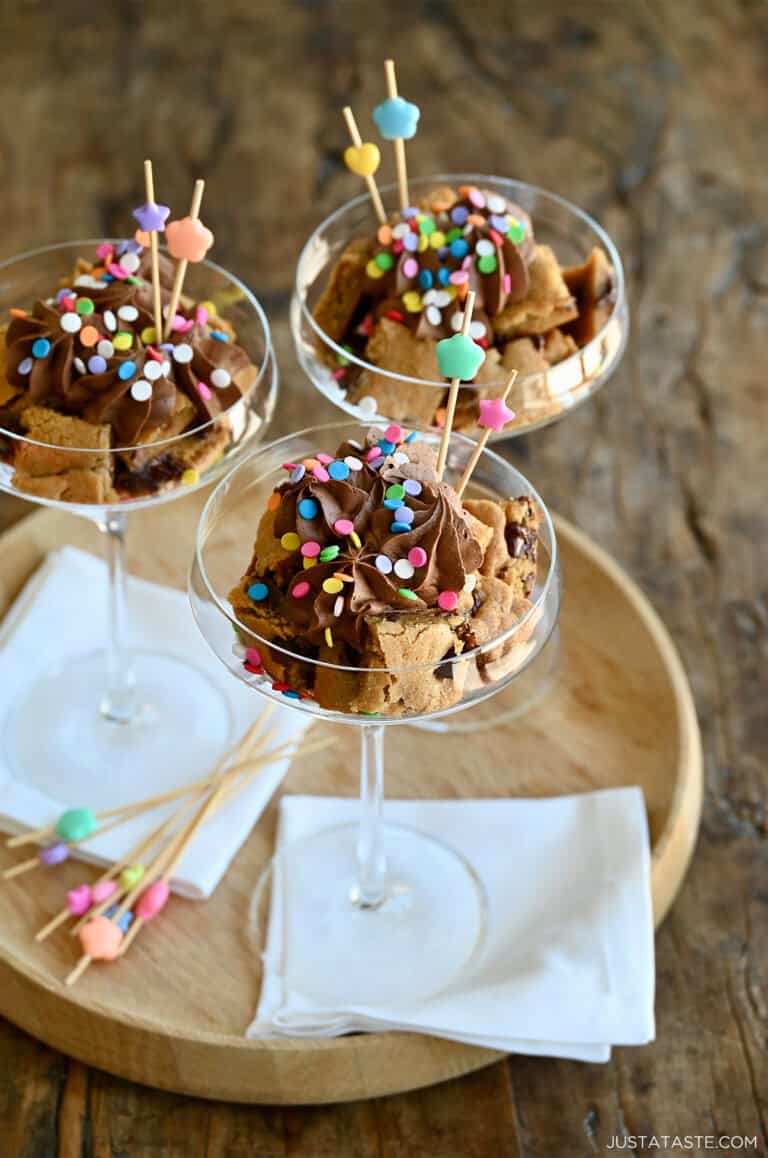
Cookie Cocktail Cakes
Soft and chewy chocolate chip cookie cake cut into cubes and layered with buttercream frosting and sprinkles in individual serving glasses. Customize with your favorite toppings to match any occasion and you’ve got the perfect party dessert.
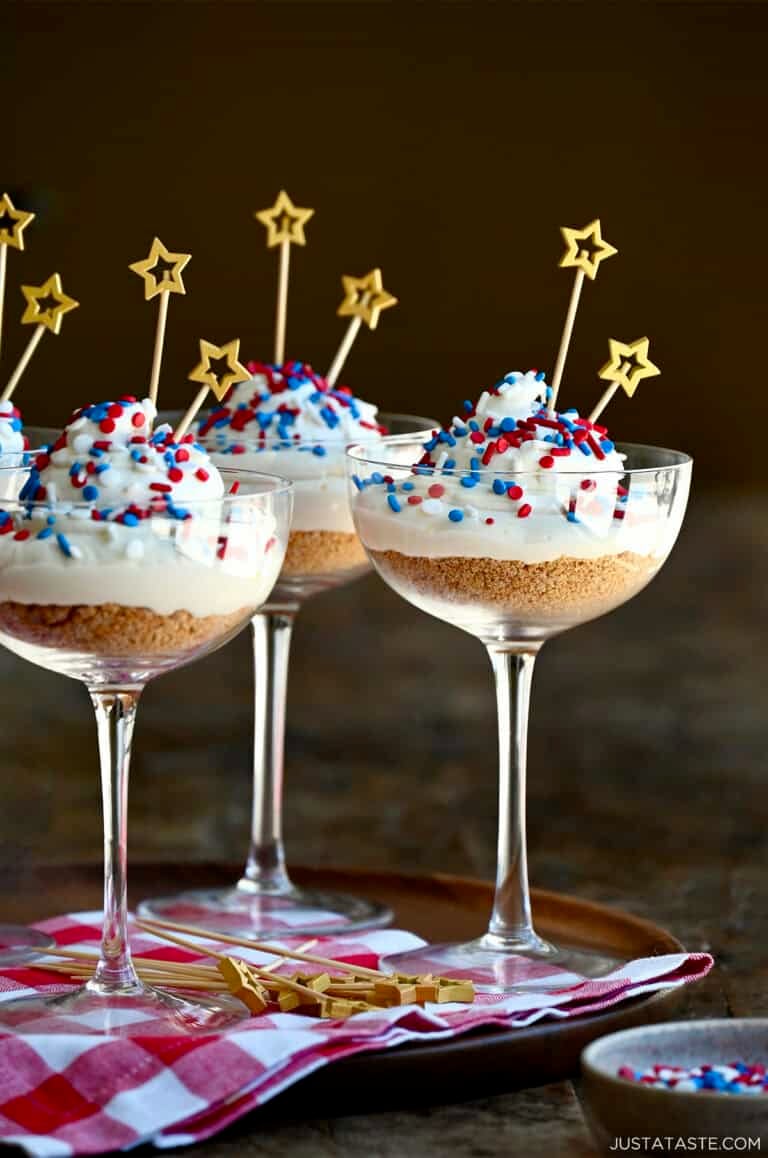
4th of July Cocktail Cakes
Set off flavor fireworks with a sweet finale in the form of 4th of July Cocktail Cakes starring a buttery graham cracker crust, no-bake cheesecake, whipped cream and sprinkles.
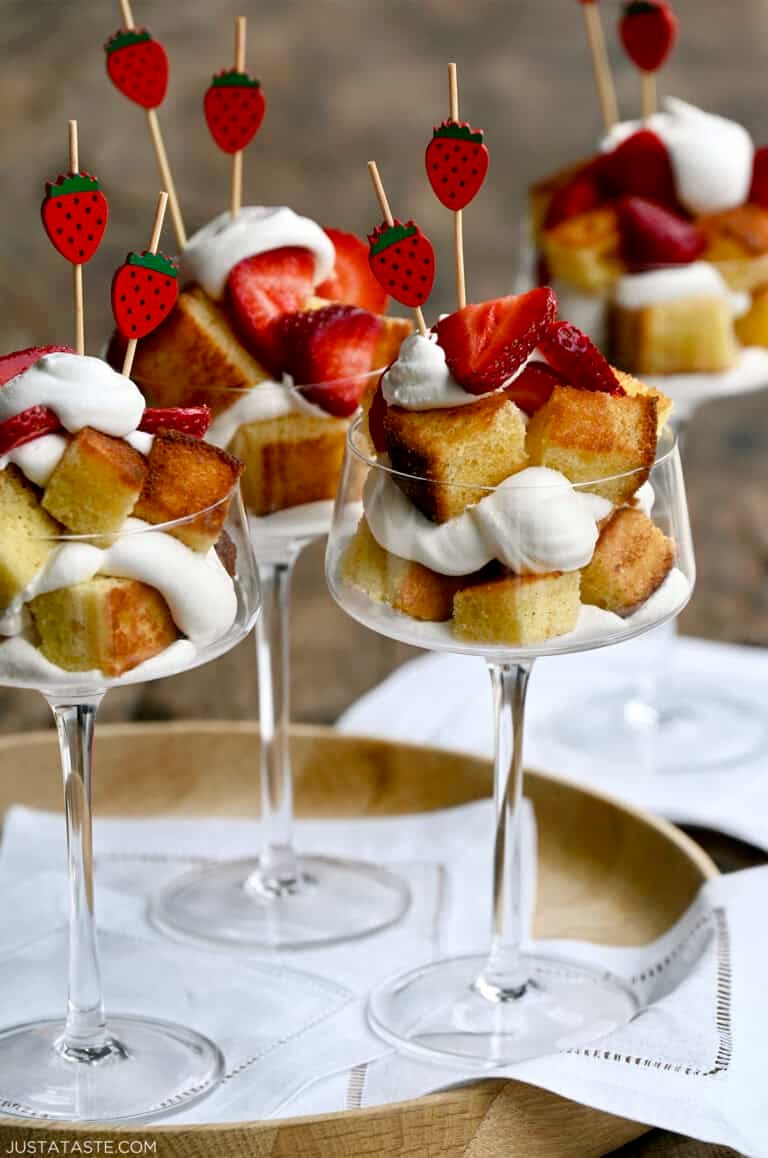
Strawberries and Cream Cocktail Cakes
Toasted pound cake croutons meet juicy strawberries and fluffy whipped cream for an easy but elevated dessert that’s perfect for any party.
Brownie Cocktail Cakes
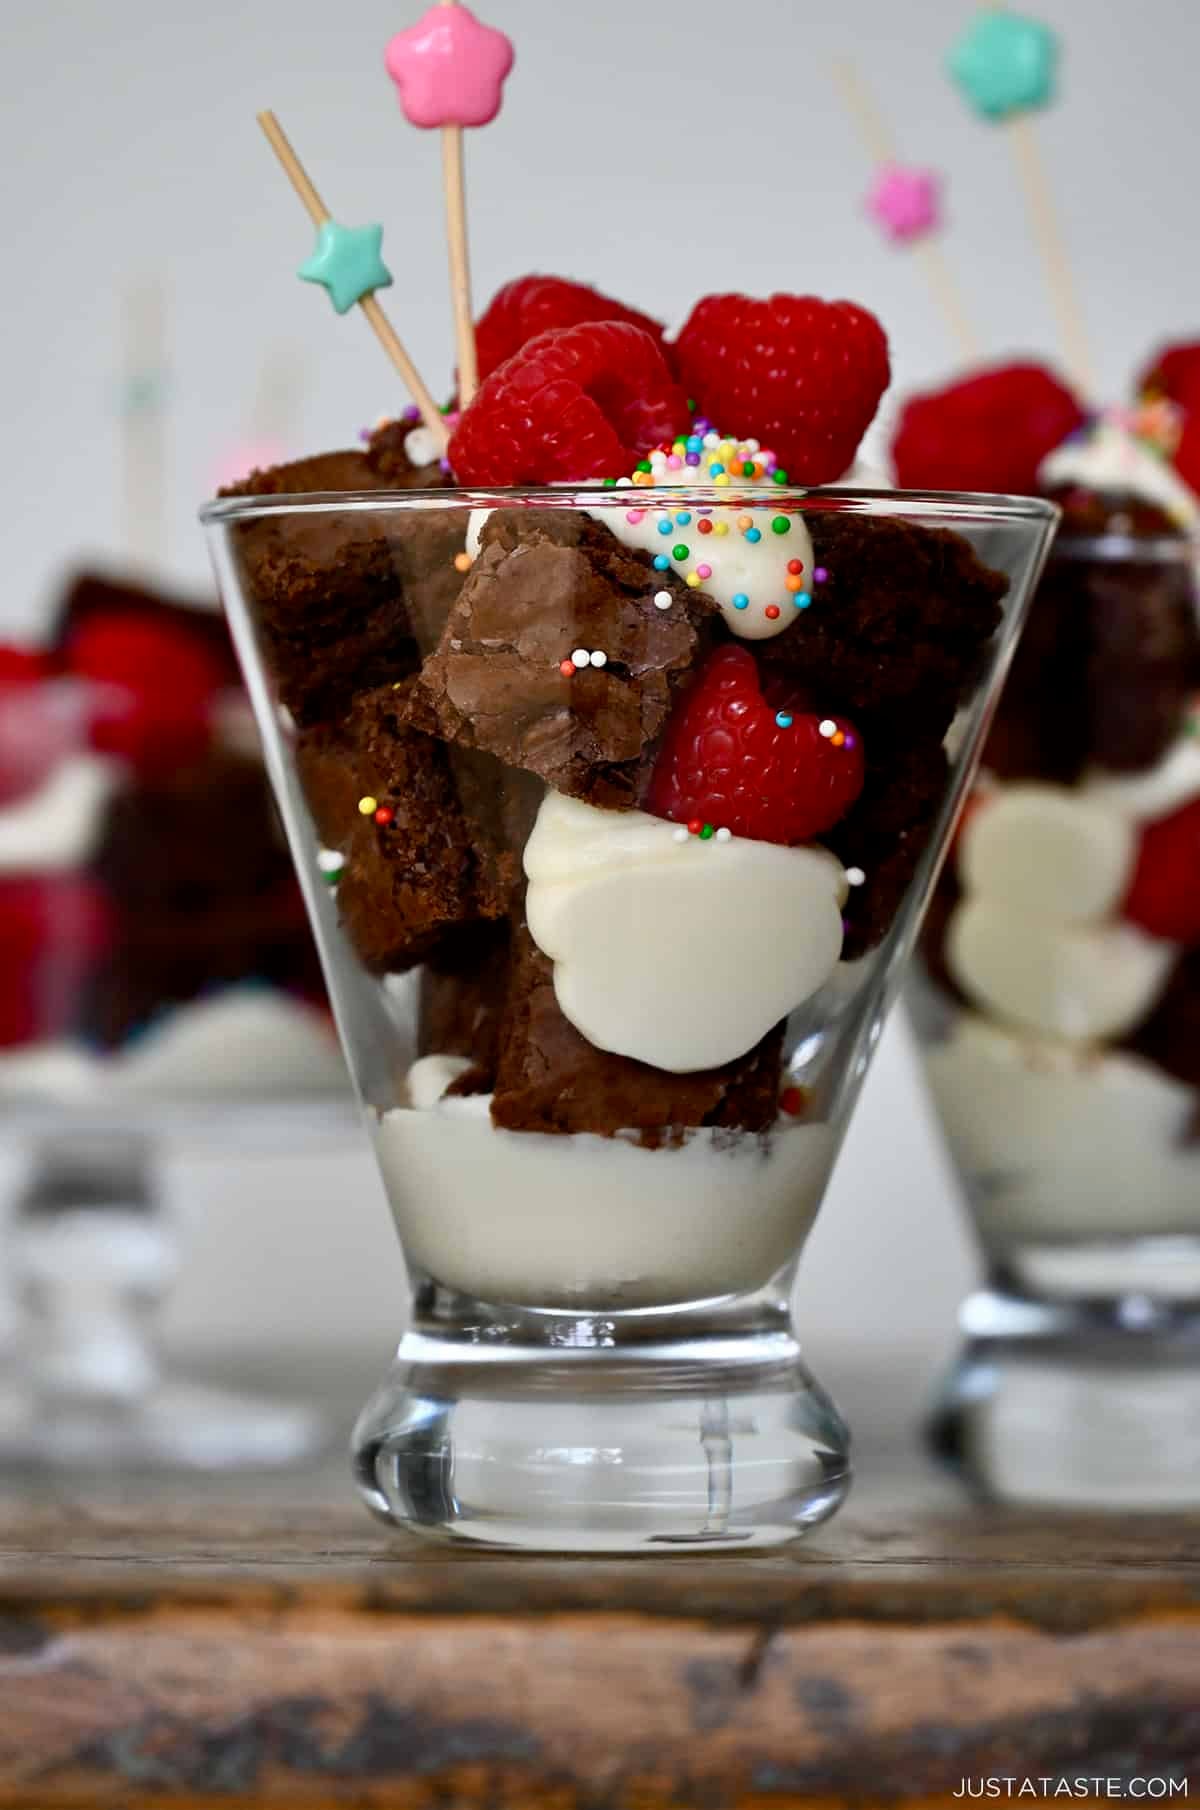
If you’ve ever made my brownie trifle, this is that recipe’s more dressed-up dinner party cousin. Fudgy brownie croutons layered with creamy vanilla buttercream, fresh raspberries and sprinkles in individual serving glasses.
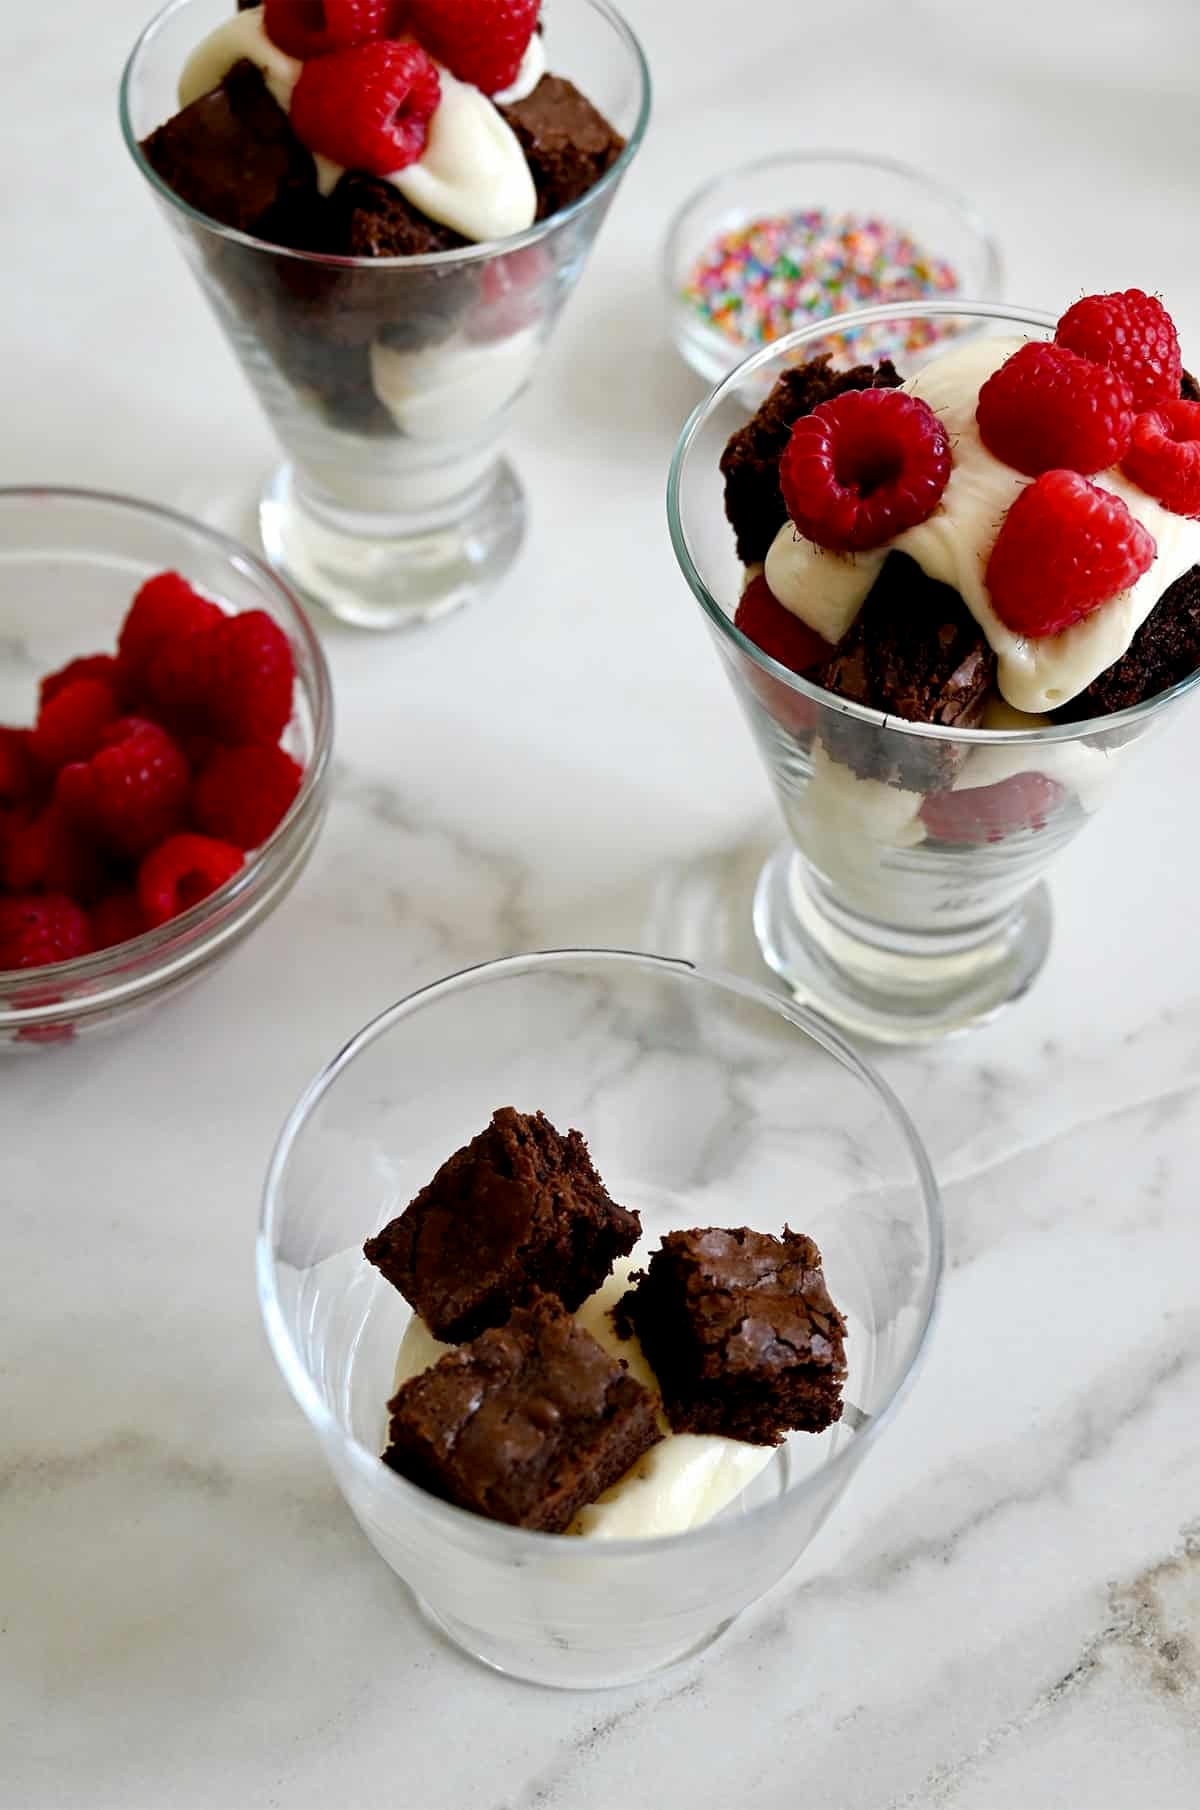
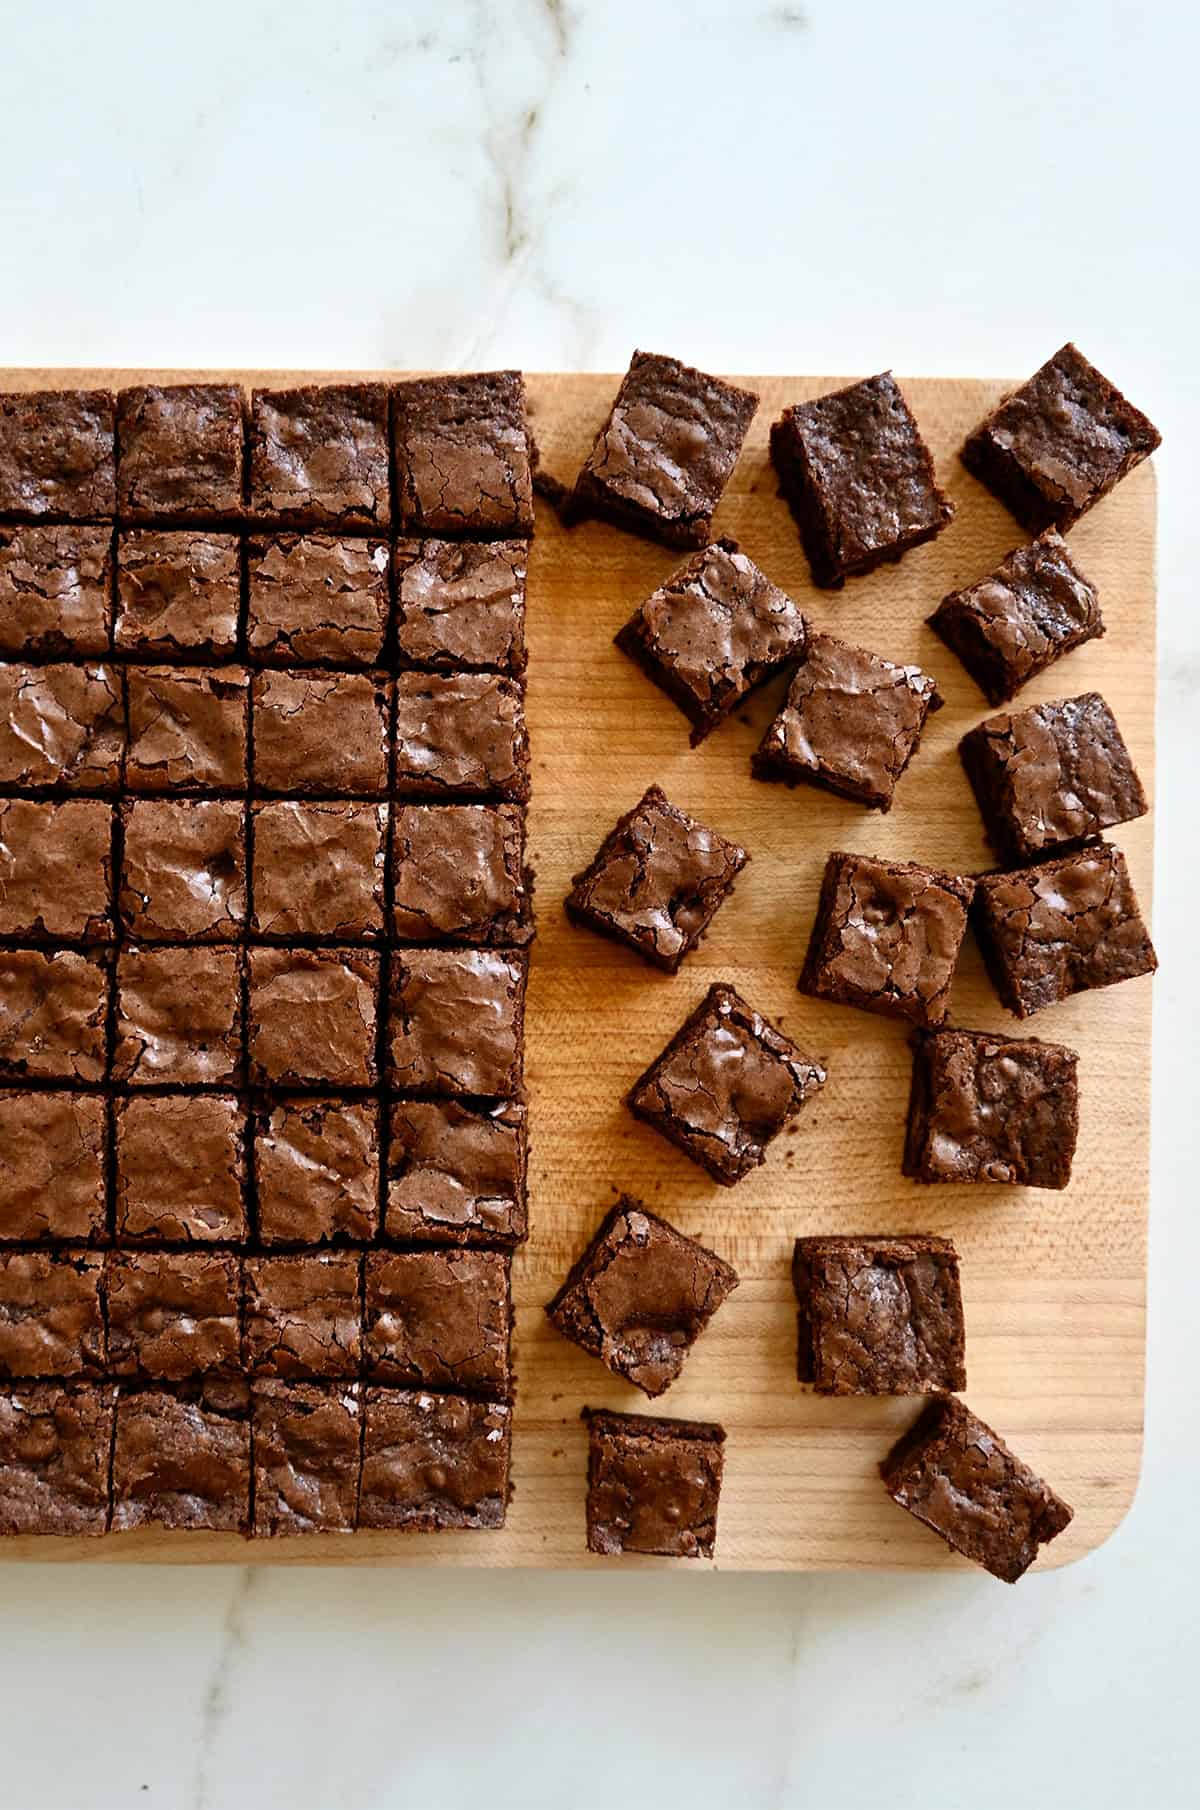
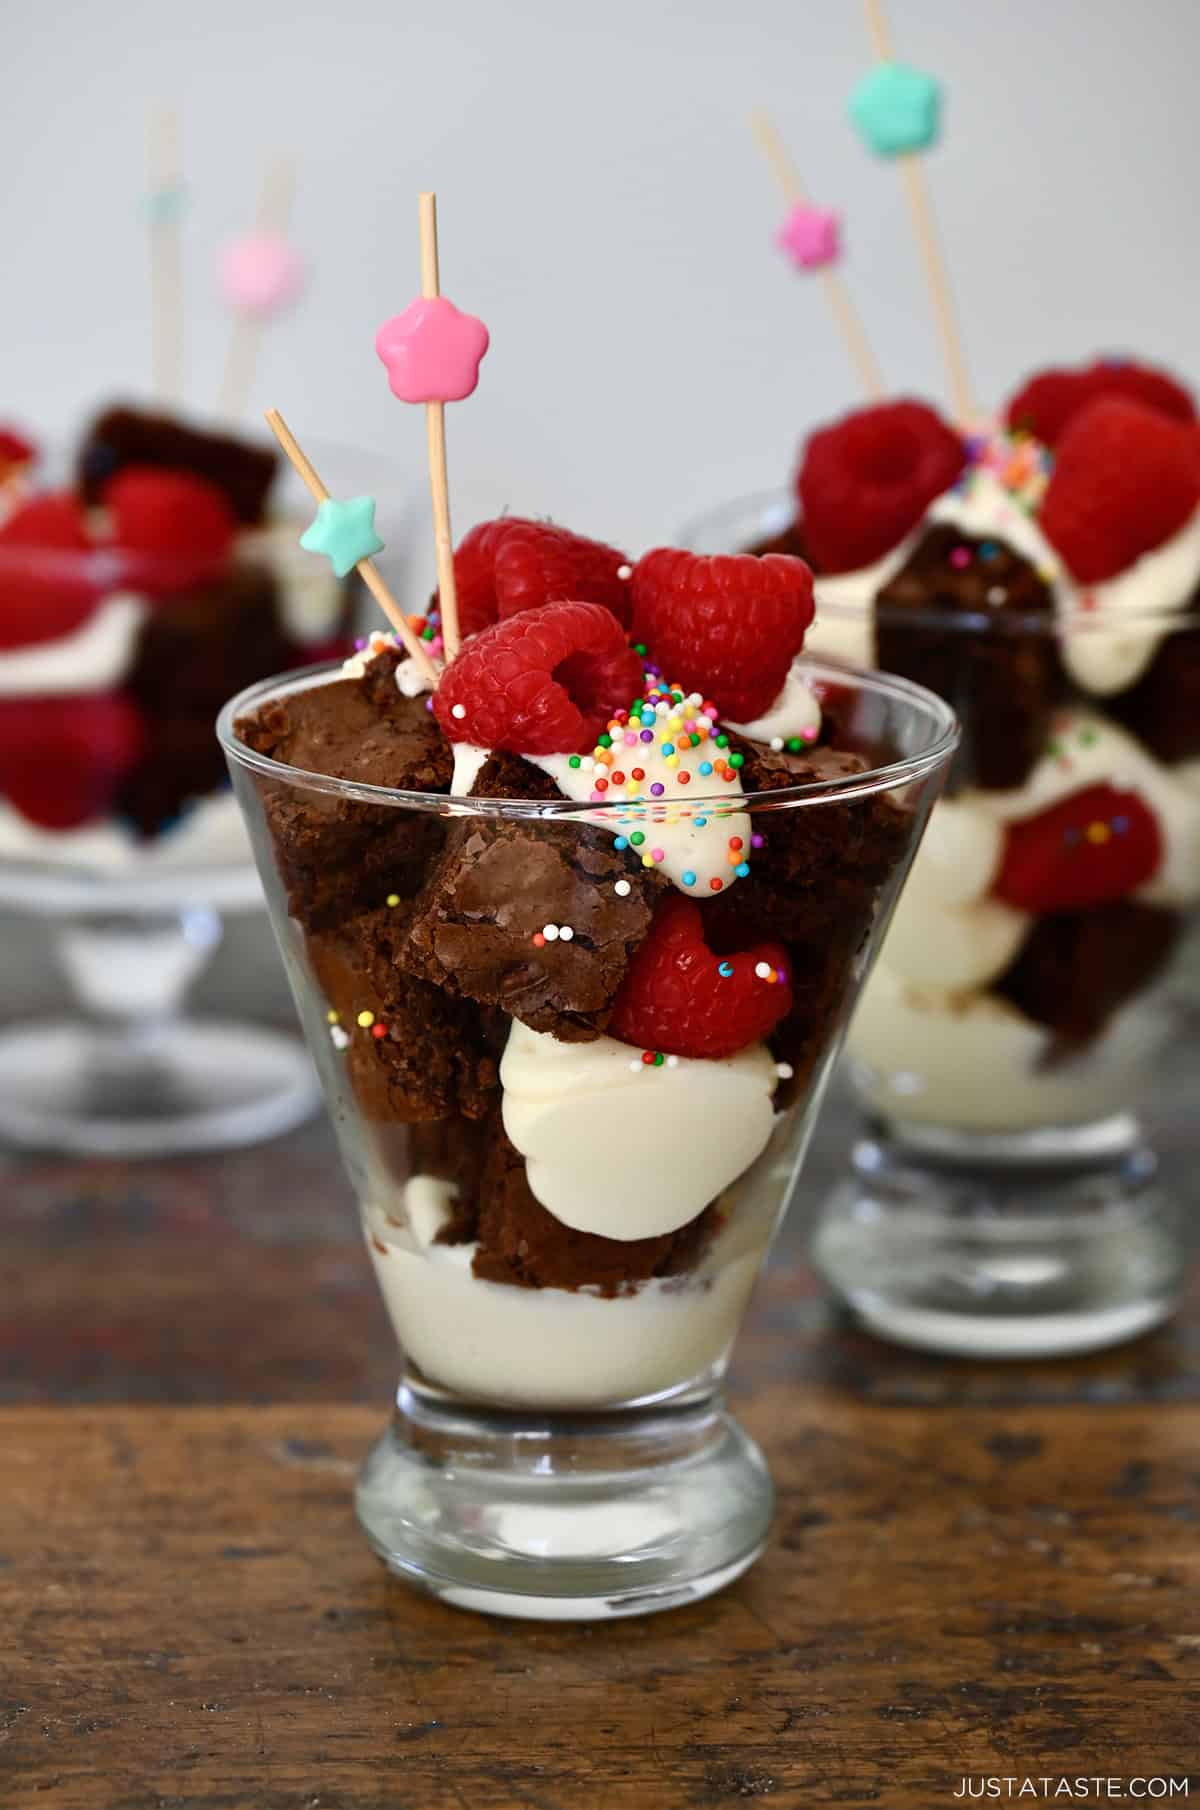
Three components, one seriously impressive dessert. You’ll need a batch of my fudgy cocoa brownies and vanilla buttercream frosting before you get started, both of which can be made a day ahead. And don’t miss my guide on how to cut brownies cleanly before you cube ’em up.
You can find the printable recipe card below.
Beyond the Classic: Dot Cake Design Ideas
Once you’ve nailed the classic look, the design possibilities are endless! These two are my favorites and so much easier to pull off than they look.
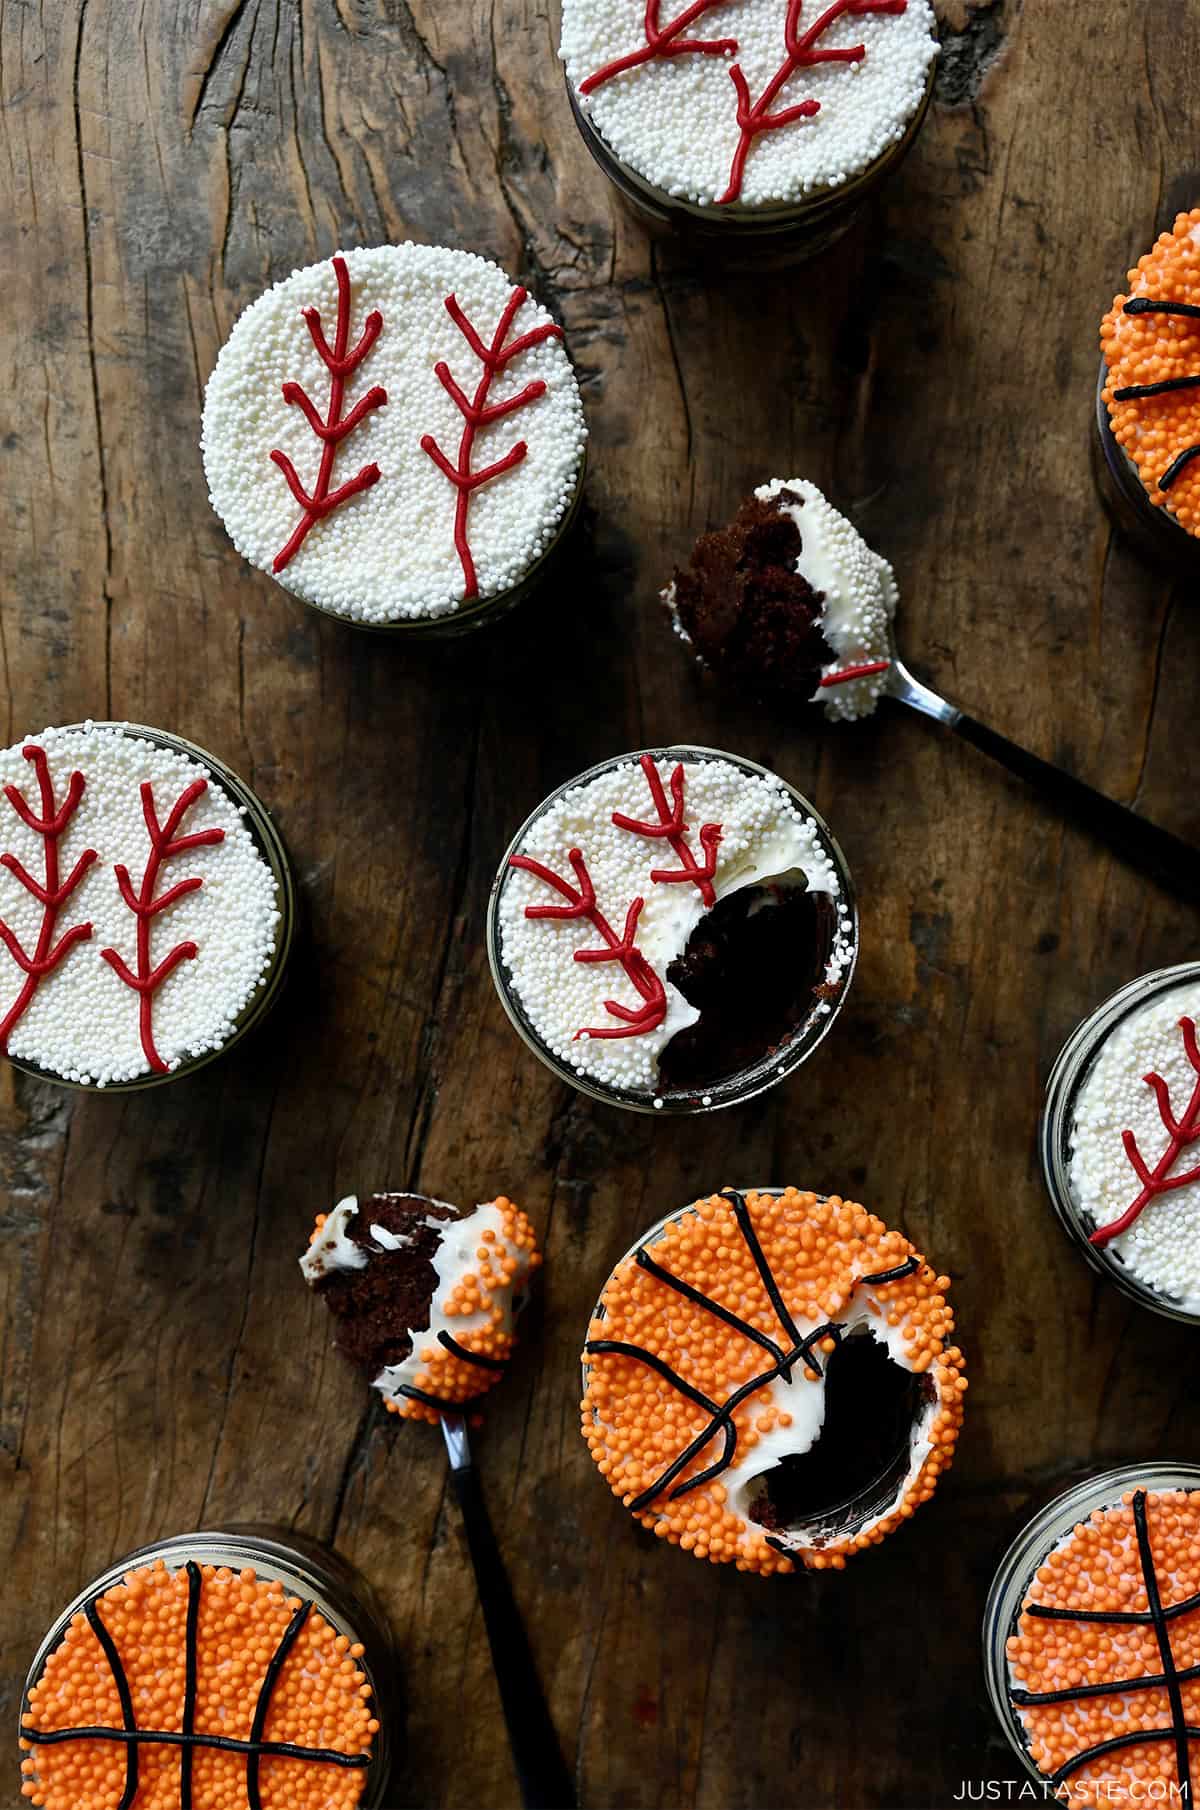
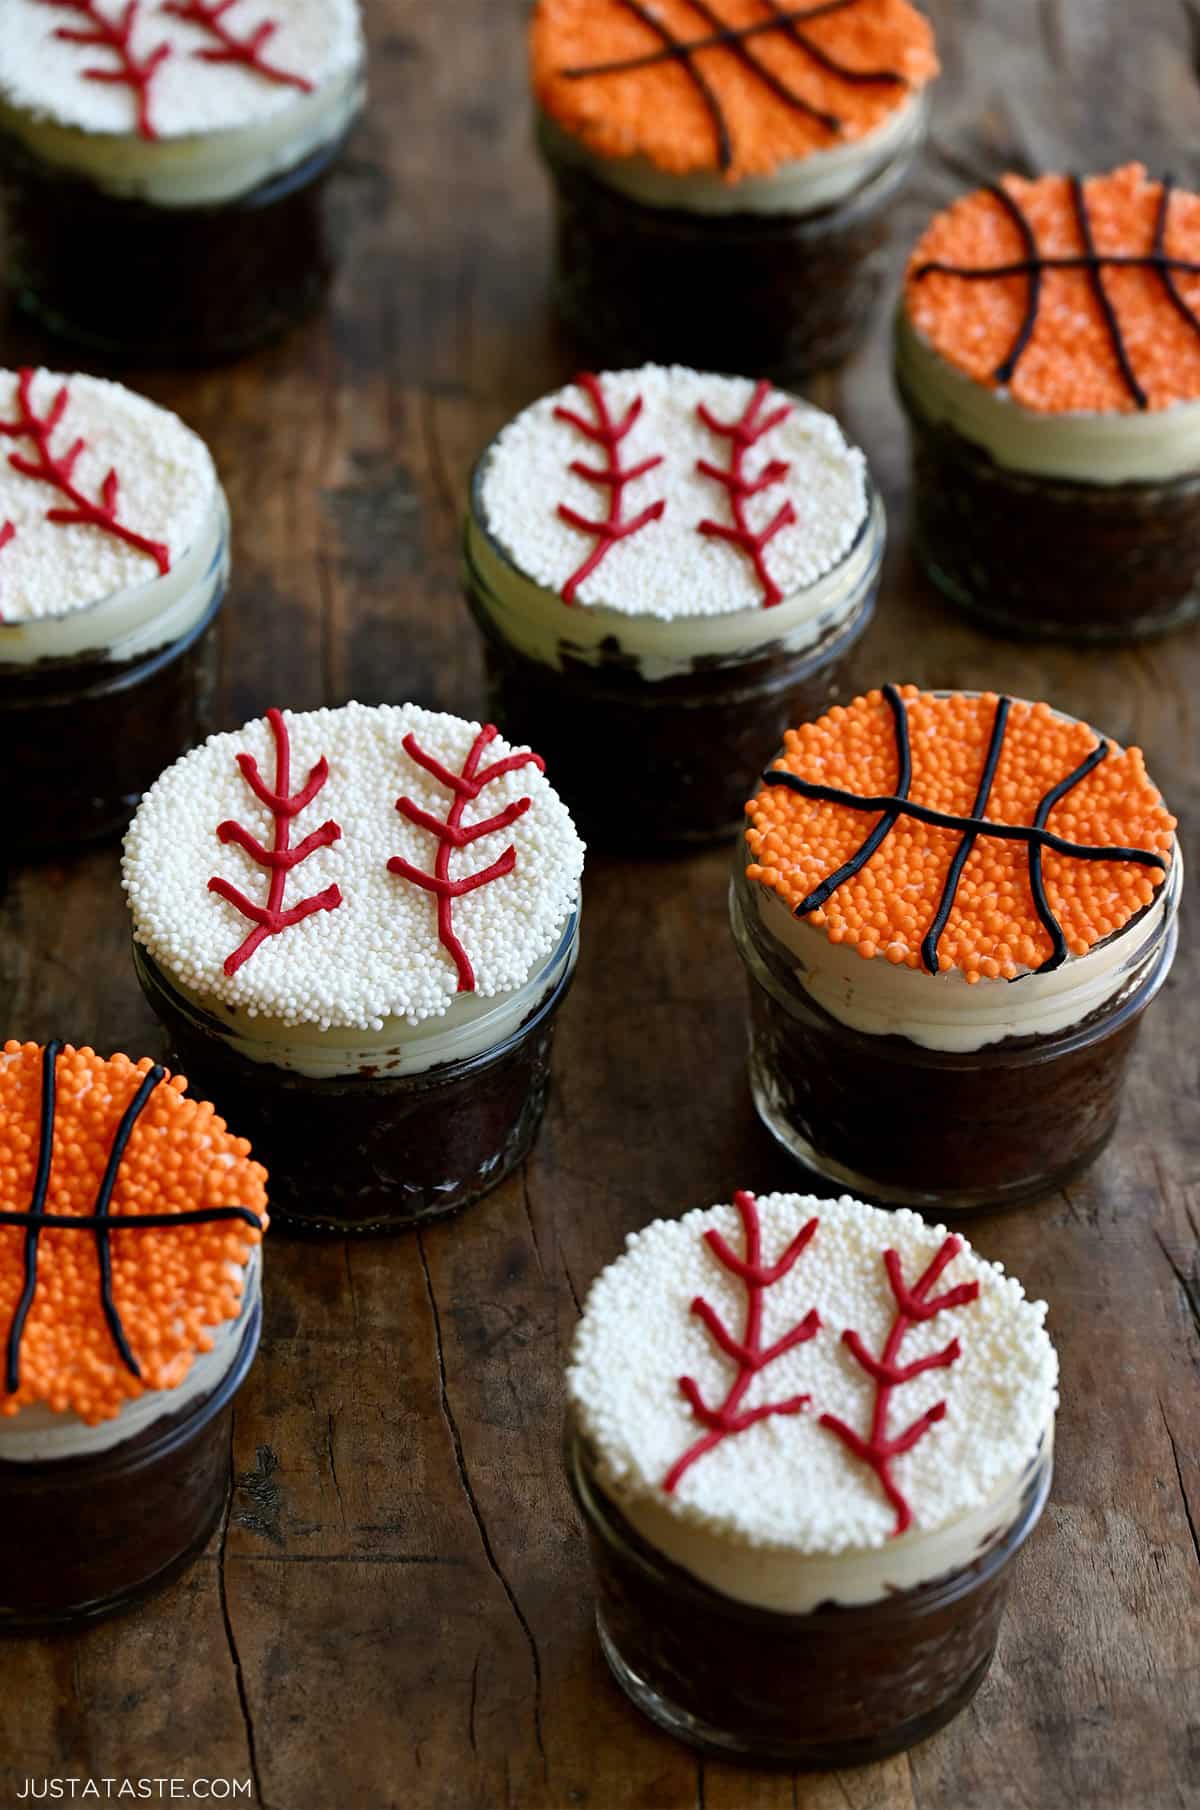
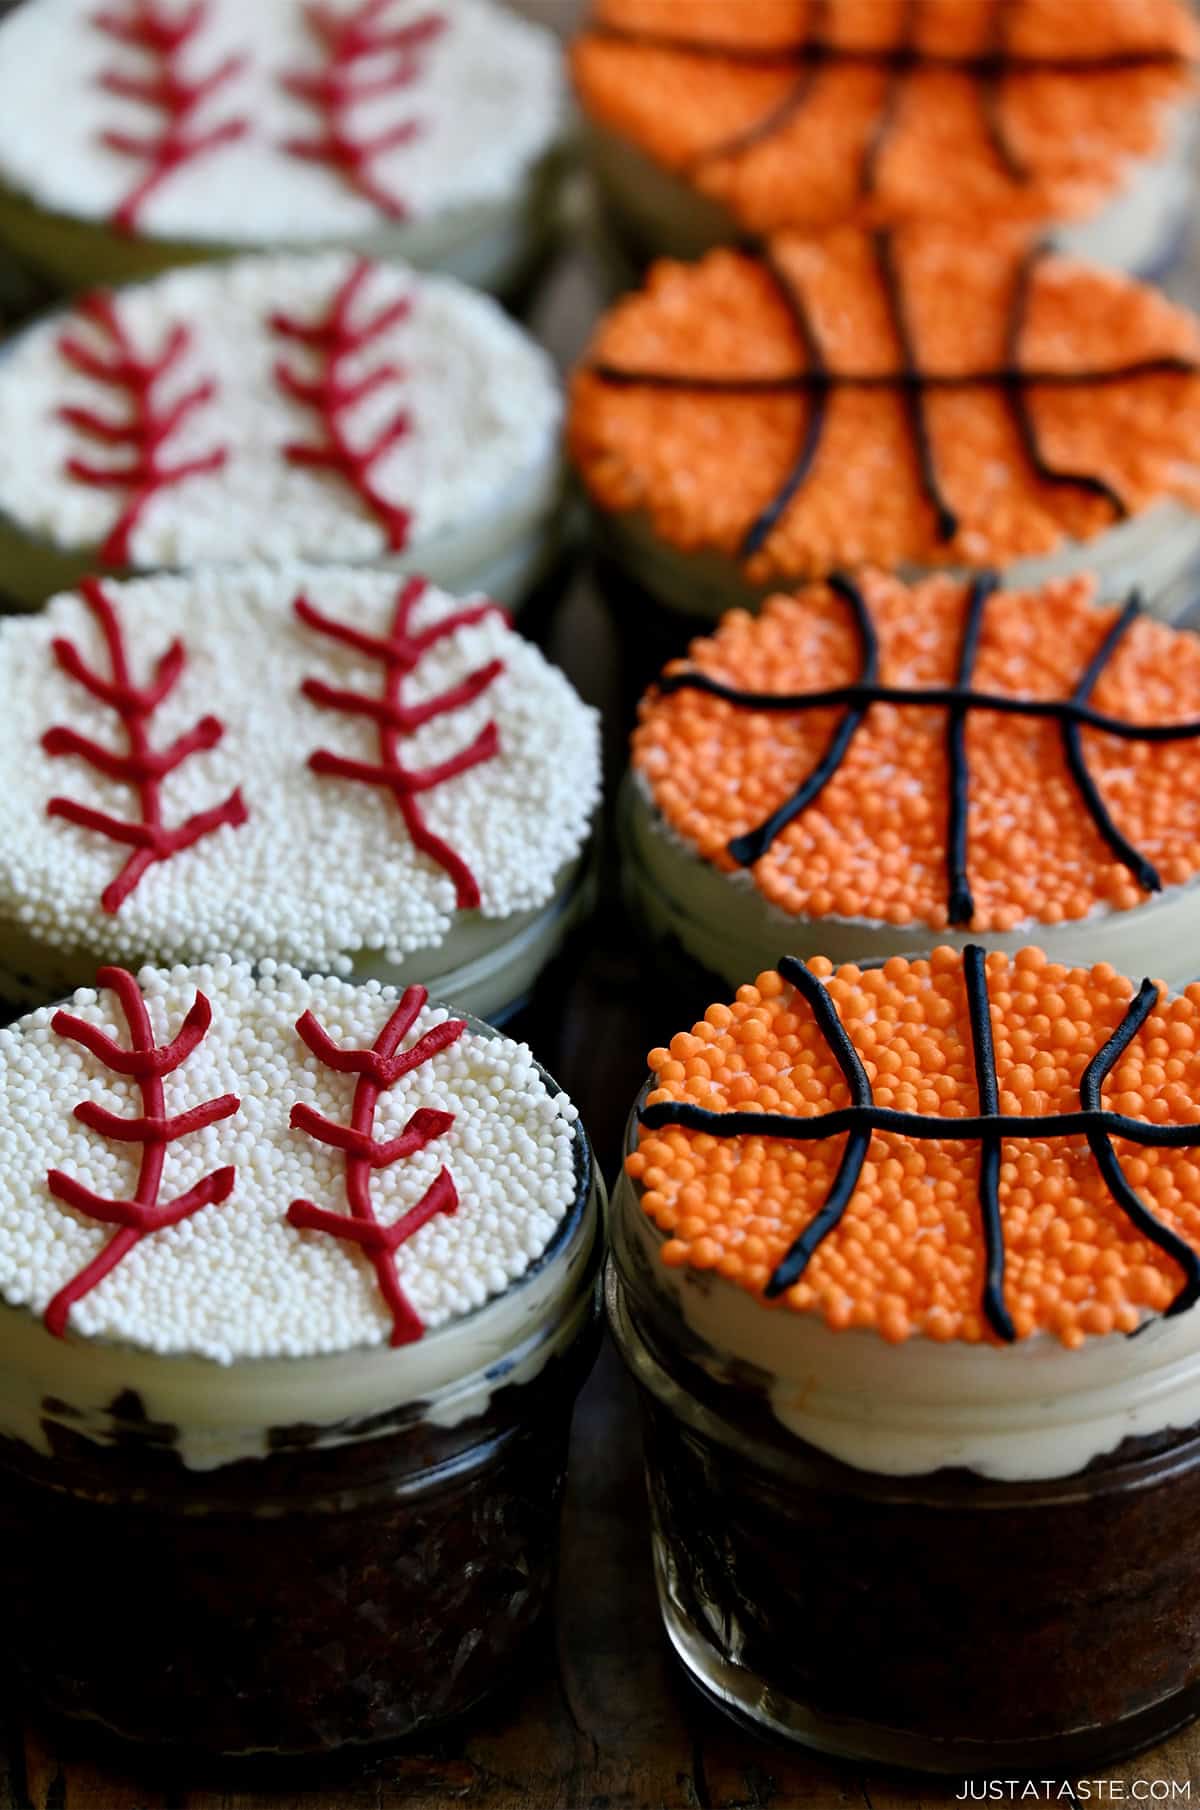
Baseball Cocktail Cakes: White nonpareils for the base, a few curved red lines for the stitching and just like that you’ve got the most impressive dessert on the party table. Perfect for opening day, playoff season or as a treat after ballpark bolognese (a.k.a. homemade SpaghettiOs while watching my two oldest at their baseball games!).
Basketball Cocktail Cakes: Orange nonpareils, a few simple black lines and you’ve got a dessert that will absolutely stop the scroll. These are so fun to make with kids and they are guaranteed to steal the show at any sports party.
FAQs
Same concept, different vessel! Traditional Dot Cakes are served in small mason jars. I serve mine in cocktail glasses, which makes them a little more elegant and a whole lot more fun to set out at a dinner party.
Nonpareils! Those are the tiny round sprinkles that give Dot Cakes their signature look and that satisfying crunch. Regular sprinkles won’t give you the same effect.
Dot Cakes will keep in the fridge for up to three days, though they’re honestly best within the first 24 hours when the sprinkles still have their crunch. After that the sprinkles start to soften from the moisture in the fridge. Pro tip: if you’re making them ahead for a party, wait to add the sprinkle coating until as close to serving time as possible.
Easy and elevated desserts FTW! What flavor should I make next?
Ingredients
- 1 recipe Fudgy Cocoa Brownies
- 1 recipe Vanilla Buttercream Frosting
- 1 1/2 cups raspberries
- Sprinkles, for decorating (optional)
Instructions
- Cut the brownies into 1-inch cubes.
- Layer the brownies, frosting and raspberries in your cocktail glasses of choice.
- Top with sprinkles (optional) and serve.
Kelly’s Notes
- Any small glass works here, cocktail glasses, parfait glasses, rocks glasses, you name it. Use whatever you’ve got on hand.
- Make Ahead: The brownies can be made up to a day in advance and stored at room temperature. The buttercream can also be made ahead and stored in the fridge. Bring it to room temperature before assembling for the easiest layering.
- ★ Did you make this recipe? Don’t forget to give it a star rating below!
Nutrition
Did you try this recipe?
Leave a comment below with your star rating!
This post may contain affiliate links.