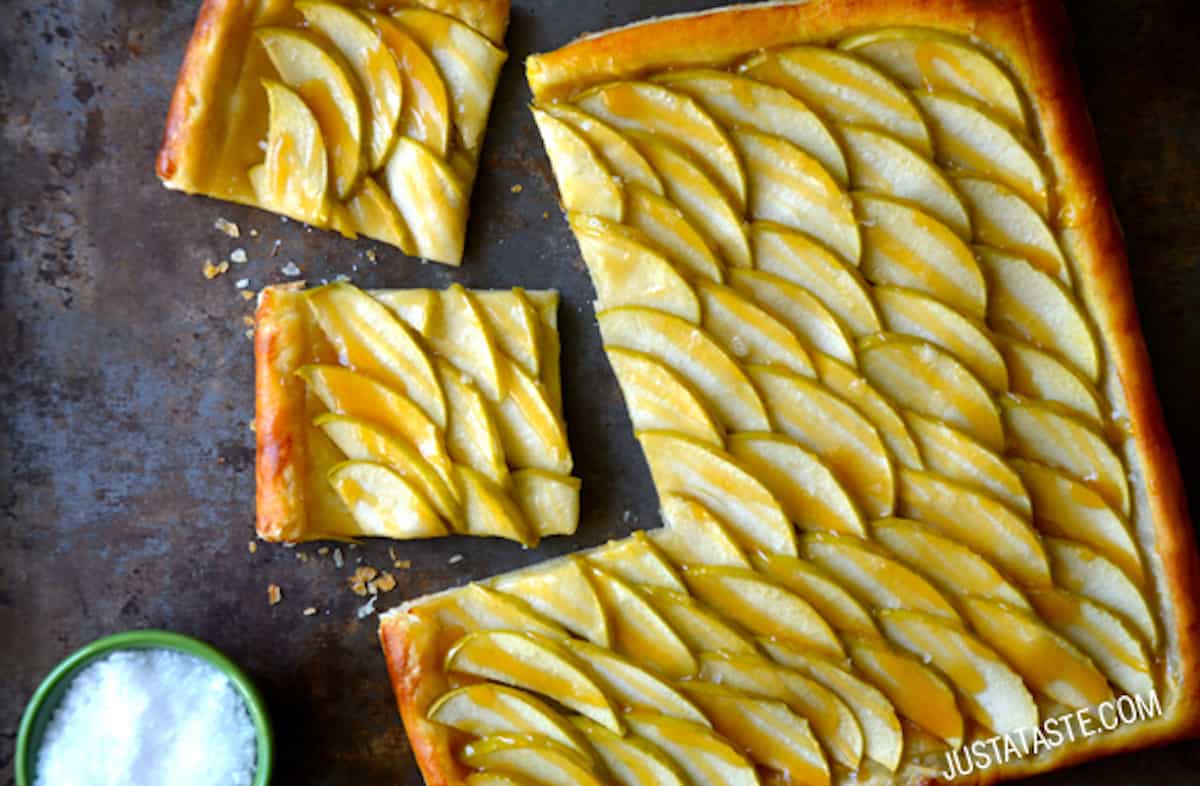
If you like caramel apples, you’ll love this Easy Salted Caramel Apple Tart that’s made with just eight simple ingredients. Buttery puff pastry, tangy apples, sticky-sweet caramel and sea salt shine in this 30-minute dessert.
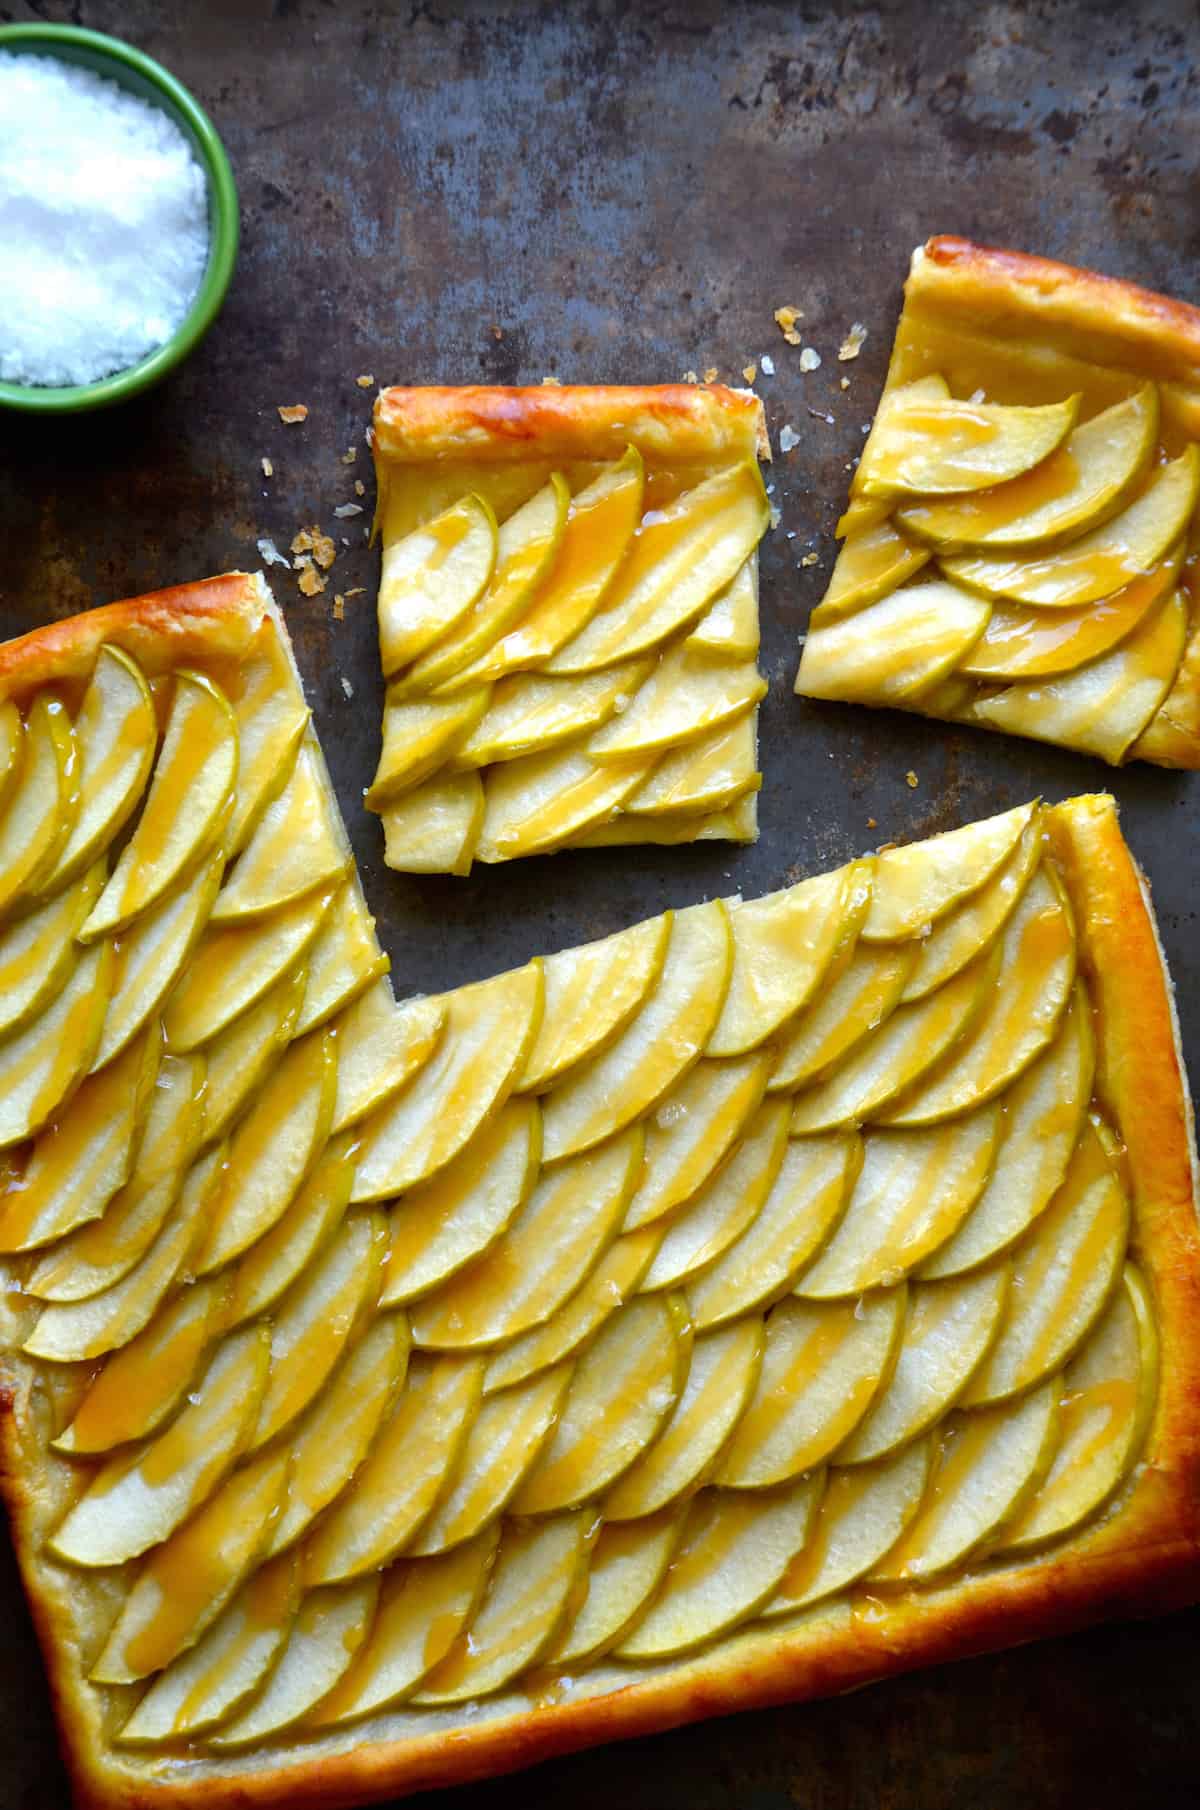
Table of Contents
It all started with Salted Caramel Apple Hand Pies. Tangy apples paired with chewy caramel tucked into homemade pie crust pockets. It was hard to imagine exceeding such a perfect pairing. But ever on a mission to simplify mealtime, I took my favorite sweet-salty combination and transformed it into a 30-minute dessert: Easy Salted Caramel Apple Tart.
This apple tart recipe can be as homemade or as store-bought as your heart (and your schedule) desires. Your ingredient list is short and sweet, allowing the simple flavors of buttery pastry, tangy apples, sticky-sweet caramel and sea salt to shine.
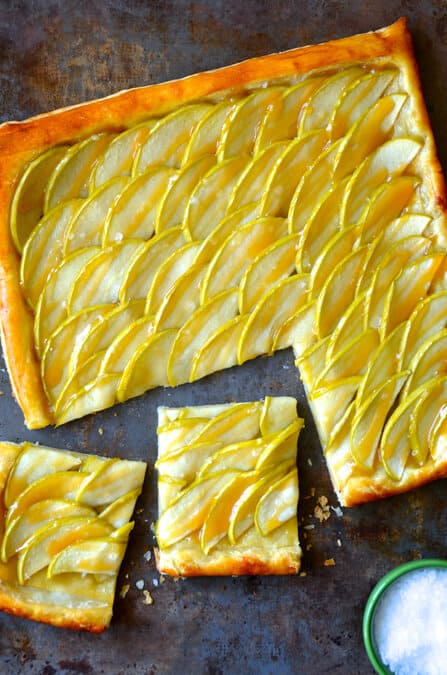
Put your knife skills to the test to mimic the pattern I’ve created, or opt for a more rustic tart with overlapping apple slices in any arrangement you can imagine. You could even create individual tarts, à la Blueberry Cream Cheese Pastries.
Prefer candy to caramel? Don’t miss my fool-proof recipe for crunchy, crackly Candy Apples!
Why You’ll Love This Recipe
- It’s incredibly easy to make. This caramel apple tart requires just 8 ingredients (including store-bought puff pastry and caramel sauce!) and 30 minutes to make.
- It looks impressive. Layering this apple tart makes this dessert look like a show-stopper, but requires very little effort!
- Puff pastry: Store-bought puff pastry will form the base of your tart! Look for all-butter puff pastry for the best flavor.
- Granny Smith apples: Granny Smith apples are tart yet sweet, which makes them perfect complements to the caramel sauce and sea salt.
- Lemon juice: Tossing the apple slices in lemon juice will prevent them from browning.
- Brown sugar: Using brown sugar adds more caramel flavor to the apple tart.
- Caramel sauce: You can make your own caramel sauce or use store-bought. Either will work great in this recipe!
- Sea salt: Adding a sprinkle of sea salt to the top of the caramel apple tart enhances all of the flavors and makes it taste even more delicious.
See the recipe card for full information on ingredients and quantities.
- Swap out the caramel sauce. Instead of caramel, you could use store-bought or homemade butterscotch sauce.
- Use a different type of apple. If Granny Smith apples aren’t available, choose another type that’s tart and firm like Jonagold or Golden Delicious.
This apple tart with puff pastry comes together in just 30 minutes!
- Preheat the oven. Preheat the oven to 425ºF and line a baking sheet with parchment paper or silpat.
- Slice the apples. Slice the apples into thin, 1/4-inch pieces, then add the slices to a large bowl and toss with the lemon juice, vanilla extract, and brown sugar.
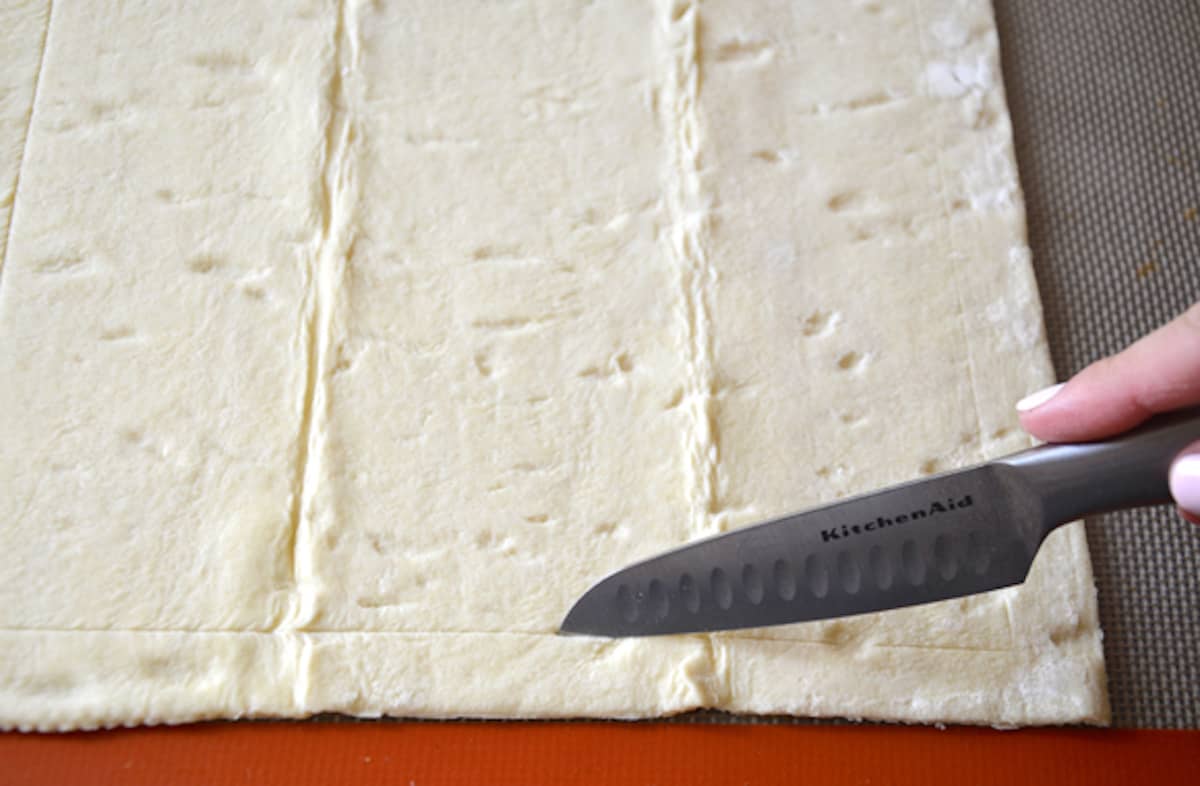
- Prep the puff pastry. Unfold the sheet of puff pastry and place it onto the prepared baking sheet. Lightly score the puff pastry, using a knife to cut a border into (but not through!) the pastry 1 inch from the edges. Then, prick the pastry all over with a fork.
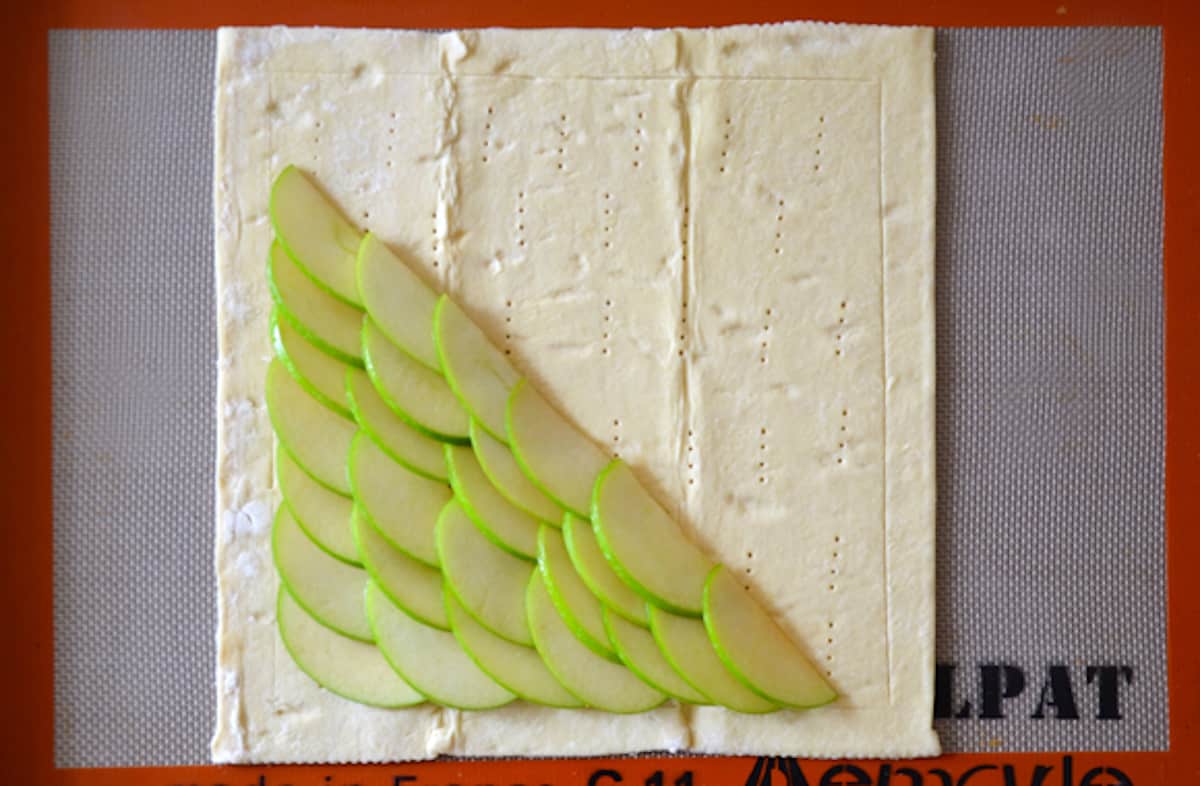
- Add the apples. Gently shake off any excess liquid from the apples, then arrange on the puff pastry—making sure to stay inside the border.
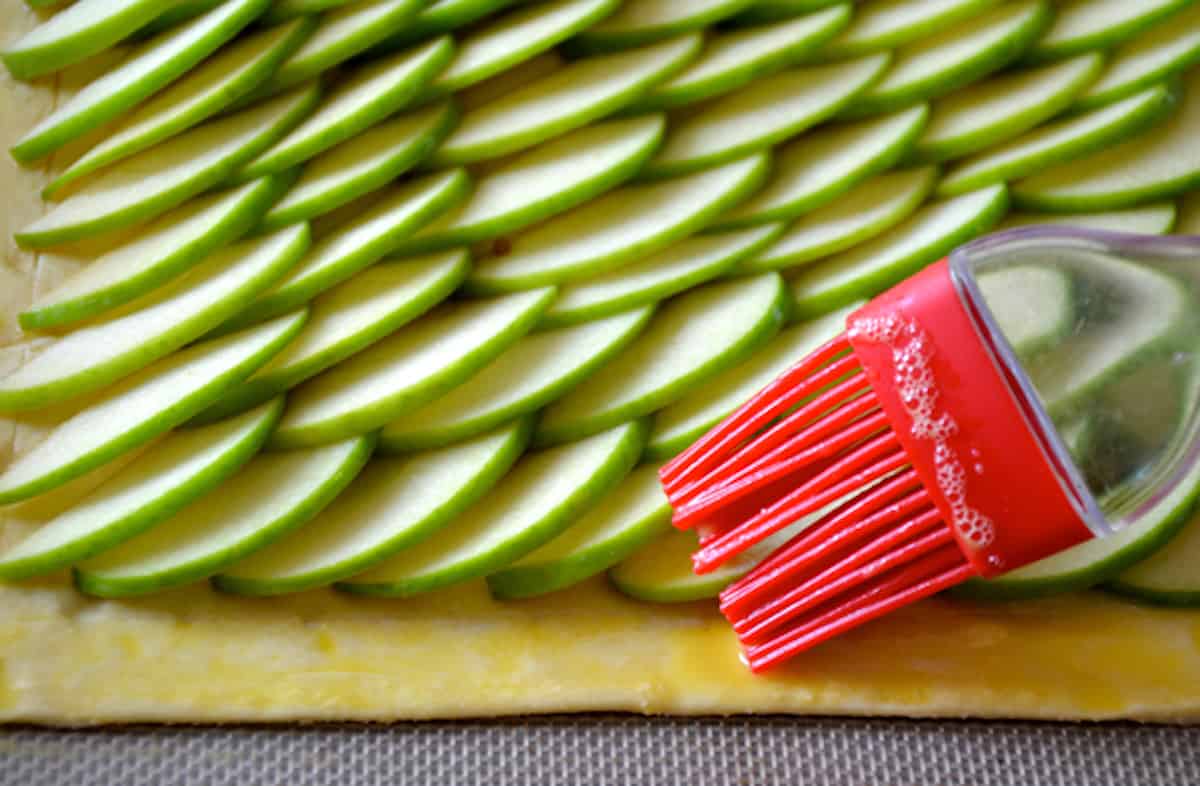
- Brush with egg wash. Whisk together the egg and a tablespoon of water, then use a pastry brush to brush the edges of the dough.
- Bake. Bake for 15 to 17 minutes, until the pastry is golden brown and puffed.
- Add the toppings. After removing the tart from the oven, drizzle with the caramel sauce, sprinkle with sea salt, slice and serve.
Pro Tip: For easy, picture-perfect thin slices of apples, you can use a mandoline. Just make sure to use the mandoline’s guard or a cut-resistant glove!
- Thaw Your Puff Pastry the Right Way: Be sure to thaw your puff pastry in the fridge (overnight works!). Letting it thaw at room temperature will make it harder to unroll.
- Buy Parchment Paper Sheets: If you find a roll of parchment paper to be annoying, just buy pre-cut sheets of it.
- Make It Look Fancy: For a fancy-looking apple tart, start in a corner of the puff pastry and overlap the apple slices.

Kelly’s Note: While this tart is at its absolute best when enjoyed right away, if you happen to have any leftovers, you can reheat them in the oven (or toaster oven!) until it’s warmed through and the pastry is a bit crispy again.
Frequently Asked Questions
For apple tarts, you’ll want something firm and a bit tart, which will help to balance out the sweetness and prevent the apples from getting too mushy in the oven.
An apple pie typically has two layers of pie dough (either a double crust or a lattice top), whereas an apple tart has a pastry base and an apple filling. A tart’s pastry base can also be thicker than typical pie dough.
You sure can! The base of my caramel apple tart recipe is puff pastry. You can also use puff pastry as the base for a galette.
- Apple Cinnamon Banana Bread
- Easy Caramel Apple Cheesecake Bars
- Caramel Apple Cheesecake Dip
- 30-Minute Apple Fritters
- Muffin Tin Apple Pies
Ingredients
- 1 sheet (half of a 17.3-ounce package) puff pastry, thawed
- 2 small Granny Smith apples
- 2 Tablespoons lemon juice
- 2 teaspoons vanilla extract
- 3 Tablespoons brown sugar
- 1 large egg
- 1/4 cup homemade or store-bought caramel sauce
- Sea salt, for garnish (optional)
Instructions
- Preheat the oven to 425ºF. Line a baking sheet with parchment paper or a Silpat.
- Slice the apples into thin (about 1/4-inch) pieces. Place them in a large bowl then add the lemon juice, vanilla extract and brown sugar to the bowl, tossing to thoroughly combine. Set aside.
- Unfold the sheet of puff pastry onto the lined baking sheet. Lightly score the dough by cutting a border 1 inch from the edges (do not cut through the pastry). Prick the pastry all over with a fork. Shake off any excess liquid from each apple slice then arrange them on the puff pastry inside the border area.
- Whisk together the egg with 1 Tablespoon water. Brush the edges of the pastry with the eggwash then bake the tart for 15 to 17 minutes until golden and puffed.
- Remove the tart from the oven oven, drizzle it with caramel sauce and sprinkle it with sea salt. Slice and serve immediately.
Kelly’s Notes
- Thaw Your Puff Pastry the Right Way: Be sure to thaw your puff pastry in the fridge (overnight works!). Letting it thaw at room temperature will make it harder to unroll.
- Buy Parchment Paper Sheets: If you find a roll of parchment paper to be annoying, just buy pre-cut sheets of it.
- Make It Look Fancy: For a fancy-looking apple tart, start in a corner of the puff pastry and overlap the apple slices.
- ★ Did you make this recipe? Don’t forget to give it a star rating below!
Nutrition
Shoutout
Did you try this recipe?
Share it with the world! Mention @justataste or tag #justatasterecipes!
This post may contain affiliate links.
Recipe by Kelly Senyei of Just a Taste. Please do not republish this recipe without my permission. If you'd like to feature this recipe on your site, please rewrite the method of preparation and link to this post as the original source.




May the pears be used for this recipe?
Absolutely, Jane!
Thank you Kelly. I tried this recipe and Olala, it was amazing.
Yay! I’m so thrilled you enjoyed it, Mai!
Great recipe, made it and it was a hit.
Definitely will be doing it again .
Awesome! I’m so glad you enjoyed the recipe, Josie!
I love the looks of this recipe for a picnic but my biggest hesitation is how do I transport it? Any suggestions?
Hi Anne! I’d leave it on the baking sheet and cover it with plastic wrap for the best shot at transportation success!
AWESOME recipe!
So glad you enjoyed it, Heather!
Nice “last minute” cake! Thank you!
You are so welcome! Glad you enjoyed the recipe :)
We made this tonight for our family’s Christmas dinner. It was delicious and super easy! Thank you!
So glad you enjoyed the recipe, Jessa!
That salted caramel is the same that comes on ice-cream ?
This is beautiful! But how did you get you apple slices so perfect? Did you use a mandolin?
Thanks, Megan! I used a very sharp chef’s knife … and some patience :)
Thank you so much for this delicious and easy recipe (complete with step-by-step pictures)! I made this for our Thanksgiving dessert and we all loved it!
Awesome! So glad you enjoyed the recipe, Linda :) Thanks so much for your kind comment!
Can it be put together and baked later ?
Hi George! It’s really best if prepared and baked immediately thereafter so the pastry doesn’t get too soggy. Hope this helps!