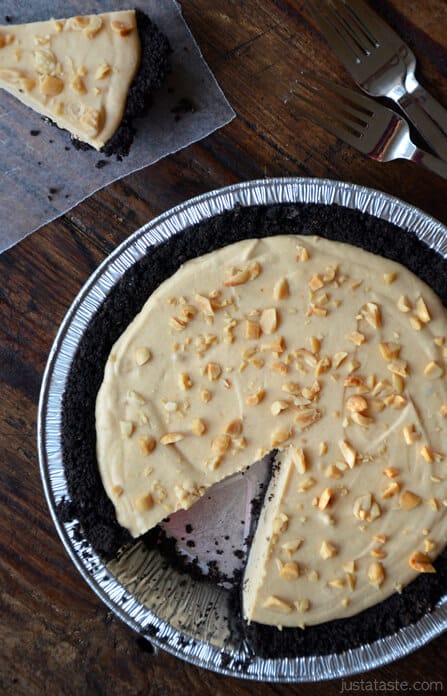
Frozen Peanut Butter Banana Pie! Creamy, crunchy, salty, sweet—what more could you ask for in a no-bake dessert? This frosty treat stars a chocolate cookie crust, sliced bananas and a peanut butter whipped cream filling.
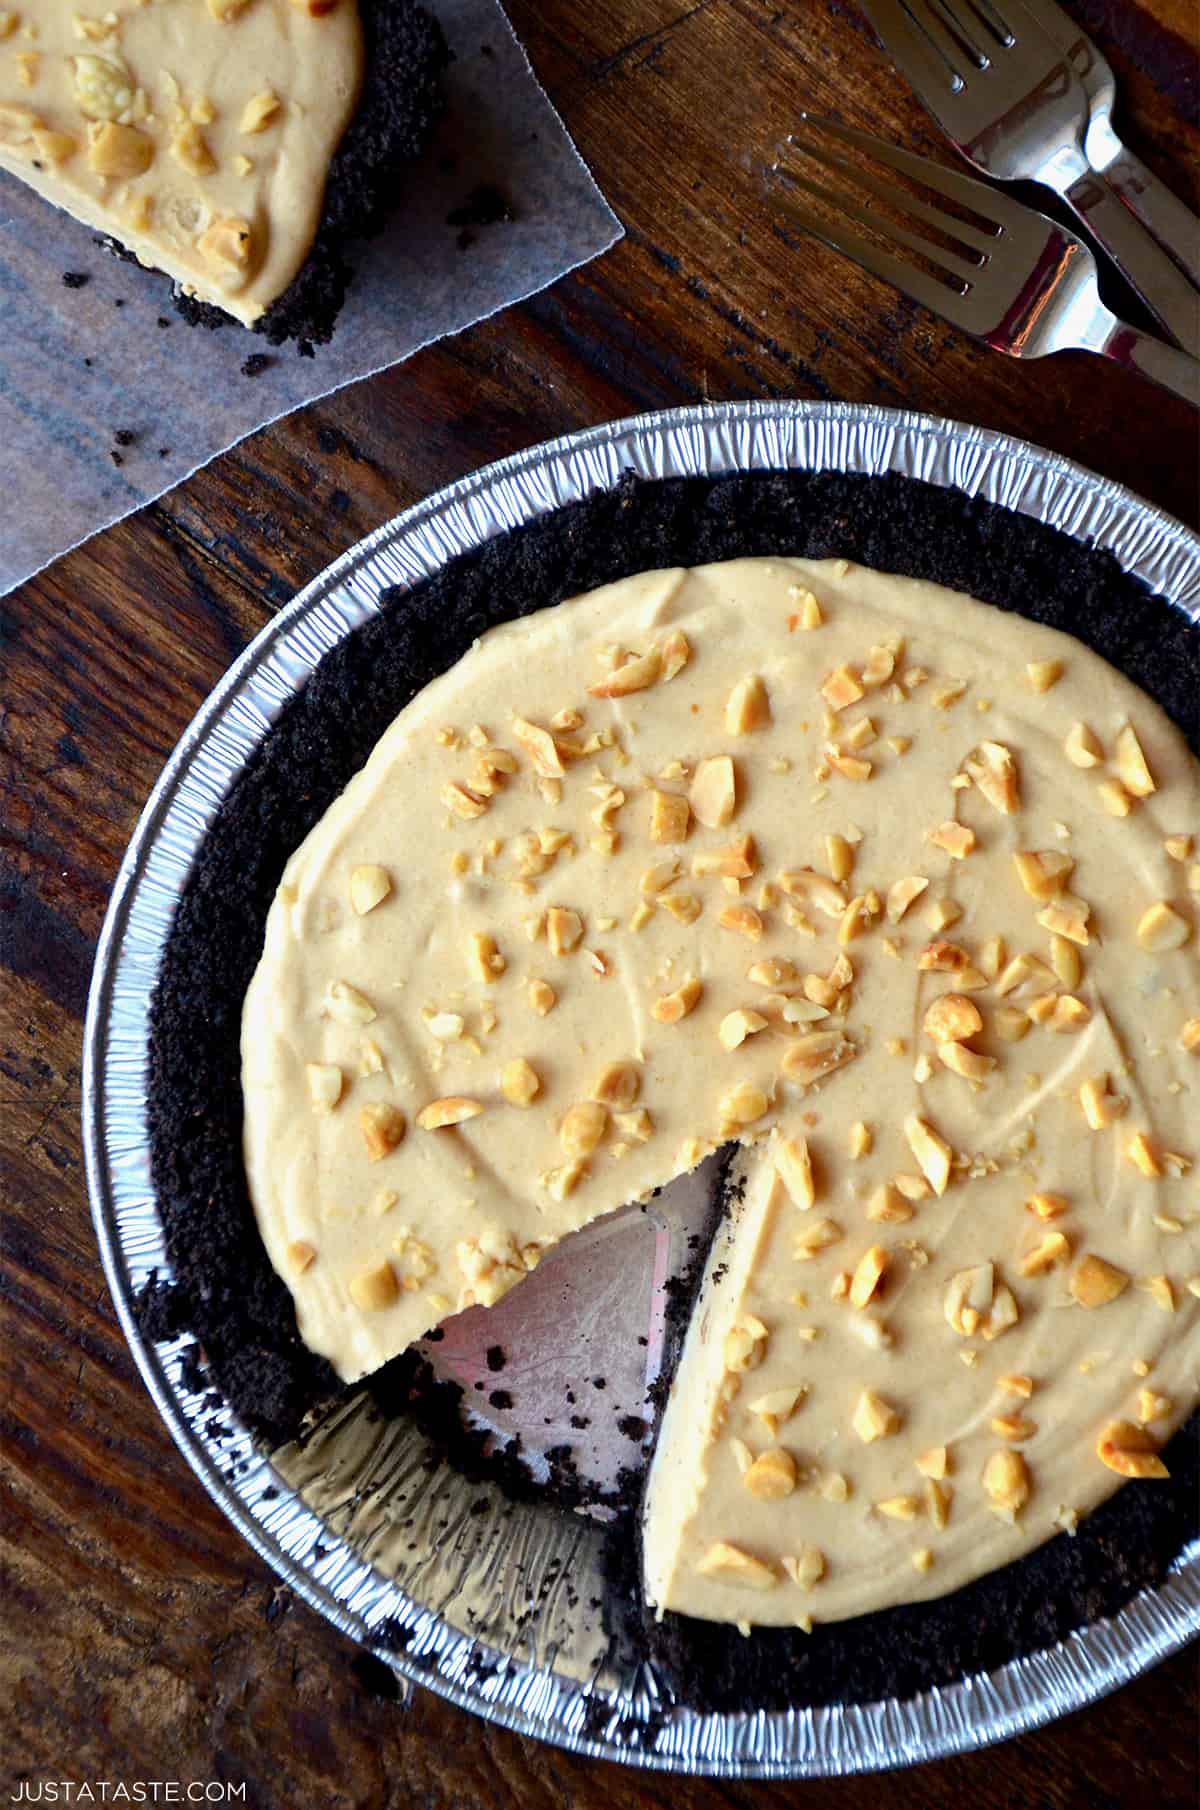
Table of Contents
I love desserts that don’t involve turning on the oven, especially during the summer. However, easy-peasy sweets can be appreciated at any time, right?
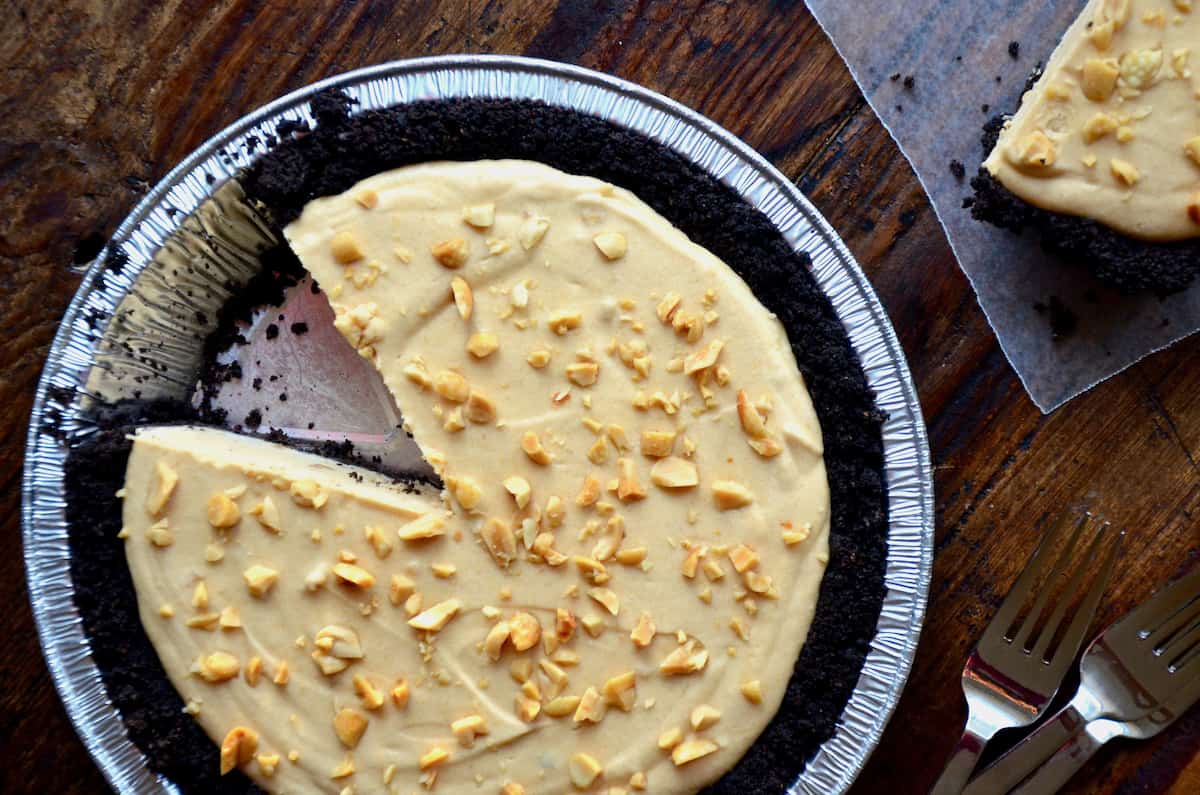
The setup is simple: Fill a quick-fix chocolate cookie crust with a layer of sliced bananas, top it off with a peanut butter and whipped cream filling, and then garnish with chopped salted peanuts. All that’s left to do is pop it in the freezer and wait until it’s frozen solid. (Feel free to use my personal definition of “frozen solid,” which is “hardened just enough so that the top is set but the middle isn’t but that doesn’t matter because I just really need to eat this right now.”) For those with more self-control, the pie should be good after about 5 hours in the freezer.
Love the combination of peanut butter and chocolate? Don’t miss my recipes for No-Bake Peanut Butter Bars, Peanut Butter Chocolate Chip Cookies and Chocolate-Peanut Butter Pretzel Tart.
This Frozen Peanut Butter Banana Pie is:
- Cool, creamy, and utterly irresistible.
- Made with just a handful of simple ingredients.
- Perfect for peanut butter lovers and banana enthusiasts alike.
- A delightful dessert that’s sure to impress at any gathering or special occasion.
- Easily customizable with your favorite toppings or add-ins.
- A no-bake treat that’s ready to chill in the freezer until you’re ready to indulge!
- Chocolate wafers: These form the base of our pie crust. If you’re not a fan of chocolate, you could use vanilla wafers or graham crackers instead. These will also go incredibly well with the peanut butter and bananas.
- Unsalted butter: For this chocolate cookie crust, you’ll need 1 stick (8 tablespoons) of melted unsalted butter. You can melt it in the microwave in 30-second bursts or in a saucepan on the stovetop.
- Milk: You can use any percentage of milk here, be it low-fat or whole milk.
- Sugar: Sweetens the pie filling and balances the flavors of the peanut butter and chocolate. I’d recommend using granulated sugar here, but if you only have brown sugar, it won’t hurt the pie. You’ll just get more of a molasses-y flavor in the filling.
- Peanut butter: The choice to go crunchy or creamy is up to you. If you want the filling super-smooth, opt for the former. For texture, go with the latter.
- Vanilla: For flavor. For a twist, try using homemade vanilla extract.
- Heavy cream: Whipped heavy cream adds lightness and creaminess to the pie filling, creating a fluffy and airy texture. Tip: Make sure it’s well-chilled to achieve the best results.
- Banana: I recommend a ripe banana here, which is sweeter and more flavorful. If you’re a fan of the fruit, you could use two bananas. I won’t stop you!
- Salted peanuts: Topping this pie with chopped peanuts adds crunch, more peanutty flavor and a pop of salt. I love salty-sweet desserts, but you could use unsalted peanuts instead.
See the recipe card for full information on ingredients and quantities.
- Blitz the chocolate wafers. Add the wafers to the bowl of a food processor fitted with the S-blade. Pulse until finely ground.
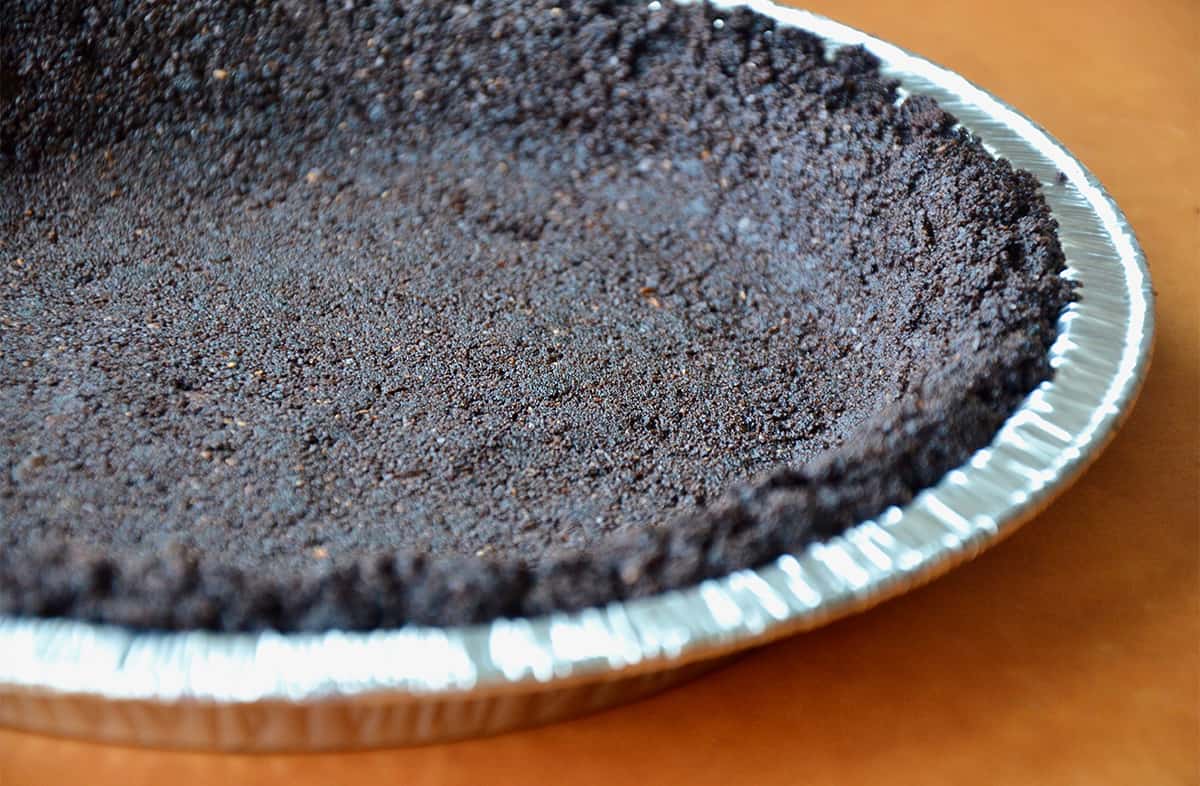
- Make the crust. Stir the wafers and melted butter together in a large mixing bowl. Transfer this mixture to a pie plate and press the crumbs onto the base and up the sides to form a crust. The bottom of a sturdy drinking glass or a measuring cup is helpful for this. Place the crust into the fridge while you make the filling.
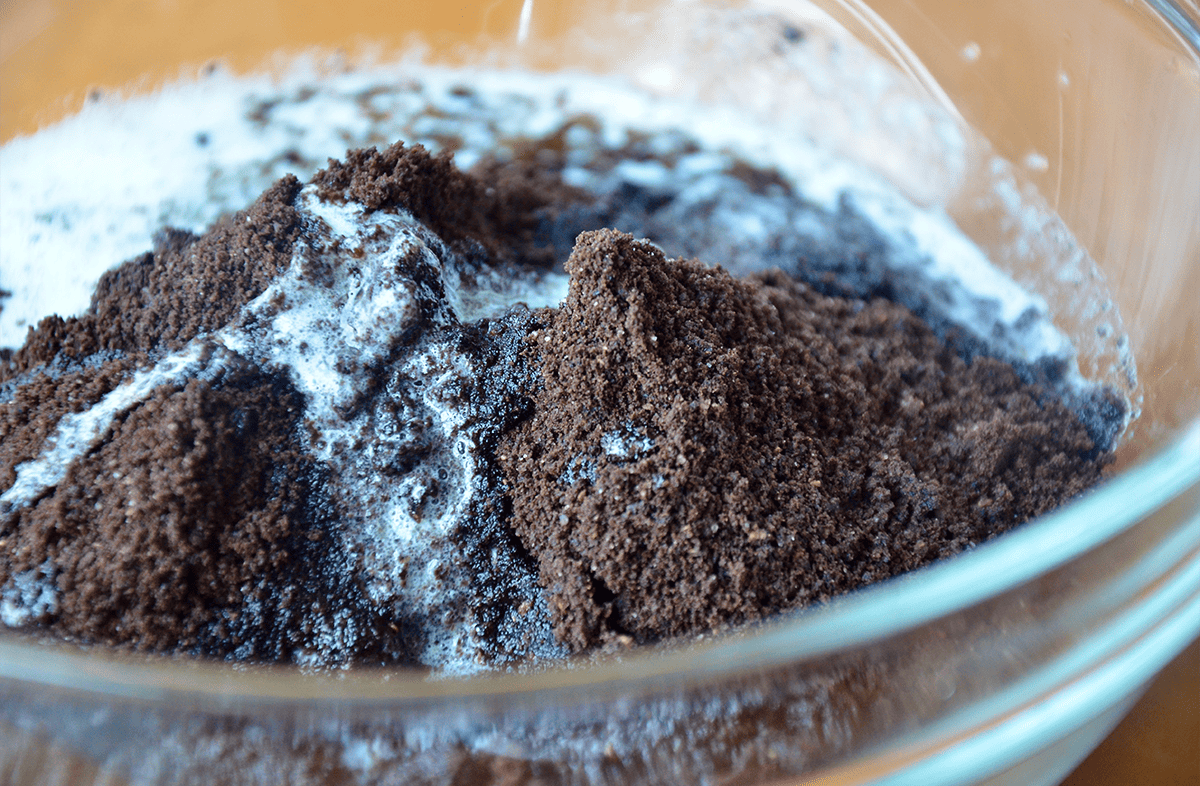
- Make the peanut butter filling. To a small saucepan, add the milk and sugar. Heat, stirring, until the sugar’s dissolved. Stir in the peanut butter and vanilla. Then, transfer to a large bowl.
- Make the whipped cream. Add the whipped cream to the bowl of a stand mixer fitted with the whisk (you could also use a hand mixer) and beat until stiff peaks form.
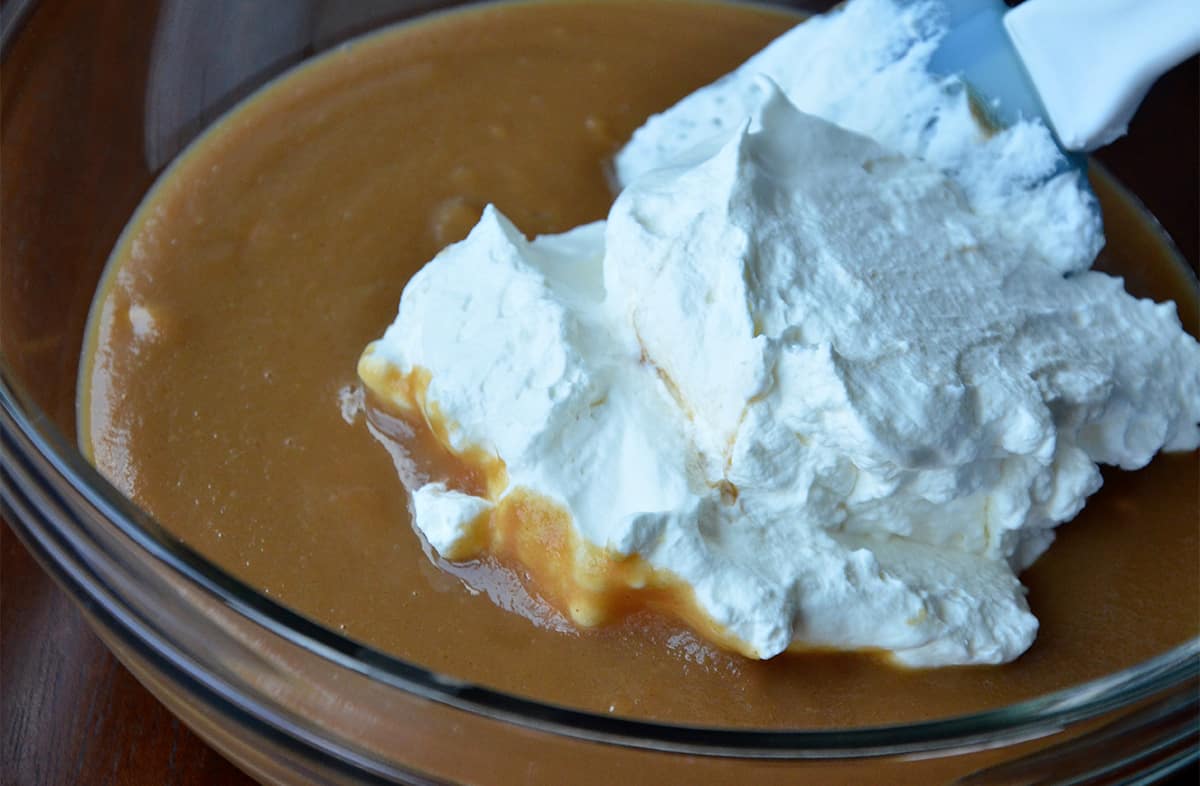
- Fold the whipped cream in. Using a rubber spatula, gently fold the whipped cream into the peanut butter mixture.
- Add the banana to the pie crust. Arrange the banana slices in an even layer to the bottom of the pie crust.
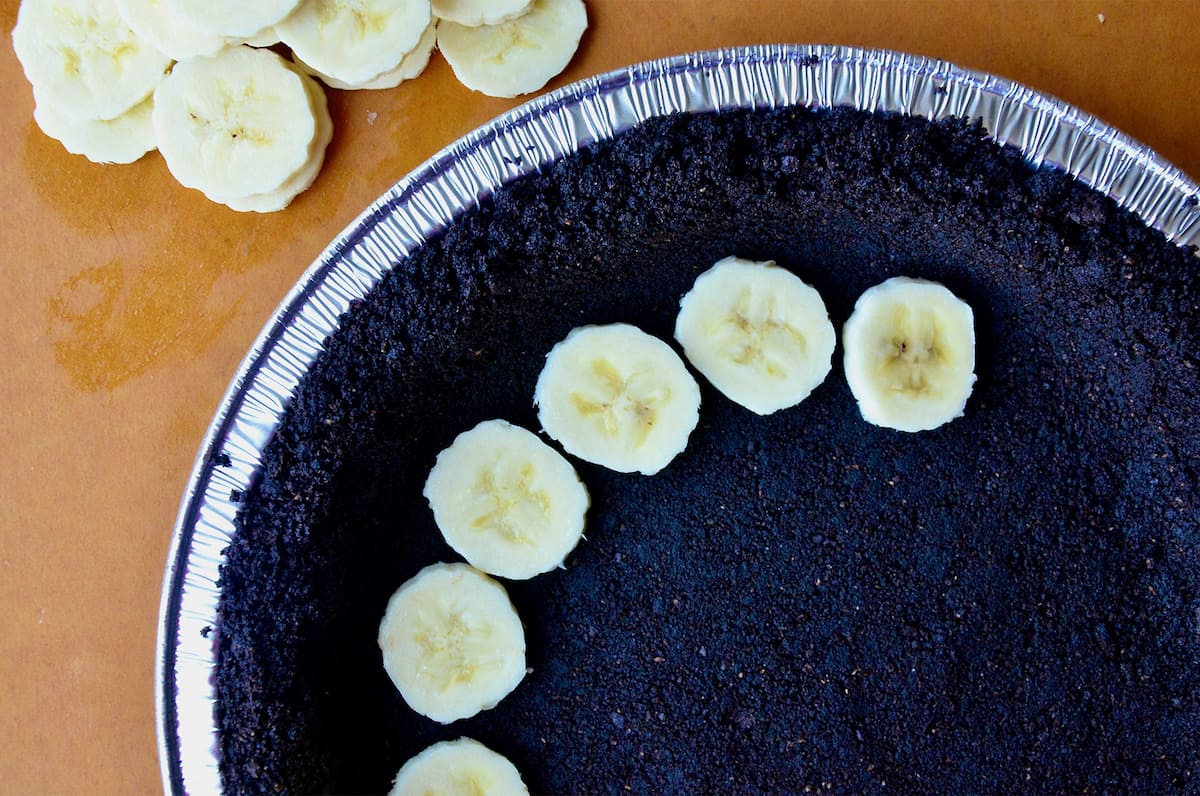
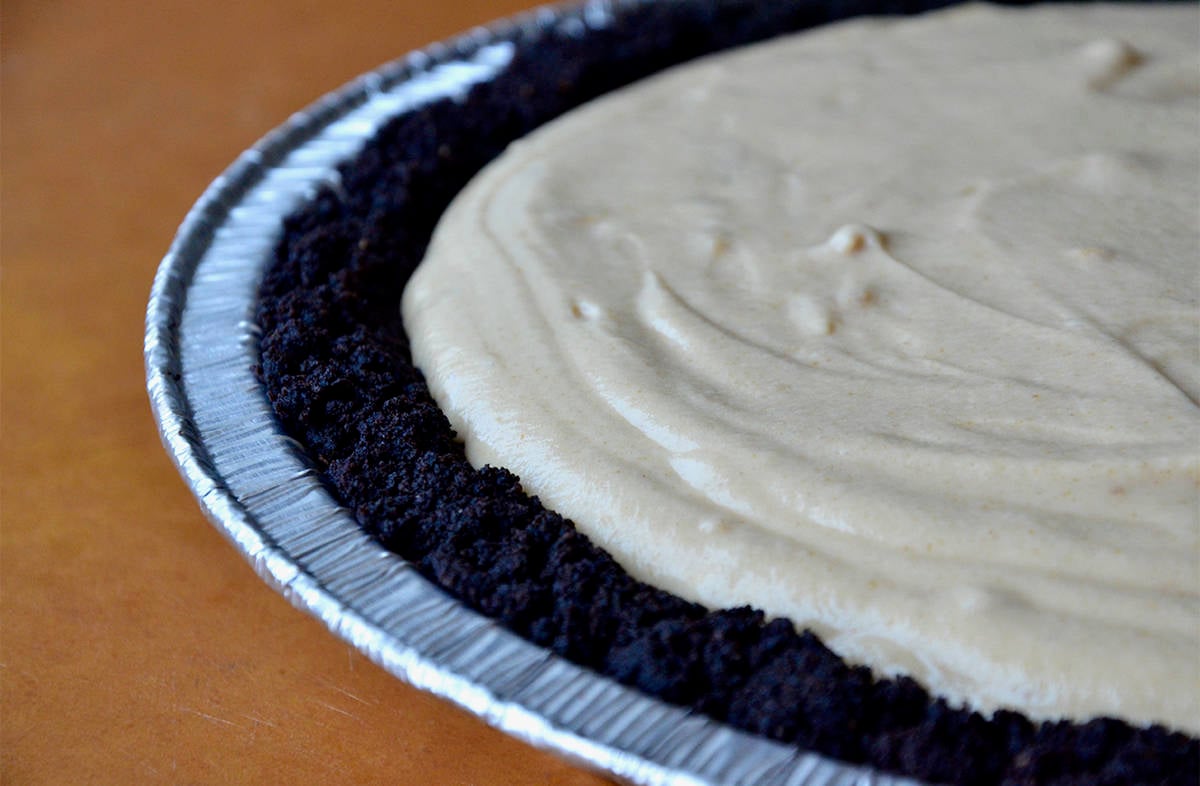
- Add the filling. Pour the filling over top of the bananas, smoothing it with a rubber or offset spatula. Top with the salted peanuts.
- Chill. Place the pie in the freezer until frozen solid (about 5 hours).
- A Shopping Tip: I prefer the classic Famous Chocolate Wafers for making cookie crusts, however any brand of chocolate wafers will work. You could even use Oreos, scraping out the filling and reserving it for another use (like eating it with your fingers).
- Clean Slices: To easily slice through the frozen peanut butter pie, run your knife under hot water to warm the blade. Then, it will easily cut through the chilled dessert. It’s the same technique we use for cutting brownies cleanly.
The pie will keep in the freezer for about a week. Make sure to wrap it tightly with plastic. If it’s in the freezer longer, you may want to let it sit at room temperature for a few minutes before slicing.
Frequently Asked Questions
Instead of a chocolate cookie crust, you could use another type of cookie, like vanilla wafers or graham crackers.
You want the bananas ripe, but still sliceable. If the peel is totally browned, they’re likely too far gone. Save those for banana bread instead!
For a crust that sticks together, make sure to use enough melted butter, which will act as a binder. You’ll also want to thoroughly tamp it down before chilling and adding the filling.
- No-Churn Strawberry Ice Cream
- Peanut Butter Frozen Yogurt Pops
- Chocolate Chip Cookie Ice Cream Sandwiches
- 5-Minute Healthy Strawberry Frozen Yogurt
- Secret Ingredient Ice Cream Pie
Ingredients
- 40 thin chocolate wafers (See Kelly’s Notes)
- 1 stick unsalted butter, melted
- 1 cup milk
- 1/2 cup sugar
- 1 cup creamy or crunchy peanut butter
- 1/2 teaspoon vanilla
- 1 cup well-chilled heavy cream
- 1 large banana
- 1/4 cup salted peanuts, chopped
Instructions
- Place the chocolate wafers in the bowl of a food processor and pulse until finely ground. (You should have about 2 ¼ cups crumbs.)
- In a large bowl, stir together the chocolate crumbs and butter until thoroughly combined. Transfer the crumbs to a 10-inch (6-cup capacity) pie plate, and using the bottom of a cup, press the crumbs into the dish and up the sides to form the crust. Refrigerate crust while you prepare the filling.
- In a medium saucepan over medium-low heat, combine the milk and sugar, stirring just until disolved. Whisk in the peanut butter and vanilla until mixture is smooth and creamy. Transfer the mixture to a large bowl.
- Beat the well-chilled heavy cream in the bowl of a stand mixer fitted with the whisk attachment until stiff peaks form.
- Fold the whipped cream into the peanut butter mixture.
- Slice the banana into rounds and arrange them in a single layer on the bottom of the cookie crust.
- Pour the peanut butter mixture over the bananas, smoothing with a spatula, and then top with the chopped salted peanuts.
- Freeze pie, uncovered, until solid, about 5 hours. Slice and serve.
Kelly’s Notes
- I prefer the classic Famous Chocolate Wafers for making cookie crusts, however any brand of chocolate wafers will work. You could even use Oreos, scraping out the filling and reserving it for another use (like eating it with your fingers).
- To easily slice through the frozen peanut butter pie, run your knife under hot water to warm the blade. Then, it will easily cut through the chilled dessert.
- ★ Did you make this recipe? Don’t forget to give it a star rating below!
Nutrition
Shoutout
Did you try this recipe?
Share it with the world! Mention @justataste or tag #justatasterecipes!
This post may contain affiliate links.
Recipe adapted from Gourmet.

My family LOVES this recipe!
Thrilled to hear your family is enjoying this recipe, Tammy!
Awesome
How would you store this overnight? Fridge or Freezer?
I’d keep it in the freezer then transfer it to the fridge to thaw slightly.
The first paragraph of this post made me die with laugher. Love it! And well the pie looks absolutely ridiculously delicious, and will be made as soon as my bananas turn yellow!
Love this, Kelly!! Perfect for a summer’s day…you can’t go wrong with peanut butter and bananas!
This looks spectacular! My partner doesn’t eat berries, apples, stone fruit… the list goes on. But, one thing he loves is Bananas! Addint this to the must make pile now.
It’s like we are twins or something.
Yes, Yes, Yes!!! Everything about this looks delicious and amazing!
Oh my gosh, Kelly, this definitely wins the gold medal in my book. PB + banana is a favorite combination of mine!
Elvis would switch the chocolate crust for bacon. :o)
But I would love to have it as it is. This pie looks so rich and creamy!
This sounds and looks amazing! All of my favorite ingredients!
Oh. My. God. this looks heavenly. chocolate, peanut butter, and banana….best combination EVER
YUM! I love PB and bananas together! using a foil case is genius! I hate trying to get pies out of tins!