Learn how to make homemade gravy from scratch with or without drippings! This simple, easy-to-follow recipe yields rich, flavorful gravy that’s way better than store-bought.
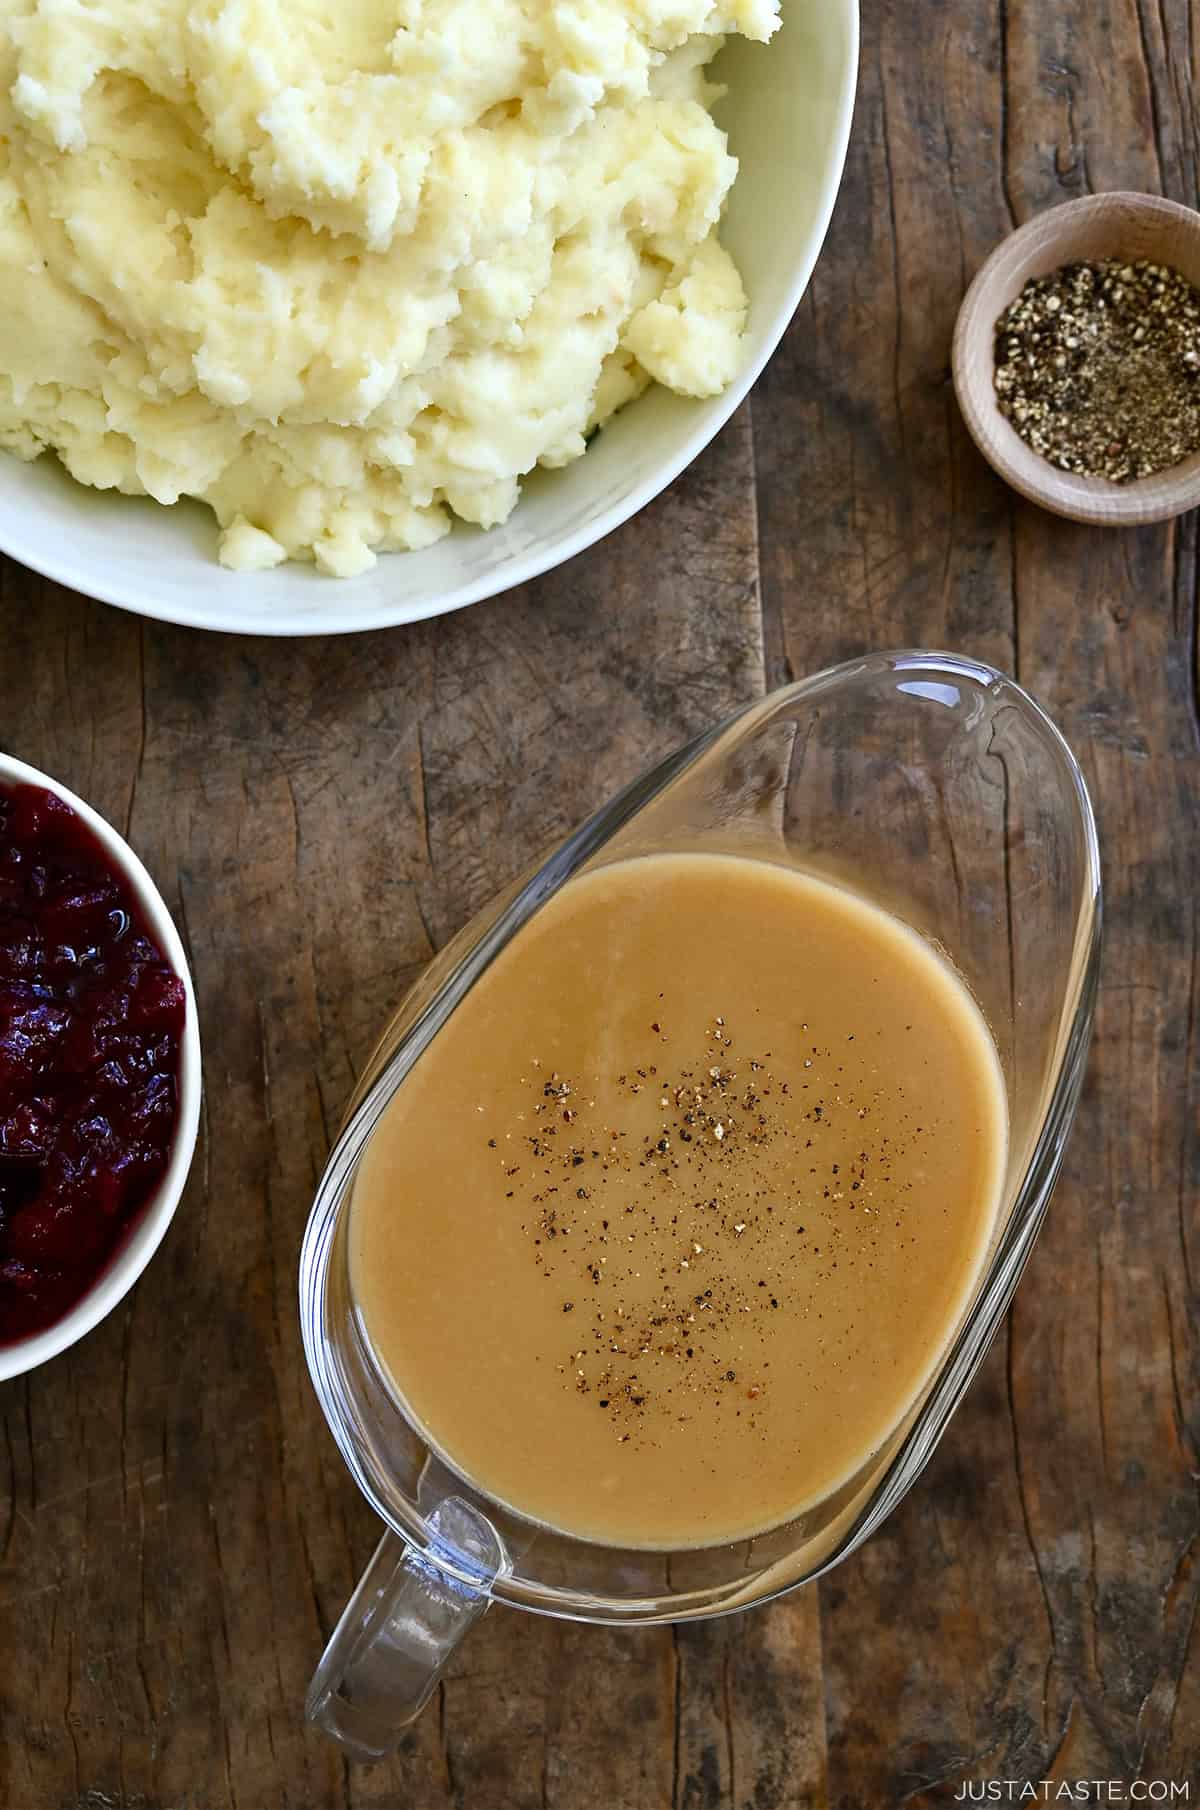
Table of Contents
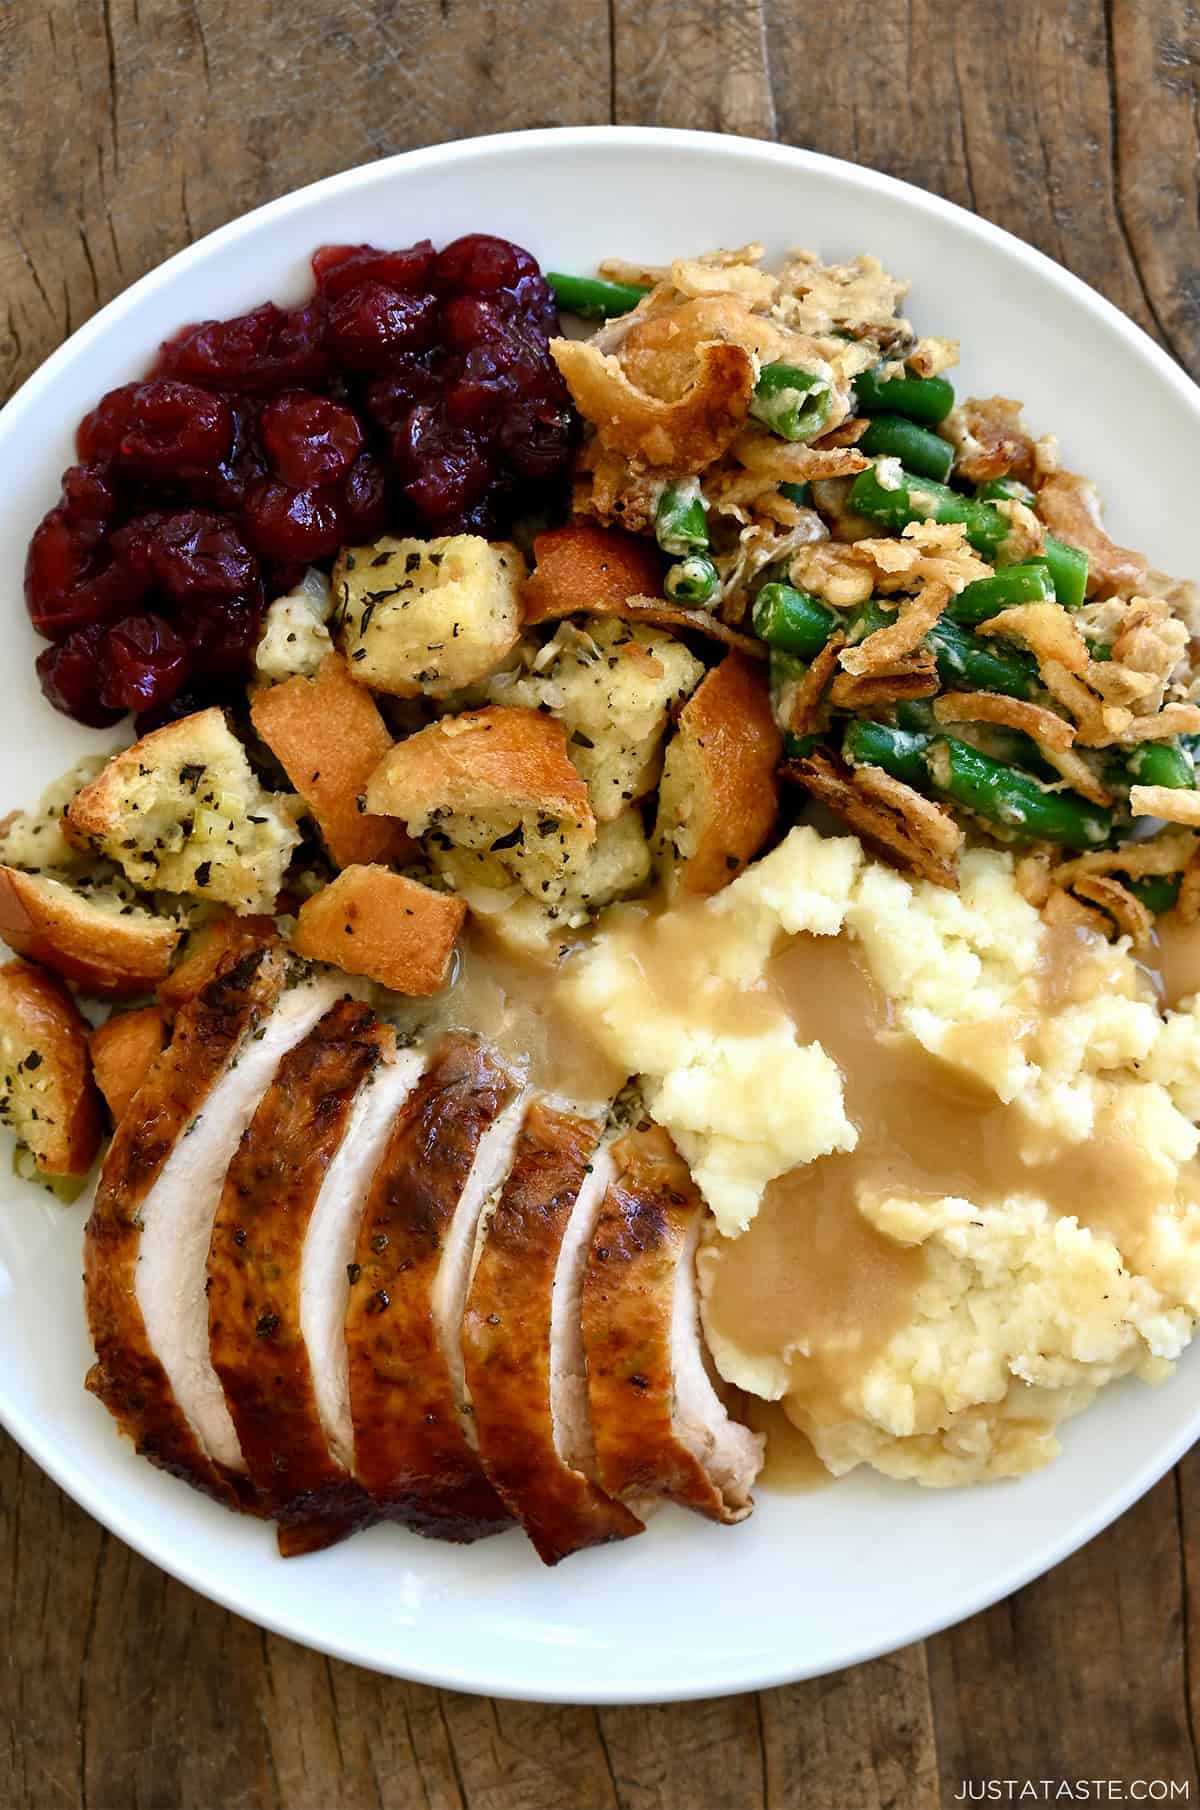
On a scale from 1 to 10, how much do you love gravy? I’m somewhere between a 13 and 14. And come Thanksgiving, my plate’s loaded with cream cheese mashed potatoes, classic stuffing, green bean casserole, orange cranberry sauce, and of course, the showstopper roasted turkey.
But you may have to look closely to find everything because, well, it’s all smothered in this easy homemade gravy.
Whether you’re making gravy from drippings or going the no-drippings route, I’ve got you covered. So grab a whisk (because constant whisking is the secret to silky-smooth gravy!), and let’s turn those turkey drippings or pantry staples into the ultimate holiday sauce.
Making homemade gravy from scratch is easier than you might think—at its core, it’s just a blend of a few simple, flexible ingredients:
- Fat (like pan drippings, butter or oil): When cooked with flour, fat creates a roux, which thickens your gravy to that perfect, spoon-coating consistency.
- Thickener (typically flour or cornstarch): This is what gives your gravy body and texture, binding everything together. I always go for all-purpose flour because it blends seamlessly without altering the flavor of the dish.
- Liquid (think stock, wine, or even a splash of milk or cream): This is the main body of your gravy and the source of a lot of its flavor. You can use any type of stock, but I like to pick one that complements the main dish. For example, beef stock for red meats, and chicken or turkey stock for poultry.
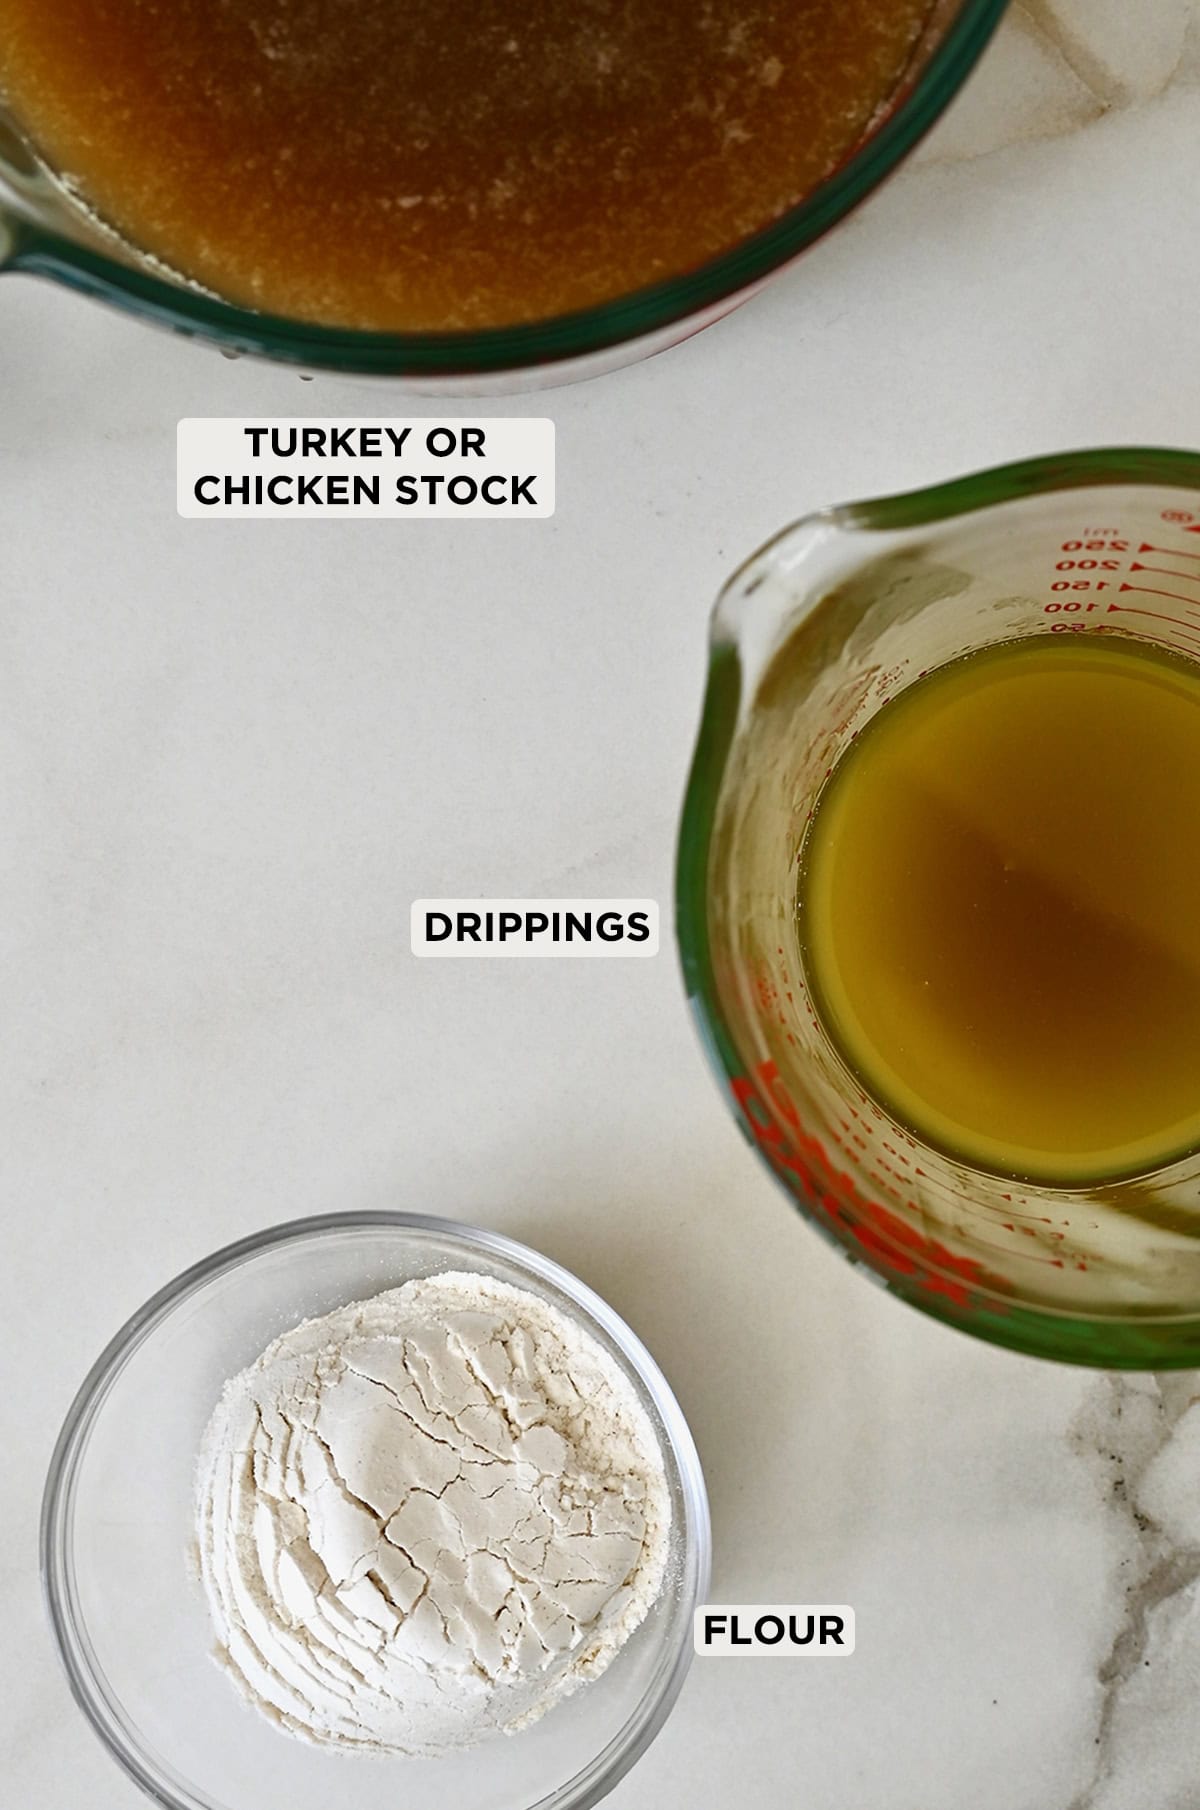
For classic gravy with drippings, you only need three ingredients: turkey drippings, all-purpose flour and stock.
For gravy without drippings, the flavor comes from a few simple ingredients: butter, shallots, garlic, a dash of poultry seasoning, and stock. I also like to add a splash of white wine for an extra layer of flavor. This version is ideal if you’re not roasting meat or want to make gravy as a standalone side.
See the recipe card for full information on ingredients and quantities.
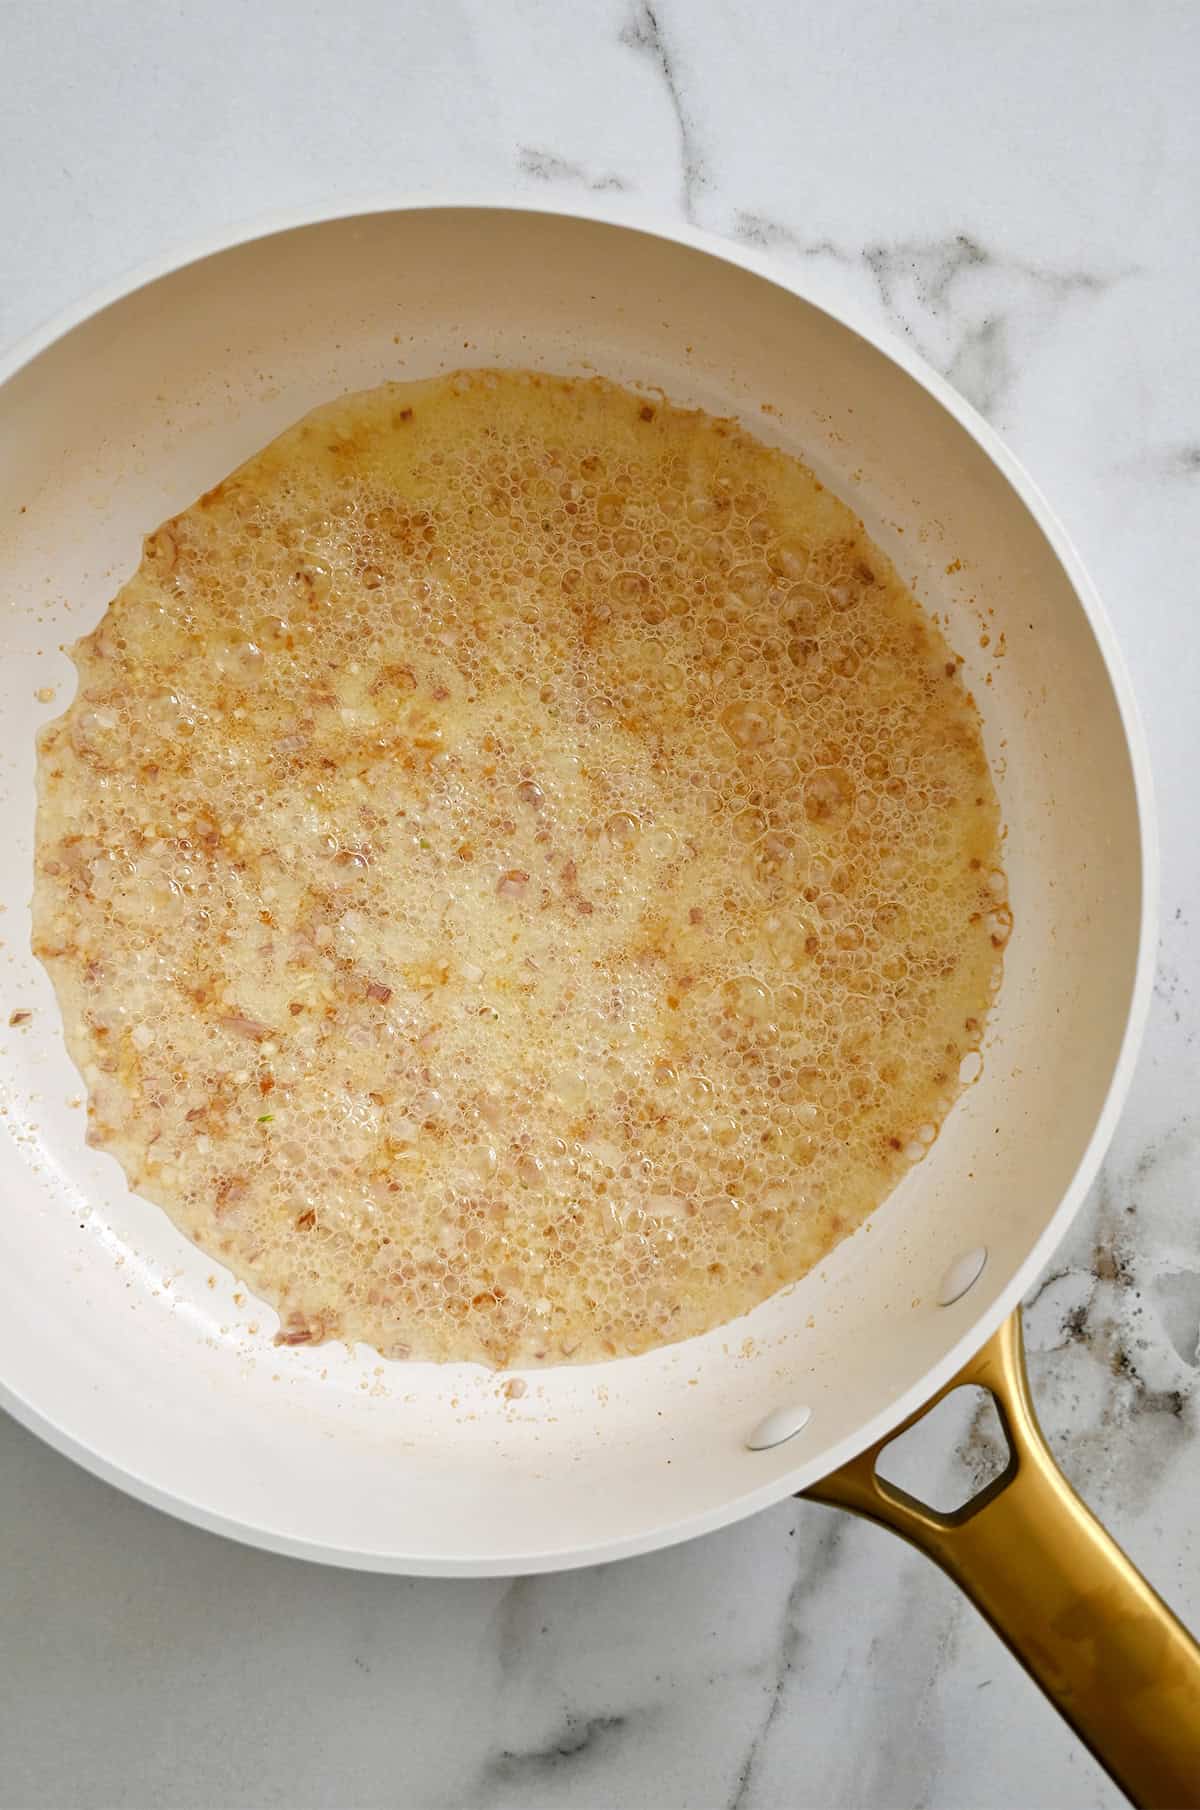
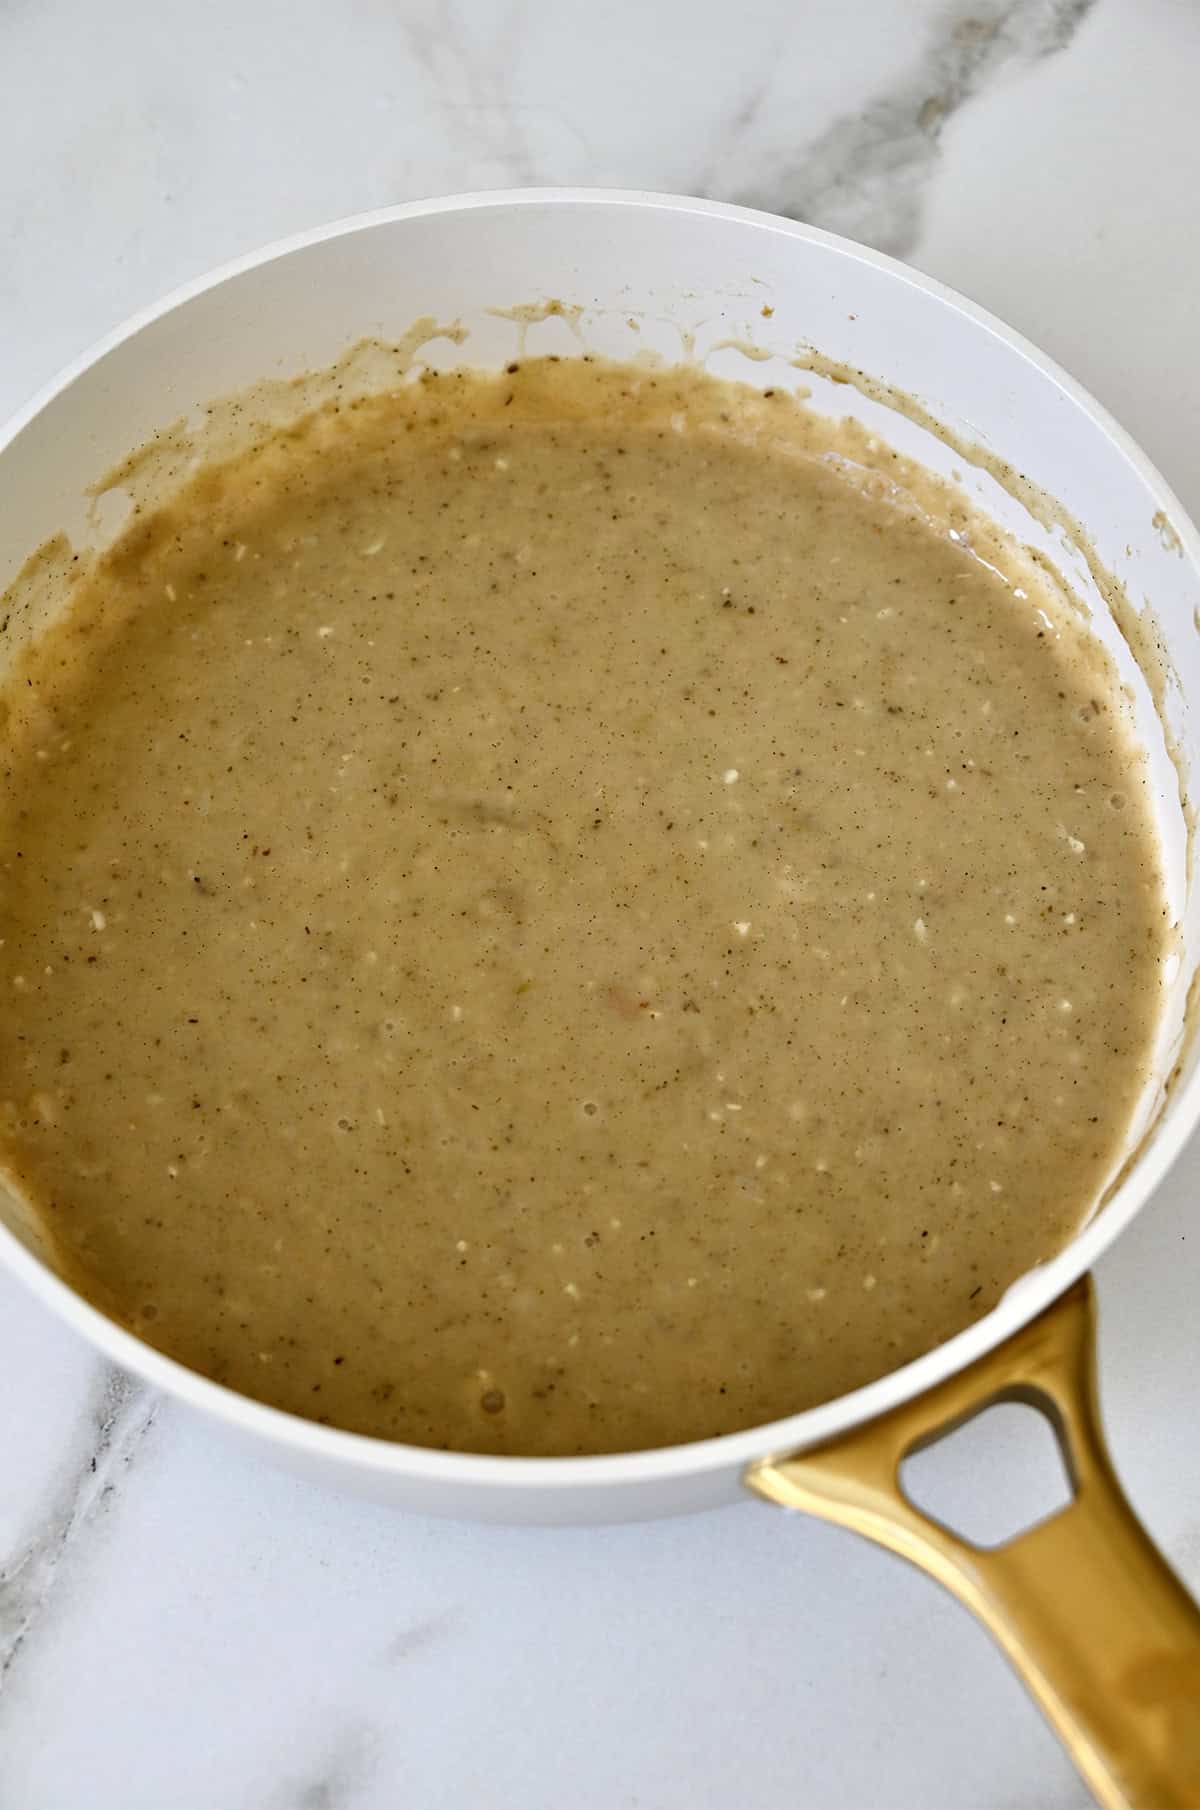
Using pan drippings gives your gravy a deep, savory flavor that’s truly hard to beat. No drippings? No problem! Gravy without drippings is just as tasty and can even be made ahead of time. Here’s a quick rundown of how you can make homemade gravy in just 3 steps, with or without pan drippings:
With Pan Drippings
After roasting your meat, skim about ¼ cup of drippings from the pan, pouring off any excess fat but saving some to help build the roux.
- Prepare the roux. Add the drippings to a large skillet over medium heat. (Pro Tip: If you’re using a roasting pan, you can place it directly on two burners for less pans to wash later!) Once warm, sprinkle in an equal amount of flour and whisk to form a smooth paste (your roux). Let it cook, stirring occasionally, until it’s a light golden brown and smells nutty, about 3 minutes. This step is key to thickening the gravy, so don’t rush it!
- Add your liquid. While whisking constantly, slowly stream in 1 cup of the stock until it is well-incorporated. Once the mixture is smooth, continue slowly whisking in the remaining 2 cups of stock.
- Simmer and season. Let the gravy simmer, whisking occasionally, for 5 to 7 minutes, or until it thickens enough to coat the back of a spoon. Taste, season with salt and pepper as needed, and serve!
Without Pan Drippings
- Start with butter and aromatics. Melt butter (or your fat of choice) in a skillet over medium heat. Add the garlic and shallots and cook, stirring, until the garlic is golden brown and the shallots are softened, about 3 minutes.
- Make a roux by sprinkling in an equal amount of flour, and whisking until smooth. Continue cooking, whisking occasionally, until the roux is toasted and pale golden, about 3 minutes.
- Add liquid and season. Whisk in ¼ cup wine (or water), scraping up any brown bits from the bottom of the pan, then whisk in the poultry seasoning. Slowly whisk in 3 cups of stock, bringing the gravy to a simmer. Let it cook, whisking occasionally, until it thickens to your liking. Taste and season with salt, pepper and any other spices as desired.
Pro Tip: You can elevate your no-drippings gravy with fresh herbs such as parsley, thyme and sage. A sprinkle of onion powder, garlic powder or a dash of soy sauce can also boost the flavor!
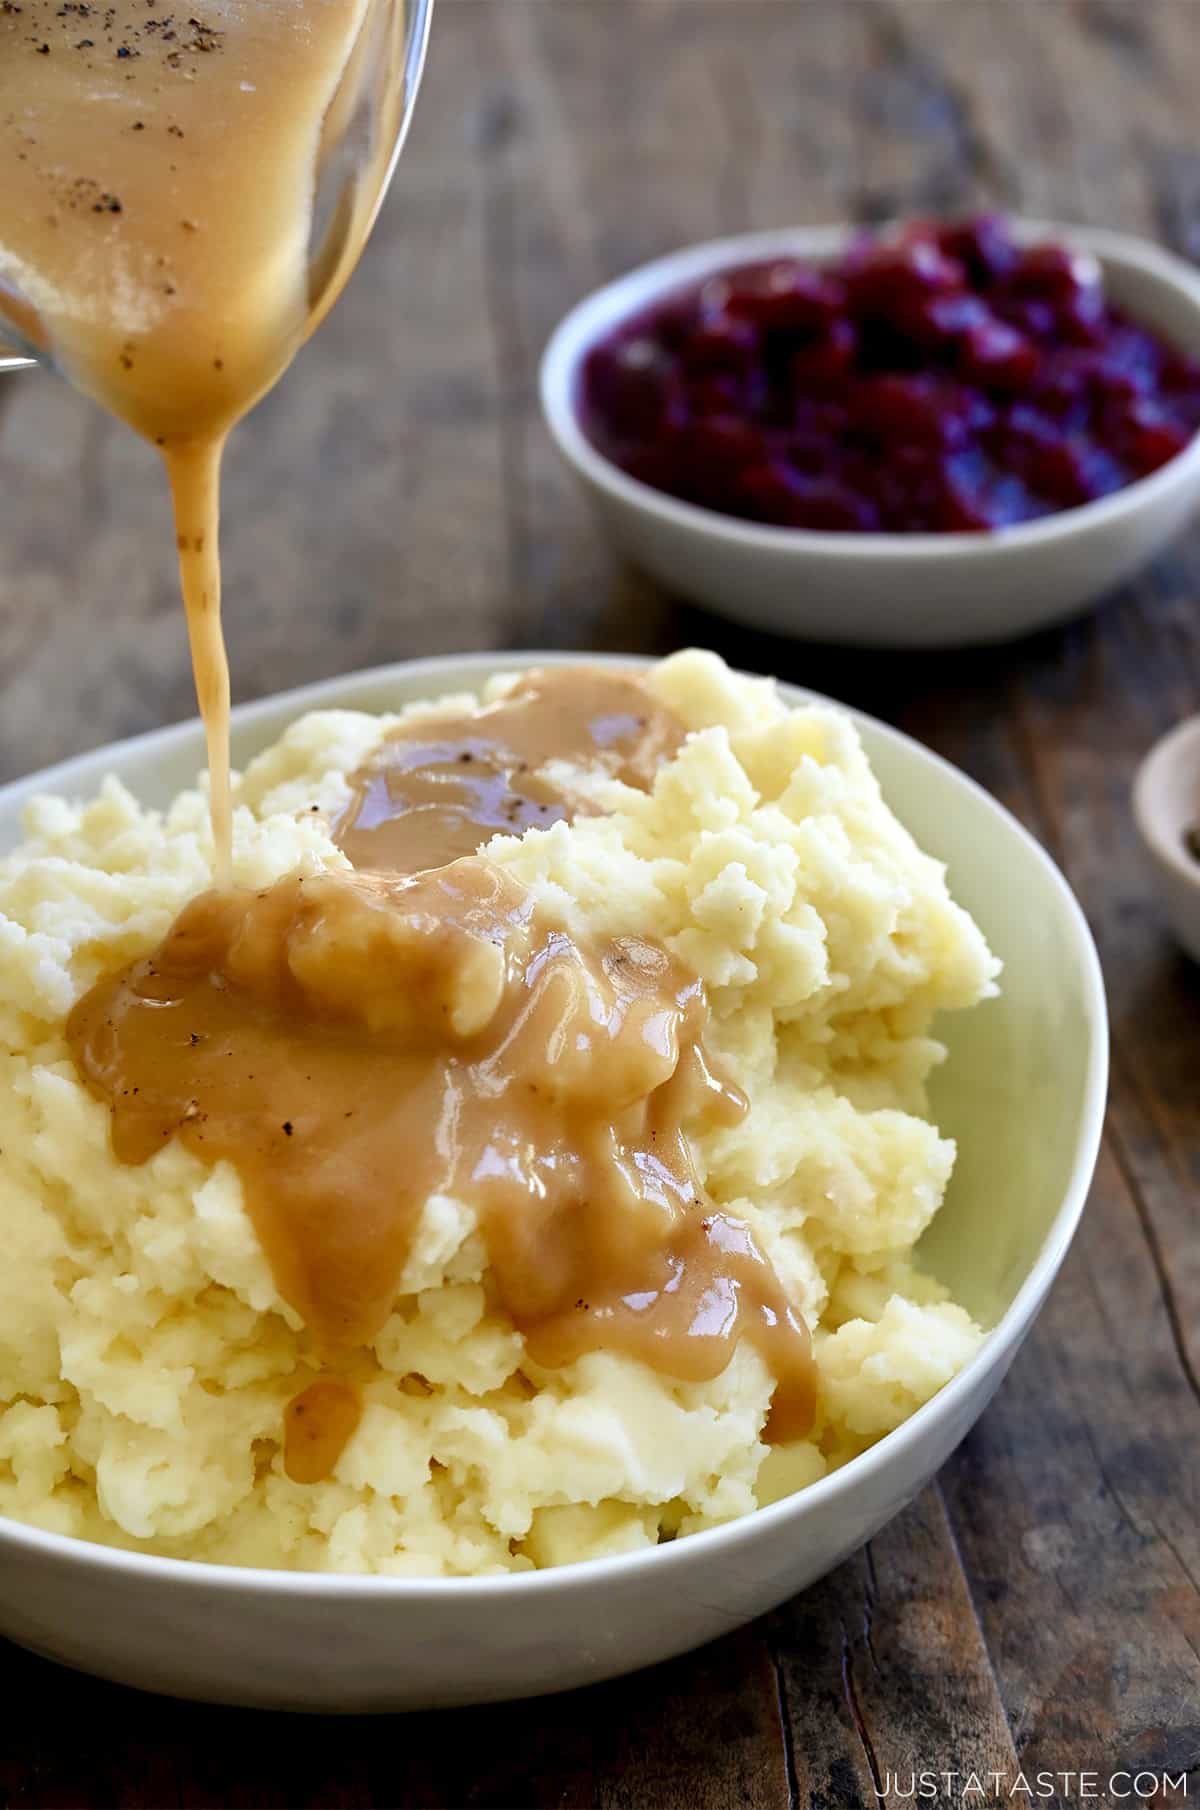
- Gravy too thick? Whisk in a bit more stock, 1 tablespoon at a time, until you reach the right consistency.
- Lumpy gravy? Don’t panic! You can strain it through a fine-mesh sieve for a smooth finish, or give it a quick blitz in your blender.
How to Thicken Gravy
If your gravy isn’t quite reaching that perfect, velvety texture, don’t worry—there are a few easy ways to thicken it up!
- Adjusting the roux: The key to a thick gravy is creating a good roux. If your gravy isn’t as thick as you’d like, you can make a quick roux in a separate pan by melting 1 tablespoon of butter and whisking in 1 tablespoon of flour until golden. Slowly whisk this into your gravy until it thickens to your liking.
- Using cornstarch: For a quick thickening method, mix 1 tablespoon of cornstarch with 1 tablespoon of cold water to create a slurry. Whisk this into your simmering gravy a little at a time (using too much can cause your gravy to turn into gel), allowing it to thicken gradually.
- Simmering: Most of the time, a thin gravy just needs more time on the stove, so simply let it simmer a bit longer.
Pro Tip: Keep in mind that gravy will continue to thicken as it cools, so aim for a slightly thinner consistency if you’re planning to make it ahead or serve it later.
Make-Ahead and Storage Tips
Gravy is a perfect dish to prep ahead of time, making your holiday meal or dinner a breeze when the time comes. Plus, make-ahead gravy tastes just as good, if not better than last-minute gravy!
- Make-ahead: Homemade gravy can be made up to 2 days in advance. Simply prepare the gravy as you normally would, let it cool completely and store it in an airtight container in the refrigerator. When you’re ready to serve, just reheat it over medium-low heat, whisking occasionally to bring it back to a smooth consistency. Pro Tip: For extra flavor, whisk in a little bit of turkey pan drippings as it reheats!
- Leftovers: If you have leftover gravy, store it in the refrigerator for up to 4 days in a covered container. Reheat gently on the stovetop, whisking to restore its consistency.
- Freezer: Yes, you can freeze this flour-based homemade gravy! Simply pour it into a zippered freezer bag or an airtight container and freeze for up to 3 months. To thaw, let it sit in the fridge overnight or heat it slowly in a saucepan over medium-low heat. You may need to add a little extra stock or water to get the consistency just right once it’s reheated.
What to Serve with Gravy
Gravy isn’t just for Thanksgiving! Here are a few of my favorite classic and creative dishes that go great with gravy:
- Mashed potatoes – The ultimate gravy vessel!
- Cheddar biscuits
- Turkey sliders with Hawaiian rolls
- Fried mashed potato balls
- Classic roasted chicken
- Roast beef
- Crispy air fryer chicken nuggets
- Stuffed Acorn Squash – Roasted acorn squash filled with a savory stuffing and topped with a drizzle of gravy for a fall-inspired twist.
- Leftover stuffing waffles
- Gravy-topped breakfast bowls – Think scrambled eggs, roasted potatoes and sausage all topped with a ladle of gravy for a savory twist on breakfast.
Now that you’ve got all the tips, tricks and ideas for making the best homemade gravy, it’s time to bring it to the table! And if you’re planning your holiday spread, check out my other Thanksgiving recipes for more delicious ideas.

Ingredients
Gravy with Drippings
- 1/4 cup reserved turkey drippings
- 1/4 cup all-purpose flour
- 3 cups chicken or turkey stock
Gravy Without Drippings
- 1/4 cup unsalted butter
- 1 teaspoon minced fresh garlic
- 3 Tablespoons minced shallots
- 1/4 cup all-purpose flour
- 1/4 cup dry white wine
- 1 teaspoon poultry seasoning
- 3 cups chicken or turkey stock
Instructions
How to Make Gravy with Drippings
- Add the drippings to a large skillet set over medium-high heat.
- Once the drippings are warm, whisk in the flour. Cook the roux, undisturbed, until toasted and pale golden in color, about 3 minutes.
- While whisking constantly, slowly stream in 1 cup of the stock until it is well-incorporated. Once the mixture is smooth, continue slowly whisking in the remaining 2 cups of stock.
- Simmer the gravy, stirring occasionally, until it thickens enough to coat the back of a spoon and reduces to roughly 2 cups in volume.
- Taste and season the gravy with salt and pepper then serve.
How to Make Gravy without Drippings
- Add the butter to a large skillet set over medium heat. Once the butter has melted, add the garlic and shallots and cook, stirring, until the garlic is golden brown and the shallots are softened, about 3 minutes.
- Sprinkle in the flour and whisk to combine. Continue cooking, whisking occasionally, until the roux is toasted and pale golden, about 3 minutes.
- Whisk in the wine (or water) and cook, scraping up any brown bits from the bottom of the pan, for 2 minutes, then whisk in the poultry seasoning.
- Slowly whisk in the stock. Bring the gravy to a simmer and cook, whisking occasionally, until it has thickened enough to coat the back of a spoon, about 5 minutes. (The gravy should reduce to about 2 cups total.)
- Remove the gravy from the heat then taste and season it with salt and pepper before serving.
Kelly’s Notes
- Gravy too thin? Simmer it a little longer to allow it to reduce and thicken.
- Gravy too thick? Whisk in a bit more stock, 1 tablespoon at a time, until you reach the right consistency.
- Lumpy gravy? Don’t panic! You can strain it through a fine-mesh sieve for a smooth finish, or give it a quick blitz with an immersion blender.
- Make-Ahead: You can prepare gravy up to 2 days in advance. Cool completely, store in an airtight container in the fridge, and reheat over medium-low heat, whisking occasionally. For extra flavor, whisk in turkey pan drippings while reheating.
- Leftovers: Store leftover gravy in the fridge for up to 4 days. Reheat gently on the stovetop, whisking to restore its smooth consistency.
- Freezer: Freeze gravy in a zippered bag or airtight container for up to 3 months. Thaw overnight in the fridge or reheat slowly in a saucepan. Add extra stock or water if needed to adjust the consistency.
- ★ Did you make this recipe? Don’t forget to give it a star rating below!
Nutrition
Did you try this recipe?
Leave a comment below with your star rating!
This post may contain affiliate links.


Just made the version with drippings because I roasted a chicken and it turned out so awesome. Didn’t realize how easy it was! Thnx for the clear instructions. Will bookmark.
Love that! Thrilled you enjoyed the recipe, Adelaide.
Excellent
Thrilled you enjoyed the recipe, Judy!