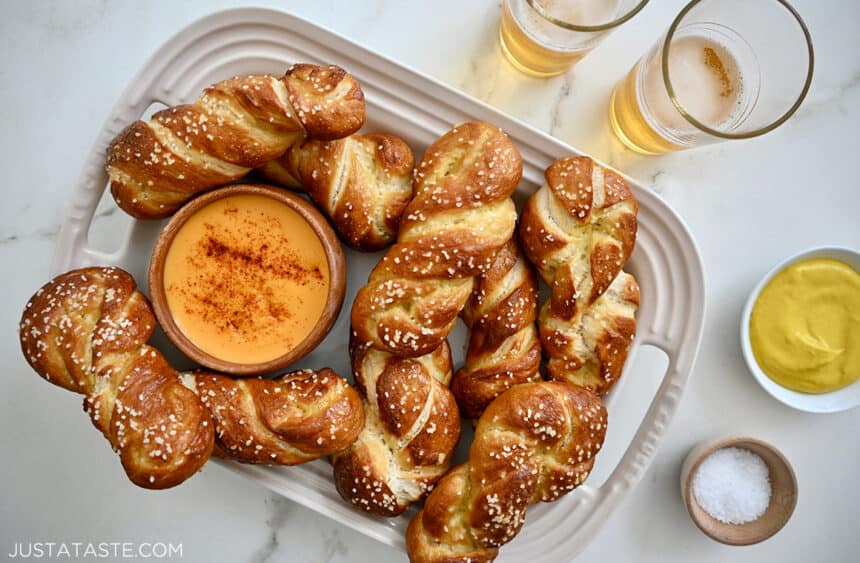
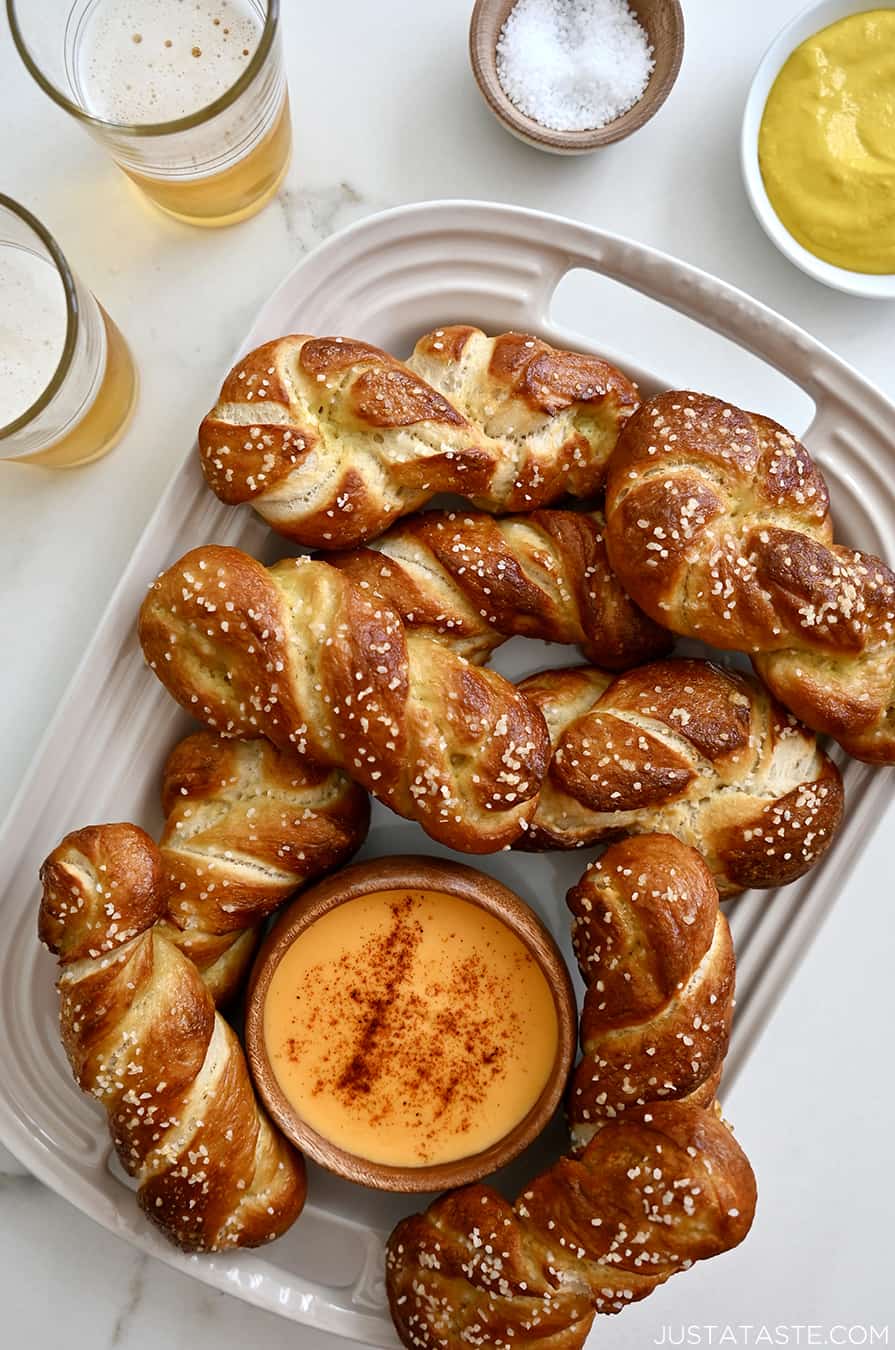
Satisfy your soft pretzel cravings with a top-rated recipe for Homemade Soft Pretzel Twists with your choice of mustard or beer cheese dip for dunking.
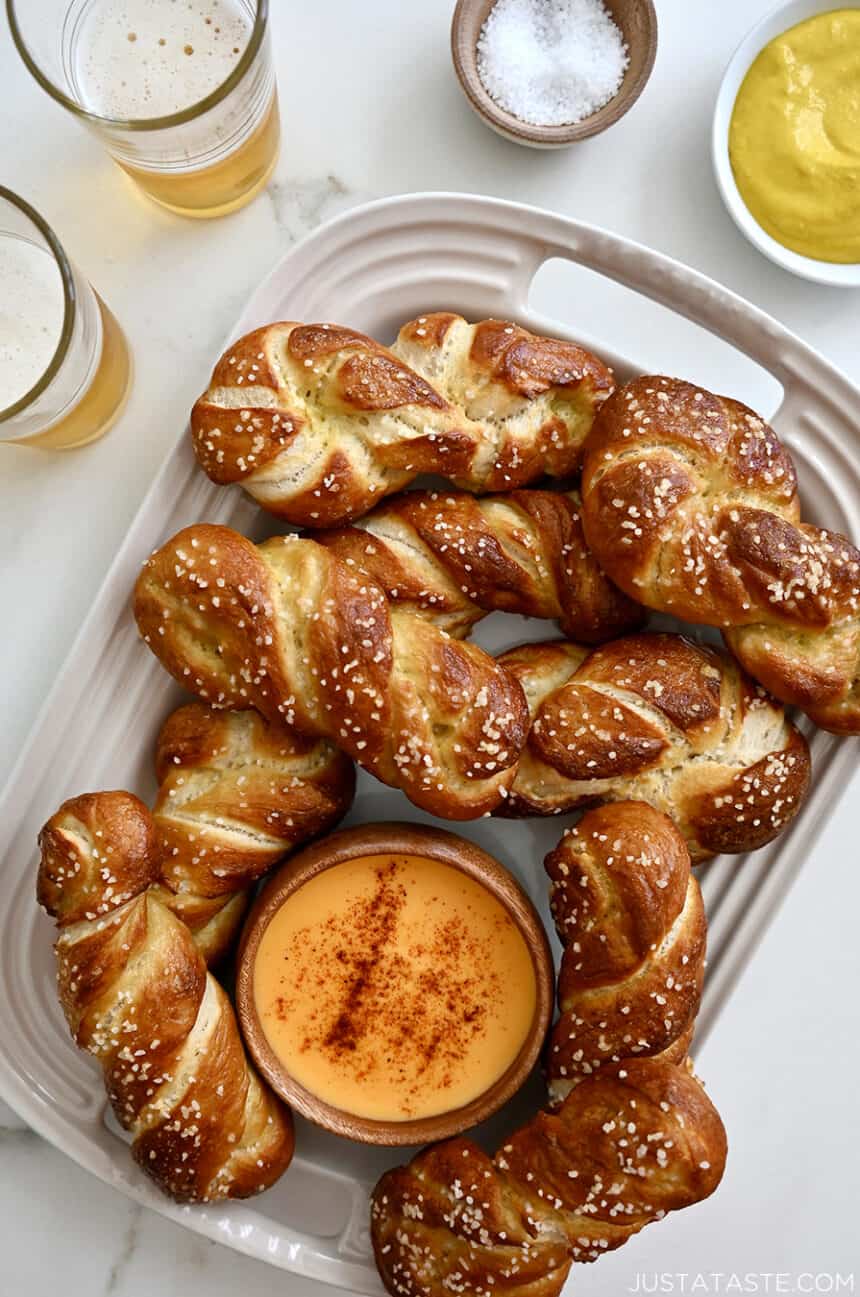
Table of Contents
We’ve all been there. You’re at a movie theatre or ballpark and you agree to split a soft pretzel with your friend. So you take turns tearing away portions of the doughy rope in a dangerous game of tug o’ war, inching your way closer to the moment of truth: The center section, where dough overlaps dough in an intersection of perfection. So who gets that coveted bite?
It’s time to leave those uncomfortable decisions behind! I’ve swapped the classic pretzel shape for braided twists that serve up bite after bite of pillowy, chewy soft pretzel bliss.
It’s no secret that this is my carb of choice. My love of chewy, salted pretzels has taken on so many variations in both savory and sweet form (hello, Pumpkin Spice Pretzel Bites!).
How to Twist a Soft Pretzel
Soft pretzels can take on many shapes and forms, from the classic pretzel shape and pull-apart rolls to bite-sized nuggets and even bagels (my personal favorite!). These twists are fantastic for dipping and dunking, but they also make great rolls for sandwiches or bratwurst.
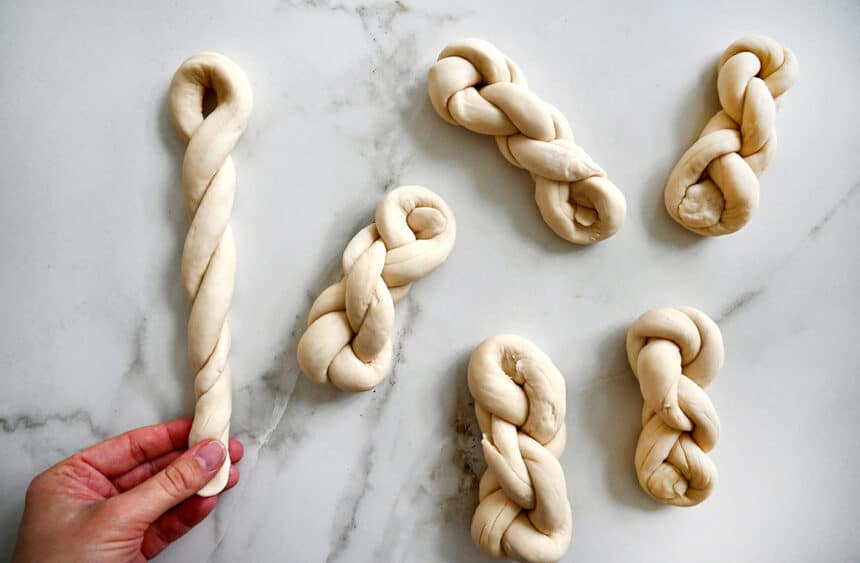
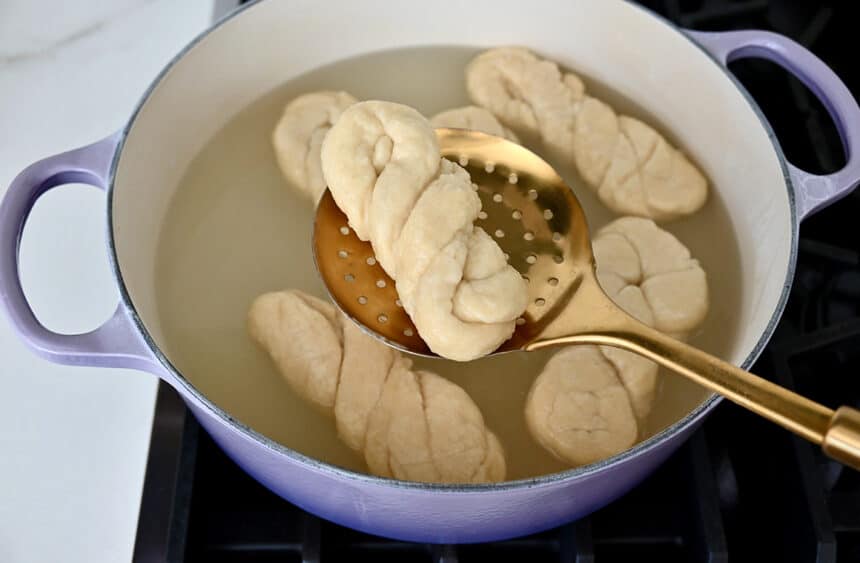
Creating the twist shape is best broken down into a series of simple steps:
- Roll out the dough into a rope
- Twist the rope around itself, leaving a loop at the top
- Loop the twisted rope around itself, pulling it through the top loop
How to Reheat Soft Pretzels
Soft pretzels can be reheated in a variety of ways, all depending on your preferred textural outcome. If you like a crispier exterior, the air fryer is your friend. If you like a super-soft center, mosey on over to the microwave. And for a little bit of both, the oven is your BFF.
General temp and time guidelines are:
- Air Fryer: 320°F for 2 to 3 minutes until warmed through
- Microwave: 15-second increments until warmed through
- Oven: 325°F for about 5 minutes
Ingredients
- 1 1/2 cups warm (110-115°F) water
- 1 Tablespoon sugar
- 2 teaspoons kosher salt, plus more for topping
- 1 (1/4-ounce) package active dry yeast
- 4 1/2 cups all-purpose flour
- 4 Tablespoons unsalted butter, melted
- Vegetable oil
- 10 cups water
- 2/3 cup baking soda
- 1 large egg yolk beaten with 1 Tablespoon water
Instructions
- In the bowl of a stand mixer, combine the water, sugar and kosher salt. Sprinkle the yeast on top and allow it to sit for 5 minutes or until it begins to foam.
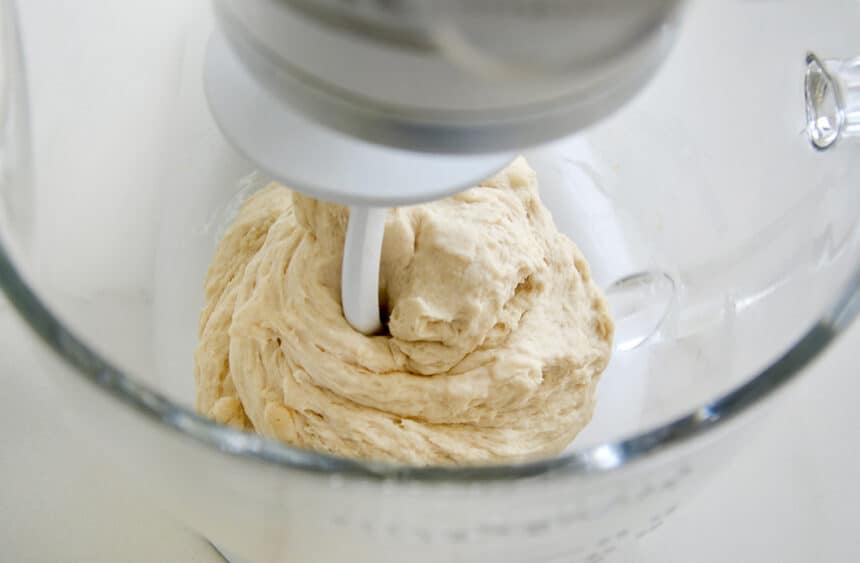
- Secure the hook attachment to the stand mixer, then add the flour and butter to the bowl and mix on low until the ingredients are combined.
- Increase the speed to medium and knead until the dough is smooth and pulls away from the side of the bowl, 4 to 5 minutes.
- Remove the dough from the bowl. Clean the bowl and then grease it with vegetable oil.
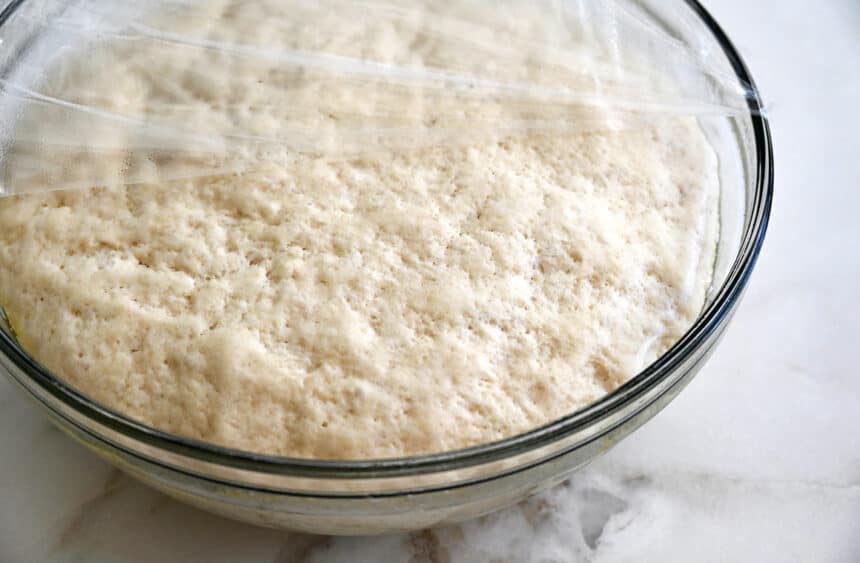
- Return the dough to the bowl, cover it with plastic wrap and place it in a warm place for 1 hour, or until the dough has doubled in size. (Watch my video for how to proof bread in the dryer.)
- Preheat the oven to 450ºF and position the oven racks in the middle two positions in your oven.
- Line two sheet trays with lightly oiled parchment paper.
- Stir together the 10 cups of water and the baking soda in an 8-quart pot. Bring the mixture to a rolling boil.
- While the water comes to a boil, turn the dough onto your work surface and divide it into 12 equal pieces. (Do not flour your work surface; See Kelly’s Notes.)
- Applying even pressure, roll out each piece of dough into an 18- to 20-inch rope. Fold each rope in half, twisting the two pieces around one another and pressing the ends together. Twist the bottom end around the top, feeding it through the top hole and pressing to secure. (See photos for shaping instructions.) Return the twists to the cookie sheet.
- One by one, carefully place each twist into the boiling water for 30 seconds. Remove each twist from the water using a large slotted spoon or spatula(s) and return it to the cookie sheet. Brush the tops of the twists with the egg yolk wash and sprinkle with kosher salt (optional).
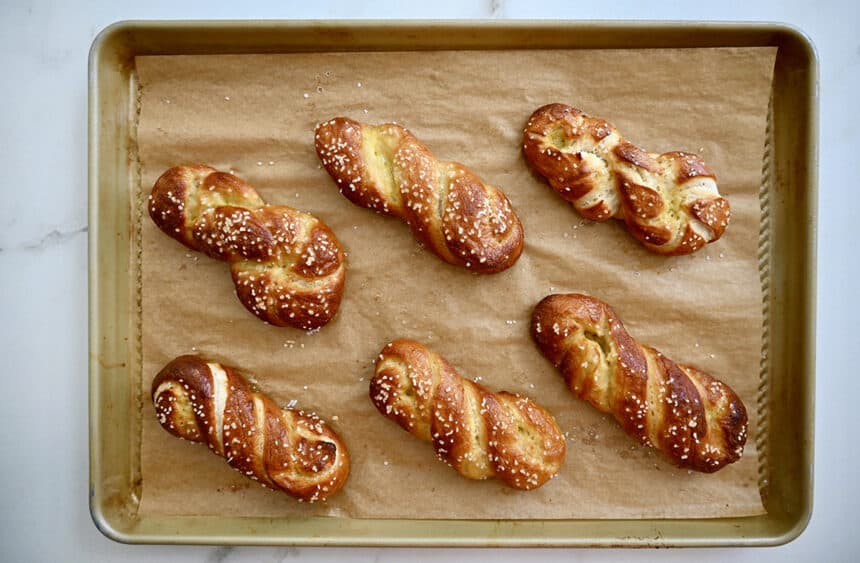
- Bake the twists until golden brown in color, 12 to 14 minutes, rotating the pans (between racks and turning to rotate pans) halfway through, then remove the twists from the oven and allow them to cool for 5 minutes before serving.
Kelly’s Notes:
- Do not flour your work surface prior to rolling out the pretzels or the dough won’t have enough traction against the surface. Using the palms of your hands, apply even pressure as you roll from the center out to form the dough into ropes.
- ★ Did you make this recipe? Don't forget to give it a star rating below!
Nutrition
Did you try this recipe?
Leave a comment below with your star rating!
This post may contain affiliate links.
Recipe adapted from Alton Brown.


OMG this is a fab recipe! Pretzels turned out perfect. Make these! Tonight! It’s way easier than you might think.
Thanks so much, Diane!
Followed the recipe exactly and they turned out perfectly!
I’m so happy to hear that you enjoyed the recipe, Jay!
I saw this recipe earlier today & decided to try it. Amazing !!! This will be great for family functions & get together’s.
Thank you for sharing
You are so welcome, Catherine! I’m thrilled you enjoyed the recipe!
Hello!
I am attempting to make these for my daughter as she is working and has a college class. She’s the one who usually makes them and I’m a bit nervous because I want to get them right for her. She’s taking them to school tomorrow!
Once I roll them out and have them ready to bake, can she take them and bake them later this evening or even tomorrow?
Hi Stacy! Once they’re ready for baking, they will have already been boiled in the baking soda bath, so they really need to be baked immediately after or they’ll develop an odd texture. They definitely taste great on day 2 though, so you can make them 100% through and give them to her the next day. Hope this helps!
Great pretzel recipe. Very do able twist.
I’m so glad you enjoyed the recipe, Bonnie!
I made these today for the first time with my kiddos and while ours look absolutely Nothing like the picture. The recipe worked perfectly and they’re so yummy! Something we will definitely be making again.
Yay! I’m so glad you enjoyed the recipe, Erin!
I’ve made these during baseball playoffs every year for the past 10 years or so. They are perfect!
AMAZING! I’m so thrilled you’ve been enjoying the recipe, David!
Delicious & so easy to make! I even made pretzel buns from this recipe to use for hamburgers and we all enjoyed them!
Awesome! I’m thrilled you enjoyed the recipe, Patricia!
Can these be frozen? If so, at what stage?
Hi Phillis! You can freeze them after baking and then reheat them in the microwave!
How do you get them off the parchment paper??
Hi Ciaran – Did you let them cool on the baking sheet? If so, they should pop right off.
These pretzels look delicious and I can’t wait to try them! I just have one question – once the pretzels are shaped, hot long can you let them sit before boiling them? I just ask because I’m making them for a party and thought getting them to the point of being ready to boil ahead of time would be helpful. Thank you so much!
Hi Erin! The yeast is activated at that point so I’d say you have 24 hours max!
Hi Kelly
Two questions before I try this. First is the results are better, worse, or indifferent using bread flour rather than all purpose?
The second question is whether a read machine could be used on the dough cycle which would mix and rise? I have a KitchenAid mixer but the bread machine seems easier to clean.
Hi Dave! I’ve never tried using different types of flour so I can’t say with certainty how the pretzel rolls would turn out. Also, a bread machine *should* work but I haven’t tried it so I can’t say for sure!
Just made these. The dough was very easy and came together nicely. It handled beautifully. Best part is they taste amazing! This will be my go to pretzel dough from now on. Thank you so much for this great recipe.
You are so welcome, Donna! I’m thrilled you enjoyed the recipe!
This recipe is perfect. I tried several but for me this works best. Dough is easy to work into your desired shape, tastes delicious. Thank you so much for sharing!
You are so welcome, Esther! I’m thrilled you enjoyed the recipe!
The Soft Pretzel Twists came out AMAZING! I did struggle the first time around with the dough, following the 4 1/2 cups of flour left my dough really dry and shaggy, I cut the 1/2 cup in the second dough attempt and they came out perfect!
Yay! I’m so glad you enjoyed the recipe, Samantha!
I’m trying this today. FYI did you know (for those of us who buy yeast in the bag at Sam’s or Costco). You can get a 2 1/4 tsp. measuring spoon from amazon? That is the same amount of 1 package of yeast.
Thanks for that tip, Dolly!
The ONLY attachment missing from my stand mixer is my dough hook! I don’t know where it could be! Can I mix with my hands? I mean we haven’t always had appliances, right?? I make bagels by hand….
Absolutely you can mix by hand, Drew!
amazing recipe!!!! turned out so so delicious and soft!! 12 minutes on 230C was perfect!! will be saving this recipe to use again :)
I’m so glad you enjoyed the recipe, Bianca!
The last time I made pretzels, it was a nightmare. The baking soda water dissolved my dough and it was really gross to clean up. With this recipe, the whole process was a dream! Also, my husband can’t stop eating them, so it’s 5 stars for us!
I love soft pretzels so so much, and these definitely didn’t disappoint me.
I made most of them with salt, but I saved two without salt and I’m going to butter them and sprinkle cinnamon sugar on them :)
I’m so thrilled you and your husband enjoyed the pretzels, Katie!
These came out beautifully! The dough is great to work with. I’ll be using this dough for my stuffed pretzels.
Yay! I’m so thrilled you enjoyed the recipe, Staci!
Would you happen to have a video of the twist process? I see the first part but can not figure out the twist bottom second time twist and up through part
Hi Elisa! Here’s a link to the recipe video on my Facebook page: https://www.facebook.com/justatasteblog/videos/334194105169152 I hope this helps!
Hands down the best homemade pretzel recipe. Be sure to give yourself plenty of time to follow all the steps. They turned out a beautiful brown and the texture when pulled apart is fantastic. I made them with and without salt as well as rolled some in cinnamon sugar. I served them with a bacon mustard, queso cheese and a sweet cream cheese butter dip. Everyone raved about them. This is now my go-to pretzel recipe. Thank you, Kelly.
You are so welcome, Brenda! All of the dips you served the pretzels with sound amazing! I’m so glad you enjoyed the recipe :)
I feel like this recipe calls for way too much flour. I have to add a half stick of butter to get it to mix.
Hi Katelynn – Did you add the water/yeast mixture? The dough won’t be dry at all if you add that in the first step.