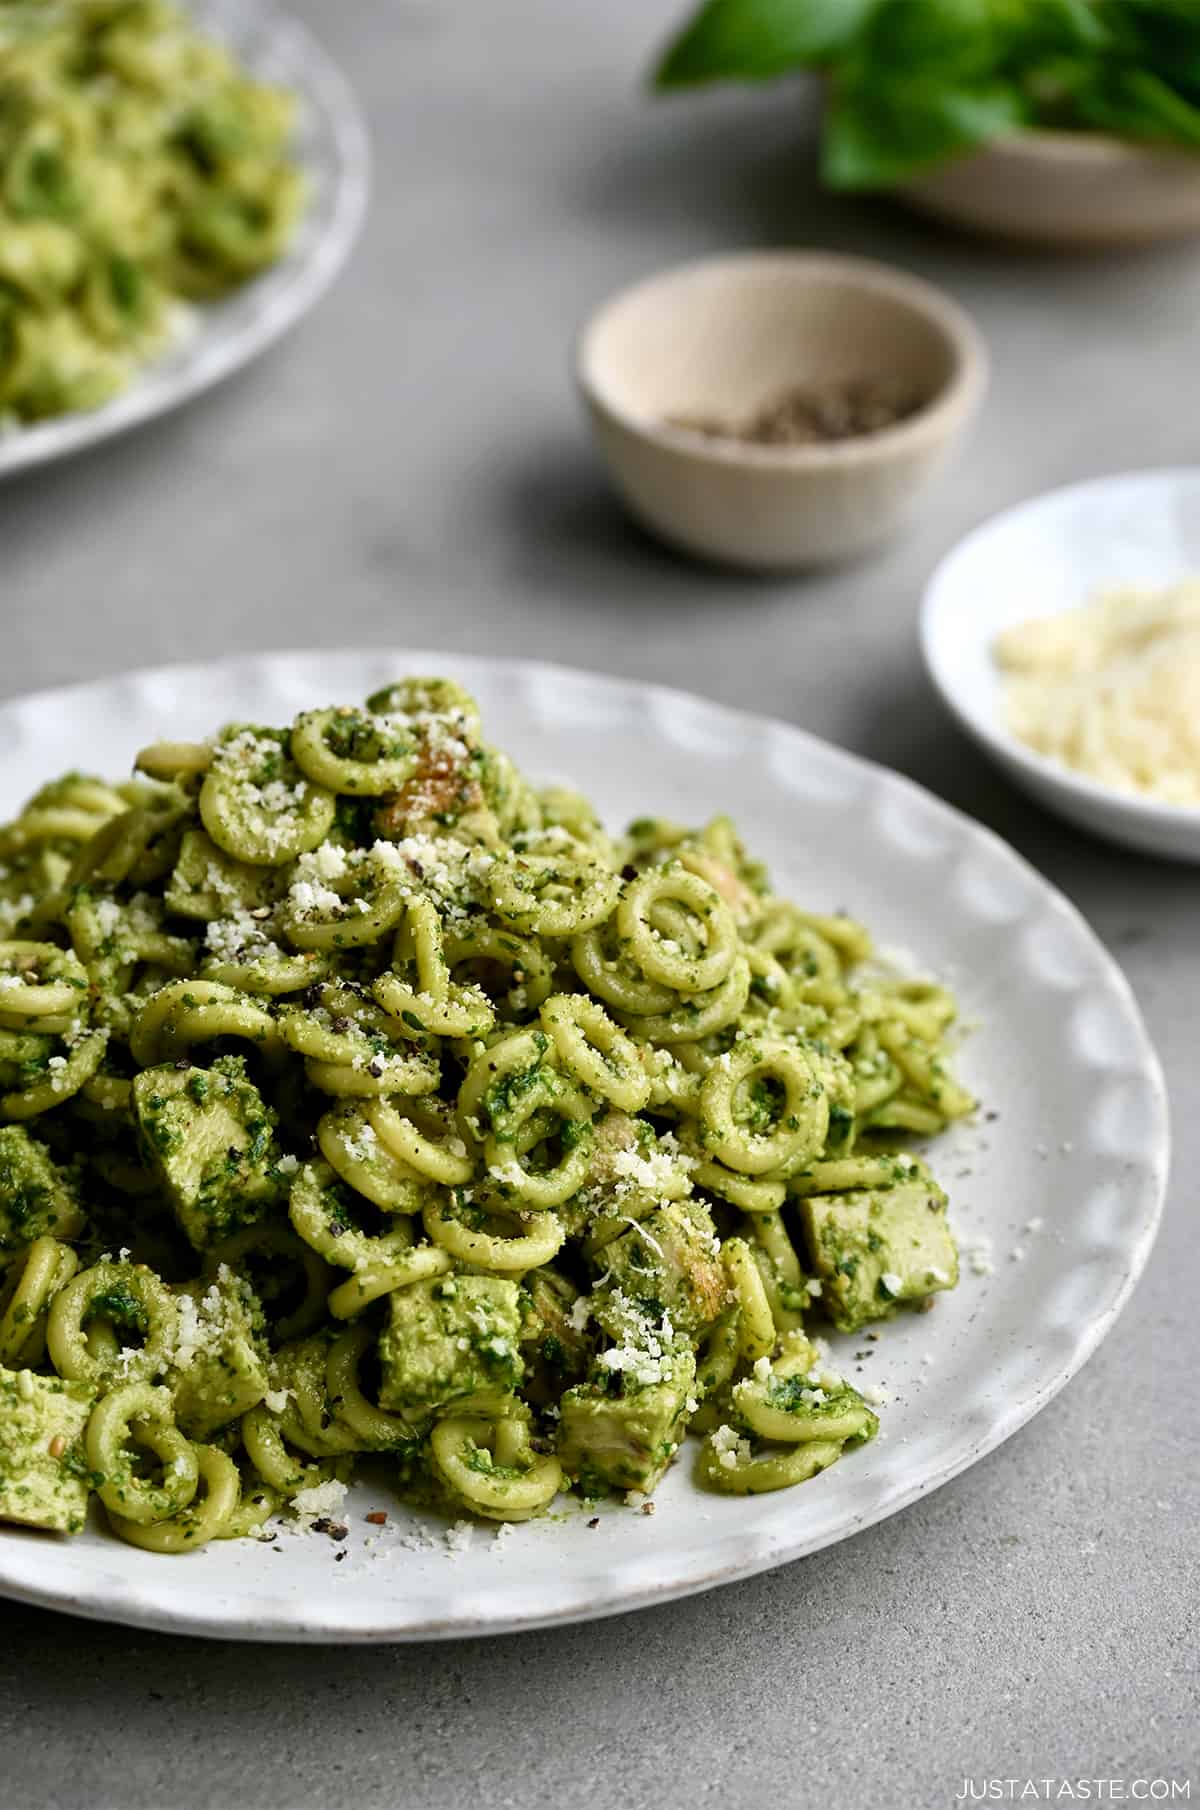
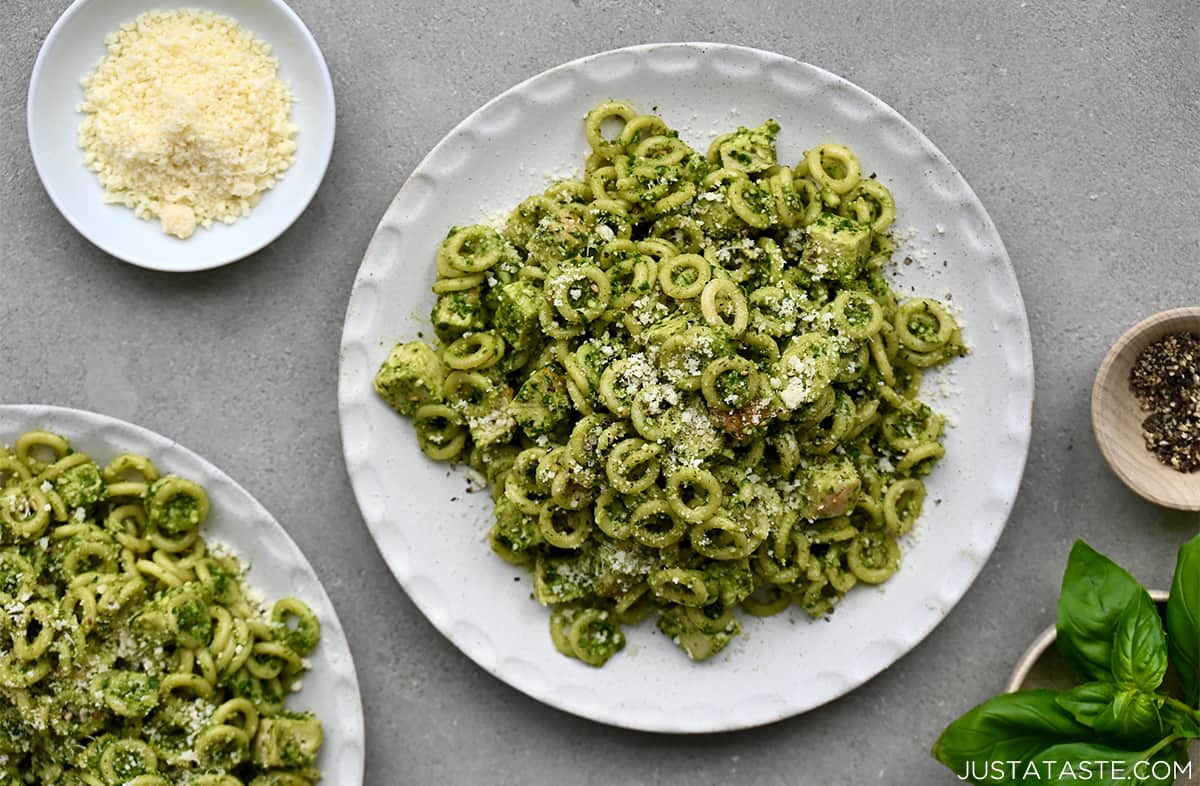
Ditch the deli counter in favor of this recipe for Pesto Pasta Salad with Chicken starring the best homemade basil pesto made with just five ingredients.
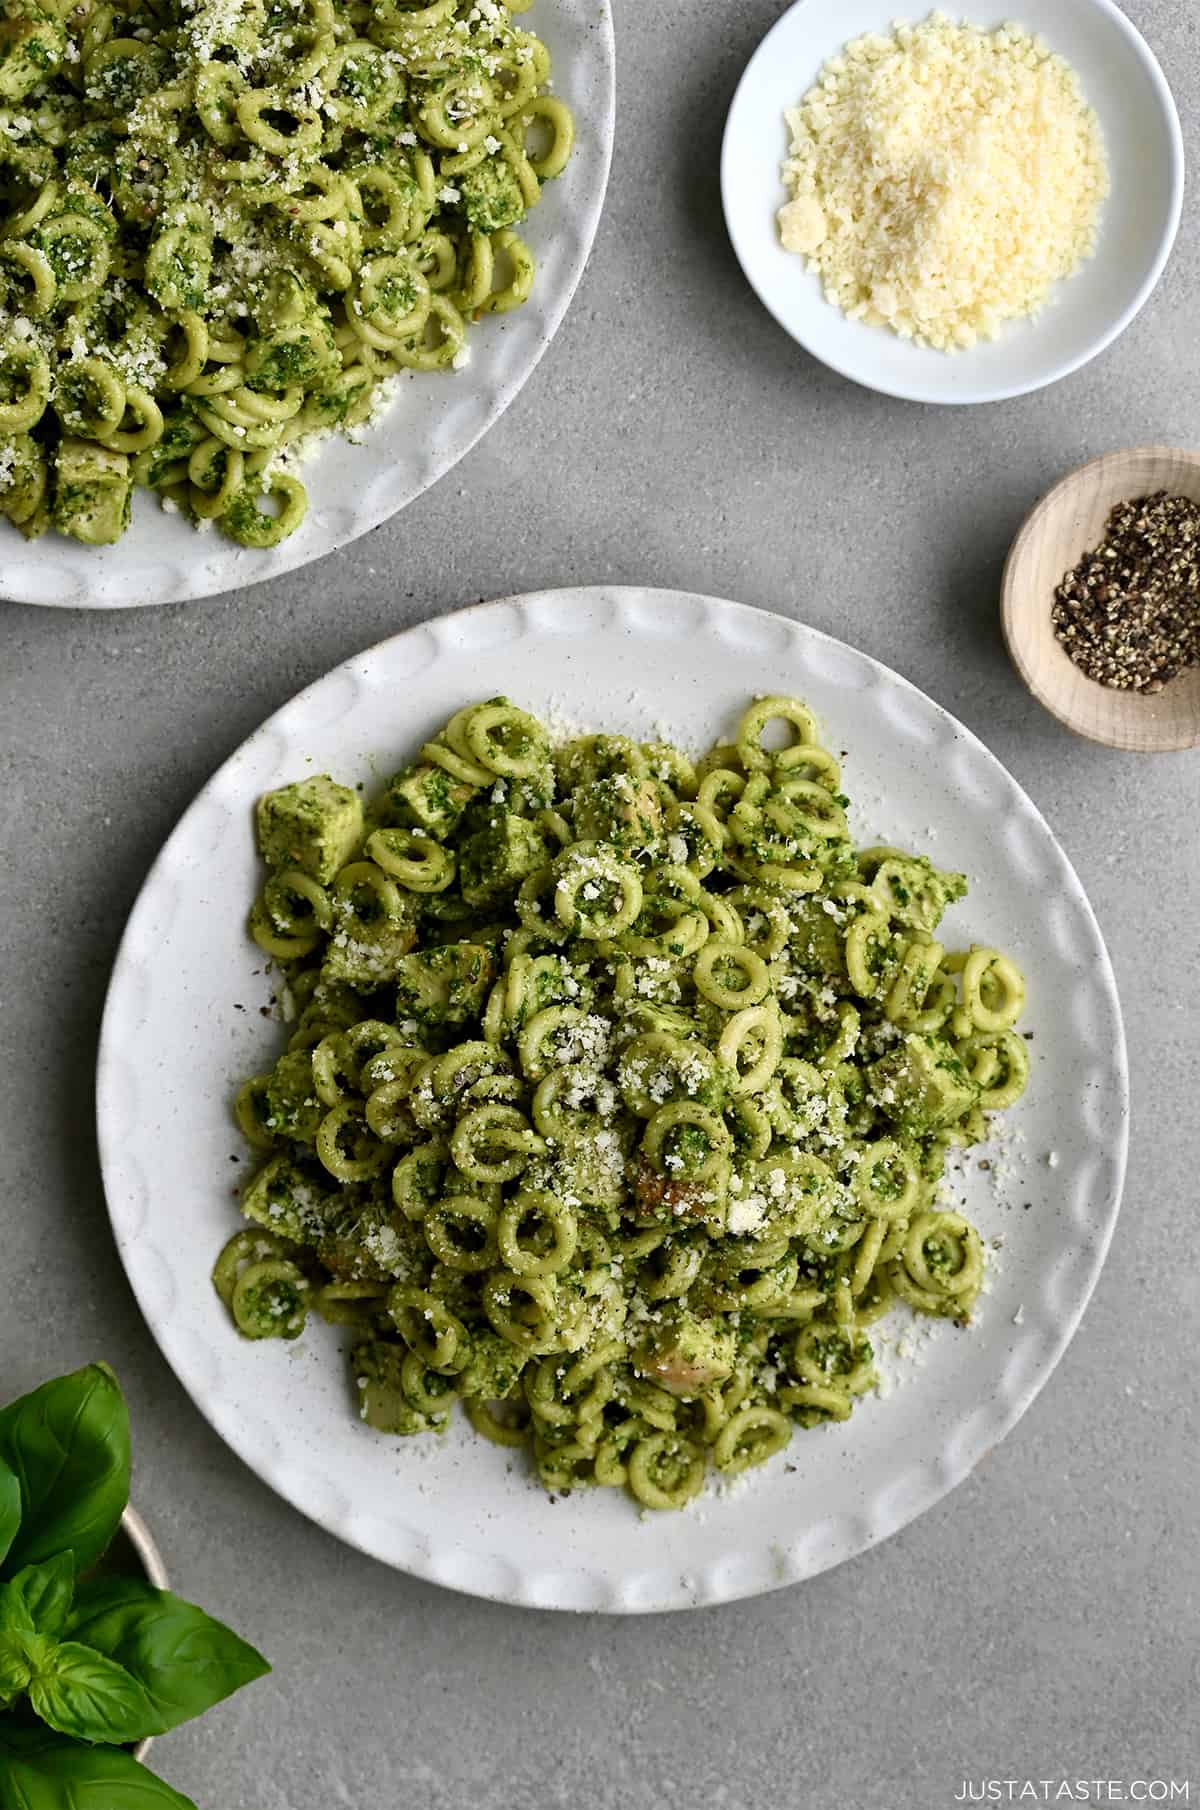
Table of Contents
When it comes to quick and flavorful meals, it’s hard to beat pasta salad. Add basil pesto (I’ve been making this same recipe for decades!) and juicy chicken to the lineup, and you have the perfect meal for any occasion, from a picnic lunch to a barbecue side dish. The sauce is rich in flavor and just garlicky enough without being overwhelming. Best of all, pesto is easy to customize with whatever leafy greens, nuts, and cheese you have in your fridge and pantry.
My #1 tip for pesto pasta success: Add a splash of hot pasta water to the bowl when you’re tossing the pesto with the pasta. All that starchy goodness will help to break down the pesto to help it coat the noodles evenly and stick to the pasta.
Why You’ll Love It
- Stars the best homemade pesto sauce that can be made in a food processor or a blender.
- Quick and easy. With just a few simple ingredients and minimal cooking time, pesto pasta is a go-to option for a quick and fuss-free meal.
- It’s perfect for busy weeknights, casual gatherings or as a dish to bring to a potluck.
- It can be served warm, cold or room temp.
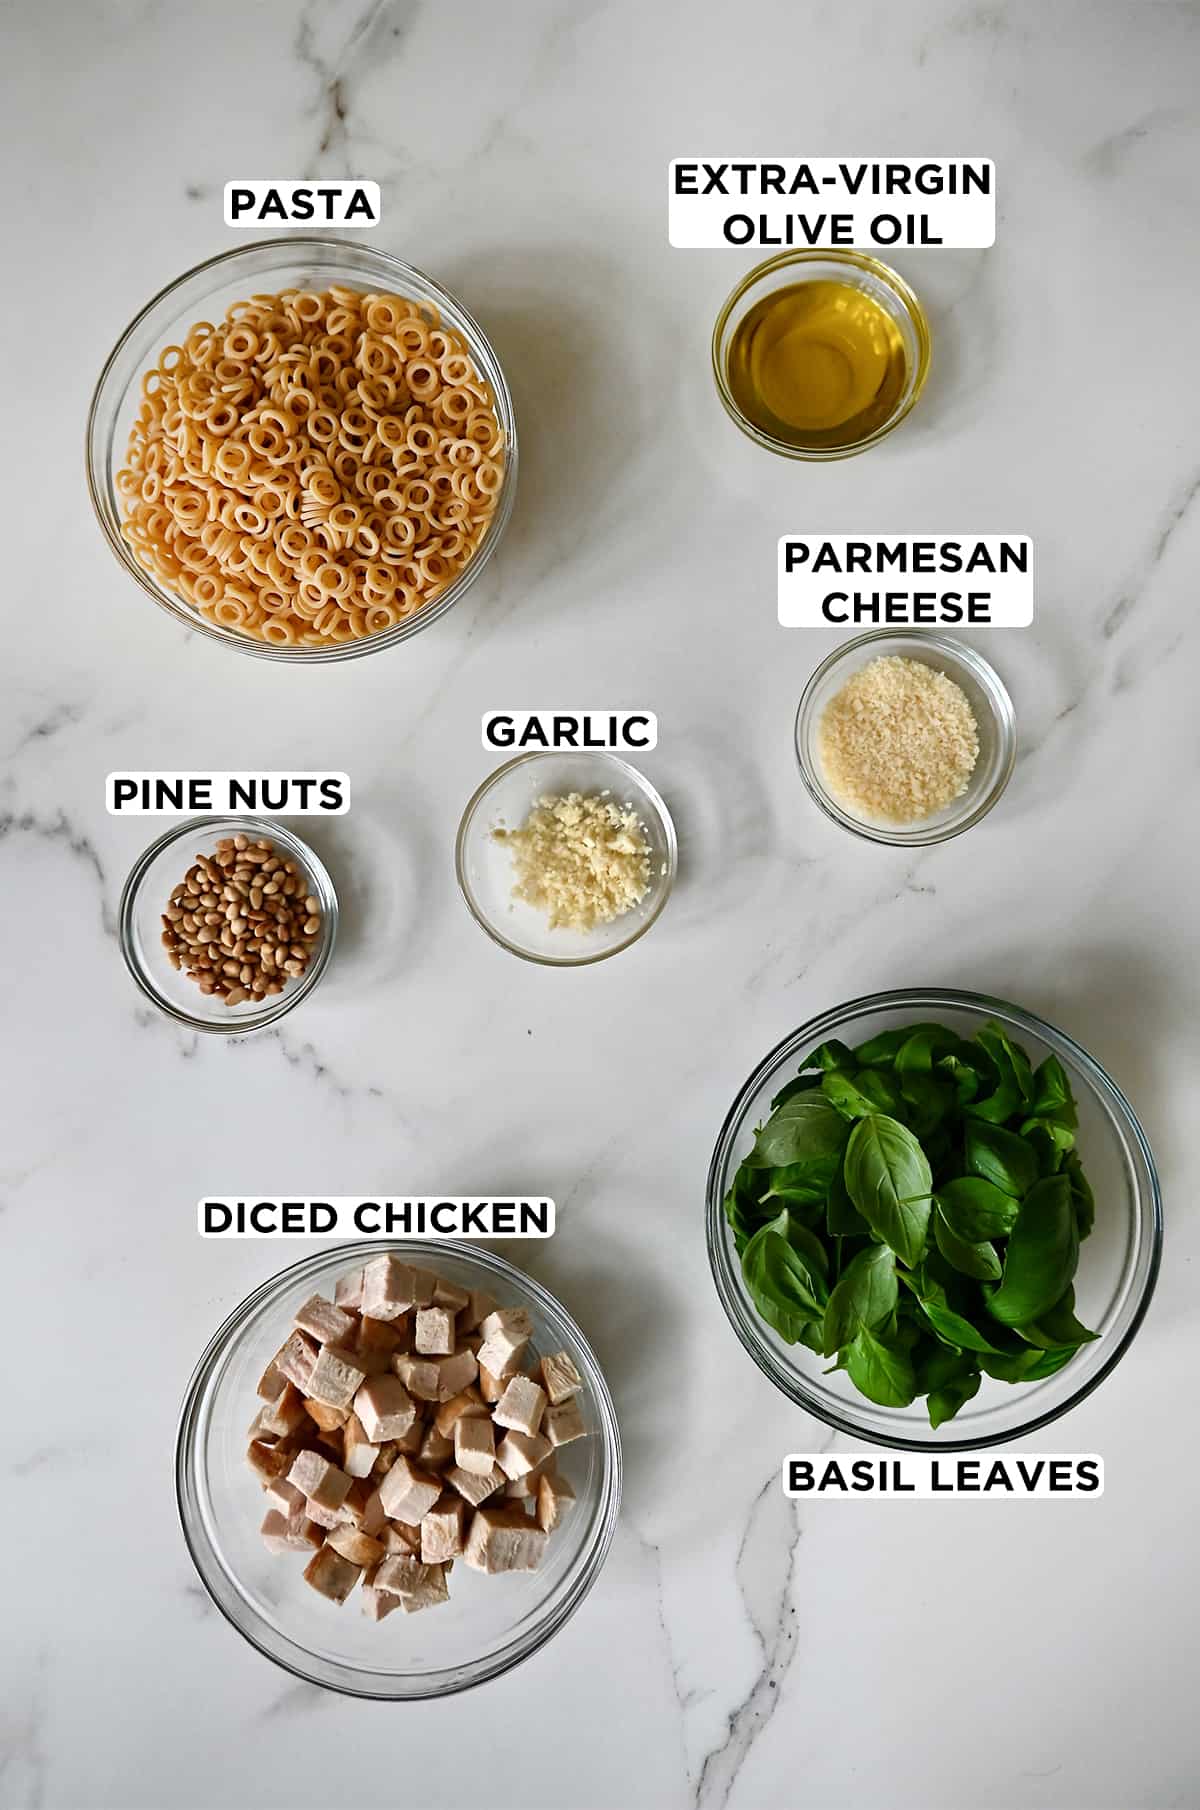
Pesto is all about freshness, so opt for high-quality ingredients. Choose fresh basil leaves, good-quality olive oil, freshly grated Parmesan cheese and toasted pine nuts for the best flavor.
- Pasta: With four kids at my house, I’m always looking for ways to mix up meal time. Enter, ring-shaped Anellini pasta! However, any ol’ pasta will do so reach for whatever you have stashed in your pantry.
- Basil: Rinse the basil leaves under cool water to remove any dirt. Gently pat them dry with a paper towel or a clean kitchen towel to remove excess moisture. Wet basil leaves can dilute the pesto and affect its texture so it’s important to thoroughly dry them.
- Cheese: I used grated Parmesan cheese but any hard-grating cheese, such as asiago, Manchego, Pecorino Romano or Grana Padano can all be used.
- Garlic: Instead of adding whole garlic cloves to the food processor or blender, roughly chop them first. This helps distribute the garlic flavor more evenly throughout the pesto.
- Pine nuts: Toasting the pine nuts before adding them to the pesto enhances their nutty flavor. Place the pine nuts in a dry skillet over medium-low heat and toast them until they turn golden brown. Keep an eye on them as they can quickly burn! Other nuts, such as walnuts, pistachios or almonds, can all be substituted.
- Extra-virgin olive oil: When selecting an extra-virgin olive oil for making pesto, look for one that is cold-pressed, from a reputable region known for producing high-quality olive oil and labeled as “extra-virgin.” My go-to brand is Kosterina.
- Protein of choice: I used leftover cubed chicken breasts that I had on hand, but store-bought rotisserie chicken, salmon, shrimp or even steak would all be delicious paired with this pasta salad.
Pesto is a versatile sauce, so feel free to experiment with different herbs, nuts and cheeses. You can try variations like using arugula or spinach instead of basil, swapping pine nuts with walnuts or almonds, or even using a combination of cheeses like Parmesan and Pecorino Romano. Feeling really adventurous? Try these variations:
This easy pasta salad comes together in just a few simple steps. Best of all, the easy homemade pesto can be made in a food processor or a blender.
- Cook the pasta. In a large pot of salted boiling water, cook your choice of pasta until it reaches al dente perfection. Remember to follow the instructions on the package for the ideal cooking time.
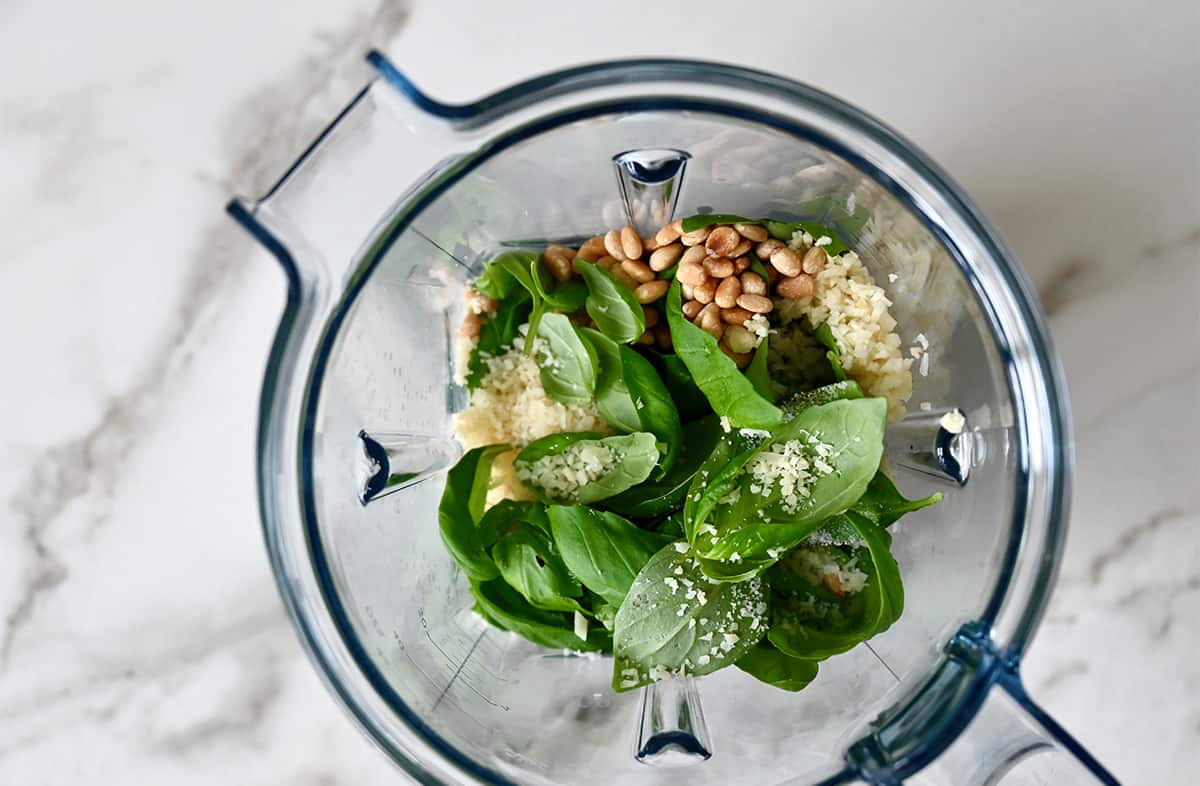
- Make the pesto. In a food processor or blender, combine the basil leaves, Parmesan cheese, garlic, toasted pine nuts, kosher salt and pepper. Pulse the ingredients together until well blended. With the food processor running, stream in the olive oil until the pesto is puréed, stopping to scrape down the sides as needed. (If needed, stream in additional olive oil until the pesto is a smooth consistency.)
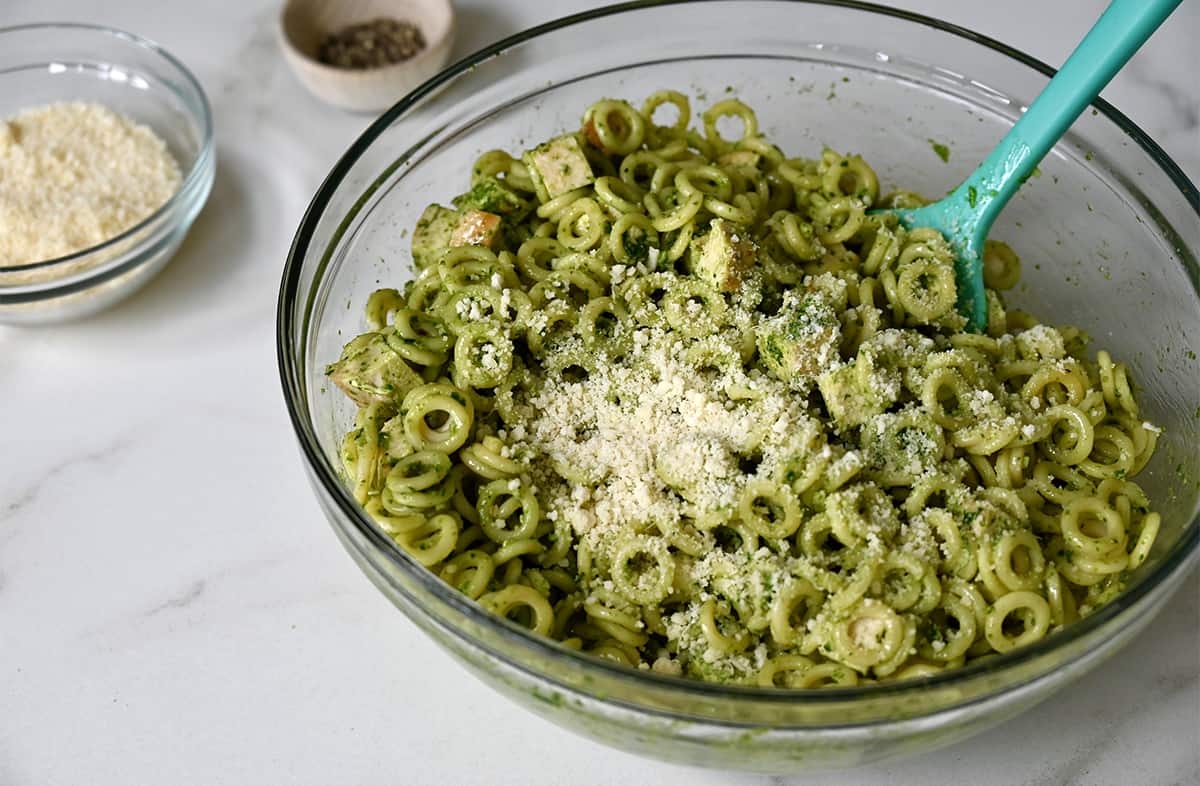
- Bring it all together. Drain the pasta and transfer it to a large bowl. Add the prepared pesto and cubed chicken and toss until well-combined.
- Garnish and serve. Top with additional Parmesan cheese and serve.
- Add Ingredients in Stages: To ensure a smooth and well-emulsified pesto, add the ingredients gradually. Start by blending the basil leaves and garlic together until they’re finely chopped. Then, add the pine nuts and pulse until they’re coarsely ground. Finally, slowly drizzle in the olive oil while the blender or food processor is running until the pesto reaches your desired consistency.
- Season to Taste: Taste the pesto after blending and adjust the seasoning as needed. Add salt and freshly ground black pepper to enhance the flavors. Remember that Parmesan cheese also adds saltiness, so take that into account when seasoning.
- Toss Pesto and Pasta in a Bowl: To preserve the basil’s vibrant color and flavor in your pesto pasta, avoid exposing it to excessive heat. After cooking the pasta, transfer it to a separate bowl before tossing with the pesto. Basil turns black when exposed to high temps, so keep it bright and appetizing by gently tossing it in a separate bowl, away from the hot cooking pot.
- Make it Vegetarian: Simply omit the chicken to create a vegetarian version of the salad.
Basil pesto: If you’re not using all the pesto immediately, transfer it to an airtight container. Pour a thin layer of olive oil on top to create a seal and prevent oxidation. This helps preserve the vibrant green color and flavors. Store it in the refrigerator and consume it within a week.
Pasta salad: Place the leftover pesto pasta into an airtight container and store in the refrigerator for up to three days. To prevent the pesto from oxidizing and losing its vibrant color, drizzle a thin layer of olive oil over the top of the pasta before sealing the container. This will help create a protective barrier and maintain the pesto’s freshness.
Pro Tip: Avoid reheating your leftovers. Heat can cause the delicate basil flavors to diminish, and reheating may result in overcooked pasta. Instead, enjoy leftover pesto pasta cold or at room temperature.
Frequently Asked Questions
Absolutely! This pesto pasta salad tastes great cold and can be made up to three days in advance. Store it in an airtight container in the refrigerator. If you prefer the pasta to be at room temp, you can let it sit on the counter for a short time before serving.
Garlic bread, Caprese Salad and Bruschetta Chicken all pair well with pesto pasta.
- Baked Boursin Cheese Pasta with Sundried Tomatoes and Spinach
- Chicken Piccata Pasta
- Garlicky Pasta Primavera
- Creamy Tuscan Chicken Pasta
- Bruschetta Pasta Salad with Chicken
Ingredients
- 12 oz. uncooked pasta of choice
- 3 cups packed fresh basil leaves, washed and dried thoroughly
- 3 Tablespoons grated Parmesan cheese, plus more for serving
- 3 cloves garlic, roughly chopped
- 2 Tablespoons pine nuts, toasted
- 1/3 cup extra-virgin olive oil, plus more as needed
- 2 cups cooked, cubed chicken
Instructions
- Bring a large pot of salted water to a boil. Add the pasta and cook until al dente, about 10 minutes. While the pasta is cooking, make the pesto.
- In a food processor or blender, combine the basil leaves, Parmesan cheese, garlic, toasted pine nuts, kosher salt and pepper. Pulse the ingredients together until well blended.
- With the food processor running, stream in the olive oil until the pesto is puréed, stopping to scrape down the sides as needed. (If needed, stream in additional olive oil until the pesto is a smooth consistency.)
- Drain the pasta and transfer it to a large bowl. Add the prepared pesto and cubed chicken and toss until well-combined. Top with additional Parmesan cheese and serve.
- ★ Did you make this recipe? Don't forget to give it a star rating below!
Nutrition
Did you try this recipe?
Leave a comment below with your star rating!
This post may contain affiliate links.


Really really good. My family loved it – thank you for the recipe!
I’m thrilled you and your family enjoyed the recipe, Marie!