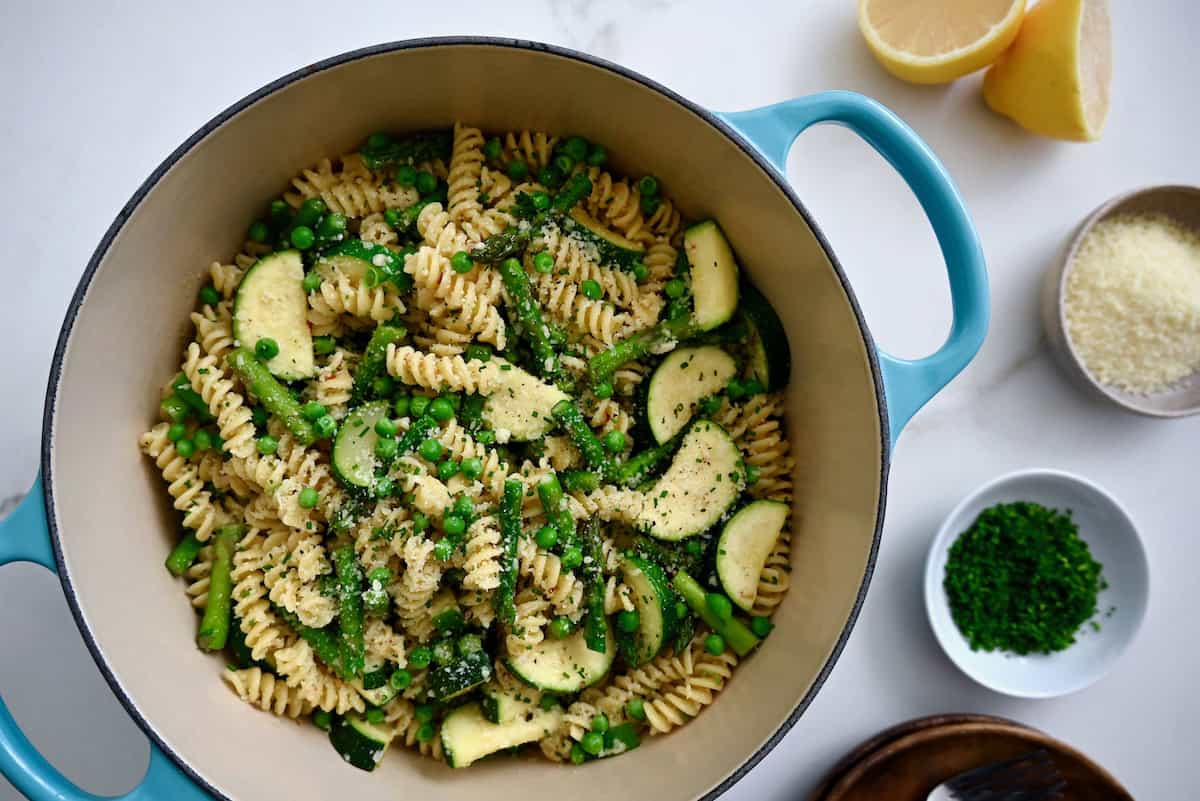
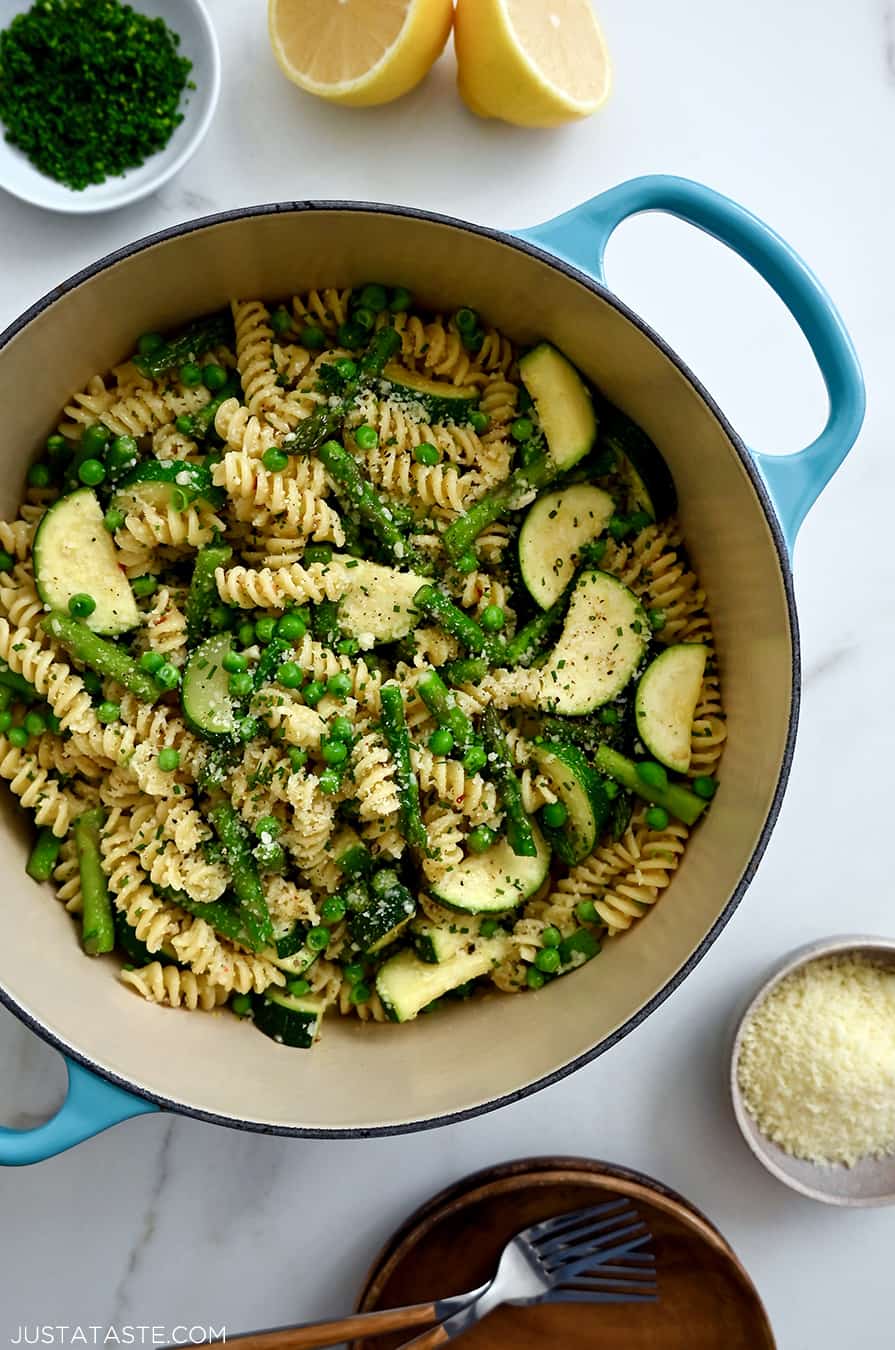
Whip up a fresh and vibrant meal in just 30 minutes with this Garlicky Pasta Primavera. Loaded with colorful veggies and a zesty lemon-garlic sauce, it’s the perfect quick and delicious dinner for any night of the week!
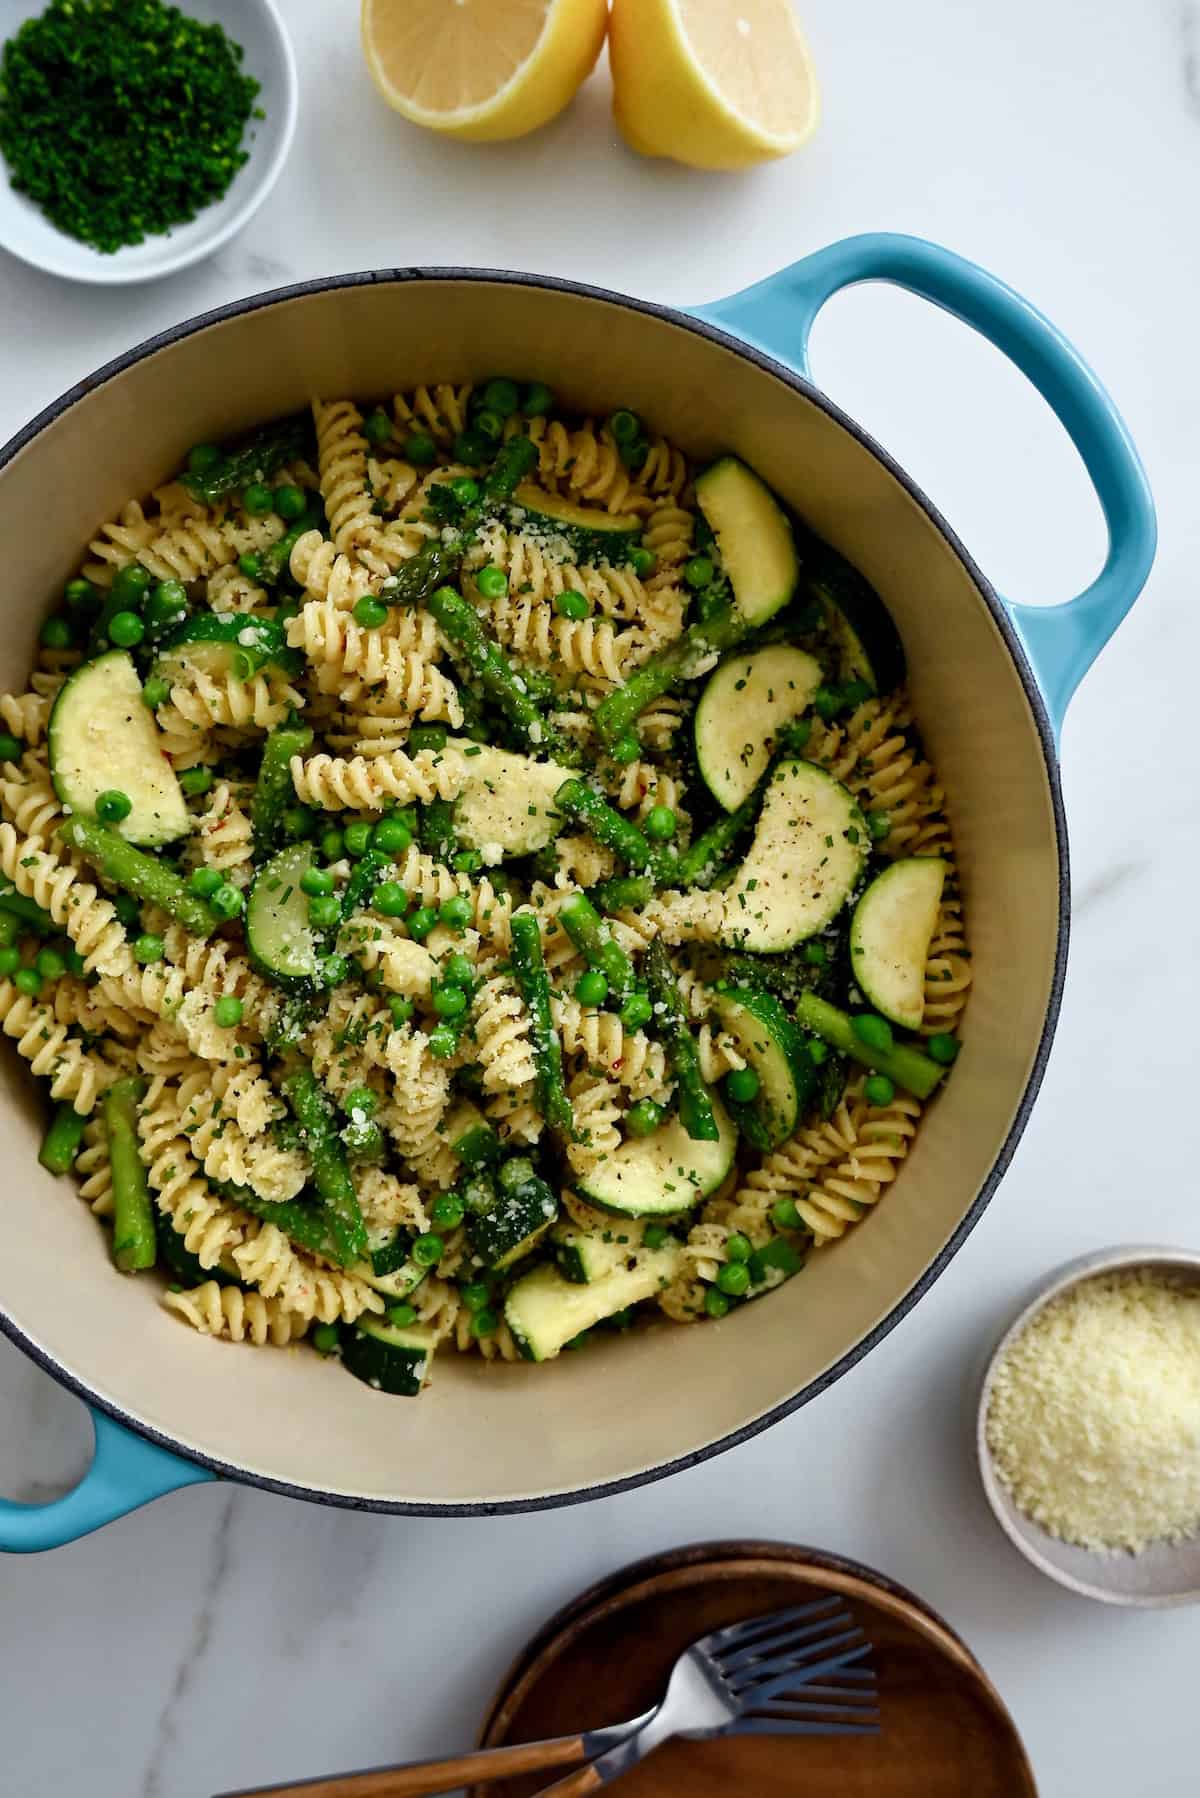
Table of Contents
As a foodie, it’s hard not to get excited in the springtime when my favorite seasonal produce starts showing up at the farmer’s market. Hello, strawberries! It’s good to see you again, peas! Oh, how I’ve missed you, asparagus!
Not to mention, the change in season has me thinking differently about what I want to cook and eat. It’s time for light, bright flavors, dishes that showcase all the fresh veggies and quick and easy recipes so I can maximize my time outside in the fresh air.
Nothing feels more like Spring to me than a bowl of Garlicky Pasta Primavera. It makes total sense: “Primavera” literally means “spring” in Italian! Lush and creamy, yet still brightly flavored and light, this no-fuss recipe is my go-to when I want to usher in the new season of fresh produce, sunnier days, and eating al fresco.
So what makes this Pasta Primavera recipe so irresistible? None other than tender pasta tossed with a medley of colorful produce, all coated in a light, lemon-garlic sauce. Plus, it’s ready in no time, making it perfect for busy weeknights when you need a healthy, satisfying meal without the fuss.
Why You’ll Love It
- Ready in 30 minutes.
- Fresh and healthy. The recipe features three different vegetables — add more if you like!
- Great for garlic lovers. Two whole tablespoons of minced garlic give this recipe a garlicky kick.
- Made with 10 simple ingredients.
- Lightly coated in a lemony garlic sauce.
The Best Pasta Primavera Sauce
The secret to the best Pasta Primavera sauce is keeping it simple. Classically, Pasta Primavera sauce is a lemony cream sauce, tossed with angel hair pasta and a bounty of spring’s finest vegetables. I’ve upped the freshness by subbing in olive oil for heavy cream, a hint of lemon zest, and a hearty helping of freshly grated Parmesan cheese.
What really makes this dish unique is the addition of minced fresh garlic. If you’re anything like me, your favorite quantity of garlic is “all of the garlic.”
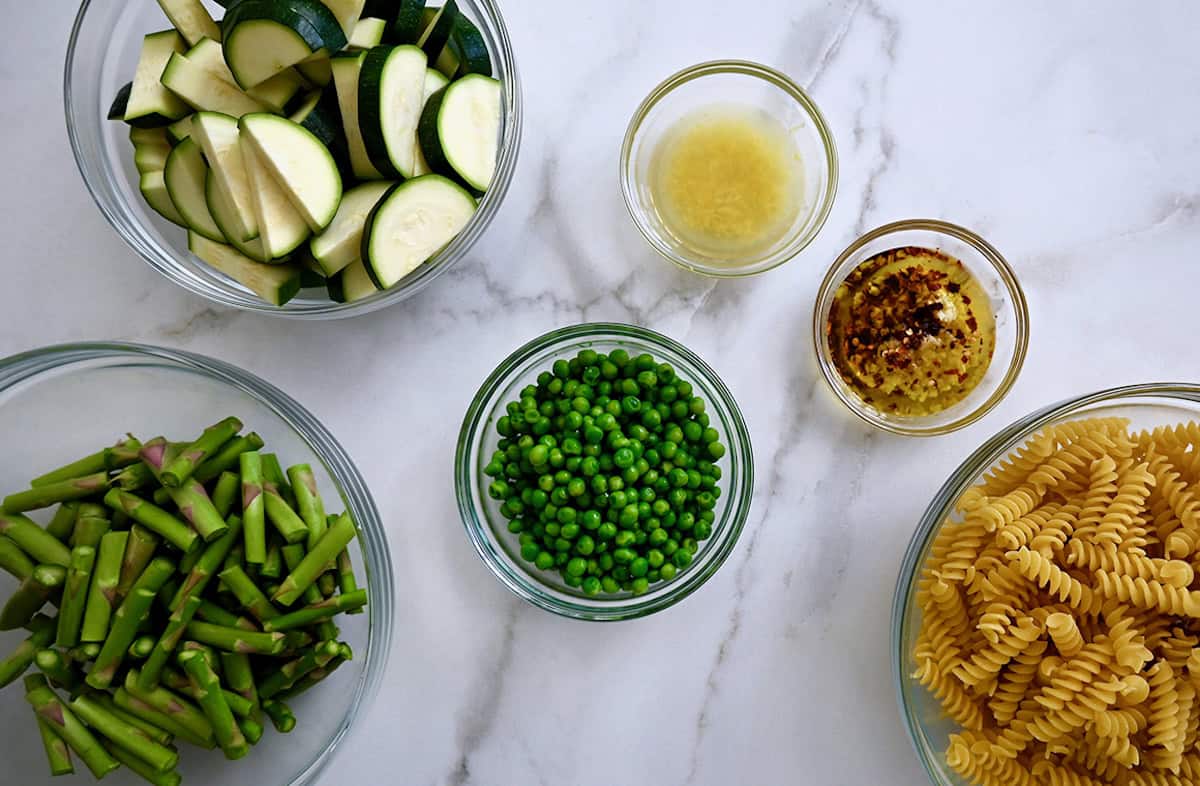
- Pasta: A short pasta shape with plenty of nooks to catch the sauce is best for this recipe. I like shells, bowties, or twisted shapes like rotini or gemelli.
- Olive oil: Choose extra-virgin olive oil, which has more flavor than light or pure olive oil.
- Asparagus: Look for asparagus that is firm and unwilted, with closed, tight heads and thin stems. Thick steams can be tough and stringy.
- Peas: If using frozen peas, set the bag out at room temperature for 30 minutes to thaw.
- Zucchini: Choose a zucchini that has a firm texture and glossy, unblemished, dark-green skin.
- Garlic: You’ll need six to eight cloves of garlic (that’s nearly the whole head!) to make two tablespoons of minced garlic. Use a garlic press for quick mincing.
- Crushed red pepper flakes: This optional ingredient adds a subtle spicy kick to the recipe. Milder Aleppo pepper is a good alternative if you’re sensitive to spice.
- Lemon: A Microplane grater is one of the best tools to zest the lemon before squeezing it. Pressing the citrus firmly against the counter while rolling it back and forth helps to break up the membranes to extract maximum juice.
- Parmesan cheese: Use that same Microplane for finely grated parmesan (or do what I do and just buy a tub of cheese already grated!)
- Chives: I use a pair of kitchen shears to easily snip herbs into bits for garnishing.
See the recipe card for full information on ingredients and quantities.
Plain ol’ pasta was so last season. It’s about time you jazz up your dinner routine with a plateful of primavera perfection. All that’s missing from this veggie-packed pasta is a sprinkle of fresh chives and a shower of Parmesan. Here’s how easy it is to whip up this spring vegetable pasta:
- Cook the pasta. Ladle out some of the pasta cooking water before draining — this starchy water helps make a smooth and creamy sauce.
- Saute the vegetables. Since different vegetables take different amounts of time to cook, you’ll cook the ones with a longer cooking time first, then add the ones that take less time.
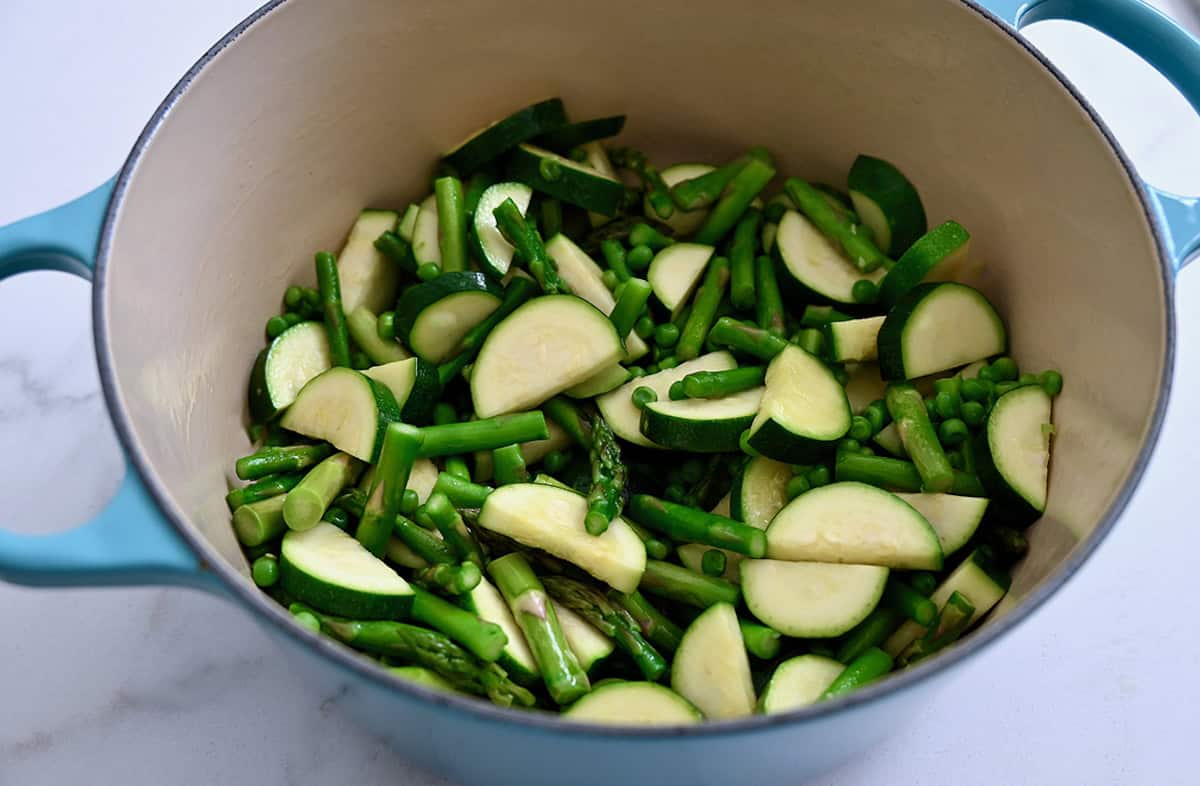
Pro Tip: Cutting the vegetables into uniformly sized pieces will ensure they cook at the same rate.
- Make the sauce. Garlic only takes about 30 seconds to cook, so have the rest of the ingredients standing by. Adding the lemon and the pasta water right when the garlic starts turning golden, will prevent it from burning.
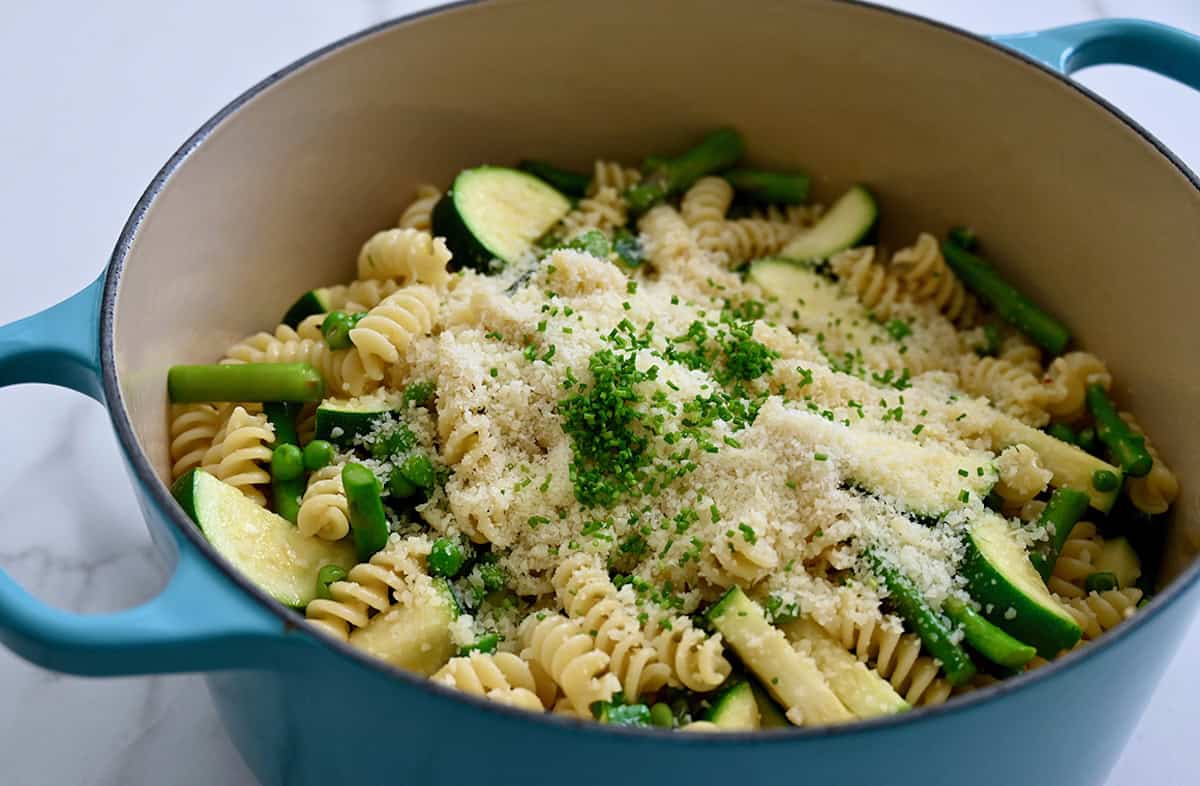
- Add the pasta and veggies. Use your biggest spoon or a rubber spatula to gently mix the pasta and vegetables into the sauce. Turn the burner on low if the mixture needs to be heated to an ideal serving temperature.
- Garnish and serve. Spoon the pasta into bowls and top with a sprinkling of chives, more parmesan cheese and a squeeze of lemon.
- Embrace shortcut ingredients! If mincing garlic is your least favorite kitchen task, buy prepared minced garlic. I like the fresh kind that comes in tiny frozen cubes. Using frozen peas is also a lot easier than shelling fresh ones, and a tub of grated parmesan cheese will also save time and effort.
- Use enough salt in the pasta water. Salting the water is the best way to ensure your pasta is flavorful — about a tablespoon per four quarts of water should do it.
- Juice the lemon with a spoon. Don’t have a citrus reamer? Use a regular spoon from the silverware drawer. Working over a bowl or measuring cup, dig the spoon into the center of the cut lemon, then twist the spoon back and forth while squeezing the lemon.
What to Serve with This Pasta
You don’t need much more to make this spring vegetable pasta into a hearty dinner. Make it a meatless meal by serving it with a crisp wedge salad and a baguette. Or, fire up the grill and grill up a couple of chicken breasts or pork chops. If you really want to get on your kids’ good side, serve it alongside a batch of Air Fryer Chicken Nuggets with a couple of dipping sauces.
Here are some of my favorite dishes to serve with pasta primavera:
- Quick Bruschetta Chicken
- Simple Roast Chicken with Garlic and Lemon
- Baked Salmon with Honey-Garlic Glaze
- Kale Caesar Salad with Crispy Chickpeas
- Cheesy Garlic Bread with Ricotta
What Wine Goes with Pasta Primavera?
This bright pasta begs for an equally zippy white wine to bring out the lemon and garlic flavors. I love to pair this with a crisp Riesling, a citrusy Sauvignon Blanc, or even a light and breezy Pinot Grigio to cleanse the palate with each cheesy bite.
Leftover pasta can be stored in an airtight container in the refrigerator for three to five days, although it’s best eaten within a day or two. Reheat it in a saucepan over medium heat, stirring occasionally. Or put it in a microwave-safe container with a vented lid and microwave for 1 minute. Stir before eating.
Frequently Asked Questions
Chicken breast, with its mild, lean flavor, is a good accompaniment to pasta primavera. Use simple seasonings. A delicately flavored white fish, such as grouper or halibut, also goes well with the light flavors of the pasta.
Get creative with this pasta primavera recipe and add other quick-cooking vegetables, such as summer squash, cherry tomatoes or a handful of spinach or kale. Other options are mushrooms, red bell pepper, green beans or artichoke hearts.
Pasta primavera can be served either hot or cold. Served cold or at room temperature, it has a similar feel to a pasta salad. Served hot, it is a great main course or side dish.
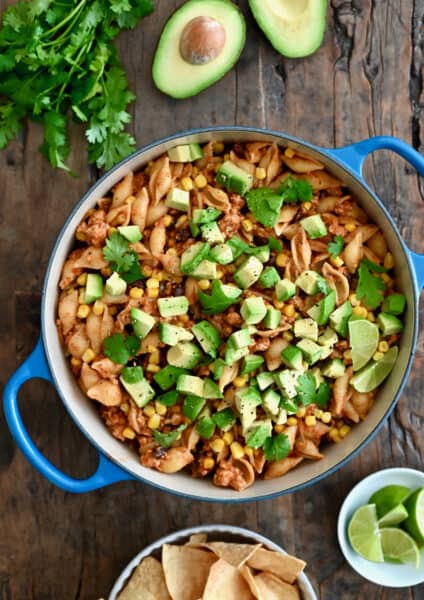
- Cheesy Turkey Taco Pasta
- Baked Boursin Cheese Pasta with Sundried Tomatoes and Spinach
- 30-Minute BLT Pasta Salad
- Parmesan Pasta Chips
- Chinese Chicken Pasta Salad with Sesame Dressing
- Spinach Artichoke Dip Pasta with Chicken
Ingredients
- 12 oz. uncooked pasta, such as shells, bowtie or elbow
- 1/4 cup extra-virgin olive oil, divided
- 8 oz. asparagus, cut into 1-inch pieces
- 1 cup fresh or frozen peas (thawed)
- 2 medium zucchini, cut into 1/2-inch-thick half-moons
- 2 Tablespoons minced fresh garlic
- 1/4 teaspoon crushed red pepper flakes (optional)
- 1 teaspoon lemon zest
- 2 Tablespoons fresh lemon juice, plus more for serving
- 1 cup grated Parmesan cheese, plus more for serving
- Chopped fresh chives, for serving
Instructions
- Bring a large pot of salted water to a boil. Add the pasta and cook until al dente. Drain the pasta and reserve ½ cup of the cooking liquid.
- Add 2 tablespoons olive oil to a large stockpot set over medium-low heat. Add the asparagus, peas and ½ teaspoon kosher salt and cook, stirring, until the asparagus are crisp-tender, about 3 minutes. Add the zucchini and cook, stirring, an additional 2 minutes. Transfer the vegetables to a bowl.
- Return the stockpot to medium-low heat. Add the remaining 2 tablespoons olive oil, garlic and crushed red pepper flakes (optional). Cook, stirring, until golden brown, about 2 minutes. Add the lemon zest, lemon juice and the reserved pasta water. Simmer until reduced by half, 3 to 5 minutes. Remove the stockpot from the heat and stir in the Parmesan cheese.
- Return the vegetables to the skillet along with the pasta and toss to combine. Taste and season with salt and pepper.
- Garnish the pasta with chives, additional Parmesan cheese and a squeeze of fresh lemon juice.
Kelly’s Notes
- To make this recipe even easier, use shortcut ingredients such as frozen peas, grated parmesan and prepared minced garlic.
- Use about a tablespoon of salt per four quarts of water for perfectly salted pasta water.
- To juice the lemon without a reamer, dig a spoon into the center of the cut lemon half and twist.
- ★ Did you make this recipe? Don’t forget to give it a star rating below!
Nutrition
Shoutout
Did you try this recipe?
Share it with the world! Mention @justataste or tag #justatasterecipes!
This post may contain affiliate links.



LOVE, LOVE this recipe. So easy to make. Leftovers were also great.
I’m so thrilled you enjoyed the recipe!
I made this for dinner last night and my family loved it! It was light with just the right amount of citrusy kick. Thanks for another stellar recipe, Kelly!
I’m thrilled you enjoyed the recipe, Mary!