Elevate your candy-making skills with Homemade Salted Caramels. These melt-in-your-mouth treats are surprisingly easy to make and utterly delicious.
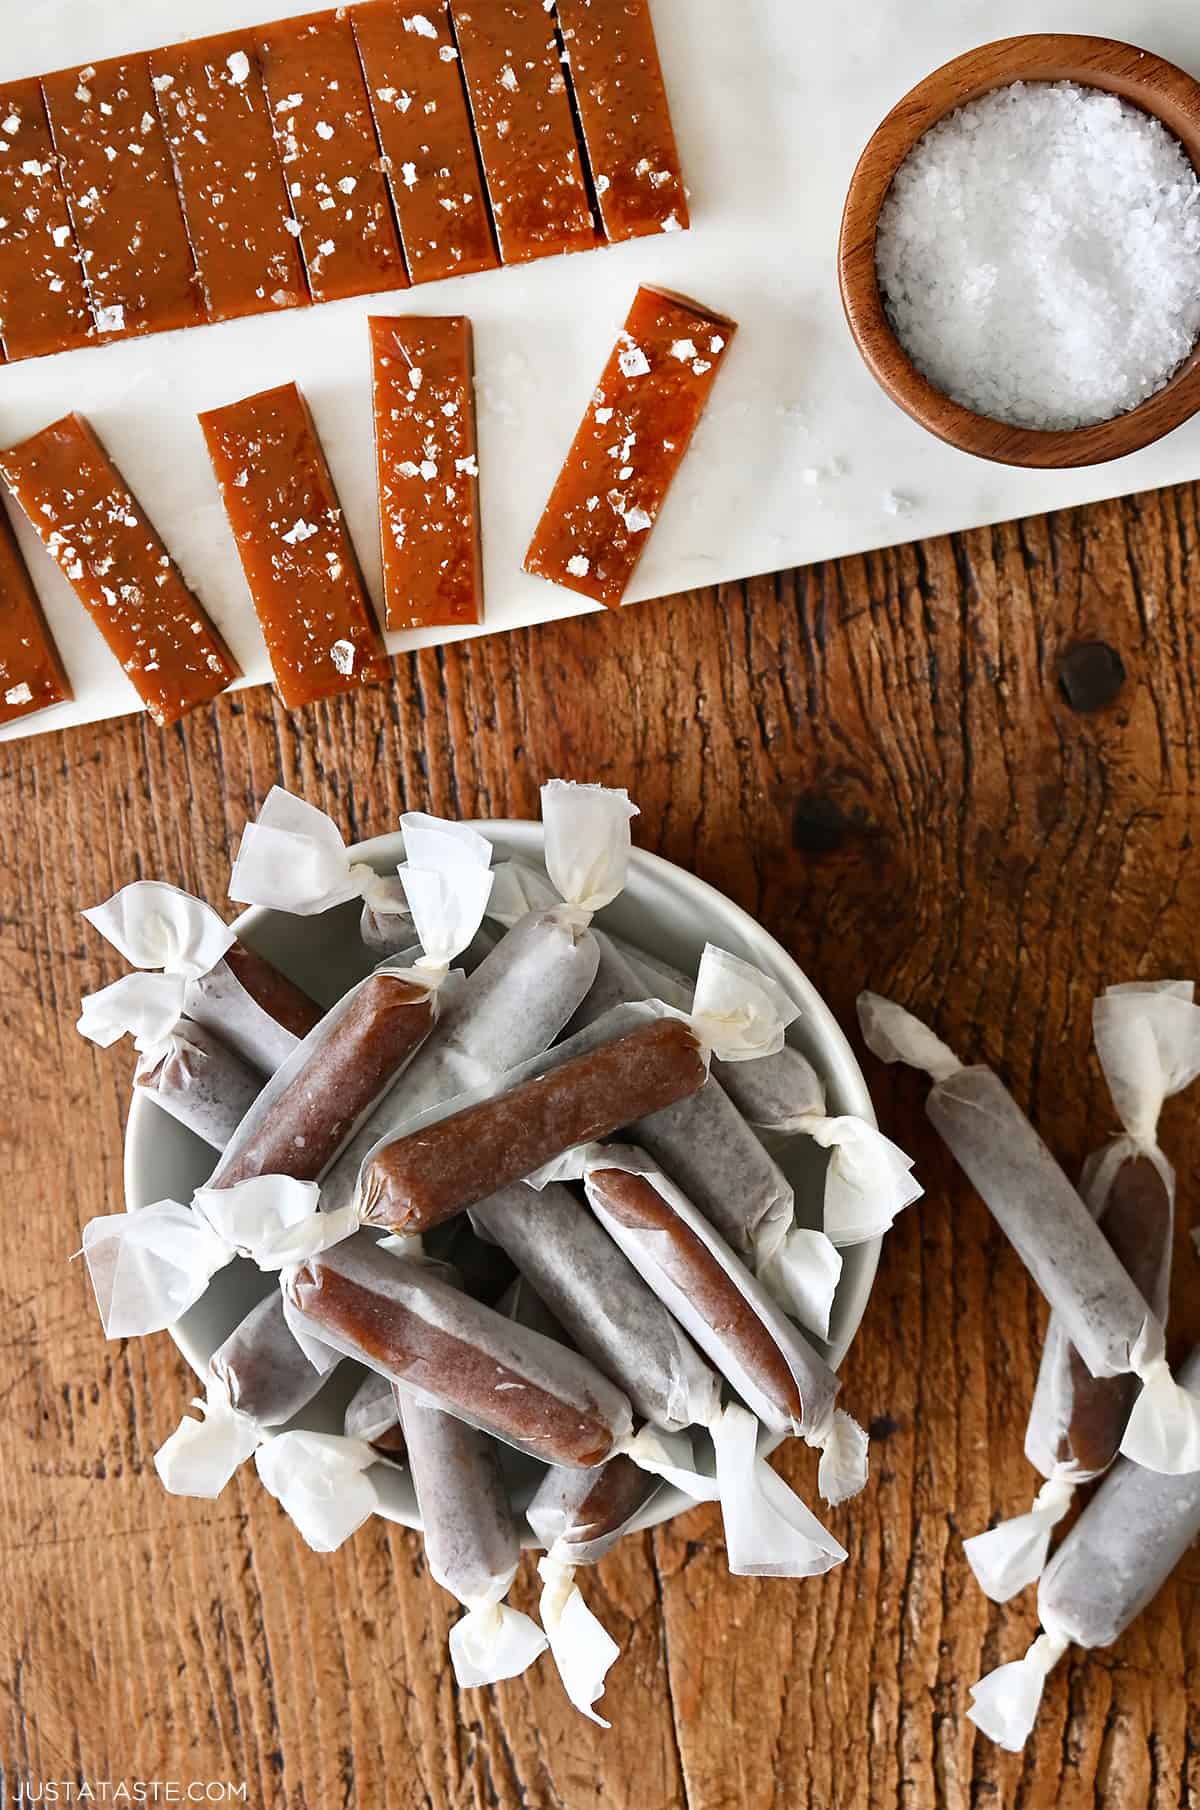
Table of Contents
Have you tried anything with salted caramel lately? It’s been all the rage for a few years now and it’s not hard to see why! From salted caramel snickerdoodles to salted caramel apple hand pies, there’s just something about how the flaky sea salt brings out the best in the rich, buttery caramel that makes it irresistible.
I came up with this recipe when I was craving something sweet to nibble on during the long nights I was working on my book Food Blogging for Dummies. It was quick to make and having a jar of these soft caramel candies on my desk was great motivation: I’d treat myself to one every time I finished a section of the book!
But you don’t need an excuse to make this recipe. If you’ve ever wanted to try your hand at making homemade sea salt caramels, this is a good recipe to start with. If you follow my directions and tips, you’ll end up with perfectly chewy, buttery candies accented with that sophisticated note of crunchy sea salt.
Why You’ll Love This Recipe
- Ready in 30 minutes.
- Just five ingredients.
- Perfect chewy texture—just like your favorite candy shop treats.
- Great for gifts. Prettily wrapped in wax paper and put in a jar, basket, or gift box, these caramels make a fantastic gift for party hosts, teachers, wedding favors or holidays.
There are only a few ingredients needed to make this chewy caramel recipe.
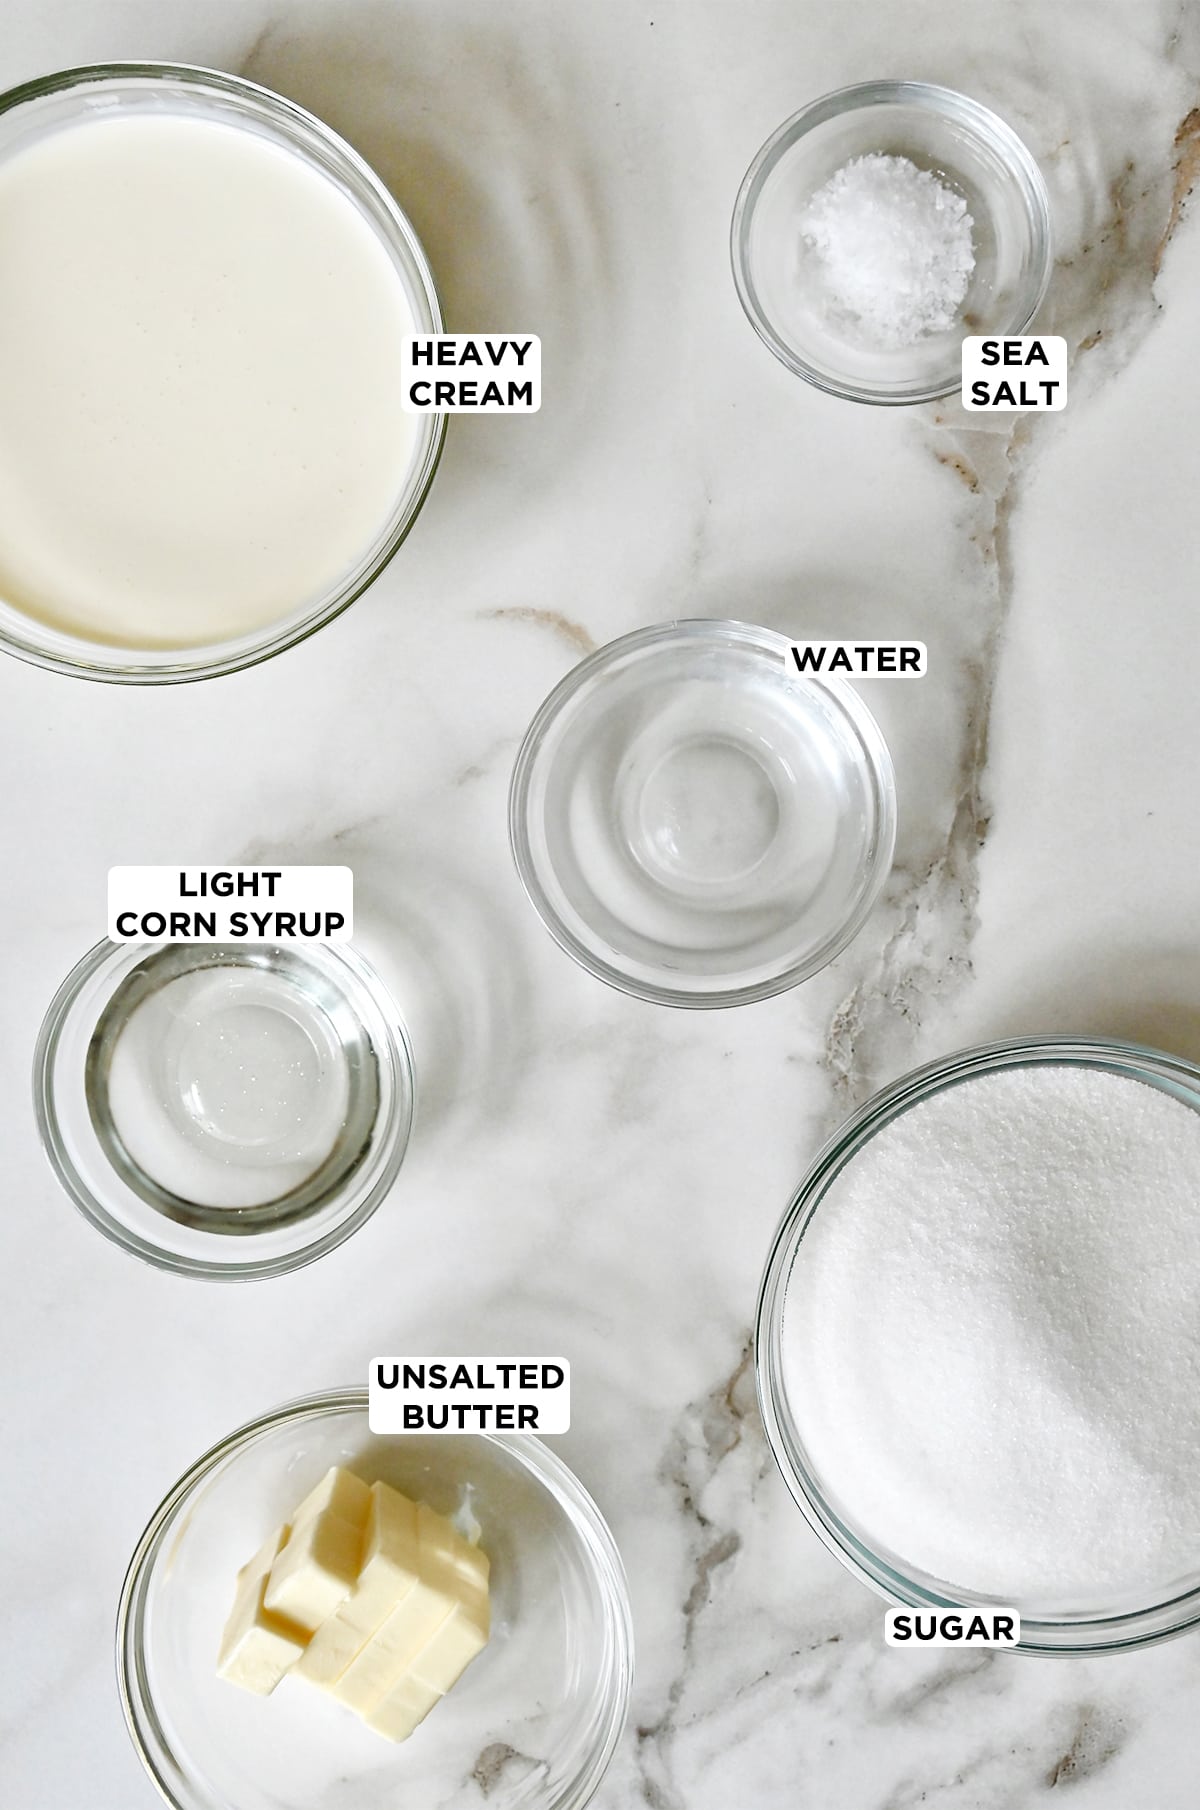
- Heavy cream: Be sure to use heavy cream, containing at least 36 percent butterfat, and not light cream, light whipping cream or half and half. The high-fat content is needed for the texture and richness of the candy.
- Butter: I prefer unsalted butter so I can control the salt content of the caramels. Since butter is one of the dominant flavors in this recipe, use fresh, high-quality butter.
- Sea salt: Seek out large flake sea salt (my favorite brand is Maldon). The salt crystals will add a delicate crunchy texture.
- Sugar: As it cooks, the granulated sugar in this recipe will caramelize, giving the candy its trademark nutty, rich flavor.
- Light corn syrup: Corn syrup is pure glucose derived from corn. Because it doesn’t crystallize like sugar, it helps keep the caramels soft and chewy.
See the recipe card for full information on ingredients and quantities.
There are plenty of things you can do to dress up these caramels.
- Add a topping. Sprinkle the caramels with additional flaky sea salt, toasted coconut or finely chopped nuts. Do this just after pouring the hot caramel mixture into the pan so the topping adheres.
- Dip in chocolate. After cutting and cooling the caramels, dip them completely in melted dark or milk chocolate or drizzle the chocolate over them.
- Salvage recipe fails. Mistakes happen. If your recipe flops and the caramel doesn’t set or it gets too hard, don’t trash it! Warm up too-soft caramel and drizzle it over ice cream. Caramel that got overcooked will turn into toffee, which can be spread with melted chocolate and sprinkled with nuts, then broken into chunks.
- Prepare the pan. Line an 8-inch square baking pan with lightly oiled parchment paper. Use a neutral-tasting oil such as vegetable oil and don’t use too much so the caramels don’t get greasy or take on the taste of the oil.
- Heat the cream and butter. In a medium saucepan over medium heat, combine the heavy cream, cubed butter and sea salt. Bring it just to a boil, then remove from the heat and set aside. Heating the cream mixture will allow it to mix easily into the hot sugar mixture without causing the sugar to seize up and crystallize.
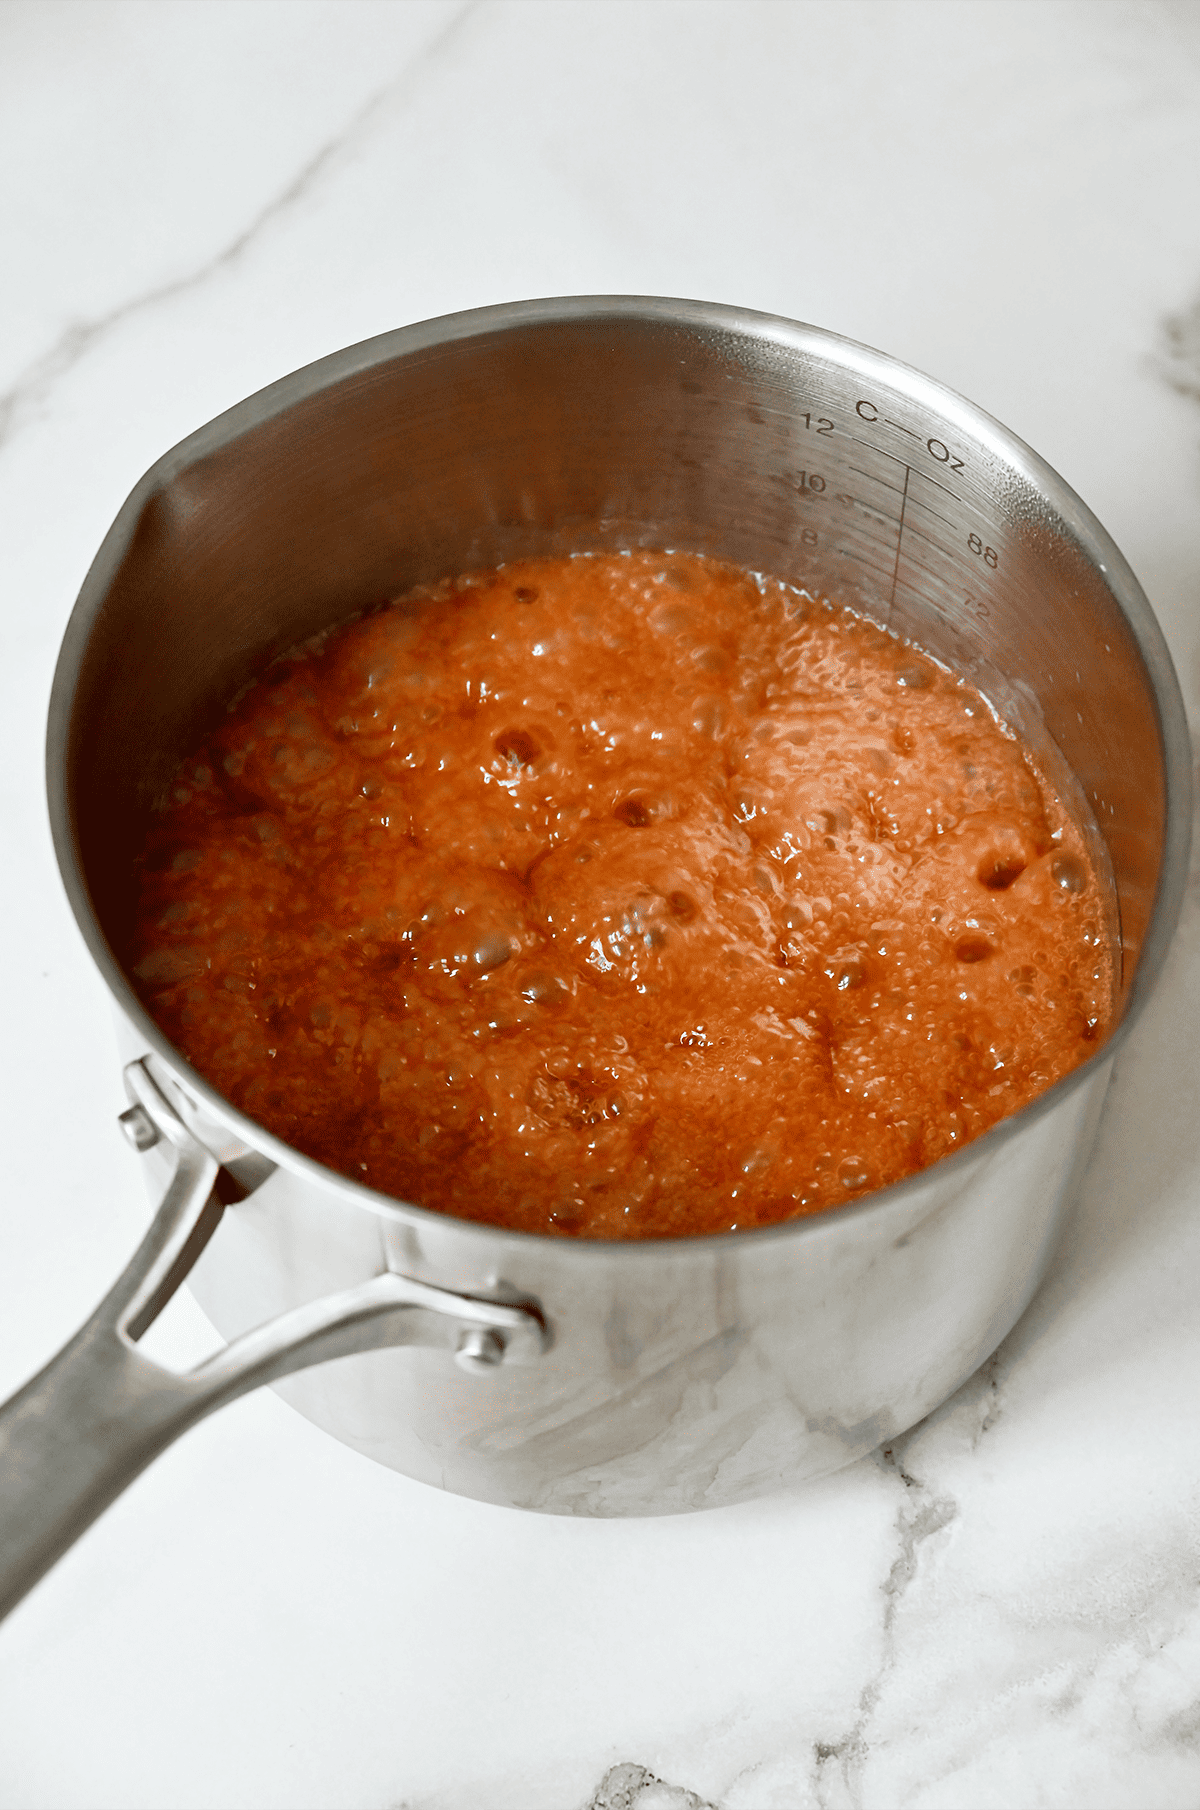
- Cook the sugar. In a separate medium saucepan over medium heat, combine the sugar, corn syrup and water, stirring just to moisten the sugar with the water and corn syrup. Bring it to a boil. Swirl the pan occasionally but do not stir. Cook until the sugar turns golden brown.
- Combine the cream and sugar mixtures. Slowly pour the cream mixture into the sugar mixture while stirring. Be careful, the sugar mixture will bubble up and could splatter. Continue cooking, stirring occasionally, until the temperature reaches exactly 248˚F on a candy thermometer, about 12 minutes.
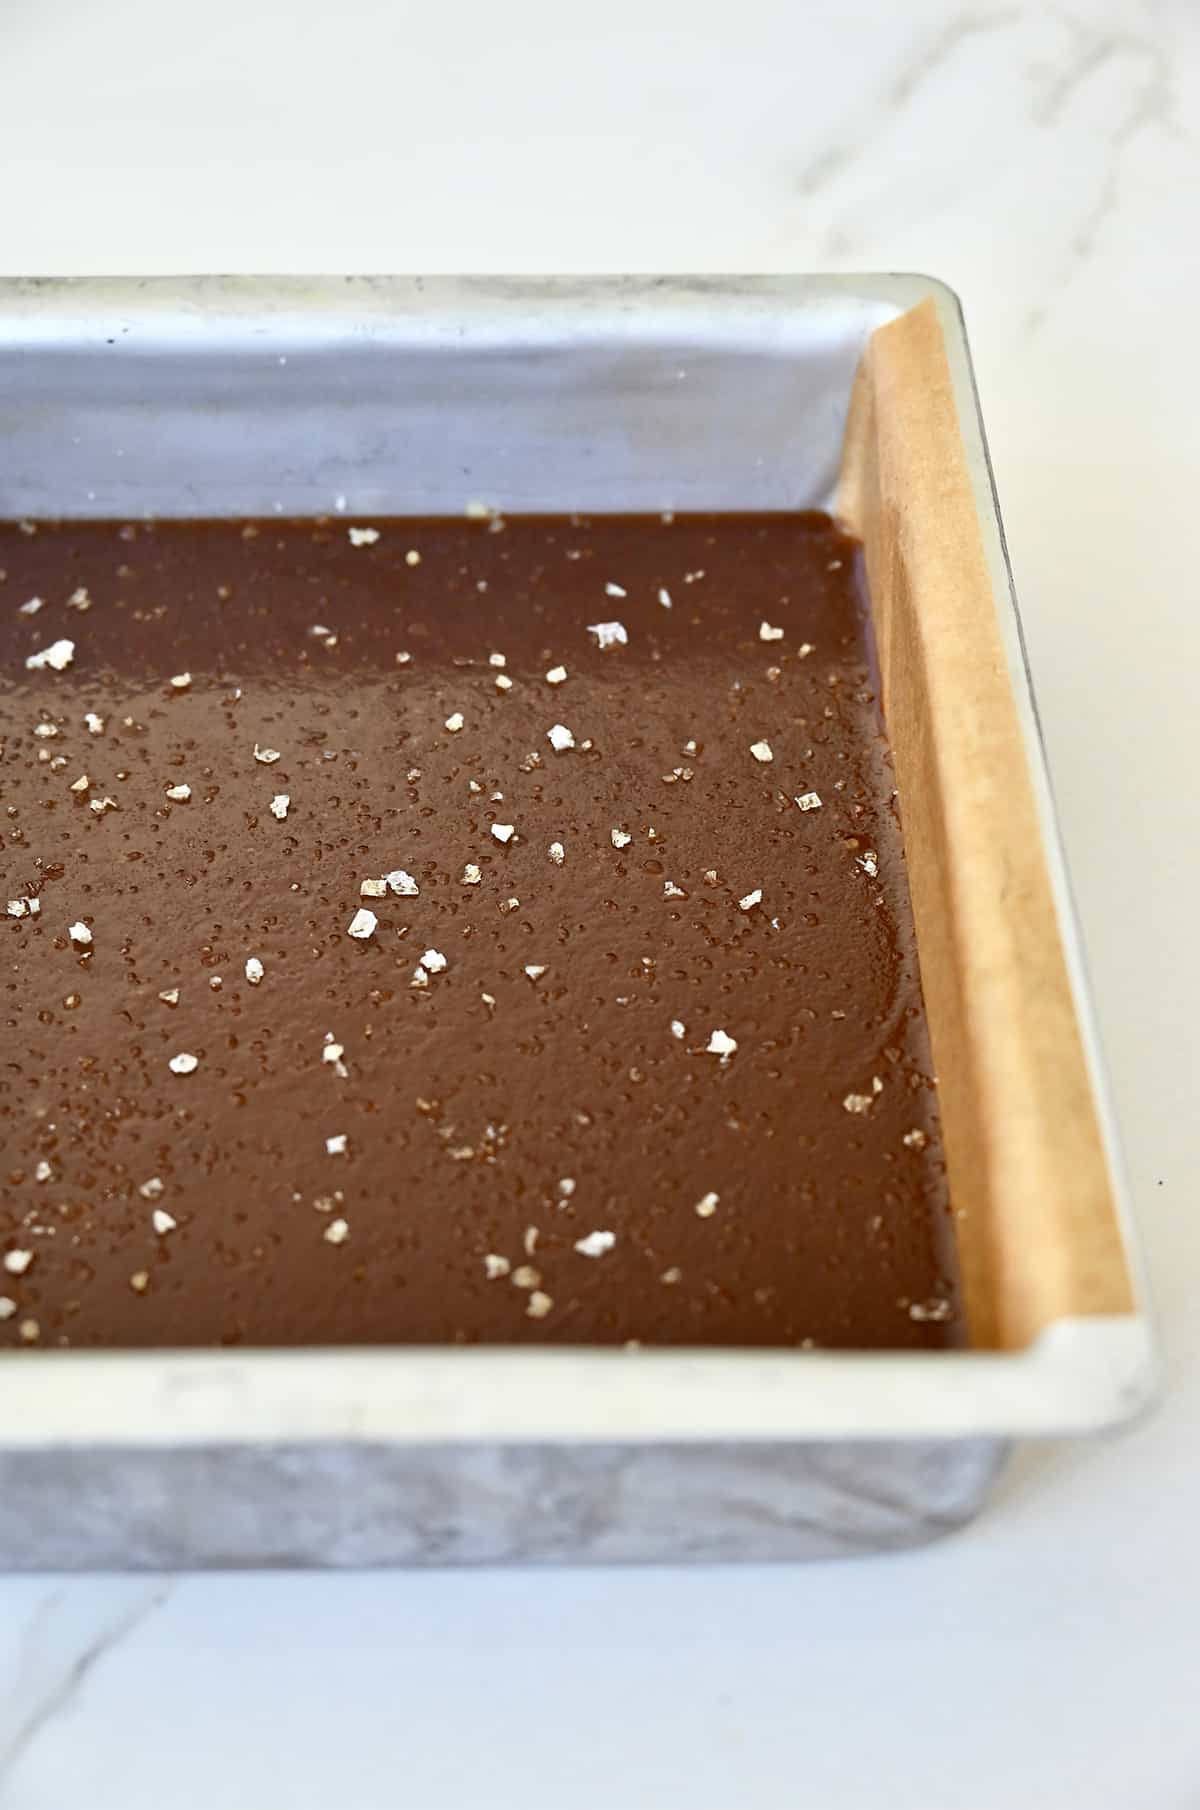
- Pour into the pan. Once the mixture has reached 248˚F, immediately pour it into the prepared pan. Sprinkle the hot caramel with additional flaky sea salt if desired. Let it cool for at least 2 hours or until set.
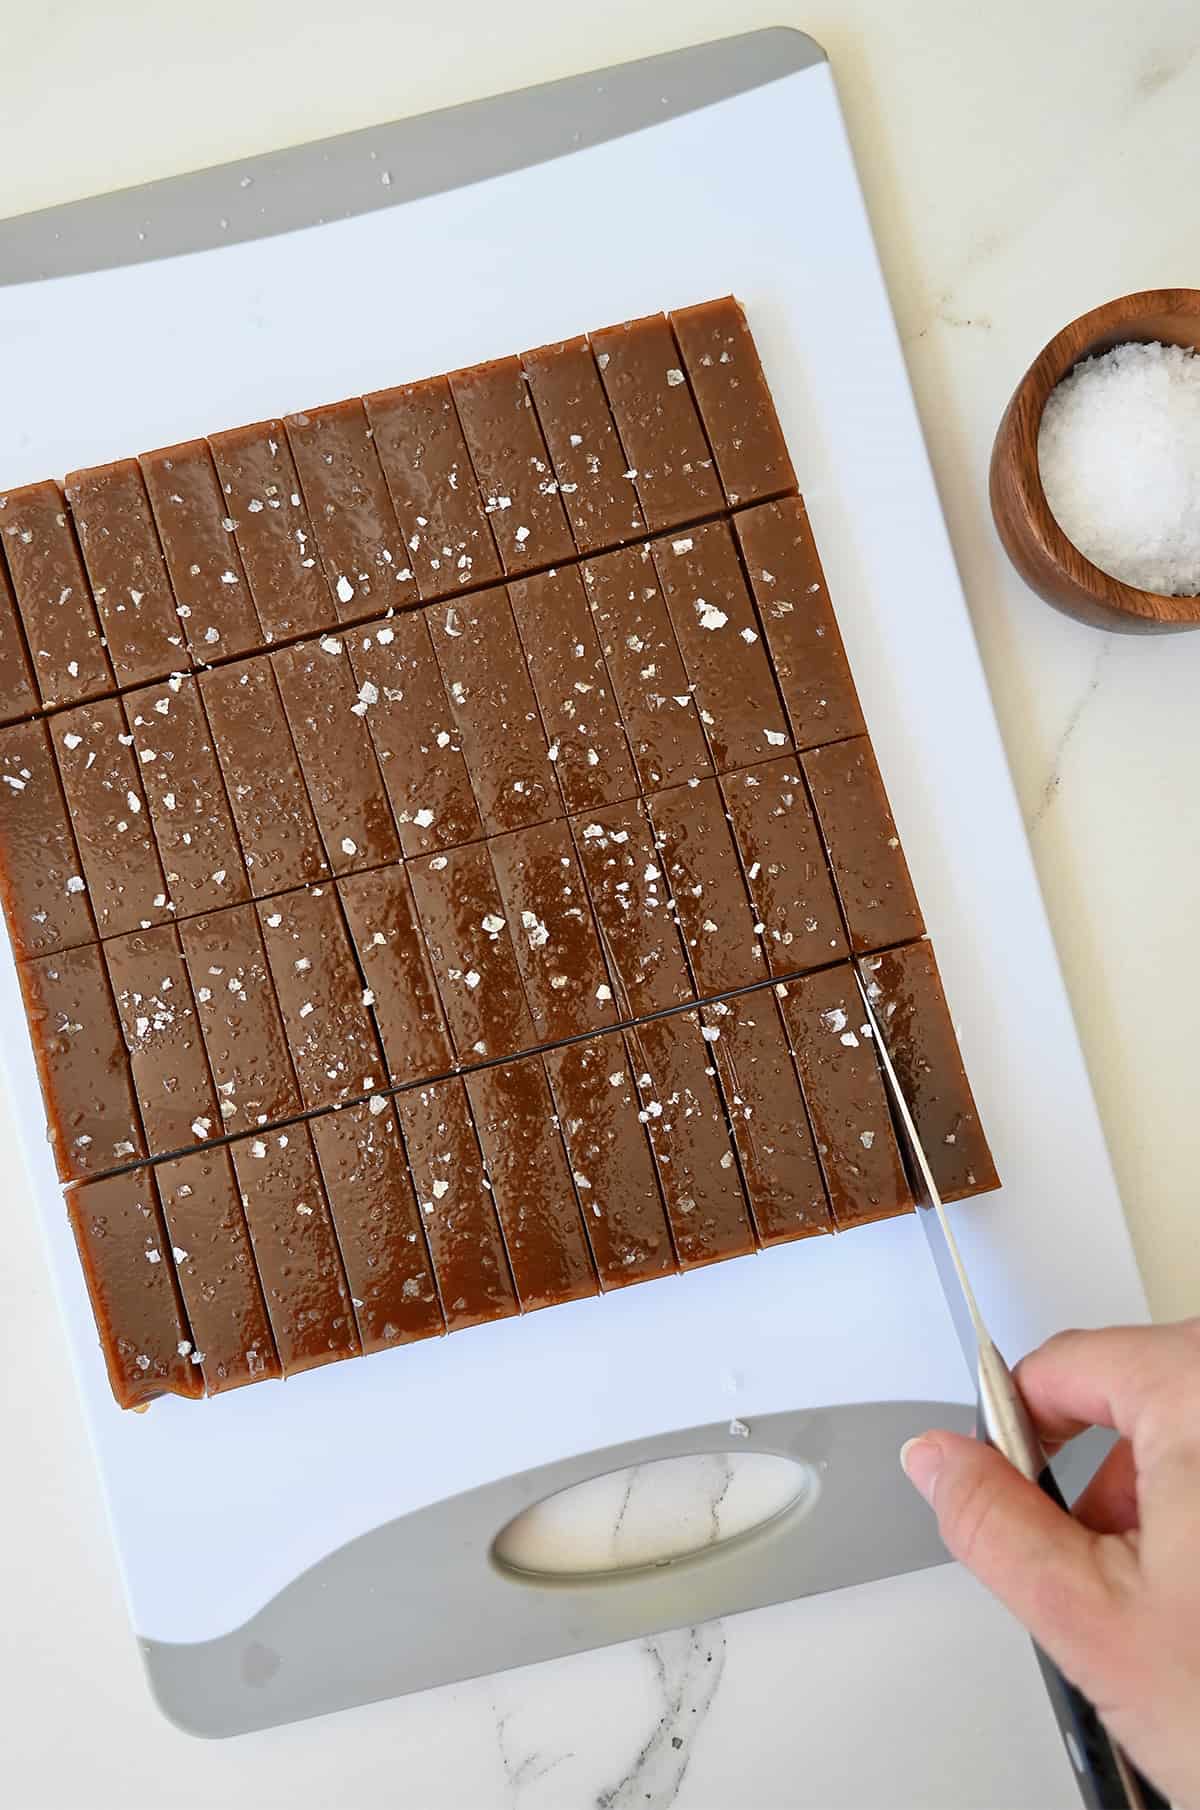
- Cut and wrap. When the caramel has cooled completely, use a sharp knife to cut the caramels into 40 candies. Store in an airtight container or wrap individually with wax paper.
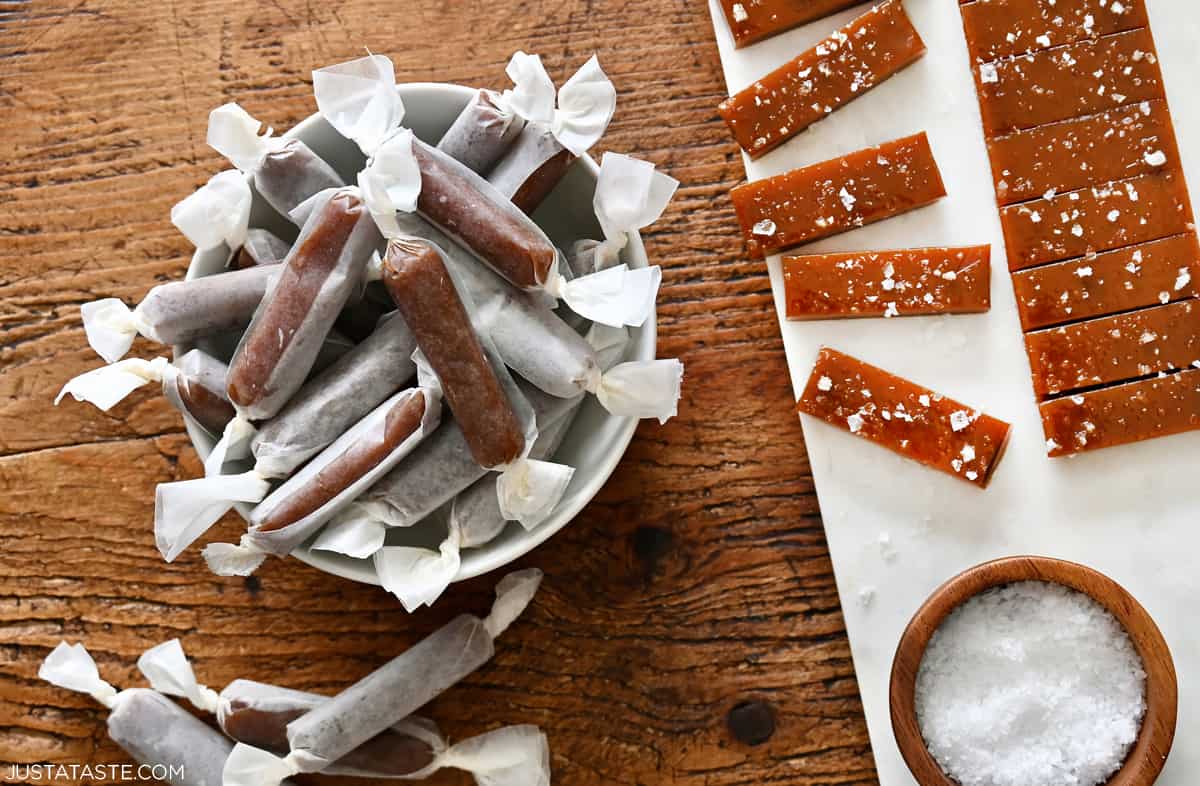
Pro Tip: To wrap the caramels so they look candy-shop perfect, cut small rectangles of wax paper that are about an inch larger than the size of your caramel pieces. Place the caramel in the center and wrap opposite sides over the caramel, then twist the unwrapped sides of the paper in opposite directions to secure.
Candy making is a precise process and one mistake can mean caramel that doesn’t set properly or caramel that hardens into toffee (but is that really a bad thing? I think not!). Use my tips for caramel-making success.
- Have everything measured out in advance. There are only a few ingredients in this recipe and the process goes very quickly. Measure out your ingredients, prepare your pan and have everything near the stove so it’s ready to go when you need it. It’s also a good idea to read the instructions before getting started so you know what to expect.
- Measure temperature properly. Heating the caramel mixture to a precise temperature is crucial to ensure your candy sets but doesn’t get too hard. The tip of the thermometer should be completely immersed in the mixture but not touching the bottom of the pan.
- Avoid overstirring. Once the sugar and water are mixed together, let it heat and boil without stirring. This allows the sugar to caramelize undisturbed.
- Be sure the sugar mixture darkens. Cook the sugar mixture long enough for it to turn a deep golden brown. This will develop the caramelized flavor and will ensure that your candies are not too pale.
- Clean up with ease. Soaking the pan and utensils in very hot water will dissolve the sticky sugar mixture and make it easier to clean the dishes. For stubborn residue, fill the pan with water and bring it to a boil, then let it sit for a few minutes.
Recommended Tools for This Recipe
- Square baking pan: An 8-inch square baking pan is the perfect size to make this batch of 40 candies.
- Parchment paper: Even if the baking pan is nonstick, I still recommend lining the pan with lightly greased parchment paper for easy removal. Leave enough parchment hanging over two sides of the pan and you can lift the whole block of caramel out to easily cut it into pieces.
- Saucepans: You will need two medium-sized saucepans. The saucepan in which you melt the sugar should be a heavy-bottomed pan so it will maintain an even, steady heat. The pan in which you heat the cream and butter can be lighter weight if necessary.
- Candy thermometer: Make sure your thermometer gives an accurate reading. You can check the accuracy of your thermometer by placing it in boiling water. It should read 212˚F or 100˚C. If it doesn’t, it’s time to calibrate it or replace it. A good candy thermometer has a clip to attach it to the side of the pan and a guard to prevent it from touching the bottom.
- Sharp knife: Cut the caramels with a sharp chef’s knife. An 8-inch blade or larger will allow you to cut the entire length of the caramels at once. Rub the blade lightly with vegetable oil or butter to avoid sticking.
- Wax paper: Use small squares of wax paper to wrap the candies.
Stored at room temperature, homemade caramels will last six months or longer.
Caramels should be tightly wrapped in wax paper or stored in an airtight container, away from heat or direct sunlight. Freezing caramels is not recommended as the temperature change can affect the texture of the candy.
Frequently Asked Questions
These caramels should be cooked to exactly 248˚F, then removed from the heat. Exposing them to prolonged high heat will cause the caramel to get too hard when it sets. However, if this happens, the caramel will more closely resemble toffee and can still be enjoyed. Break it into chunks and drizzle with melted chocolate and sprinkle with nuts, if desired.
If the temperature doesn’t get high enough, the caramels will not cook enough to firm up when cooled. Caramels should be cooked to exactly 248˚F.
Using a candy thermometer is the best way to successfully make perfectly soft and chewy caramel. But if you don’t have one, you can use what candy makers call the “cold water test.” Drop a bit of the caramel mixture into a small bowl of cold water. When it is at the proper temperature it will form a firm but still pliable ball. The Land O Lakes website has a great explanation of the different candy-making stages to watch for.
Yes! I recommend only using dry ingredients like finely chopped nuts or dried fruits. Stir them into the caramel mixture just before it’s poured into the pan. You’ll need about ½ cup of mix-in ingredients. Another option is to sprinkle ingredients on top of the hot caramel in the pan, before it starts firming up.
- Oyster Cracker Toffee Bark
- Easy Homemade Lollipops
- Chocolate Marshmallow Pops
- Quick and Easy Homemade Fudge
- Easy Homemade Candy Apples
- No Bake Chocolate Cookie Pops
Craving more? Subscribe to Just a Taste to get new recipes, meal plans and a newsletter delivered straight to your inbox! And stay in touch on Facebook, TikTok, Pinterest and Instagram for all of the latest updates.

Ingredients
- 1 cup heavy cream
- 5 tablespoons unsalted butter, cubed
- 1 teaspoon large flake sea salt (Recommended: Maldon)
- 1 1/2 cups sugar
- 1/4 cup light corn syrup
- 1/4 cup water
Instructions
- Line an 8-inch square baking pan with lightly oiled parchment paper.
- Combine the heavy cream, cubed butter, and sea salt in a medium saucepan over medium heat and bring it to a boil. Once it’s reached a boil, remove it from the heat and set it aside.
- In a separate medium saucepan, combine the sugar, corn syrup and water and place it over medium heat, bringing it to a boil and swirling until it’s golden brown in color. Do not stir.
- Carefully stir the cream mixture into the sugar mixture. Be careful, as it will bubble up. Continue cooking the mixture, stirring occasionally, until it reaches 248ºF on a thermometer, about 12 minutes.
- Once the mixture has reached 248ºF, immediately pour it into the prepared pan and let cool for at least 2 hours.
- Once the caramel has cooled completely, use a sharp knife to cut the block into 40 candies. Store candies in an airtight container until ready to eat.
Kelly’s Notes
- The candy-making process goes quickly, so before you start, measure out your ingredients, prepare your pan, and have everything near the stove so it’s ready to go when you need it.
- For an accurate temperature reading, the tip of the thermometer should be completely immersed in the mixture but not touching the bottom of the pan.
- Once the sugar and water are mixed together, let it heat and boil without stirring.
- Cook the sugar mixture long enough for it to turn a deep golden brown to develop the caramelized flavor and brown color.
- Soaking the pan and utensils in very hot water will dissolve the sticky sugar mixture and make it easier to clean the dishes.
- ★ Did you make this recipe? Don’t forget to give it a star rating below!
Nutrition
Shoutout
Did you try this recipe?
Share it with the world! Mention @justataste or tag #justatasterecipes!
This post may contain affiliate links.
Recipe adapted from Gourmet.



Hi, I’ve been dying to try these and haven’t had the time until now. I followed everything to a T and while they look pretty, they did not set at all (I even left them in the pan overnight to set up more). When I went to lift them out of the pan, they just spread out into a goopy mess. Any ideas what could have went wrong? I took it off the stove at 248 deg. Maybe I didn’t let the sugar mixture brown enough before I added the milk mixture to it?? It was a light caramel color when I added it. Help! Thanks!
Hi Tandra! If the caramels are too soft, that means the temperature didn’t get high enough. It could be that your thermometer isn’t reading accurately or that it was touching the bottom of the pan (does your thermometer have a clip for the edge of the pot to hold it up off the bottom?). You can check the accuracy of your thermometer by placing it in boiling water. If it registers 212°F or 100°C, you are good to go. If not, it is time to replace it. I hope this helps!
I was a bit nervous to make these after reading some of the comments, but I followed the recipe to a T and my caramels turned out perfect! I’m so happy with the results that I’m going to make another batch to give as gifts. Thank you!!!!
Awesome! I’m so glad you enjoyed the recipe, Kelsey!
hello,
whilst indulging in the wonderful process of creating your “homemade samoas” cookies, we ran into a few issues regarding this caramel recipe. we found the not-stirring aspect of this recipe to be problematic, as the caramel at the top hardened into a pale, pock-marked shell (hehe), and the caramel at the bottom burnt into a mixture with similar color to barbecue sauce. it tasted like the death of our hopes and dreams for the future. disappointed and disillusioned, we poured the caramel into the trash, along with all of our confidence and self-respect. do you have any suggestions to avoid this going forward? aside from this caramel fiasco, we deeply enjoyed your inventive and flawless recipe for the samoas cookies!
I just made about six batches of these as holiday gifts and there are a few things I noticed:
If your candies are coming out pale, it’s because you need to let the sugar/corn syrup/water mixture boil for longer to darken. Maybe it’s just my pot/stovetop combination but it took about 45 minutes for the sugar mixture to get to the golden brown color. I’m not sure how this would only take 20 minutes. The whole process took almost an hour for me!
If you’re making a ton of these, isntead of cutting a bunch of individual squares of waxed paper to wrap them, head to Smart&Final and get a package of patty paper. It’s the waxed paper that they put between frozen hamburger patties and it works just great!
Hi there! So I just finished my second batch of these (The first batch I made I didn’t brown the sugar enough, so while it was good it was very very pale.) and they are so good! and so easy! Thank you for the recipe
Awesome! So glad you enjoyed them :)
Thanks for the response. FYI the glucose syrup worked a treat. Delicious, thanks. I’m planning to use the result in some dark, dense brownies.
Can I substitute glucose syrup for corn syrup? Corn syrup is proving to be difficult to find in australia.
Hello – I don’t have experience cooking with glucose syrup so I can’t say for certainty if you’ll get the exact same result in this recipe if you were using corn syrup.
I am going to make these tonight! !! I cannot wait to try! I’ll let you know how they turn out!!!
Unfortunately no, and thats where I went wrong. Do you have any suggestions on what I can do with my unset caramel?
Hi Atir, I can’t say for certain if reheating the sugar will work, but does it maybe work as a sauce over ice cream? Just an idea :)
Hi, my caramels did not set.
Hi Atir, Were you using a candy thermometer to make sure the sugar reached the correct temp?
Can you use a regular meat thermometer?
Hi Alia! The thermometer has to be able to be submerged in hot liquid (i.e. sugar) and read to the correct temp.
Hey Kelly, I want to have an idea, I have the two kinds of Caramels candy here at home, the Chewy and the Hard one, this Homemade one should be what kind?!
do you stir the caramel after adding cream and cooking to 248?
Hi Sandioh! You have to stir the cream mixture into the sugar mixture before it reaches 248ºF, but after that, no stirring is required.