
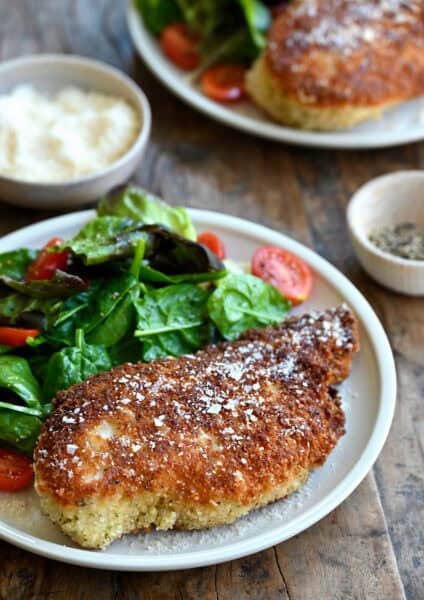
Chicken Milanese is a quick, foolproof recipe featuring thin, crispy breaded chicken cutlets, topped with a peppery arugula salad and a squeeze of fresh lemon juice for a flavor-packed meal. Best of all, it’ll be on your dinner table in 30 minutes or less!
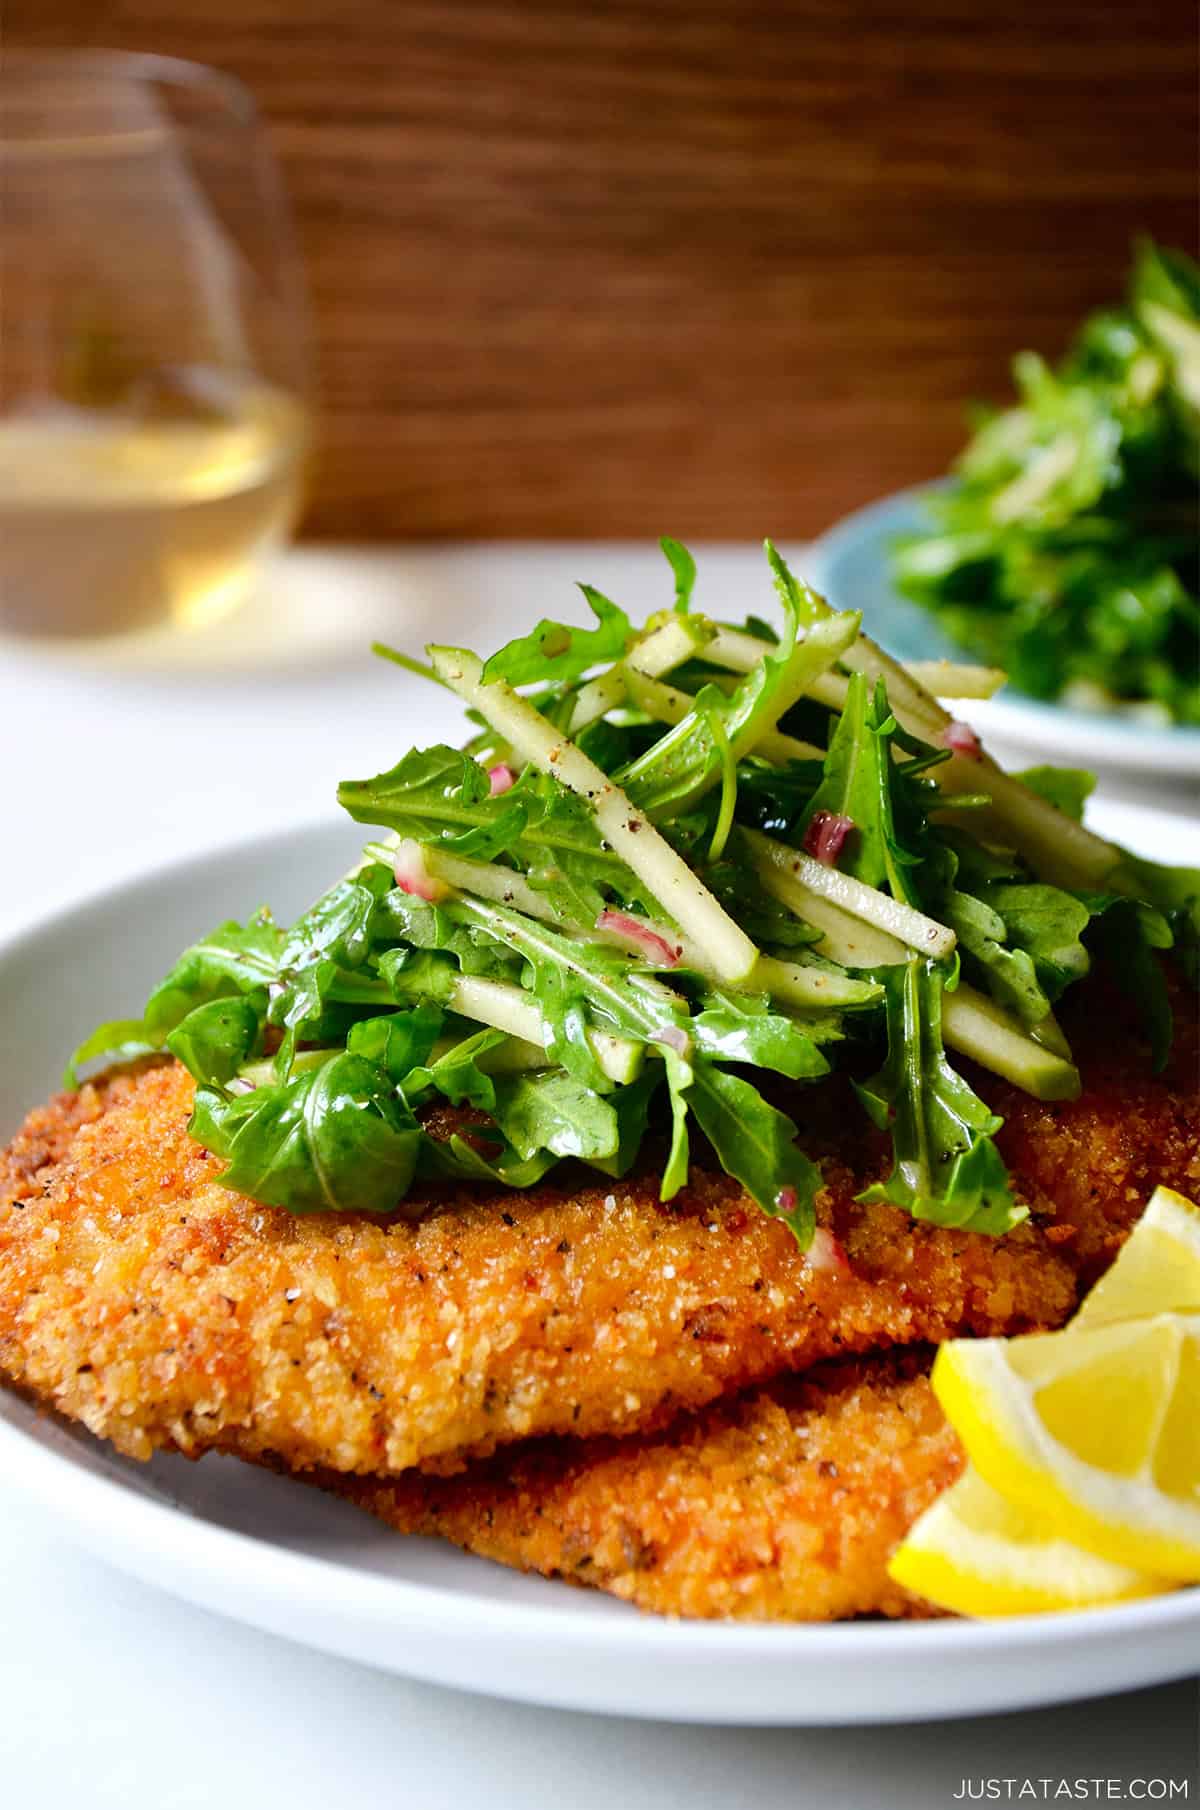
Table of Contents
Two words: Chicken Milanese.
These crispy breaded cutlets have been a part of my weeknight recipe repertoire for as long as I can remember. As a child, I knew them as “Little Guys,” a seemingly obscure alias for my Hungarian family’s take on traditional wiener schnitzel. And now, I know the meal simply as Chicken Milanese.
Regardless of what you call it, one thing is certain: It’s hard to beat the pairing of a crispy, golden brown breadcrumb crust and a tender, moist chicken breast. The delicious duo turns into a tasty trio with the addition of a simple green apple salad tossed in a Dijon mustard vinaigrette. Best of all, the entire meal will be on your table in 30 minutes or less.
What is Chicken Milanese?
Chicken Milanese is a classic Italian dish where chicken breasts are pounded super thin, coated in flour, eggs, and breadcrumbs, then fried to crispy, golden perfection. It’s similar to the Milanesa dishes of Latin America and the schnitzels of Eastern Europe. Think of it as the grown-up version of the chicken tenders we all secretly love.
It’s foolproof, quick and ideal for busy weeknights, but it’s also elegant enough for a weekend dinner party.
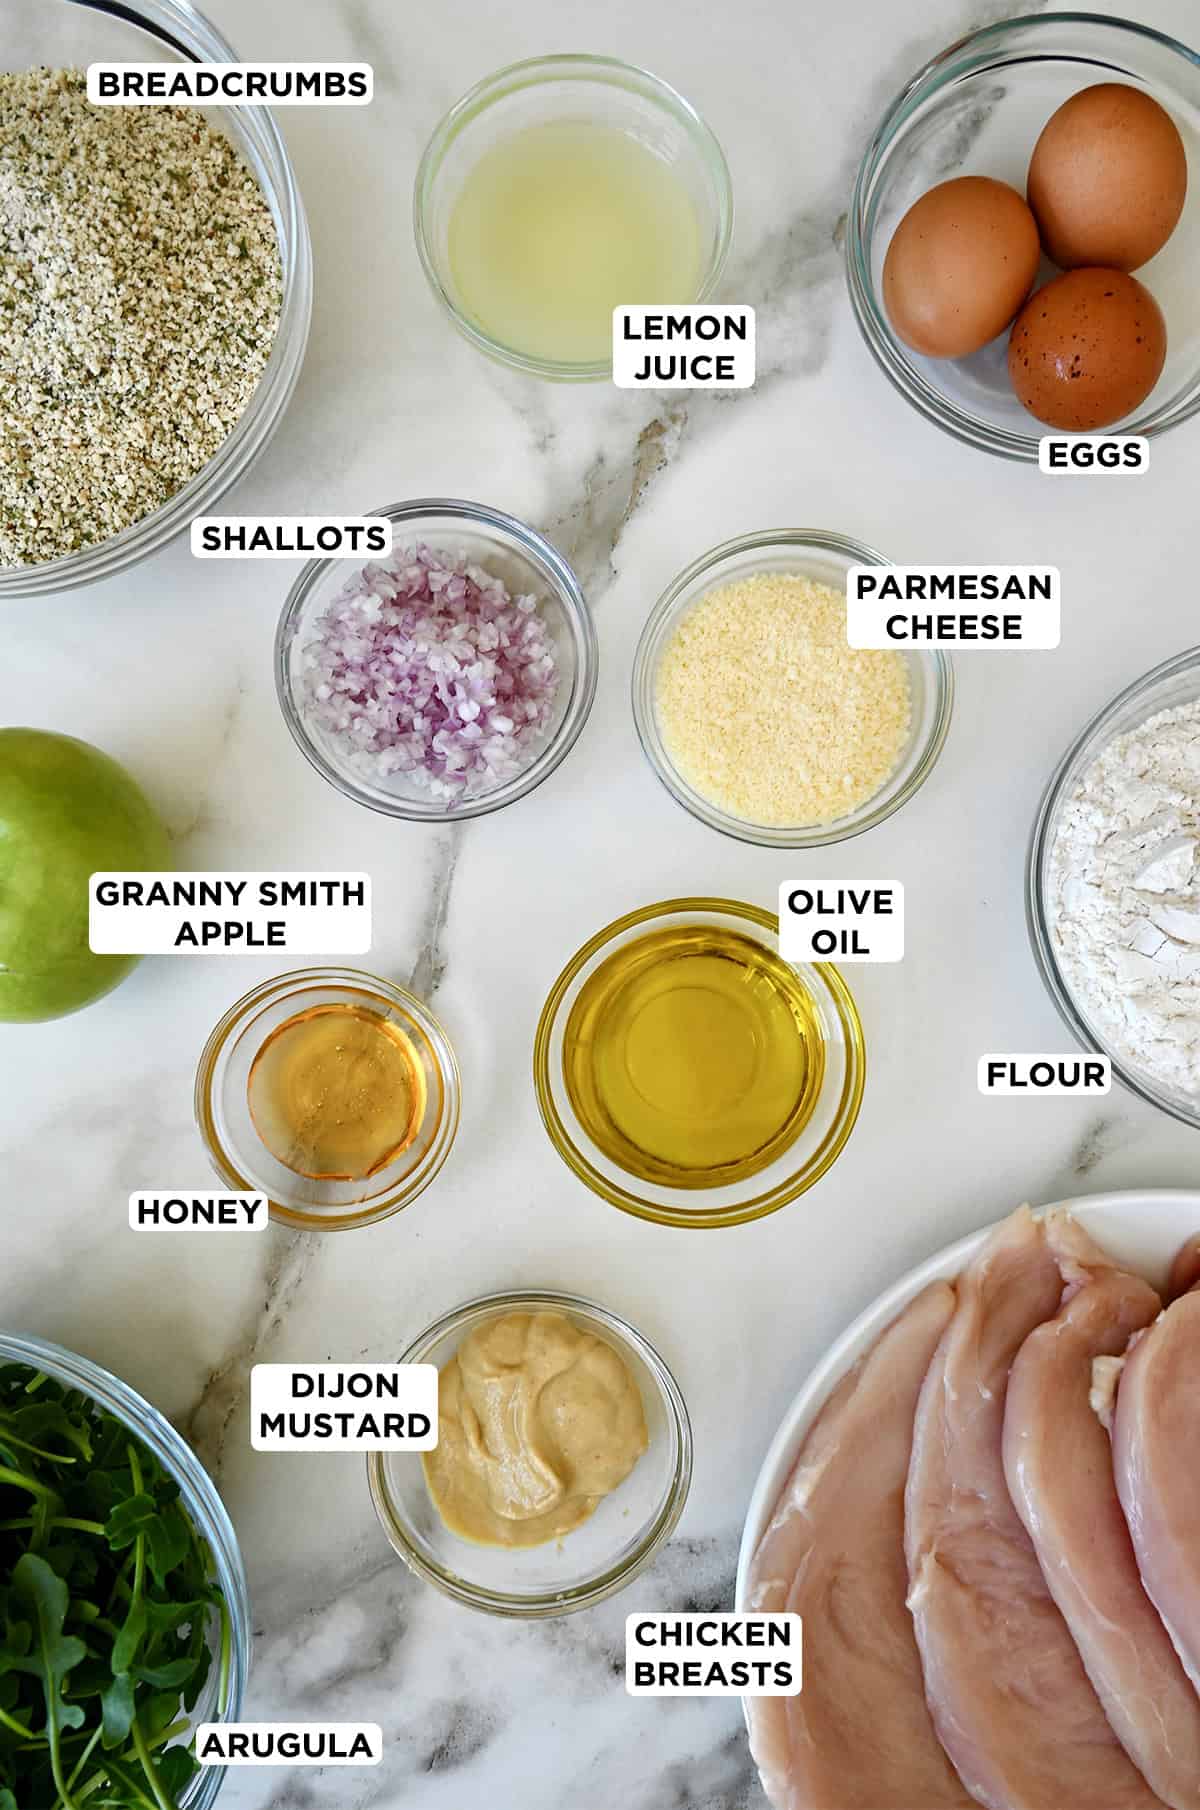
- Boneless, skinless chicken breasts: Pounding the chicken breasts until they’re about ¼ inch thin is the secret to getting that quick, even cooking. Thin cutlets also give you that perfect balance of crispy coating and juicy chicken in each bite.
- All-purpose flour: The first step in the dredging process that helps the eggs and breadcrumbs stick.
- Eggs: Whisk the eggs until smooth, as they act as the glue for the breadcrumbs.
- Panko breadcrumbs: Light and crunchy, these Japenese-style breadcrumbs are the key to that irresistible crispiness because they fry up crispier than traditional breadcrumbs. I keep it simple by seasoning mine with just a pinch of salt and pepper, but if you want to amp up the flavor, go for Italian-style Panko breadcrumbs
See the recipe card for full information on ingredients and quantities.
For The Chicken
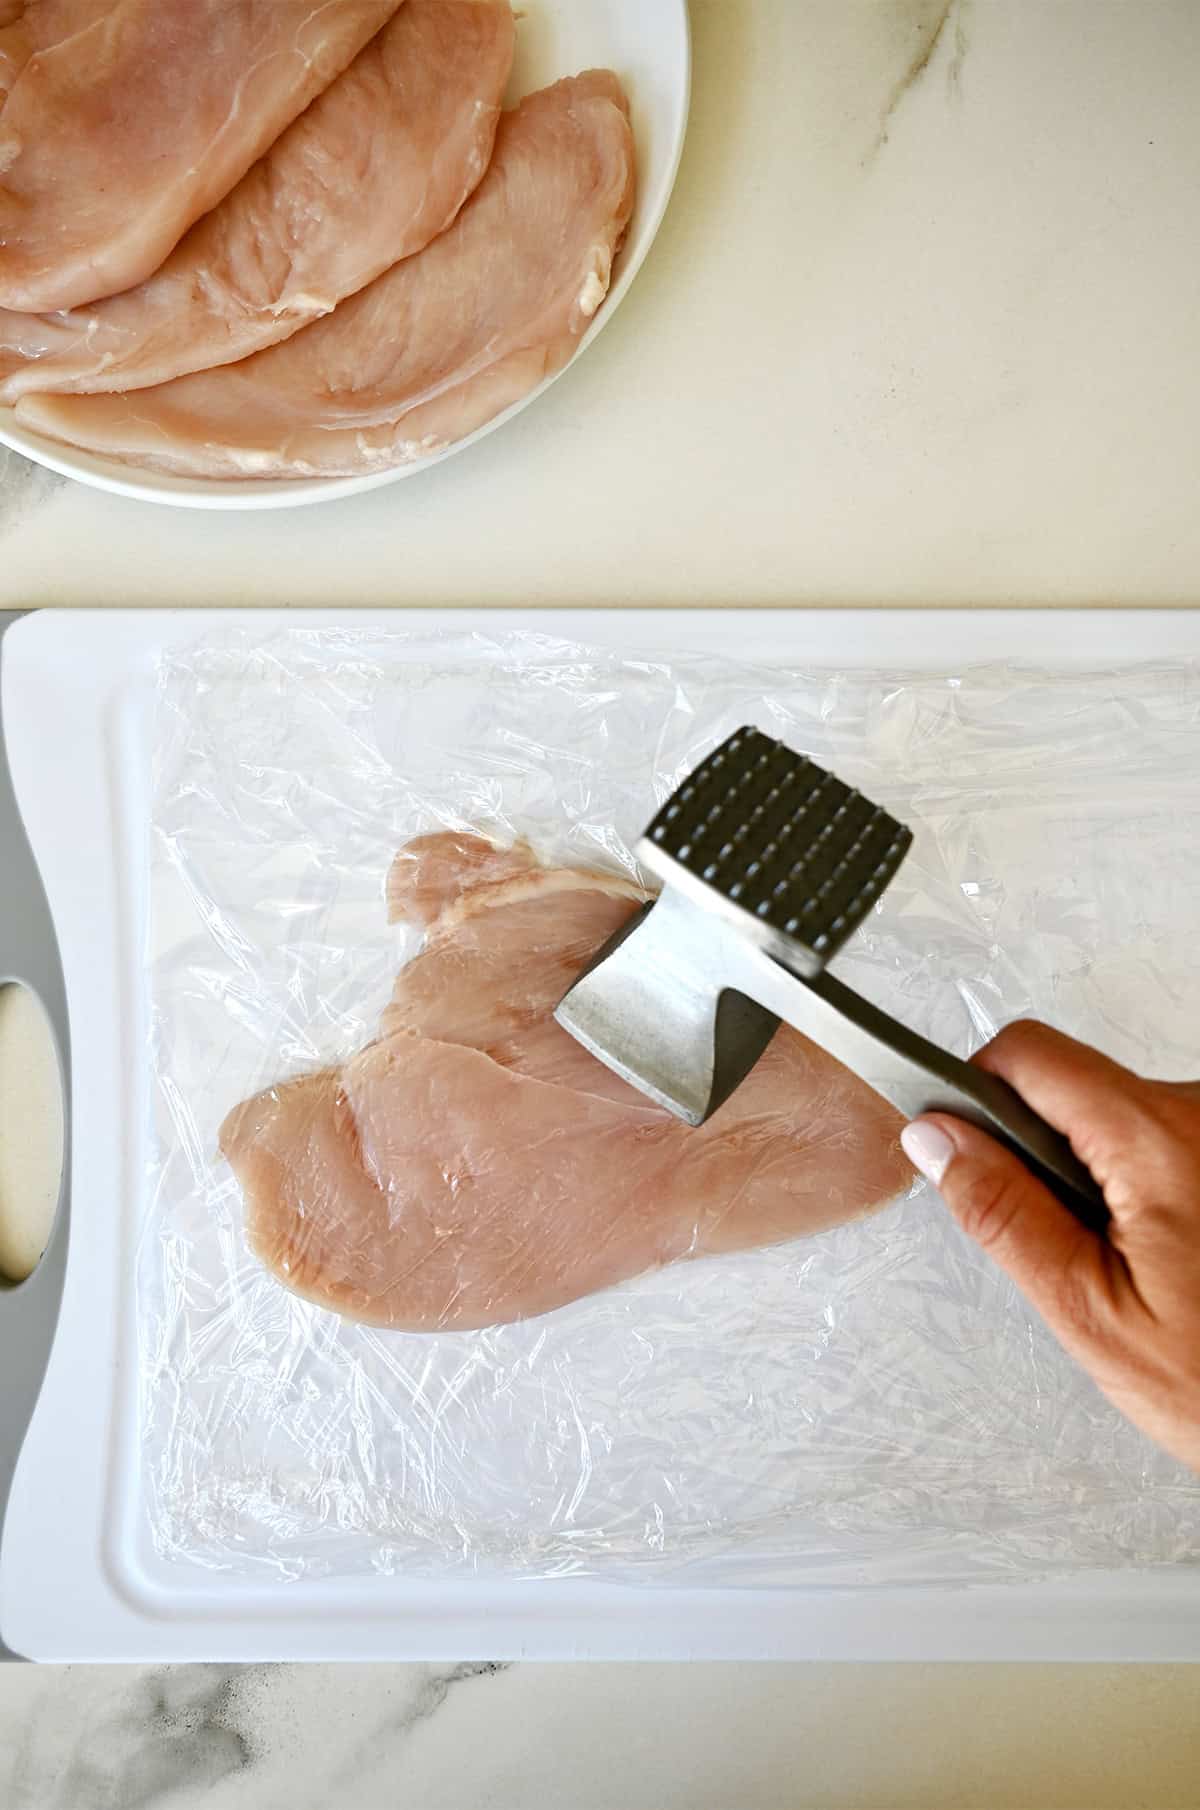
- Pound the chicken. Clean and dry the chicken breasts, then place each one between two sheets of wax paper or plastic wrap. Using a meat mallet (or the bottom of a heavy pan if you’re improvising), pound the chicken breasts until they are about 1/4-inch thick.
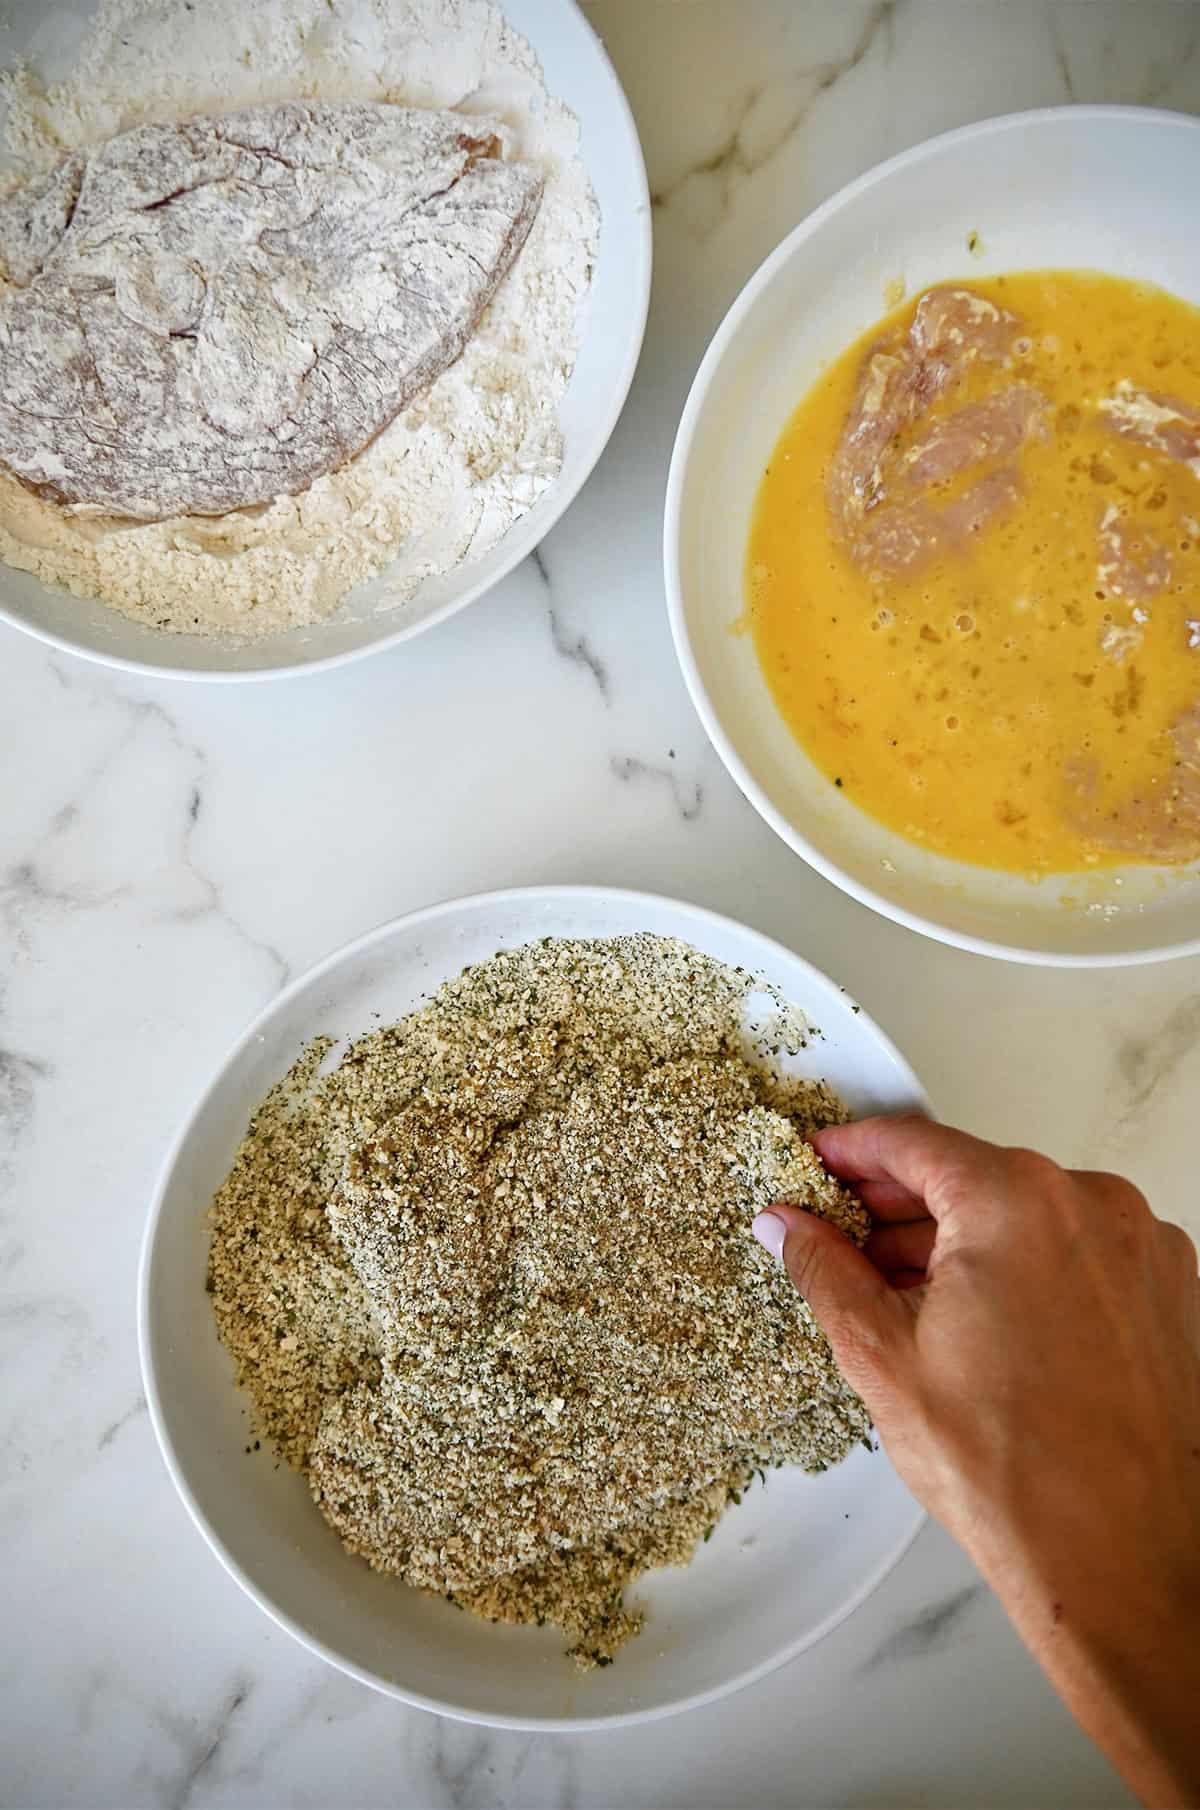
- Set up your breading station using three shallow dishes. Fill one with flour, another with whisked eggs and the third with breadcrumbs. Season each dish with a little salt and pepper. Start by dredging each chicken cutlet in the flour, then dip it into the eggs and finally coat it with the seasoned breadcrumbs. I recommend gently pressing the breadcrumbs onto the cutlet to ensure they stick well.
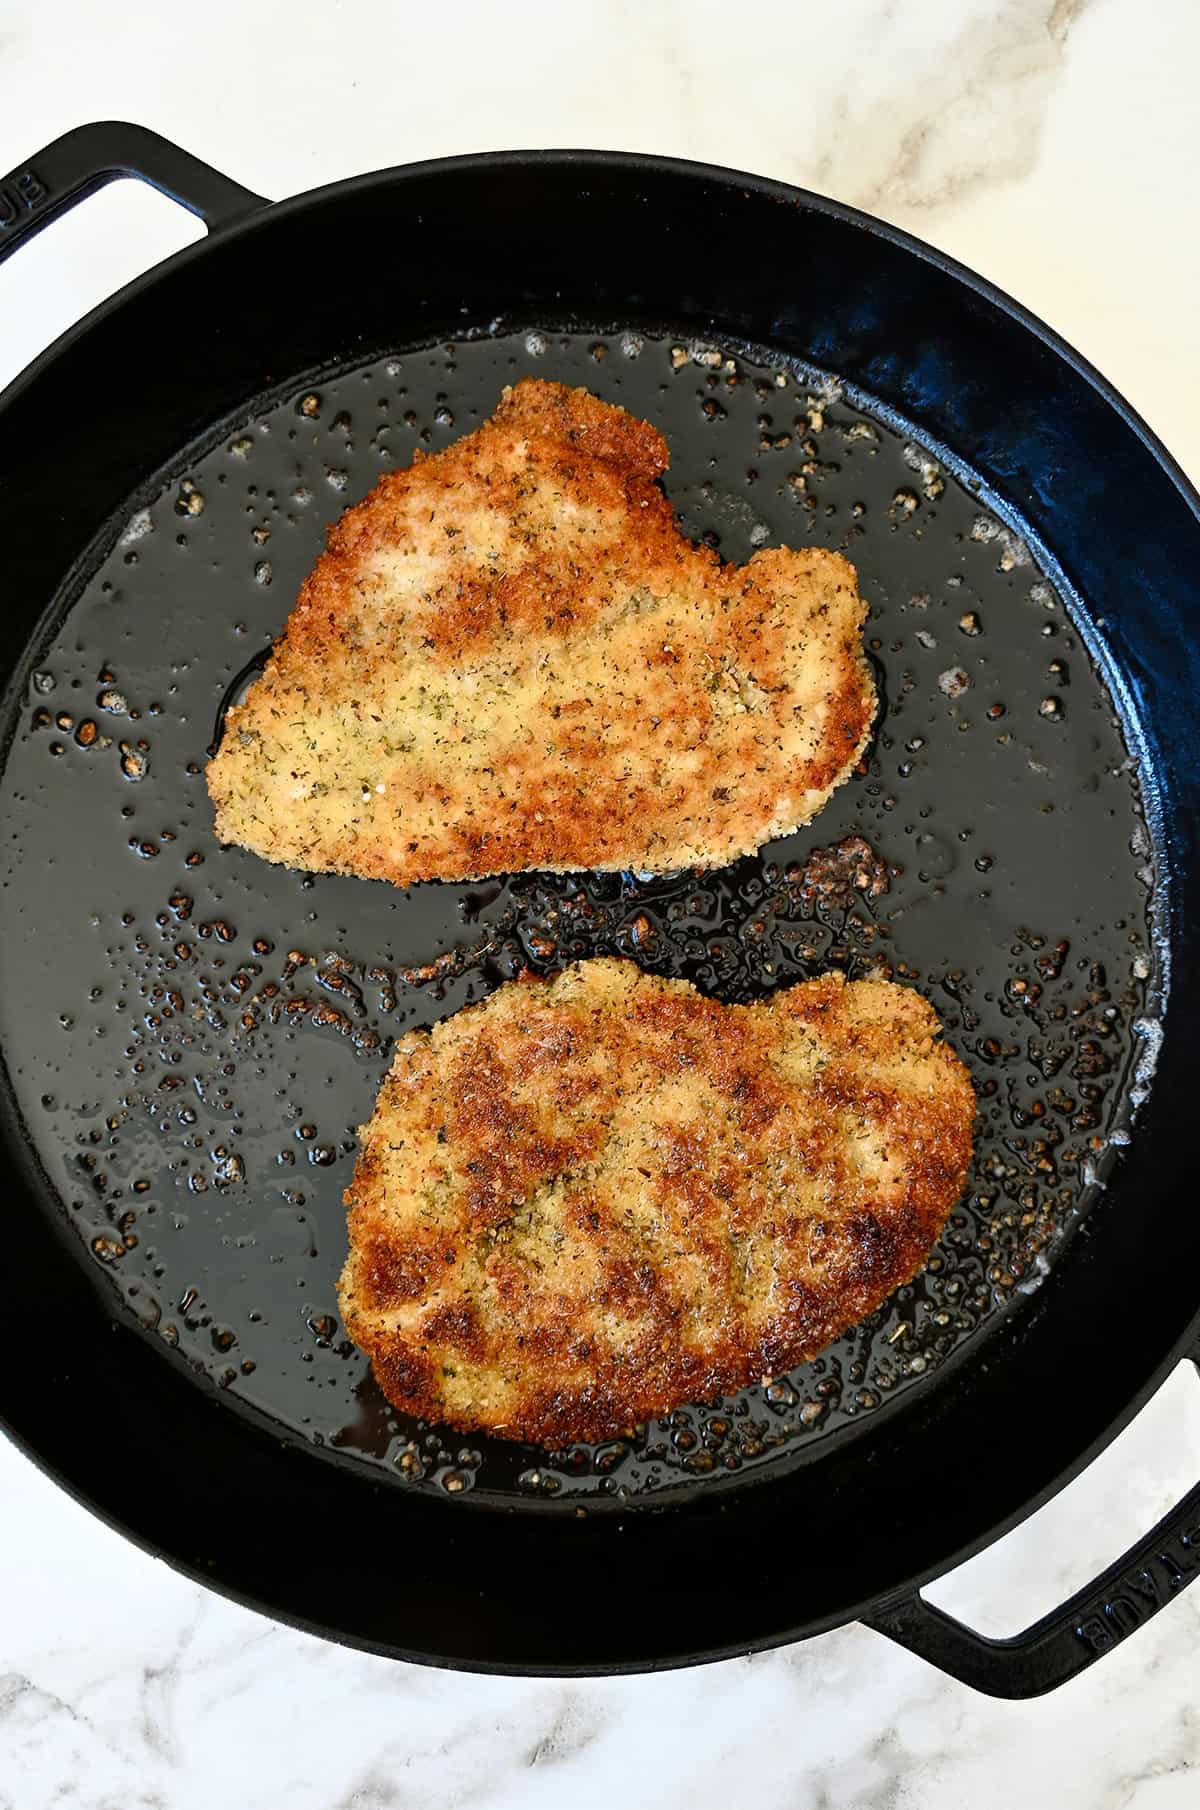
- Fry the chicken. Heat a generous amount of olive oil in a large skillet over medium heat. Once the oil is hot (it should sizzle when you dip a small piece of the chicken in), add two breaded cutlets. Fry for about 3-4 minutes per side, until they’re crispy, golden brown and fully cooked through. Once cooked, transfer the cutlets to a plate lined with paper towels to drain excess oil, and sprinkle them lightly with salt.
For the Salad and Serving
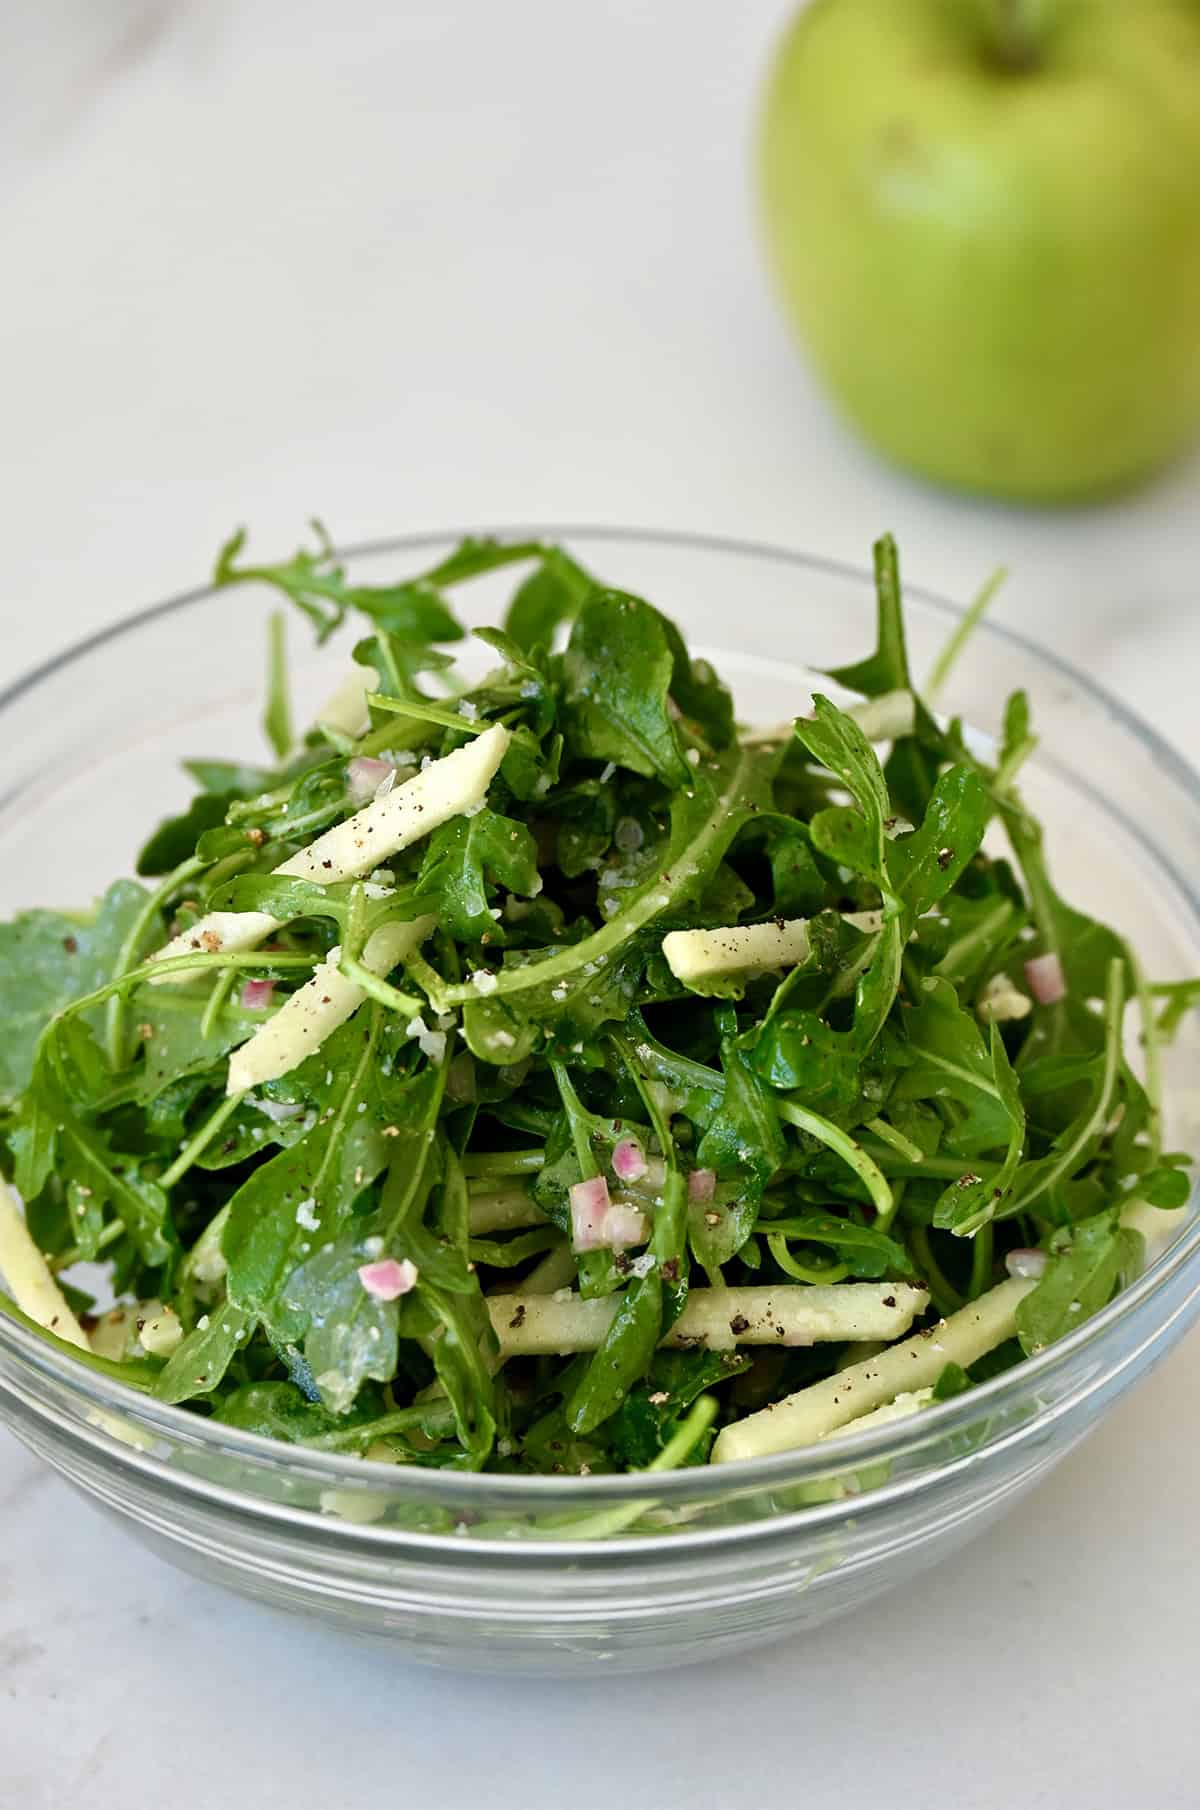
- Make the salad. Whisk together the salad dressing ingredients: shallots, Dijon mustard, lemon juice, honey and olive oil. Slice the Granny Smith apple into thin matchsticks, then toss the apple slices, arugula, and shredded Parmesan with the prepared dressing.
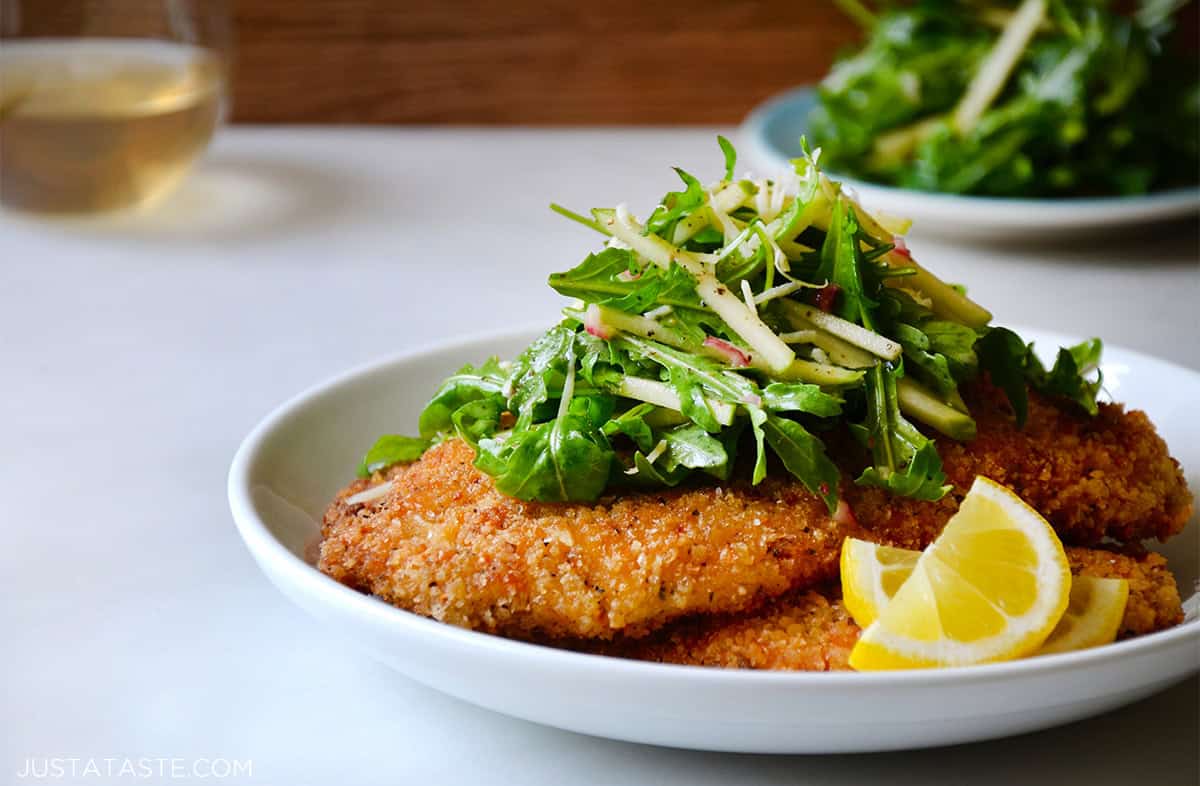
- Serve. Plate the chicken Milanese and top with the refreshing apple and arugula salad. Serve immediately with a few lemon wedges on the side. This crunchy salad perfectly complements the richness of the fried chicken!
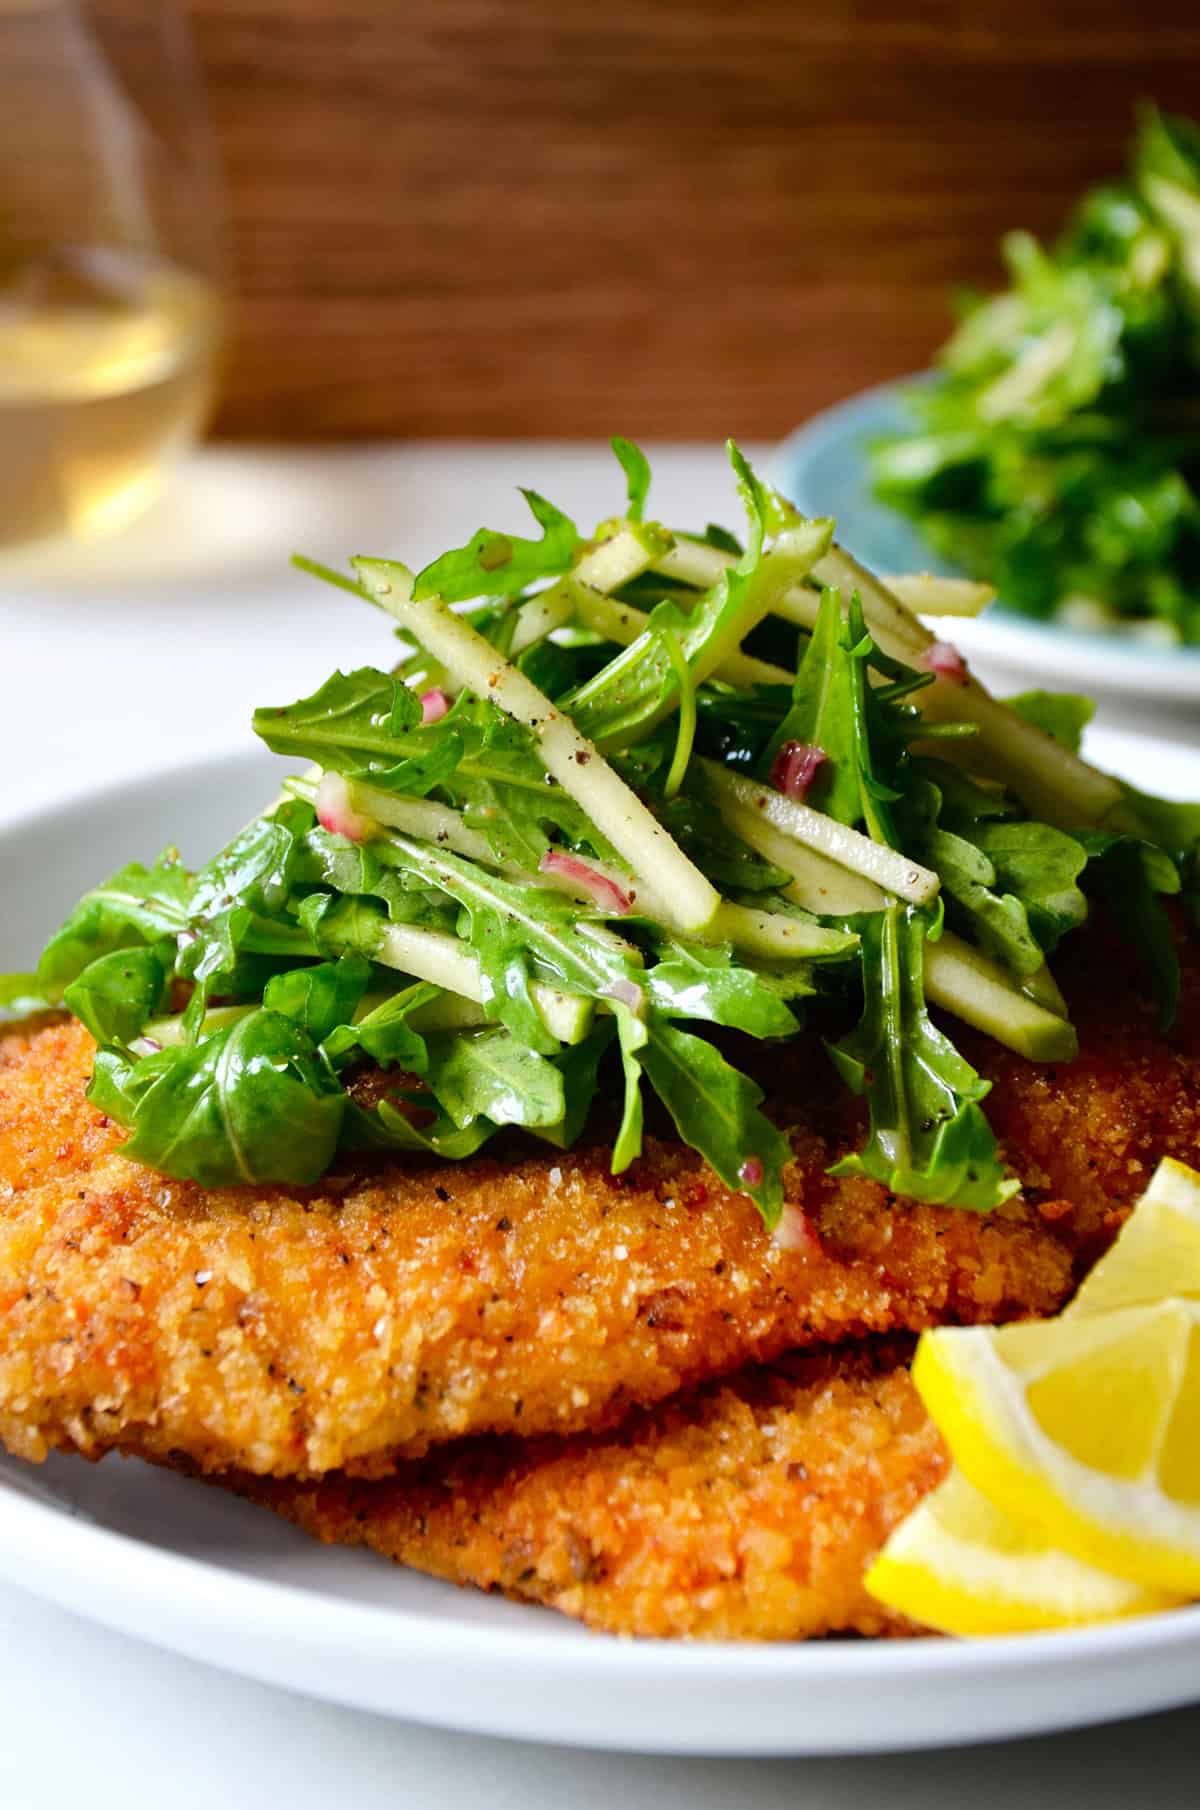
While chicken Milanese is traditionally served with a simple salad of arugula and tomatoes, I love the addition of the tart and sweet Granny Smith apples for extra crunch and flavor. But don’t stop there! You can also serve the crispy cutlets atop pasta, toss them into salads or layer them in sandwiches.
And for a little extra fun, dice the cutlets into bite-sized pieces and call them “nuggets” for the kiddos—big Mom win!
- Storage: Leftovers can be stored in the fridge for up to 4 days.
- Make ahead: You can bread the chicken up to 1 day in advance and store it in the fridge until you’re ready to fry. I like to place the cutlets on a baking sheet lined with parchment paper and cover them tightly with plastic wrap. Additionally, you can make the salad dressing up to one week in advance. Just store it in an airtight container in the fridge and give it a good shake or stir before serving, as some of the ingredients may separate. This is a great time-saver for busy weeknights!
- Use tongs or a fork when breading, or use the “one hand dry, one hand wet” method to keep your fingers clean. Use one hand for the dry ingredients (flour and breadcrumbs) and the other for the wet ingredients (eggs).
- Make sure the oil is hot enough (but not smoking!) before frying, and don’t overcrowd the pan. This guarantees crispy cutlets without absorbing too much oil. Depending on your pan size, you may only fit one or two cutlets at a time, but this will ensure even cooking.
- Use a different protein. This recipe works just as well with pork or veal if you want to try something different.
- Keep chicken warm: If you’re cooking in batches and want to keep the chicken warm while you finish frying, place the cooked cutlets on a wire rack set over a baking sheet and keep them in a 250°F oven. Using a rack allows air to circulate, which helps keep the breading crisp rather than soggy.
- When frying for a crowd, I use two skillets simultaneously to speed things up.
Ingredients
For the chicken:
- 4 medium boneless, skinless chicken breasts
- 1 cup all-purpose flour
- 3 large eggs
- 2 1/2 cups Panko breadcrumbs
- Olive oil
For the salad:
- 1 Tablespoon minced shallots
- 2 Tablespoons Dijon mustard
- 1/4 cup freshly squeezed lemon juice
- 1 Tablespoon honey
- 1/4 cup olive oil
- 3 cups arugula
- 1 large Granny Smith apple
- 1/3 cup shredded Parmesan cheese
Instructions
Make the chicken:
- Clean and thoroughly dry the chicken breasts then place each between two pieces of wax paper. Using a meat mallet or the back of a skillet, pound the chicken so that it is about 1/4-inch thick.
- Set up a breading station by placing the flour in one large, shallow dish. Crack the eggs into a second large, shallow dish and whisk them. Place the breadcrumbs in a third large, shallow dish. Season the flour, eggs and breadcrumbs with salt and pepper.
- Thoroughly dry off each chicken bread then coat it first in the flour, then in the eggs and then in the breadcrumbs, pressing the breadcrumbs into the chicken until they’ve adhered to the eggs. Repeat the breading process with the remaining three chicken cutlets.
- Line a sheet tray or plate with paper towels. Heat two large sauté pans over medium low heat. Add enough olive oil to each pan so that it’s thoroughly coated. Test the hotness of the oil by dipping a small corner of one of the breaded chicken cutlets into the pan. The oil should sizzle instantly. If it does not, allow the oil to continue heating before you begin cooking the chicken. Once the oil is hot enough, add two chicken cutlets to each pan. Cook them for several minutes on one side until they’re golden brown, then flip them once and continue cooking until the second side is browned and the chicken is fully cooked.
- Transfer the cooked chicken cutlets from the pans onto the paper towel-lined baking sheet and immediately season them with salt.
Make the salad:
- In a medium bowl, whisk together the shallots, mustard, lemon juice, honey and olive oil. Season the dressing with salt and pepper to taste. Set the dressing aside.
- Slice the apple into thin matchsticks, then add the apple, arugula and Parmesan cheese to a large bowl and toss with the prepared dressing.
- Serve the chicken cutlets topped with the apple salad.
Kelly’s Notes
- Storage: Leftovers can be stored in the fridge for up to 4 days.
- Make ahead: You can bread the chicken up to 1 day in advance and store it in the fridge until you’re ready to fry. I like to place the cutlets on a baking sheet lined with parchment paper and cover them tightly with plastic wrap. Additionally, you can make the salad dressing up to one week in advance. Just store it in an airtight container in the fridge and give it a good shake or stir before serving, as some of the ingredients may separate. This is a great time-saver for busy weeknights!
- If you’re cooking in batches and want to keep the chicken warm while you finish frying, place the cooked cutlets on a wire rack set over a baking sheet and keep them in a 250°F oven. Using a rack allows air to circulate, which helps keep the breading crisp rather than soggy.
- ★ Did you make this recipe? Don’t forget to give it a star rating below!
Nutrition
Did you try this recipe?
Leave a comment below with your star rating!
This post may contain affiliate links.
Recipe by Kelly Senyei of Just a Taste. Please do not reprint this recipe without my permission. If you'd like to feature this recipe on your site, please rewrite the method of preparation and link to this post as the original source.

Please add me to your mailing list. I’m excited reading your recipes. Thank you.
Added! Welcome to the Just a Taste community, Marilyn!
This looks so good! Can’t wait to try it.
Enjoy, Taj!