
These fluffy sheet pan eggs are one of my favorite breakfast shortcuts for feeding any size crowd. Made with cottage cheese for extra protein and an ultra-creamy texture, they bake up perfectly in one pan and slice easily for breakfast sandwiches or meal prep. Think of it as a giant, sliceable omelette you can customize with all your favorite mix-ins.
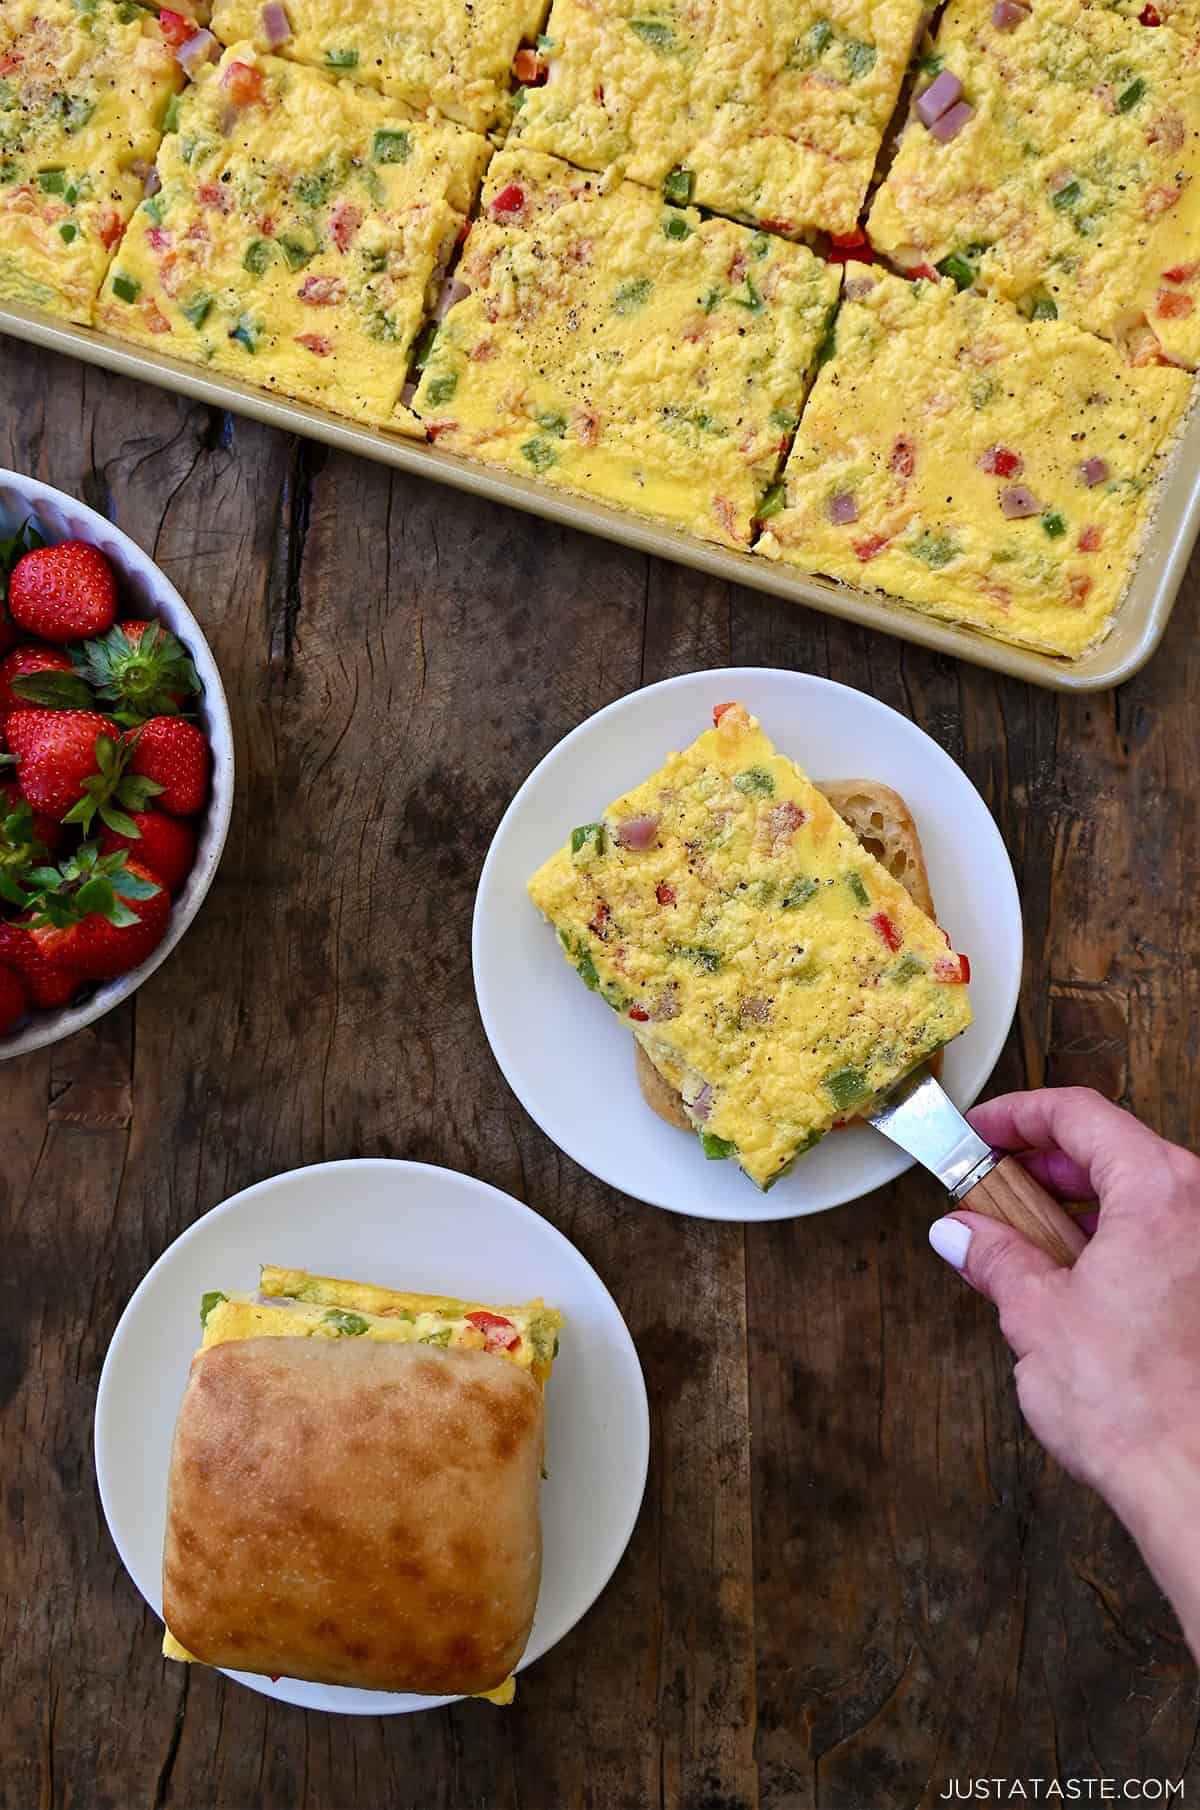
Table of Contents
Fluffy Sheet Pan Eggs with Cottage Cheese

I’m a big fan of sheet pan meals, from sheet pan pancakes to sheet pan teriyaki chicken. They’re quick, hands-off, and the easiest way to feed a crowd with minimal effort. And these sheet pan eggs are one of my favorite breakfast shortcuts, whether I’m serving brunch for a group or meal prepping for the week ahead.
This recipe is my go-to for fluffy, creamy eggs baked in the oven, made even better with a simple secret ingredient: cottage cheese. Blending cottage cheese into the eggs adds an extra boost of protein, keeps the eggs incredibly moist and tender, and creates a silky texture you’d never guess came from curds. Bonus: Even the pickiest of eaters won’t taste the cottage cheese, promise!
One batch makes enough eggs to serve about 12 people, which makes this recipe perfect for brunch spreads, busy mornings or breakfast meal prep. You can slice the eggs into squares and enjoy them as-is, or pile them onto toasted English muffins, bread or homemade bagels for easy breakfast sandwiches. Add veggies or shredded cheese right to the pan, skip the stovetop altogether, and let the oven do all the work.
If you’re looking for a stress-free way to make eggs for a crowd or prep breakfast for the week ahead, this sheet pan eggs recipe is about to earn a permanent spot in your rotation. And don’t forget the oven-baked bacon!
At its core, this recipe couldn’t be simpler. You only need two ingredients:
- Eggs: You’ll need 16 large eggs. This fills a standard rimmed half sheet pan perfectly and bakes up thick enough to slice into neat squares.
- Cottage cheese: This is the secret to extra-fluffy, creamy baked eggs. I recommend using full-fat (4%) cottage cheese for the creamiest texture; fat-free varieties can turn watery once baked. You don’t have to blend it first, but I highly recommend it. Blending cottage cheese creates a smooth, silky egg mixture and eliminates any visible curds (a win if you’re feeding kids or cottage cheese skeptics).
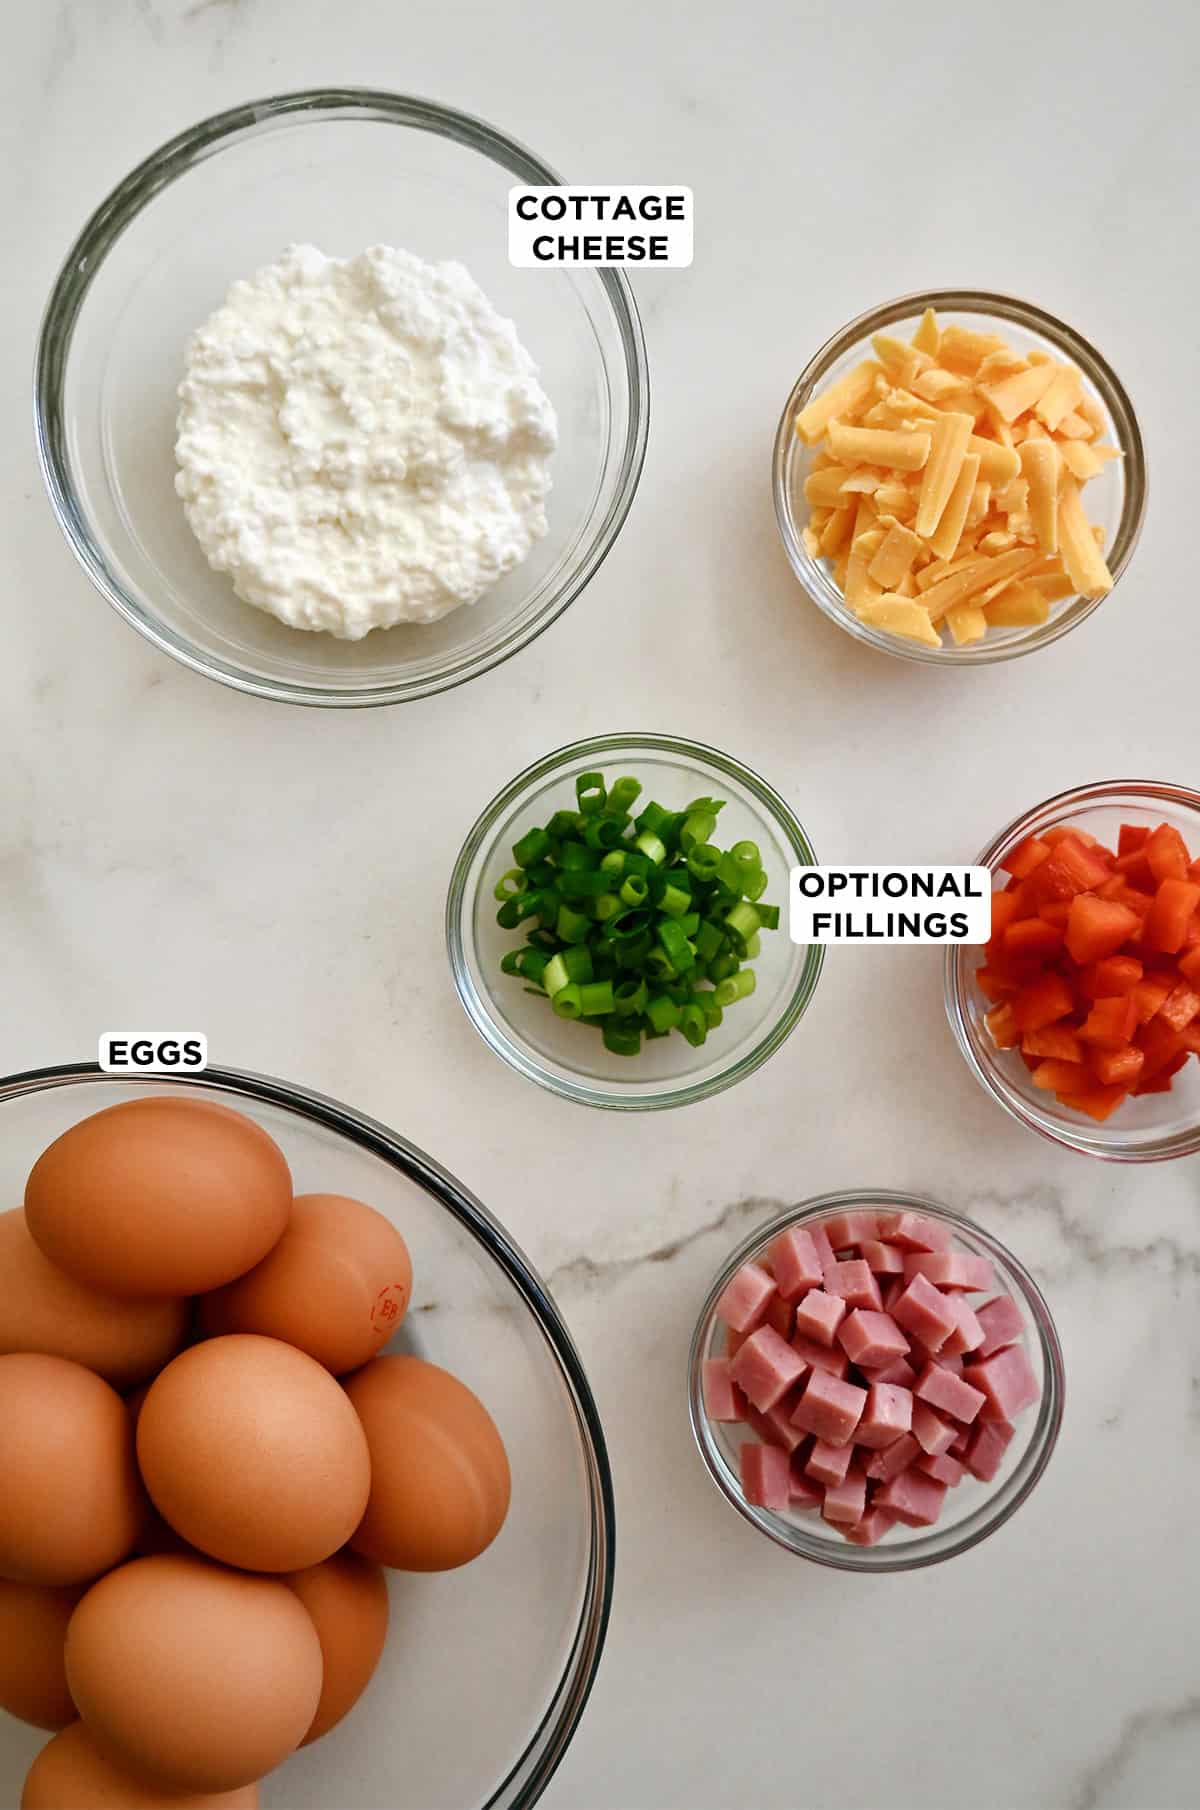
Optional Add-Ins
Think of this recipe as a blank canvas for all your favorite mix-ins. If you’d add it to an omelette or scrambled eggs, you can add it here, too. Scatter your add-ins evenly over the prepared baking sheet before pouring the egg mixture on top. No need to pre-cook vegetables, they’ll soften as the eggs bake.
Some of my favorite options:
- Chopped bell peppers, onions, spinach or broccoli
- Shredded cheddar, mozzarella, pepper jack or feta
- Cooked bacon, sausage or ham
- A pinch of everything bagel seasoning
How much to add: For best results, keep add-ins to about 1½ to 2 cups total. Overloading the pan can prevent the eggs from setting properly.
Start by preheating your oven to 350°F. Grab a rimmed half sheet pan (I love this one) and grease it well with cooking spray. Then line it with parchment paper and grease the parchment paper, too. This double layer makes removing and slicing the eggs completely foolproof—no sticking, no frustration.
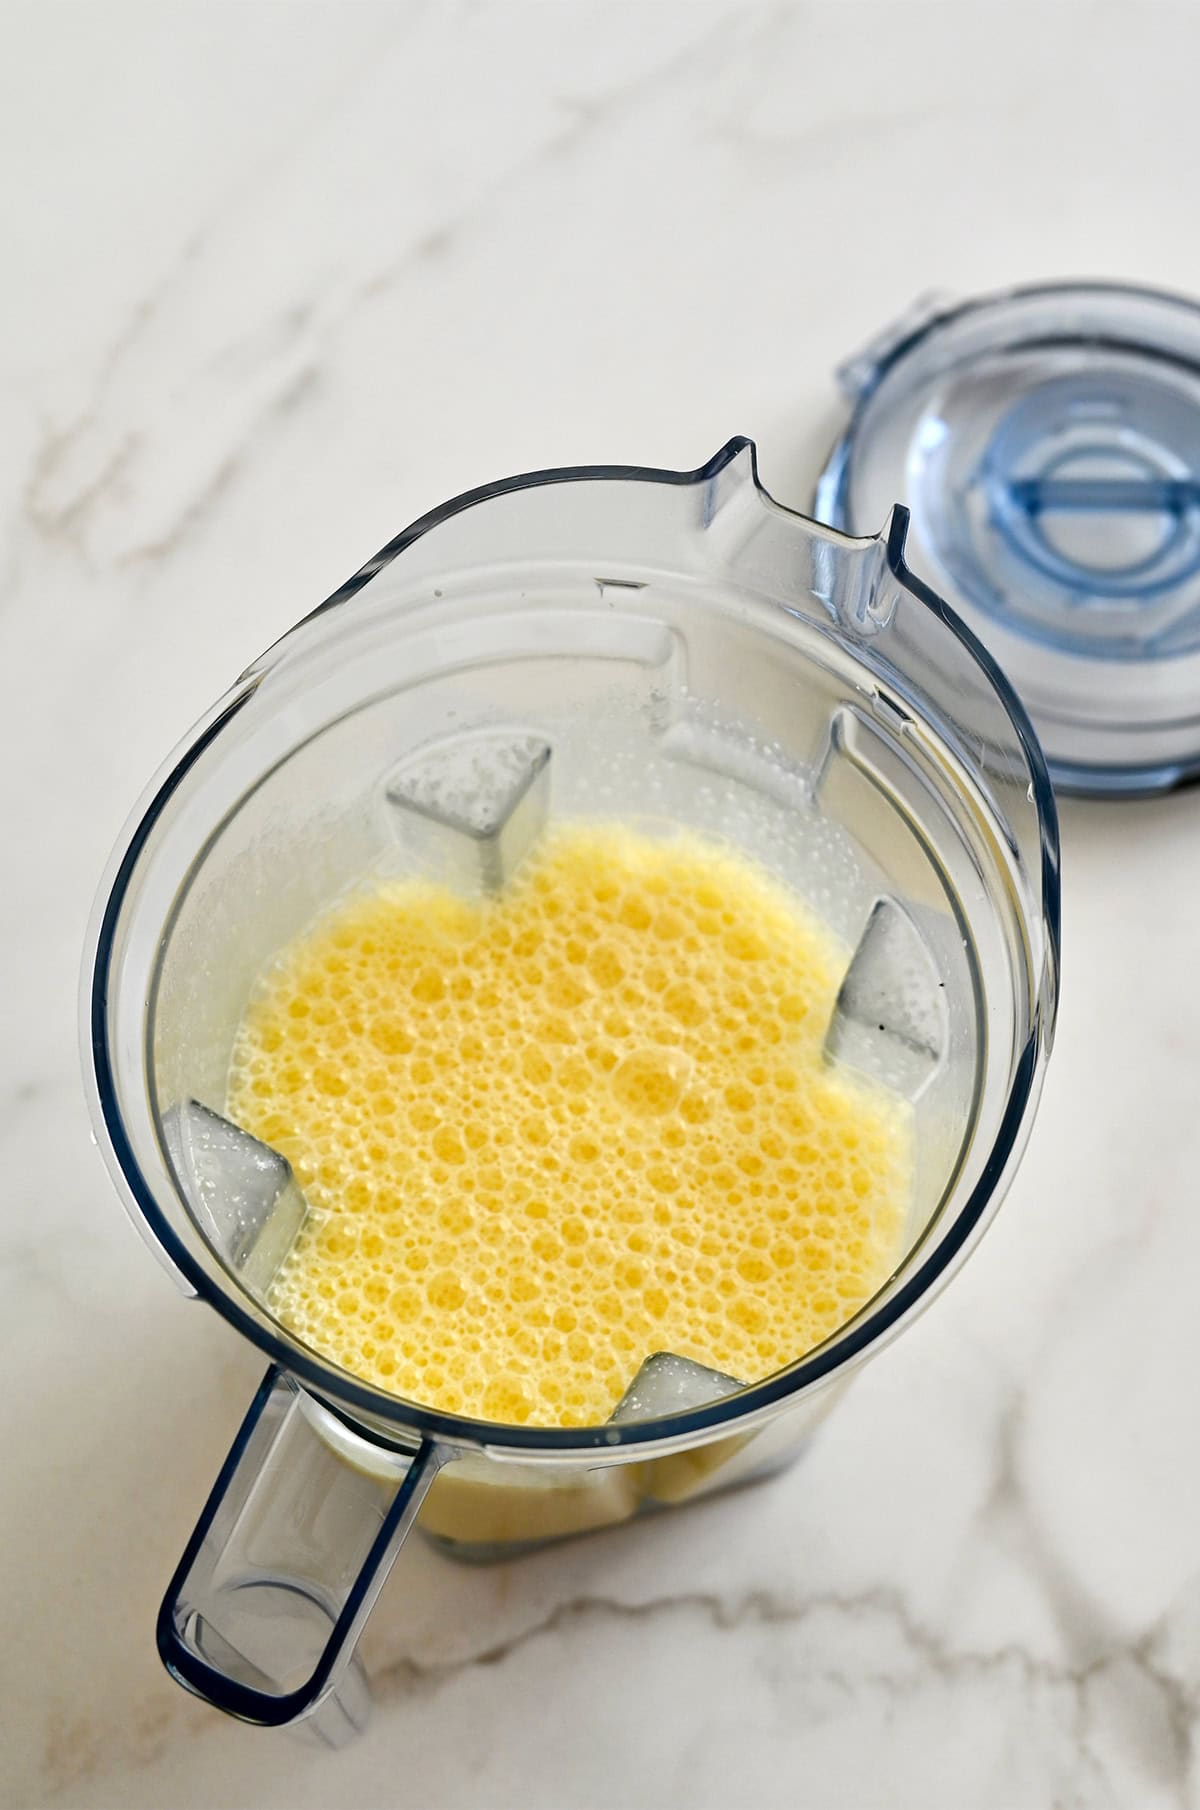
Add the eggs and cottage cheese to a blender along with a little salt and black pepper. Blend just until smooth and combined. You’re not whipping air into the eggs here—just creating a creamy, uniform mixture.
Why this matters: Blending on high for too long incorporates too much air, which can cause the eggs to puff up in the oven and then collapse as they cool. That’s how you end up with eggs that look wrinkly or feel spongy instead of soft, fluffy and creamy. A quick blend is all you need.

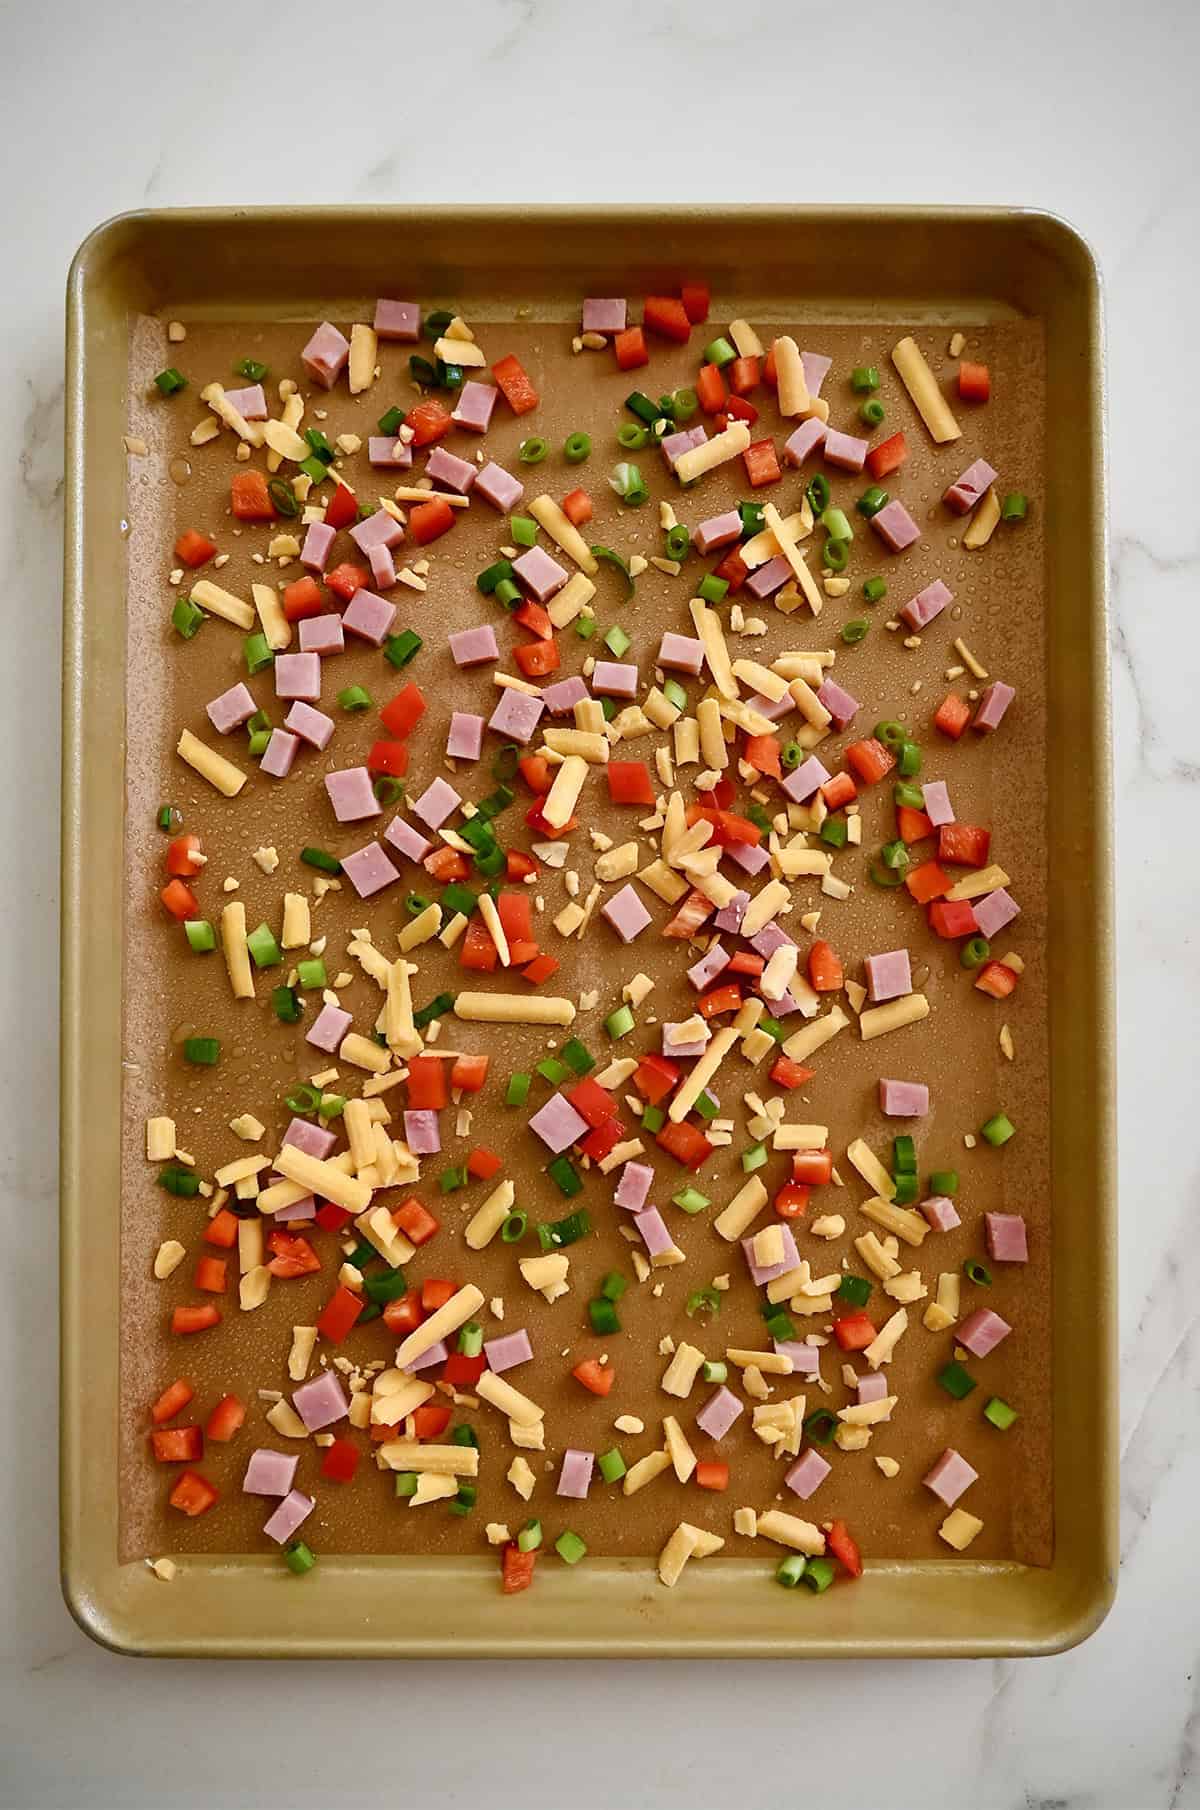
If you’re using veggies, cooked meats or shredded cheese, scatter them evenly over the prepared baking sheet.
My Favorite Trick for a Spill-Free Transfer
To avoid carrying a tray full of liquid across the kitchen, I like to place the empty sheet pan directly on the oven rack first, then carefully pour the egg mixture onto the pan. That said, pouring the eggs into the pan on the counter works just fine, too. Do what feels easiest for you.
Bake until the eggs are just set, about 15–18 minutes. The center should look firm and no longer jiggly. Avoid overbaking. Eggs continue to cook slightly as they cool, and pulling them at the right moment keeps them soft and moist.


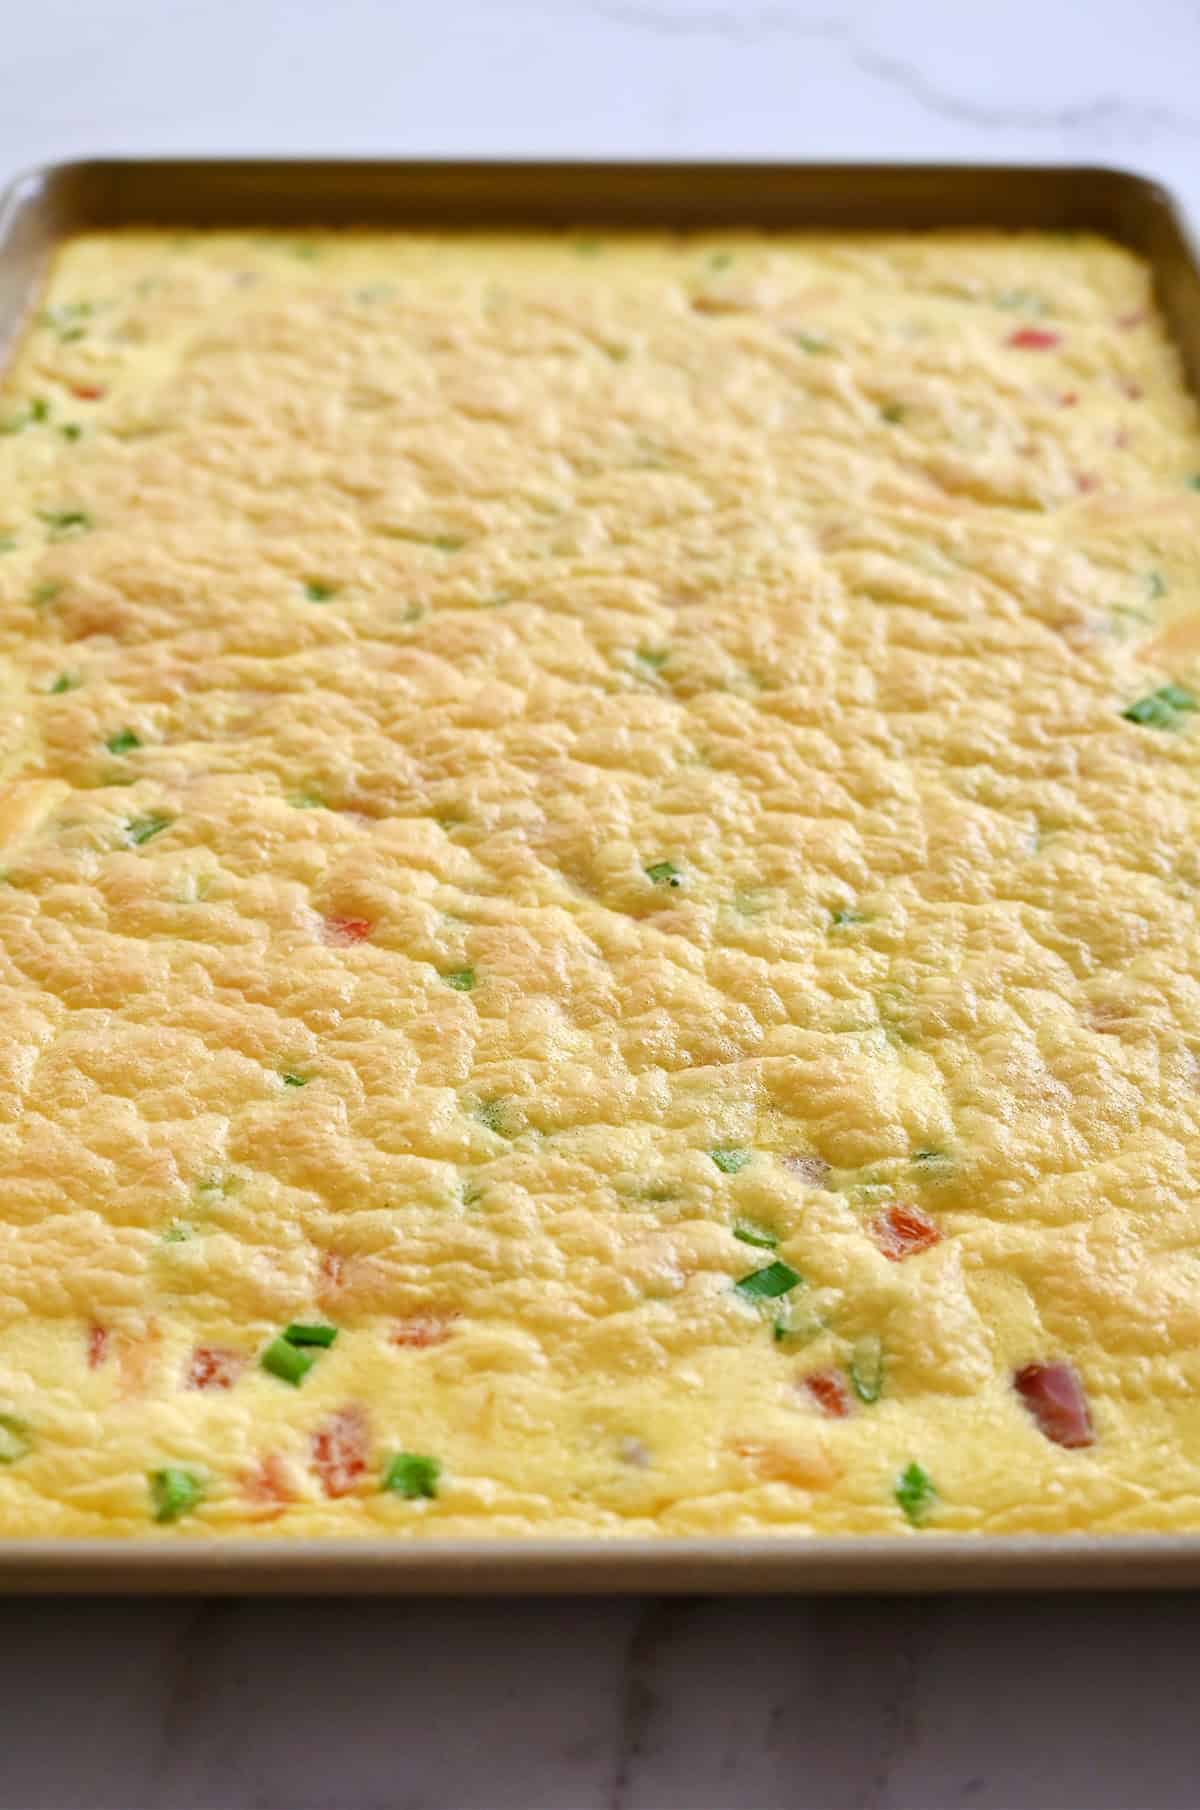
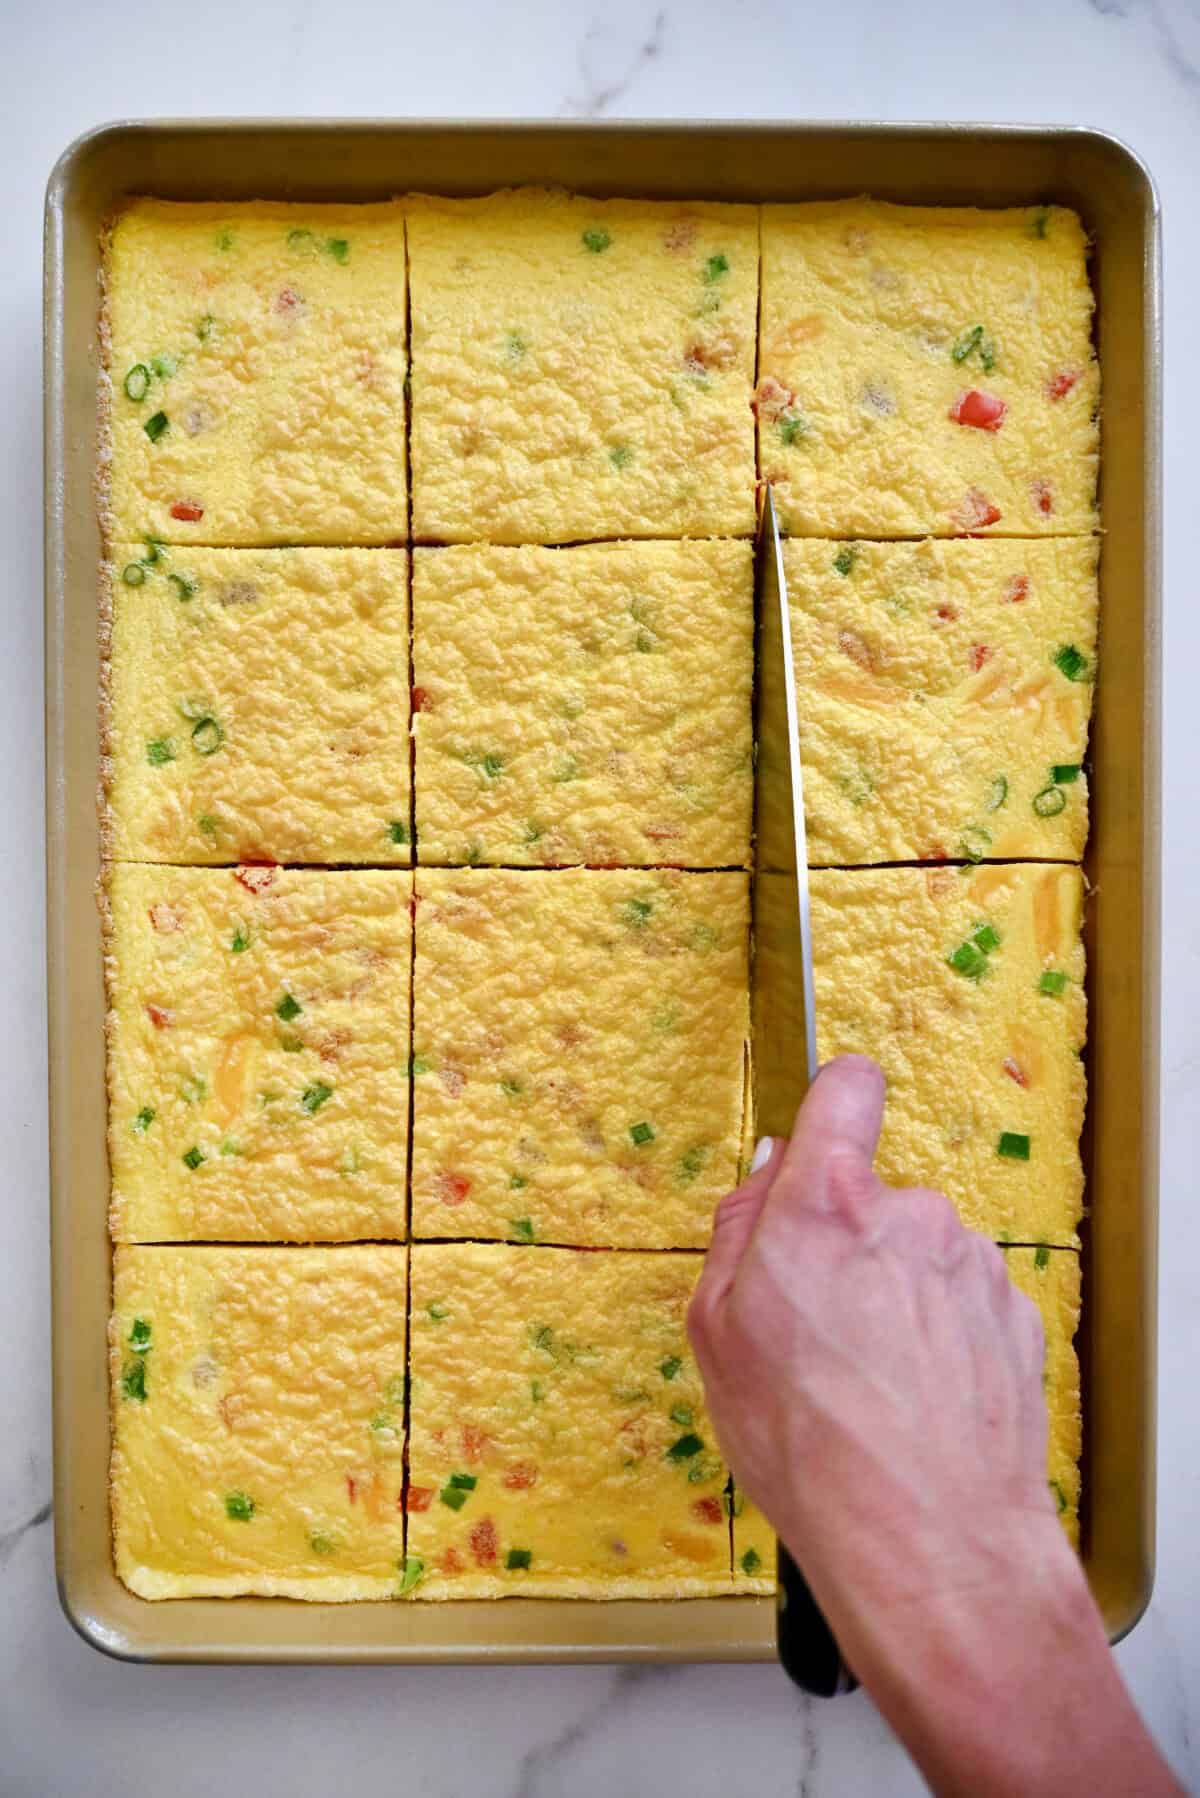
Remove the baked eggs from the oven and let them cool slightly. Lift them out using the parchment paper, slice into squares and serve.
You can serve the eggs as-is or pile them onto your favorite toasted bread for quick breakfast sandwiches. They’re also great for feeding any size crowd alongside other brunch favorites like crispy hash browns, cottage cheese pancakes, a simple fruit salad, or yogurt topped with homemade granola.
Meal Prep Tips
These sheet pan eggs are one of my favorite shortcuts for breakfast sandwich meal prep, especially when I need something fast, filling and kid-approved during the week.
Once baked and cooled slightly, slice the eggs into even squares sized to fit your bread of choice (I love ciabatta rolls or English muffins). Assemble the sandwiches, then wrap them tightly in parchment paper or foil.
Refrigerate for up to 4 days or freeze for up to 2 months. To reheat, microwave until warmed through or pop them in a toaster oven for the ultimate protein-packed grab-and-go breakfast.
FAQs
No, but I recommend it. Blending creates a smoother, creamier texture and helps the cottage cheese disappear completely into the eggs. If you don’t mind a little texture, you can whisk everything together instead.
Yes. You can replace some (or all) of the whole eggs with liquid egg whites. Keep the total volume roughly the same for best results. Just note the texture will be slightly less rich.
Cottage cheese is what gives these eggs their signature creamy, fluffy texture, so I recommend sticking with it when possible. If you’re in a pinch, plain Greek yogurt or sour cream will work, though the eggs won’t be quite as silky. Milk or cream can also be used, but the texture will be firmer and less custardy.
I don’t recommend skipping the dairy altogether—without it, the eggs tend to bake up dry and less tender.

Ingredients
- 16 large eggs
- 2/3 cup cottage cheese
- Chopped vegetables or cheese, optional
Instructions
- Preheat the oven to 350°F.
- Grease a baking sheet (half-sized, which is 13”x18”x1”) with cooking spray then place a piece or parchment paper on top and generously grease the parchment paper.
- Add the eggs and cottage cheese to a blender, along with ½ teaspoon kosher salt and ¼ teaspoon black pepper. Blend just until combined.
- If adding vegetables or cheese, add them to the baking sheet.
- Pour the egg mixture onto the baking sheet then place it in the oven. (Alternately, place the baking sheet in the oven and then pour on the eggs to avoid transferring a baking sheet of liquids.)
- Bake the eggs until they are set, 15 to 18 minutes. Remove them from the oven and allow them to cool slightly before slicing into squares and serving.
Kelly’s Notes
- Optional mix-ins like vegetables, cheese or cooked meats can be added directly to the baking sheet before pouring the egg mixture on top. No need to pre-cook vegetables.
- To avoid carrying a tray full of liquid across the kitchen, I like to place the empty sheet pan directly on the oven rack first, then carefully pour the egg mixture onto the pan. That said, pouring the eggs into the pan on the counter works just fine, too.
- Storage: Store baked sheet pan eggs in an airtight container in the refrigerator for up to 4 days.
- Freezing: Let eggs cool completely, then cut into portions and freeze in a single layer before transferring to a freezer bag. Freeze for up to 2 months.
- Reheating: Reheat gently in the microwave in 20–30 second bursts, or warm in a toaster oven until heated through.
- ★ Did you make this recipe? Don’t forget to give it a star rating below!
Nutrition
Did you try this recipe?
Leave a comment below with your star rating!
This post may contain affiliate links.