
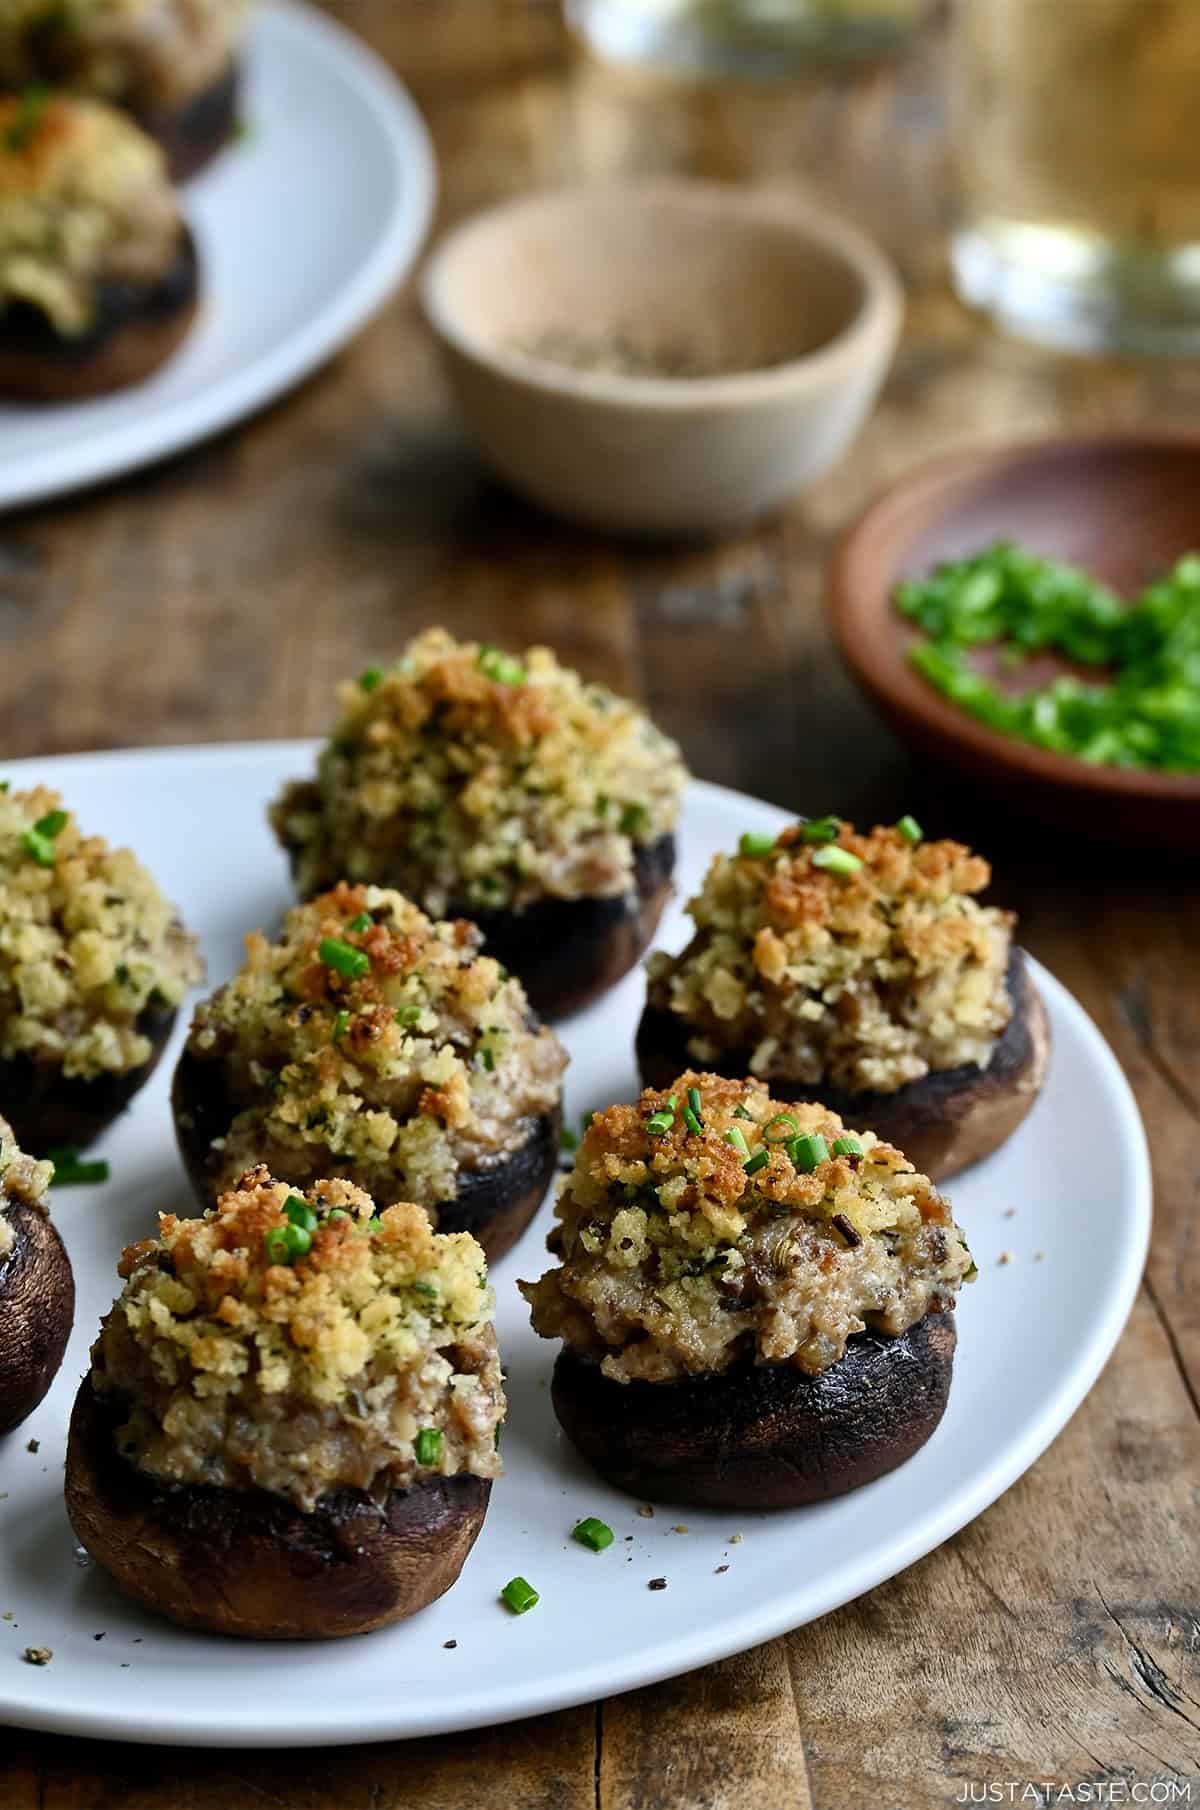
These sausage stuffed mushrooms are filled with a cheesy sausage mixture, topped with buttery Panko breadcrumbs, and baked until golden and crisp. Easy to make, perfect for parties and guaranteed to disappear fast!
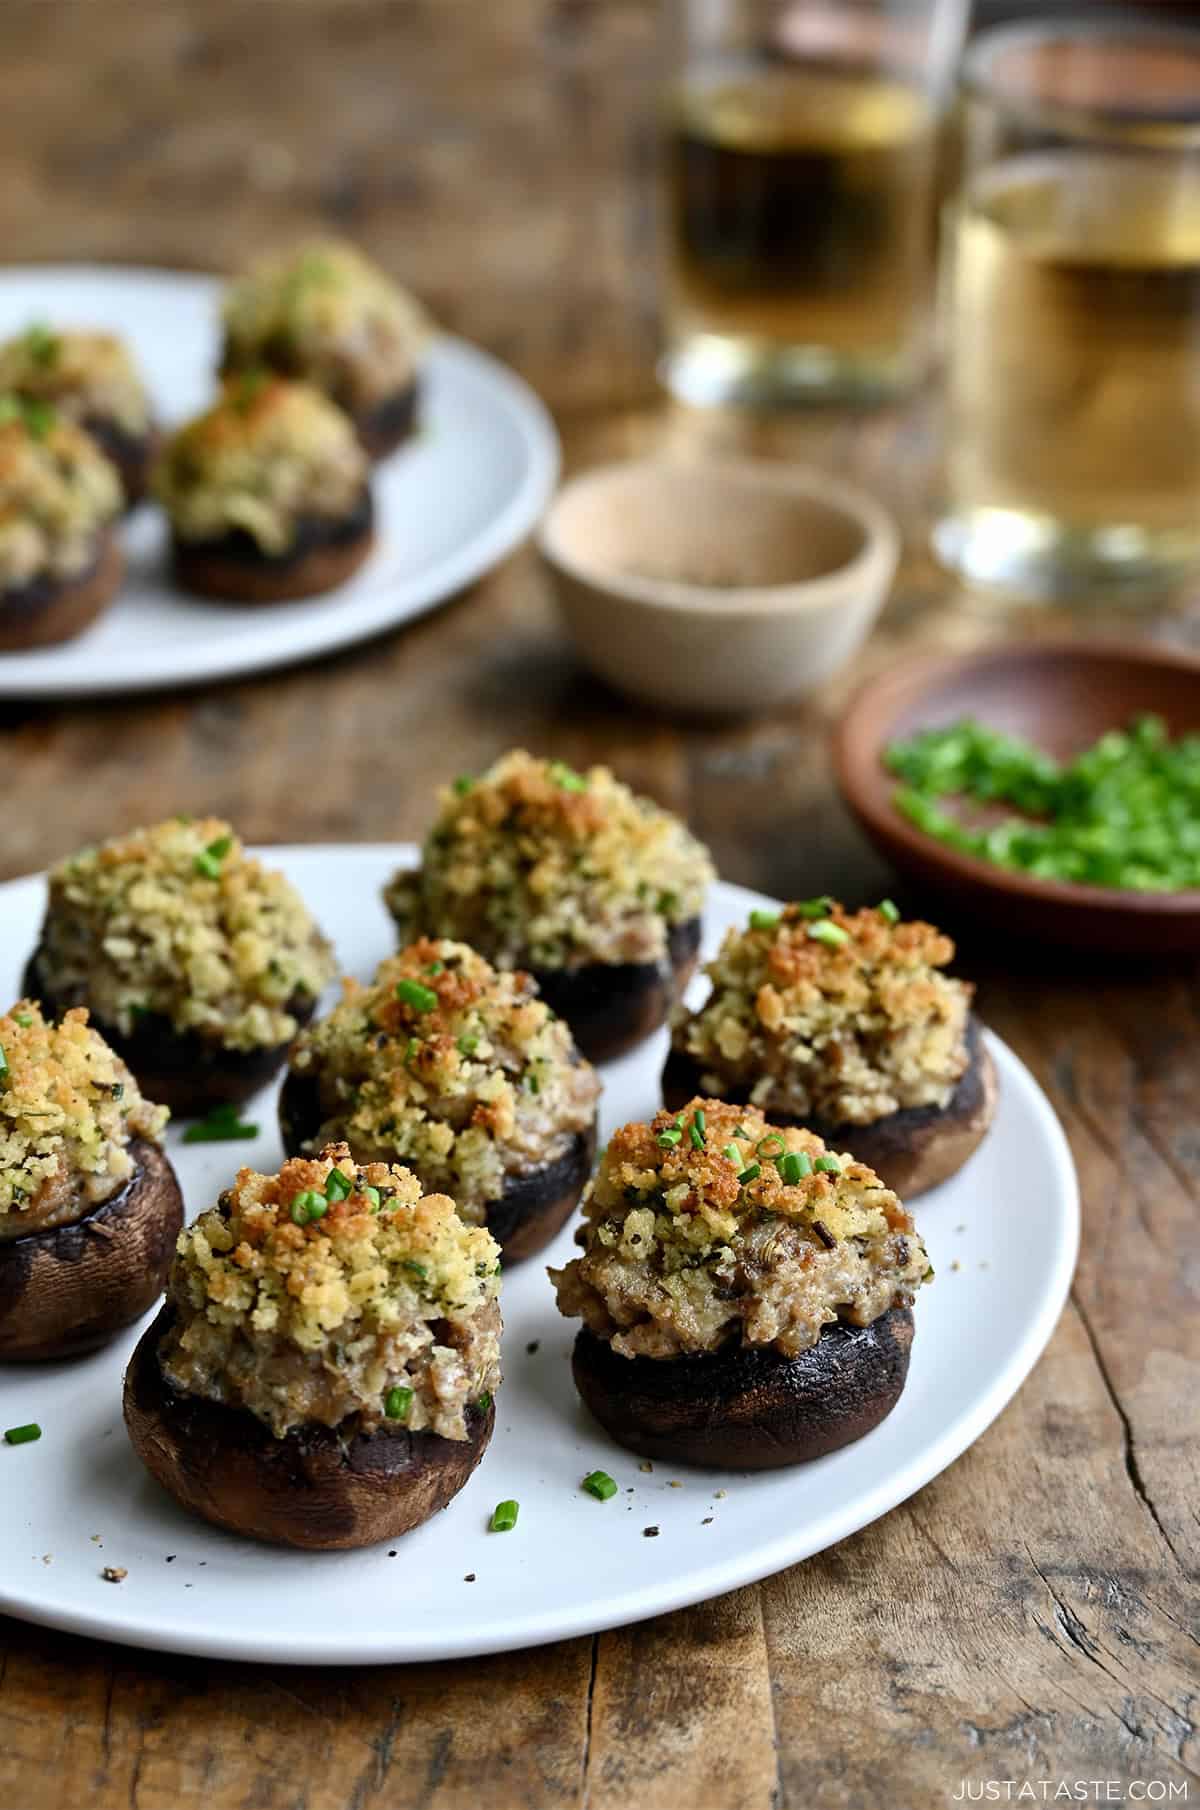
Table of Contents
Savory Little Bites That Steal the Show

Party appetizers are my jam. From baked brie bites and pimento cheese dip to baked crab rangoon and pigs in a blanket, I’m all about easy snacks that look and taste like they took hours but come together in minutes.
Enter: sausage stuffed mushrooms. They’re elegant, effortless, and totally make-ahead friendly, which means you can actually enjoy the festivities instead of babysitting the oven. Juicy, cheesy, sausage-studded and crispy all in one bite. Serve them for date night, dinner parties or holiday gatherings. I guarantee no one will be able to eat just one.
There’s just something irresistible about a buttery mushroom cap overflowing with creamy sausage filling, topped with golden, crunchy breadcrumbs. I’ll take savory finger food over sweets any day. Here’s what you’ll need:
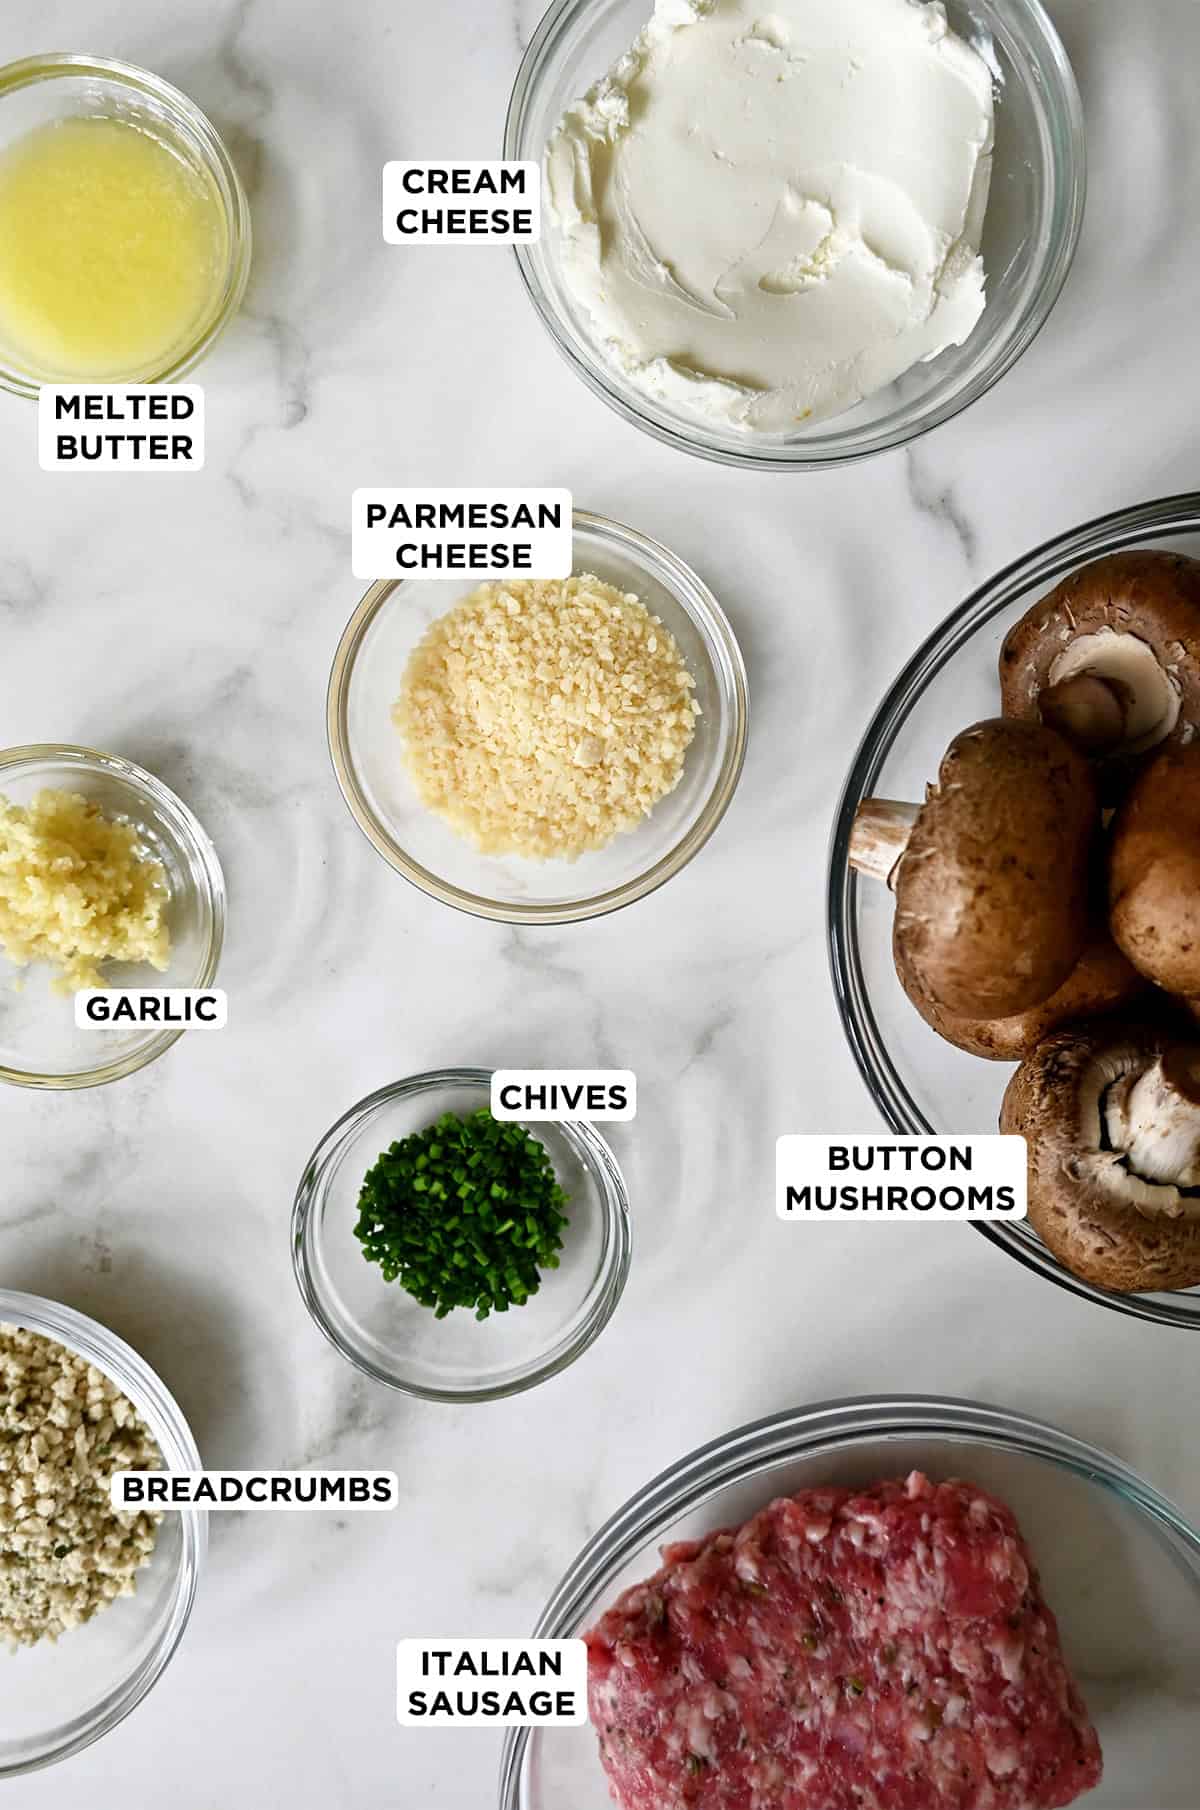
- Mushrooms: Most stuffed mushroom recipes call for white button or cremini mushrooms (also known as baby bellas). Both work beautifully, but I tend to reach for button mushrooms because they bake up tender without releasing too much liquid. Plus, their mild flavor really lets the sausage filling shine. And don’t toss the stems! You’ll finely chop them and add them to the filling so there’s zero waste.
- Italian sausage: I usually opt for sweet Italian sausage when I’m serving a crowd because not everyone loves heat, but if your group leans toward spice, go for it!
- Cream cheese, Parmesan and garlic: This combo is what makes the savory sausage filling creamy, rich and just a little indulgent. Make sure your cream cheese is at room temperature so it mixes smoothly.
- Panko breadcrumbs, butter and chives: Panko gives you the crispiest topping, and you can use regular or Italian-seasoned. I like Italian for a little extra flavor without needing any extra effort.
See the recipe card for full information on ingredients and quantities.
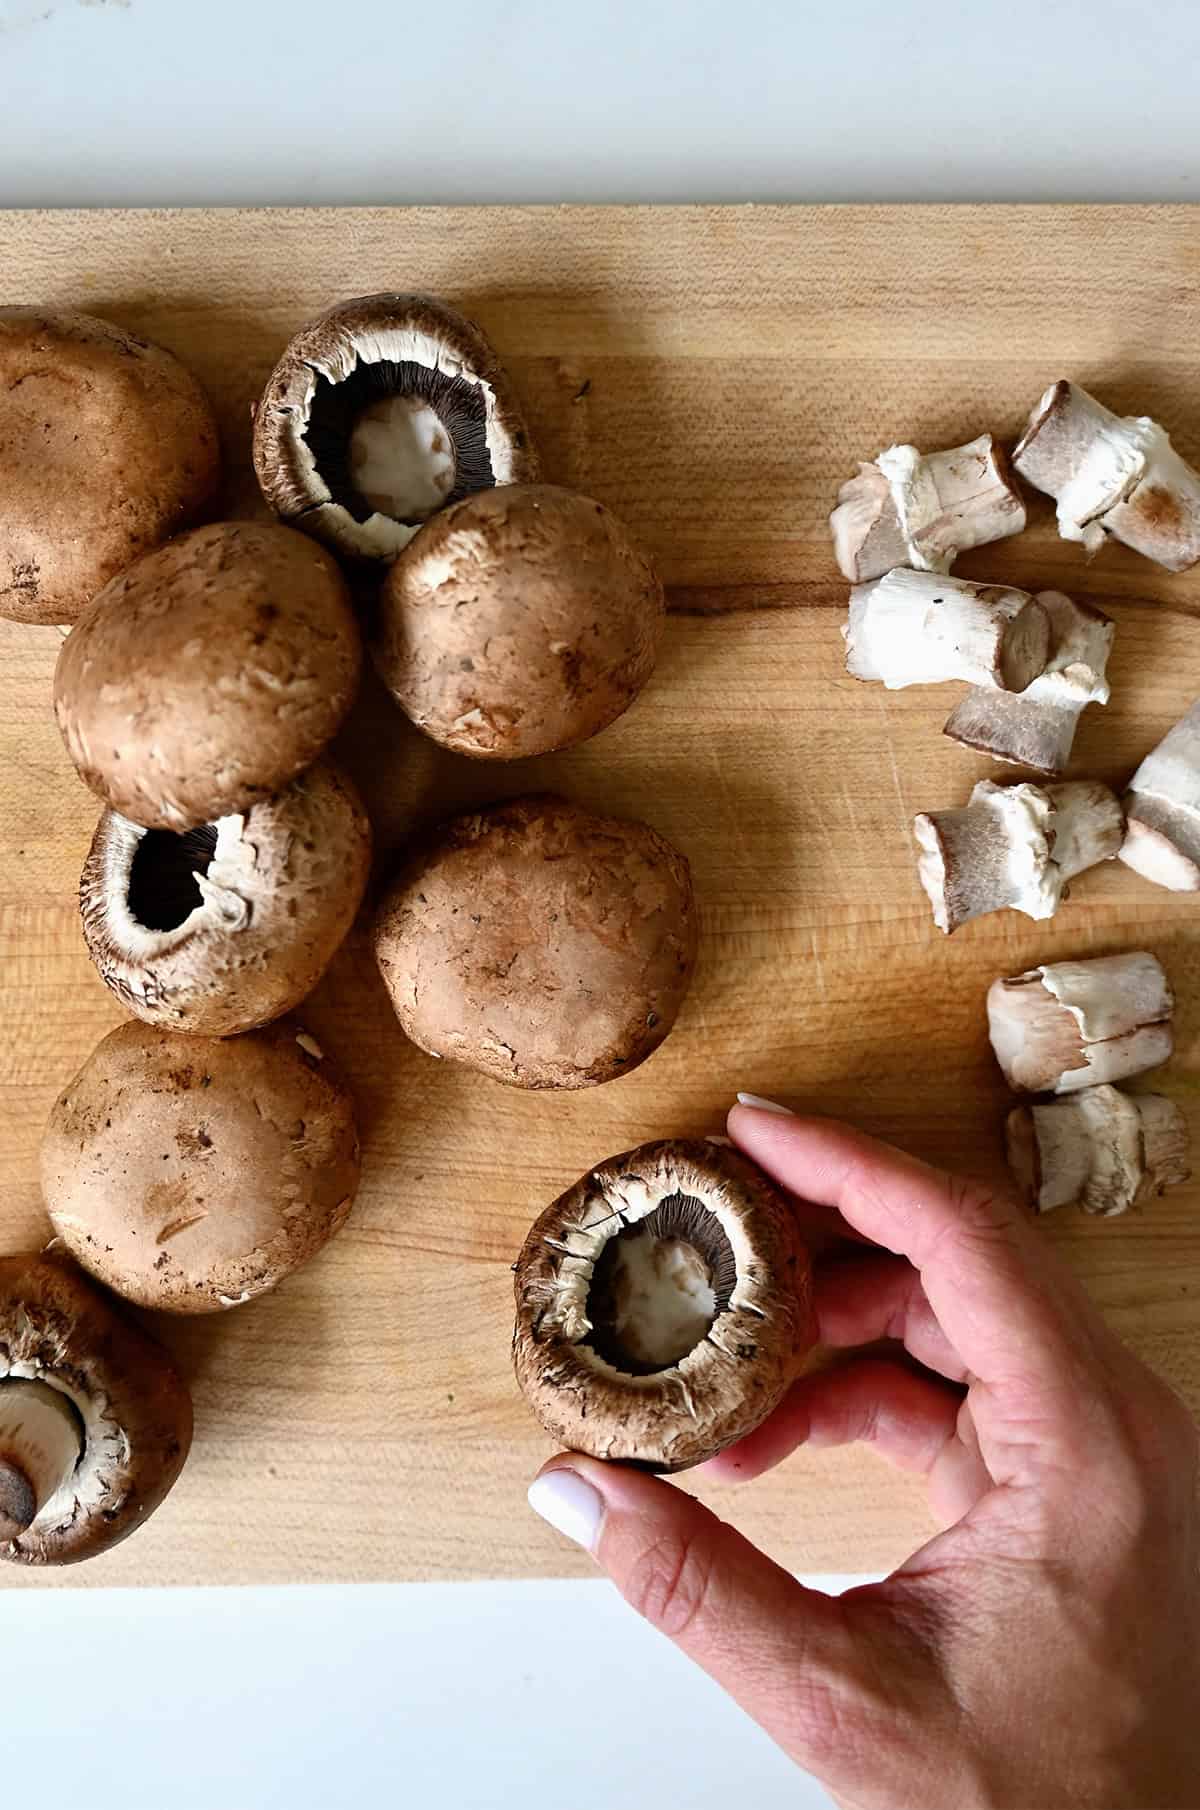
- Remove the stems and set them aside. Arrange the mushroom caps, hollow-side up, in a greased 9×13-inch baking dish.
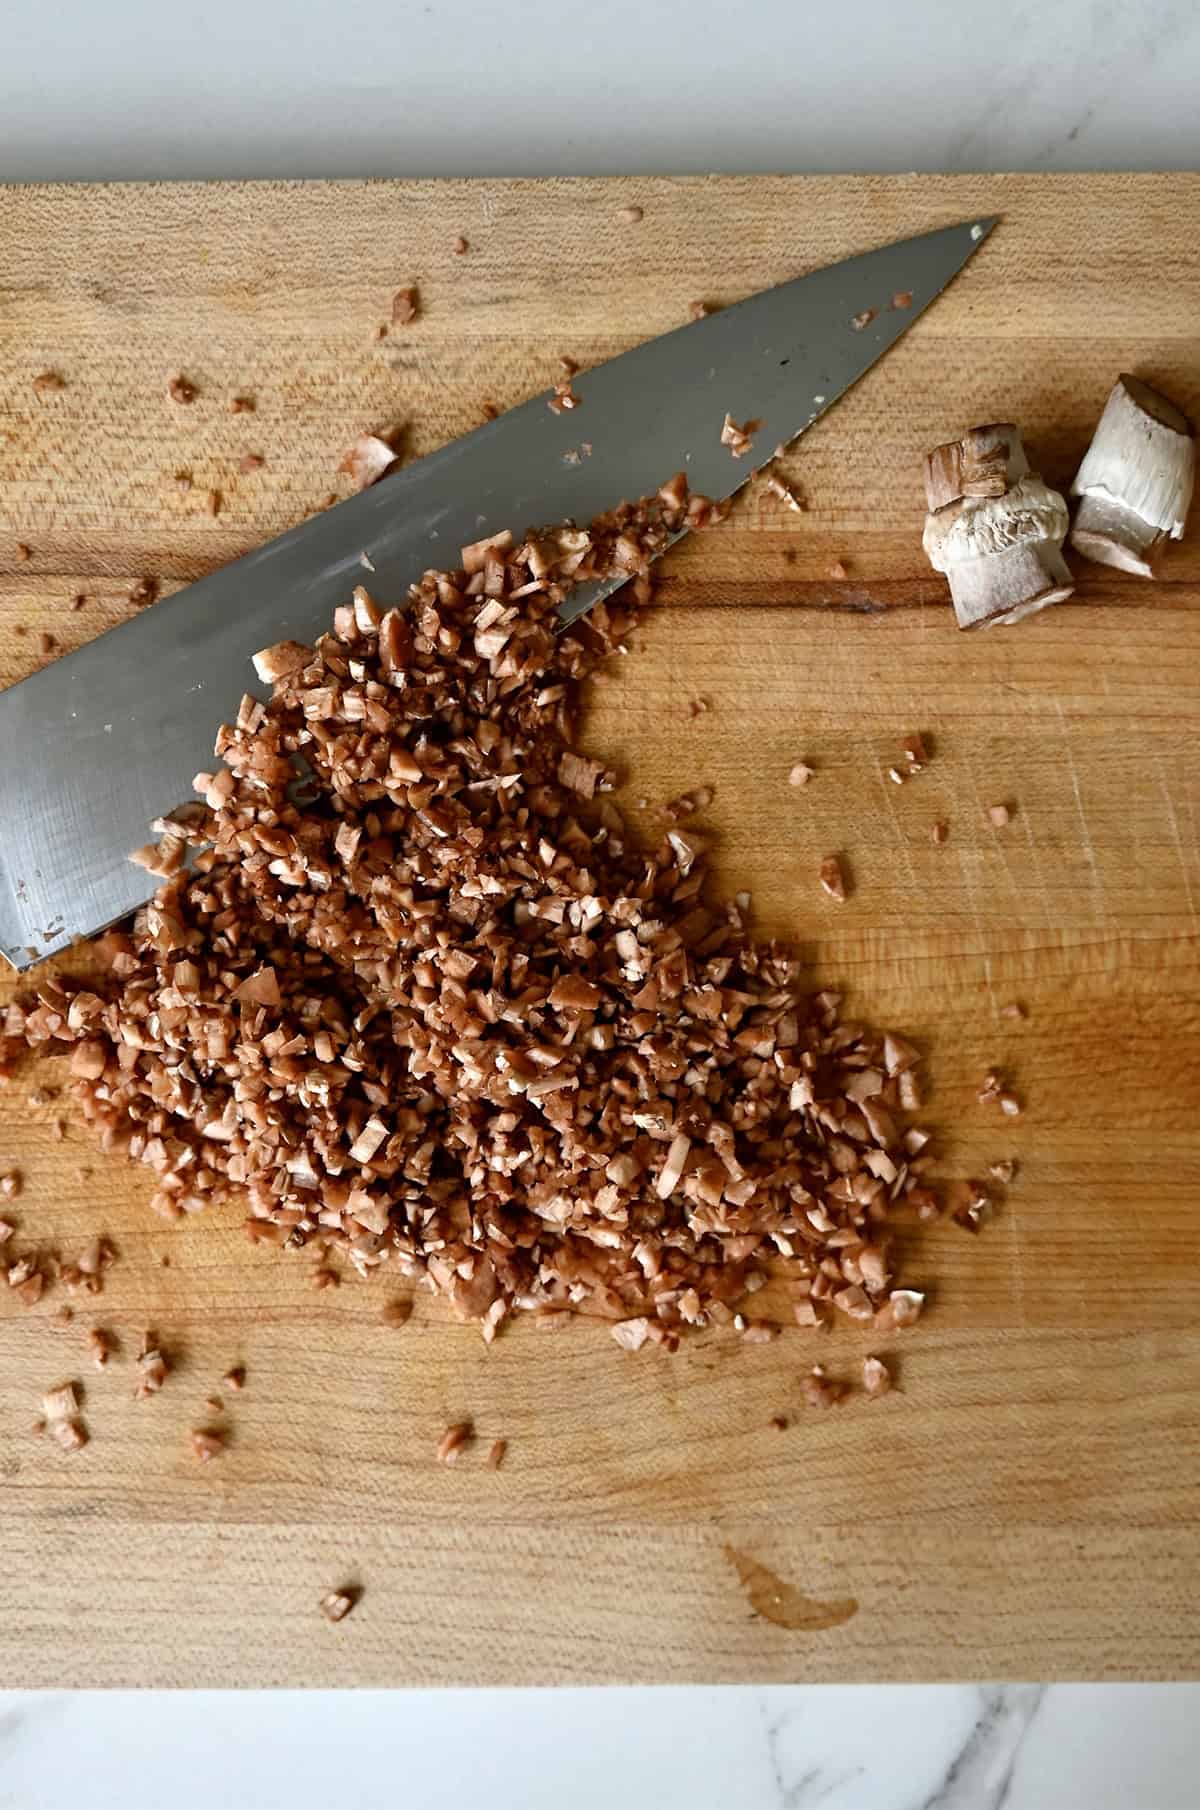
- Finely chop the mushroom stems. You want small pieces so they blend seamlessly into the filling.
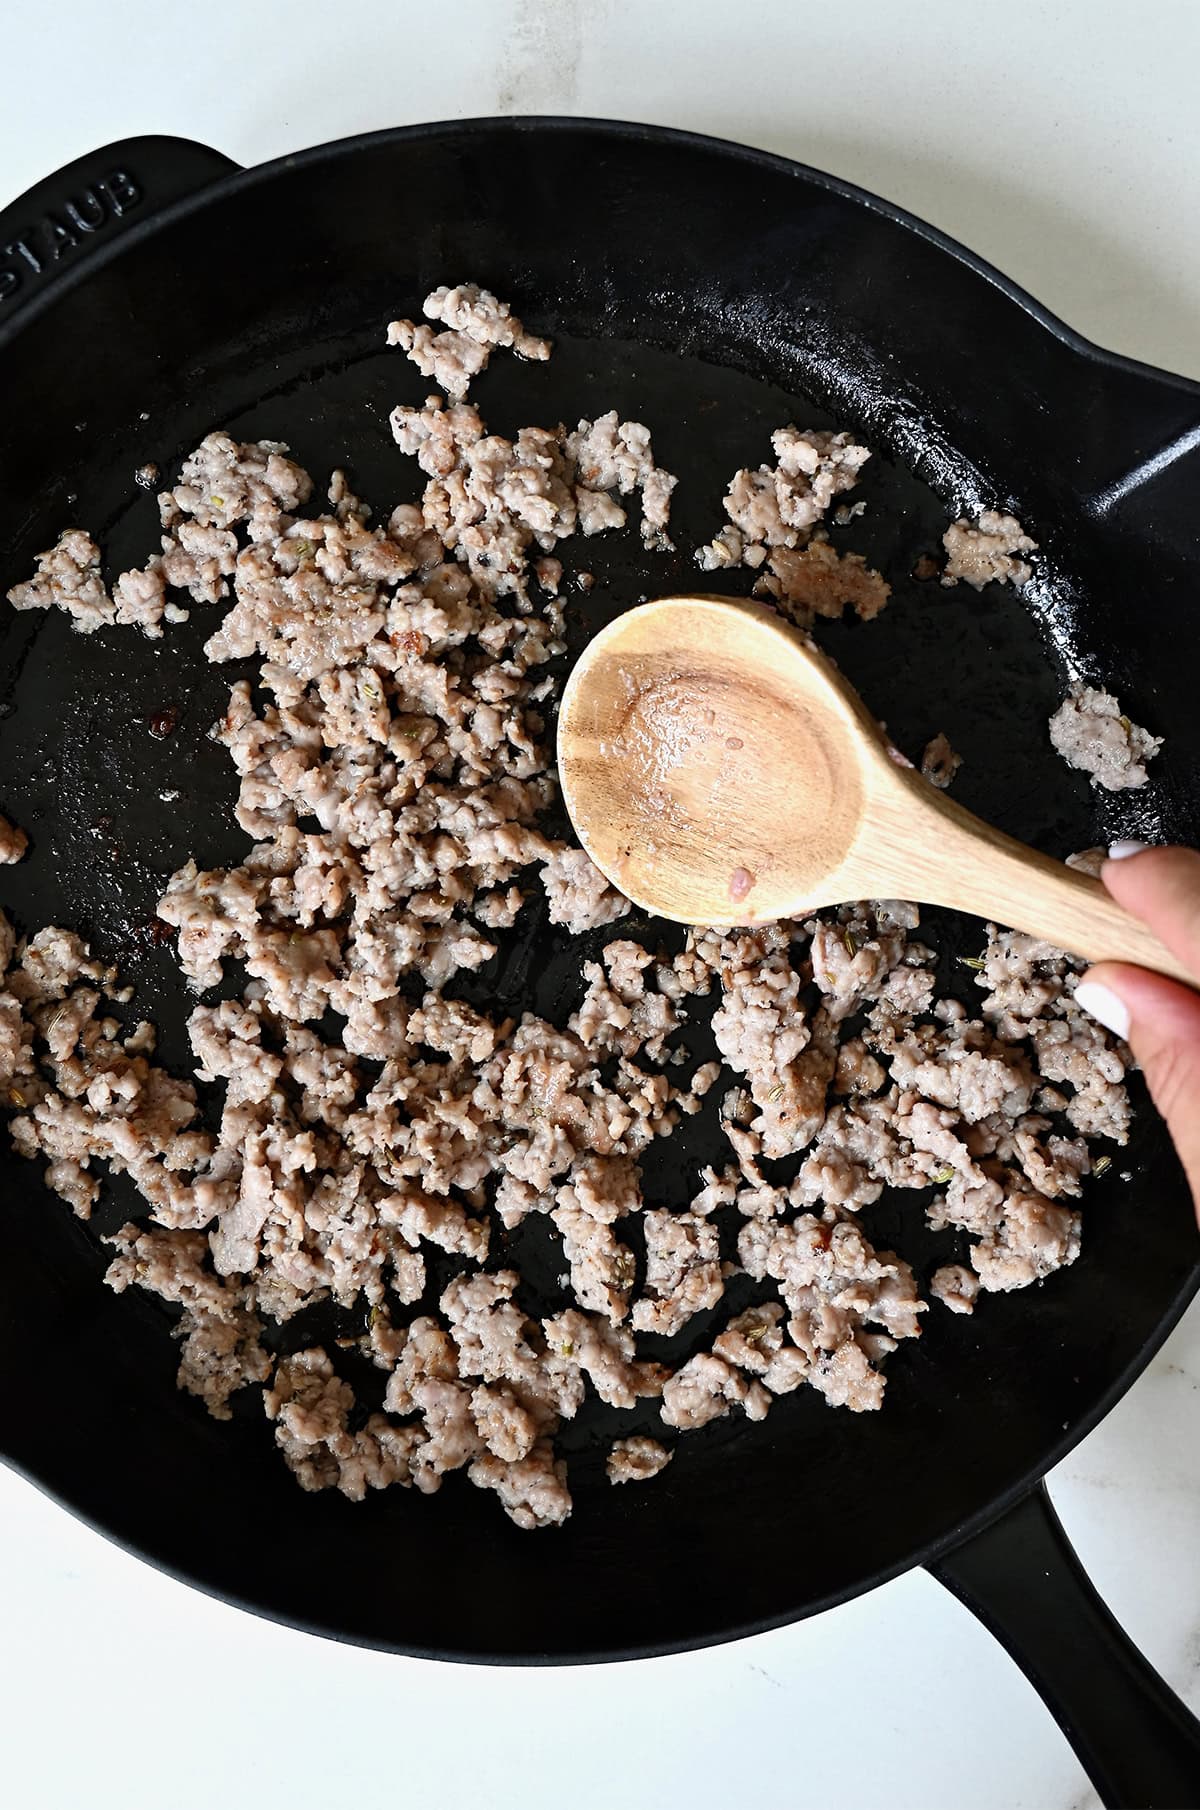
- Brown the sausage. Add the Italian sausage to a skillet over medium heat and cook, breaking it apart with a spatula, until browned and no longer pink.

- Once the sausage is cooked, toss in the chopped mushroom stems and garlic. Cook for another minute or two until fragrant.
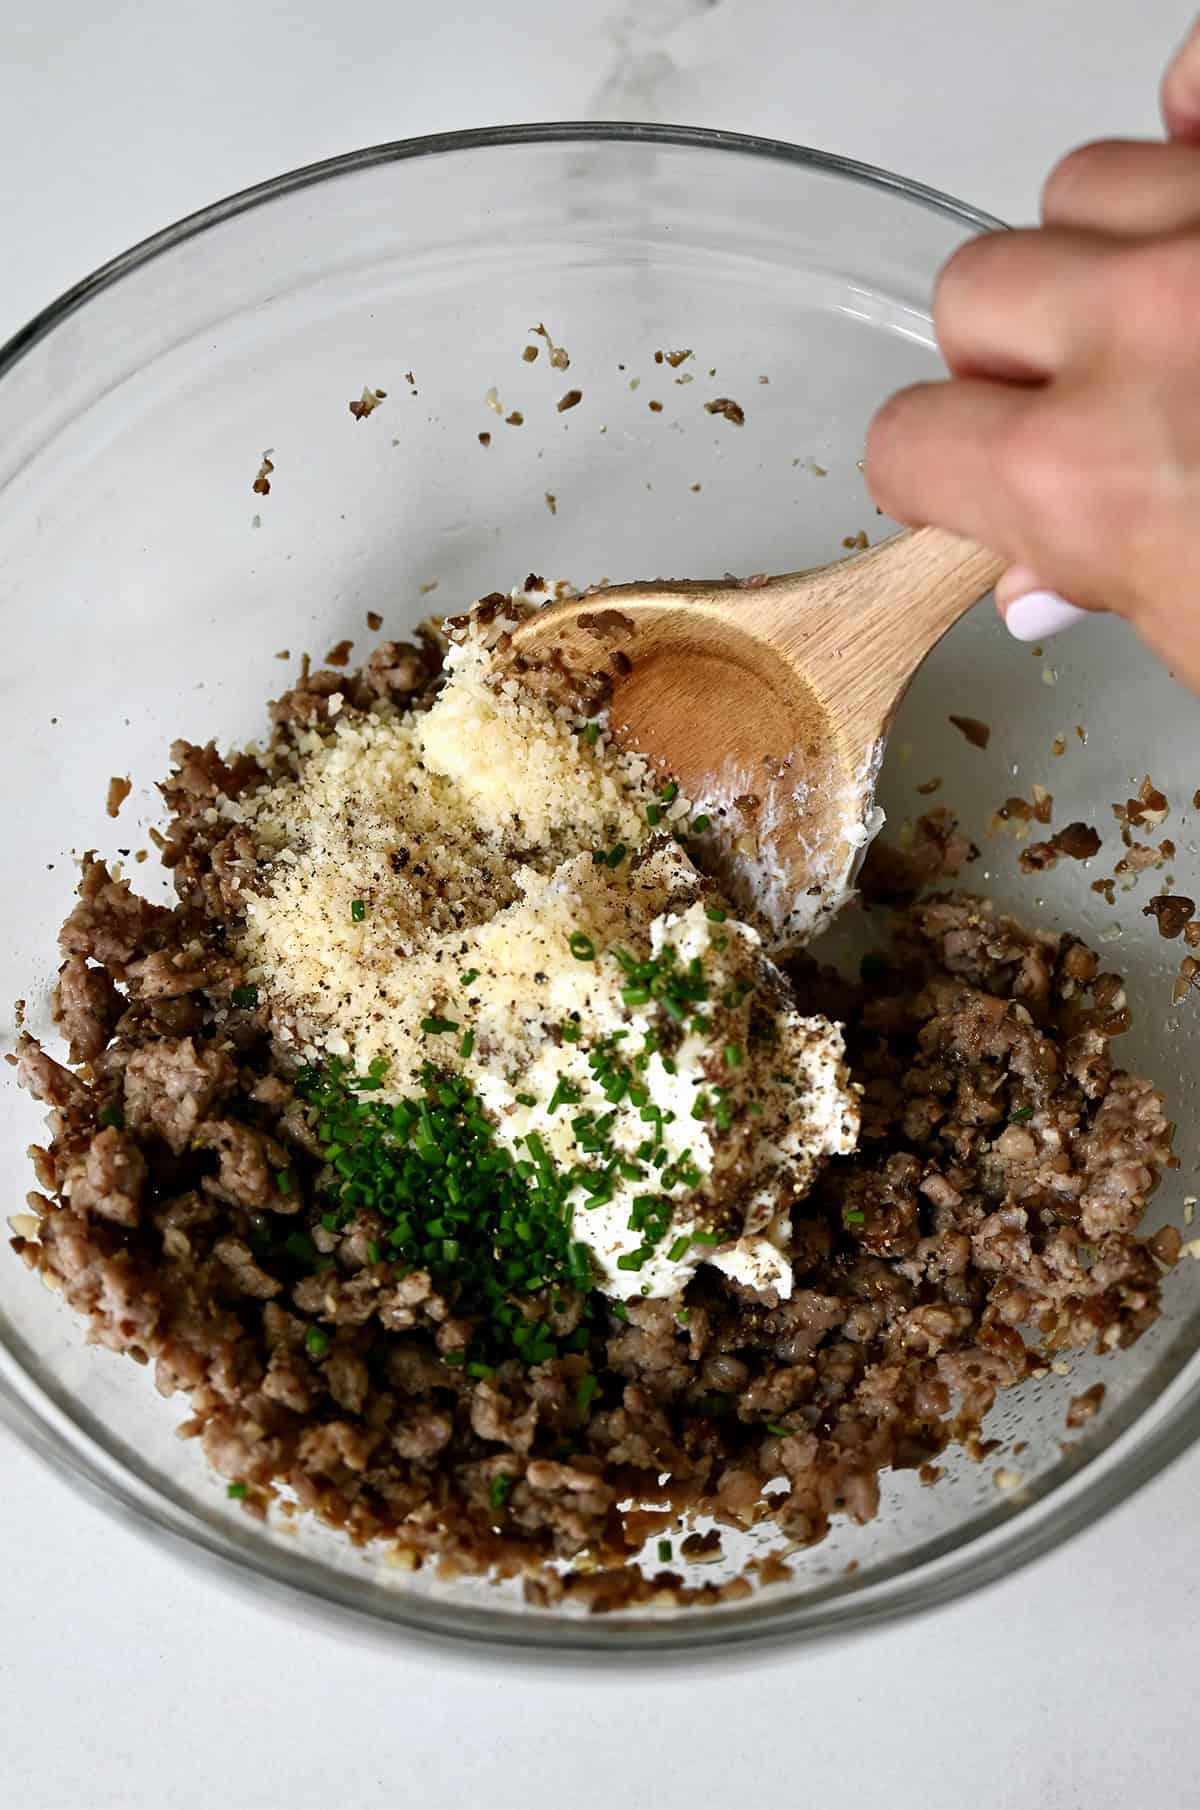
- Make the filling. Transfer the sausage mixture to a medium bowl and let it cool slightly (you don’t want the heat to melt your cream cheese). Stir in the cream cheese, Parmesan, 2 teaspoons of chives and a pinch of black pepper.
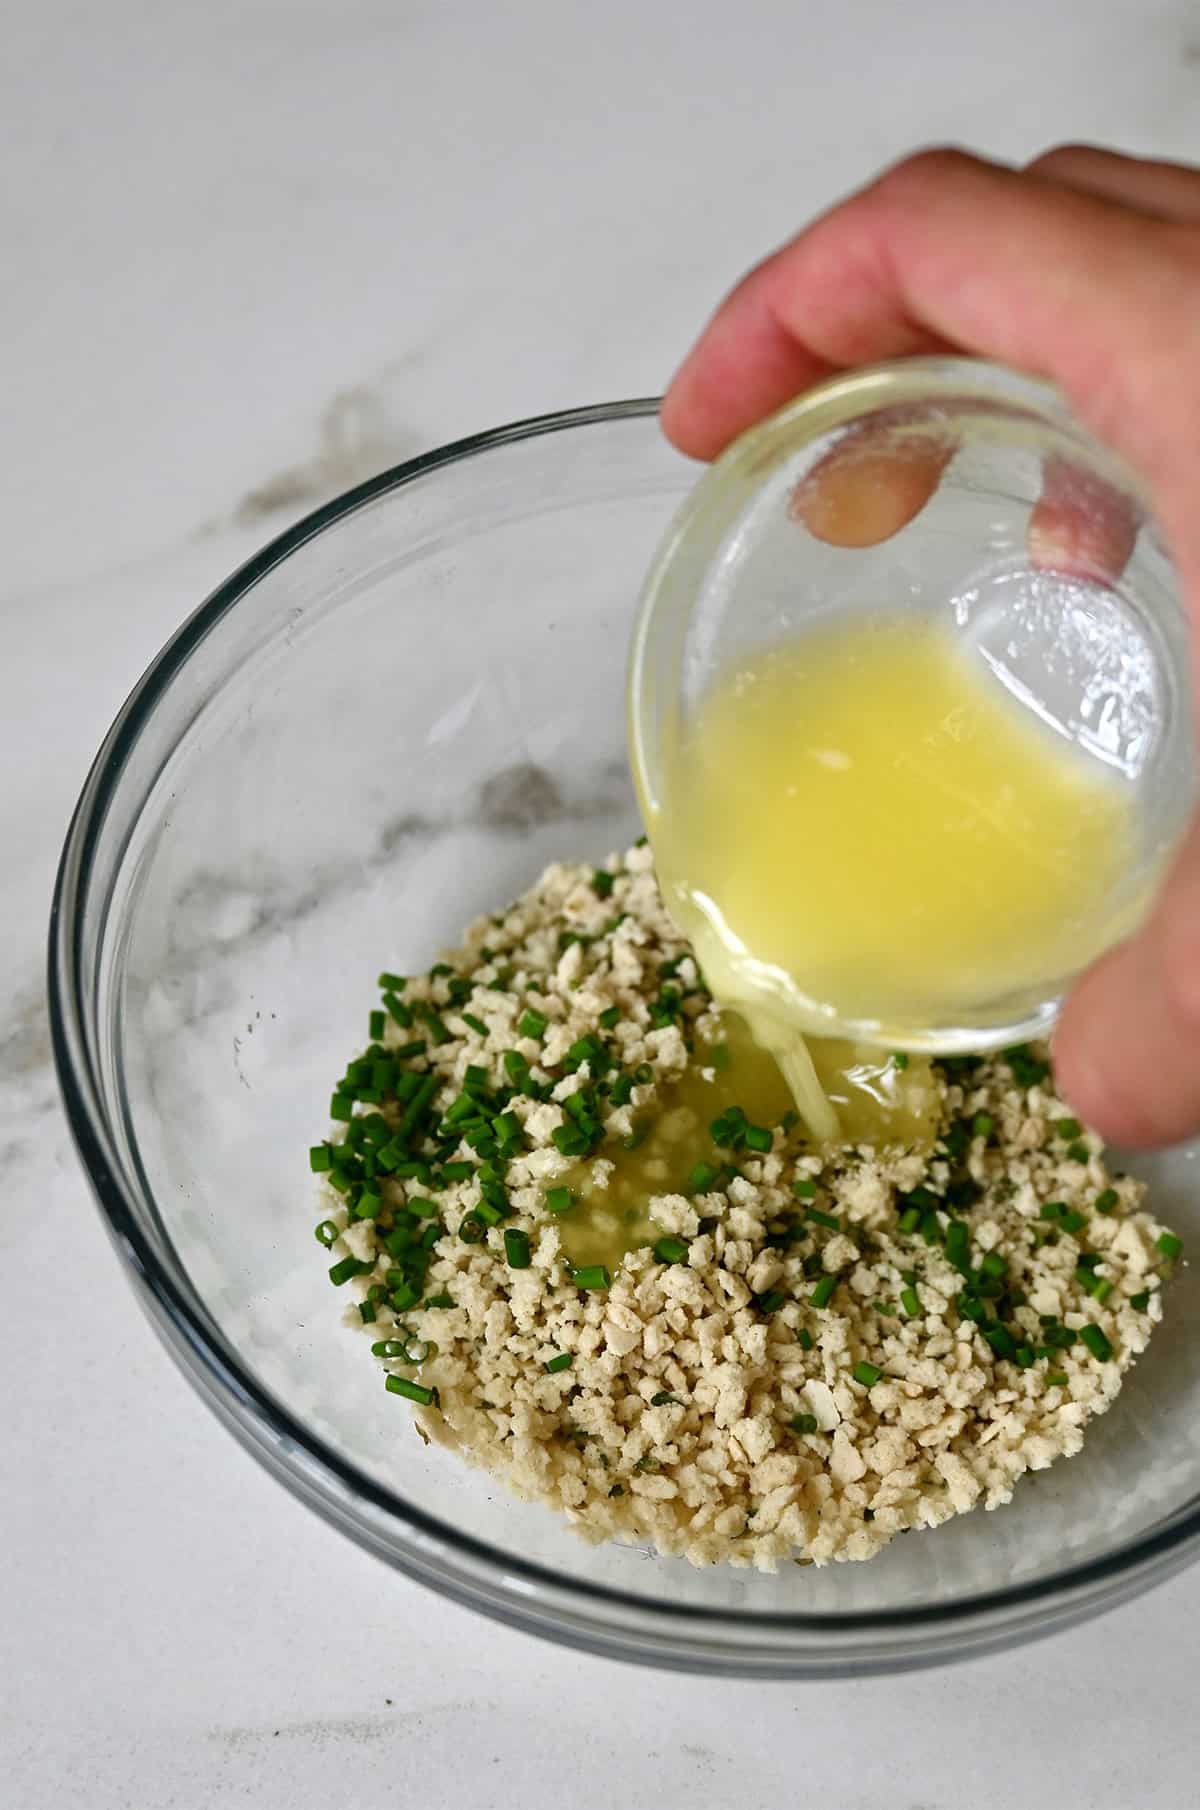
- Make the topping. In a small bowl, combine the Panko breadcrumbs, Parmesan, melted butter and remaining chives. Mix until the crumbs are coated and slightly clumpy.
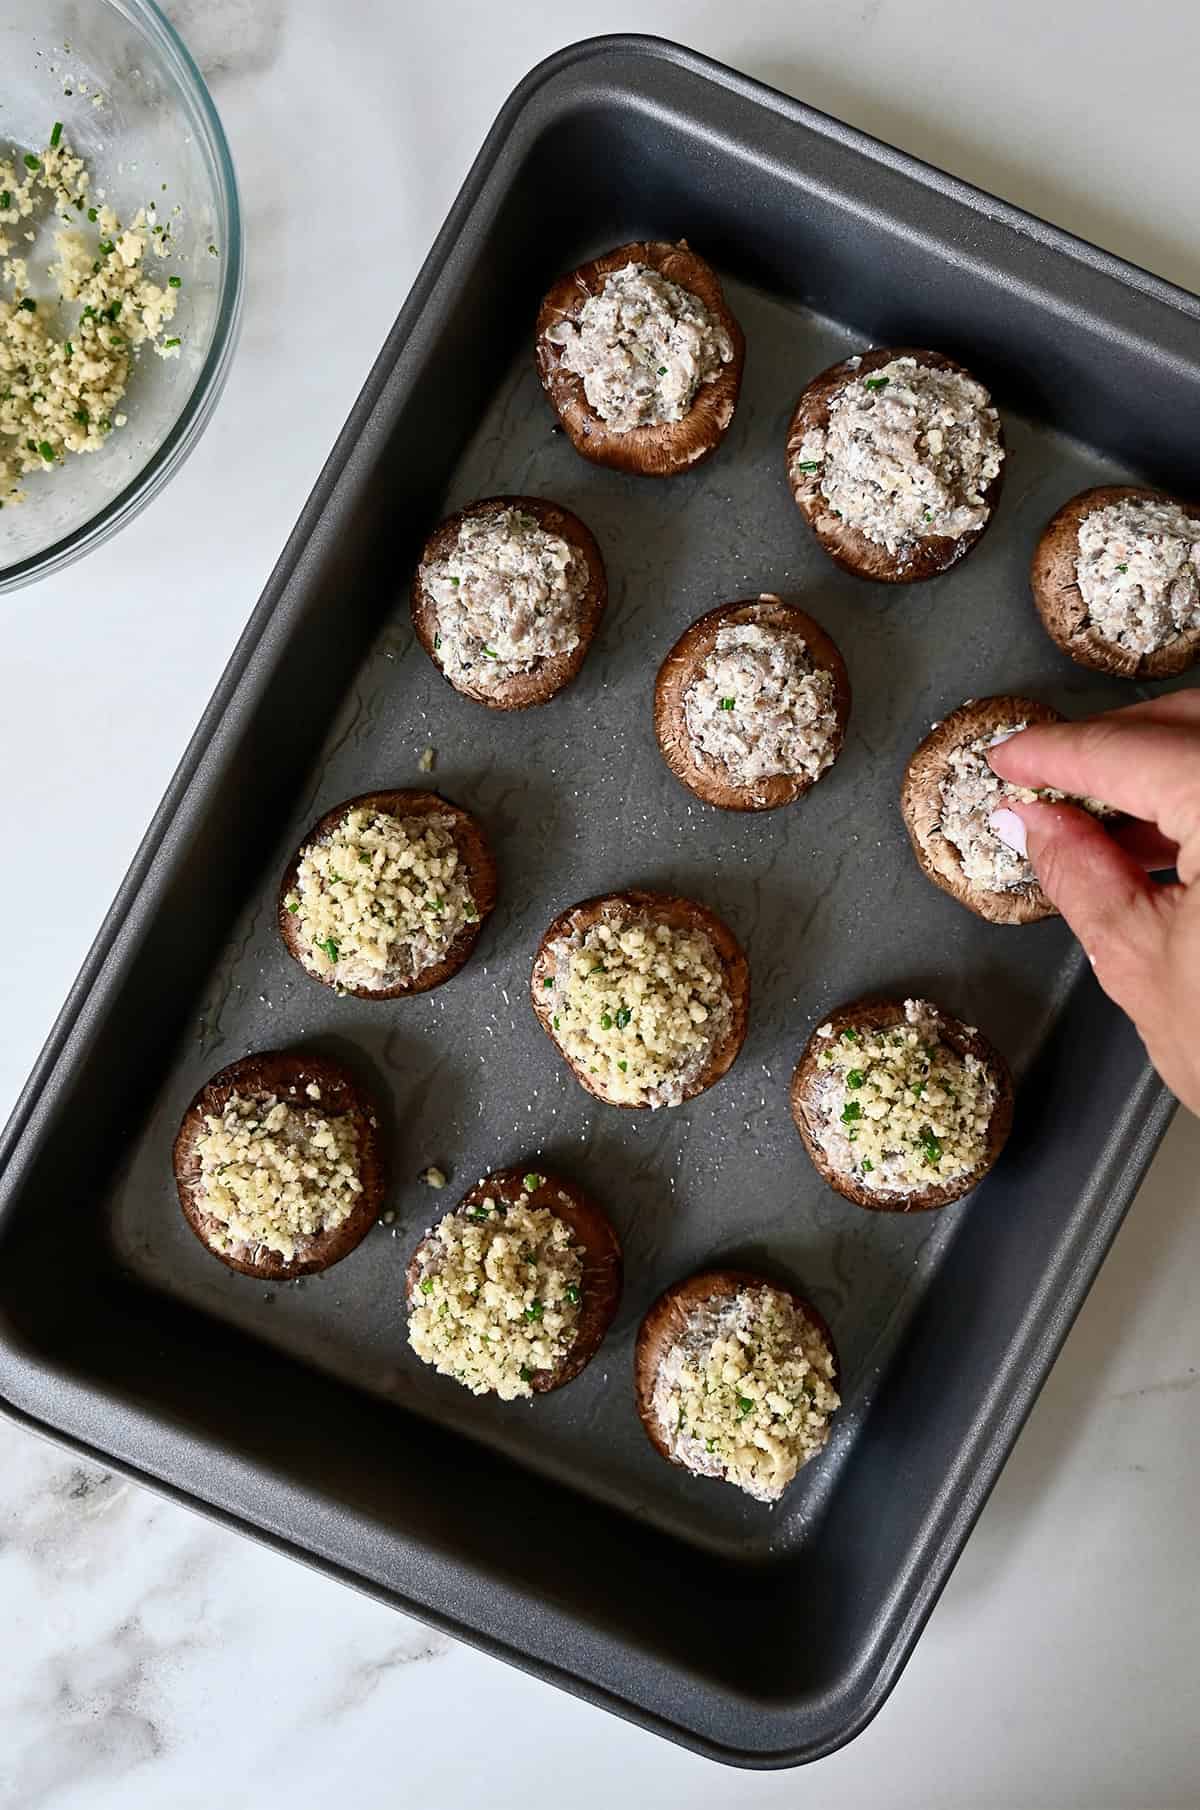
- Stuff the mushrooms. Spoon the sausage mixture into each mushroom cap, pressing gently to fill the cavity. Sprinkle each one generously with the buttery breadcrumb topping.
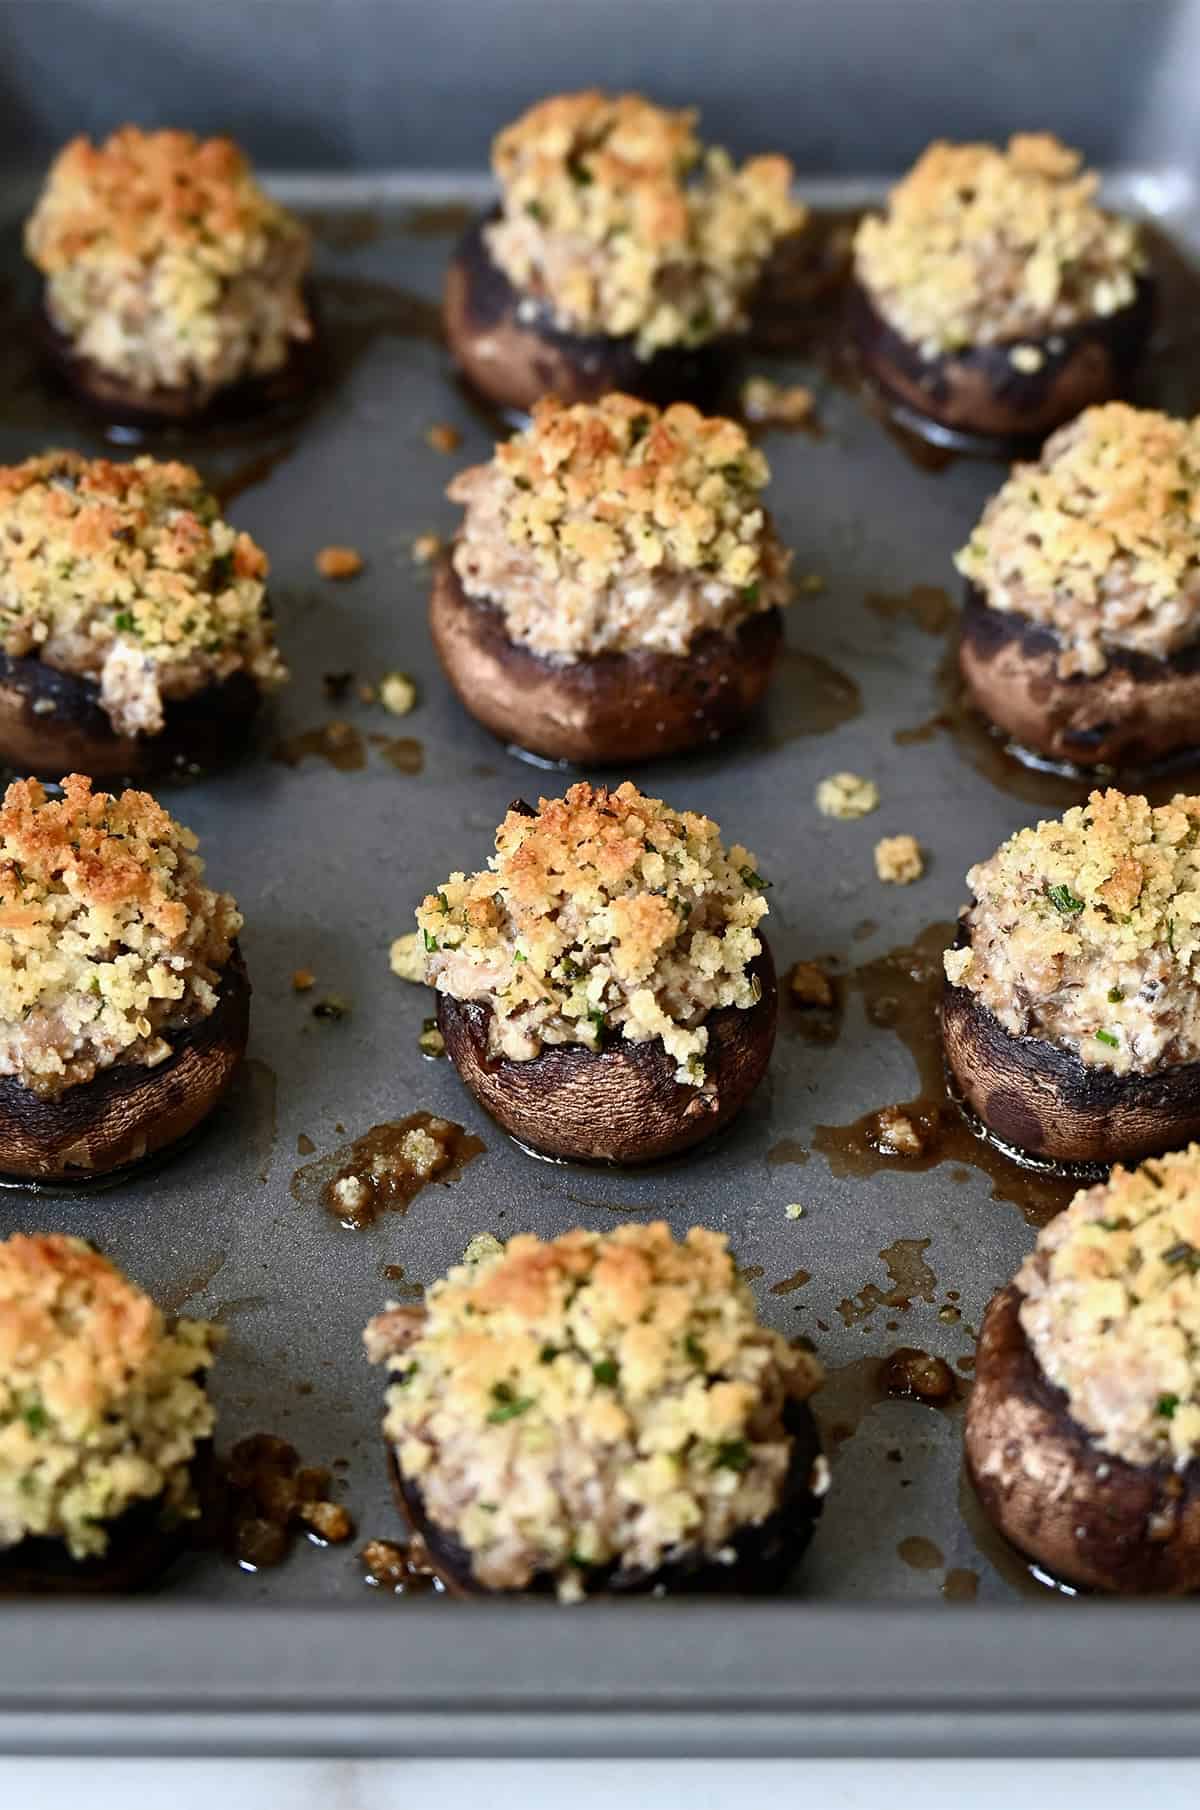
- Bake and serve. Bake at 350°F for about 20 minutes, until the mushrooms are tender and the tops are golden brown.
Let them cool for a few minutes before serving—the filling will be molten-hot fresh out of the oven. I like to sprinkle a few extra chives atop each stuffed mushroom for a pop of color.
Kelly’s Recipe Tips
- Don’t rinse your mushrooms. The number-one mistake people make with stuffed mushrooms? Washing them! Mushrooms act like sponges, so skip the sink and wipe them clean with a damp towel instead.
- Adjust for mushroom size. If your mushrooms are on the larger side, you’ll get about 12 stuffed mushrooms; smaller ones will yield closer to 16. You can even use large portobello caps for a main course version. I love serving them with a simple salad for dinner!
- Pack the filling, but don’t overstuff. You want the tops mounded, not overflowing. Overstuffing can cause the filling to slide off during baking.
- If you like extra crunch, broil them for the last 2–3 minutes (just keep an eye on them so they don’t burn!).
- Avoid soggy mushrooms: Fresh mushrooms are full of water (that’s why they shrink so much when cooked!). If yours feel very firm and plump, they’ll likely release more moisture as they bake. To prevent sogginess, pre-bake the empty caps for 5 minutes at 350°F, then blot them dry with a paper towel before filling. It’s optional, but it’s a great trick to draw out the extra liquid.
Make-Ahead Tips for Effortless Entertaining
You can prep the filling up to 2 days in advance. Store in an airtight container in the fridge. When you’re ready to bake, just fill the mushrooms and pop them in the oven.
Alternatively, you can assemble the mushrooms completely (stuffed and topped) up to a day ahead. Cover and refrigerate, then bake straight from the fridge, adding a few extra minutes to the cook time.
The texture stays perfectly tender, not soggy, and the flavors actually deepen as they rest. It’s one of my favorite tricks for stress-free entertaining because everything’s ready to go, so you can pour a drink (looking at you, cranberry champagne cocktail!) and actually enjoy your own party.
Storage & Freezing
Store leftovers in an airtight container in the fridge for up to 3 days. Reheat in a 350°F oven for 10–12 minutes until warmed through. The oven, or an air fryer, keeps them crispy; skip the microwave unless you’re in a rush (it makes them soft).
You can also freeze unbaked stuffed mushrooms. The texture softens slightly, but the flavor holds up perfectly. Arrange them in a single layer on a parchment-lined baking sheet and freeze until solid, then transfer to a freezer-safe container or zip-top bag. When you’re ready to bake, skip the thawing and go straight from freezer to oven. Add just a few extra minutes to the bake time until the tops are golden and the filling is hot.
Ingredients
- Cooking spray
- 12 to 16 medium button mushrooms
- 1/2 pound Italian sausage (sweet or spicy)
- 2 cloves garlic, minced
- 2 oz. cream cheese, at room temp
- 1 Tablespoon chopped fresh chives, divided
- 1/4 cup Panko breadcrumbs (regular or Italian)
- 1/4 cup grated Parmesan cheese
- 1 Tablespoon unsalted butter, melted
Instructions
- Preheat the oven to 350°F. Grease a 9×13-inch baking dish with cooking spray. (if your mushrooms are on the larger size, arrange them on a baking sheet or appropriate size dish.)
- Remove the stems from the mushrooms and set them aside. Using a damp paper towel or kitchen towel, wipe off the tops of the mushrooms to remove any dirt. Arrange the mushrooms, bottoms up, in the baking dish.
- Finely chop the mushroom stems.
- Add the Italian sausage to a medium skillet set over medium heat. Cook, breaking apart the sausage with a spatula, until it is no longer pink. Add the chopped mushroom stems and garlic to the skillet and continue cooking for 2 minutes.
- Transfer the mixture to a medium bowl and let it cool slightly.
- Add the cream cheese, Parmesan cheese, 2 teaspoons of the chopped chives and ¼ teaspoon black pepper to the bowl. Stir to combine.
- Divide the sausage mixture evenly among the mushrooms.
- In a small bowl, stir together the Panko breadcrumbs, melted butter and remaining 1 teaspoon chives. Divide the breadcrumb mixture evenly among the tops of the mushrooms.
- Bake the mushrooms until they are tender and the tops are golden, about 20 minutes. (If desired, place under the broiler for an additional 2 to 3 minutes to brown the tops.) Remove the mushrooms from the oven and serve.
Kelly’s Notes
- Mushrooms vary greatly in size, so feel free to adjust the filling quantities if you are using a different type of mushroom.
- Make-ahead: You can prep the filling up to 2 days in advance. Store in an airtight container in the fridge. When you’re ready to bake, just fill the mushrooms and pop them in the oven. Alternatively, you can assemble the mushrooms completely (stuffed and topped) up to a day ahead. Cover and refrigerate, then bake straight from the fridge, adding a few extra minutes to the cook time.
- Store: Store leftovers in an airtight container in the fridge for up to 3 days. Reheat in a 350°F oven for 10–12 minutes until warmed through. The oven, or an air fryer, keeps them crispy; skip the microwave unless you’re in a rush (it makes them soft).
- Freeze: For best results, freeze the unbaked stuffed mushrooms. Arrange them in a single layer on a parchment-lined baking sheet and freeze until solid, then transfer to a freezer-safe container or zip-top bag. When you’re ready to bake, skip the thawing and go straight from freezer to oven. Add just a few extra minutes to the bake time until the tops are golden and the filling is hot.
-
★ Did you make this recipe? Don’t forget to give it a star rating below!
Nutrition
Did you try this recipe?
Leave a comment below with your star rating!
This post may contain affiliate links.


We made this recipe for dinner as I had some extra large mushrooms. The stuffed mushrooms were not dry at all and very tasty. Now, this is one of my husband’s favorite dishes
Love reading this, Linda!
Never made ‘em before but turned out so awesome. Making again for our Thanksgiving dinner.
So glad you enjoyed the recipe, Shannon!