This homemade pizza dough recipe is made with 5 basic ingredients and yields a soft, chewy crust that’s perfect for piling on your favorite toppings. And the best part? It makes enough dough for 3 pizzas and can be frozen for up to 3 months. Whether you’re a beginner or a pro, I promise this recipe will have you coming back for seconds!
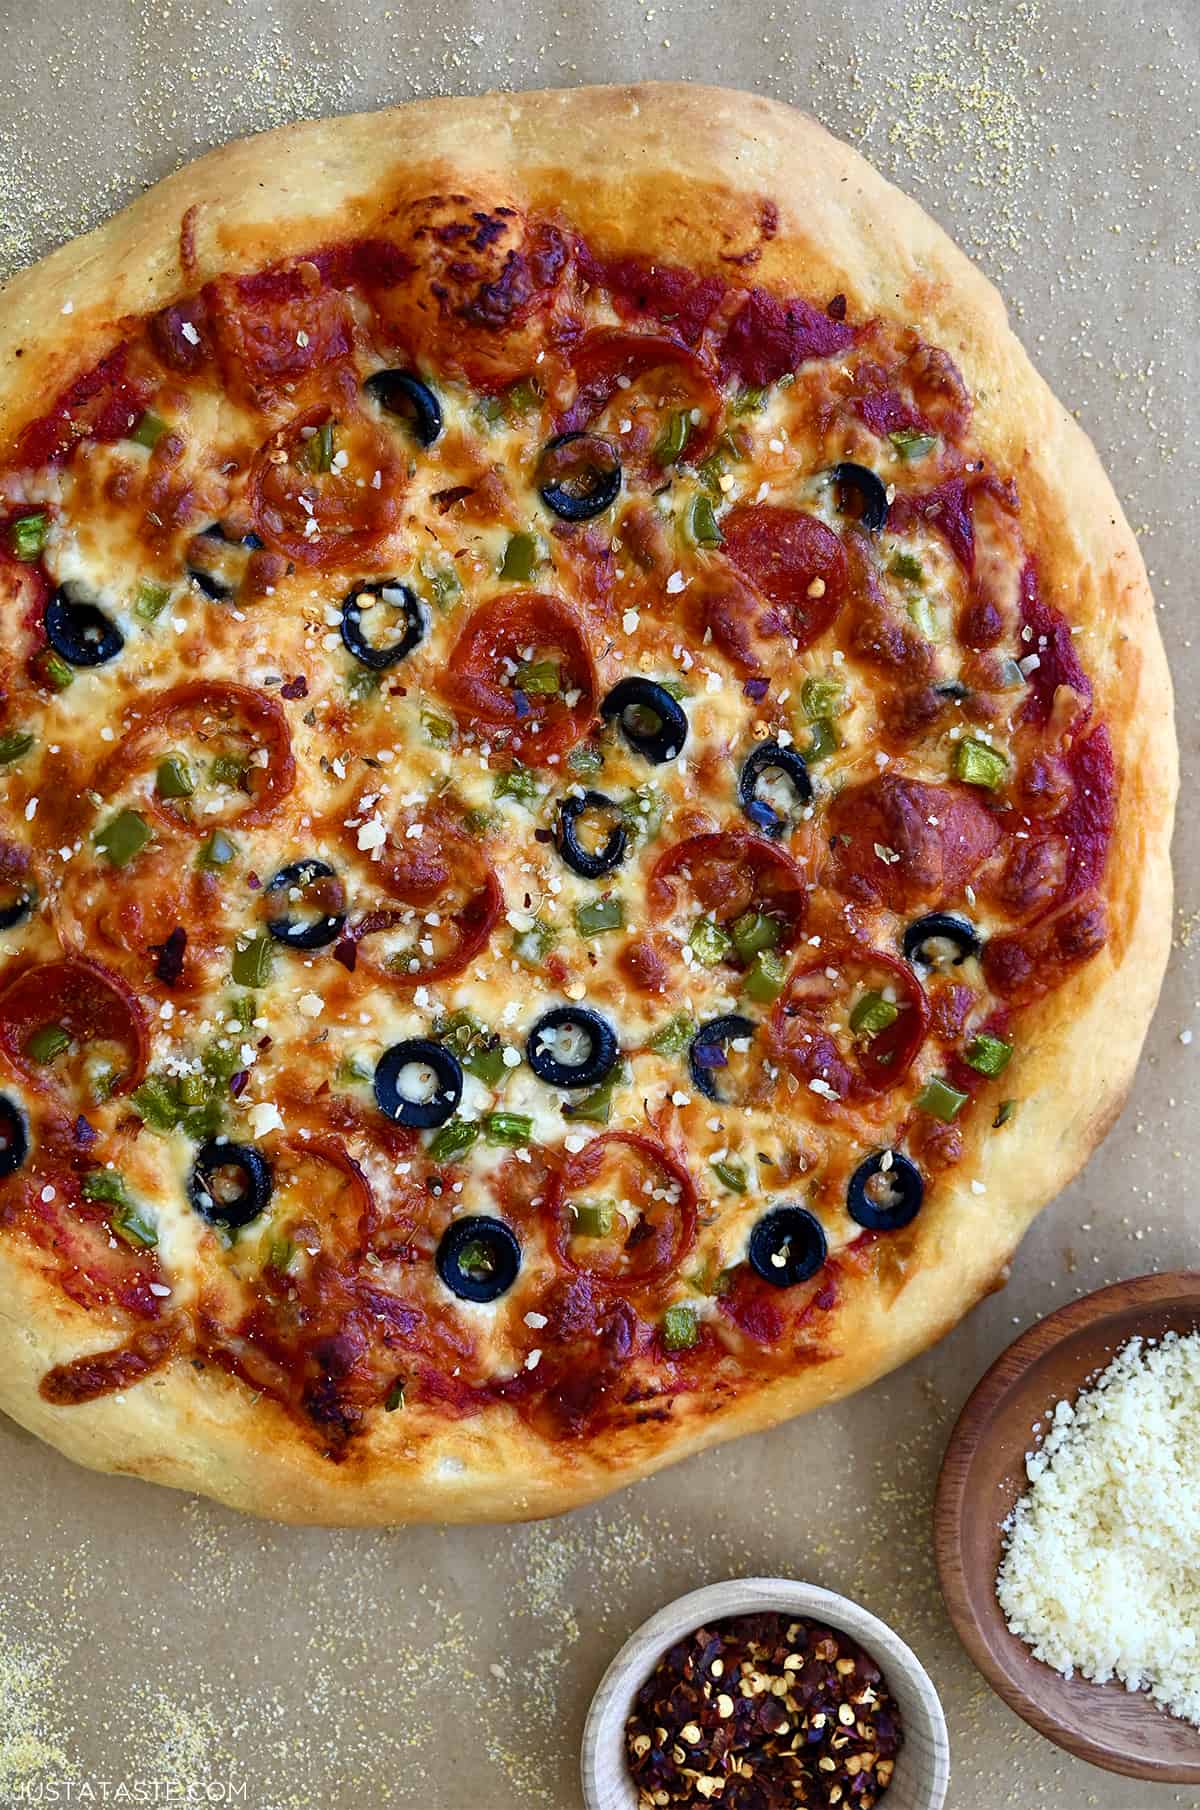
Table of Contents
Toss out those delivery menus, because today, I’m bringing the pizzeria experience straight to your kitchen! If you’re a pizza lover like me, then you know that the foundation of any great pizza is the crust.
This recipe is the perfect balance of chewy and crispy, and it makes enough for 3, 12-inch pizzas, so you can feed a crowd or stash extra dough in your freezer for later. Plus, with all of my tips and tricks, you’ll be able to make pizza dough like a pro, even if you’re a beginner.
Read on for everything you need to know to make a delicious and versatile crust that’s perfect for topping with your favorite sauce (this is my go-to pizza sauce!), cheese and toppings.
Looking for a yeast-free alternative? Don’t miss my recipe for Homemade Pizza Dough Without Yeast.
Why You’ll Love It
- Foolproof, even for beginners. Making pizza dough at home might sound like a daunting task, but trust me, with a few simple steps and easy-to-find ingredients, you’ll be amazed at how quickly you can master the art of homemade pizza dough.
- Customizable. Say goodbye to store-bought crusts that lack personality. With this recipe, you’re in control. Adjust the thickness, experiment with toppings, and personalize your pizza to suit your cravings.
- Perfect for involving little hands in the kitchen. Make pizza night a family affair! From kneading the dough to choosing toppings, create lasting memories and a delicious meal together.
- Versatile beyond pizza! Whether you’re craving stromboli, calzones or even cinnamon rolls, this versatile dough has you covered.
- Budget-friendly. Ditch expensive delivery and make your own piping hot, crispy crust whenever you want.
- Make-ahead and freezer-friendly. Whip up a batch and store extras in the freezer for whenever the craving strikes.
Pizza dough is a type of lean dough, just like homemade bagels. This means that the dough contains only the most essential ingredients: flour, water, yeast and salt. Unlike rich doughs (like dinner rolls or overnight cinnamon rolls), which contain additional ingredients like eggs, milk, and butter, lean doughs are simpler and easier to work with.
Just be sure to give the dough a good knead to develop that chewy texture. With a little practice, you’ll be a pro at making your own dough in no time!
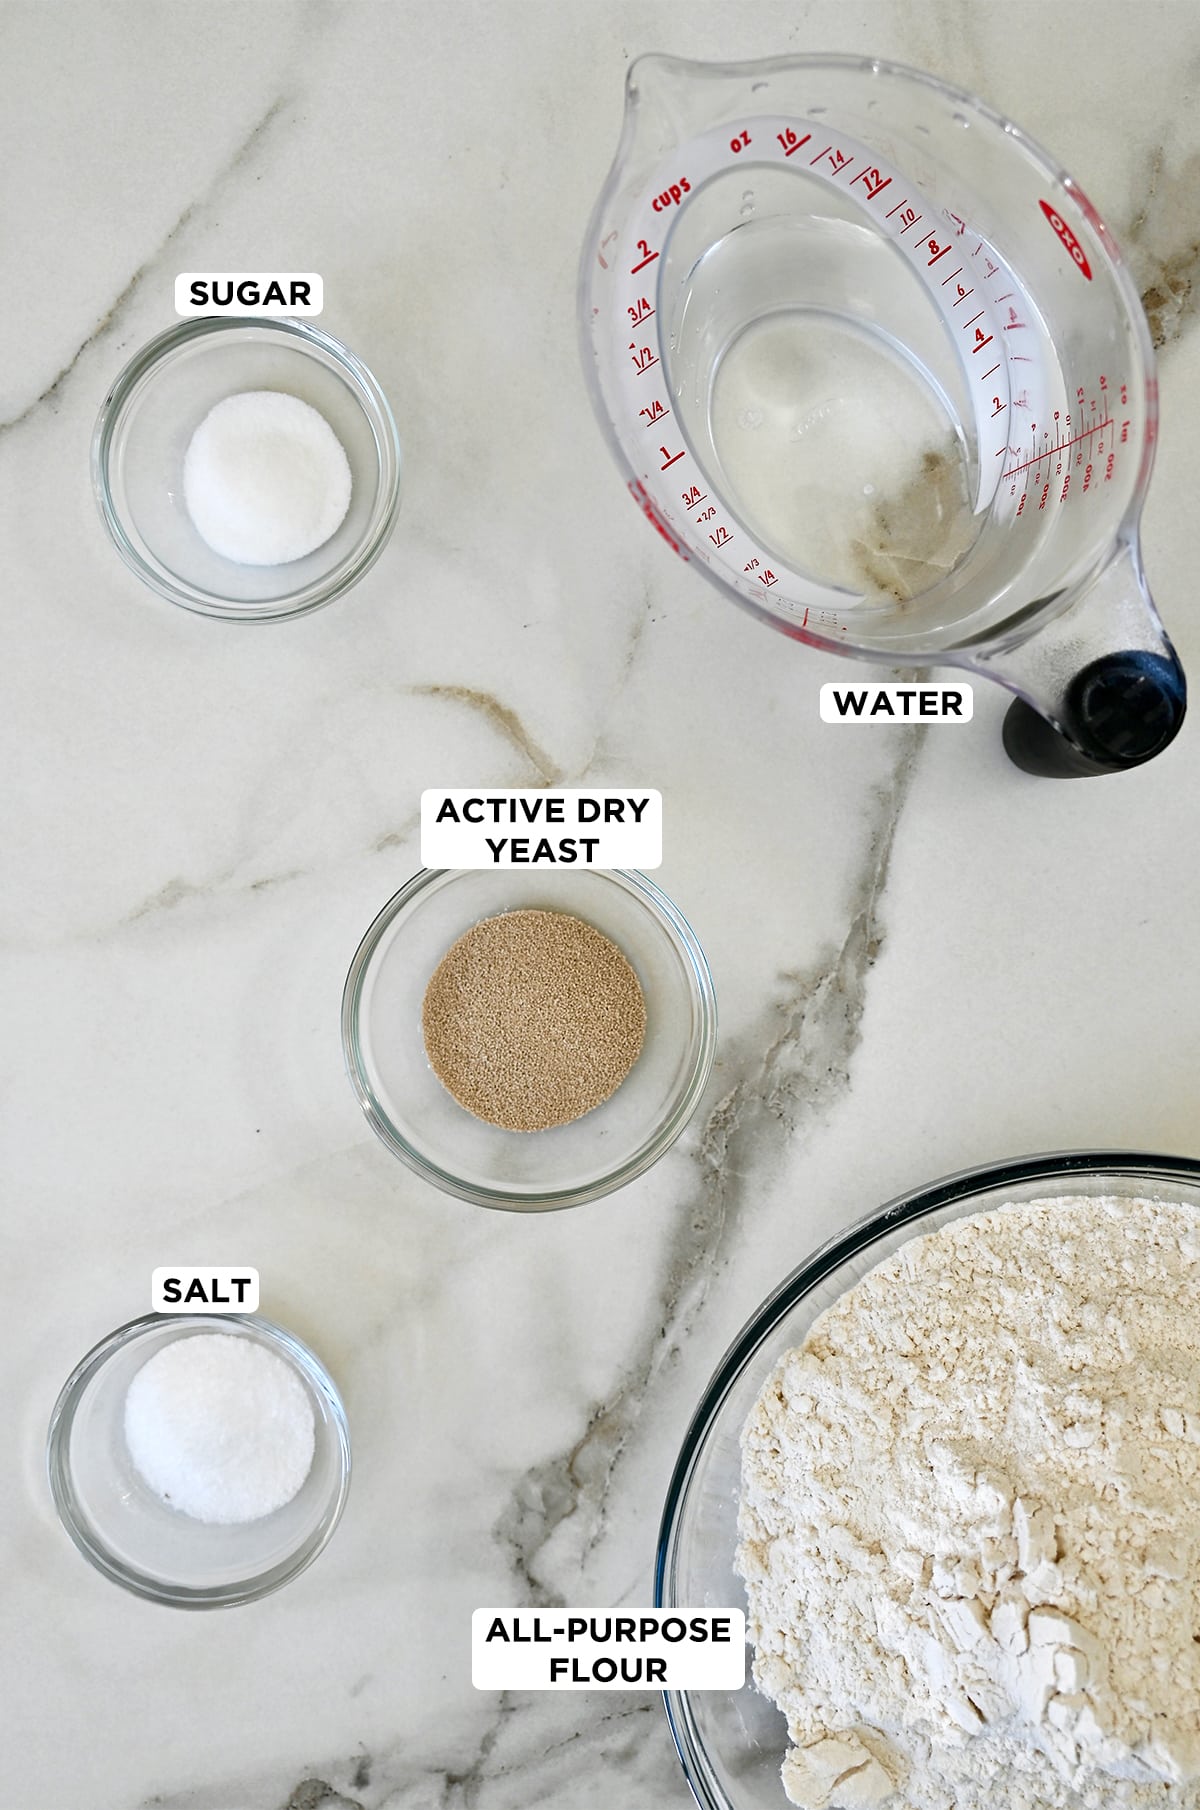
- Warm water: The temperature of the water plays a crucial role in activating the yeast and ensuring proper dough rise. Aim for a warm, not hot, temperature around 110°F (anything over 130ºF kills the yeast). If your hand likes it, the yeast will like it. This provides the ideal environment for yeast activation, leading to a perfectly risen dough.
- Sugar: The sugar acts as food for the yeast, aiding in fermentation and contributing to the dough’s rise. It also imparts a subtle sweetness to the crust. Don’t underestimate the importance of this humble ingredient! It’s a key player in achieving that perfect pizza dough texture.
- Active dry yeast: Activates in the warm water, creating bubbles that make the dough rise. It’s the secret behind achieving that light, airy and deliciously chewy crust!
- All-purpose flour: I recommend sifting the flour to ensure your dough is smooth and lump-free.
- Kosher salt: Salt does more than just enhance flavor; it also strengthens gluten structure, adding texture and promoting a well-rounded taste. Regular ol’ table salt works, too; just reduce the amount by half.
See the recipe card for full information on ingredients and quantities.
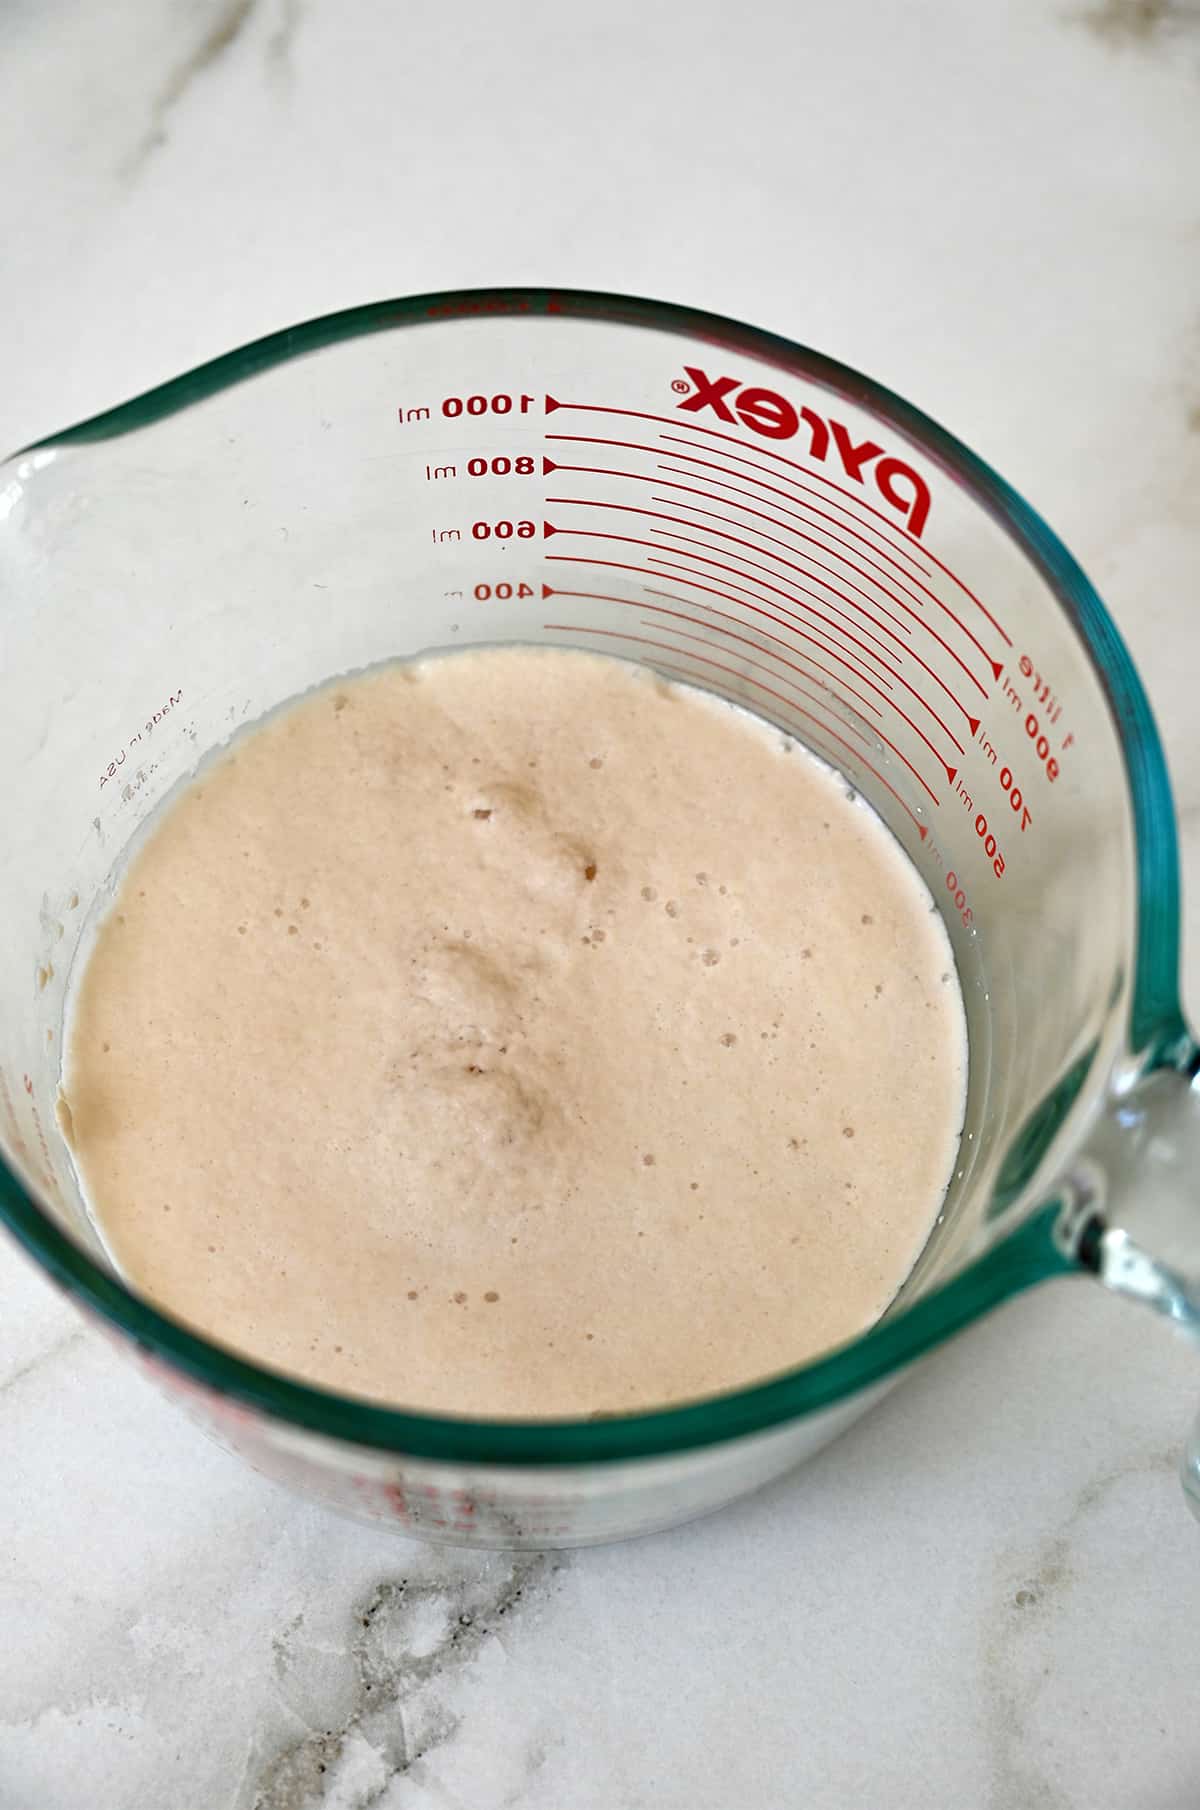
- Activate the yeast. In a bowl, mix the hot water and sugar until the sugar dissolves. Sprinkle the active dry yeast over the water and let it sit for 10 minutes until it becomes frothy.
- Combine the flour and salt and form a well in the center. Do this on a clean surface and use a fork to incorporate the two ingredients.
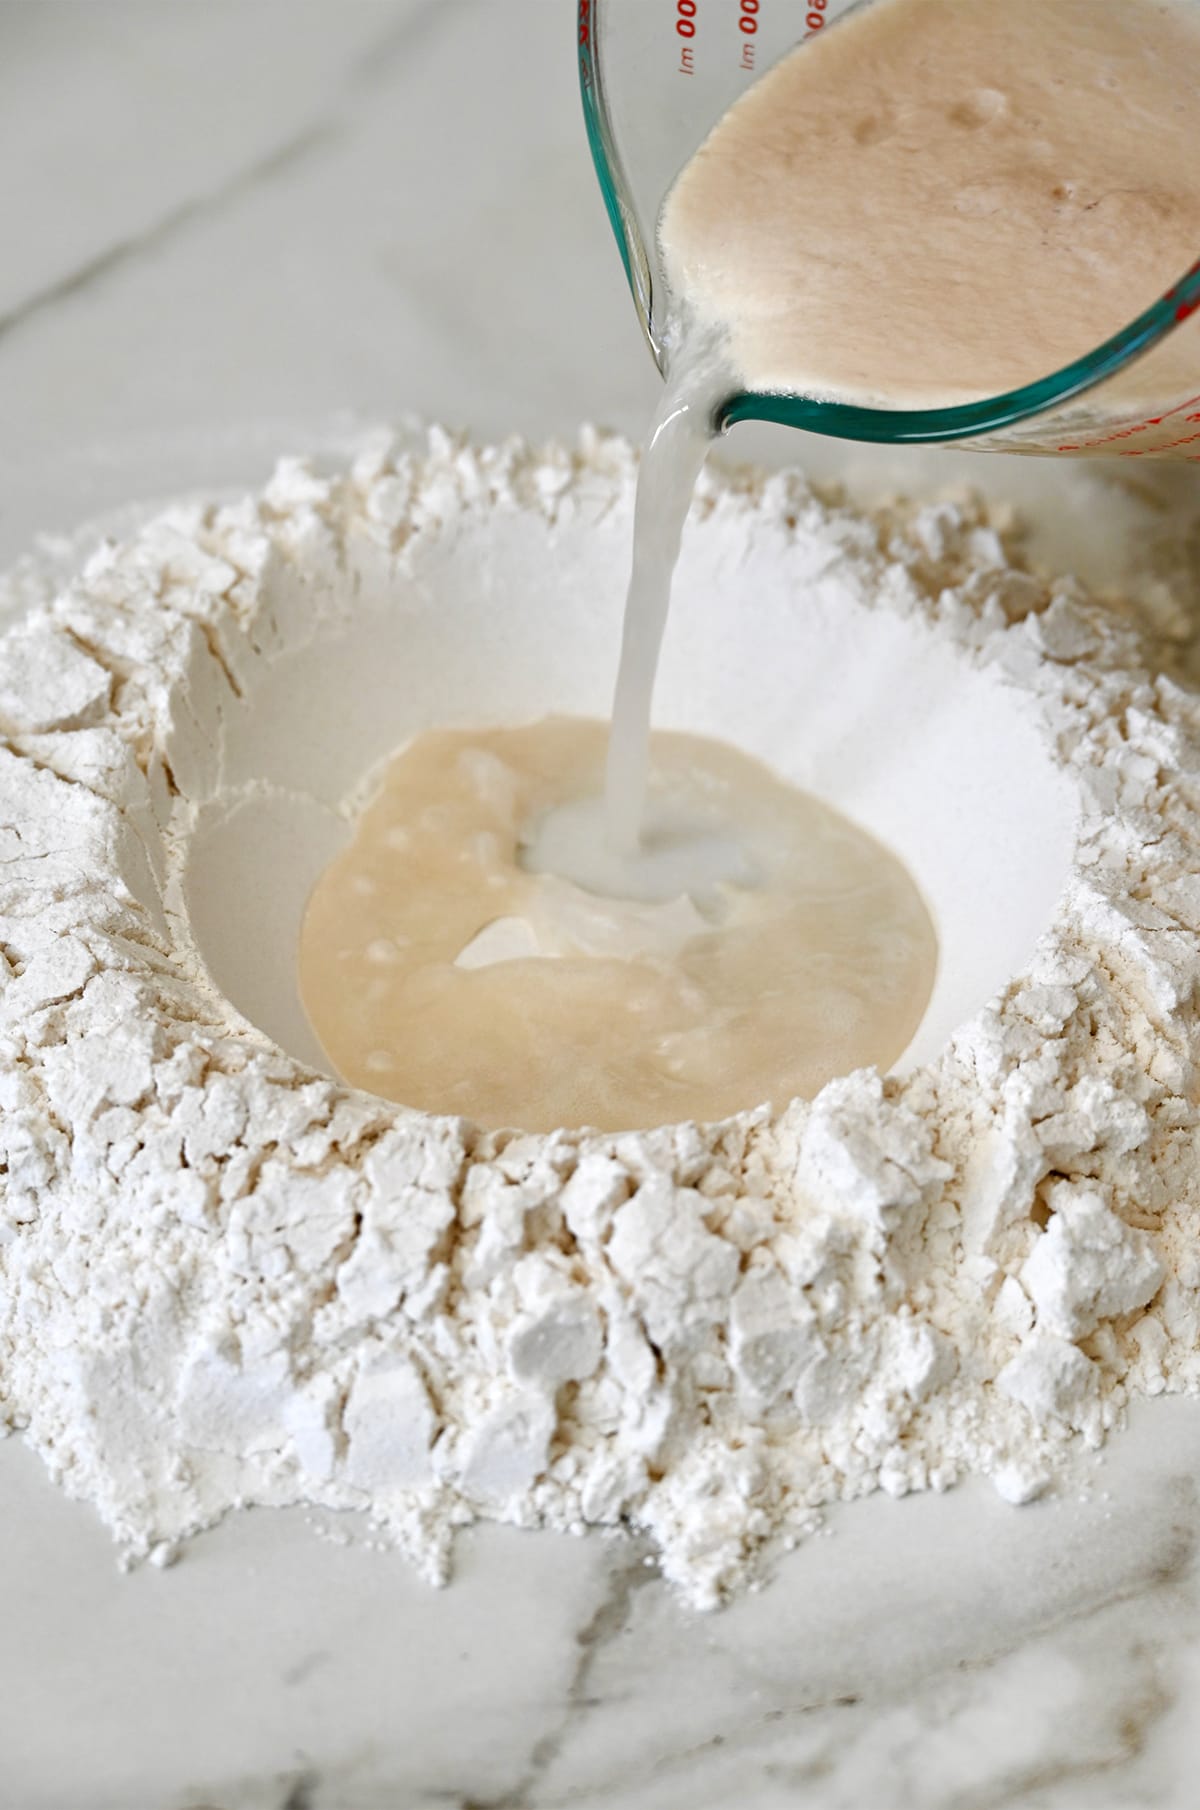
- Make the dough. Pour the dissolved yeast mixture into the center of the well and then little by little, use a fork to pull flour from the well into the center. Continue until the mixture begins to thicken.
- Knead the dough. Flour your hands to prevent sticking then, begin kneading the dough until it comes together. Continue kneading until all of the flour has been incorporated evenly and the dough is smooth and elastic. Shape it into a ball.
- First rise. Place the dough into a greased bowl and cover it. Let it rest for one hour in a warm, dry place until it doubles in size.
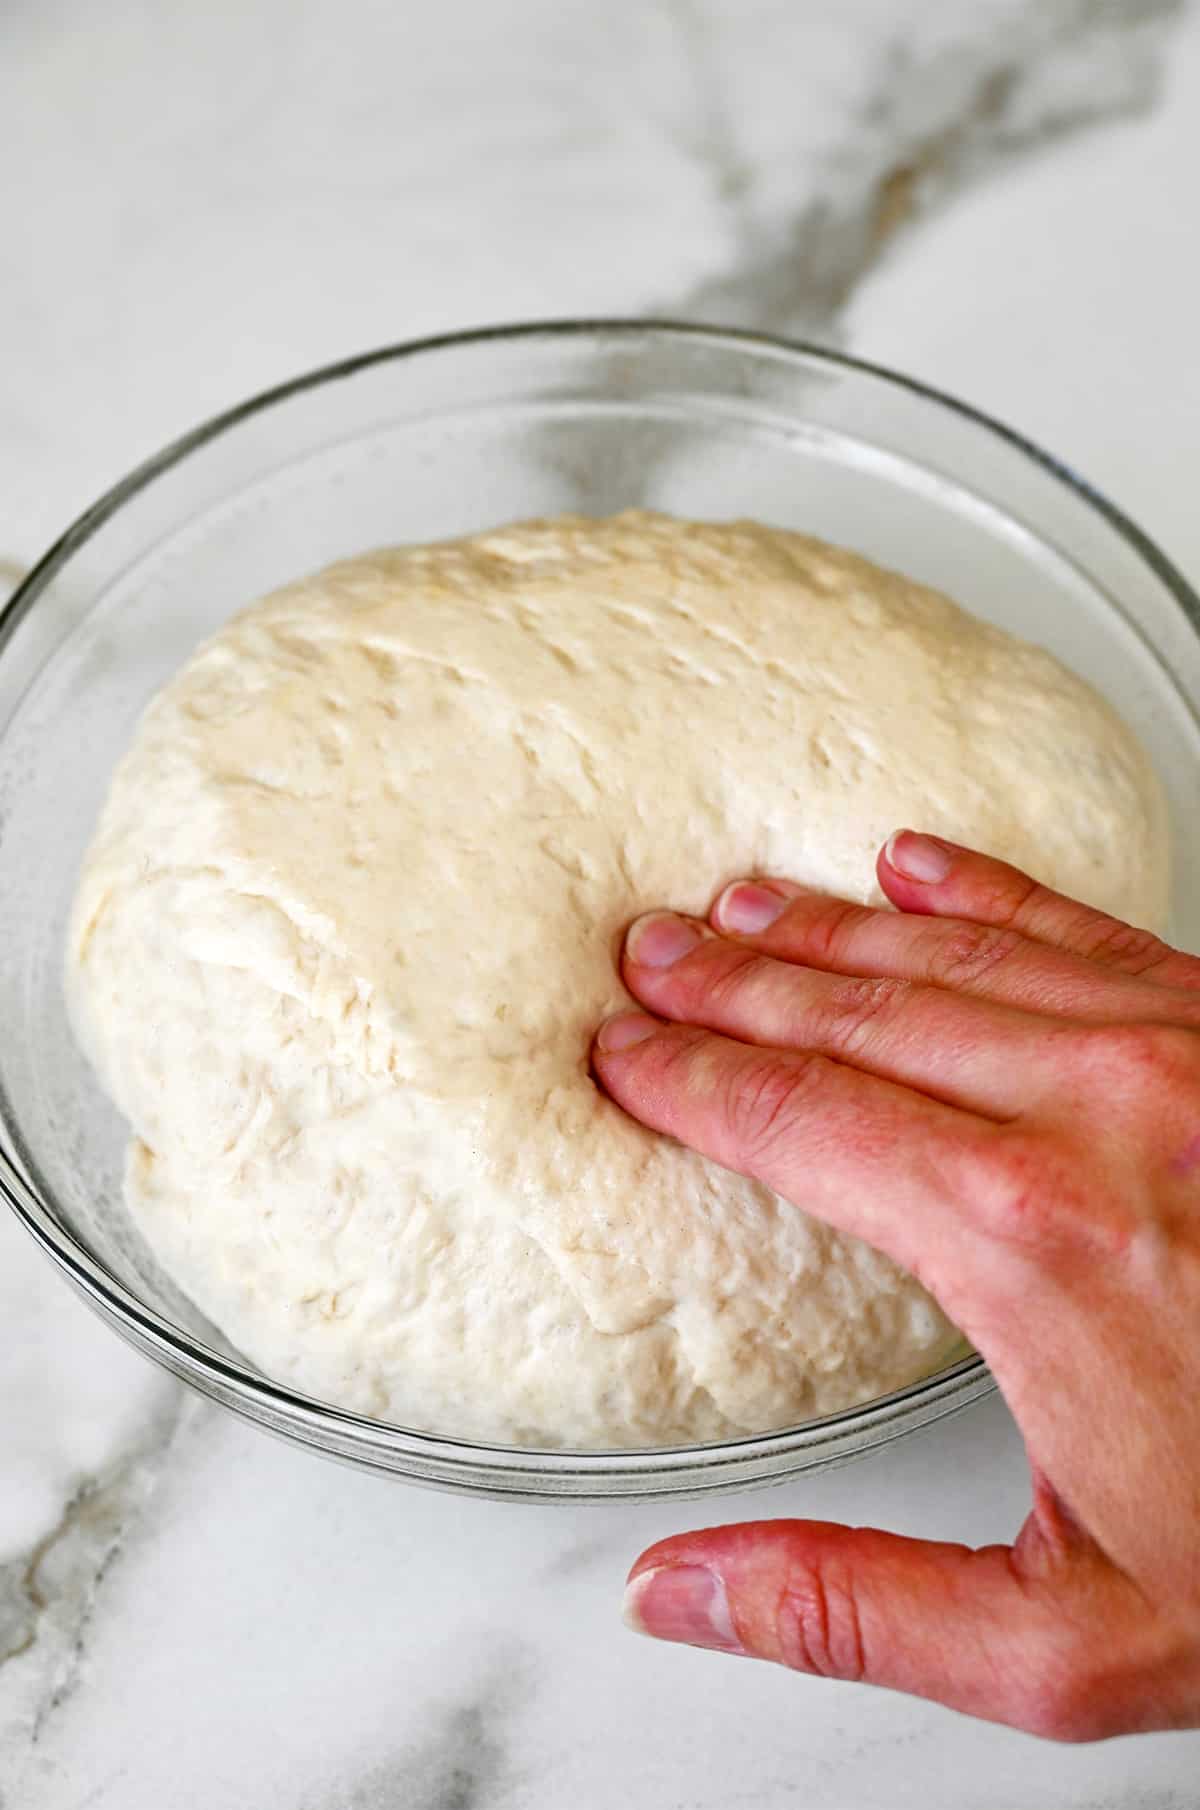
- Knock down and cut into 3 pieces.
- Second rise. Place the dough balls onto a greased cookie sheet and cover with a damp towel. Let rise for one hour.
- Knock down and shape. Knock down the dough balls a second time then roll it into a 12-inch circle.
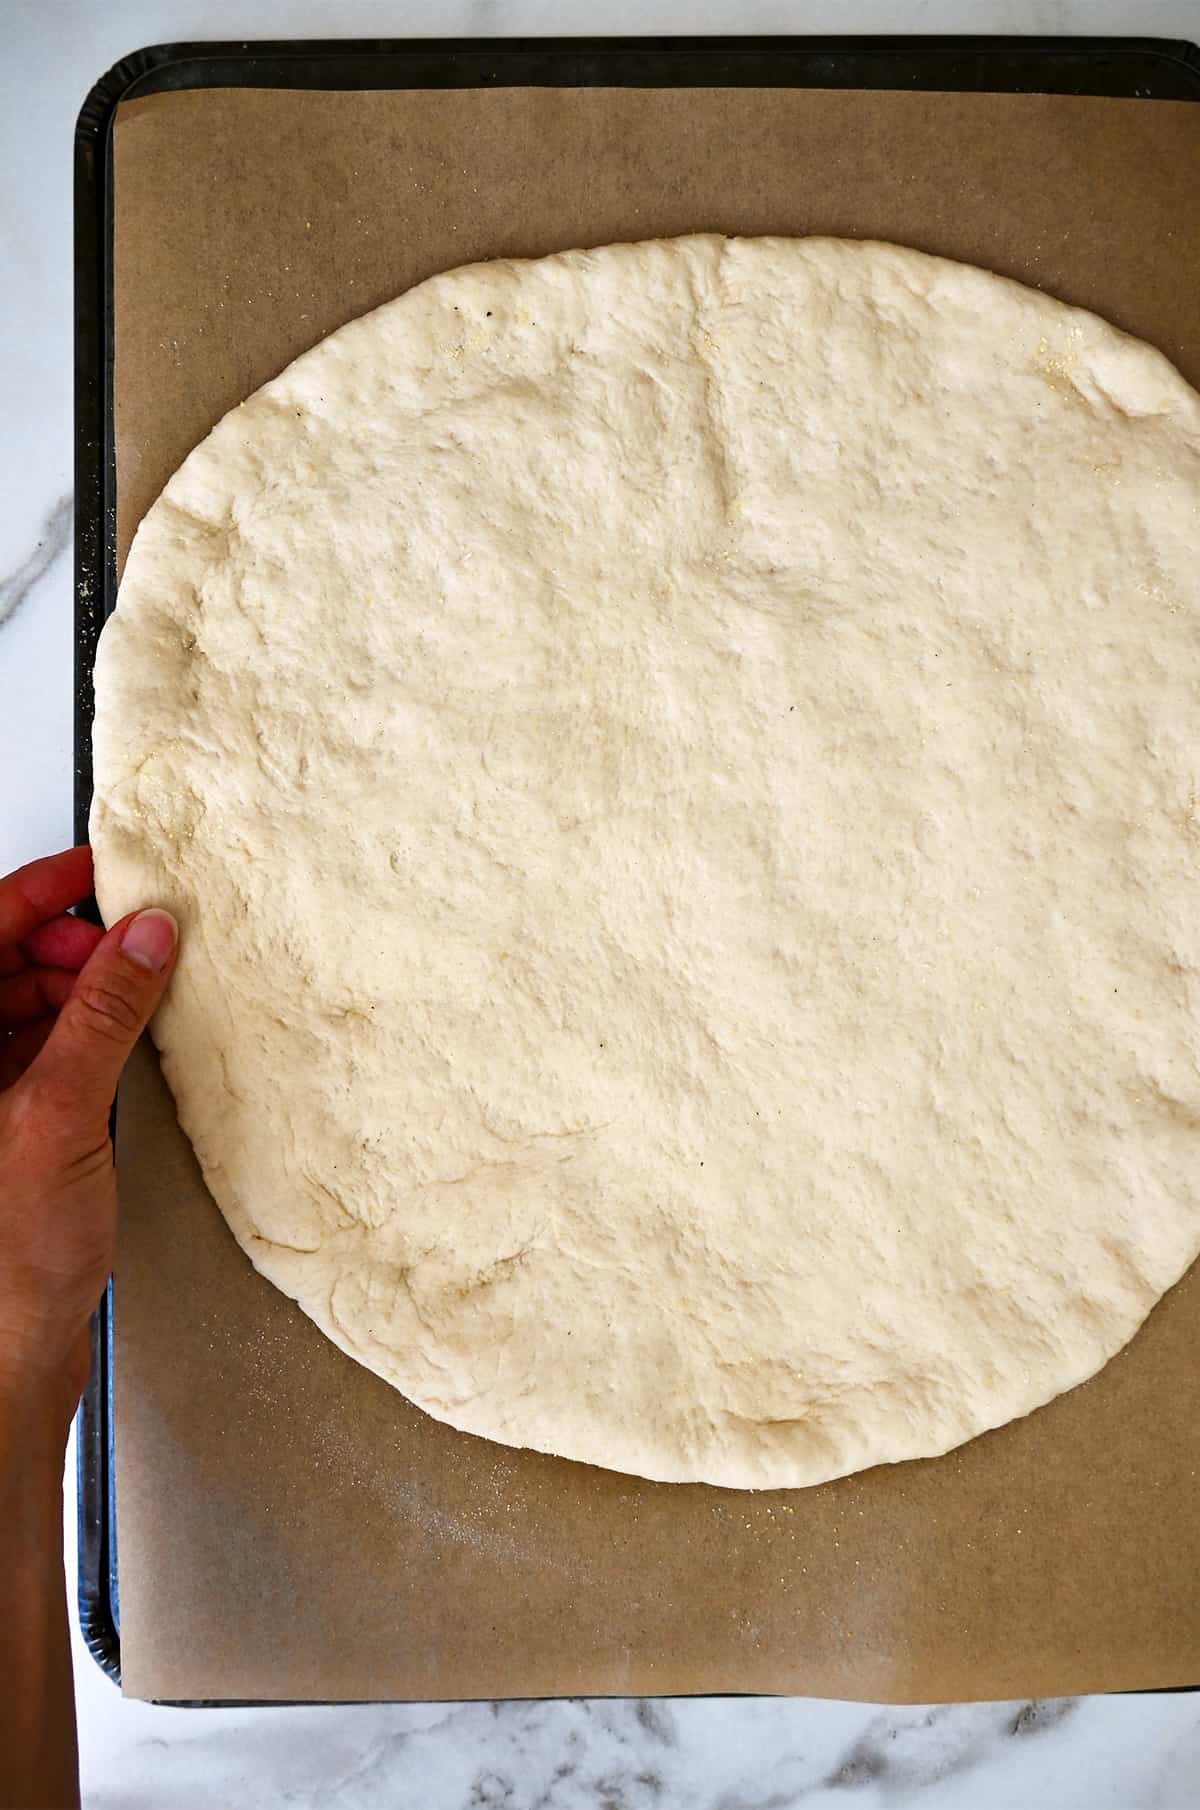
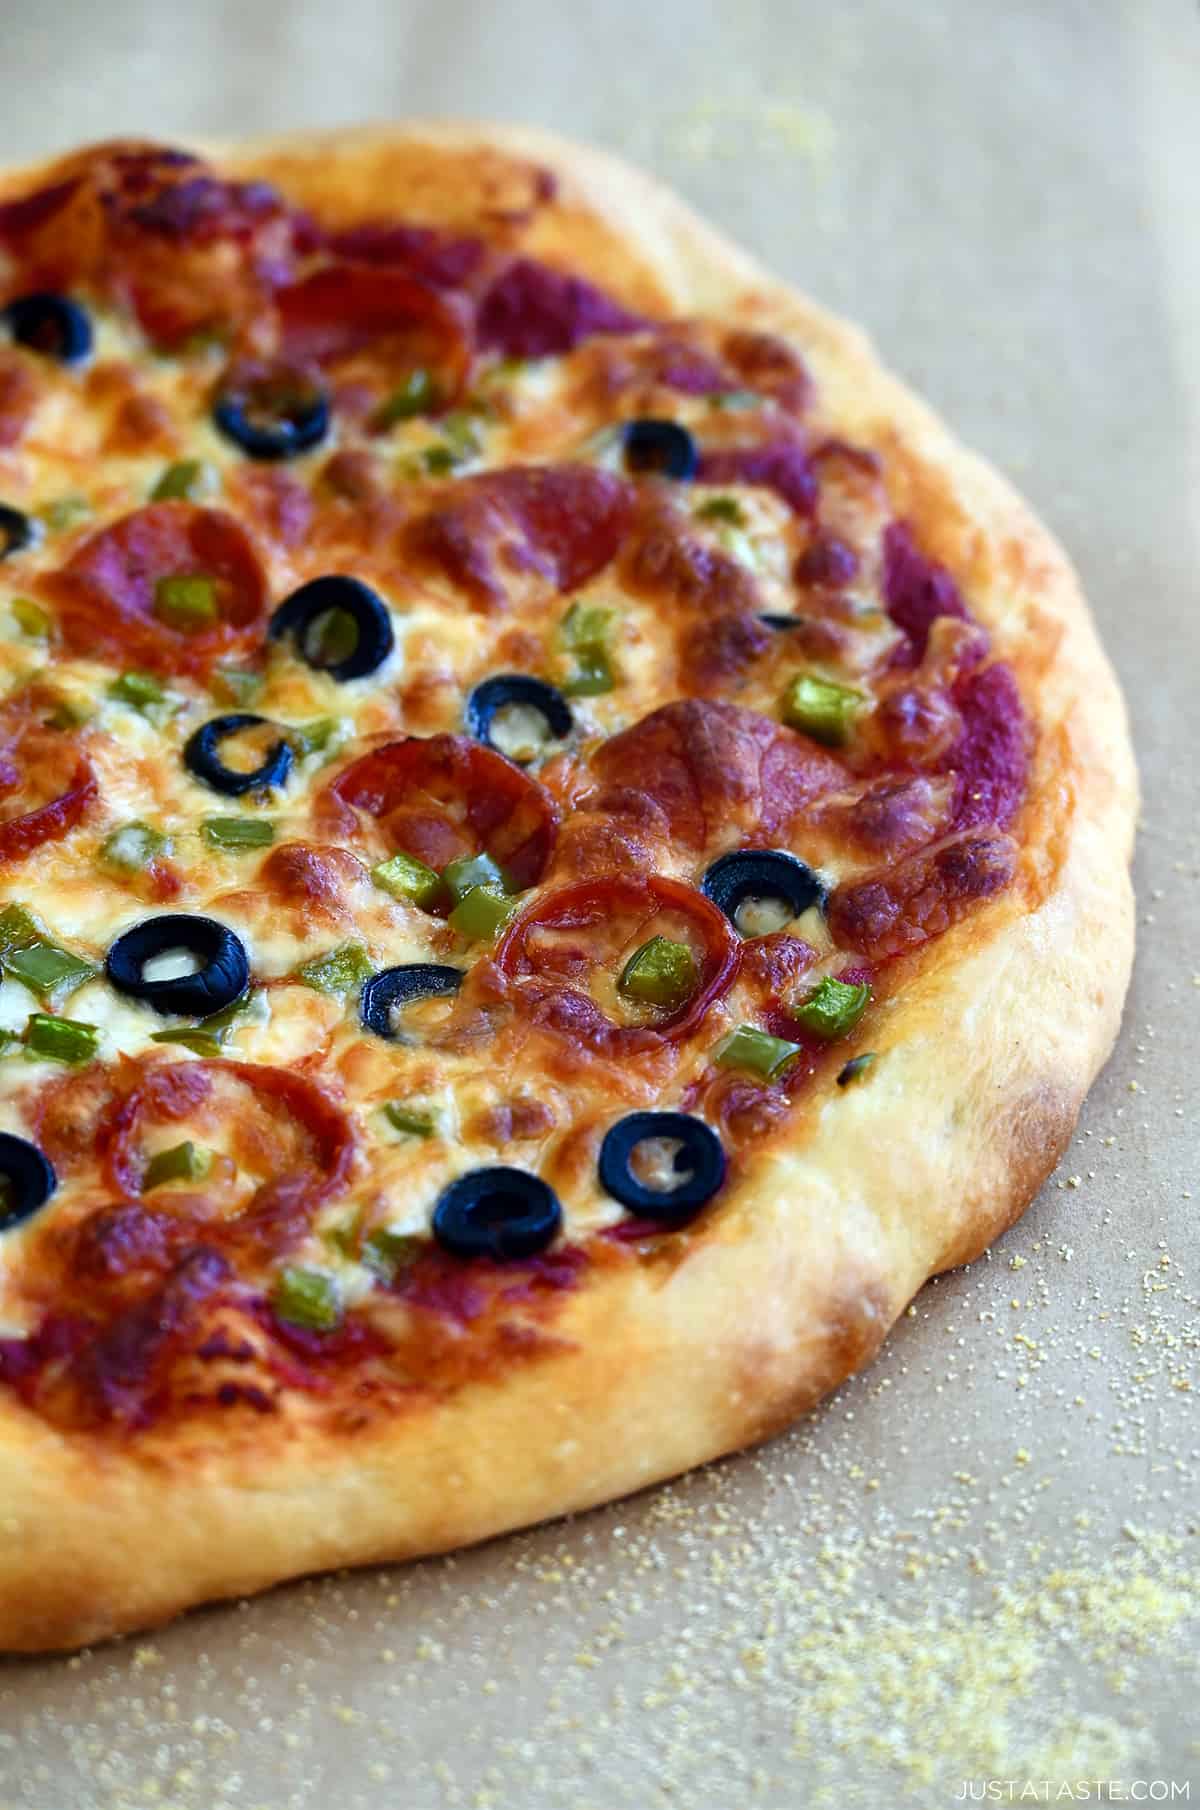
- Top and bake. Top with all your favorite pizza toppings and bake in a 500ºF oven until golden brown.
Kelly’s Note: When rolling out your dough, dust your work surface with flour or semolina to prevent sticking. (Semolina will add a subtle crunch to your crust.)
- “Knocking down” the dough refers to throwing it firmly against your work surface while holding on to one end. Fold the dough in half, then do it again. This helps to evenly distribute the yeast.
- Adding a tablespoon of flour to the yeast while it’s dissolving will make for a better rise (better rise = better dough).
- Knead the dough thoroughly. Kneading the dough helps develop the gluten and creates a chewy texture.
- Let the dough rise in a warm place. The warmer the environment, the faster the dough will rise. My favorite place to proof dough… my dryer!
- Don’t rush the rising process; patience is key for a light and airy crust.
- Don’t overdo it with toppings. Too many toppings can weigh down the dough and make it soggy.
- Adjust the thickness of the crust to your liking by rolling it thinner or thicker.
- For an extra crispy crust, consider pre-baking the rolled-out dough for a few minutes before adding toppings. This helps prevent a soggy center.
- Looking for the ultimate pizza-cutting gadget? Skip the pizza wheel and check out a Mezzaluna knife!
Making pizza dough from scratch can be a time-consuming process, but with my handy tips, you can save time and enjoy fresh, homemade pizza whenever you want!
Make-ahead: After kneading and dividing the dough, let it rise in the fridge overnight or up to 24 hours. When you’re ready to use it, let it come to room temperature for about 30 minutes, shape it, and let it rise for an additional 15-20 minutes before adding your toppings.
Freeze: If you want to freeze the pizza dough, wrap each portion tightly in plastic wrap or resealable freezer bags and label them with the date to keep track of freshness. You can store the pizza dough in the freezer for up to 3 months. To use frozen dough, let it thaw overnight in the refrigerator or for a few hours at room temperature, and then let it come to room temperature for about 30 minutes before shaping and baking.
Creative Uses for Homemade Pizza Dough
Now that you’ve got the basics down, go ahead and get creative with your toppings! You can go for classics like pepperoni or try gourmet combinations like kale and bacon. What I love about homemade pizza dough is how versatile it is, from savory twists to sweet treats.
- Barbecue Chicken Pizza – tender chicken, barbecue sauce and a melty cheese
- Cheesy Garlic Bread Pizza – combines the best of both worlds with a crispy garlic bread crust and a gooey cheese topping
- Everything Bagel Breakfast Pizza – it doesn’t get much better than everything seasoning, bacon, eggs and cheese
- Garlicky Kale and Bacon Pizza – robust flavors of garlicky kale and crispy bacon create a savory and satisfying slice
- Cheesy Chicken Taco Pizza – seasoned chicken, melted cheese and all your favorite taco-inspired toppings
- Muffin Tin Pizza Pockets – perfectly portioned, handheld pizza pockets are a convenient and tasty way to enjoy your favorite pizza flavors
- Baked Parmesan Garlic Pizza Dough Croutons – these crispy, golden croutons add flavorful crunch to salads, soups and snack mix
- Pepperoni Pizza Pull-Apart Bread – this pull-apart bread is loaded with pepperoni and gooey cheese for a crowd-pleasing appetizer
- Easy Pizza Dough Soft Pretzel Bites – all you need is five ingredients and 25 minutes (seriously, start to finish!) to achieve that classic chewy, soft pretzel texture and taste
- Cheesy Chicken Pizza Pockets – dip and dunk in marinara sauce for a big win with all ages
- Cheese and Pepperoni Pizza Bites – perfect for snacking or serving as a crowd-pleasing appetizer
- Easy Muffin Pan Pizza Cups – customize each serving with your favorite toppings
- Homemade Garlic Knots – brushed with garlic-infused butter for the ultimate side dish or party snack
- Pizza Dough Cinnamon Rolls – sweet meets savory as pizza dough is transformed into cinnamon rolls for a deliciously unexpected treat
Recommend Equipment
You won’t need anything fancy for making homemade pizza dough, just make sure you have these:
- Mixing bowls
- Measuring cups and spoons
- Whisk
- Clean kitchen towel or plastic wrap
- Rolling pin
- Mezzaluna knife
Pro Tip: Invest in a pizza peel. A pizza peel makes transferring your pizza to and from the oven a breeze, especially if you’re using a pizza stone.
Common Questions
Yes, you can! Use 25% less instant yeast and skip the proofing step.
Be sure to preheat your oven adequately before baking your pizza and try rolling your dough thinner. I also highly recommend investing in a pizza stone for the perfect crispy crust.
Try adding dried herbs like basil or oregano, or garlic powder to the dough.
I prefer to use all-purpose flour because it’s always in my pantry and easy to find in most grocery stores. However, high-protein flours like bread flour or Tipo 00 flour are often considered “the best” and are known for creating a chewy and well-structured crust. All-purpose flour creates a lighter and crispier texture. The flour you use depends on your desired crust outcome, so feel free to experiment to find the perfect balance of flavor and texture for your homemade pizza.

Ingredients
- 1 1/4 cups hot water (about 110°F)
- 1 teaspoon sugar
- 1 Tablespoon active dry yeast
- 3 1/3 cups all-purpose flour
- 2 teaspoons kosher salt
- Extra flour for dusting work surface
Instructions
- In a large bowl, whisk together the hot water, sugar and yeast. Let sit for 10 minutes.
- Mound the flour on your work surface and sprinkle in the salt. Use a fork to incorporate the two ingredients then form a large well in the center of the flour.
- Pour the dissolved yeast mixture into the center of the well and then little by little, use a fork to pull flour from the well into the center. Continue until mixture begins to thicken.
- Using your hands, begin kneading the dough until it comes together. Continue kneading until all of the flour has been incorporated evenly into the dough. Shape it into a ball.
- Place the dough into a greased bowl and cover it with a greased piece of parchment paper. Let it rest for one hour in a warm, dry place until it doubles in size.
- Knock down the dough on your floured work surface then cut it into the desired amounts.
- Place the dough onto a greased cookie sheet and cover it again with a damp towel. Let the dough rise a second time for one more hour.
- Knock down the dough sections a second time then roll it into the desired shape, top it with your desired toppings and bake it in a 500ºF oven until golden brown.
Kelly’s Notes
- “Knocking down” the dough refers to throwing it firmly against your work surface while holding on to one end. Fold the dough in half, then do it again. This helps to evenly distribute the yeast.
- Adding a tablespoon of flour to the yeast while it’s dissolving will make for a better rise (better rise = better dough).
- Knead the dough thoroughly. Kneading the dough helps develop the gluten and creates a chewy texture.
- Let the dough rise in a warm place. The warmer the environment, the faster the dough will rise.
- Adjust the thickness of the crust to your liking by rolling it thinner or thicker.
- Make-ahead: After kneading and dividing the dough, let it rise in the fridge overnight or up to 24 hours. When you’re ready to use it, let it come to room temperature for about 30 minutes, shape it, and let it rise for an additional 15-20 minutes before adding your toppings.
- Freeze: If you want to freeze the pizza dough, wrap each portion tightly in plastic wrap or resealable freezer bags and label them with the date to keep track of freshness. You can store the pizza dough in the freezer for up to 3 months. To use frozen dough, let it thaw overnight in the refrigerator or for a few hours at room temperature, and then let it come to room temperature for about 30 minutes before shaping and baking.
- ★ Did you make this recipe? Don’t forget to give it a star rating below!
Nutrition
Did you try this recipe?
Leave a comment below with your star rating!
This post may contain affiliate links.






Am I missing a button to convert to weights? Looks delicious.
Hi Mary! We do not have that functionality yet on the site.
Sooo easy to make and turns out perfect every time. We flash cook ours on the grill, then add sauce and toppings, then finish on the grill. No need for expensive pizza oven!
Love reading this!
Can you use a kitchen aid mixture instead of by hand?
Absolutely, Lee!
I don’t have a scale to weigh the flour.
Also, it says to sift and in one of your responses you said no need to sift.
This will be my very first attempt at making any dough.
To sift or not to sift?
Hi Jan! There’s no need for a scale, as the recipe calls for 3 1/3 cups all-purpose flour. A previous version called for a weight (1 pound), but I wanted to make it easier for those without scales! Also, I’ve removed the referenced to “sifted” so no need to do that. Let me know how it turns out!
This is my go to pizza dough!!!!
Love reading this, Joann! I’m so thrilled you’ve been enjoying the recipe!
Hello. Looking forward to trying this dough recipe. One part of the instructions has me confused and I have another question..
1) Instructions say: ‘Pour the dissolved yeast mixture into the center of the well and then little by little, use a fork to pull flour from the well into the center. Continue until mixture begins to thicken.’ Isn’t the well in the center? Shouldn’t I be pulling mixture out from the center?
2) Should I sift flour before weighing? (I.e., does it make a difference in weight whether it’s sifted first or not?) Thanks so much in advance for clarifying! :)
Hi Chris – You pull the flour into the well :) And no need to sift!
Hi Kelly
Fabulous recipes, as always !
As one of your fans from the other side of the world, I wondered if it would be possible to list cooking temperatures that everywhere but America uses, ie 450°F/232°C/gas 8. It really would make a difference for all of your non American fans.
Neil
Thanks, Neil! We’ll work on that functionality :)
Hello! I was wondering about how long for the first proof to double in size??
Thank you!
Hi Phoebe! About one hour. :)
can you froze this?
Definitely!
To make a smaller number of crusts, a search of the internet for the number of cups in 1 pound of all-purpose flour shows a range from 3 1/3 cup to 3 3/4 cup. What is the correct amount?
Hi Lynn! The flour should be weighed on a scale and it’d be closer to 3 1/3 cups. But You’d want to use a scale so it’s more accurate. Hope that helps!
I am a pizza dough novice :-). Can this dough be made the day before you want to use it? Thanks so much!
Hi there, Shiela! Yes, you absolutely can make it ahead of time and keep it sealed in plastic wrap in the fridge :)
Easy and tasty! My family LOVED this crust!!!
Woohoo! So thrilled you enjoyed the recipe, Mary!
I tried this recipe…..it is fabulous!!! My family loved it! I was a little concerned because there was no oil but it was great! No need to worry about the oil.
Thrilled you and your family enjoyed the pizza dough, Joann!
There is no oil in this crust,correct?
Correct, Joann!
Have you tried Roberta Restaurant Overnight Pizza Dough. ( In the Fridge!!!)
I haven’t tried that one yet!
Love your recipes!
Thank you so much, Merlene!
Hi kelly i love this recipe of your dough i always use it but this time have trouble about the scale dont know what 1pound un cups bec the scale im using broke…i search web but seem there alot of difference conversion…pls
Hi Kelly,
Is there a way for me to let my pizza dough fluff more so its thicker?
Hi there! The thickness of the dough wouldn’t necessarily have to do with the proofing/fluffing. Do you mean a thicker dough? If so, you could roll it out less so it’s more of a thick crust than thin crust. Hope that helps!
Hi kelly
I found this very easy but ended up in a soup. my dough wasn’t a dough it was batter kind of thing. However, I added two cups which i guess is equivalent to one pound.
Hi Neha, One pound of flour doesn’t equal 2 cups. The flour should be weighed on a scale and it’d be closer to 3 1/3 cups. But You’d want to use a scale so it’s more accurate. Hope that helps!
I know that a cup of flour is 5 oz, is a pound of flour 16 ounces? I know not everything measures the same.
Thanks for your time.
I can’t wait to try your recipe.
Can I use whole wheat flour for making dough instead of all purpose flour?
Please help..
Hi Julie – I’ve never tried subbing whole wheat flour so I’m not sure what the ratio would be.
I let any dough, with yeast, rise in my oven, with just the light turned on. It’s free from drafts, and just the right temperature to rise beautifully. My washer and dryer are in the main bathroom upstairs, and it’s too far away from the kitchen. I’d never heard of using a dryer before.
Jim, the tossing is only for entertainment.
No pizza baker will even eat, or let you, the dough they have been tossing around.
Just roll it out and save the tricks for entertainment only
For the ultimate pizza dough recipe, how do i measure a pound of flour? I don’t have a kitchen scale. Thank you!
Hey there! Was looking for a pizza dough recipe…one thing, I wish it included rising time in the “prep time” calculation! Even though it isn’t active time, a recipe skimmer might not think to calculate all those various rising times when choosing a recipe…and I know pizza dough rising times can very wildly by recipe. Some even need overnight. :)
Can this dough be tossed, or do you recommend rolling only?
I am curious, if you don’t use all of the dough at one time (since you suggest it makes 3 12″ crusts, I assume you can freeze it? And if you do freeze it, do you just thaw and roll out?
Definitely, Leann! Just remember to wrap the dough securely in plastic wrap so it doesn’t get freezer burn, and then when you want to bake it, remove it from the freezer at least 30 minutes prior to rolling/baking. Keep in mind it’ll be way easier to roll once it’s come fully to room temp. Enjoy :)
Regarding the Ultimate Pizza Dough: After baking the crust until golden brown, then put the toppings on and bake further?
Thanks for your comment, Alison! I’ve updated the recipe directions – you top, then bake!
Does this make two large pizzas?
Hi Donna! It depends on how you define large and how thin you prefer your pizza crust, but it will make about three 12-inch pizzas. Hope that helps!
I have tried other dough recipes, but I must say this is EXCELLENT dough and I love the tips with sticking dough in dryer to rise worked magic!!!! Thx for sharing
I just made this dough and did everything you suggested. Oh my goodness! I have tried plenty of doughs. The pizza I currently have in my left hand is a testament to how I couldn’t wait to finish to wait to write this to you! Thank you do much!!!
I’m so glad to hear you enjoyed the recipe, and thanks so much for your comment!